DIY FRENCH PEAT POT WREATH
Today I’m sharing a DIY French peat pot wreath to make now. I will share detailed instructions to duplicate this wreath and creative ideas to make one similar.
Yield: 1 wreath
Cost: $8
Notes
Â
Â


 Â
Â

 Â
Â
Â
Â
 Â
Â
 Â
Â
 Â
Â
Â
Â
 Â
Â

 Â
Â
Â
Â

Â


 Â
Â

 Â
Â
 Â
Â


 Â
Â


 Â
Â


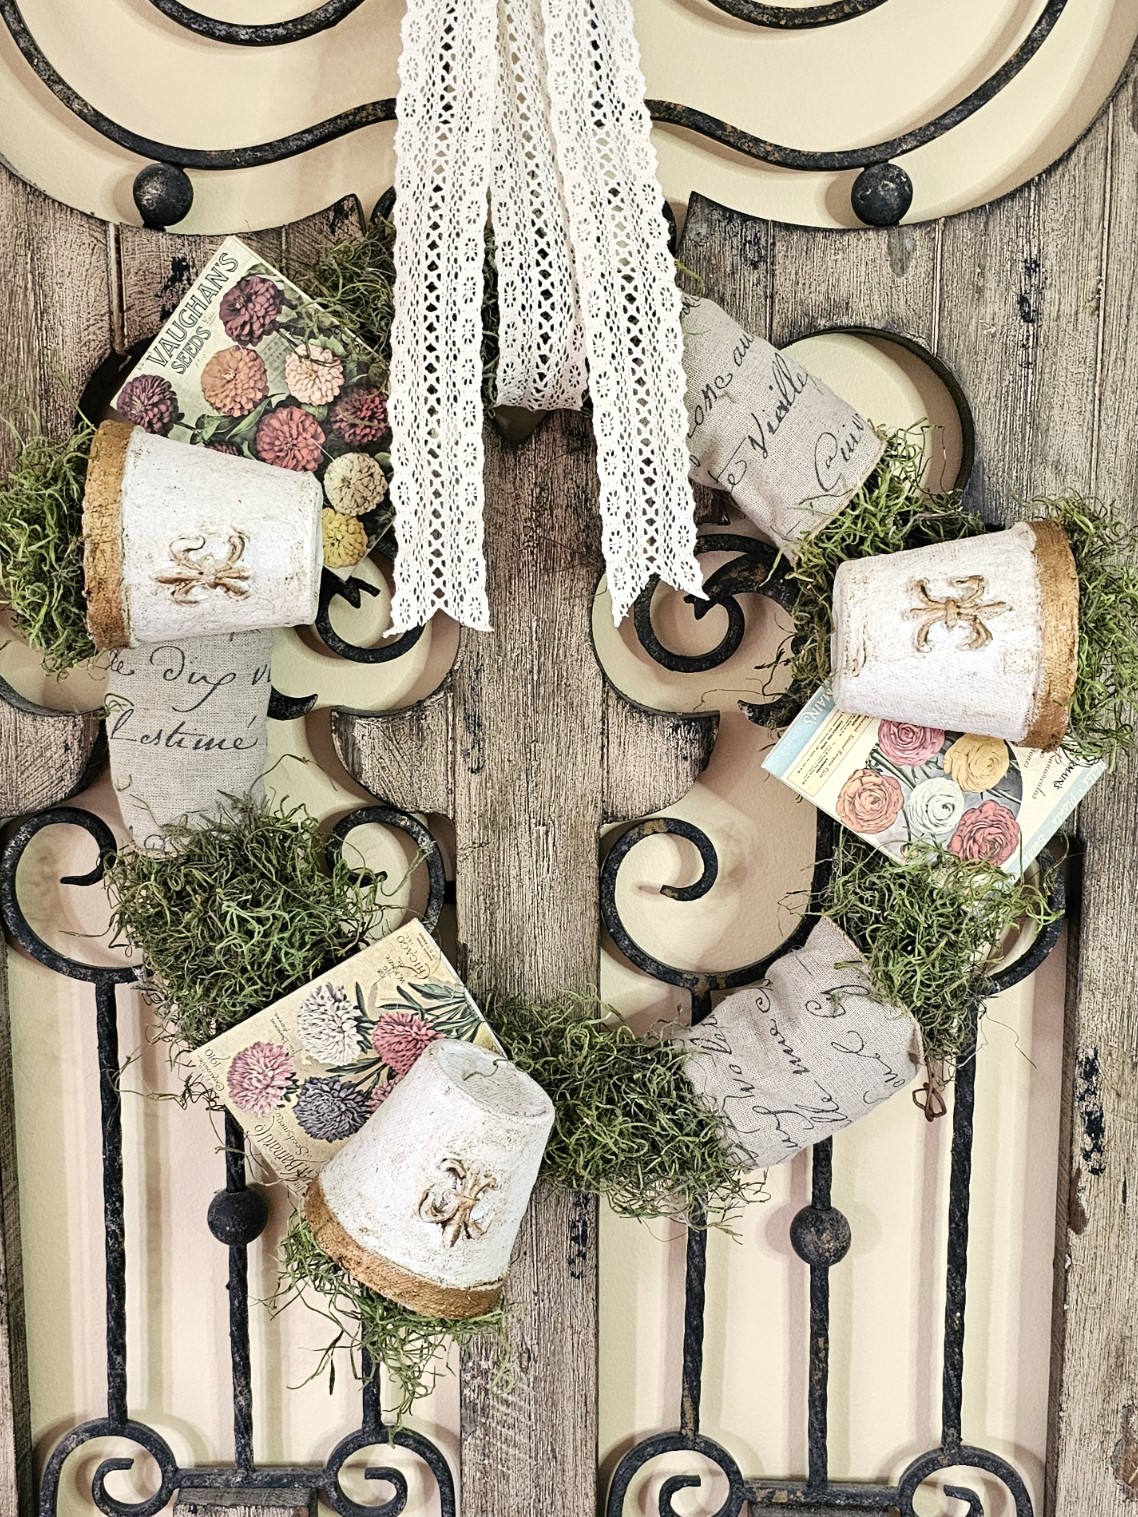
DIY PEAT POT WREATH!
ÂÂ
Craft Supplies DIY French Peat Pot Wreath
-
Â
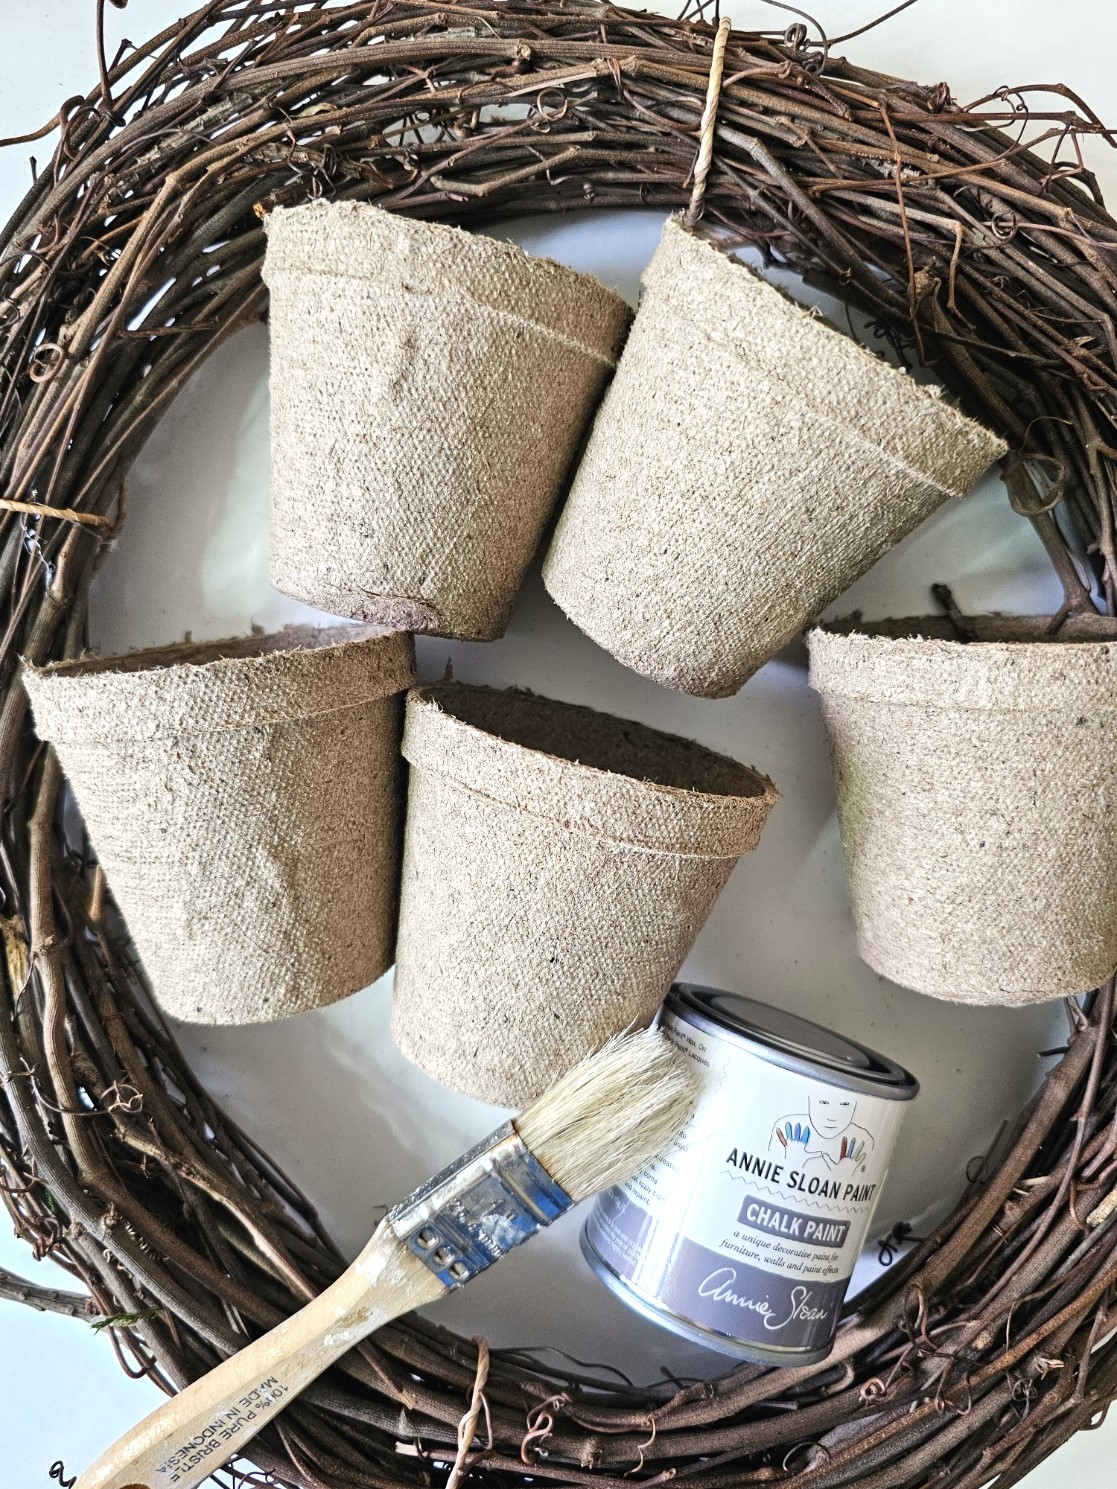
 - A grapevine wreath, foam wreath form, or wire wreath frame
- Hot glue gun
- 2†peat pots (size of your choice)
- Green Spanish moss or sheet moss
- Ribbon to wrap around the sides of the wreath (optional)
- Pair of scissors
- Paintbrush
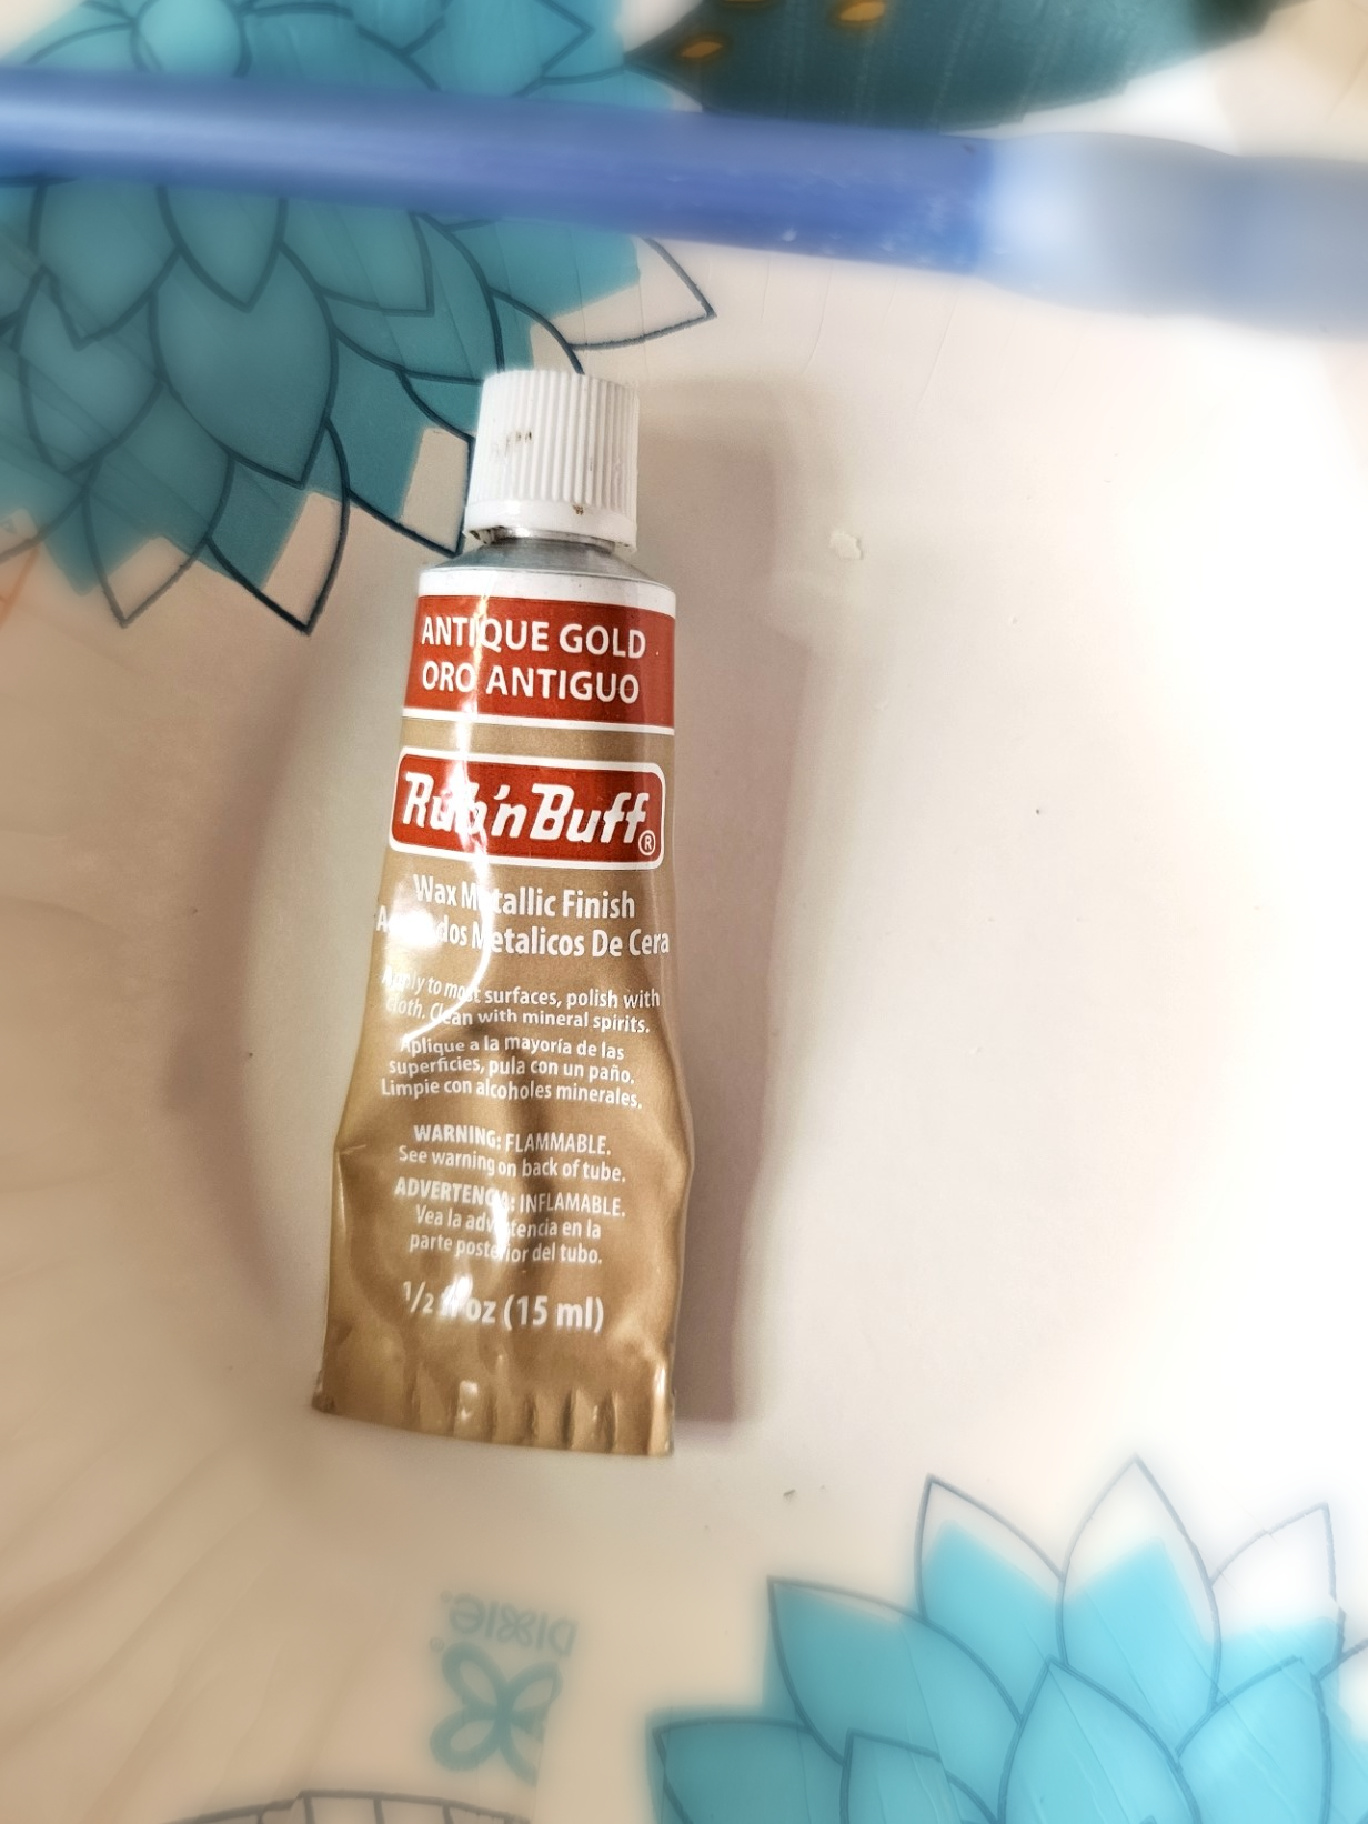
- Rub N Buff (antique gold – optional)
- Rag or paper towel
- Chalk paint or white craft paint
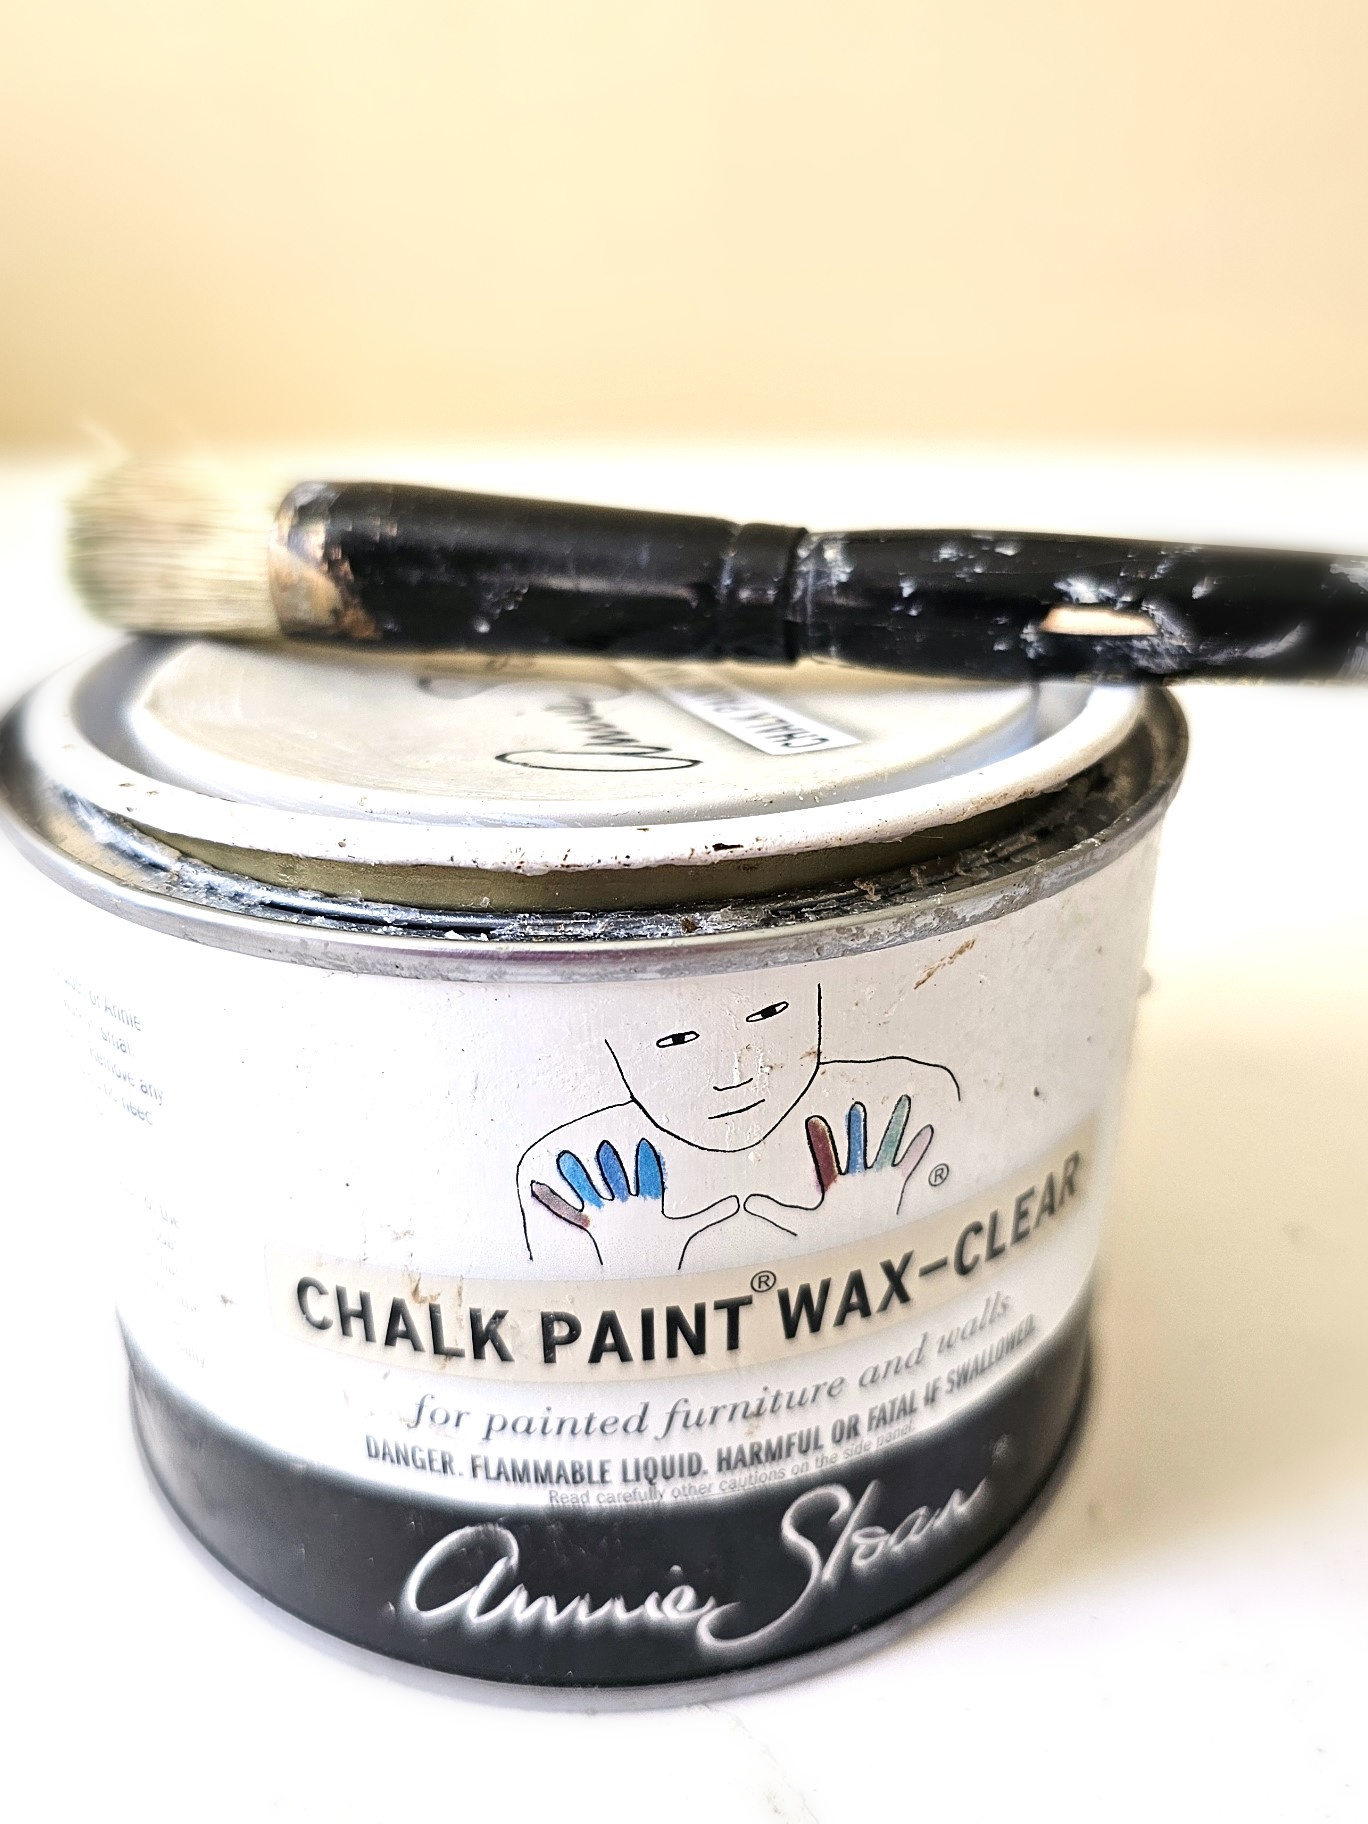
- Clear wax (optional)
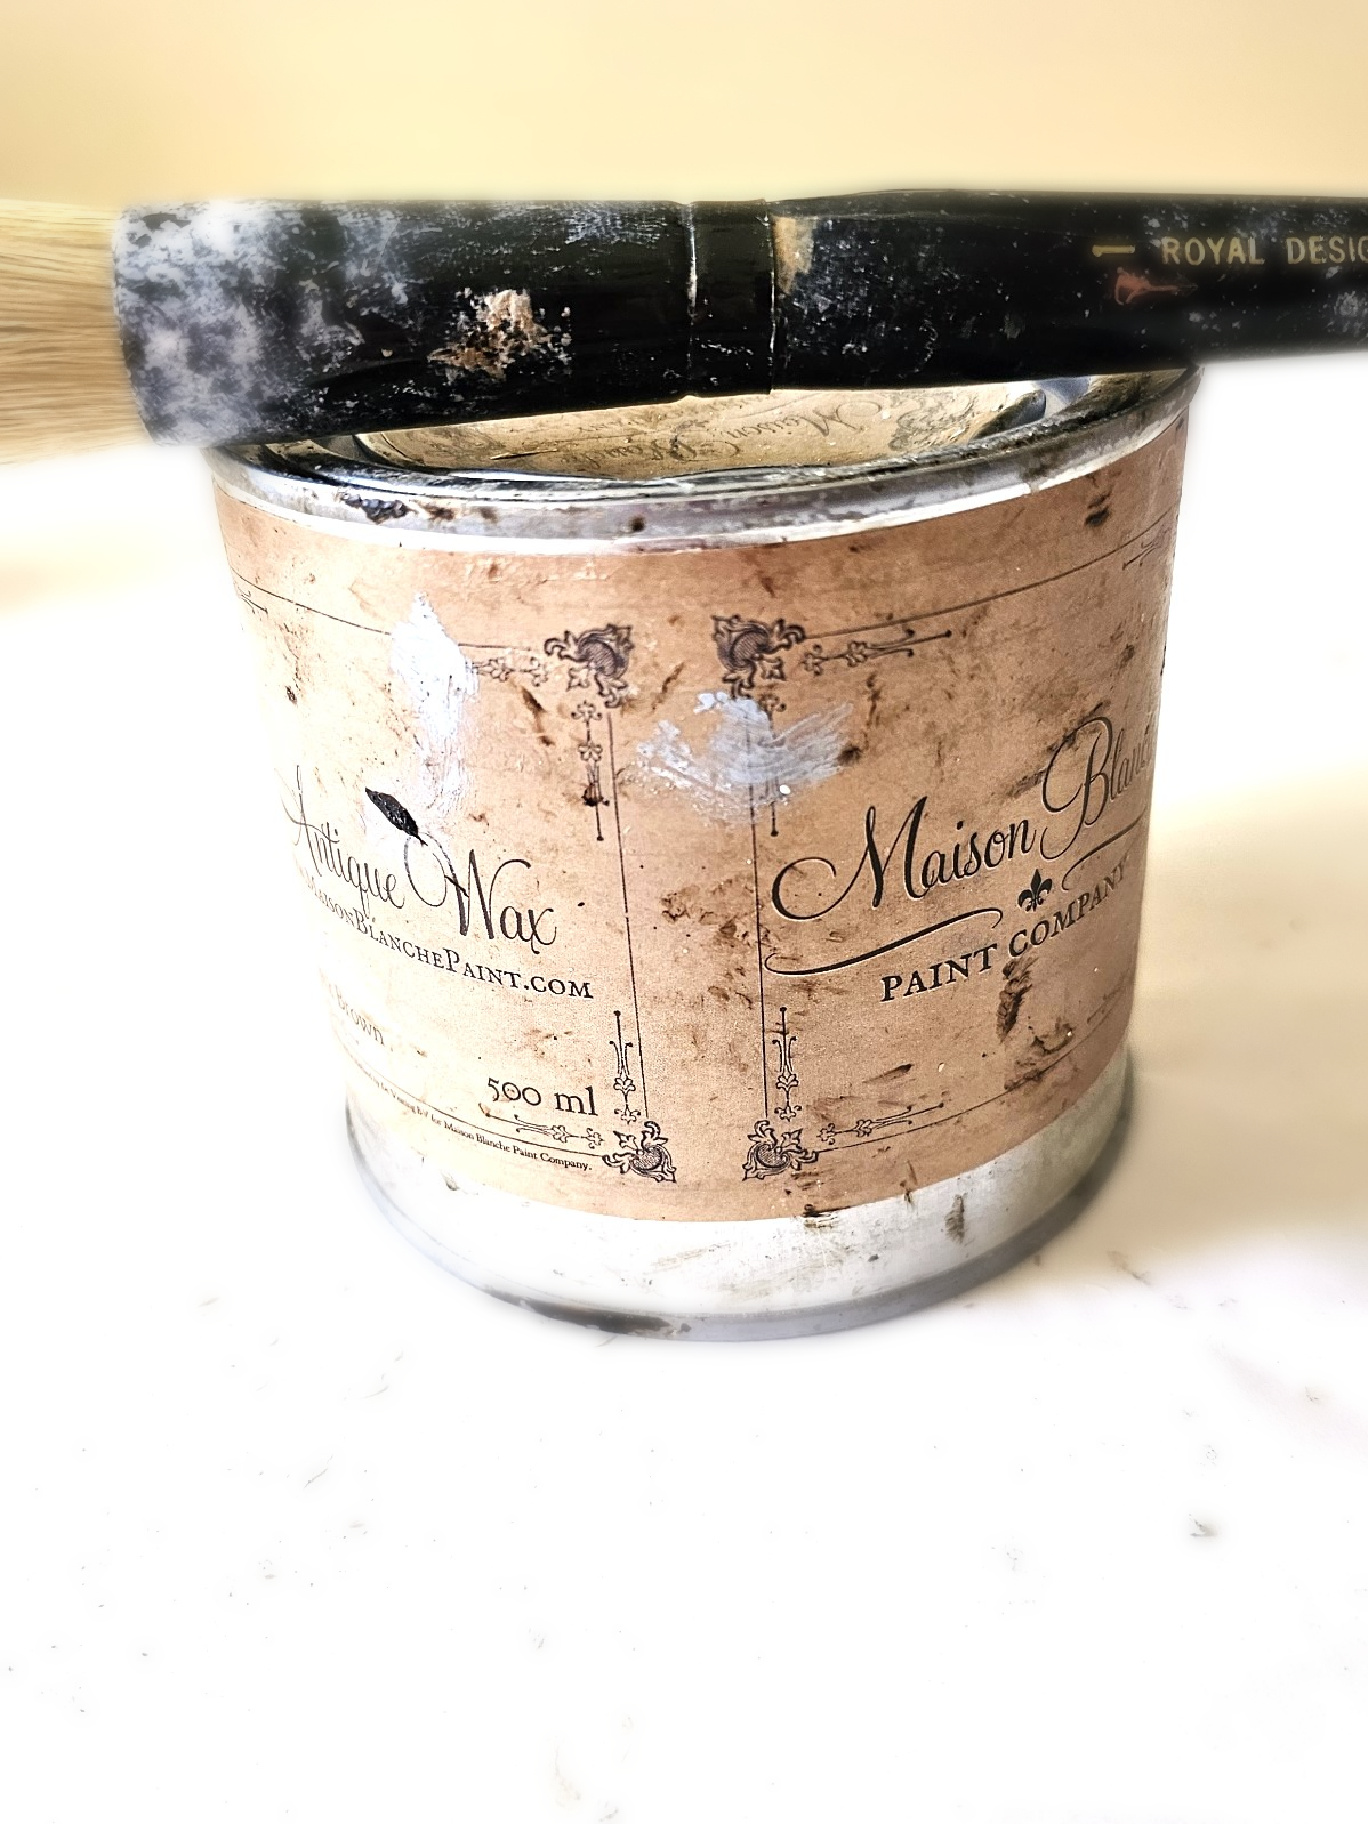
- Dark wax (optional) Burnt umber craft paint works
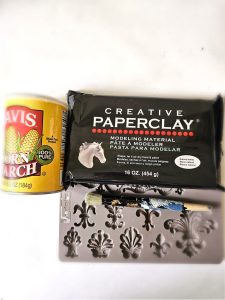
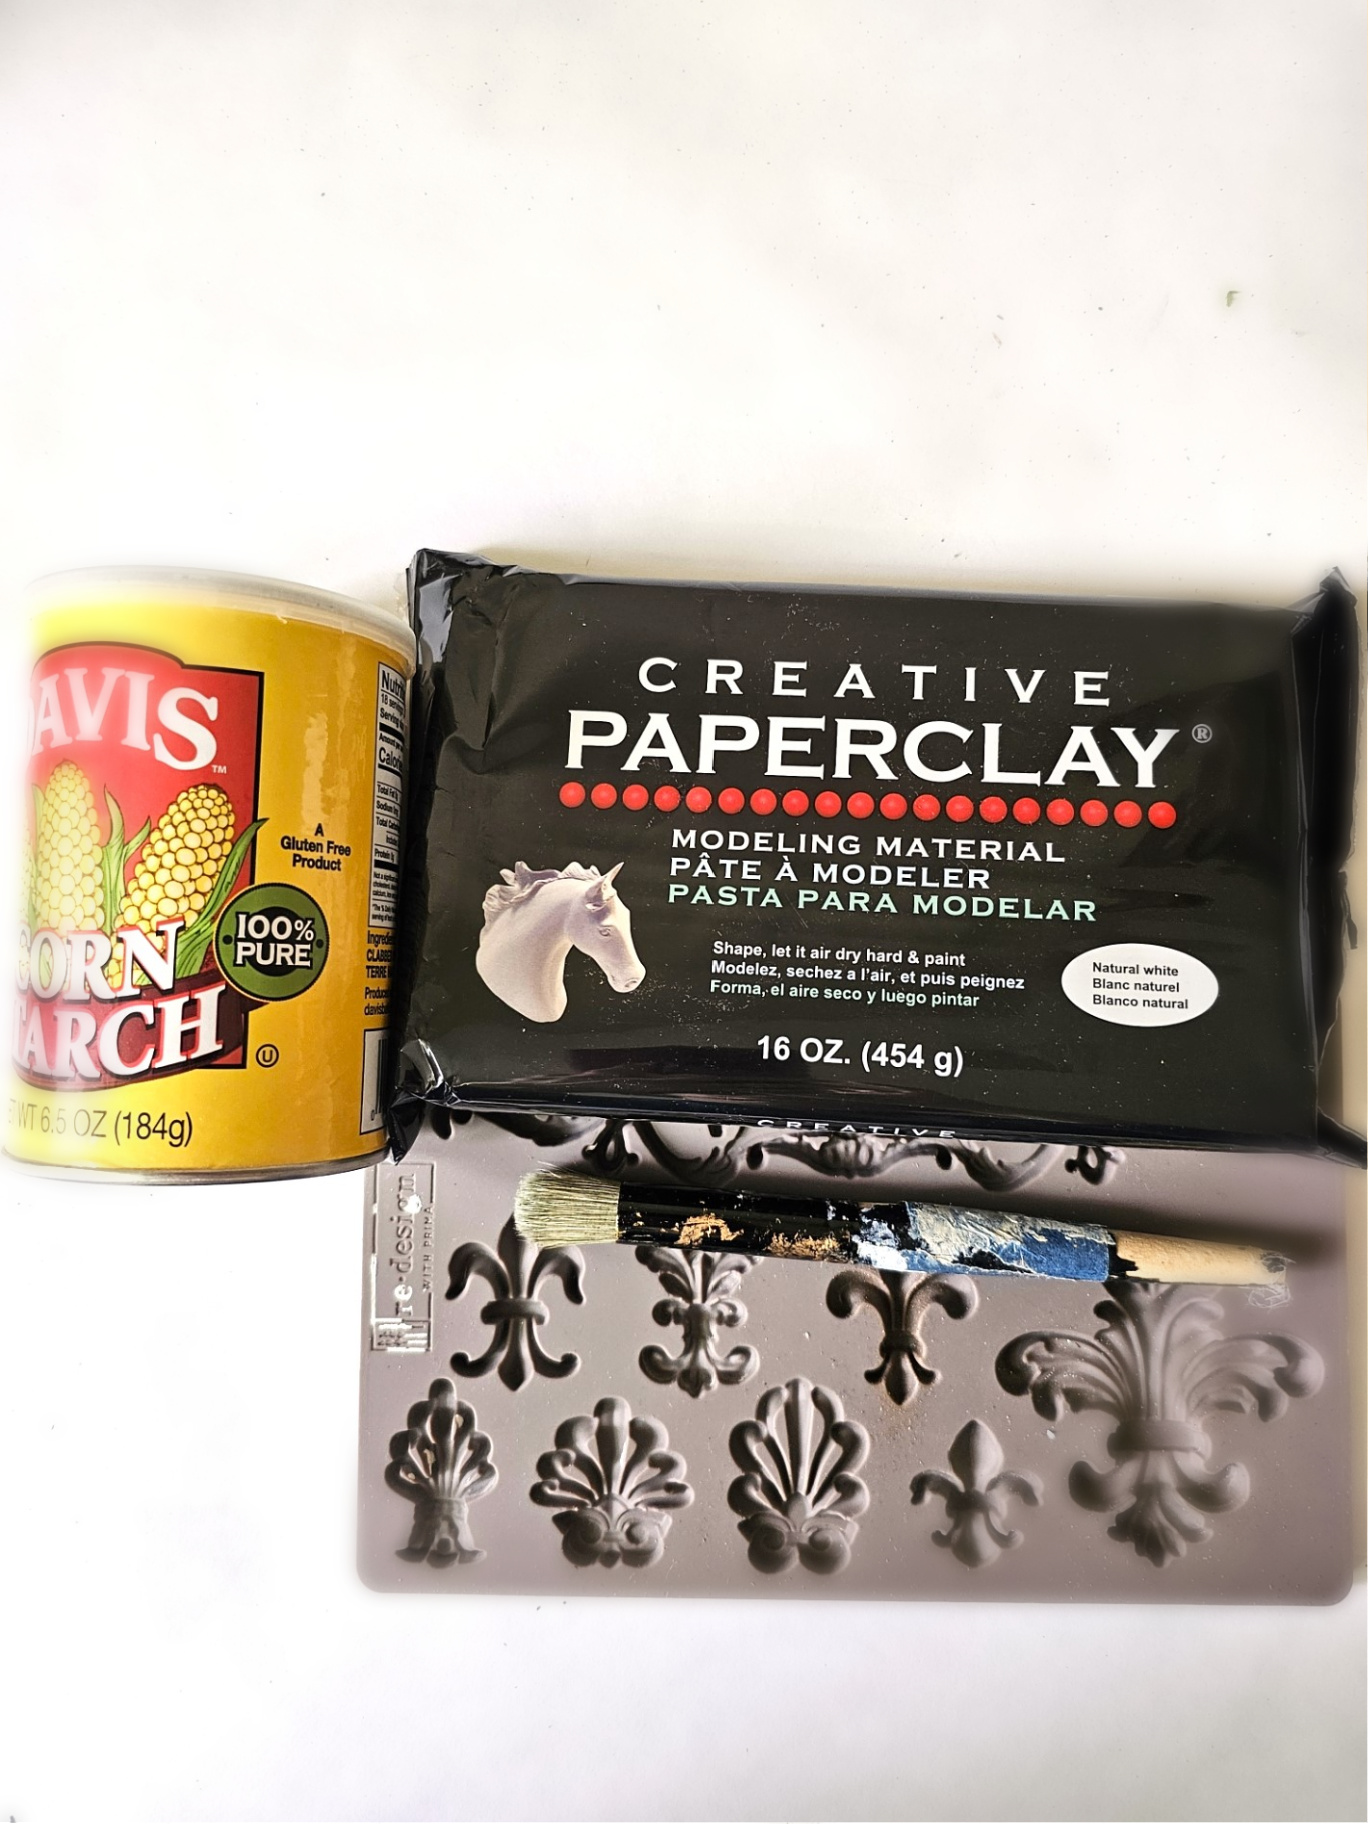
- Corn starch (optional)
- Small paint brush
- Wood glue (optional)
- Paper Clay (optional)
- IOD Mold (optional)
- Resealable plastic bag (optional)
Â
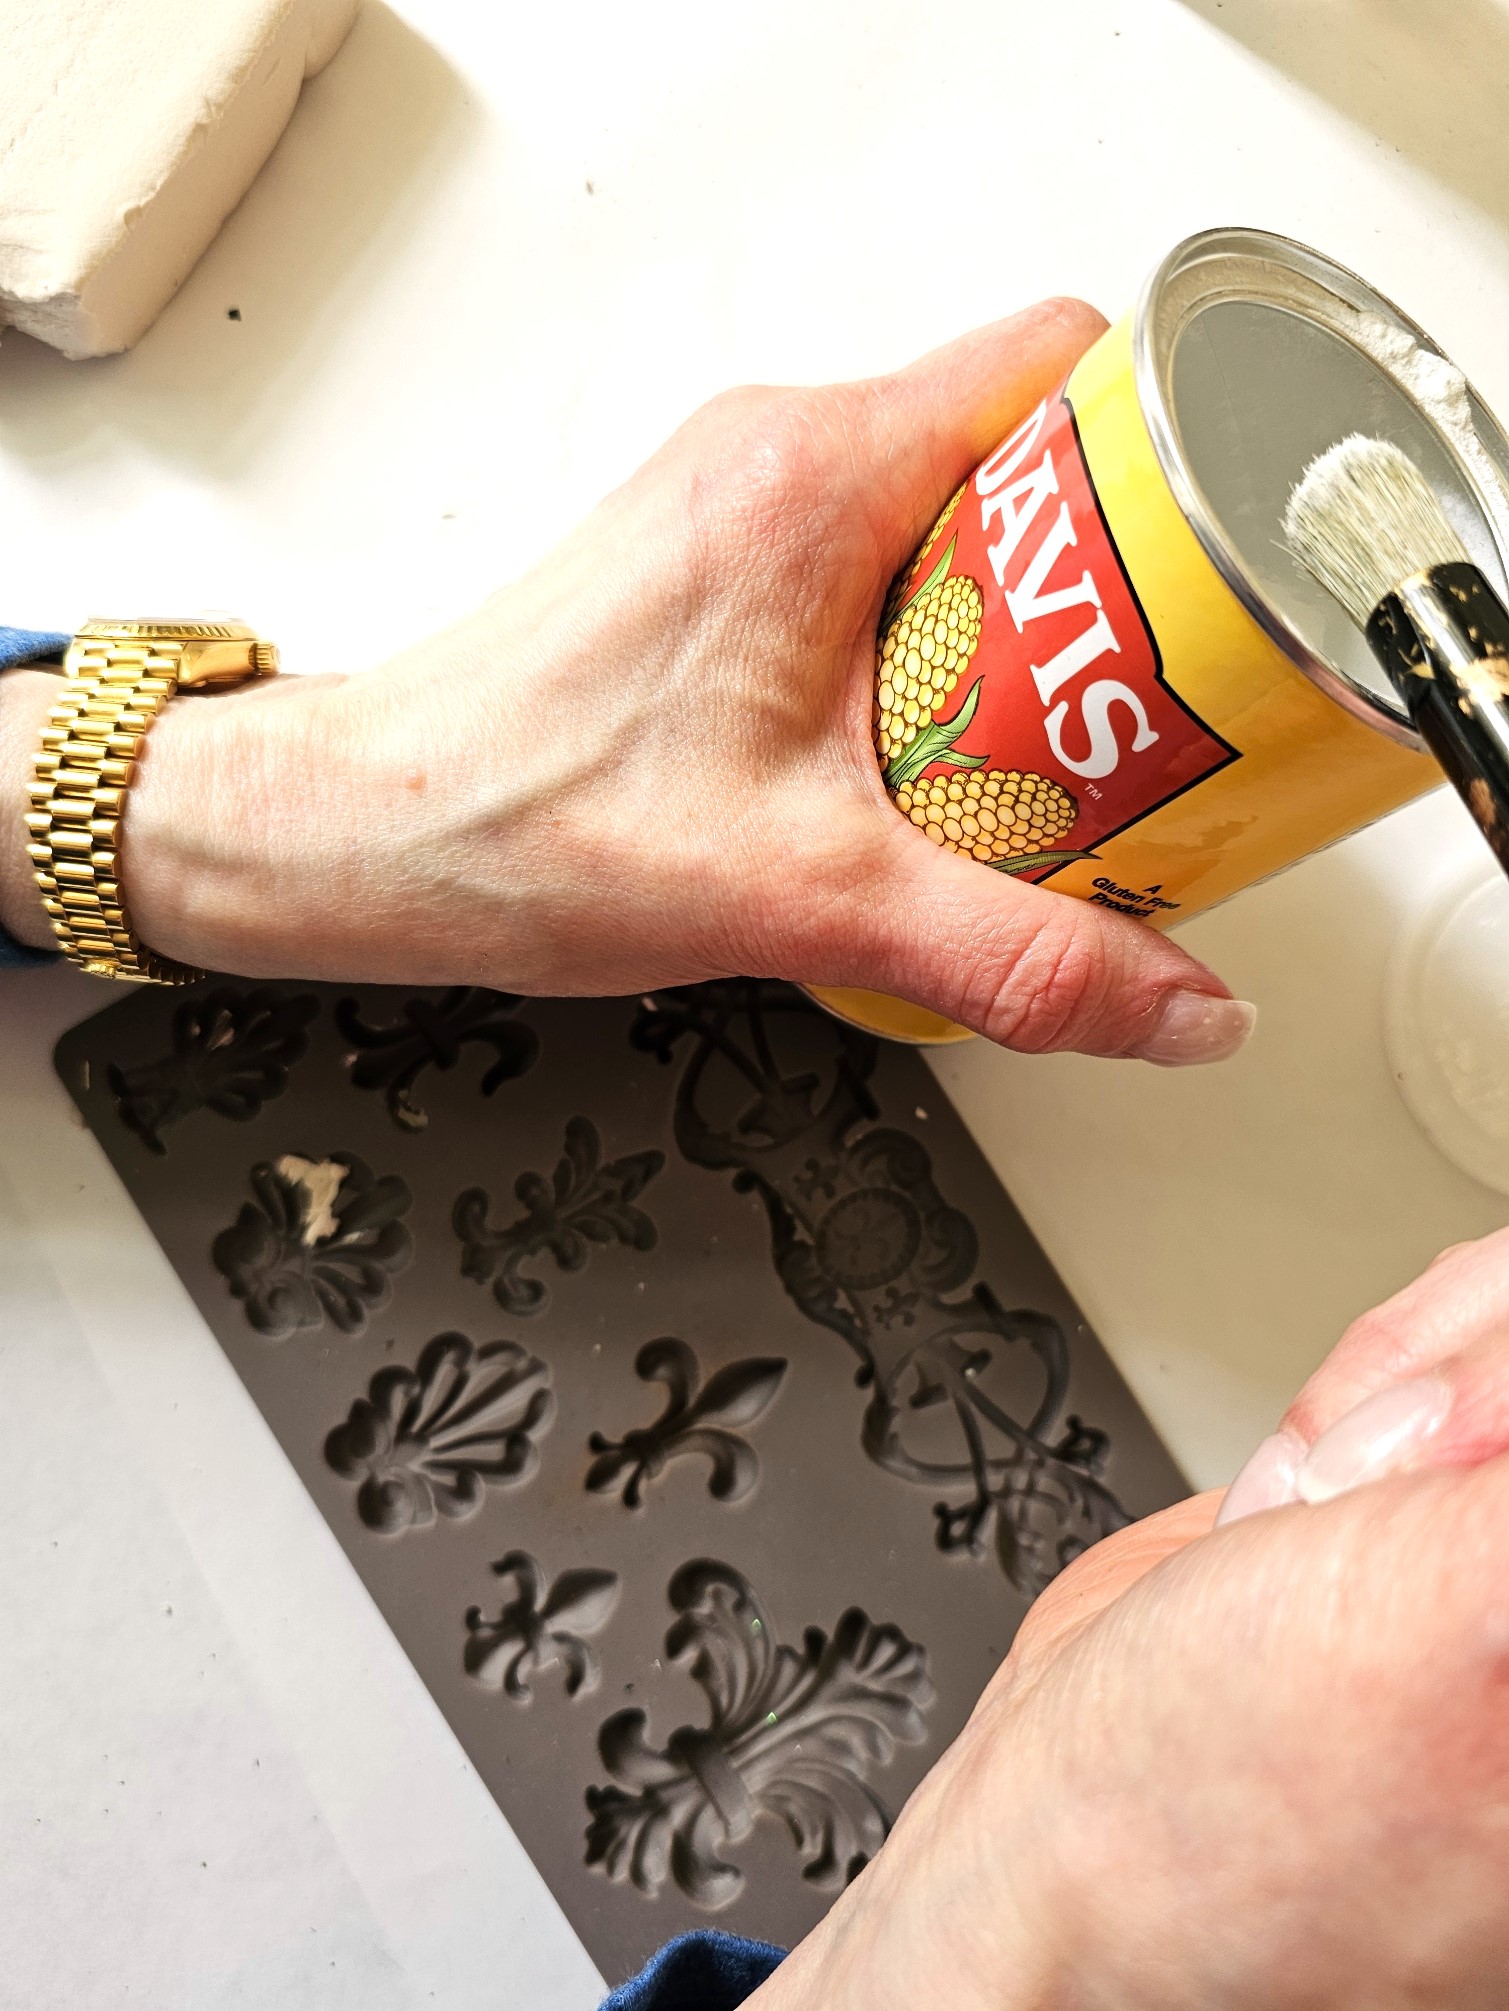
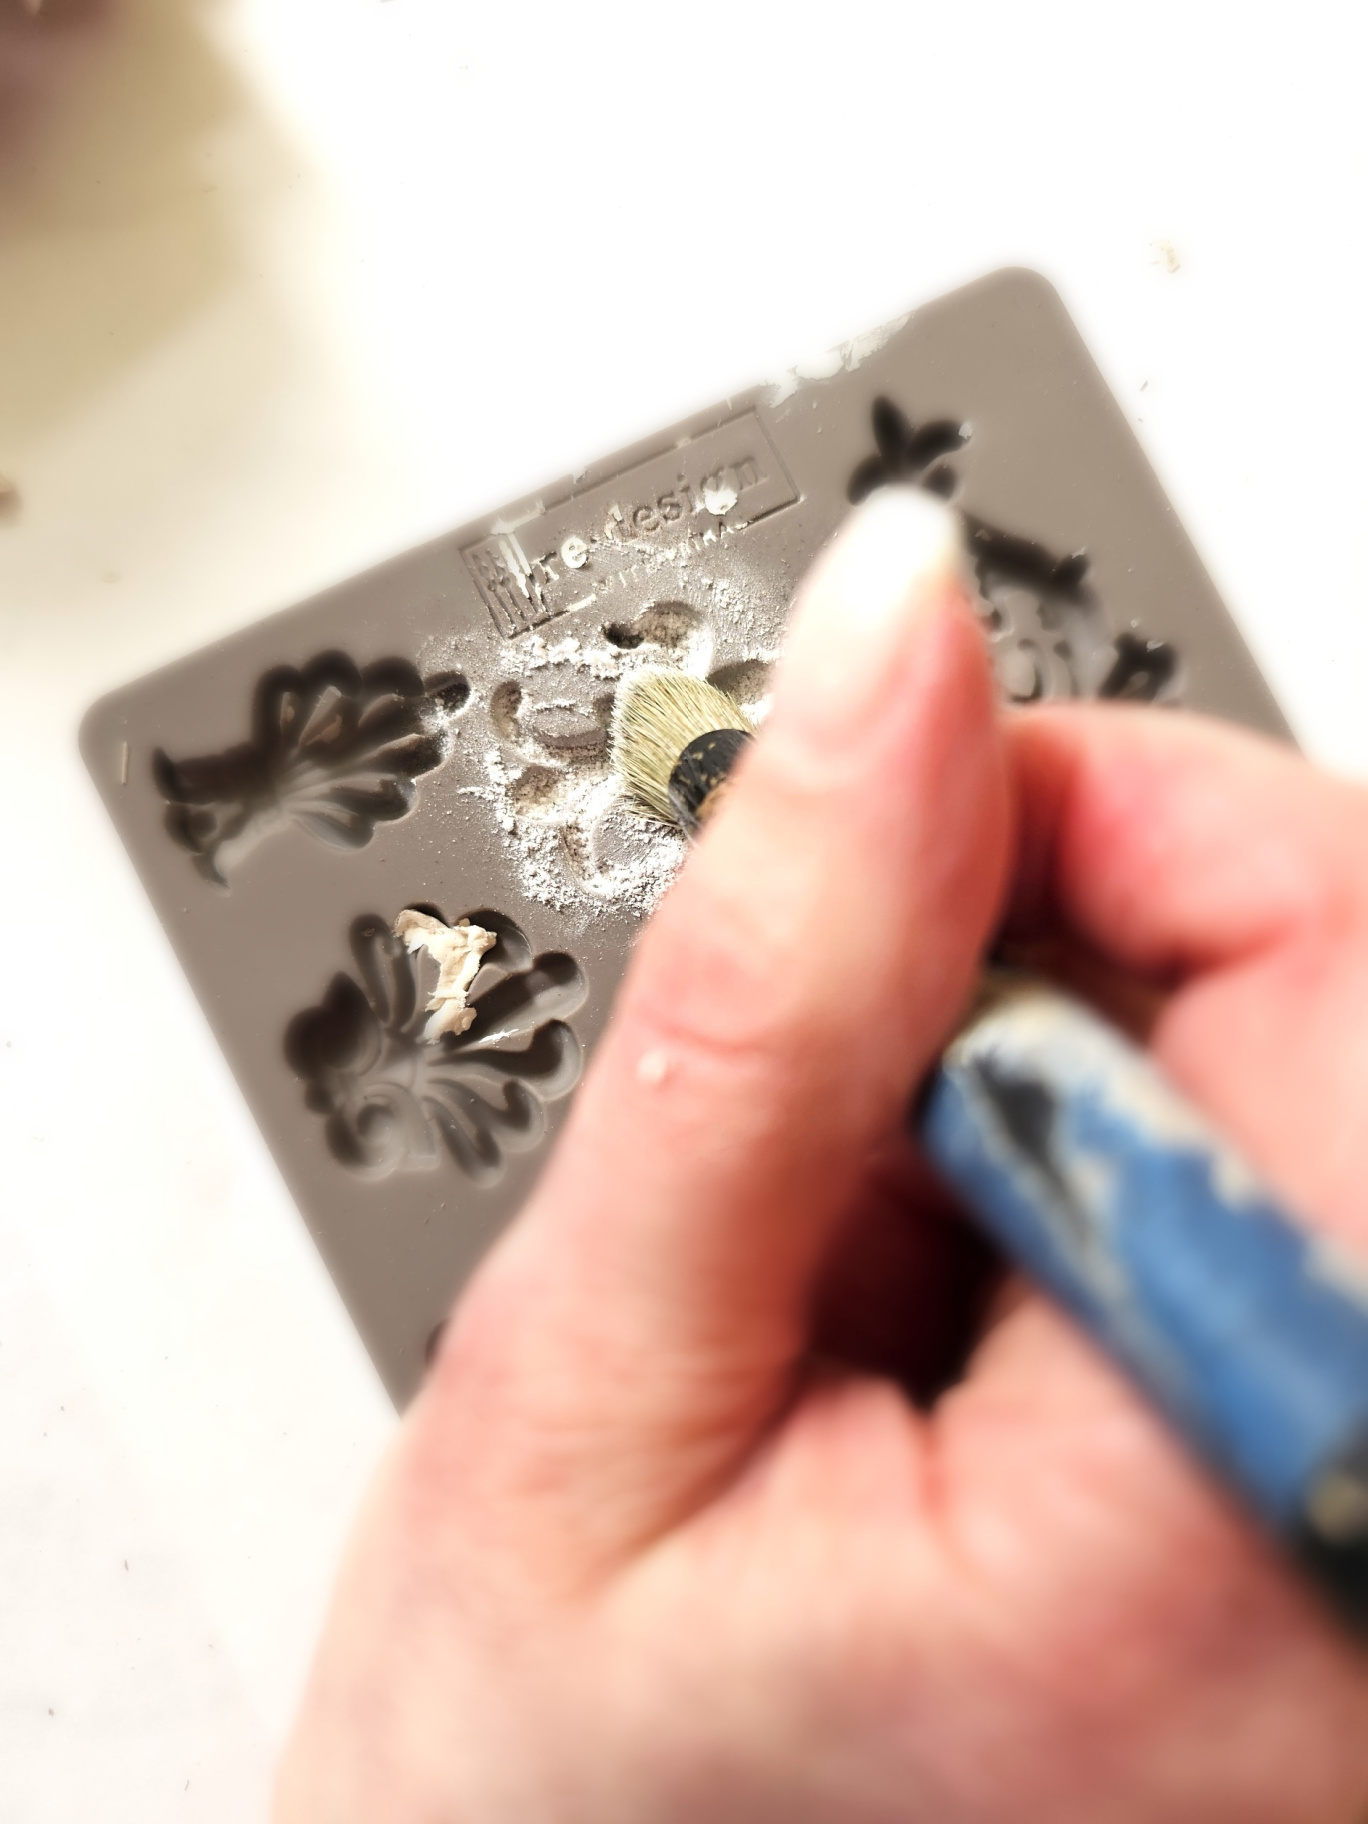
Step 1: Add Cornstarch to Clay Molds
ÂHave you ever tried your hand at working with IOD molds? Honestly, the first thing I worried about was it being difficult. As I have mentioned, I have MS, and my motor skills aren’t the best. So I wasn’t sure it would work but guess what, it did! I will share step-by-step instructions with you and if I can do it, I know you can too!
I found my mold on Amazon. Unfortunately, it’s out of stock. Have no fear, I found it on it for you!Â
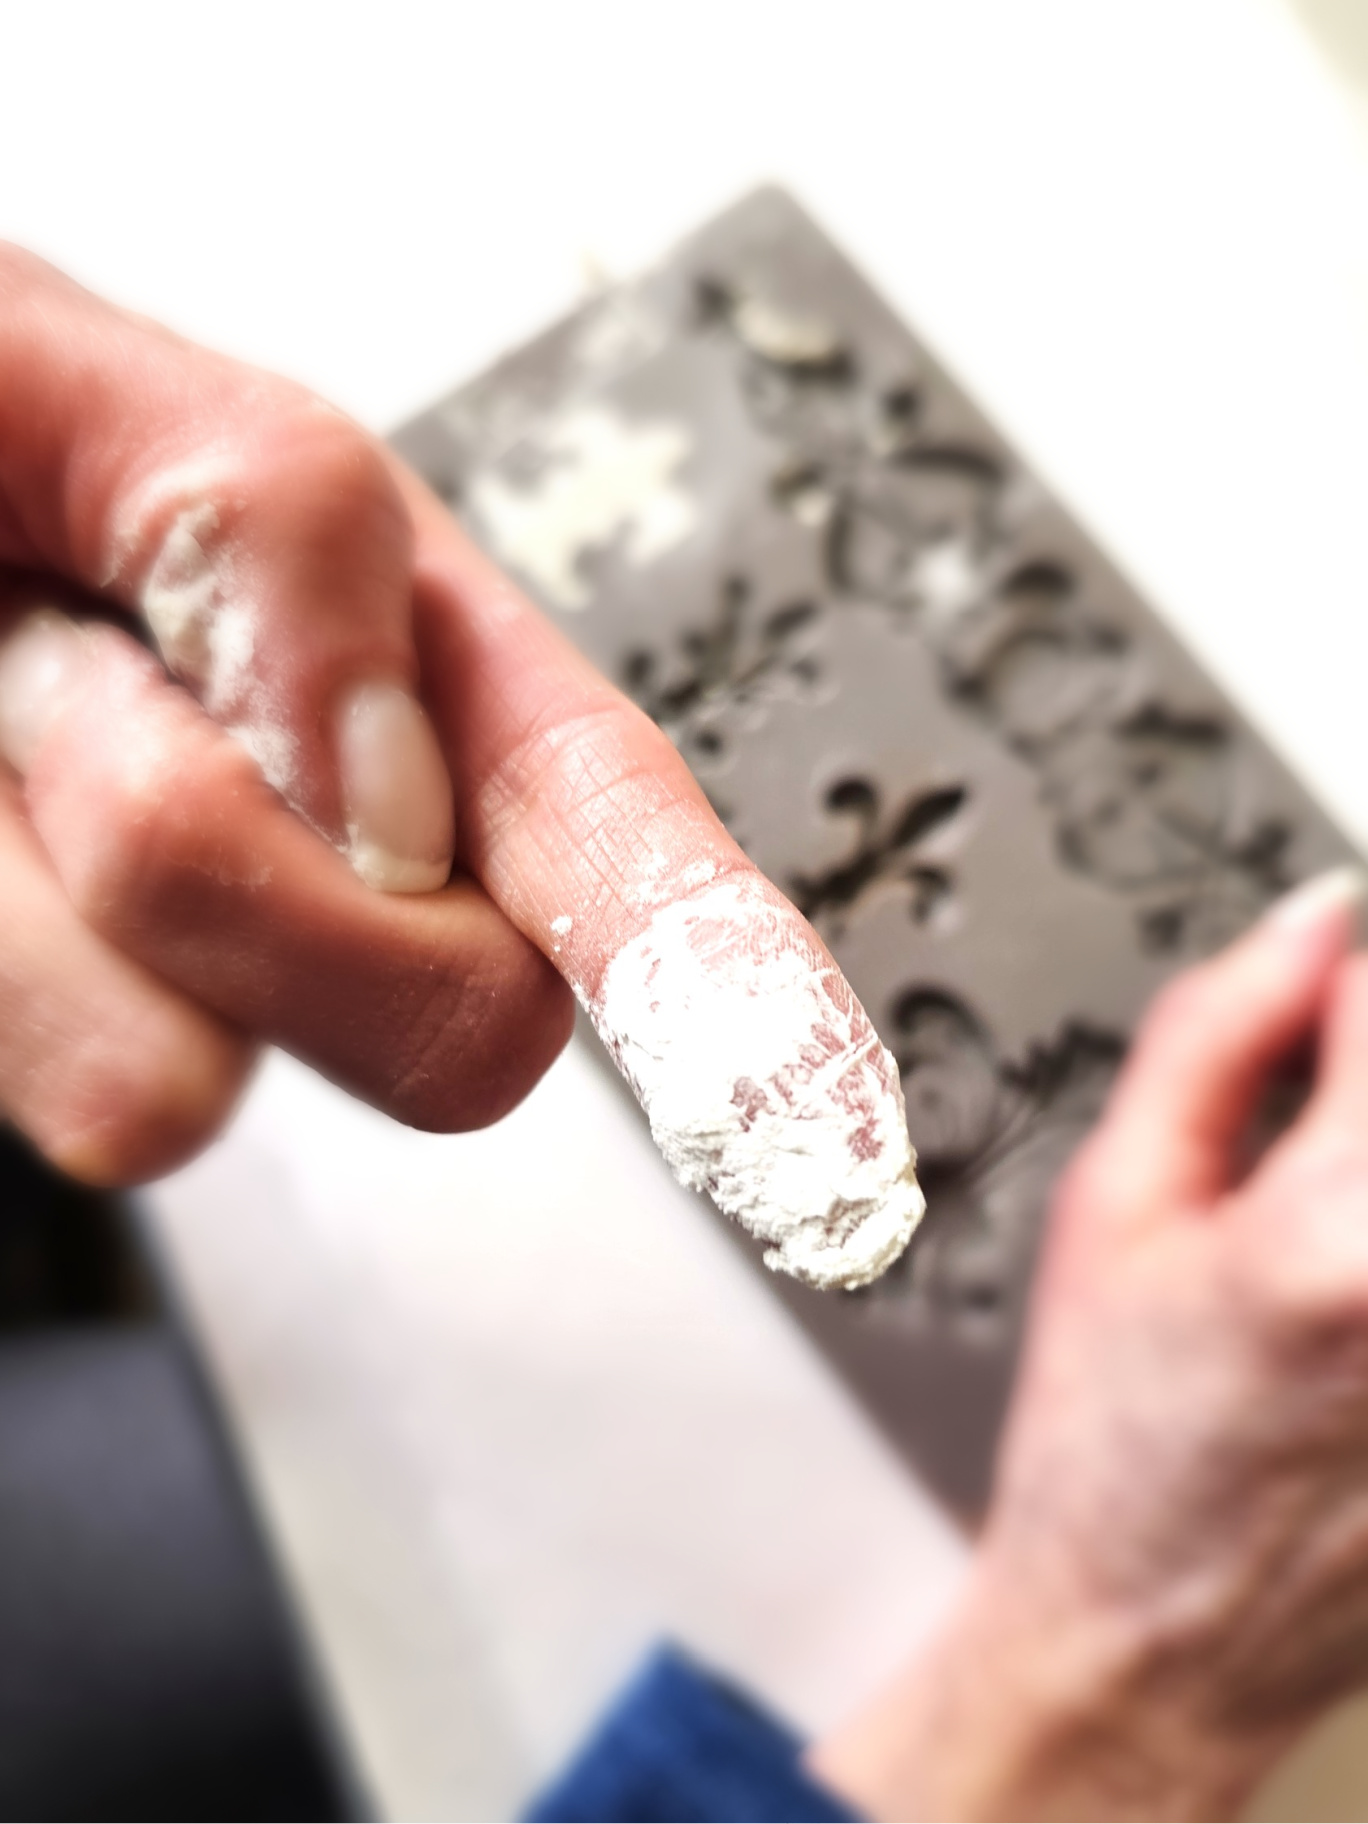
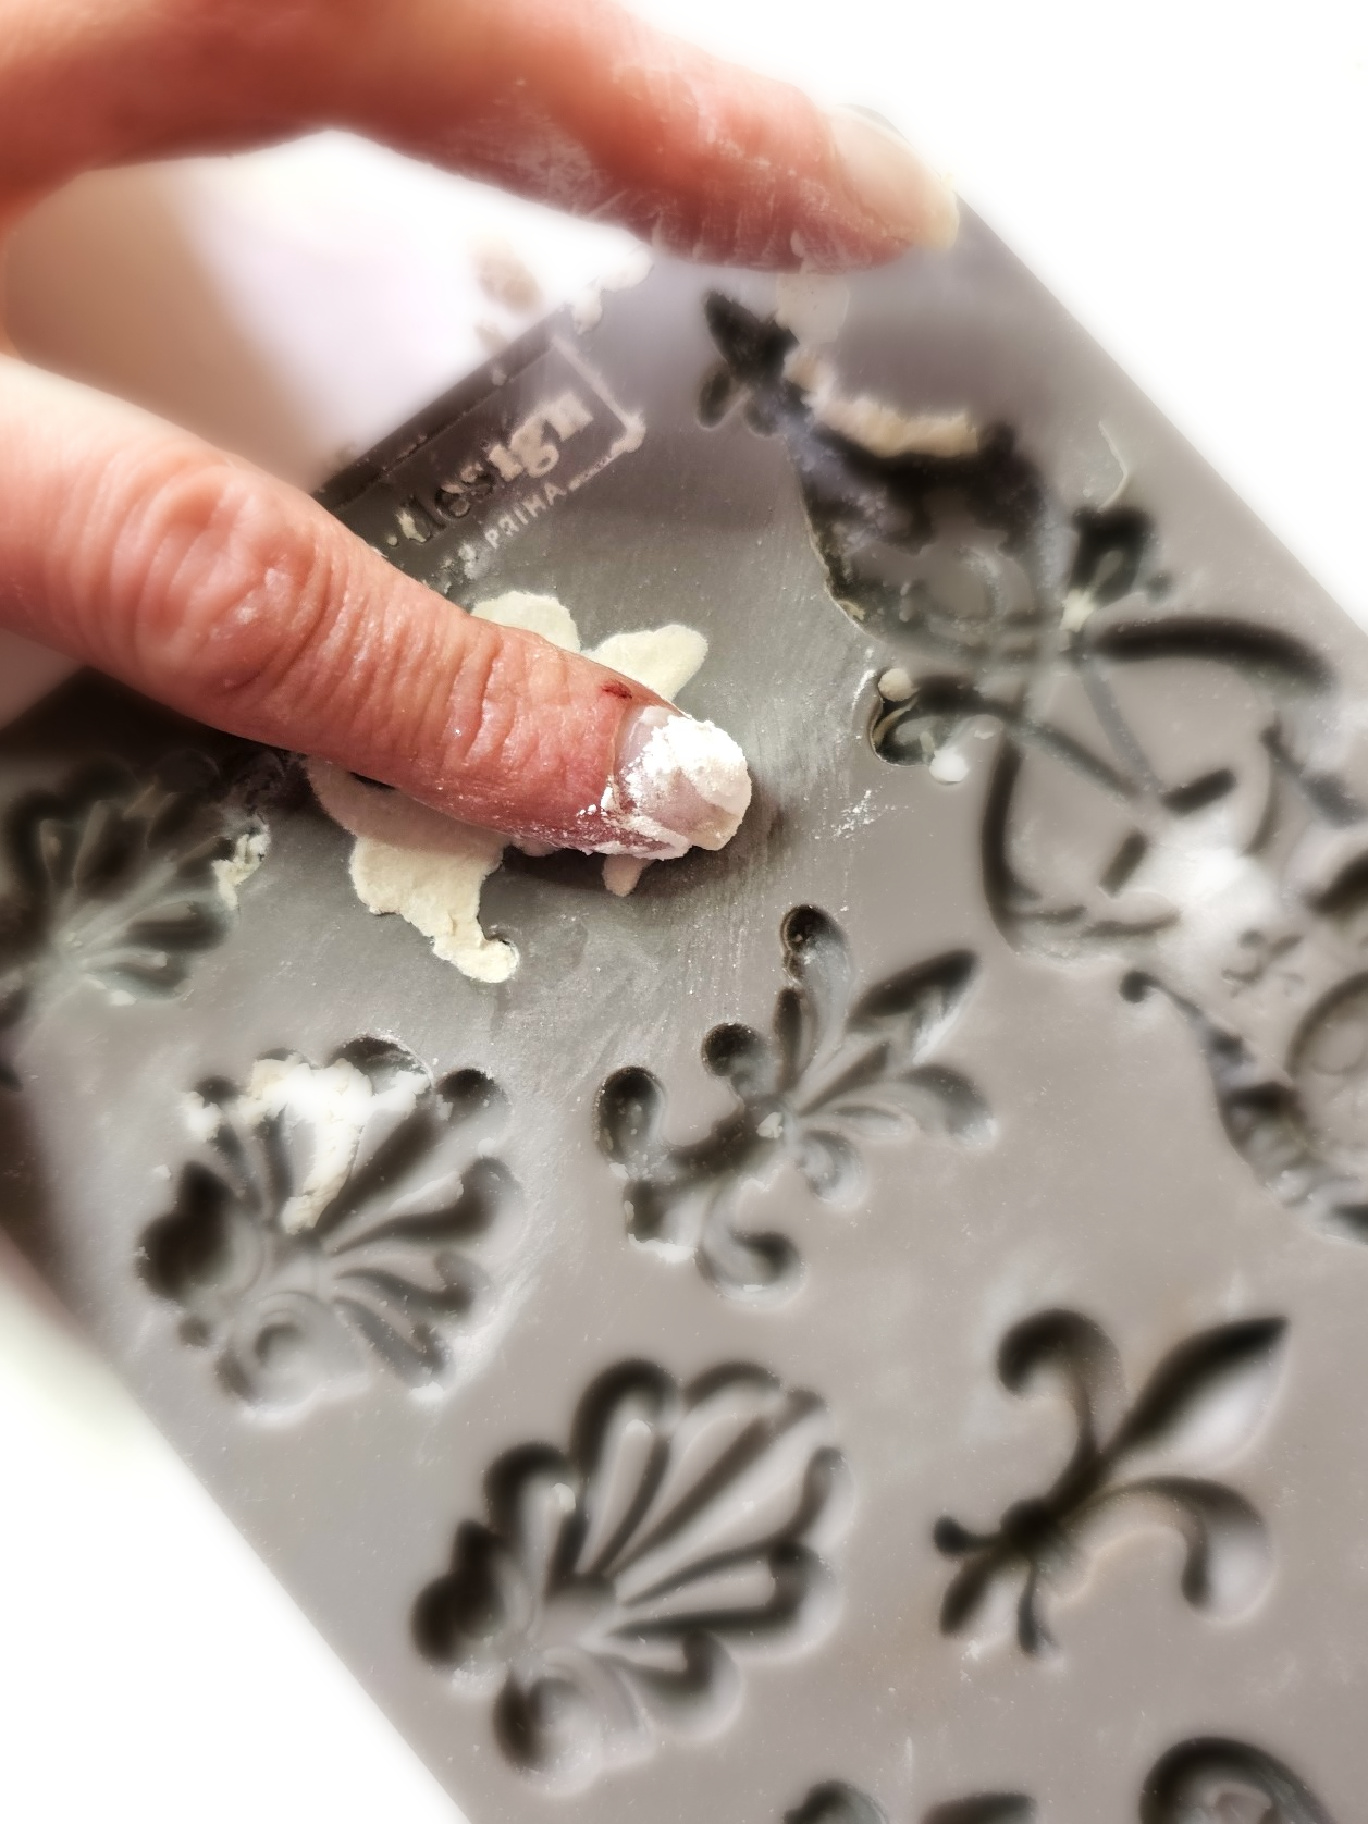
The first thing when using IOD molds is to prepare the mold. Add a dusting of cornstarch using a small brush or stencil brush. This allows the paper clay to come out of the silicone mold easily. Next, shake the excess cornstarch from the clay mold.
 Â
Â
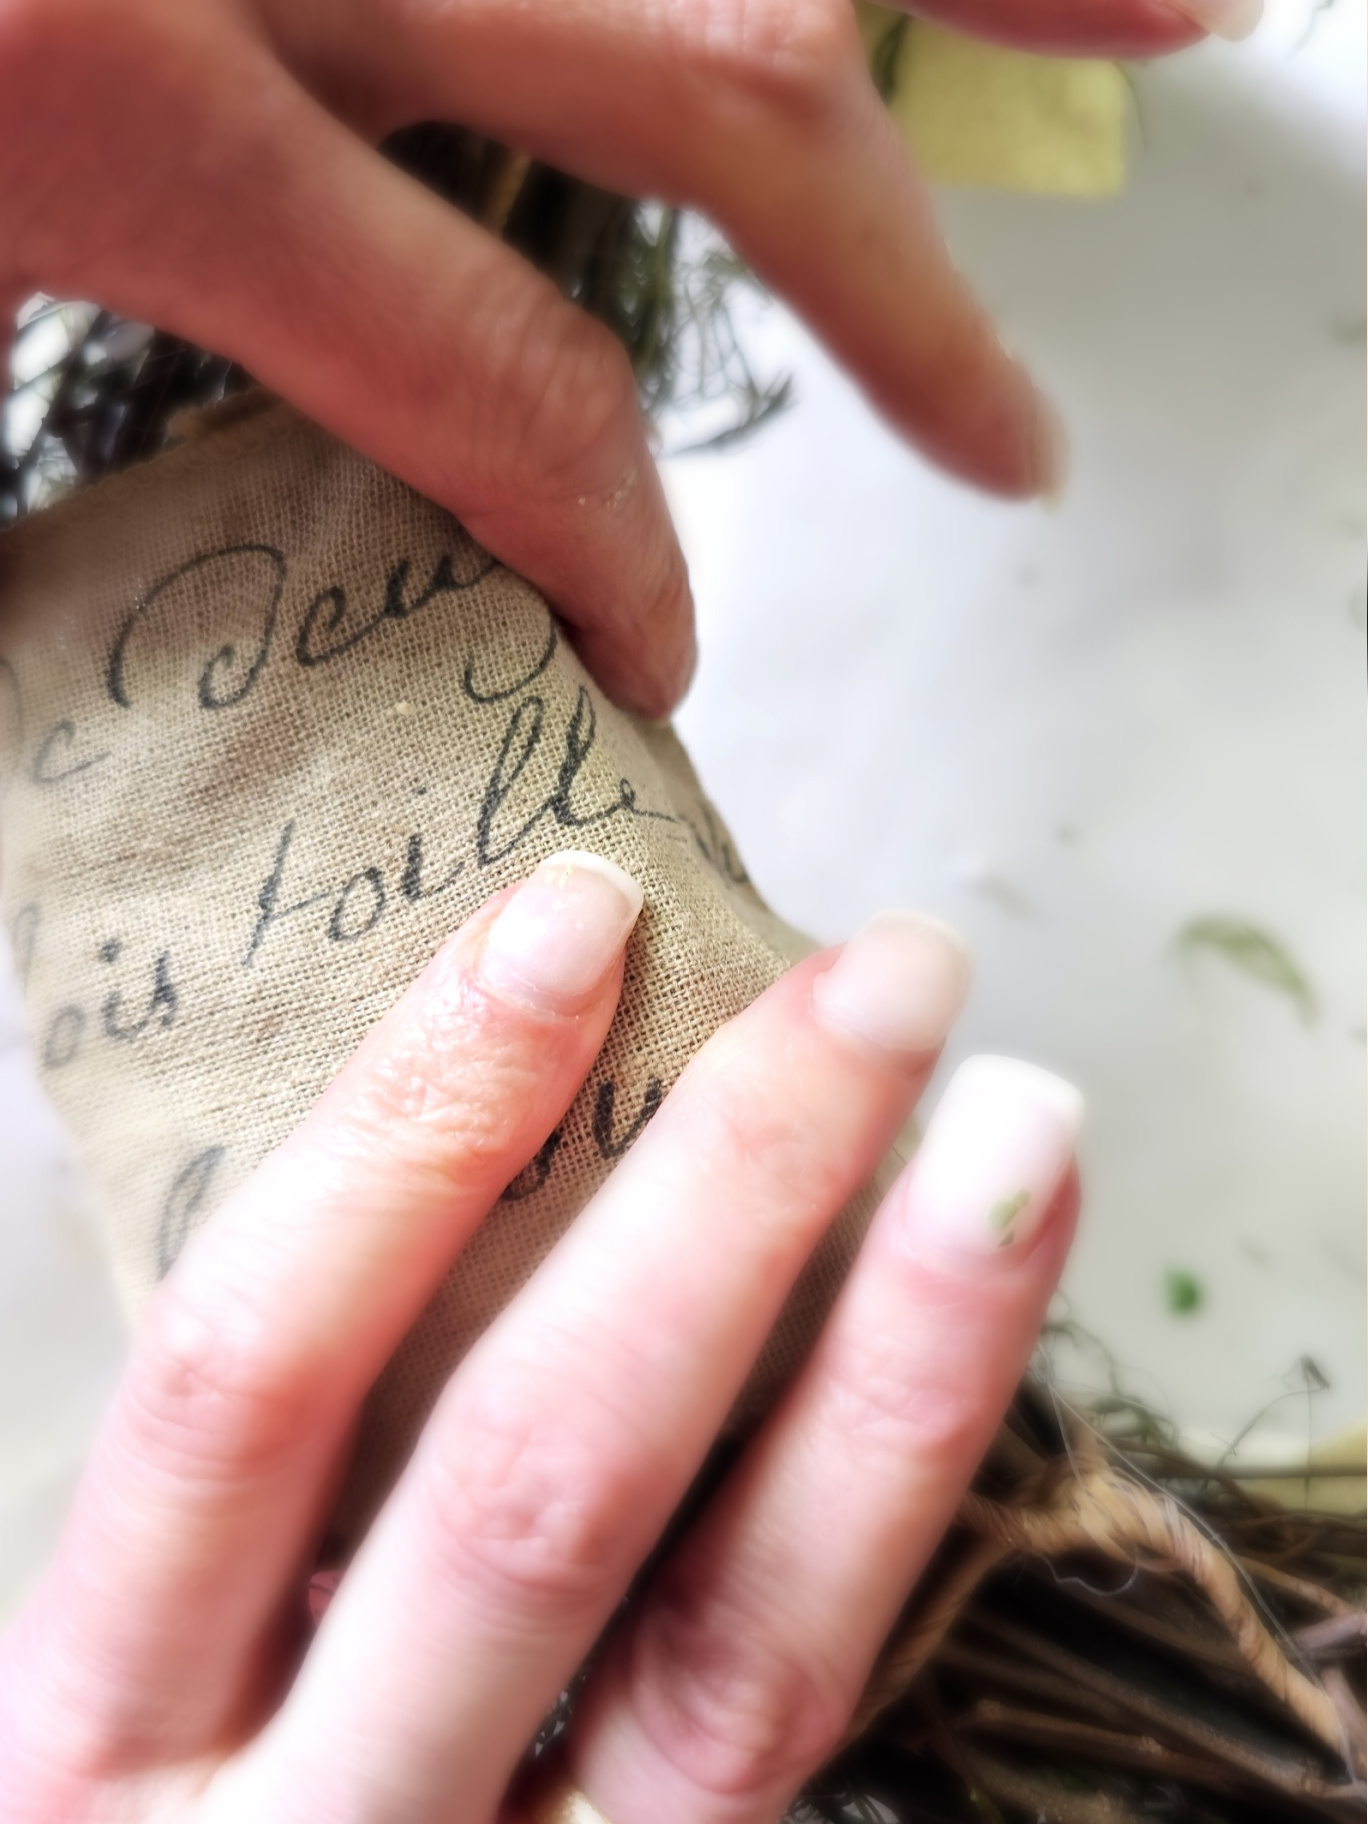
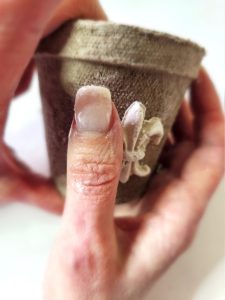
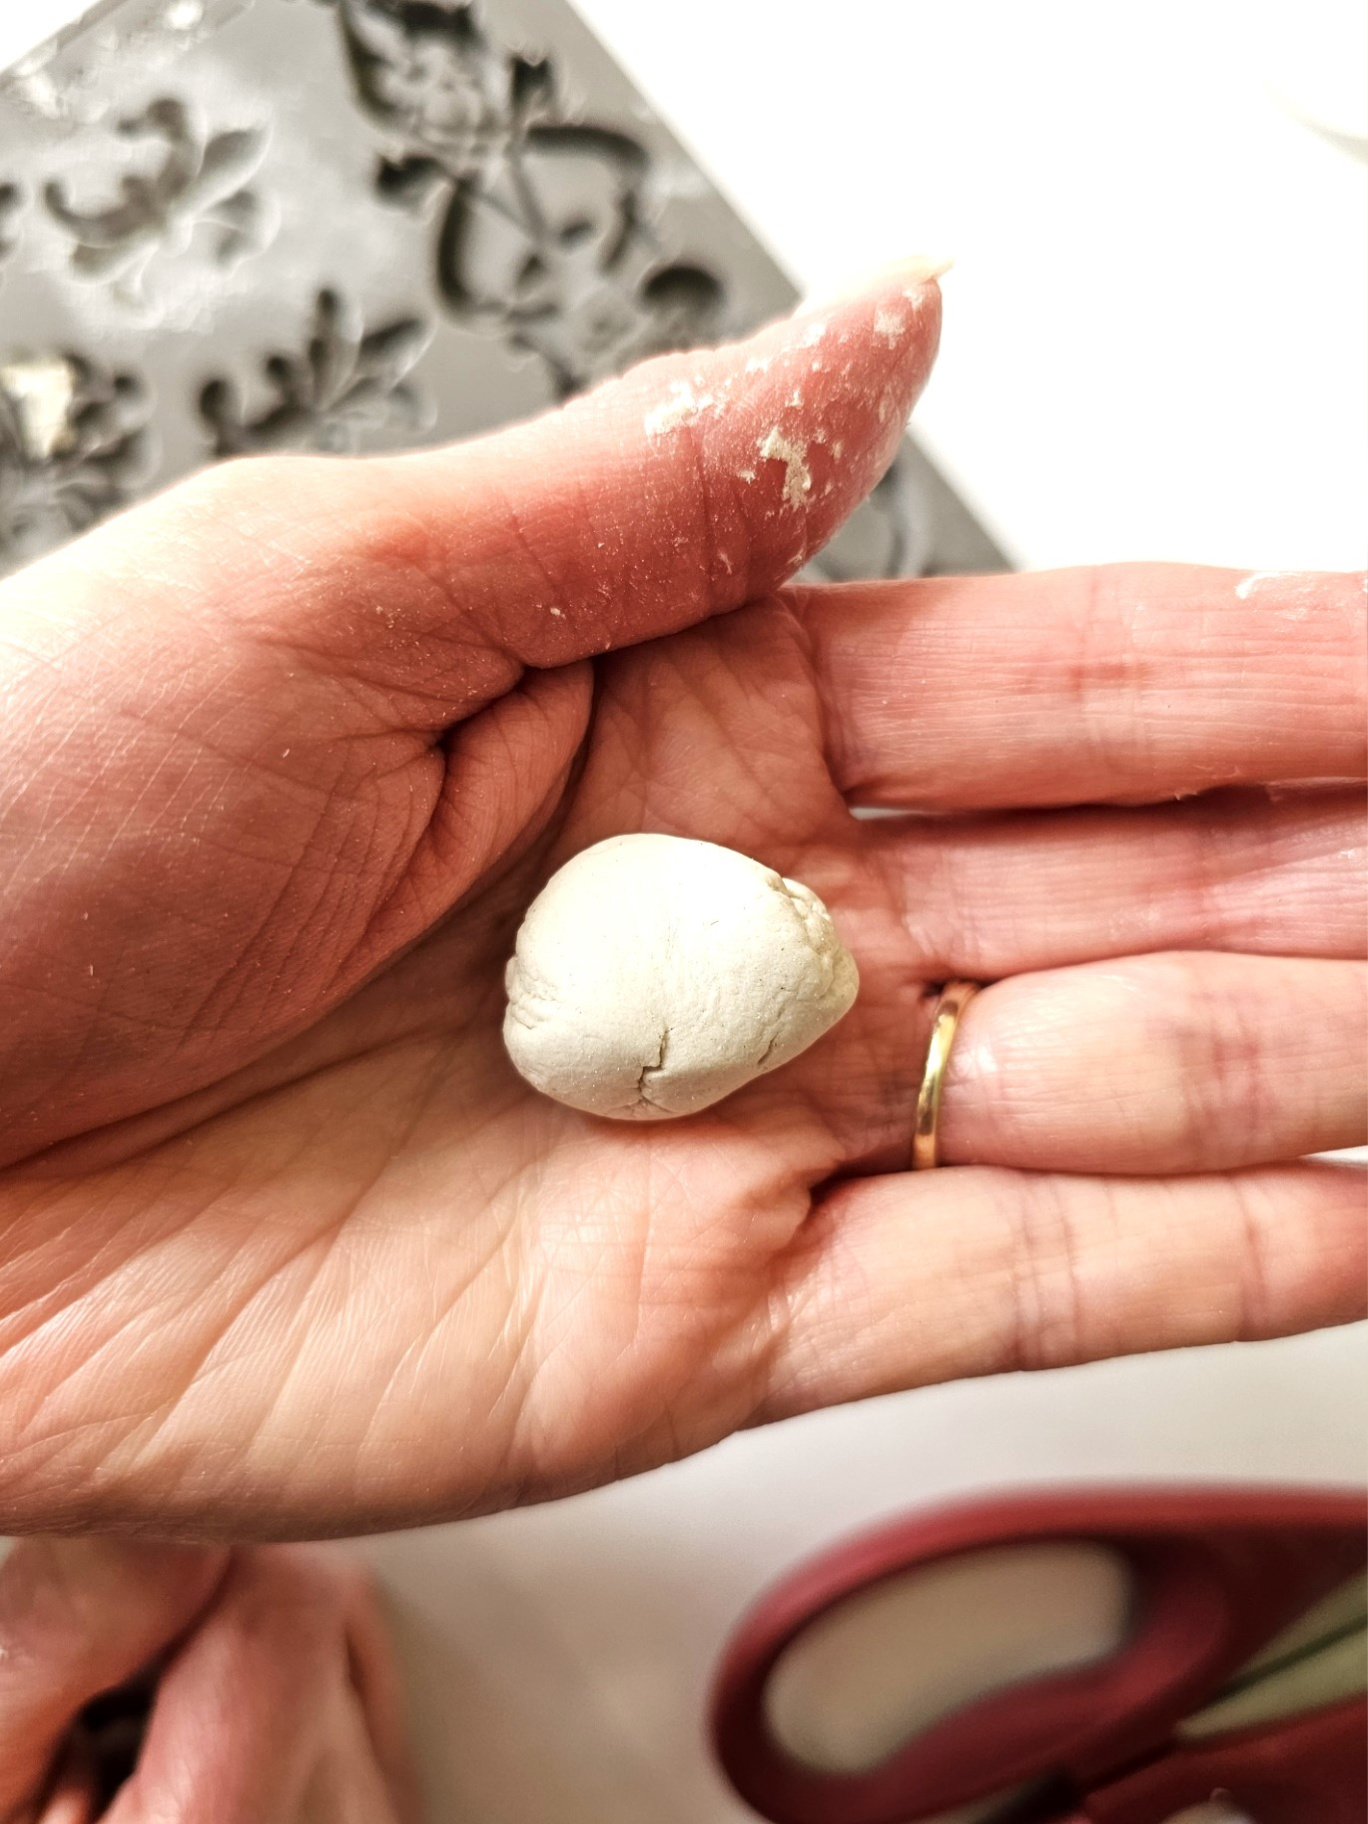
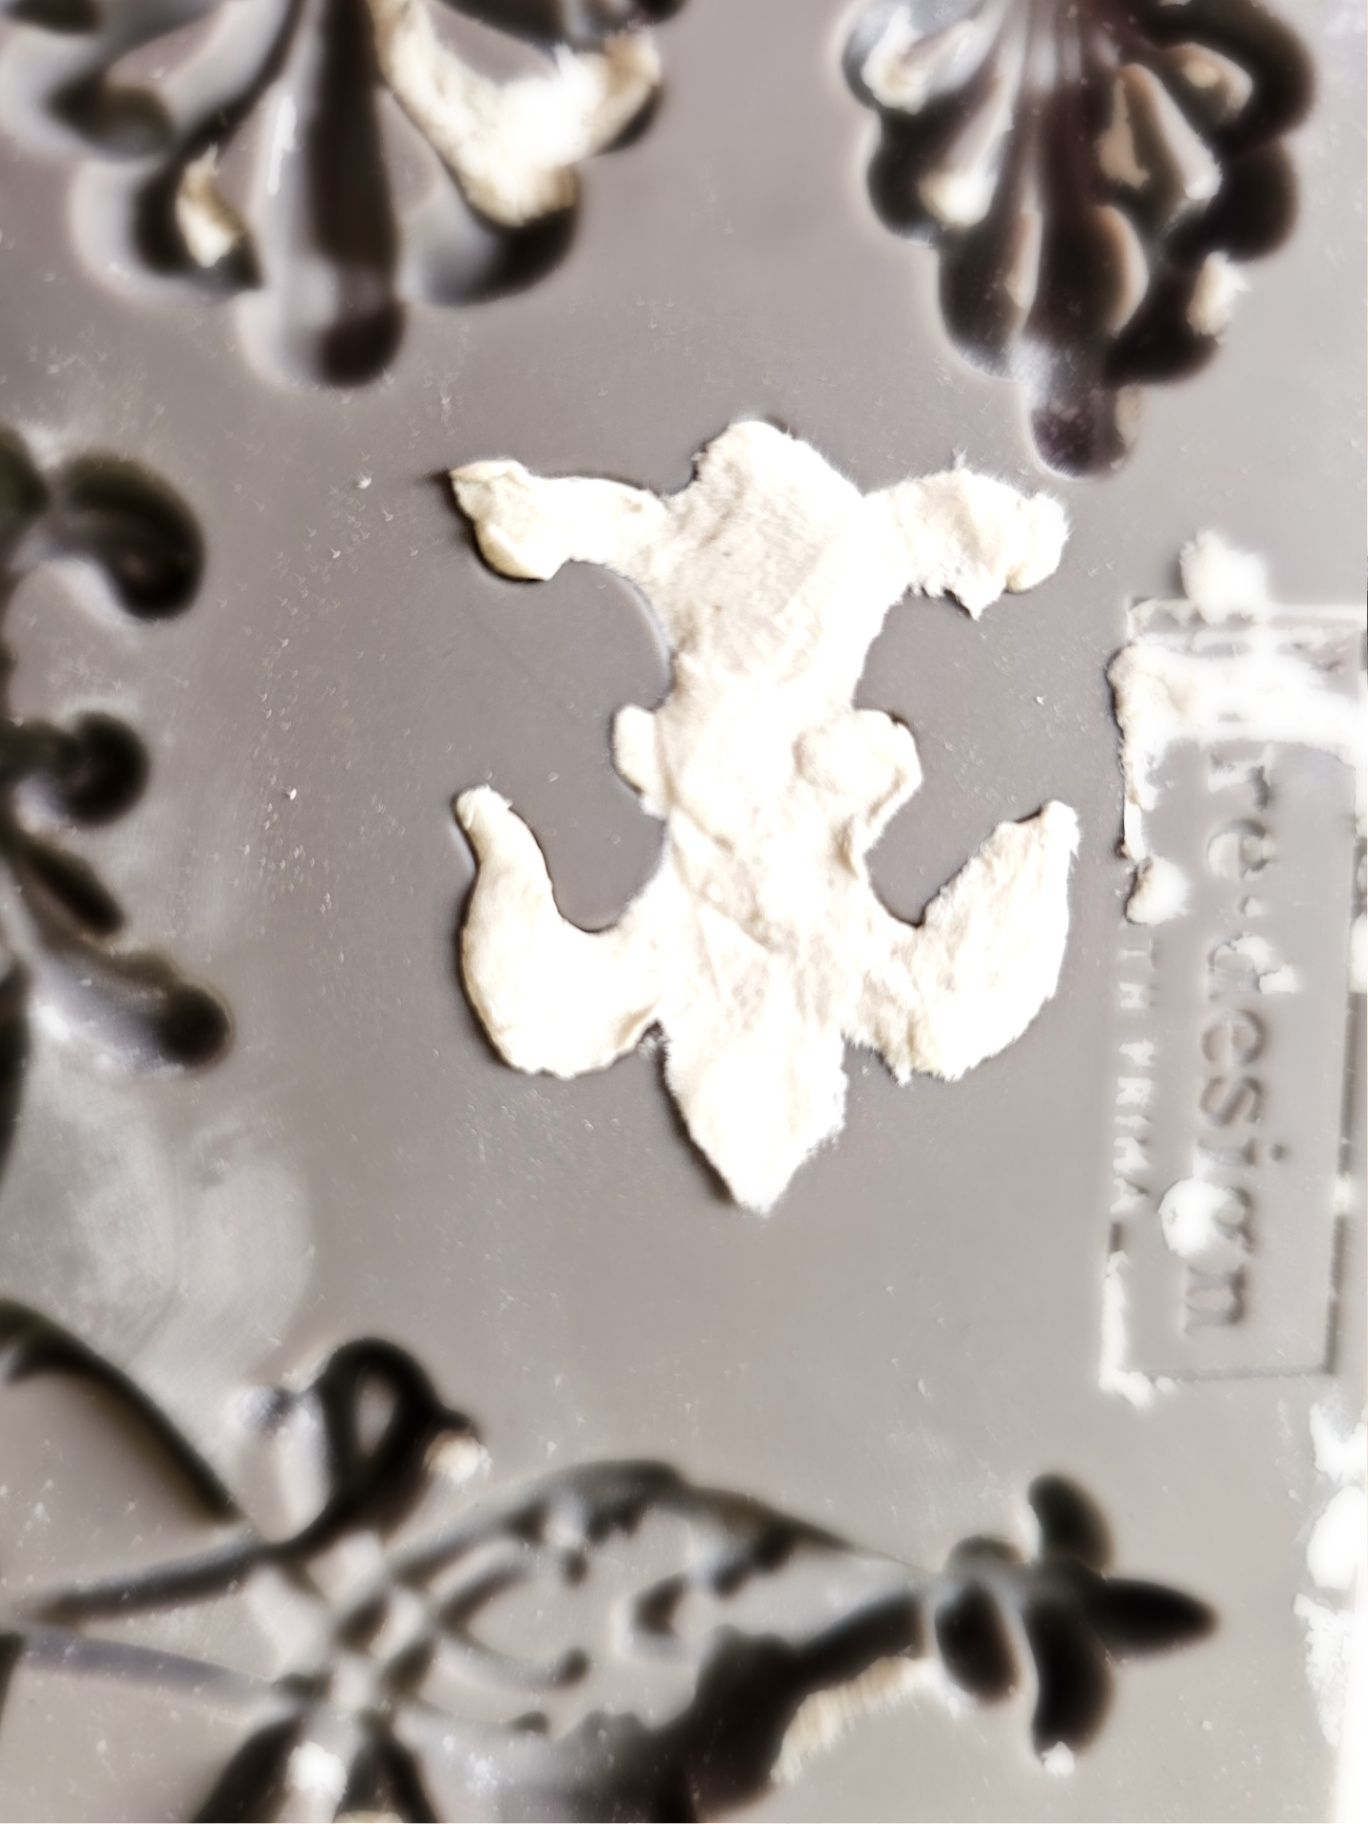
Step 2: Master Paper Clay Molds
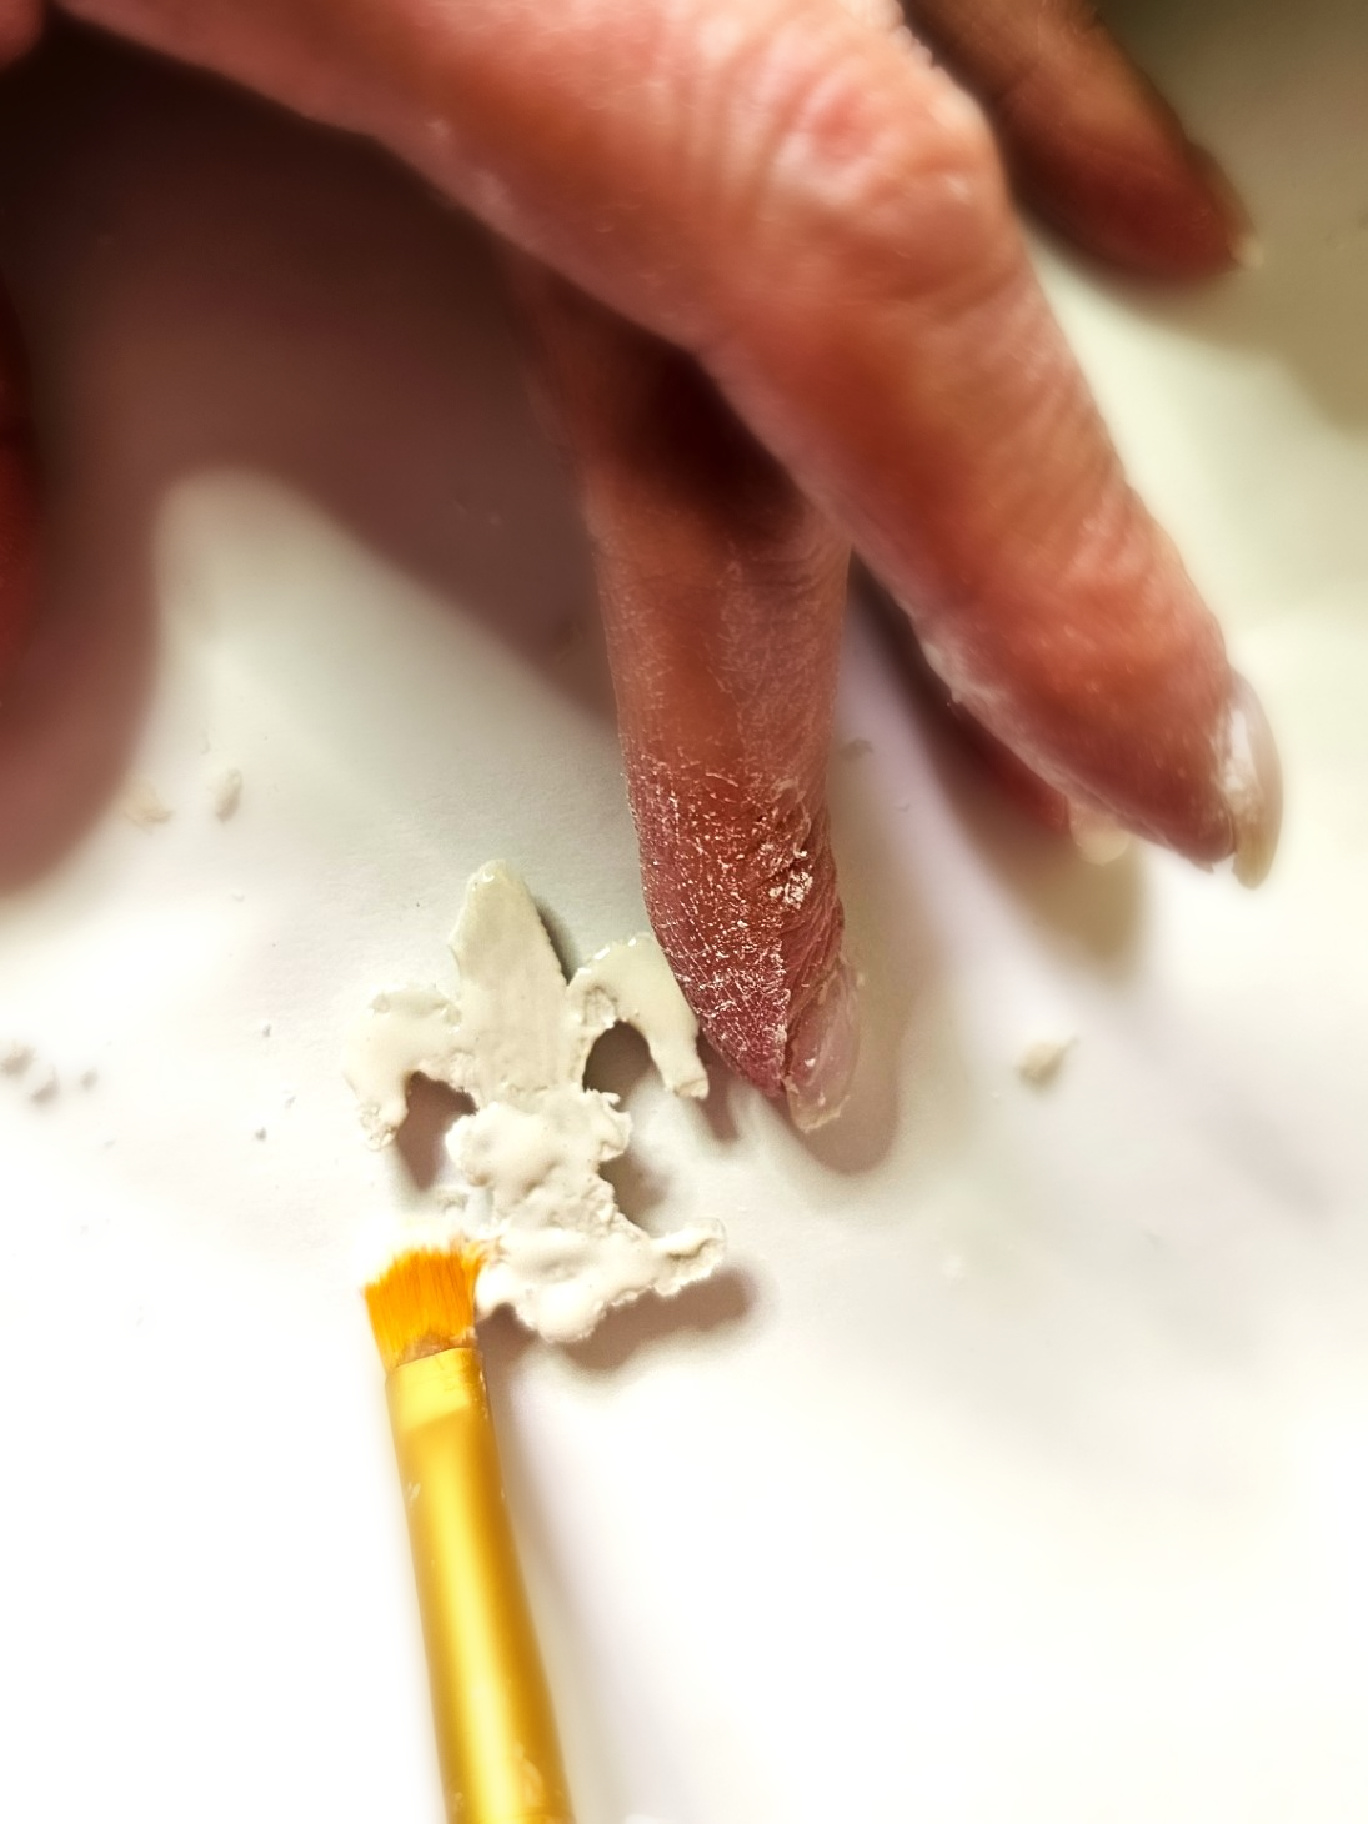
ÂTake a small piece of the clay and roll it between your hands. Add it to the silicone mold and use your hand to get the clay as flush to the mold as possible. This is the perfect time to share a tip for smooth paper clay.
Pro Tip: Dip your finger into the cornstarch. Rub lightly across the top of the clay. Once it’s smooth be sure to stop, this prevents too much clay removal. It’s a better way to get a flat surface than a popsicle stick. This works every time. Â
Â
 Â
Â
Â
Â
 Â
Â
 Â
Â
 Â
Â
Â
Â
Â
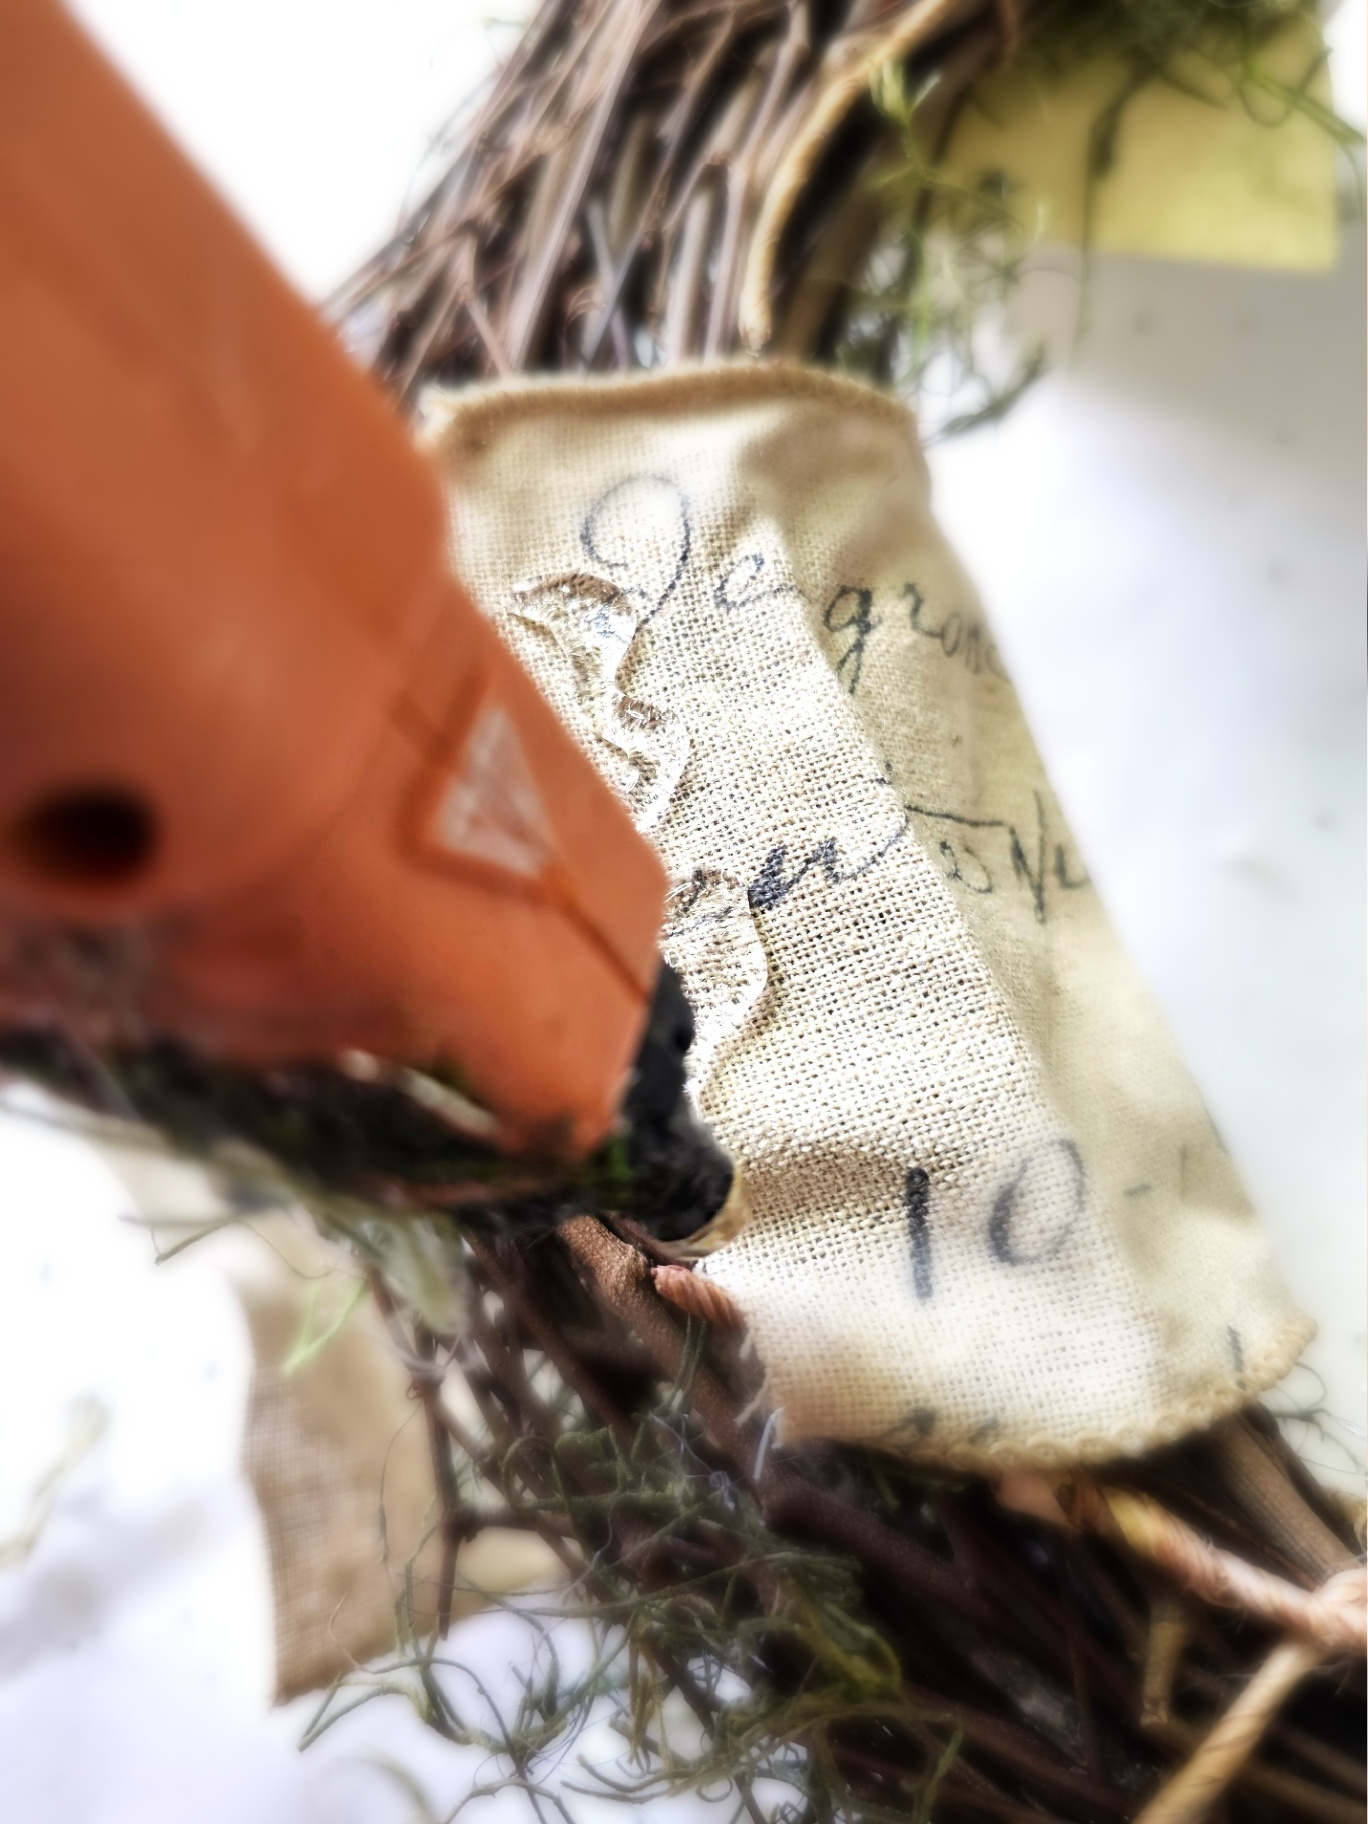
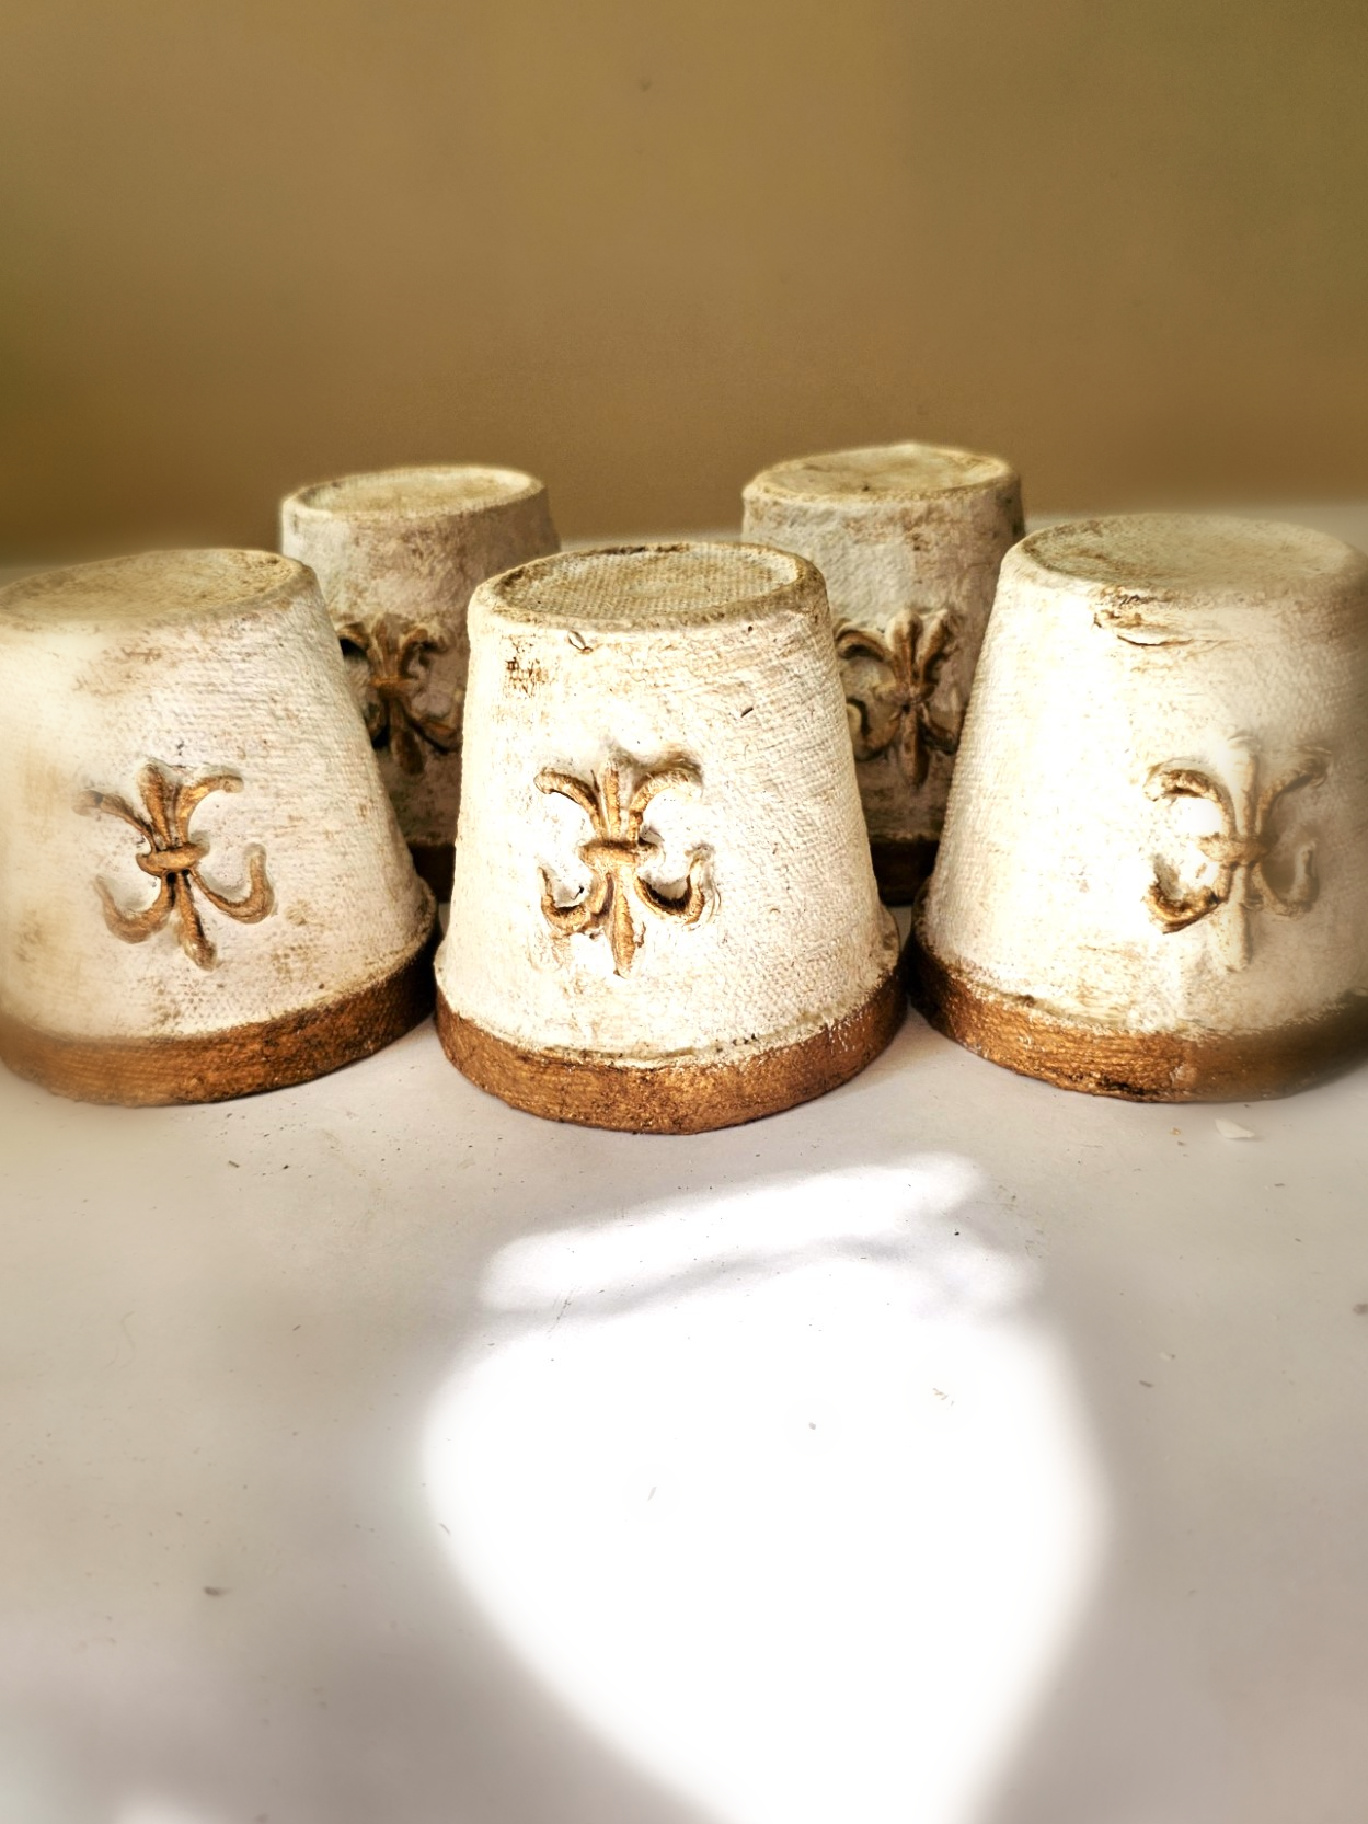
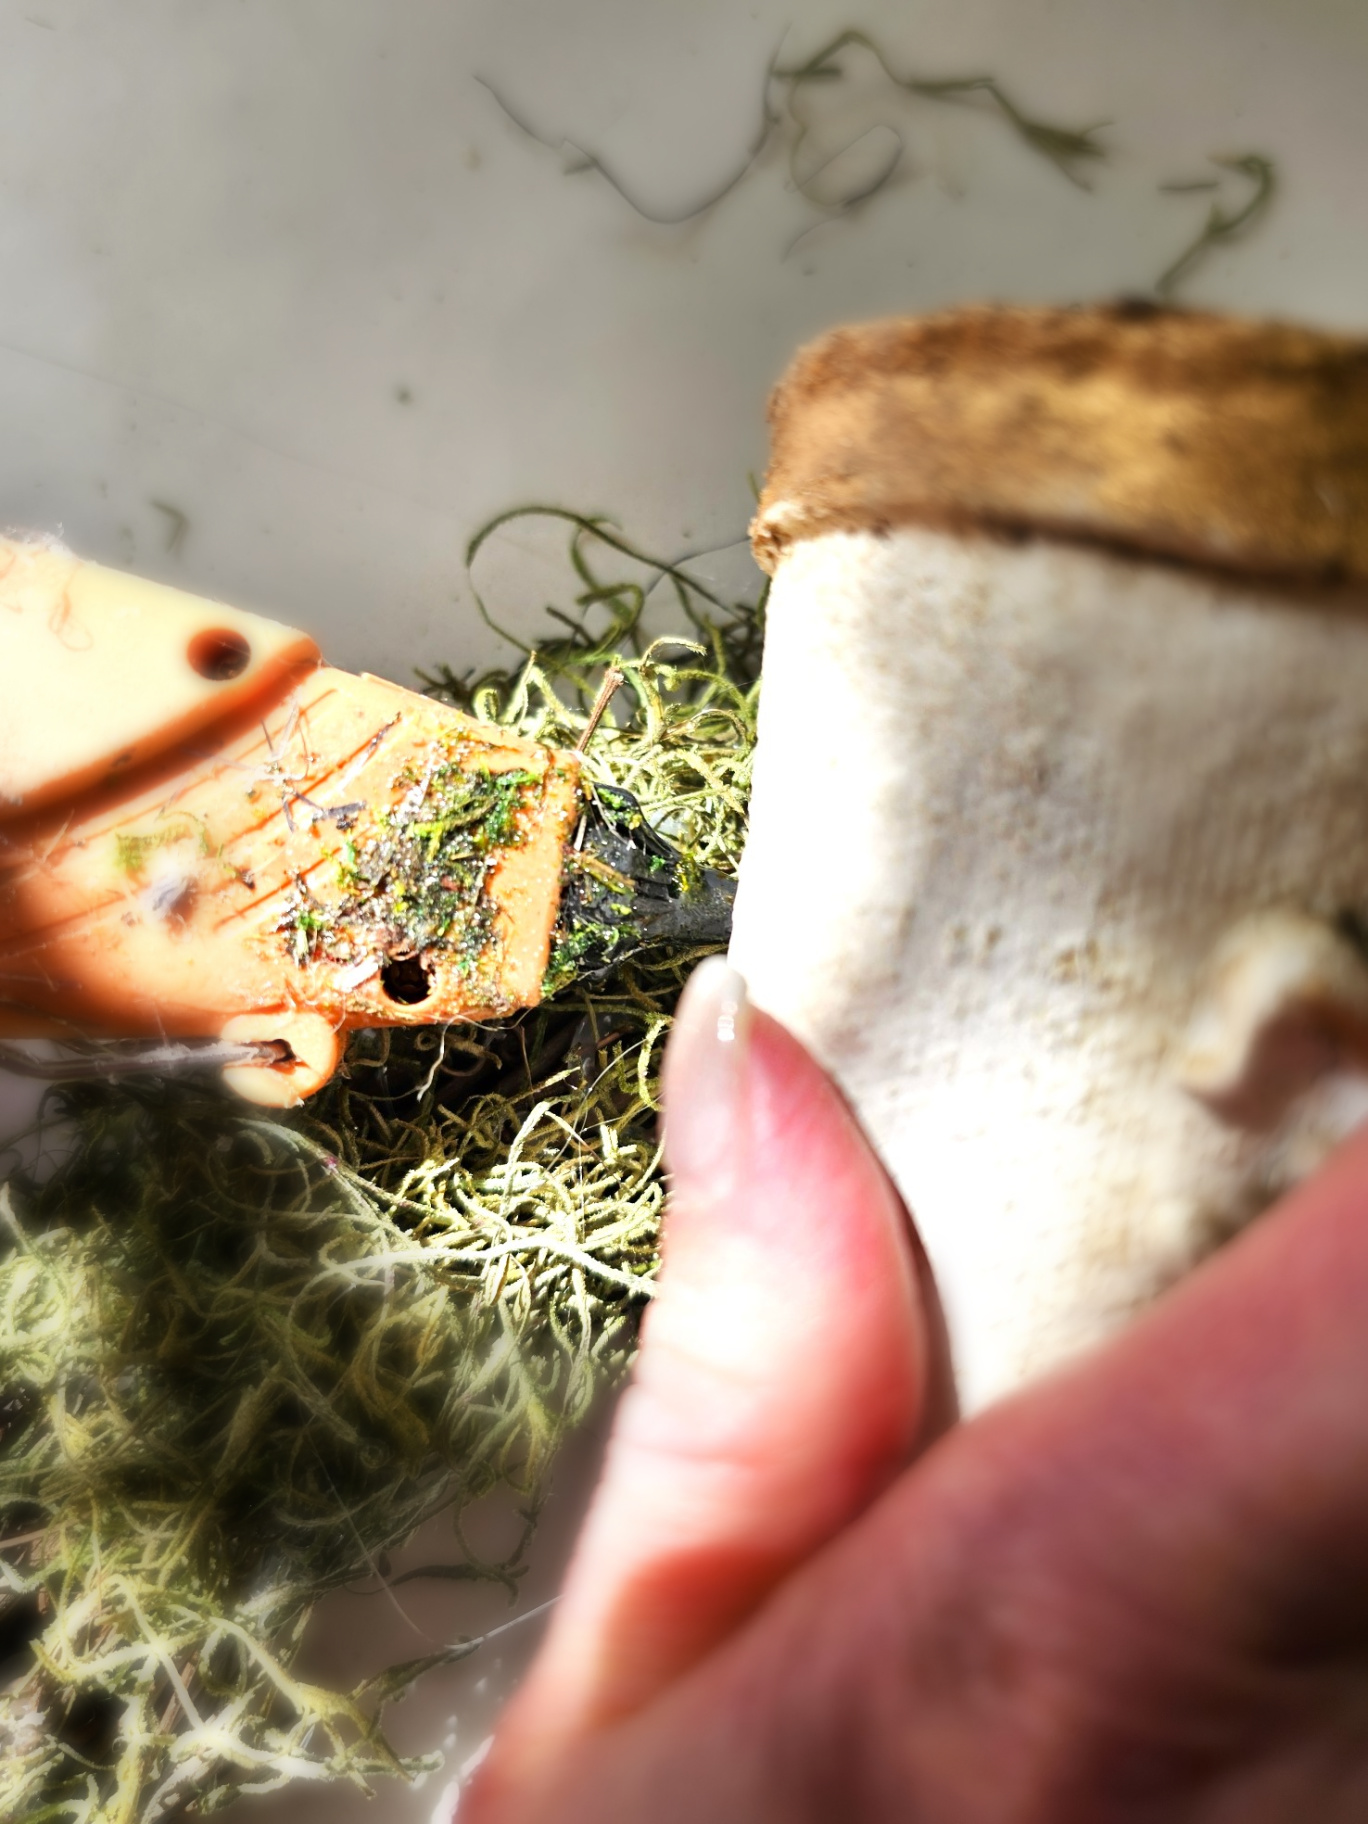
Step 3: Removing the Clay from the Mold
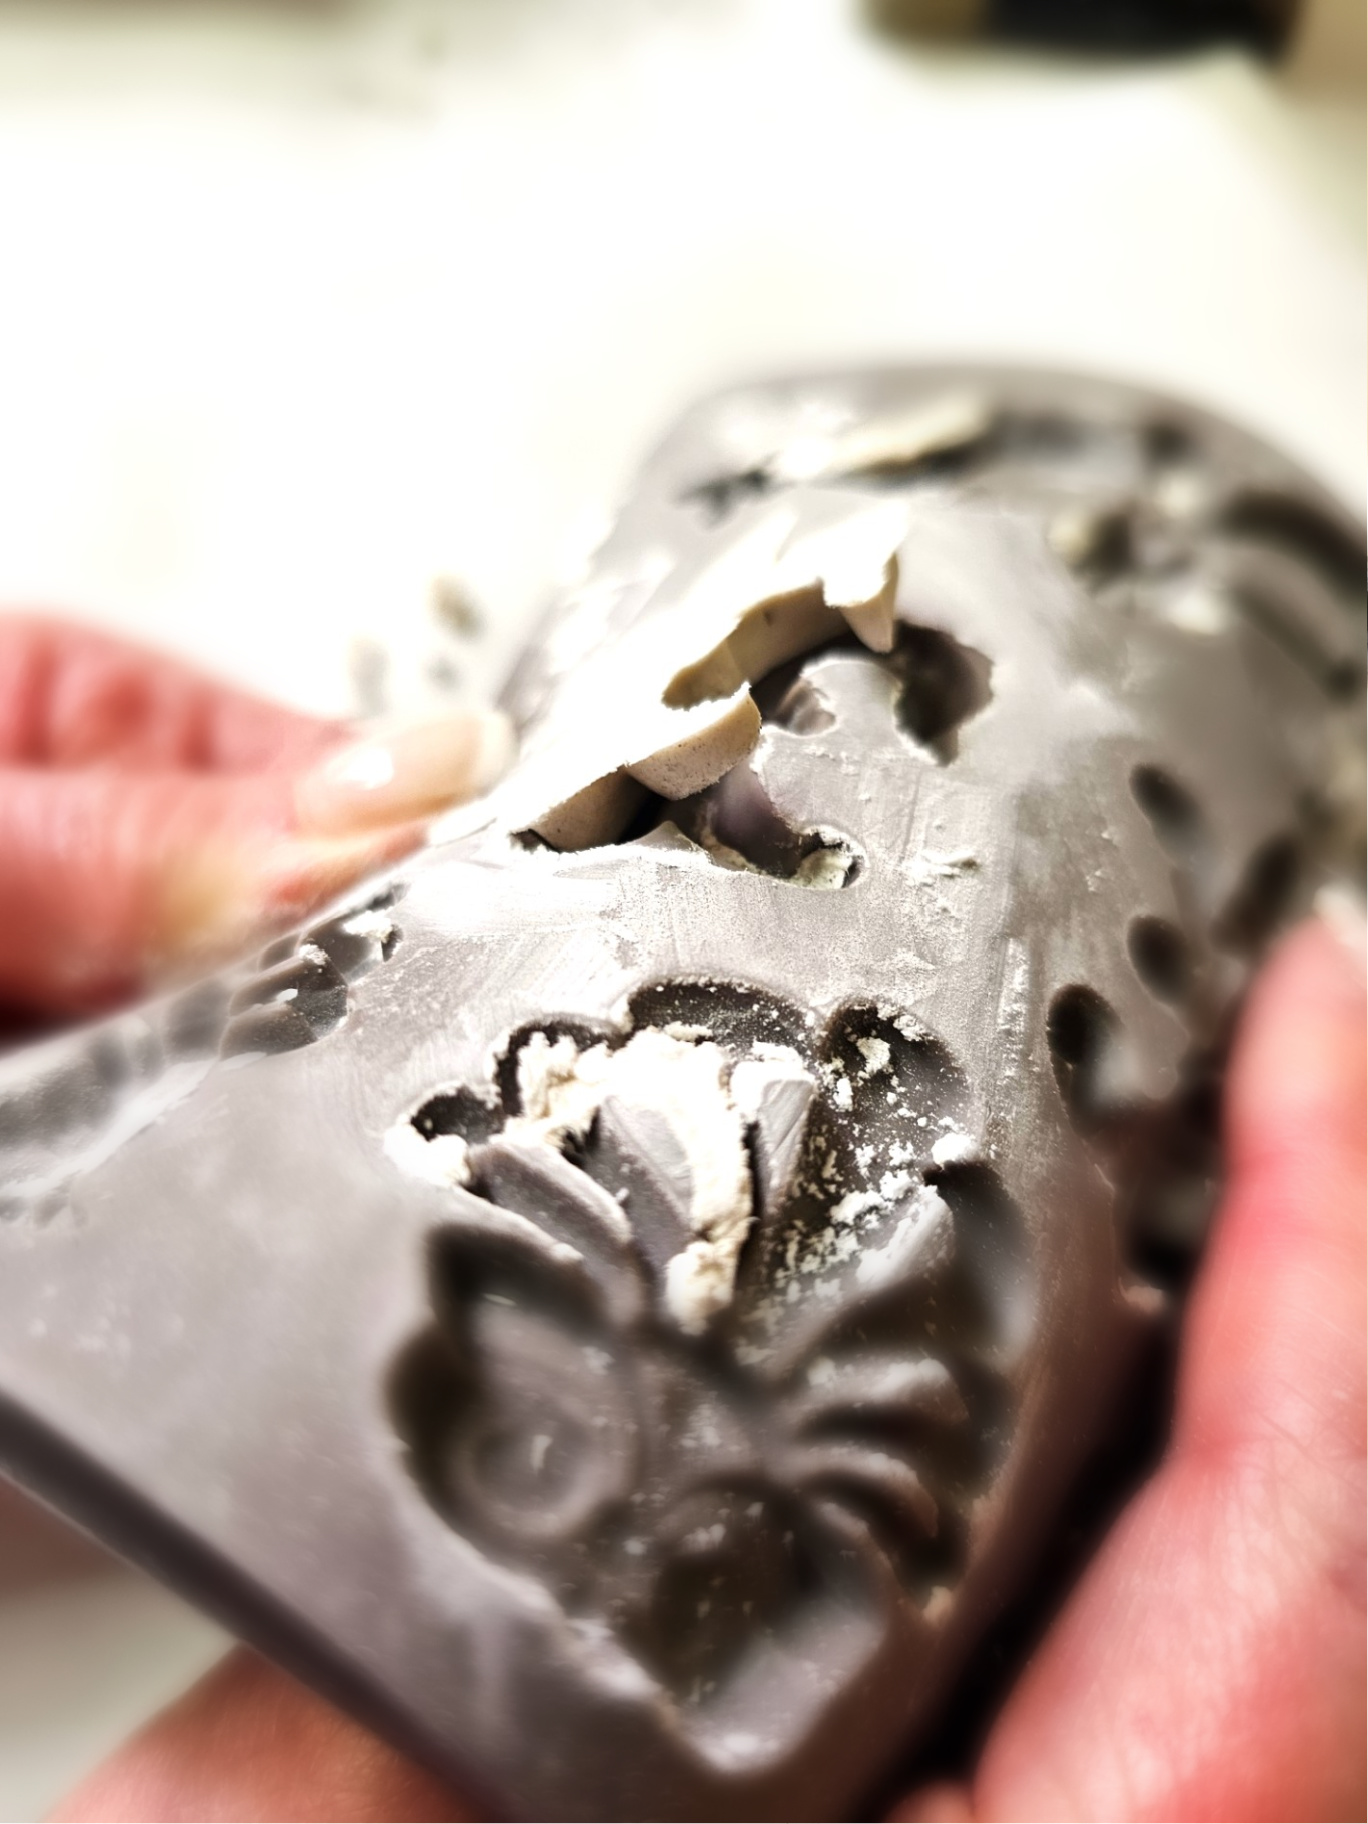
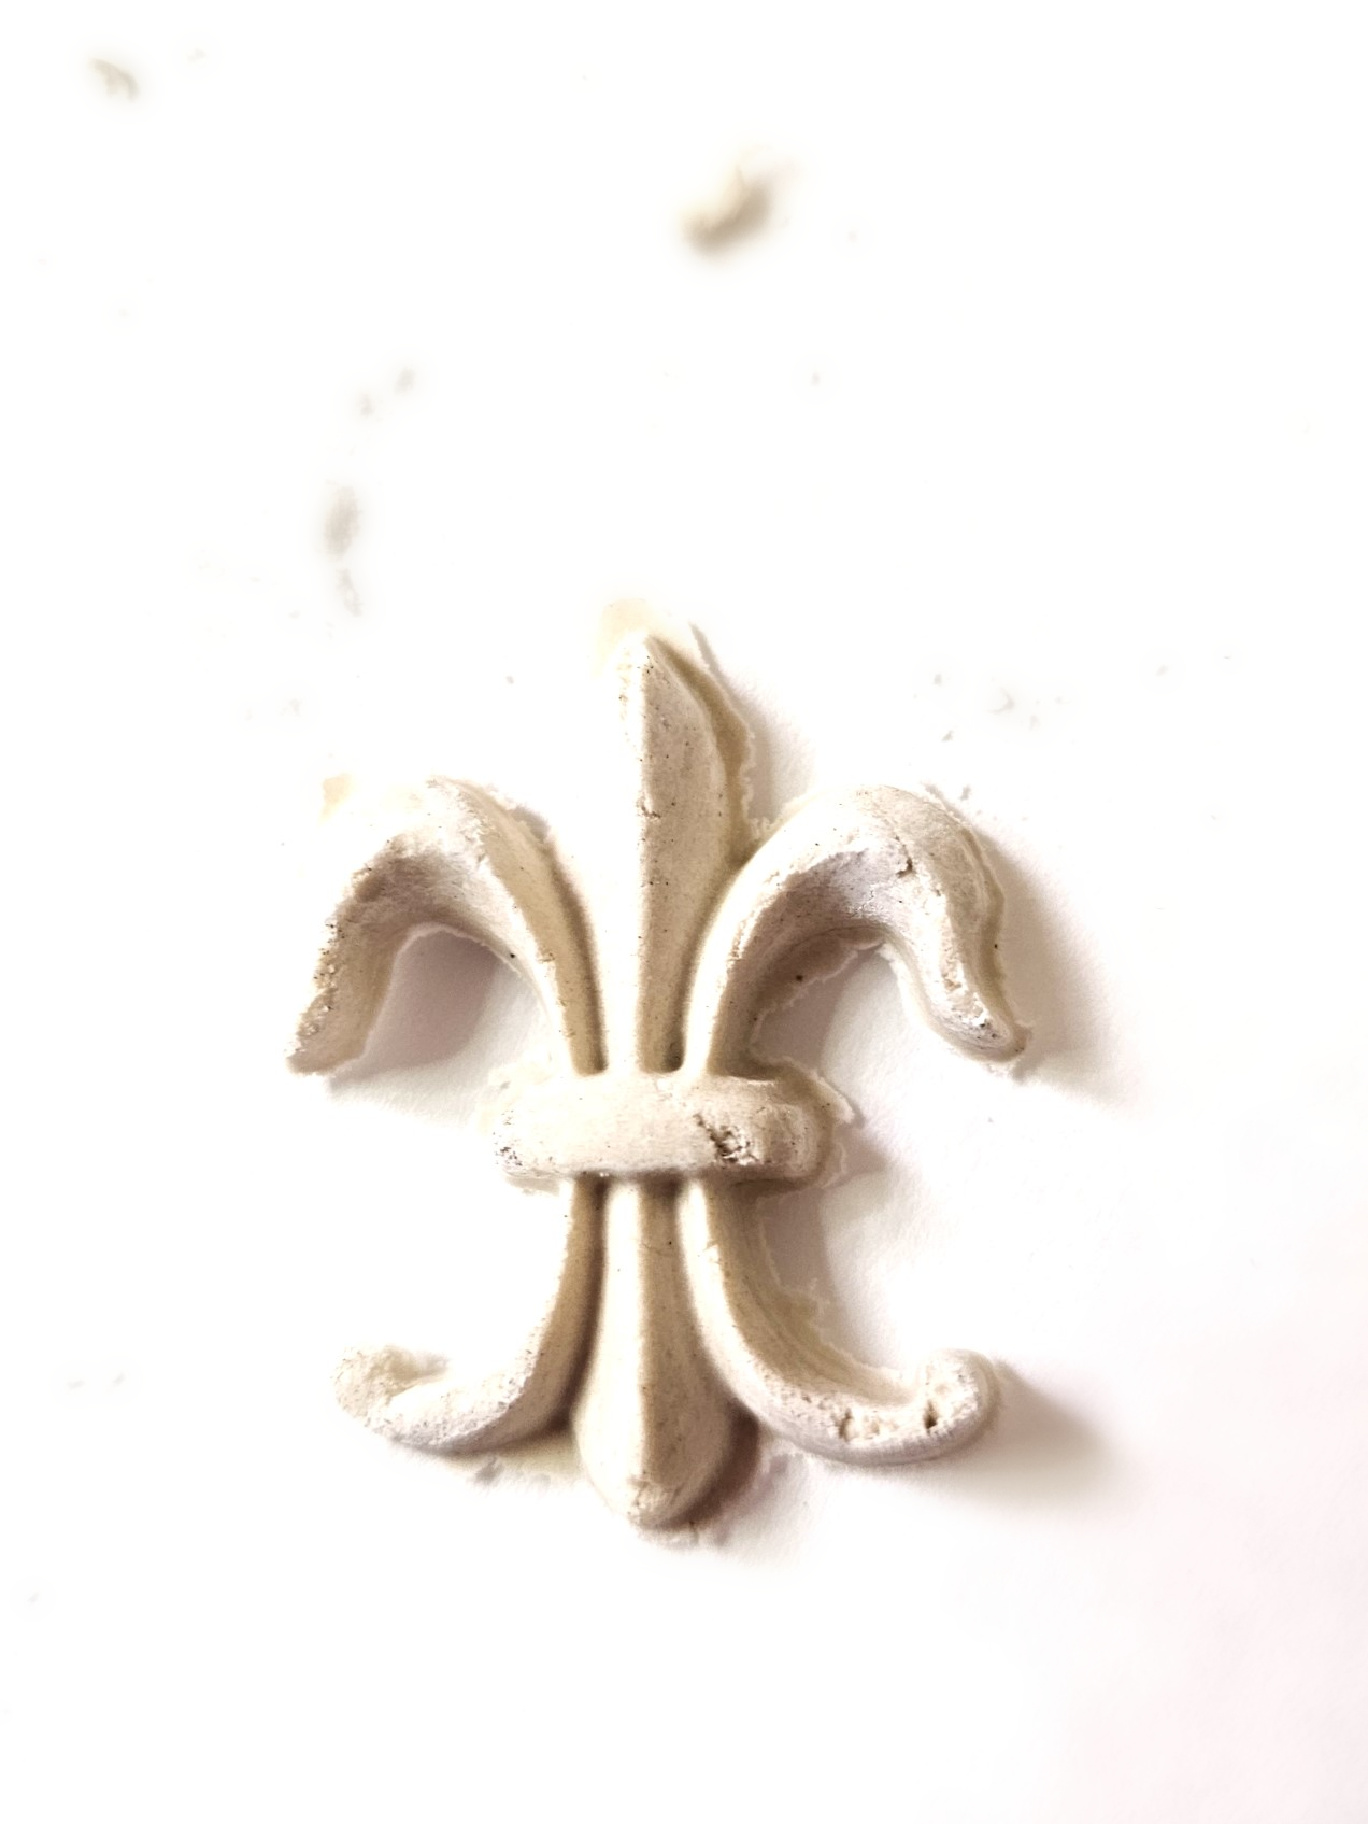
ÂBegin bending the clay mold slightly and carefully remove the clay. Next, add a layer of wood glue and I have a great way to add the wood glue too! Add glue to the back of the clay. Carefully add it to the side of the pot. Let them dry. It was humid when I made these, so they dried overnight. This adds a unique look and French flair. Â
Pro Tip: These aren’t large pieces of clay and instead of worrying about them bending from your finger. Use a craft paintbrush to add glue to the back.
 Â
Â
 Â
Â
Â
Â
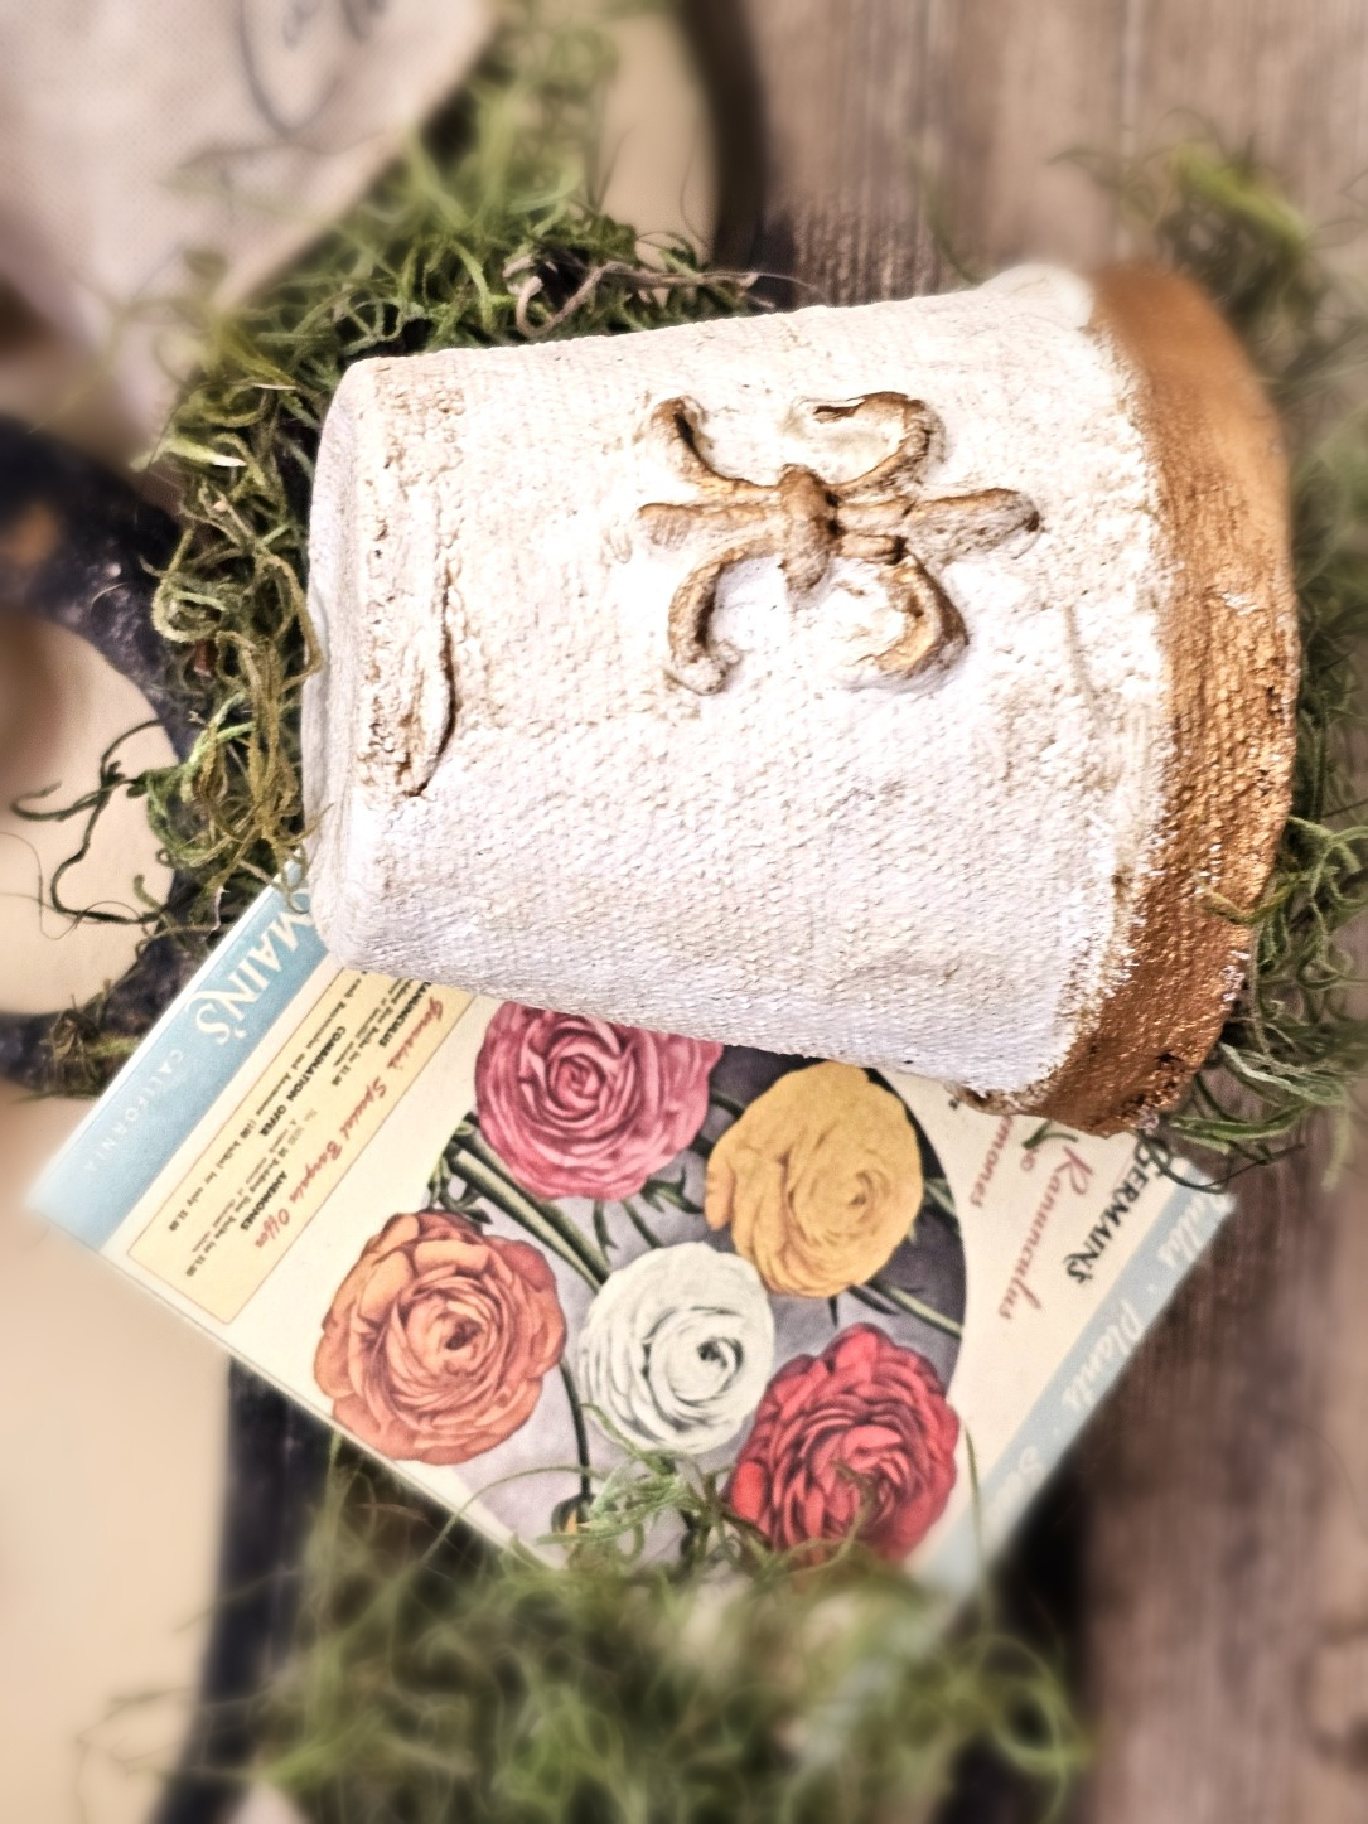
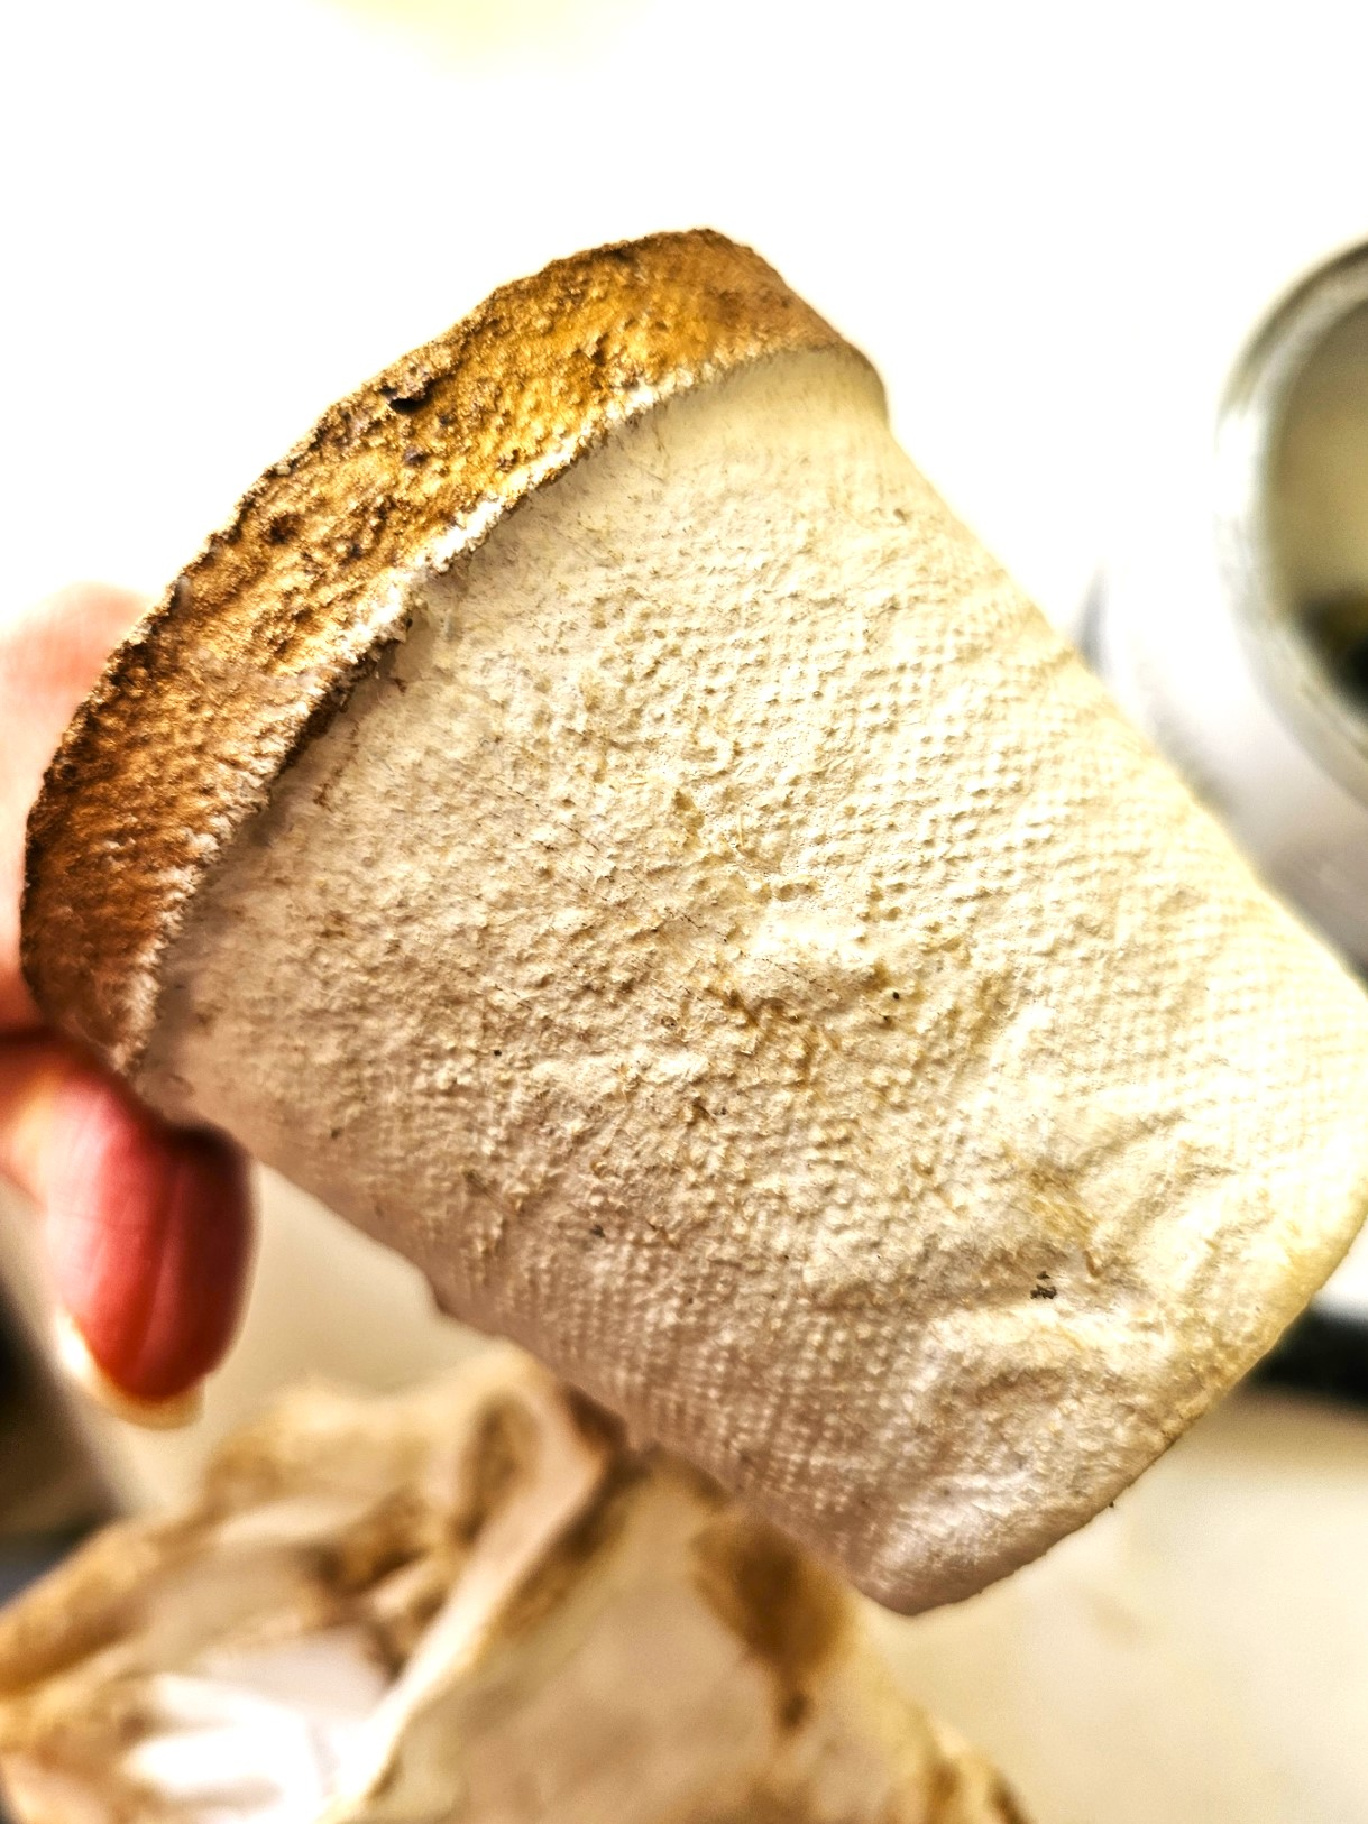
Step 4: Beautiful Flower Pots with Paint
ÂI painted each pot with one coat of Annie Sloan Old White chalk paint. I chose this color because it isn’t a bright white. White acrylic paint will work fine. Let them dry. This takes approximately half an hour.
Â
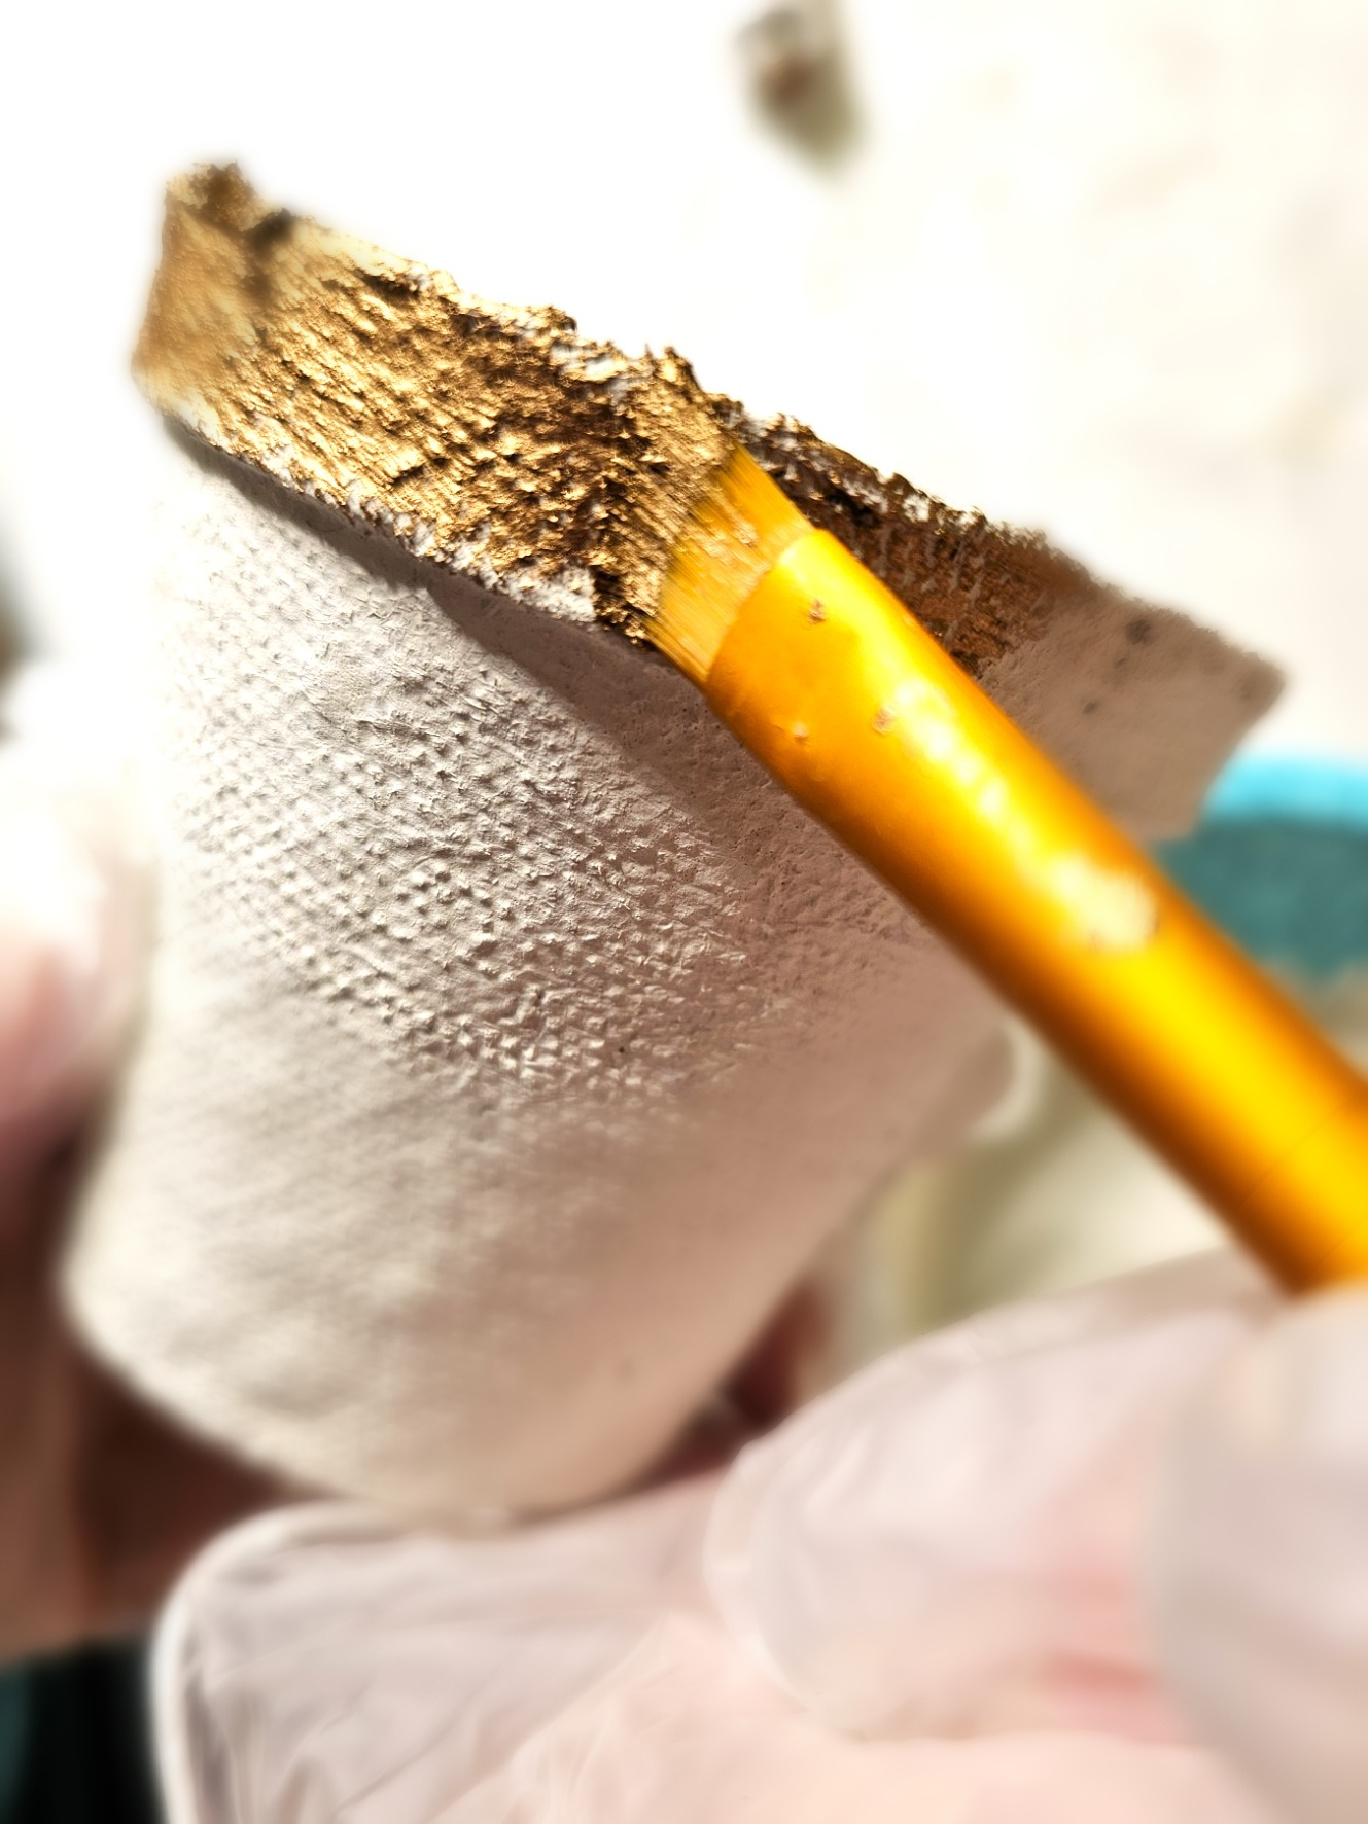
Step 5: How to Add Rub N BuffÂ
ÂThis is the perfect time to add Rub N Buff in antique gold to the peat pot flower pots. I have added this to other DIY ideas and a little goes a long way. This step is optional however, it gives these peat pot flower pots a unique look. It combines rustic and elegant together. Use a small paintbrush or your finger to apply to the pots. Â Rub it in with a paper towel for a gilded look.
Note: The longest part is waiting for the clay, glue, and Rub N Buff to dry overnight. the rest is smooth sailing. I like to share every detail when sharing DIY ideas. I want you to have as much information as possible to make any project I share.
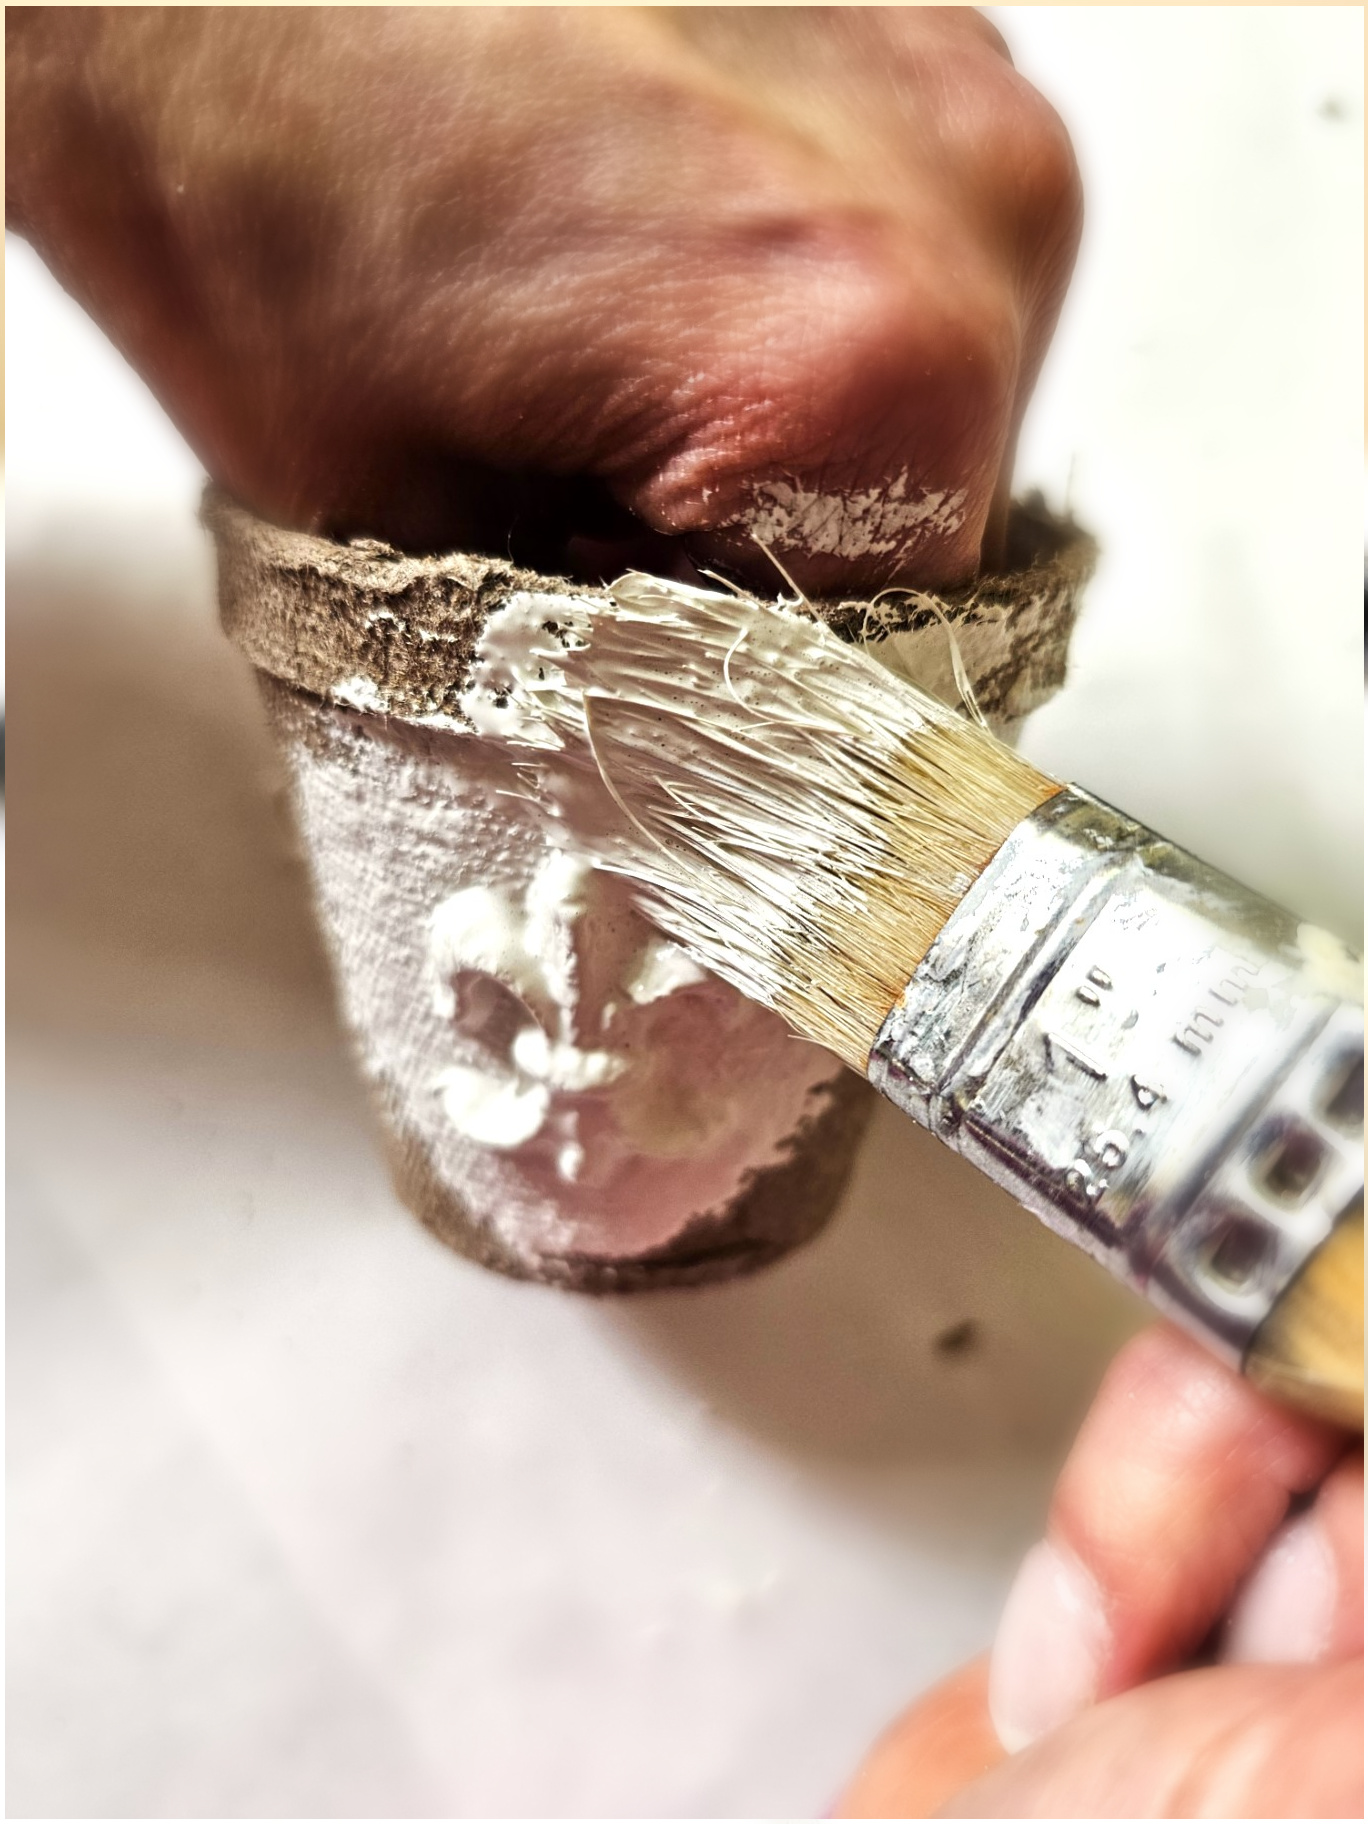
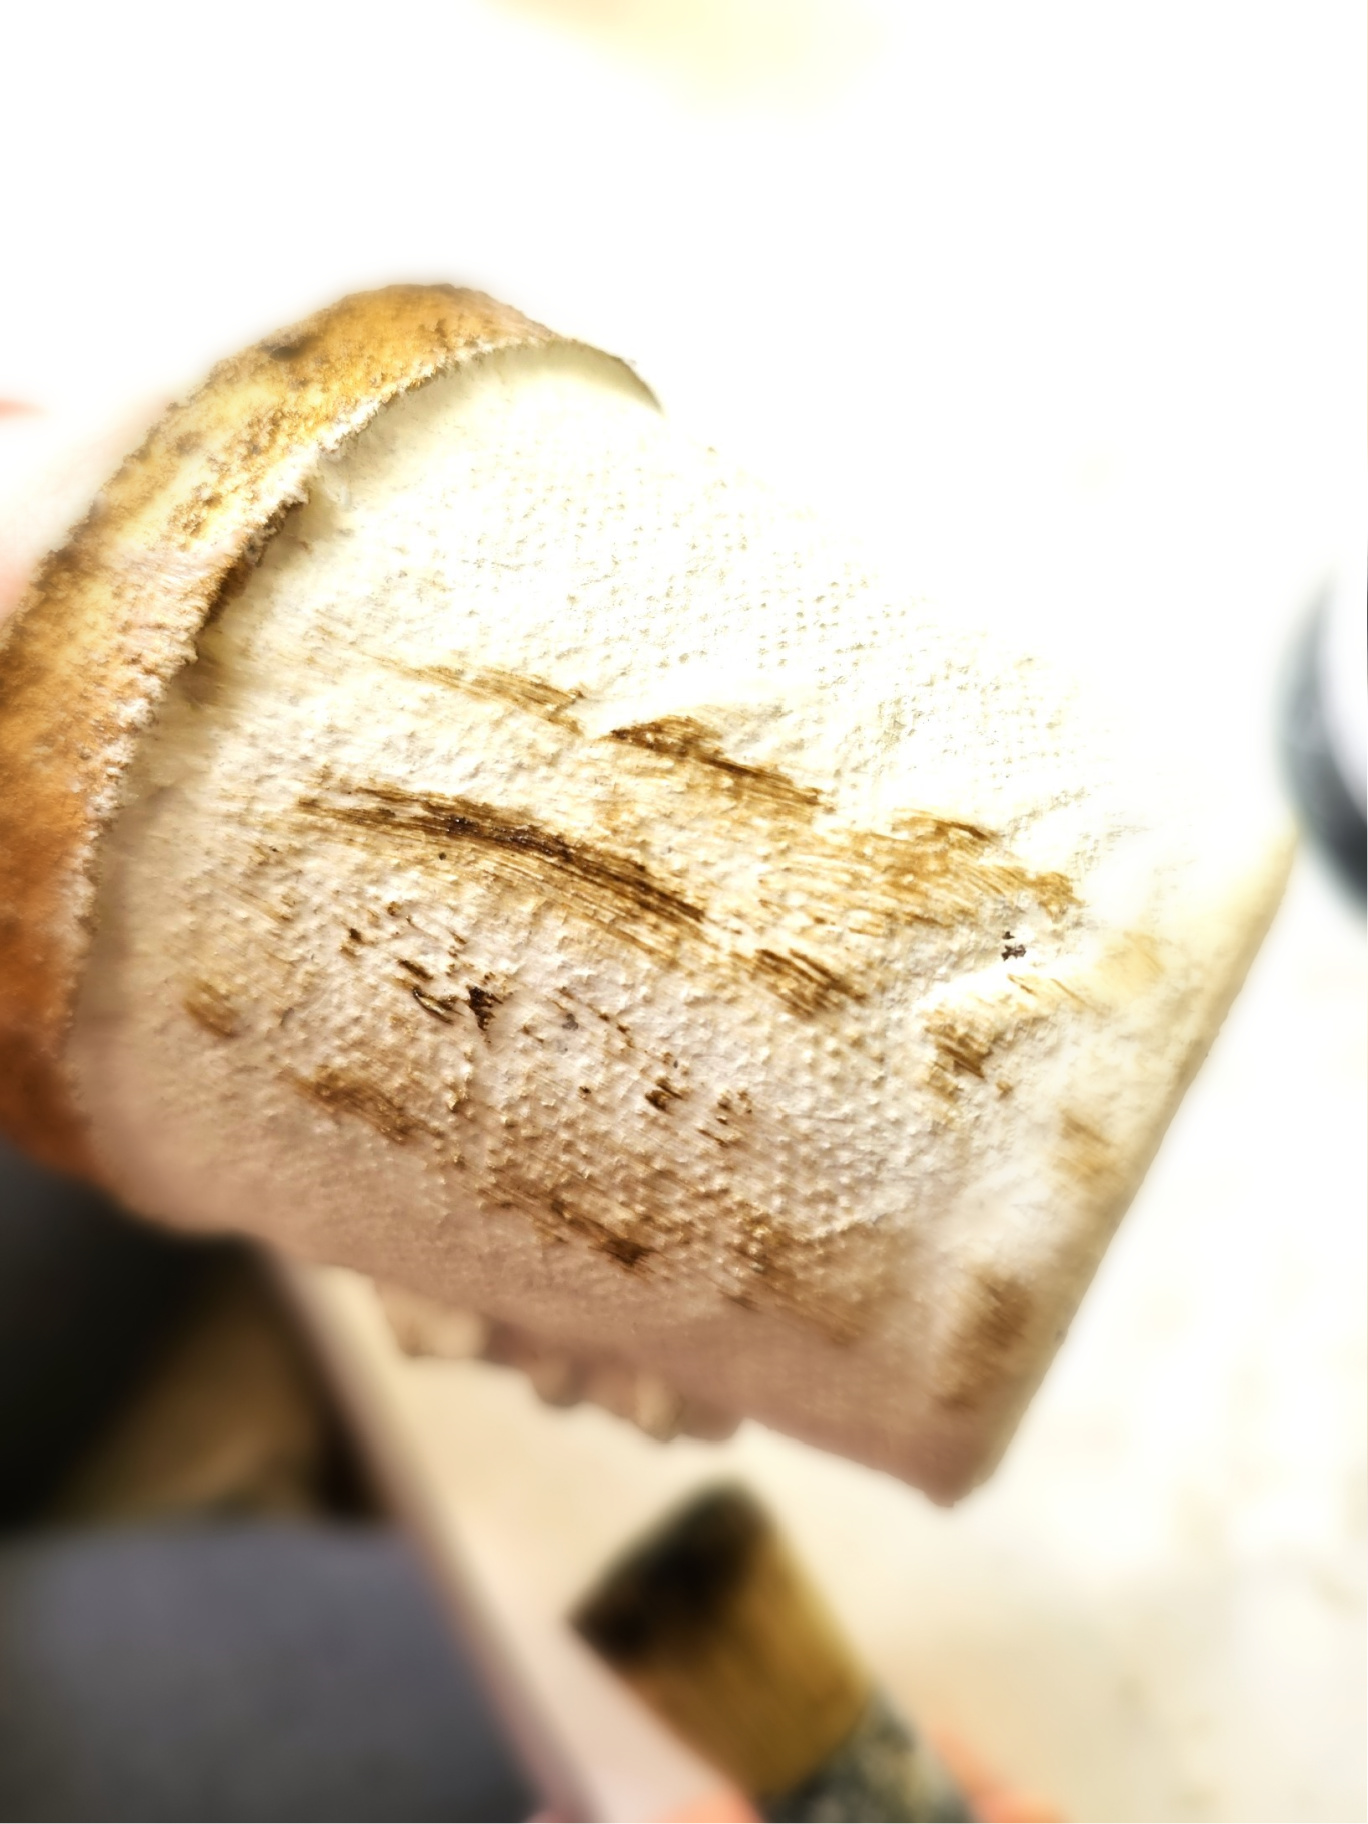
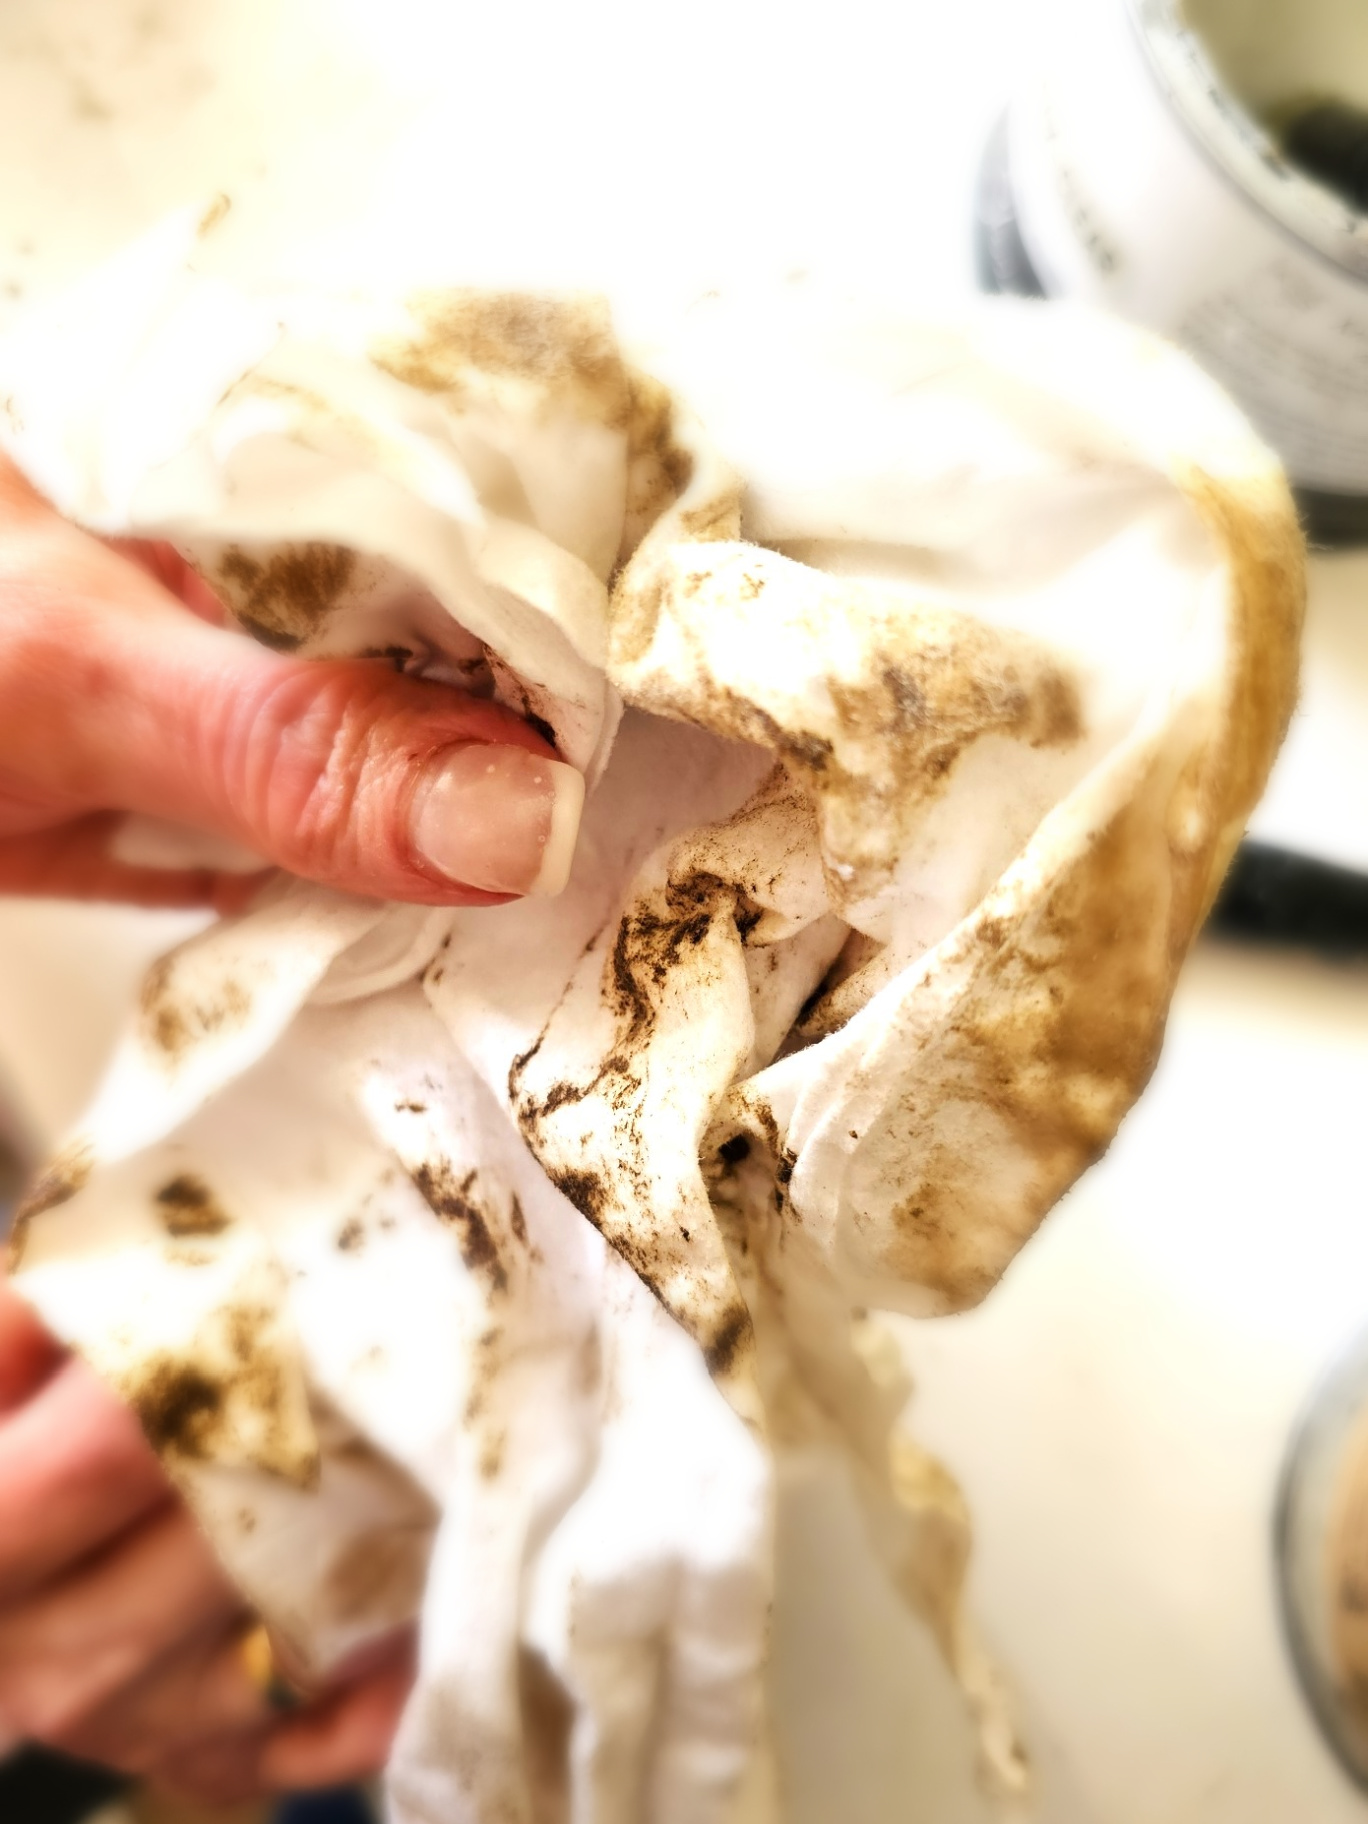
Step 6: Adding Clear and Dark Wax for Charm and Character
ÂNext, I added a coat of clear wax and dark wax to the pots. Add a light coat of clear first to any DIY project. Then add the dark wax because this wax tends to soak into the paint quickly. A little dark wax goes a long way. This is especially true on furniture pieces. Add this using a stencil brush. After it’s added rub the waxes into each pot with a rag or paper towel. Rubbing the wax into the pots is important, otherwise, the wax will become sticky.
Pro Tip: Burnt umber craft paint can be used for this process. I suggest using a dry brush technique if you are using craft paint. I shared detailed instructions last year on DIY ideas. Dry brushing planters and painting a picnic basket. It’s easy to do.

Â
 Â
Â
 Â
Â
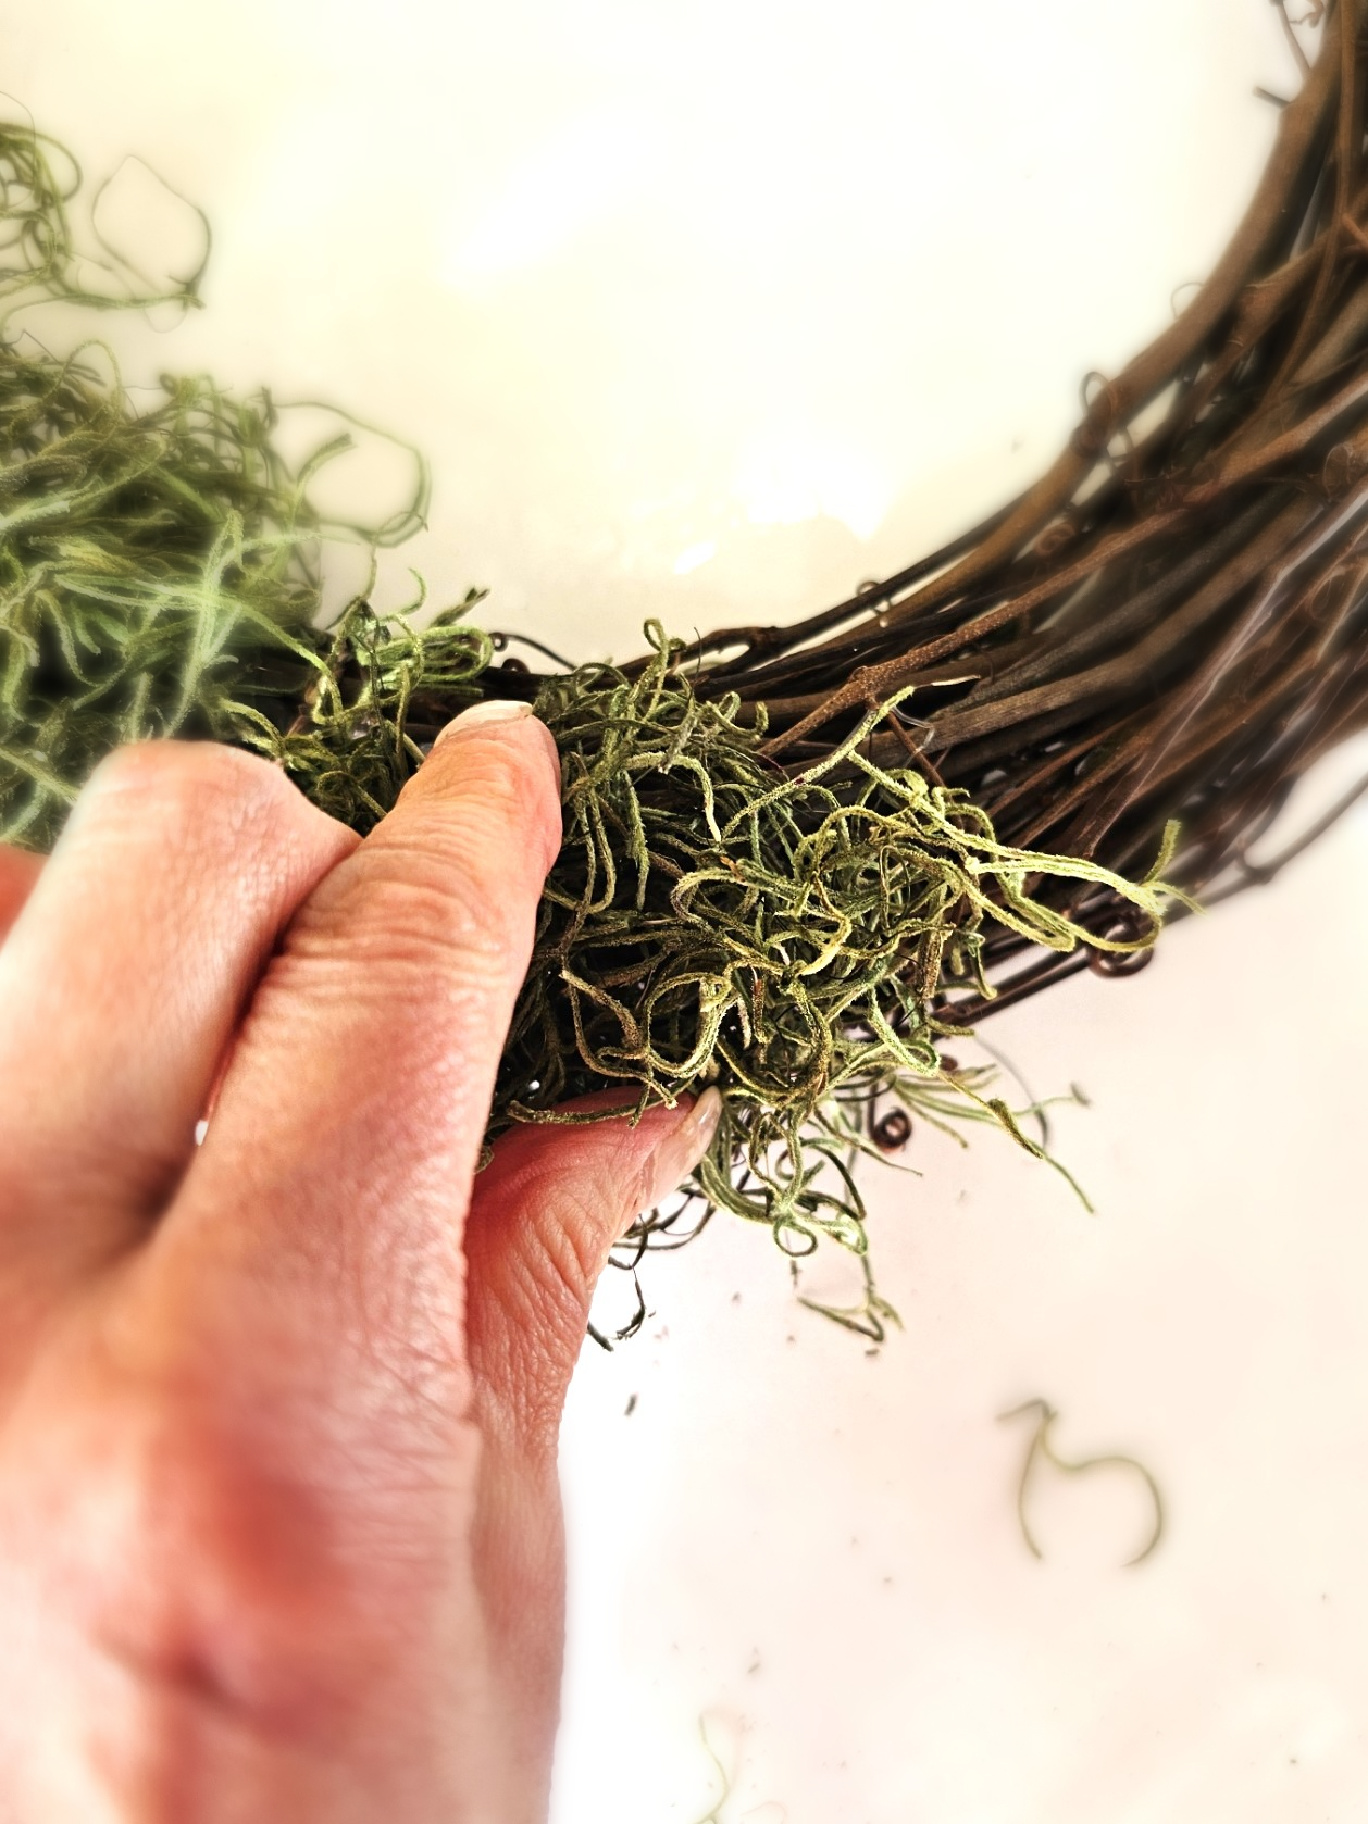
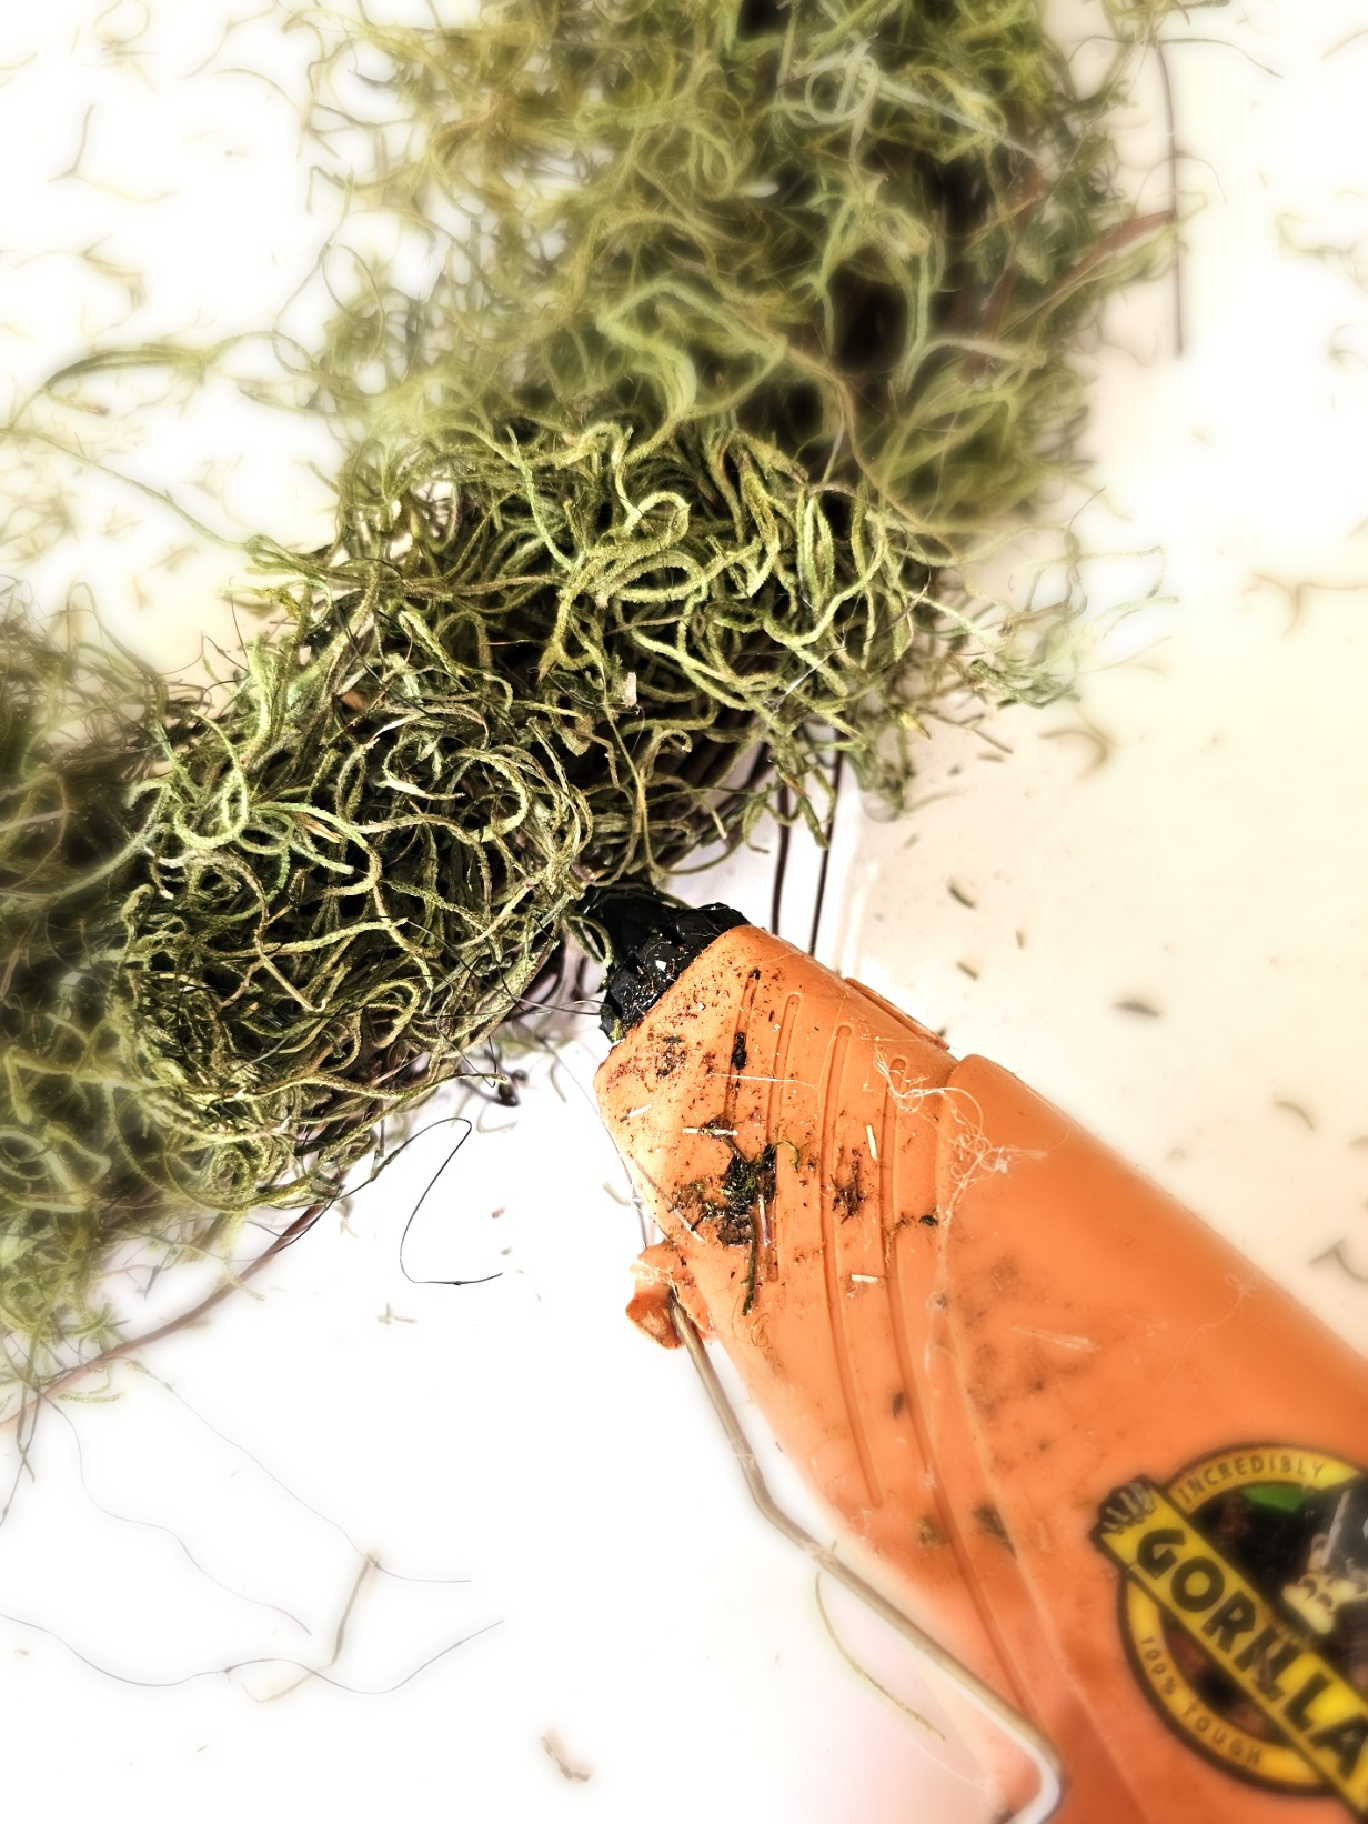
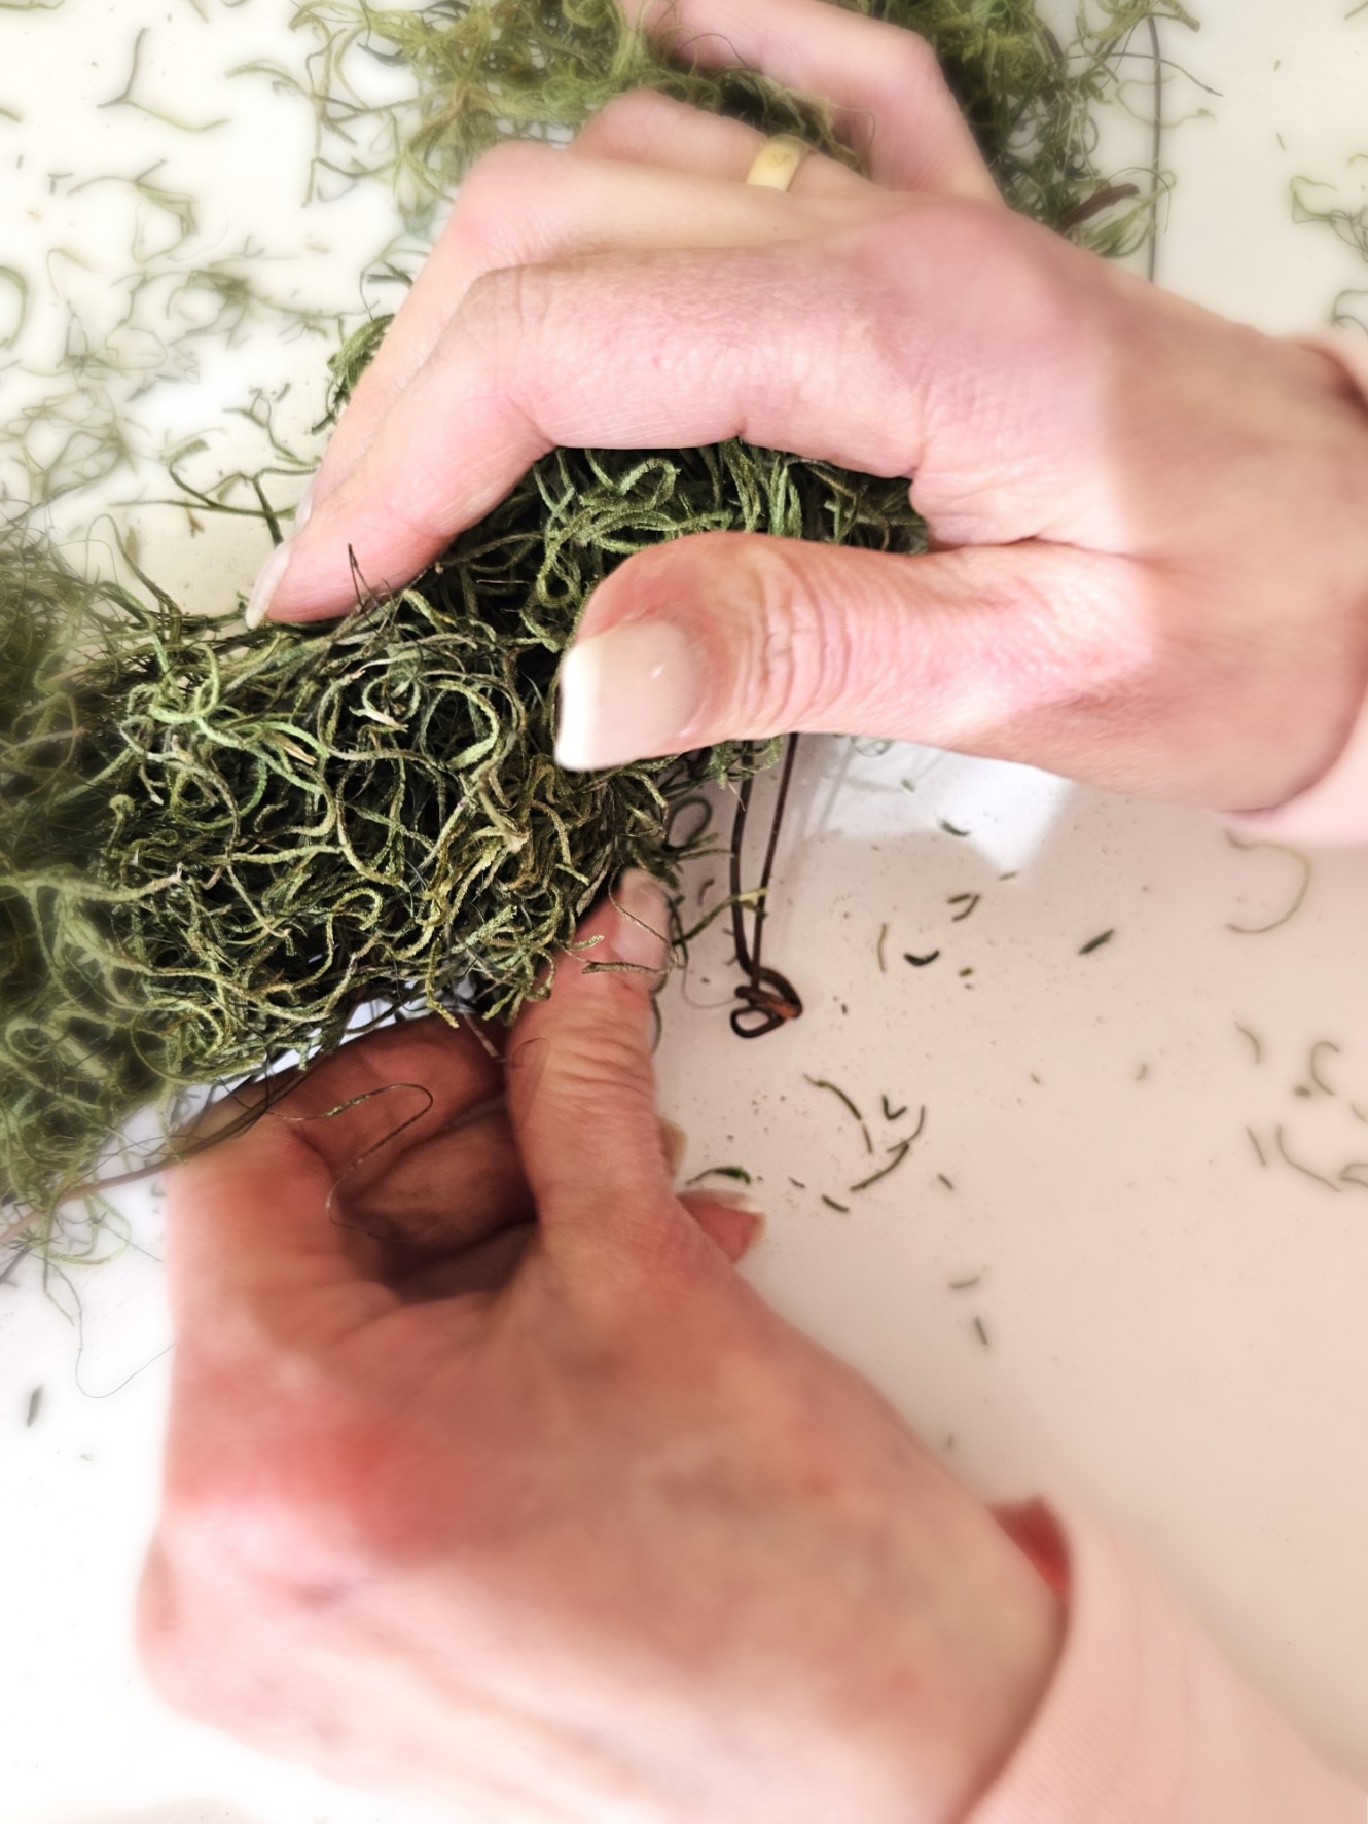
Step 1: Put the Wreath Together How to Add Moss for a Lush Look
 The first thing I did was to begin adding hot glue to a grapevine wreath. I cut pieces of green Spanish moss with a pair of scissors. Add glue to the grapevine. Add moss to the wreath. Use a popsicle stick to hold it to set. This prevents the risk of burns. A foam wreath can be used for this DIY project. Look for these at Dollar Tree or the Dollar Store. Pro Tips: If using a foam wreath form set your glue gun on a low setting. This prevents the hot glue from being too hot. I share this for other DIY projects. Â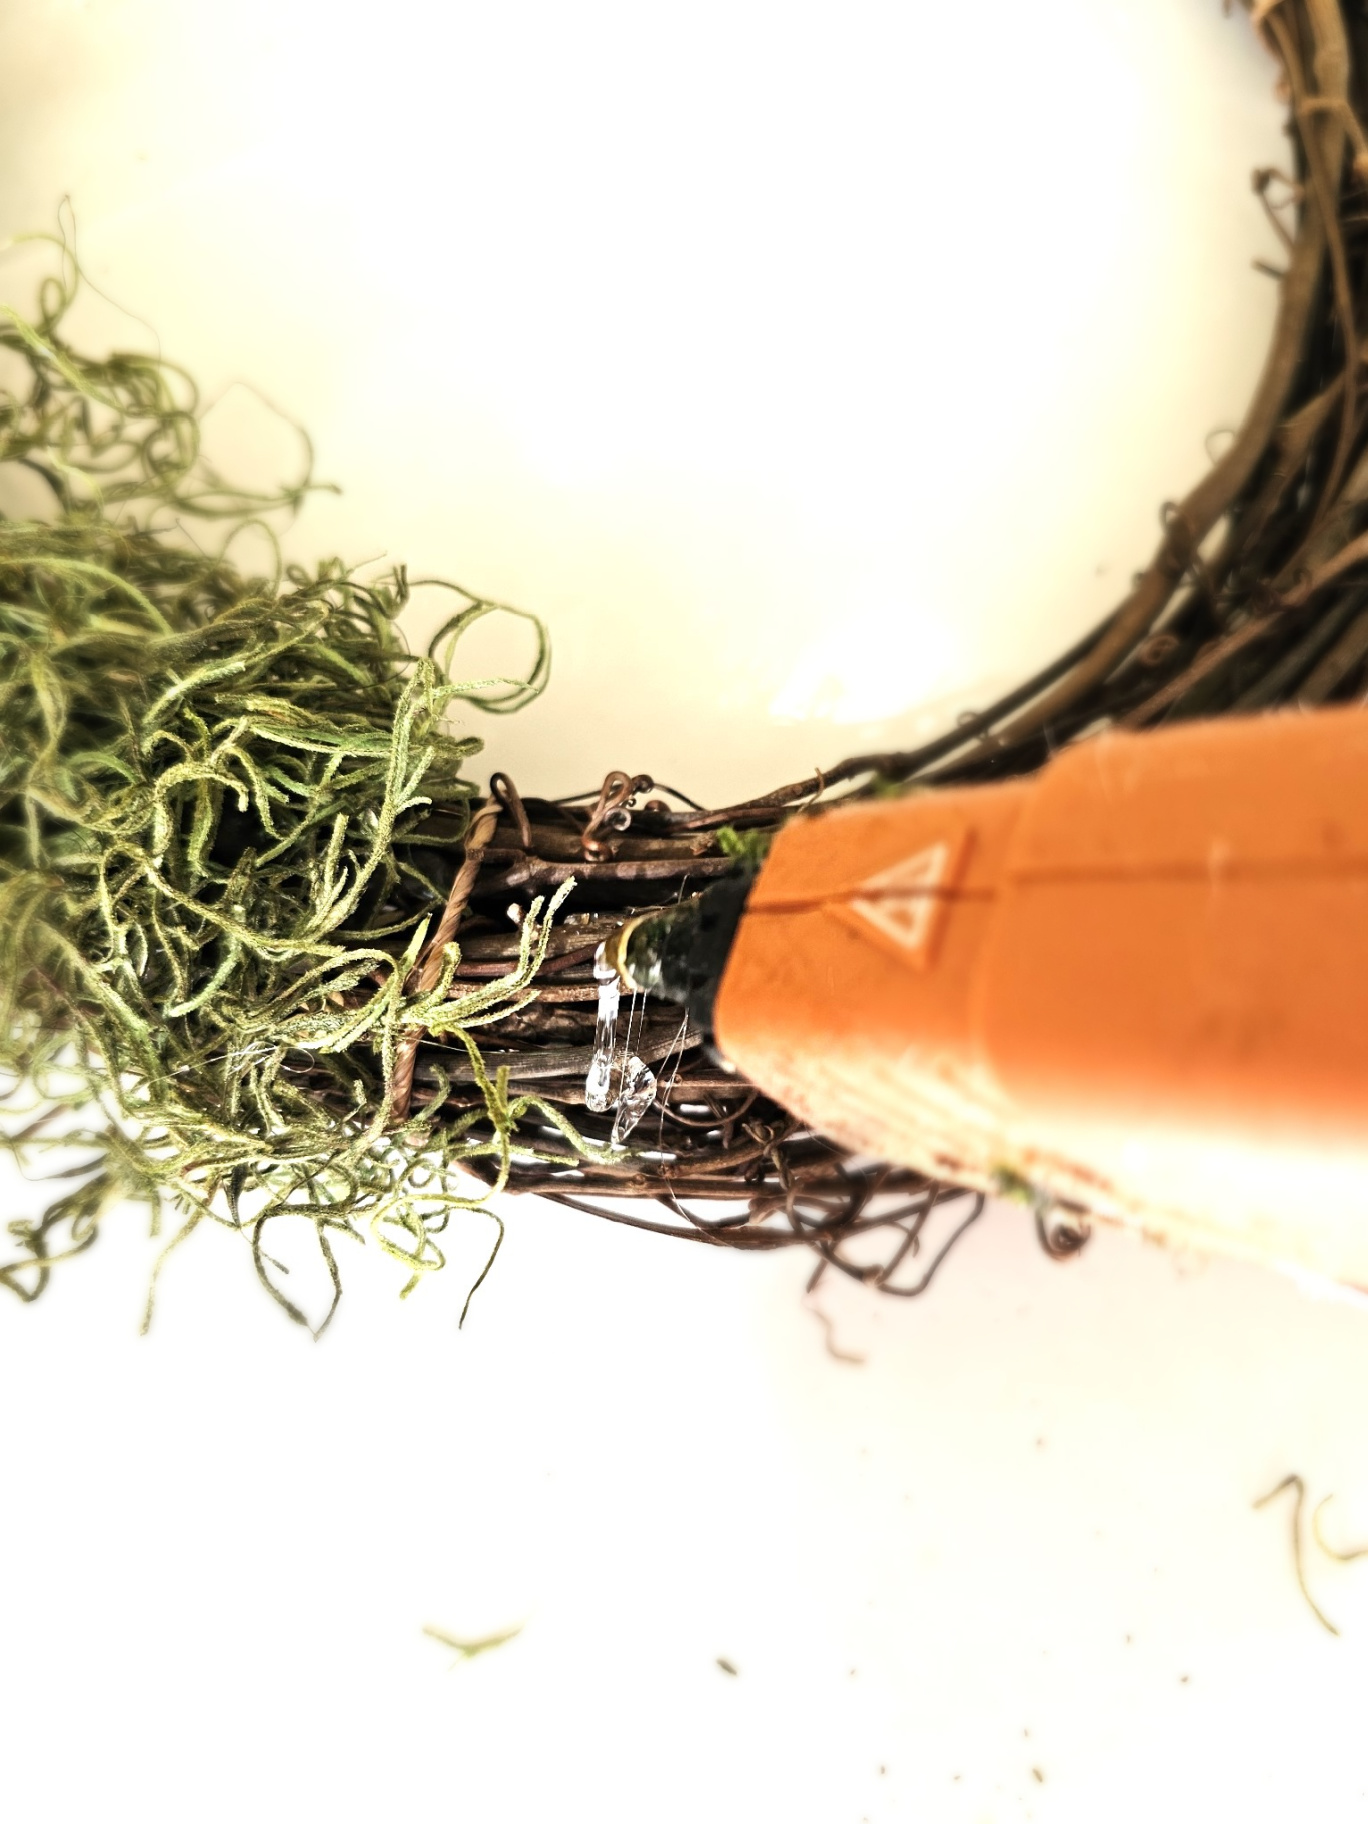 Â
Â
 Â
Â
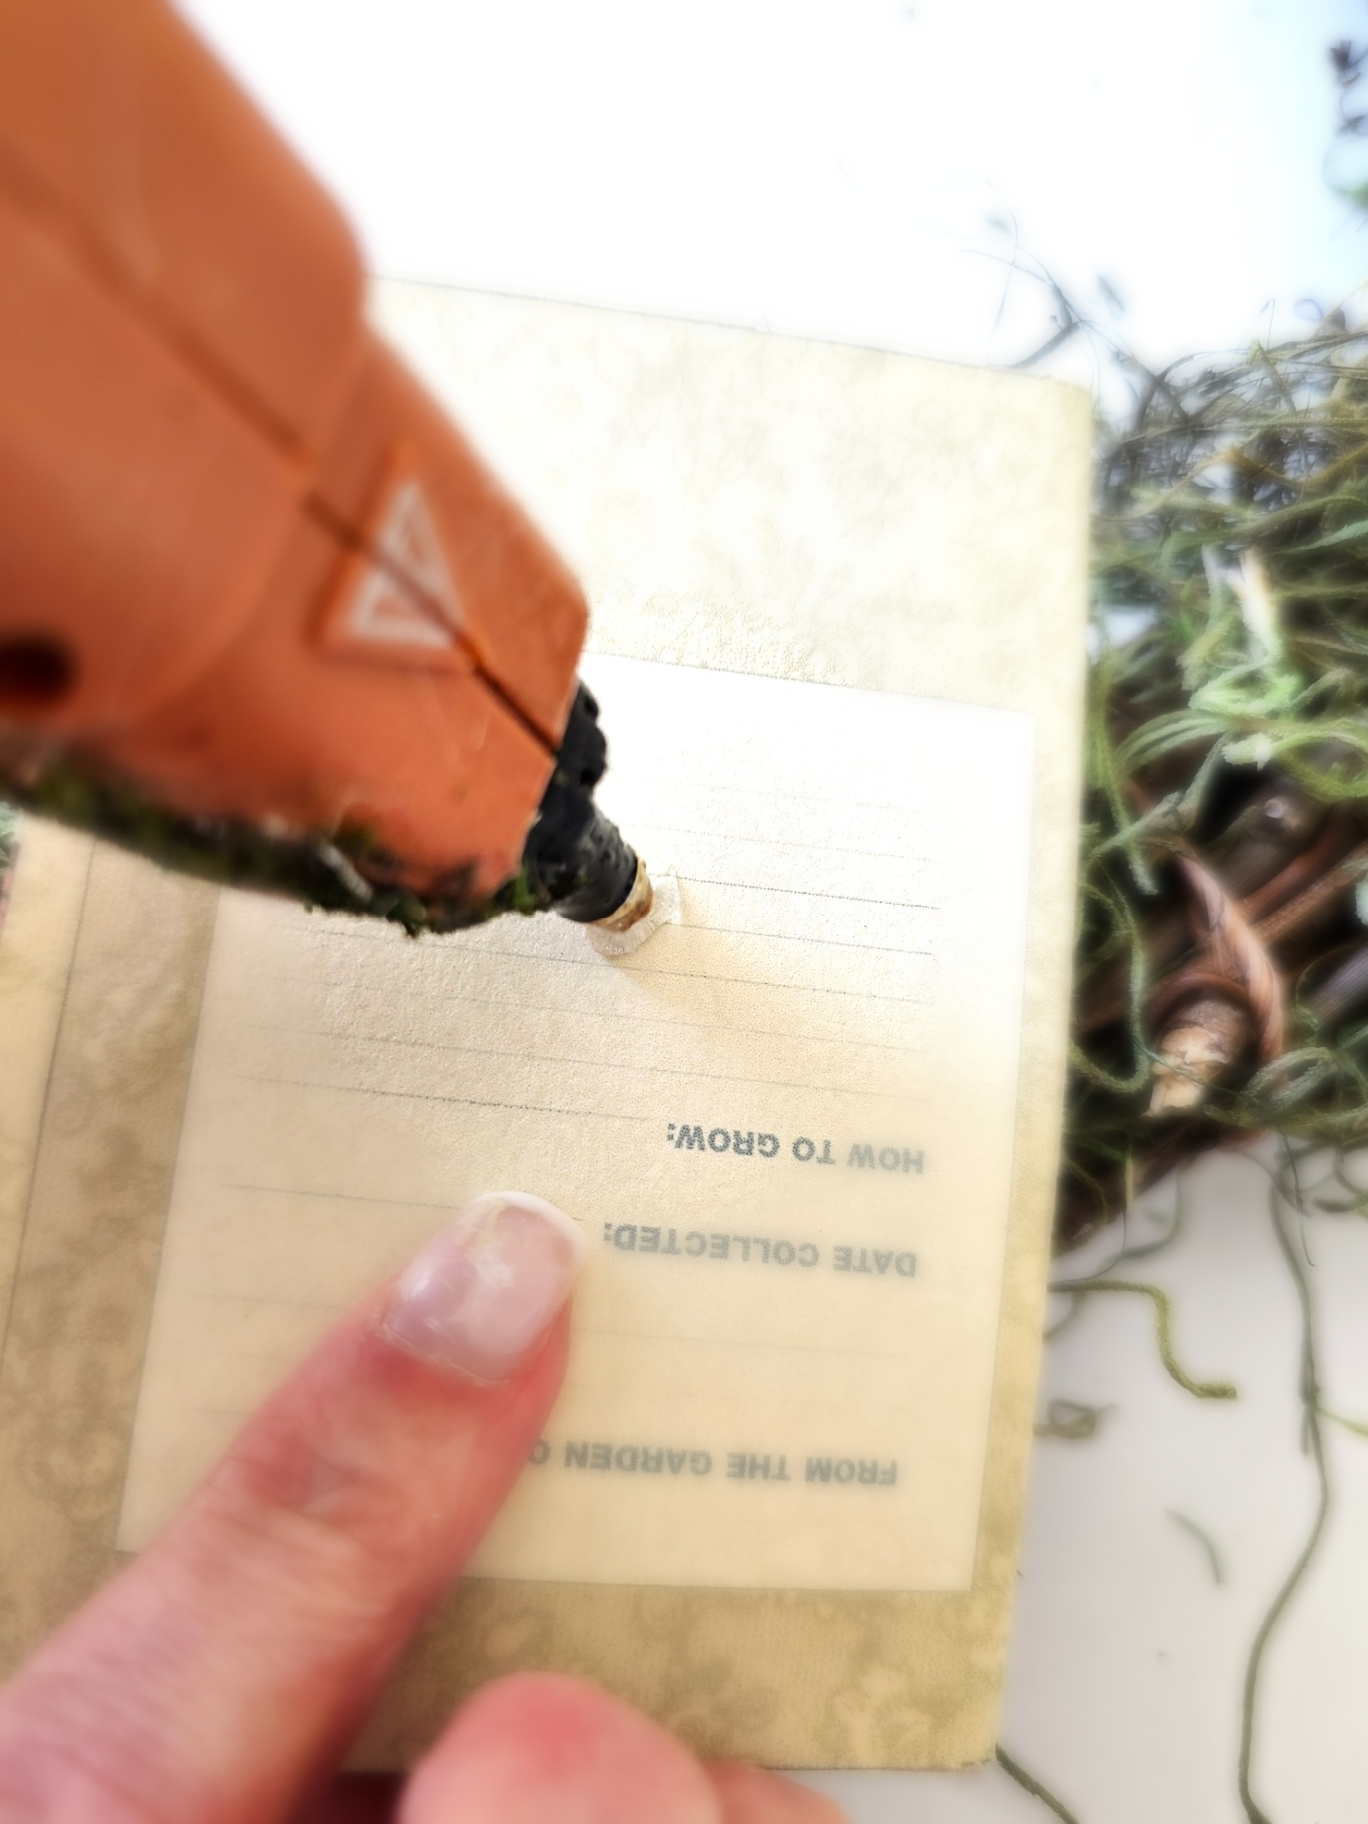
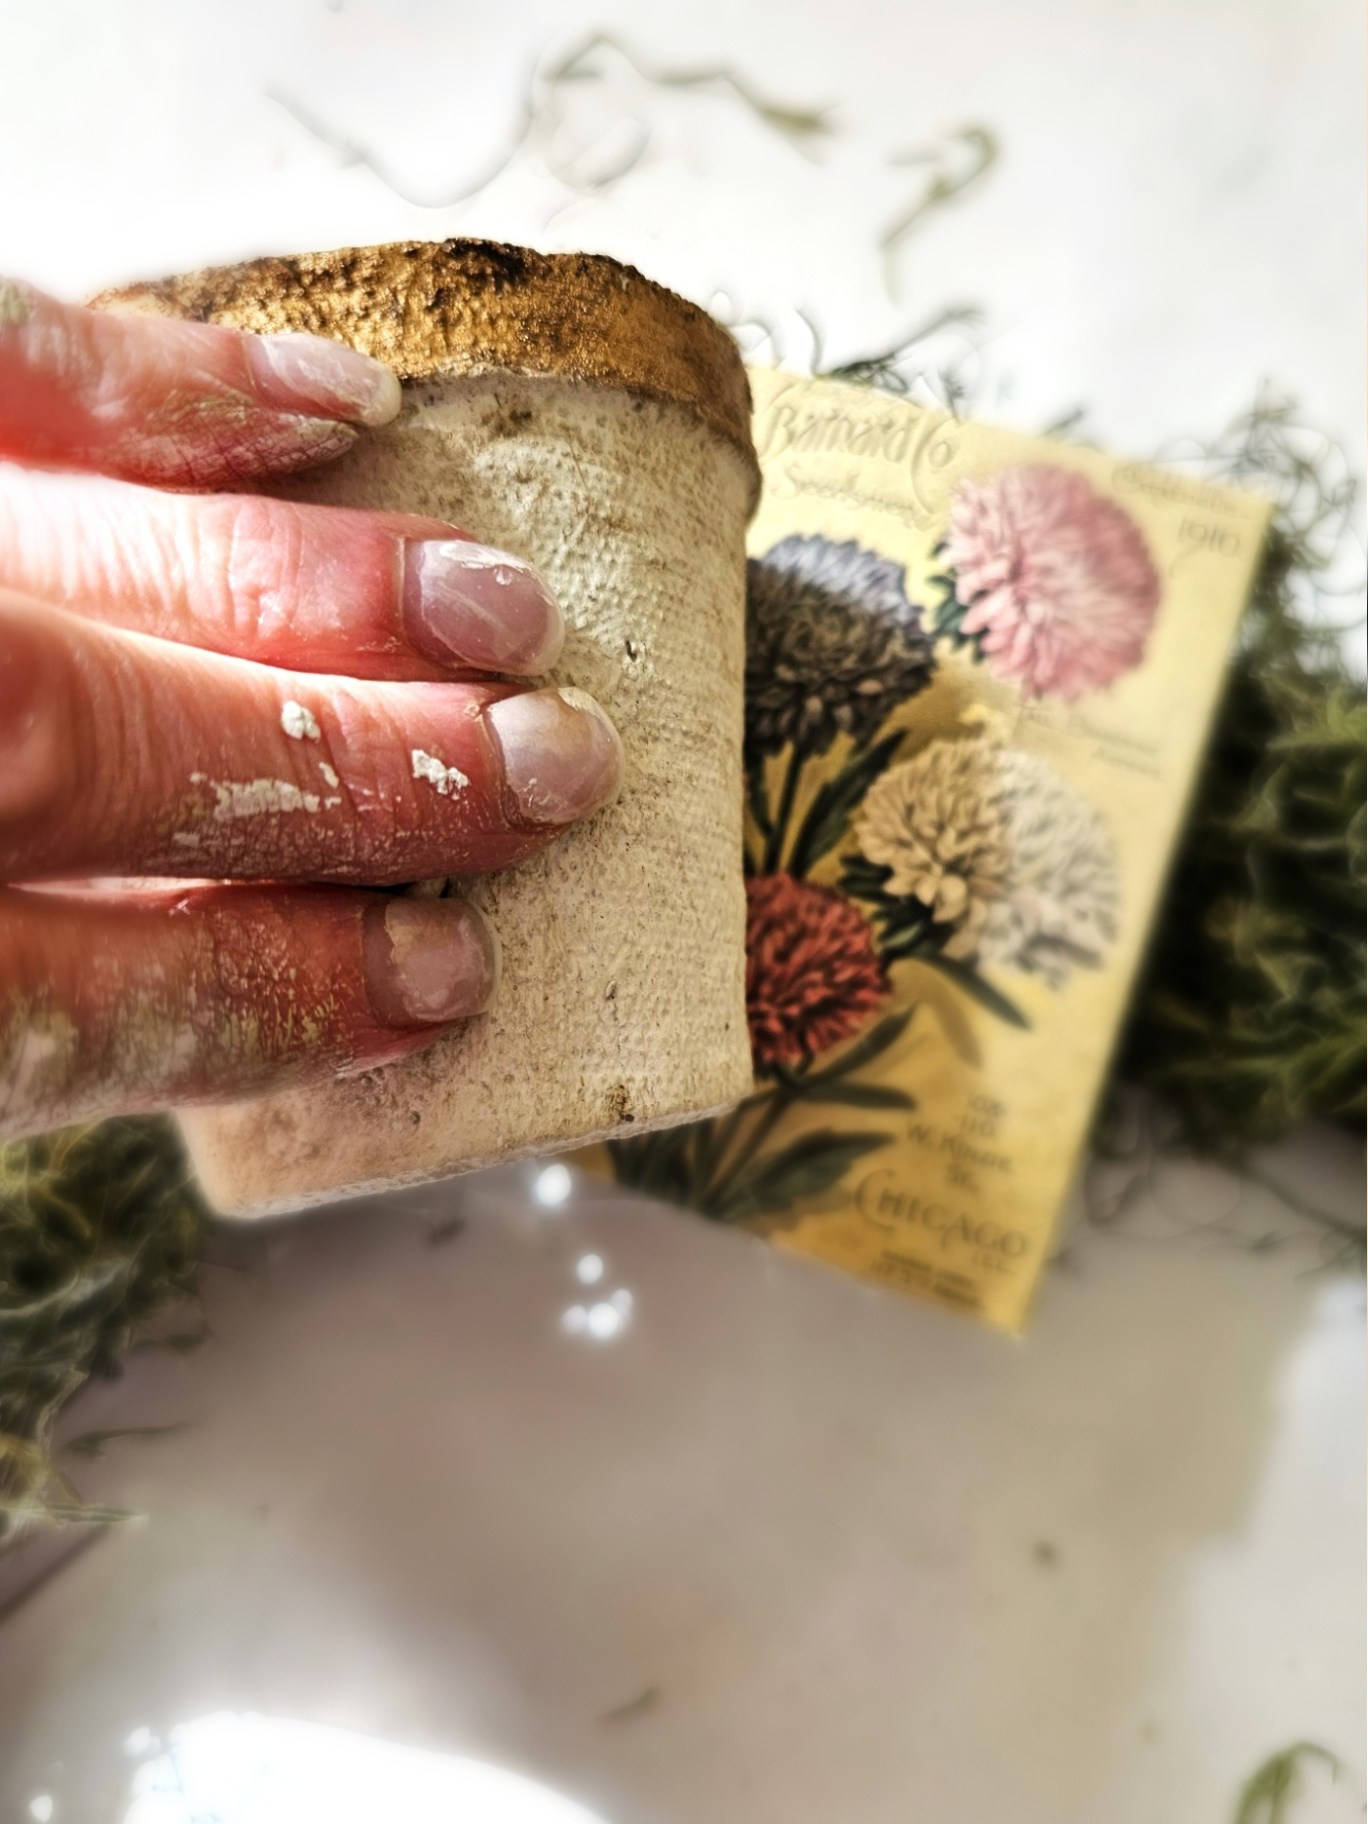
Step 2: Seed Packets to Your DIY French Peat Pot WreathÂ
ÂI found these vintage-looking seed packets on Etsy. These don’t add much additional cost, they are 6 for $2.07. Print these on computer paper or cardstock. I used cardstock to give me the weight of vintage packets. There are lines to make these easy to fold. The seed packets are the first thing I added to the moss. Add a dot of hot glue to the back. Place them on the Spanish moss and hold each one to set.
ProTip: Purchasing items like this is a great way to get tons of use for another DIY project such as a vintage seed packet wreath. This would be an adorable wreath for the front door for fall with small pumpkins inside each pot with moss.
Â
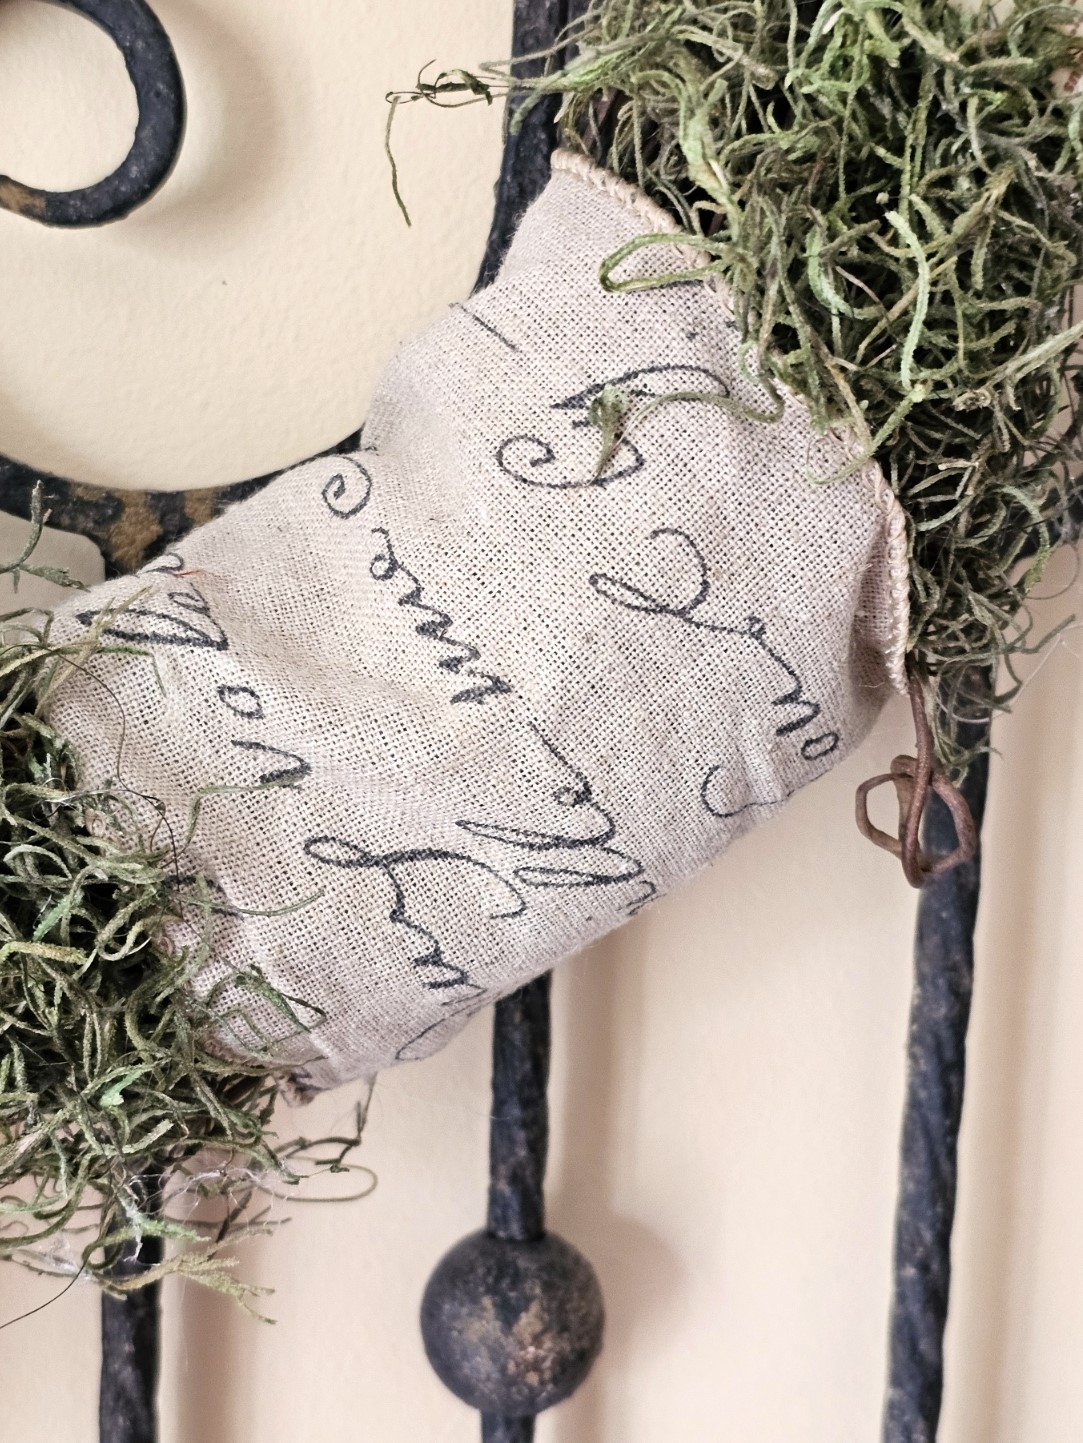
Step 3: A Unique Look: Glue Pots for a DIY French Peat Pot Wreath
ÂAdd glue in two rows to the back of each peat pot and hold them to set. I had a ribbon left over from another project. I wrapped the ribbon around the wreath and added glue. This is optional, but I think it adds charm. Choose a ribbon to hang your wreath in your dining room, porch, or door. Â For a centerpiece on a spring table add a battery-operated candle.
Tip: If you add paper clay to the outside of the pots, I DON'T RECOMMEND HANGING THIS WREATH OUTSIDE. If terra cotta pots are used tie them with jute or twine to keep them attached. Speaking of flower pots, I made a terracotta wreath with eucalyptus garlands last year. Our black door is a great backdrop for this wreath! And there's no glue! Â
Â
 Â
Â