
Star Anise Garland with Orange Slices
Join me as I share an easy craft and simple tutorial that adds a touch of nature and natural elements to our homes. This will add a rustic look with the warm scent of star anise and oranges.
Yield: 2 garlands
Cost: $6
Notes
STAR ANISE GARLAND WITH ORANGE SLICES
Craft Supplies Needed: Star Anise Garland With Orange Slices
-
- orange slices
-
- star anise
-
- sharp knife
-
- paper towel
-
- baking sheet or cookie sheet
-
- cooling rack
-
- parchment paper
-
- twine
-
- large sewing needle
-
- hot glue gun
-
- hot glue sticks
-
- scissors
Step 1: Select Oranges
When drying oranges, navel oranges, and a blood orange work best. They have a uniform round shape and thick skin. That being said, I have also dried mandarins. I enjoy drying mandarins because they are the perfect size to enhance centerpieces, baskets, and a large decorative bowl throughout our home, providing a natural way to decorate. Cindy's Tip: Because mandarins have a thin rind, they will last one holiday season. Because this is an easy DIY, I don't mind drying them each year.Step 2: Slice Oranges
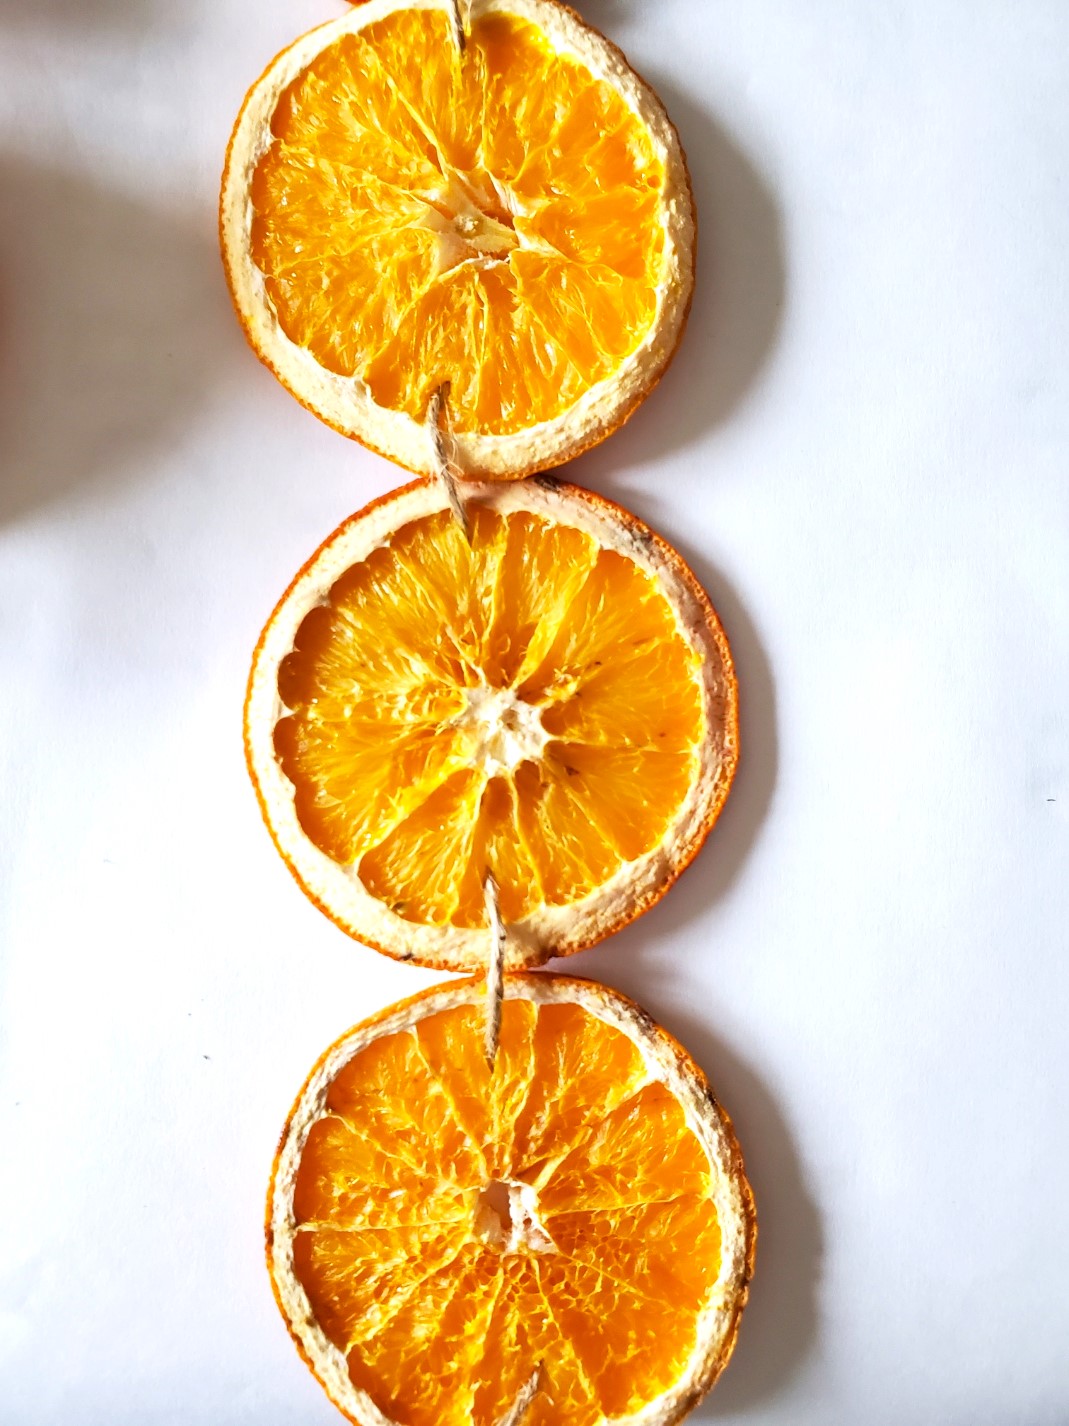
Use a sharp knife for the sliced orange. Cut 1/4 inch thick slices. Each dried orange slice will serve as a canvas for the star anise.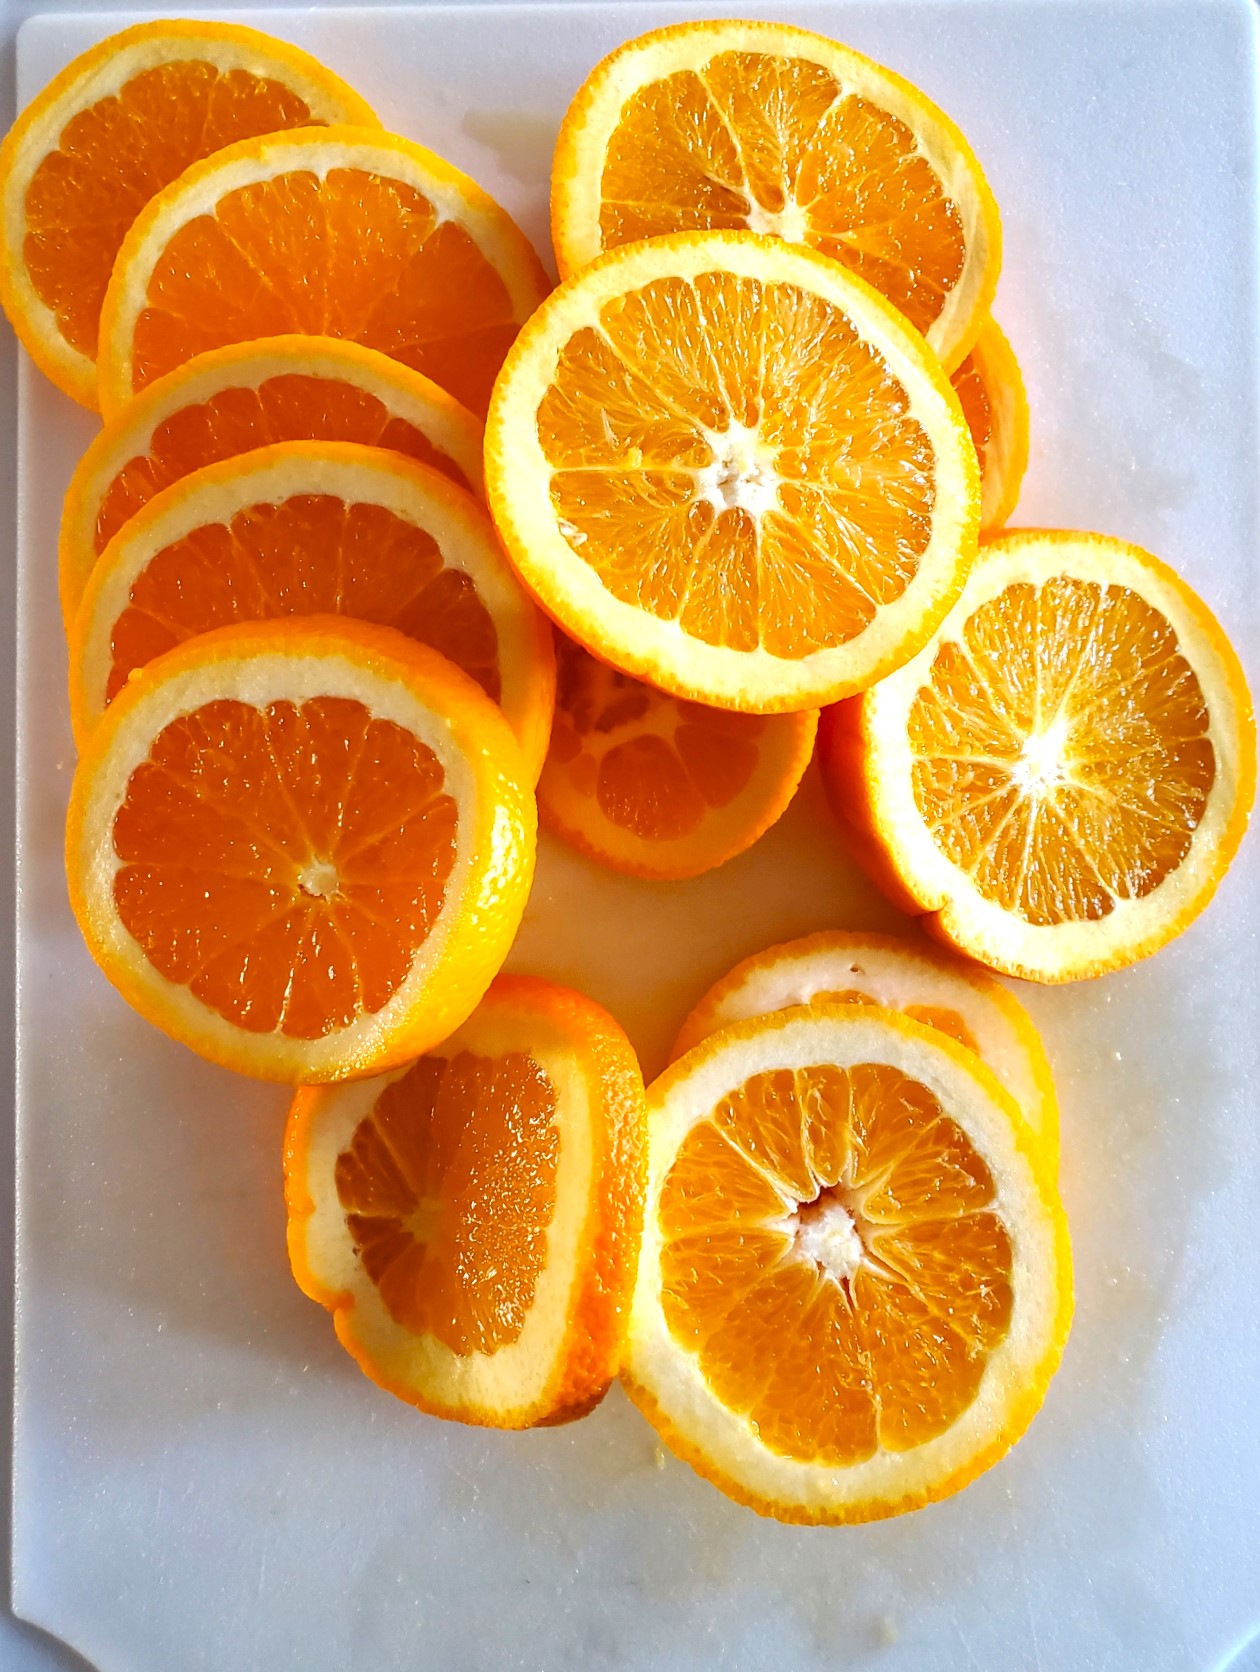
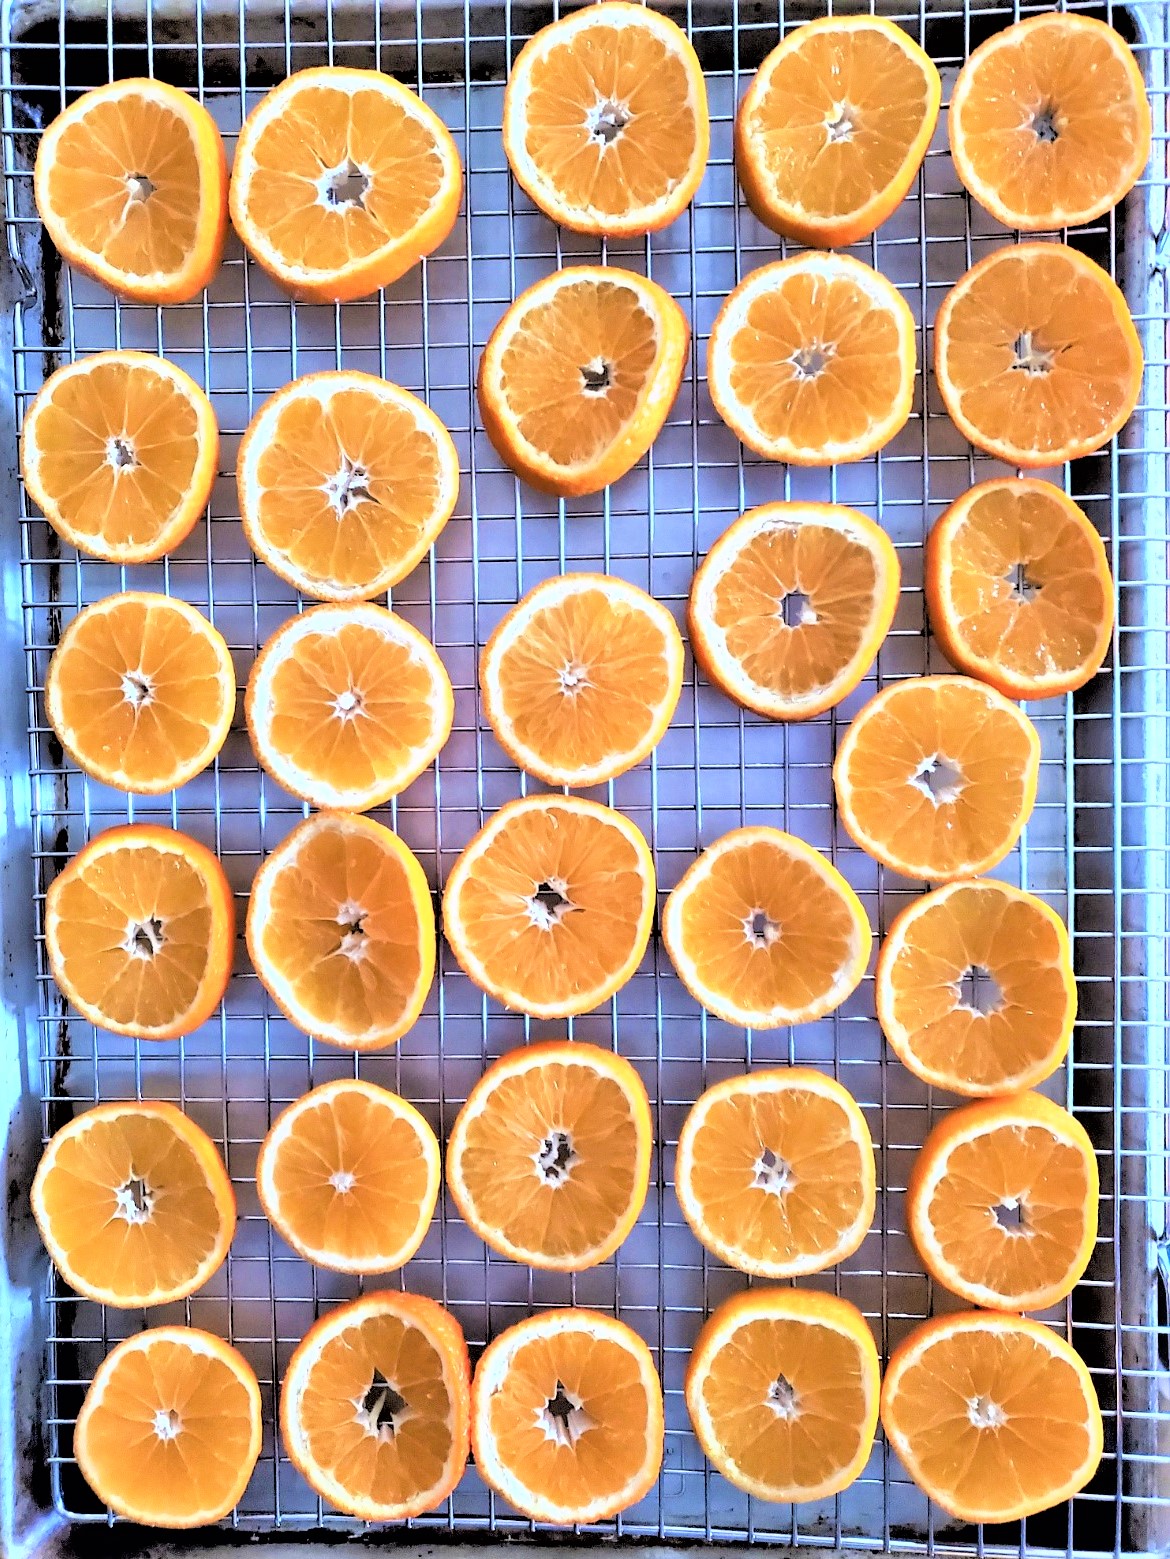
Step 3: Dry The Sliced Orange
Heat the oven to its lowest temperature or use a food dehydrator, then add the oranges to a baking sheet lined with parchment paper. Bake for 4-6 hours until completely dry. Ensure the slices don't touch one another, and flip the slices halfway through the drying process. Cindy's Tip: Due to oven variations, after flipping each orange slice. Check on them often during the last hour to make sure they are not getting burned. I also recommend rotating the baking sheet for uniform drying.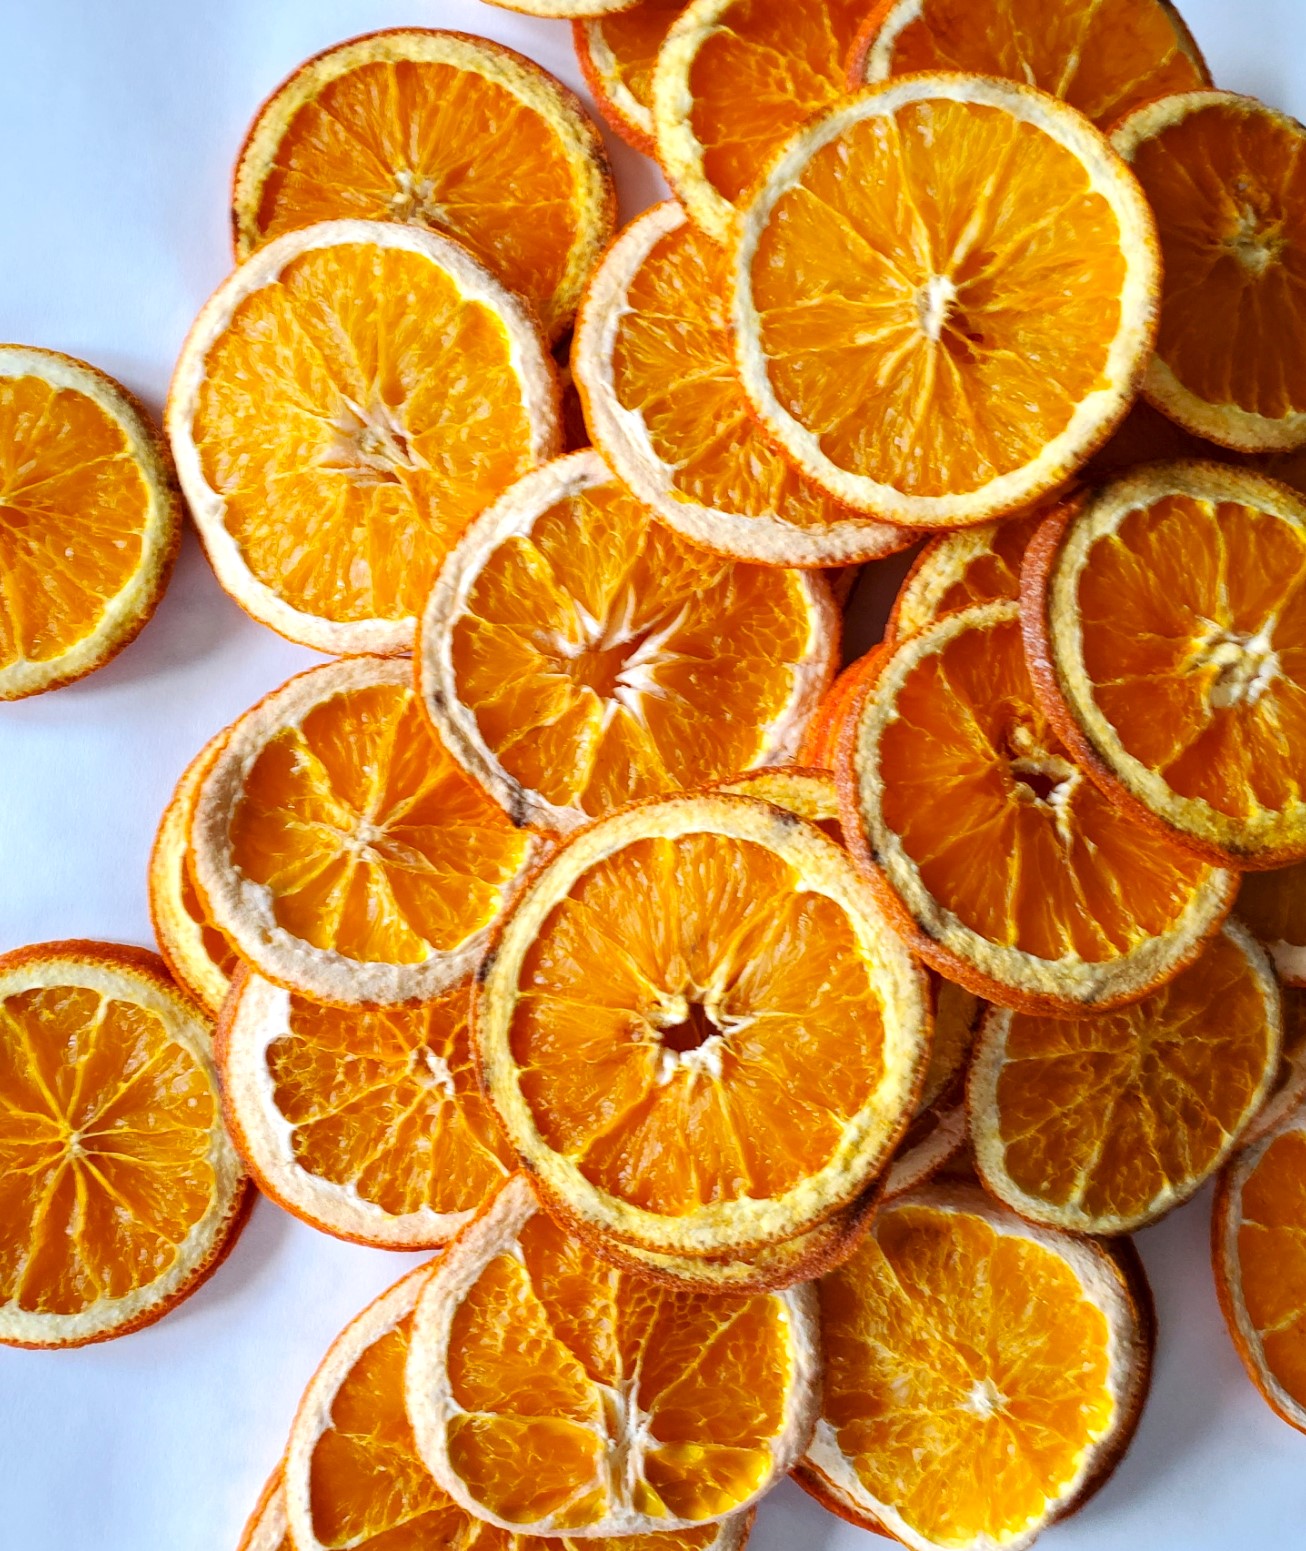
Step 4: Look Through Star Anise
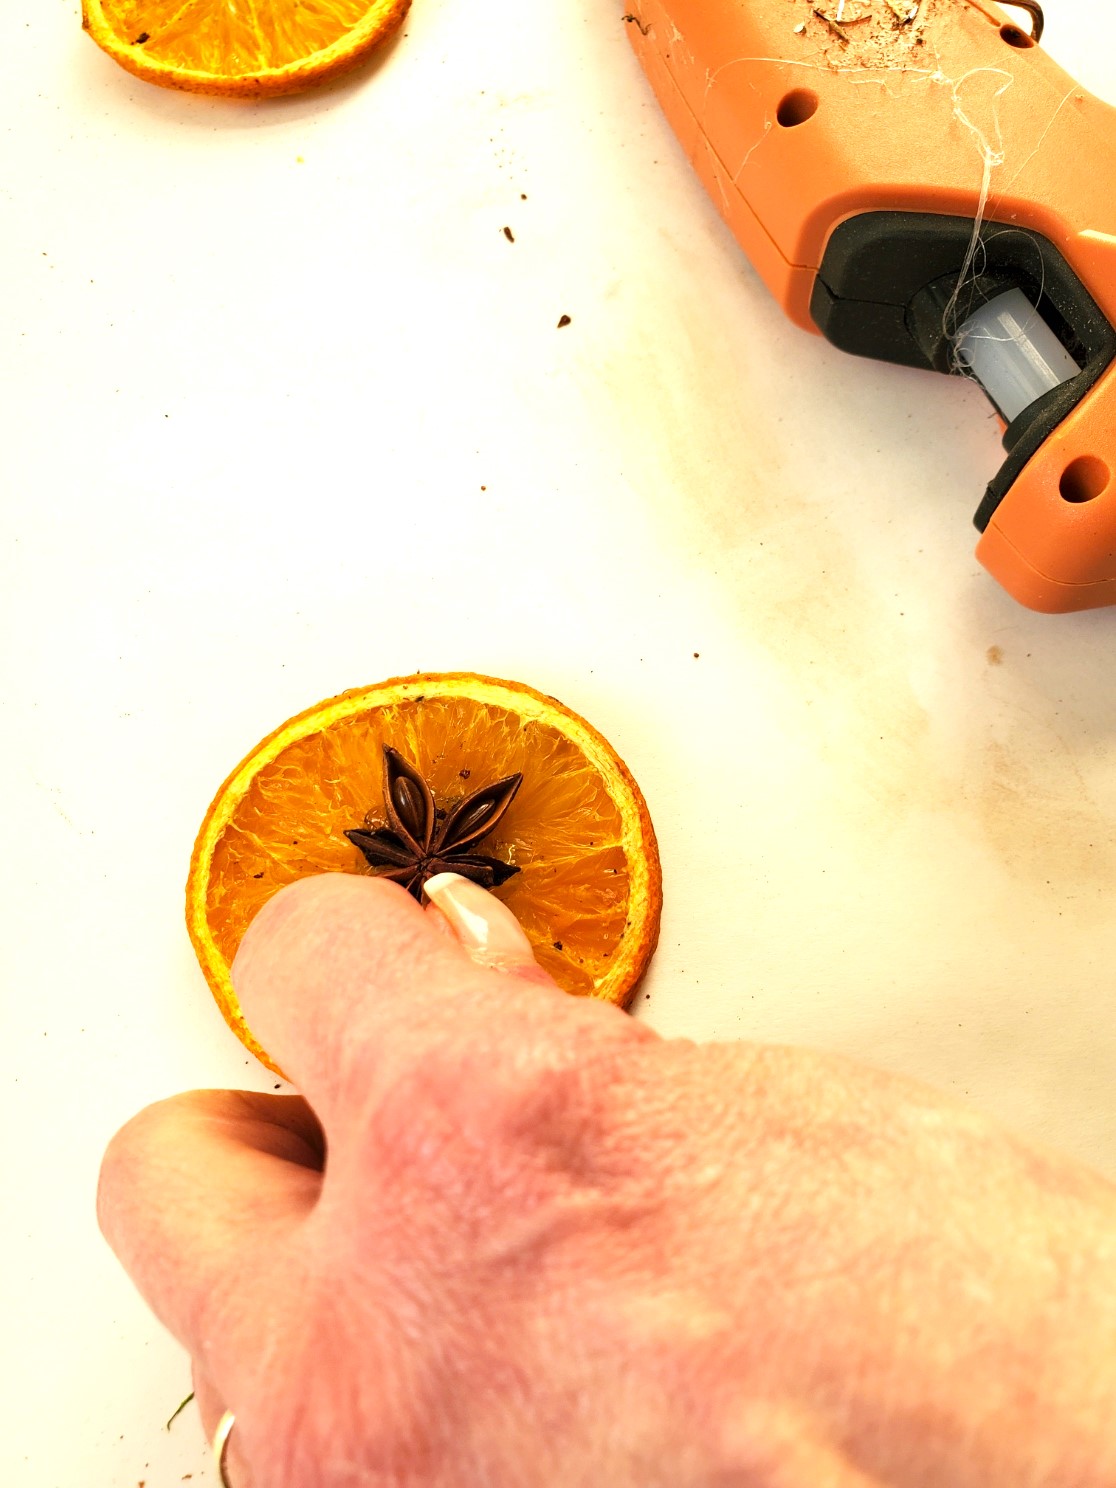
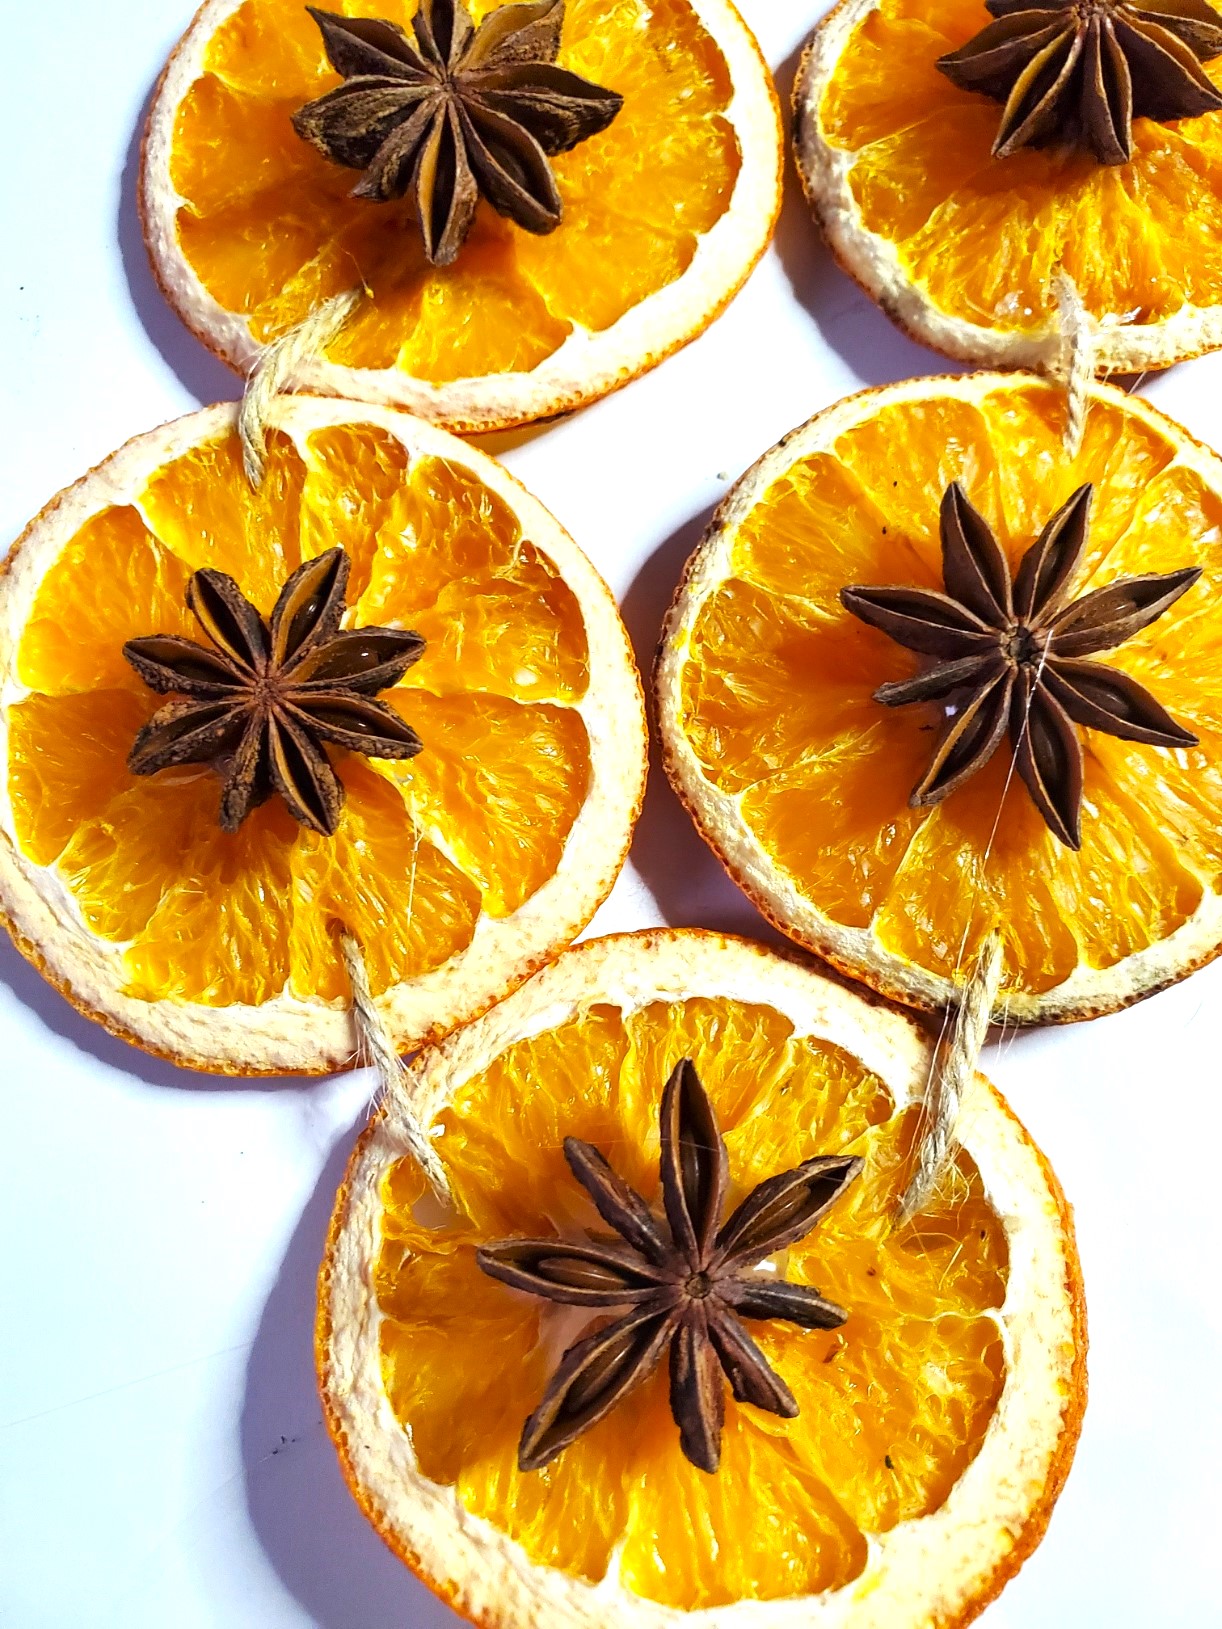
If you purchase star anise at the grocery store, the pieces will be smaller than on my garland. If you would like anise stars the same size as my orange garland, I recommend purchasing them from Amazon. Heat your hot glue gun and add a dab of hot glue to the back of the anise stars. Place star anise in the center of the orange and hold for a second to set. Cindy's extra DIY: Do I have an easy DIY to use the leftover star anise? Yes I do, I created this easy craft last year for a star anise wreath. This is an easy DIY for leftover pieces to add a rustic look with natural elements to the backs of chairs or your home for the holidays. I forgot to take a picture of this step for my post. Here I'm sharing how to hot glue anise stars to orange slices I had left from my DIY.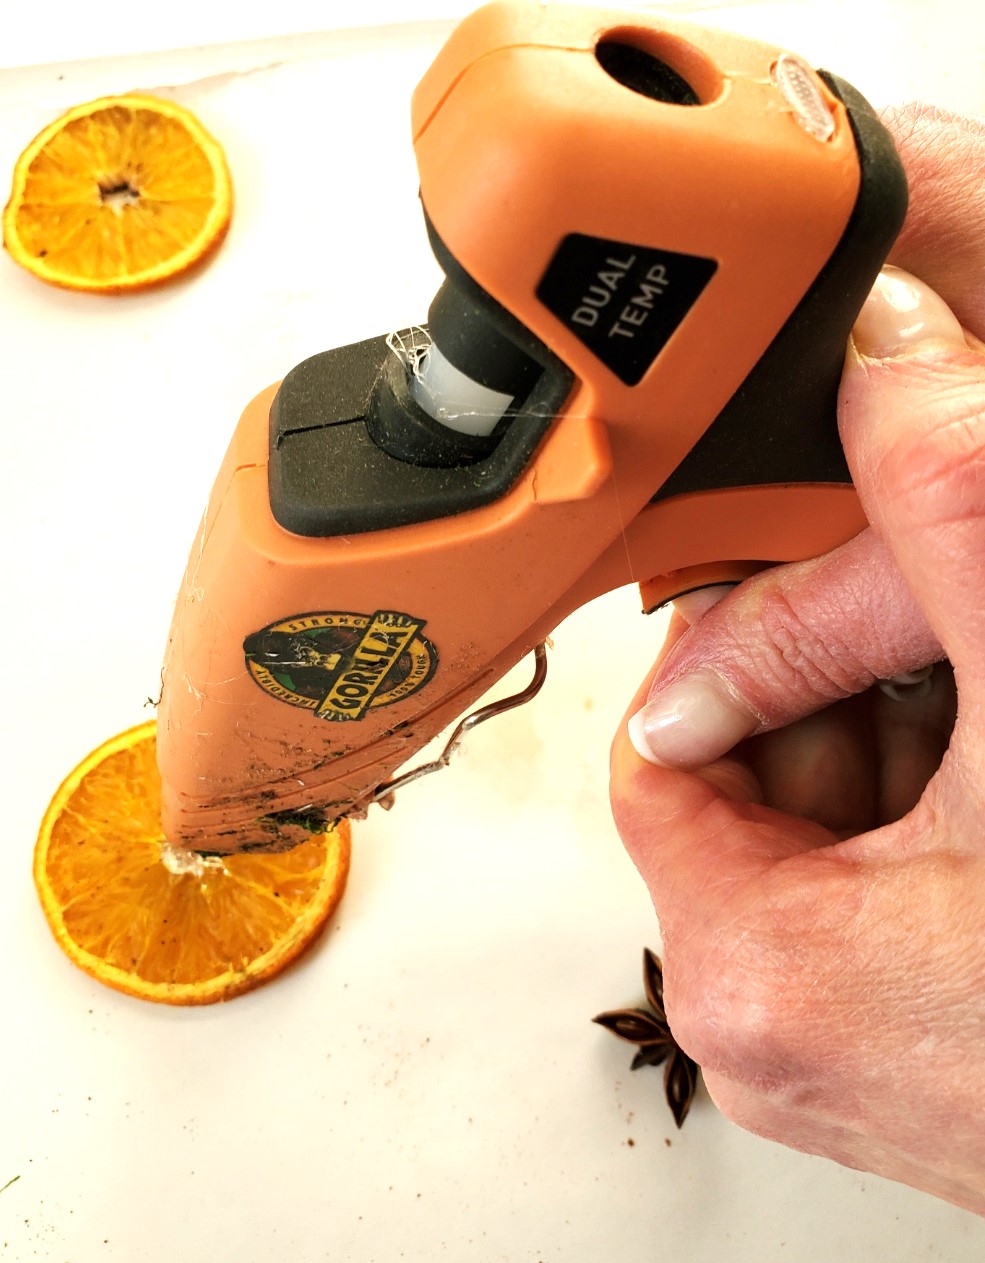

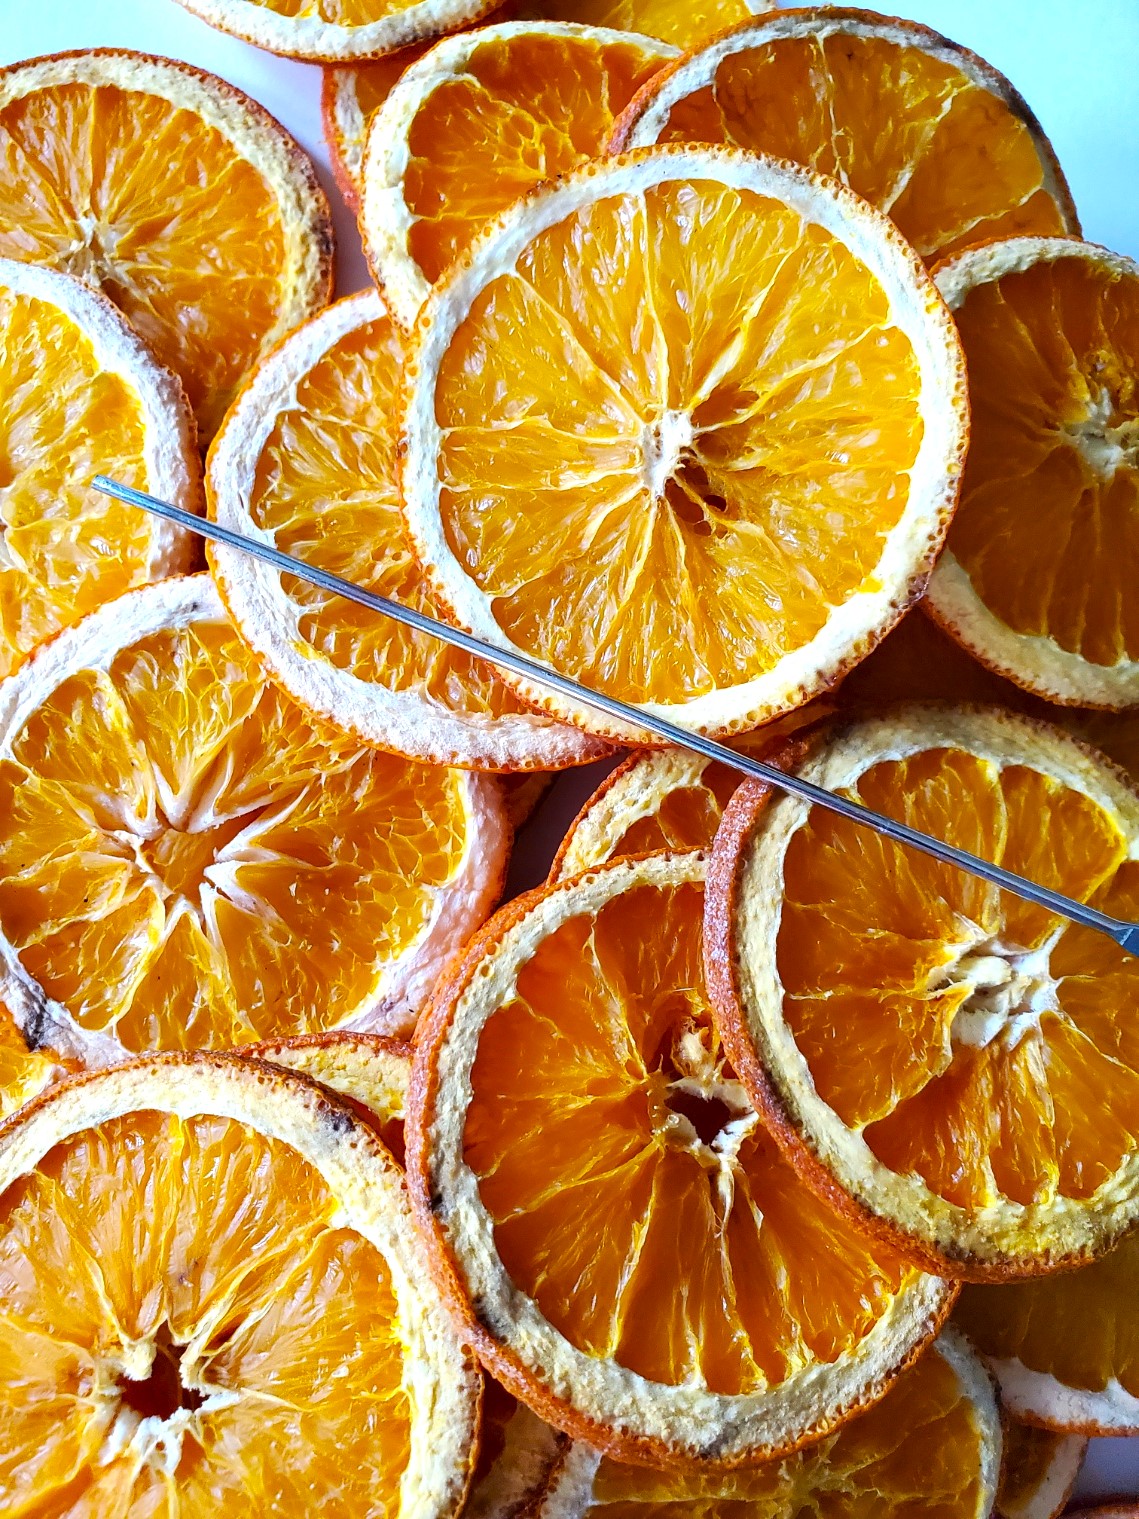
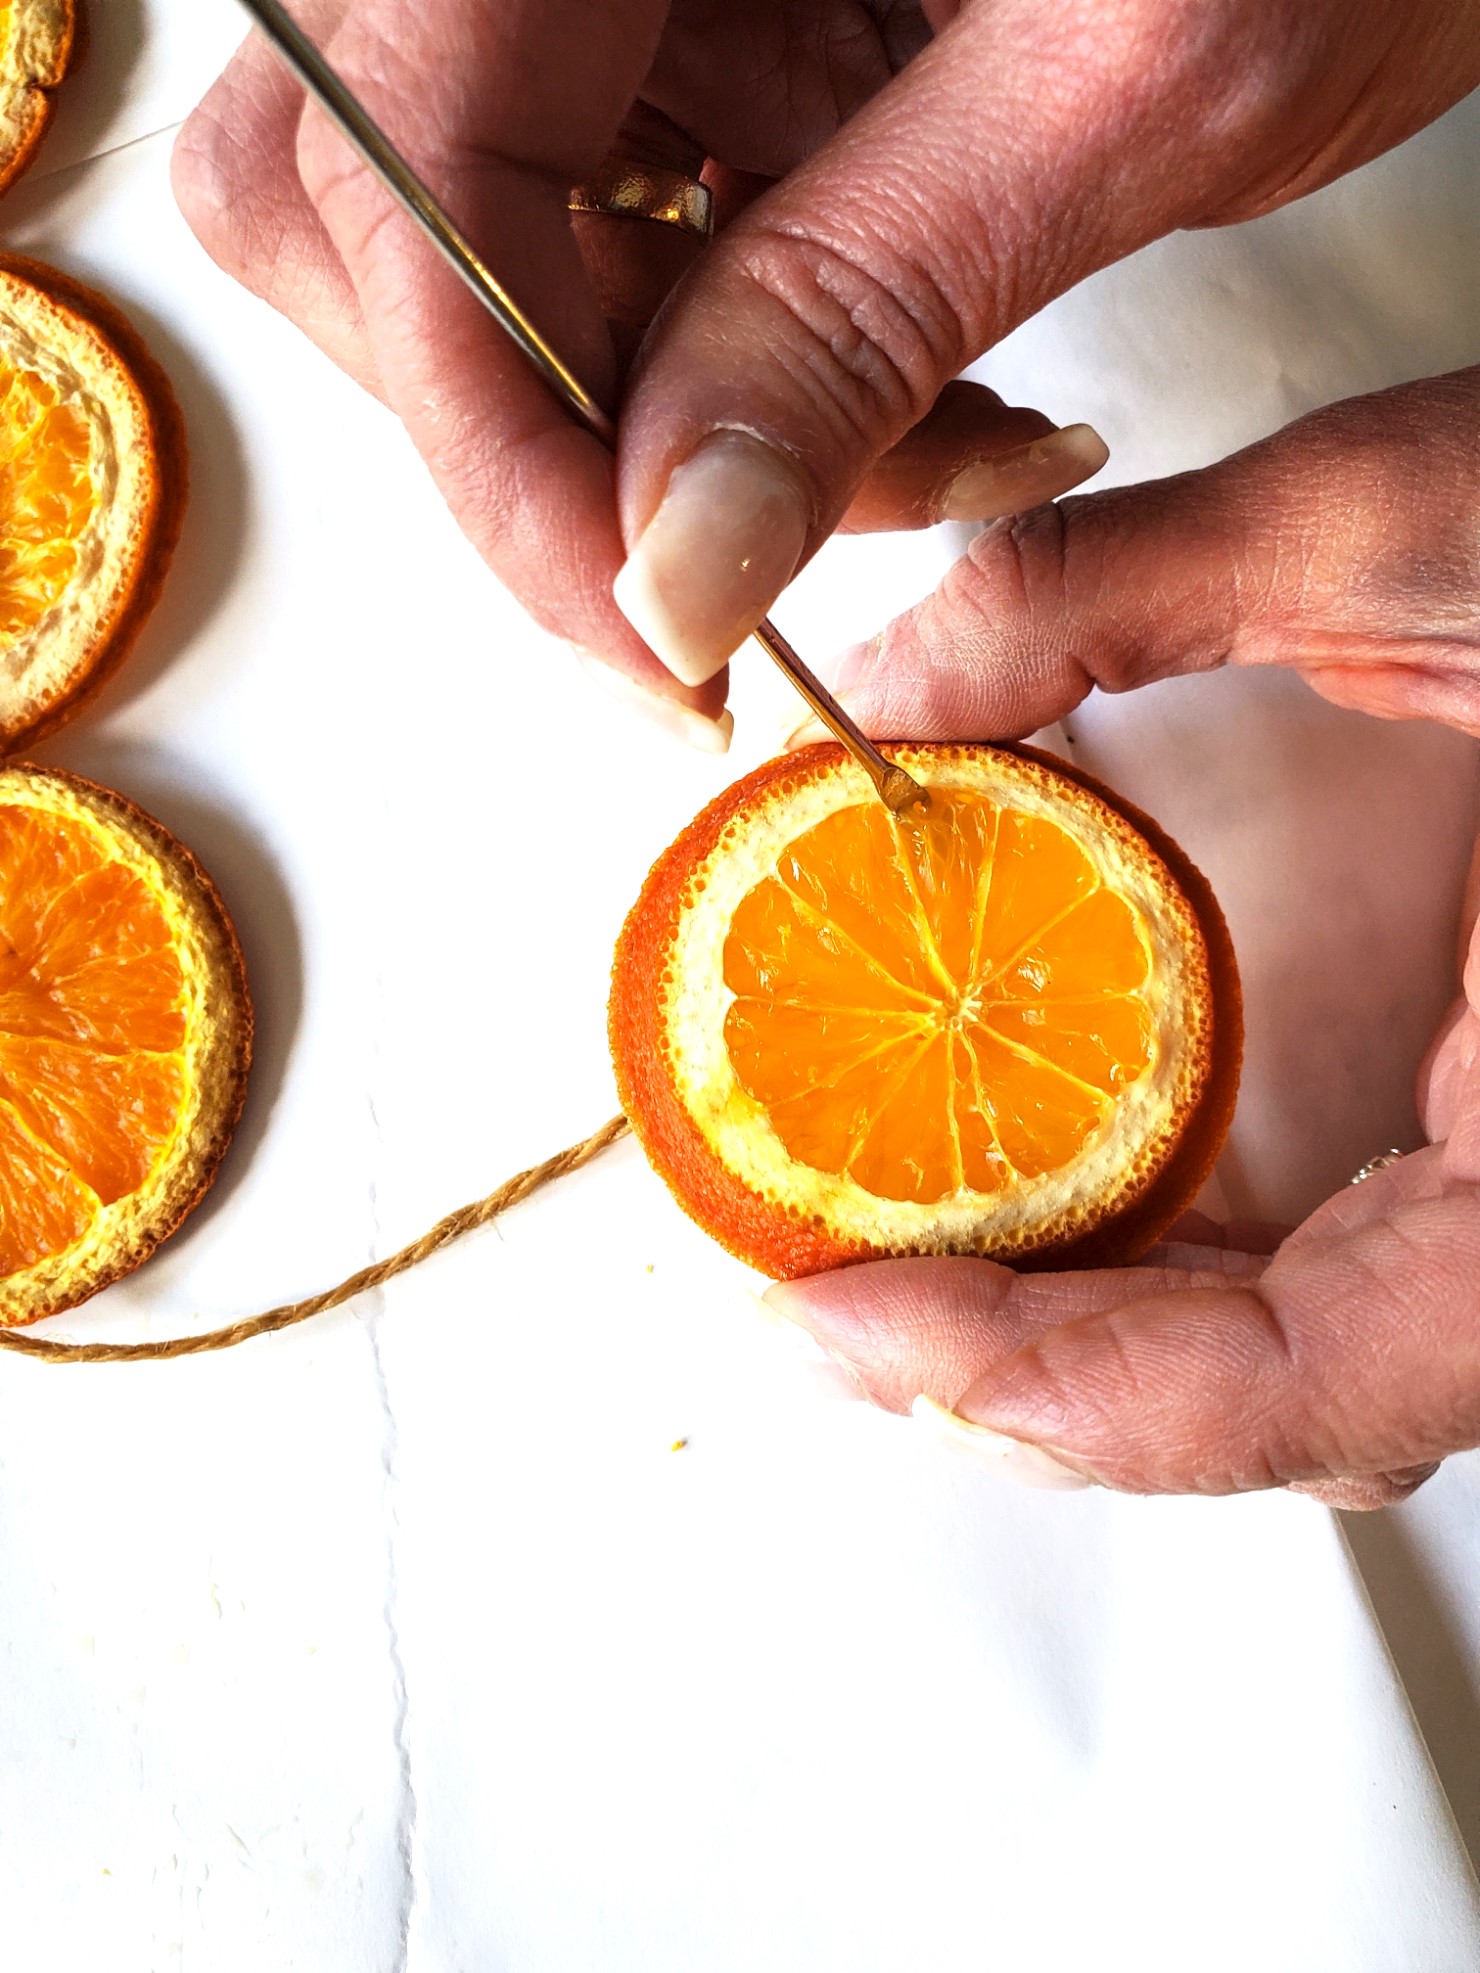
Step 5: Thread The Garland
Cut twine to string the garland with the oranges. Thread the sewing needle. Make small holes on either side of the sliced orange, and pull the thread through. Repeat steps. Add a dab of hot glue on top of the sliced orange and place star anise on top. Hold to set.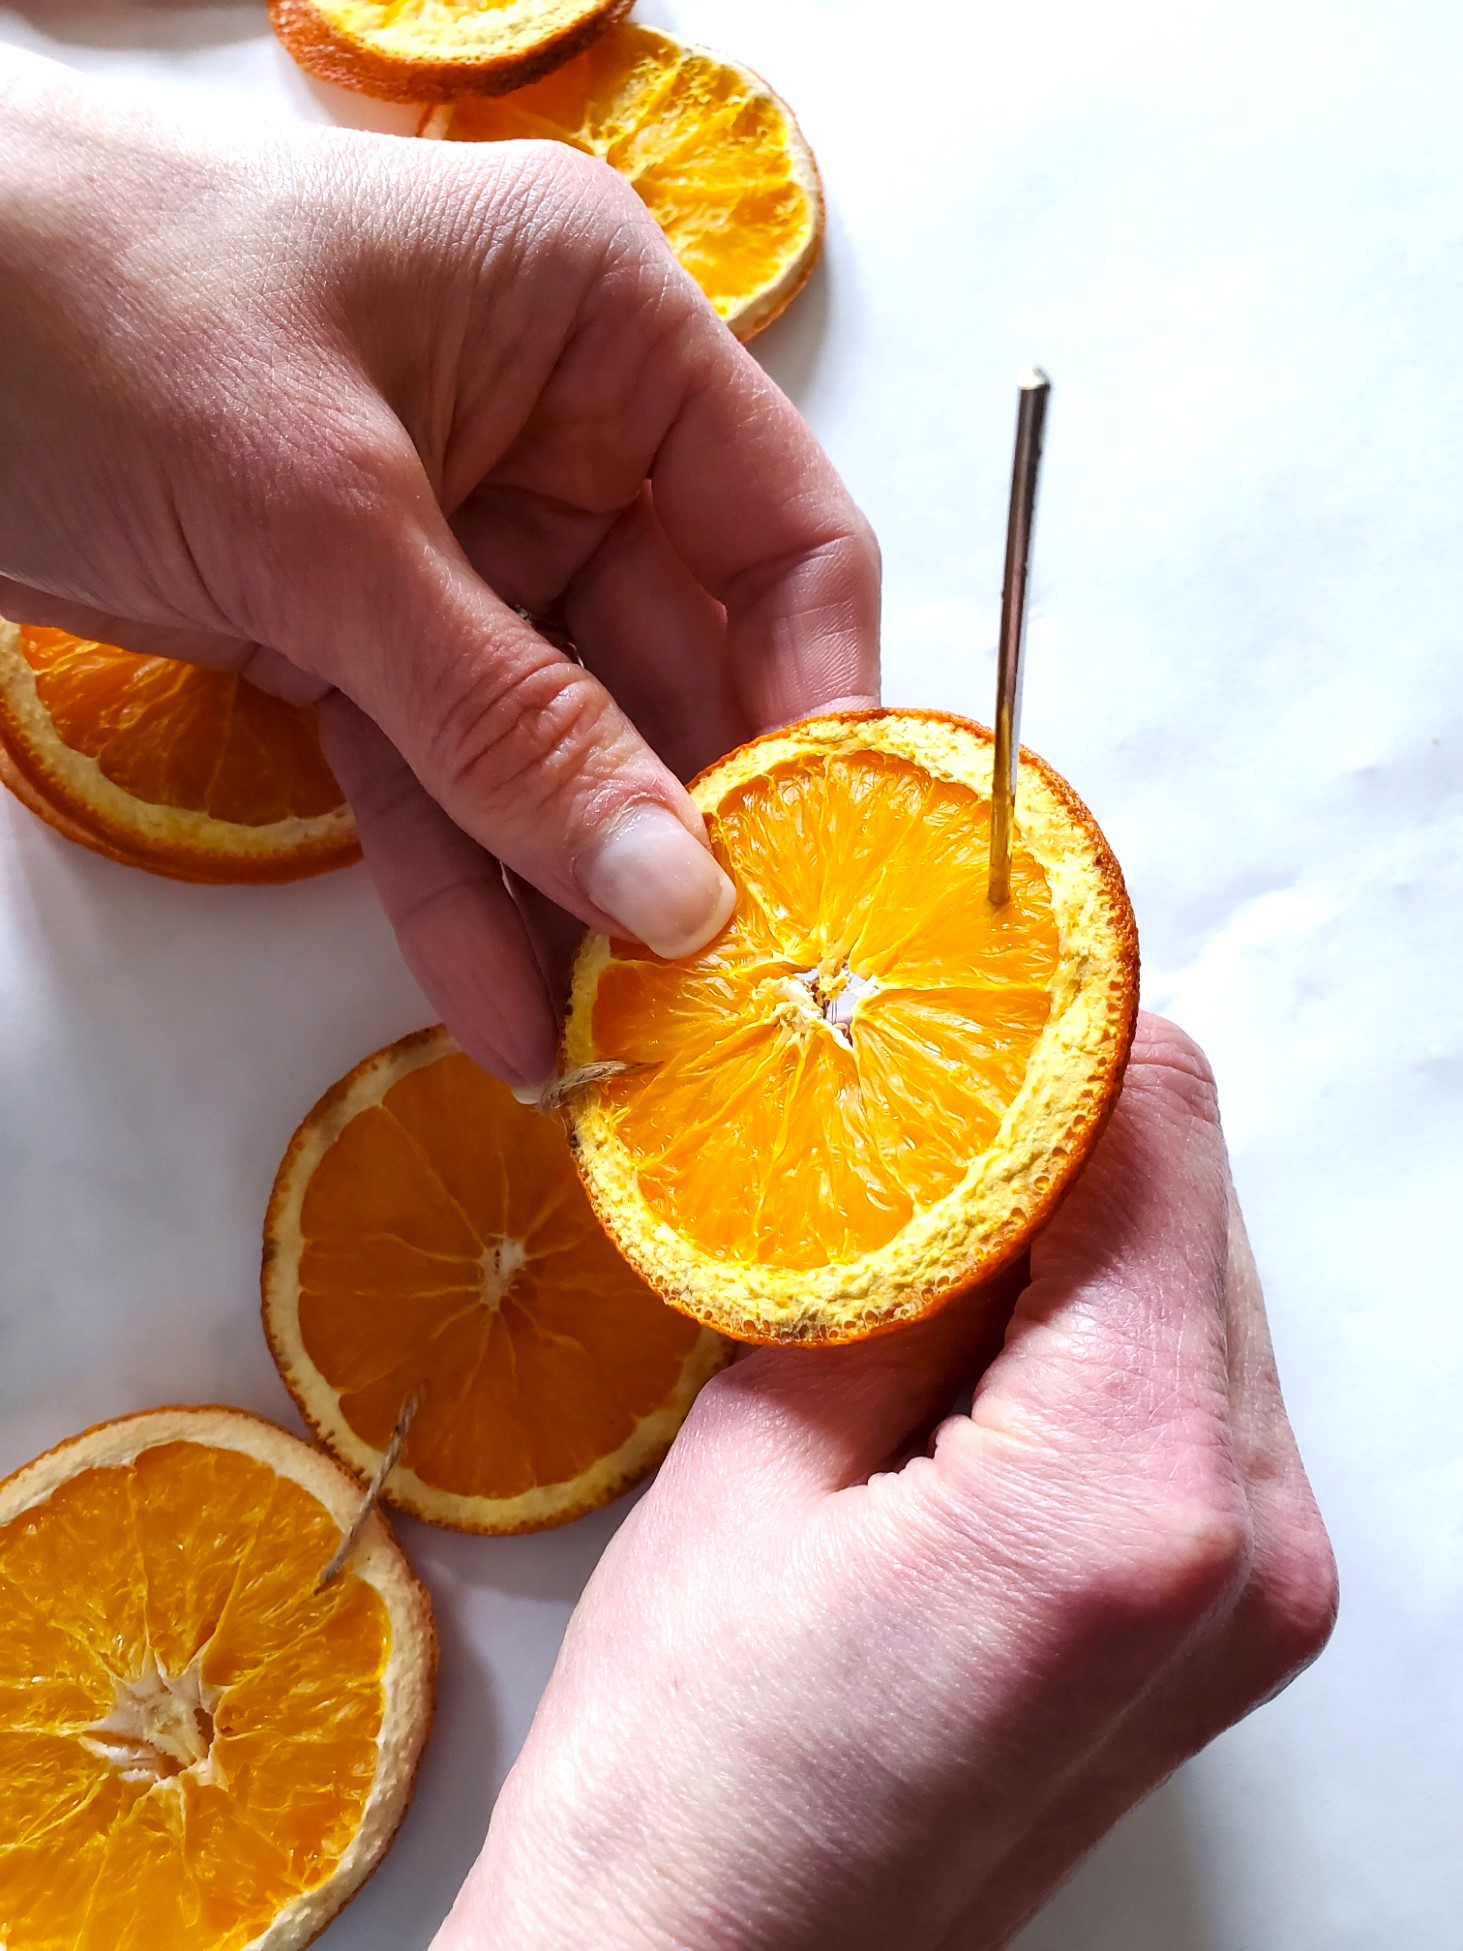
Star Anise Garland Satin Ribbon
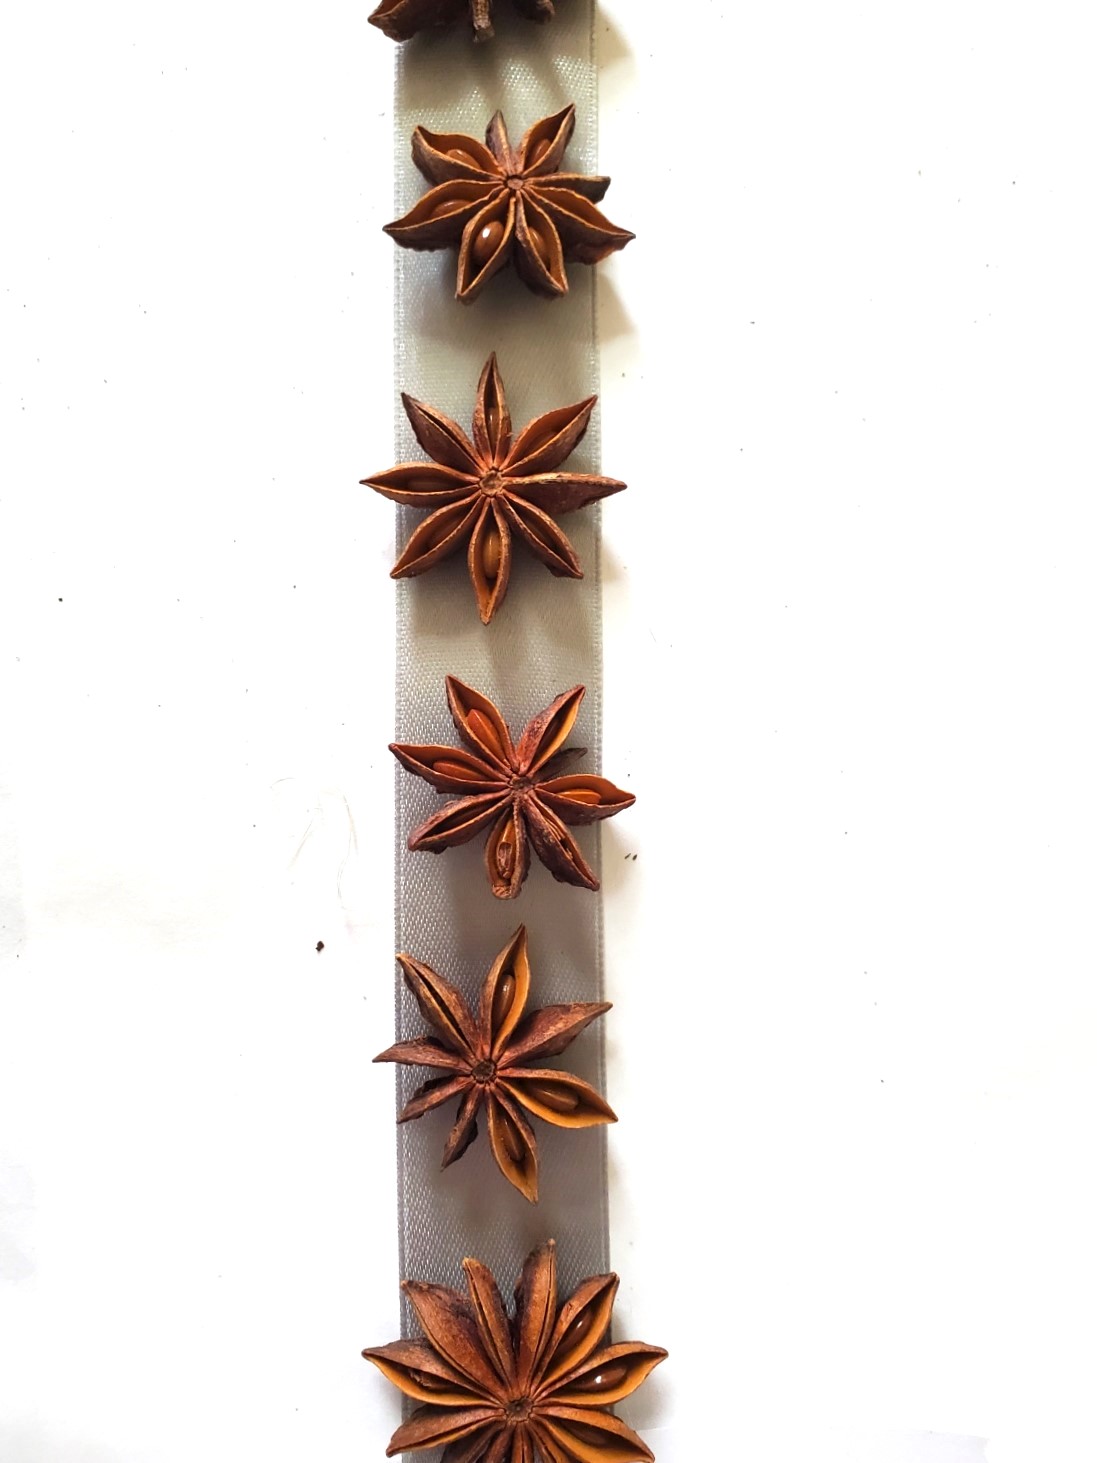
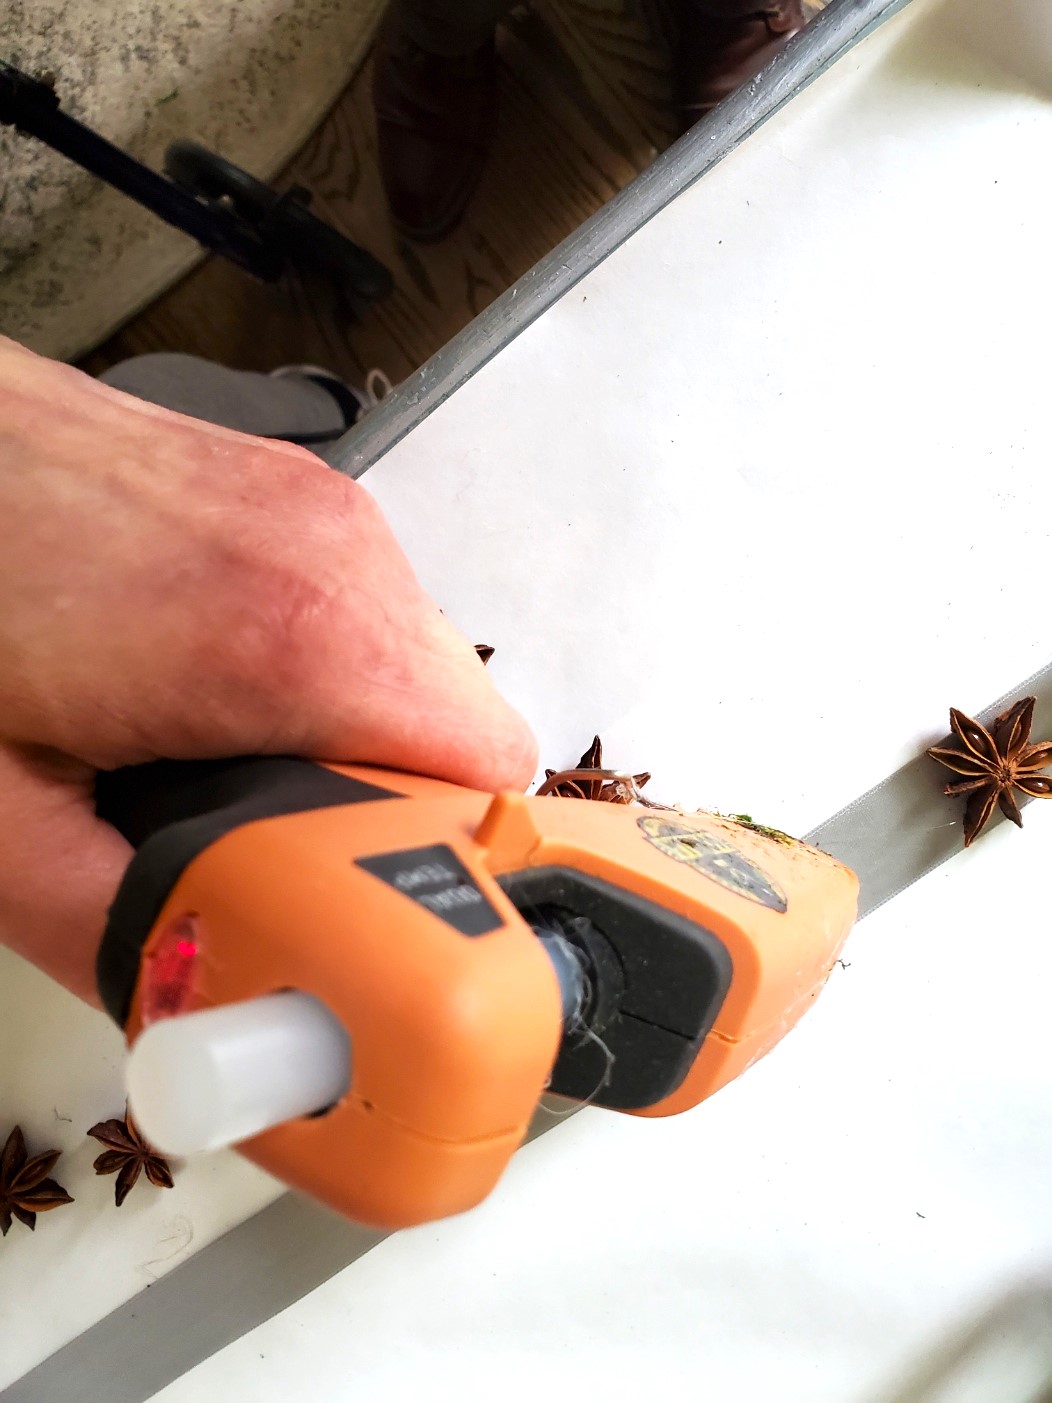
Step 1: Cut Ribbon
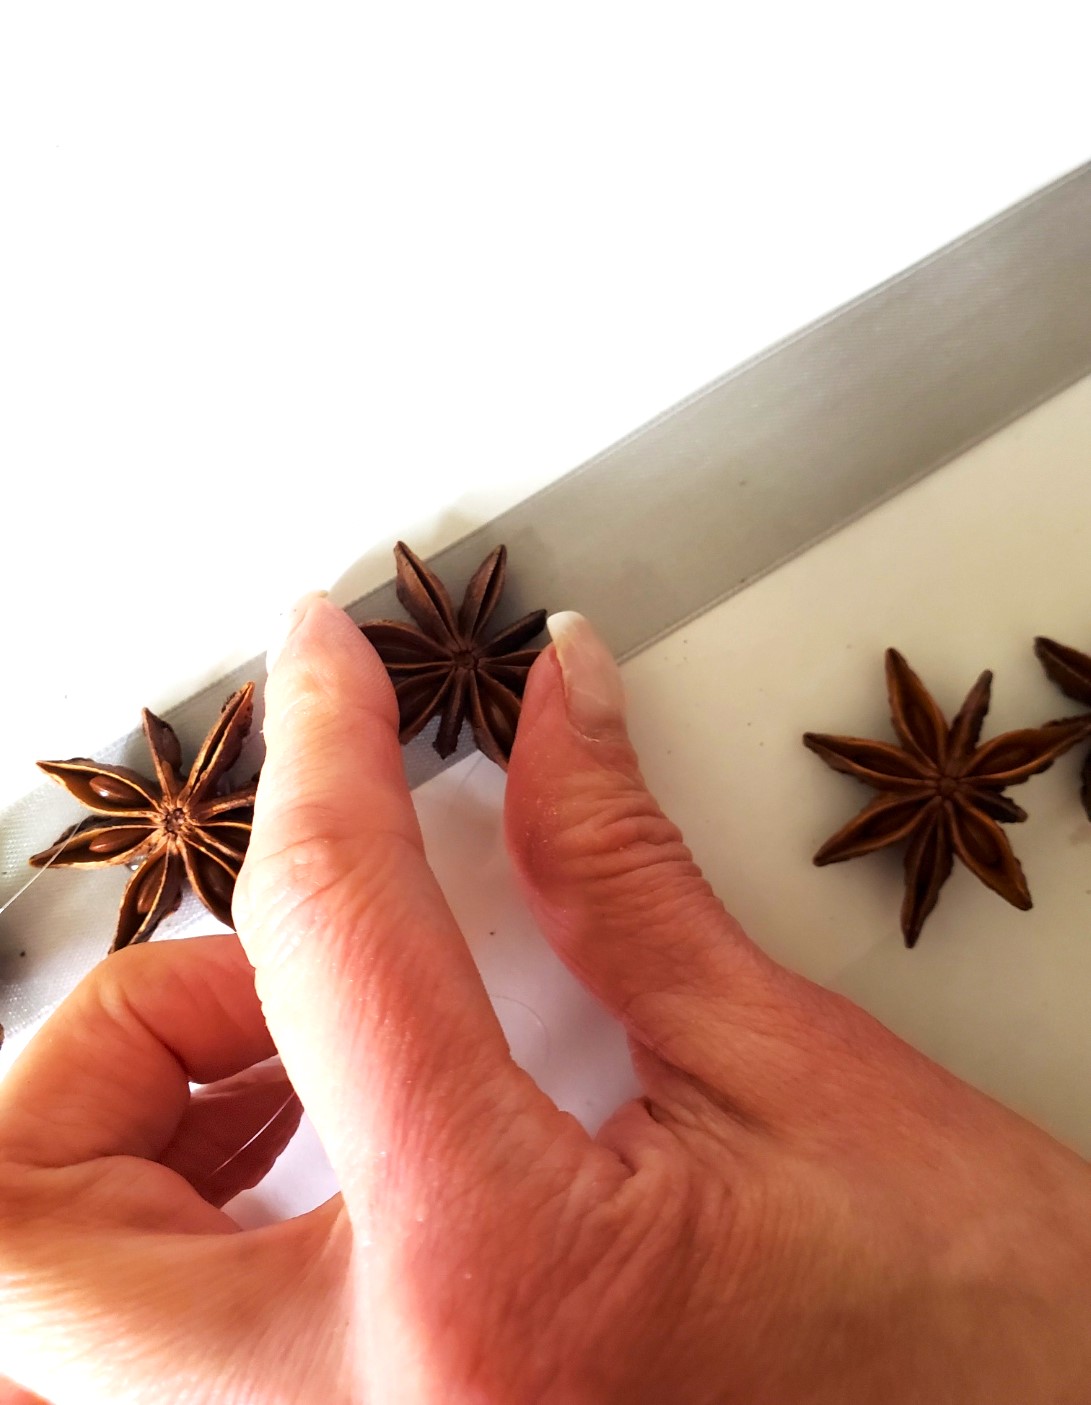
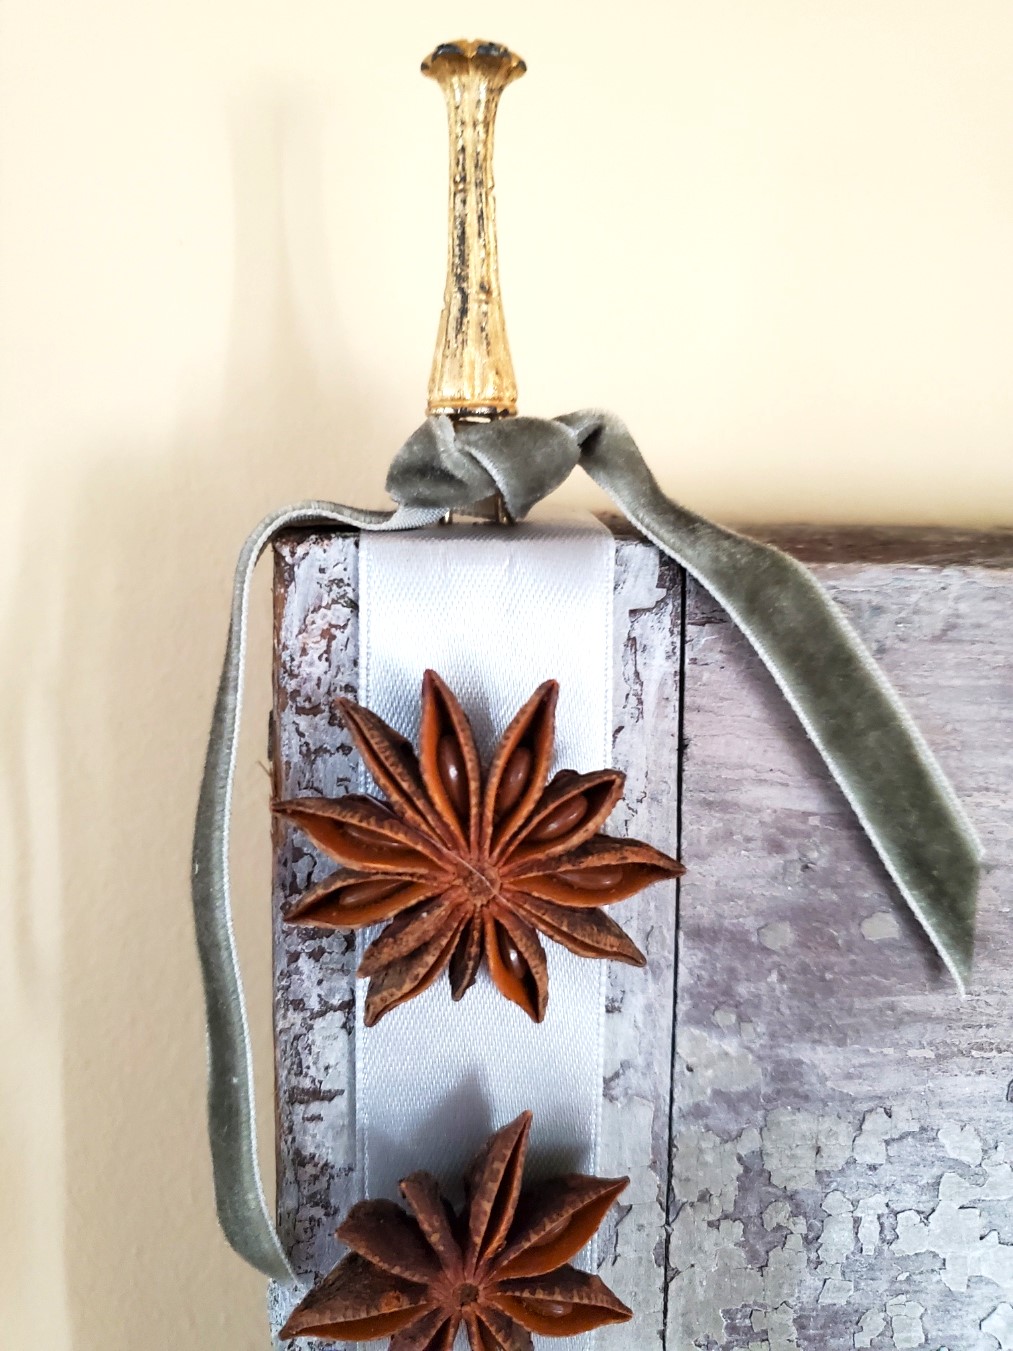
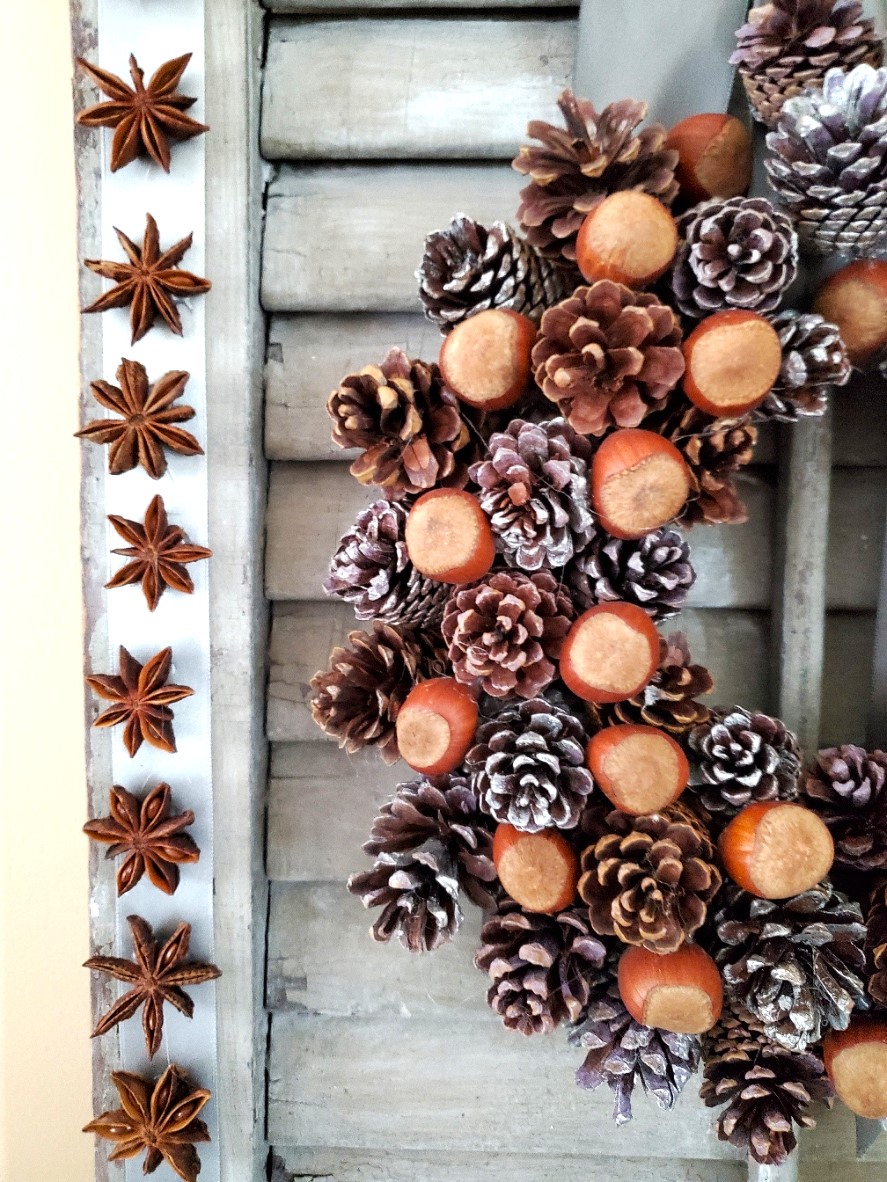
This DIY garland is a simple tutorial and beautiful. This adds another natural way to enhance our Christmas decorations and infuse our homes with natural elements and a more minimal look through the winter months. Cut satin or velvet ribbon to the desired length, and add a dab of hot glue to the ribbon. Place star anise and hold to set. That's it and done! Combining my anise garland with my pinecone wreath combines elegance and natural elements with a rustic look for the holiday season. This wreath is an easy DIY I made a few years ago is one of my favorite projects and looks as good as the day it was made. Cindy's Tip: Before adding hot glue, lay the anise stars on the ribbon. This will enable you to achieve the perfect spacing when making this project to add to your home during the holidays.Craft Supplies:
-
- star anise or small cinnamon sticks
-
- satin ribbon or velvet ribbon
-
- scissors
-
- hot glue gun
-
- hot glue sticks
-
- tacks, command hooks, or double-sided tape
Step 2: Attaching Garland
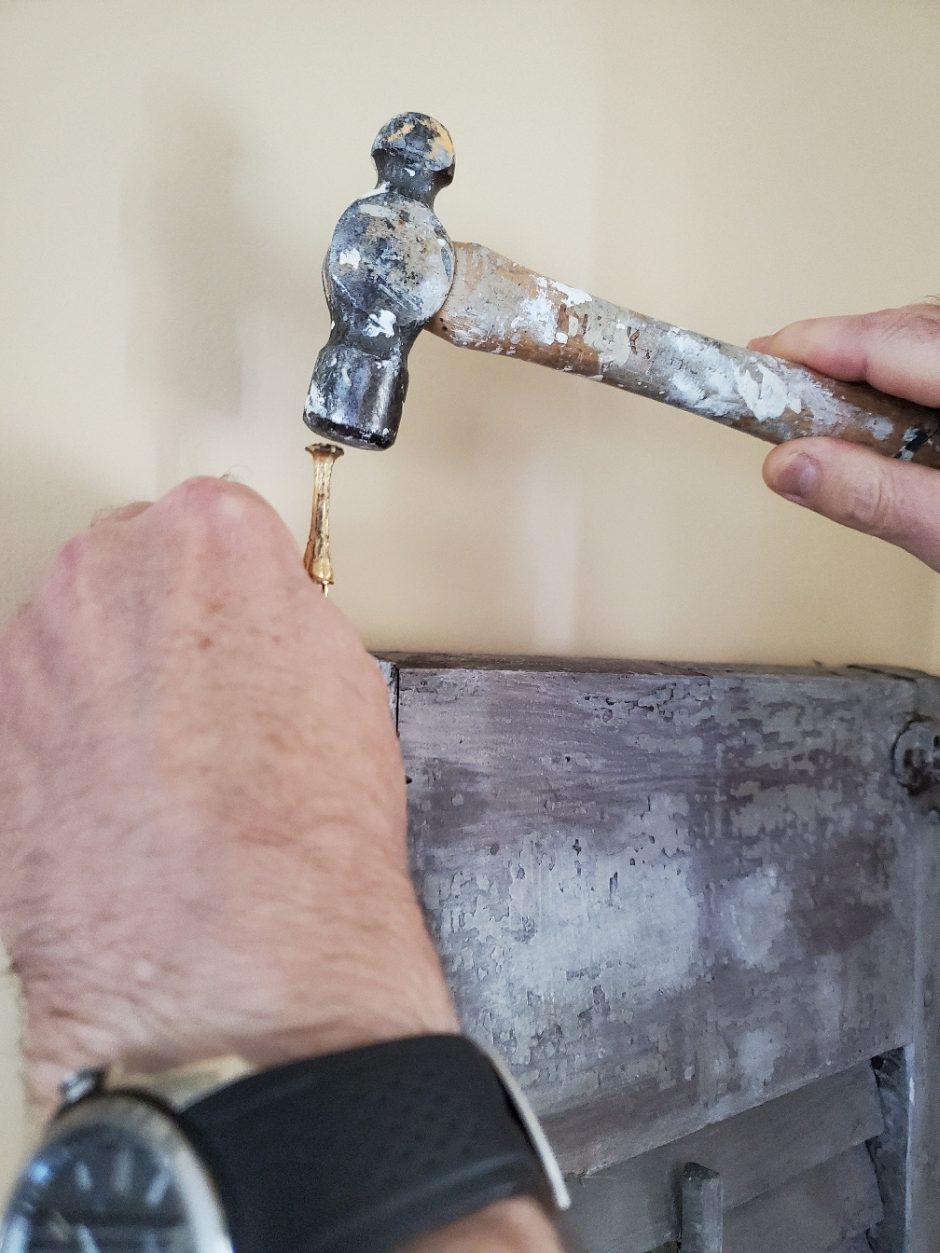
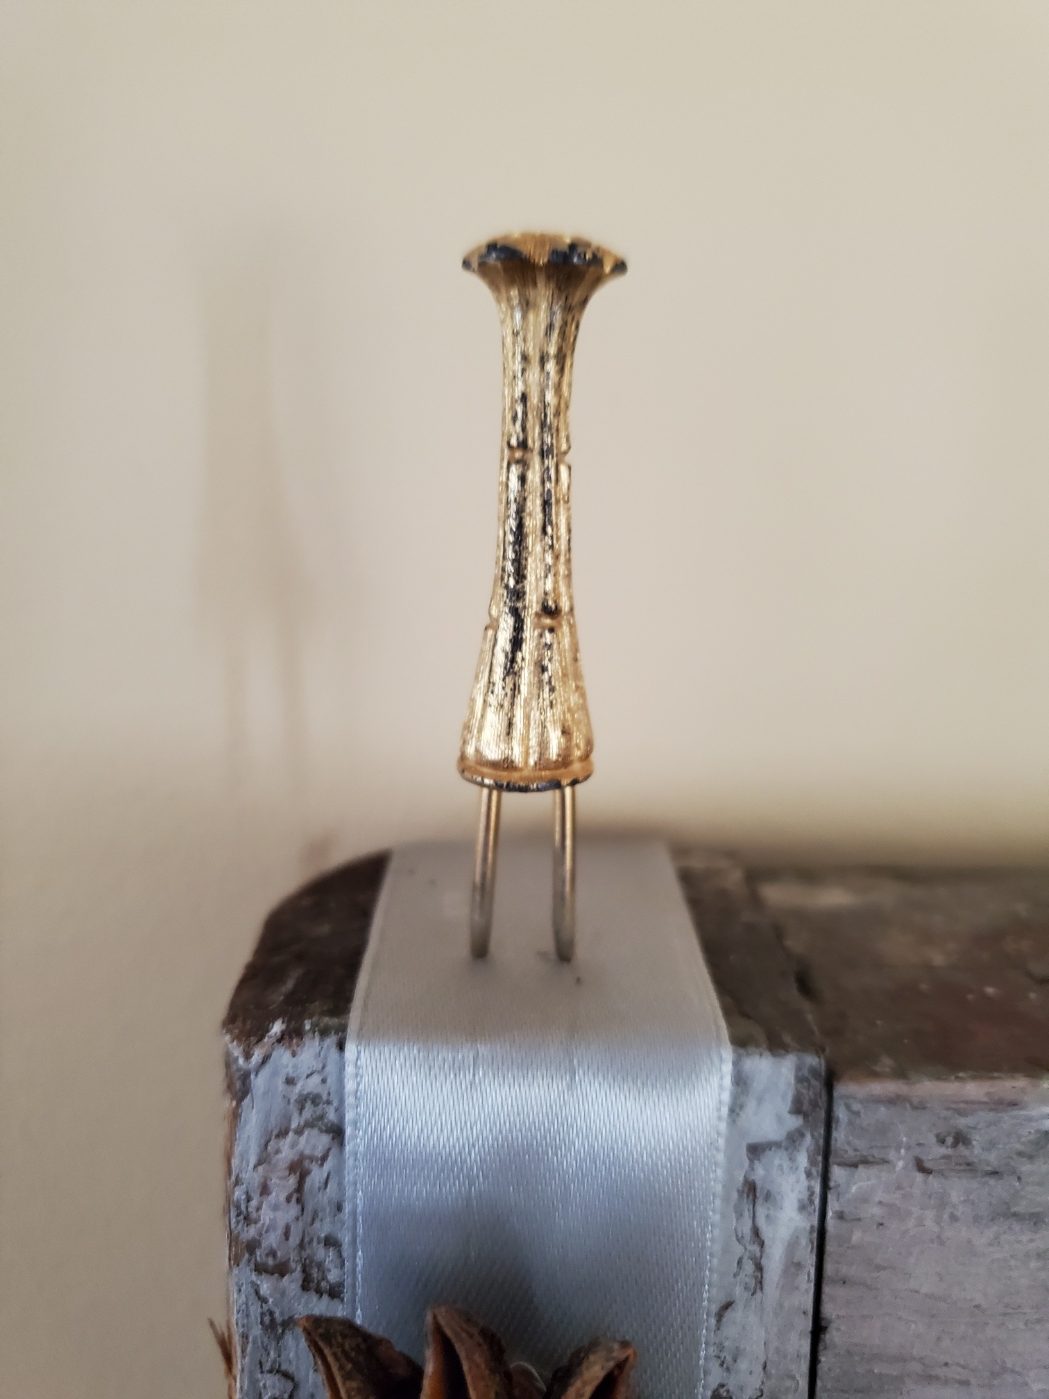
To secure the garland, I opted for a Florentine corn-on-the-cob holder. We gently tapped it with a hammer, just enough to hold the garland in place.
Options To Hold Ribbon:
To hold the ribbon I place it on a shutter or a tall decorative item use:-
- double-sided tape
-
- command hooks
-
- staples
-
- tacks
 **REMEMBER TO CHECK ALL MY TIPS AND OTHER OPTIONS FOR YOUR OWN PROJECT!* *
HAPPY CRAFTING!
**REMEMBER TO CHECK ALL MY TIPS AND OTHER OPTIONS FOR YOUR OWN PROJECT!* *
HAPPY CRAFTING!