Hurry! Easily Age Terracotta Pots Using Lime
In this blog post, join me for the fun and easy process that gives clay pots an aged appearance. So, hurry! easily age terracotta pots using lime.
Yield: 4 small pots
Cost: $10
Notes
Hurry! Easily Age Terracotta Pots Using Lime
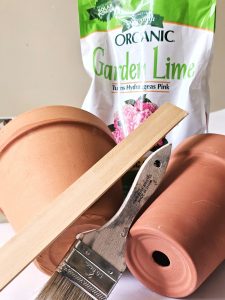
Supplies List: Aged Terracotta Pots Using Lime
-
- Cup of Garden Lime - garden center, Home Depot, Amazon, or Walmart
-
- New terra cotta pots - Home Depot, garden center, or Dollar Tree
-
- Cheap brush, sea sponge, or sponge brush - Home Depot, Dollar Tree, or craft store
-
- Plastic container
-
- 120-grit sanding sponge or sandpaper
-
- A little water
-
- Avocado or moss craft paint for moss growth
-
- Matte sealer
Step 1: Age Pots: Easy DIY Lime Wash Technique
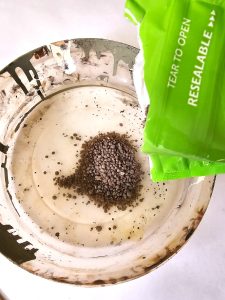
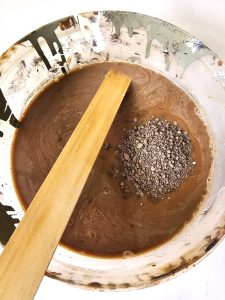
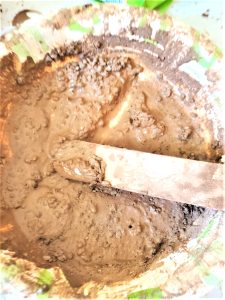
The first thing I did was bring my supplies to our large utility sink. Your first step is to cover your work surface with craft paper to begin the aging process. If it's a nice day, make your garden-lime-aged pots outdoors. The next step is to add chalky lime to a plastic bowl and add a little water. Below, you will see a photo of the consistency to create your aged terra cotta pots.
I used a cup of garden lime and added a little water at a time for this easy project to get the right consistency. Normally, the measurement is 2 cups of water to 1 cup of garden lime. I'm using this lime wash technique on four small pots, a medium, and a bigger pot.
Cindy's Note: It's a good idea to do this project outdoors. Also, it is important to note that lime can be caustic, so wear gloves when working with it. Because I have MS, I did this indoors. So, the smaller pots were done in our utility sink, and the bigger pot in my office. Since I was working with lime indoors, I wore a mask when sanding and spraying the matte sealer. I wanted to be extra safe.
Step 2: Simple Steps to Apply Your Aged Pot Finish
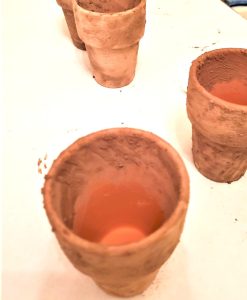
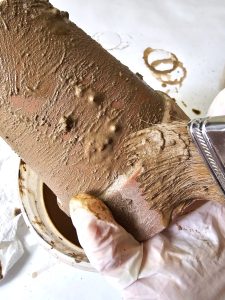
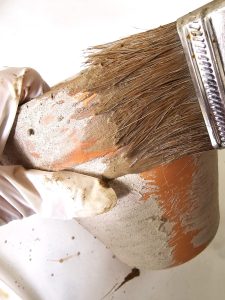
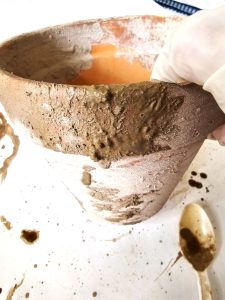
To age new terracotta pots with lime, you mix a cup of garden lime with a little water to form a paste. Continue adding lime until the consistency resembles pudding. Begin applying the lime wash to the outside of the pot using a cheap paintbrush. Also, add a coat to the inside of the pot, too.
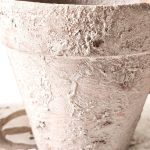
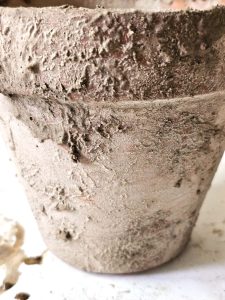
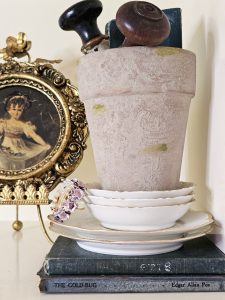
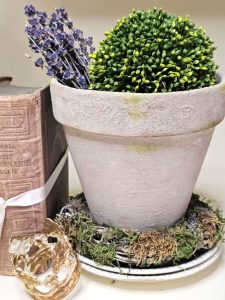
First, I applied the lime to the outside of the pot using a paintbrush. When the outside dried, I added the wash to the inside of the pot. Now, let the pots dry. The flowerpots will dry in a matter of minutes. The lime will dry and form a white film on the surface of the pot. This gave the pot an aged appearance. No more waiting for pots to age over time. So, hurry! easily age terracotta pots using lime.
Cindy's Tip: I left some spots on the flower pots a bit heavier with the lime. This is because when pieces age in nature, items age differently in different areas. So, this gives the pots a realistic look.
Step 3: Add a Matte Clear Coat and Sand Clay Pots
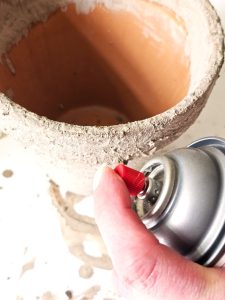
After the flower pots dry, spray them with a light coat of matte sealer. Being an organic product, lime may come off the pots; this is normal. Again, let the terracotta pots dry completely.
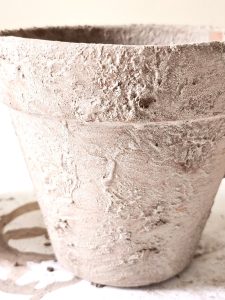
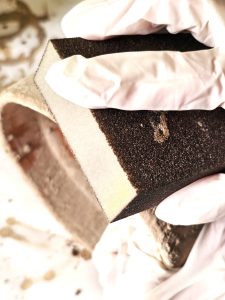
Next, use a 120-grit sanding sponge or 120-grit sandpaper and lightly sand small sections of the chalky lime from the flower pots. This allows different variations of the aged look to appear and look natural. Also, sand sections. This will allow the real terracotta to show through on the aged pots. This is a creative way to achieve different looks for each pot. Sand until you achieve your desired look.
Cindy's Note: Remember, if you are doing this inside, open the windows and wear a mask.
Step 4: Adding Moss
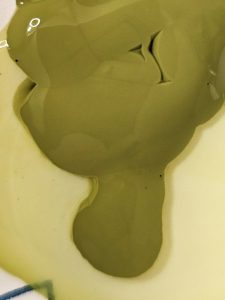
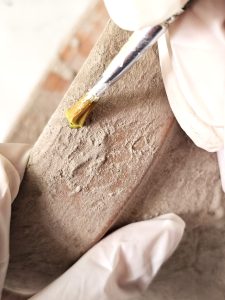
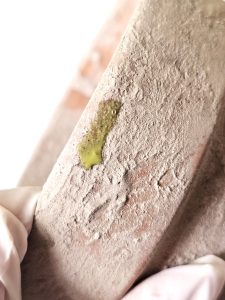
Add a little water to the green paint. I did this to create my own moss. After adding a bit of the green paint on the rim with a small paintbrush, lightly smooth it to blend on the pots. I used the tip of my finger. This gives them the look of moss growing. The part I truly enjoy about lime pots is leaving different variations of the lime. This is a creative way to give new pots different looks in different ways with chalky lime.
Cindy's Note: Creating my own moss with the avocado paint and adding it gave the lime pots the most natural look. This is a personal preference, so feel free to skip this part. However, it's my favorite part!
 DON'T FORGET TO PIN THIS SO YOU HAVE IT! ALSO, REMEMBER TO VISIT THE LINKS I SHARED IN THE POST FOR GREAT DIY PROJECTS. THANK YOU.
