Easy Walnut Garland
Today, I am thrilled to share a straightforward autumn craft project with you, an easy fall walnut garland. But before we dive into the exciting idea surrounding this garland, let's first explore how to create one from scratch.
Yield: 1 garland
Cost: 5
Notes
EASY WALNUT GARLAND
Supplies Needed:
-
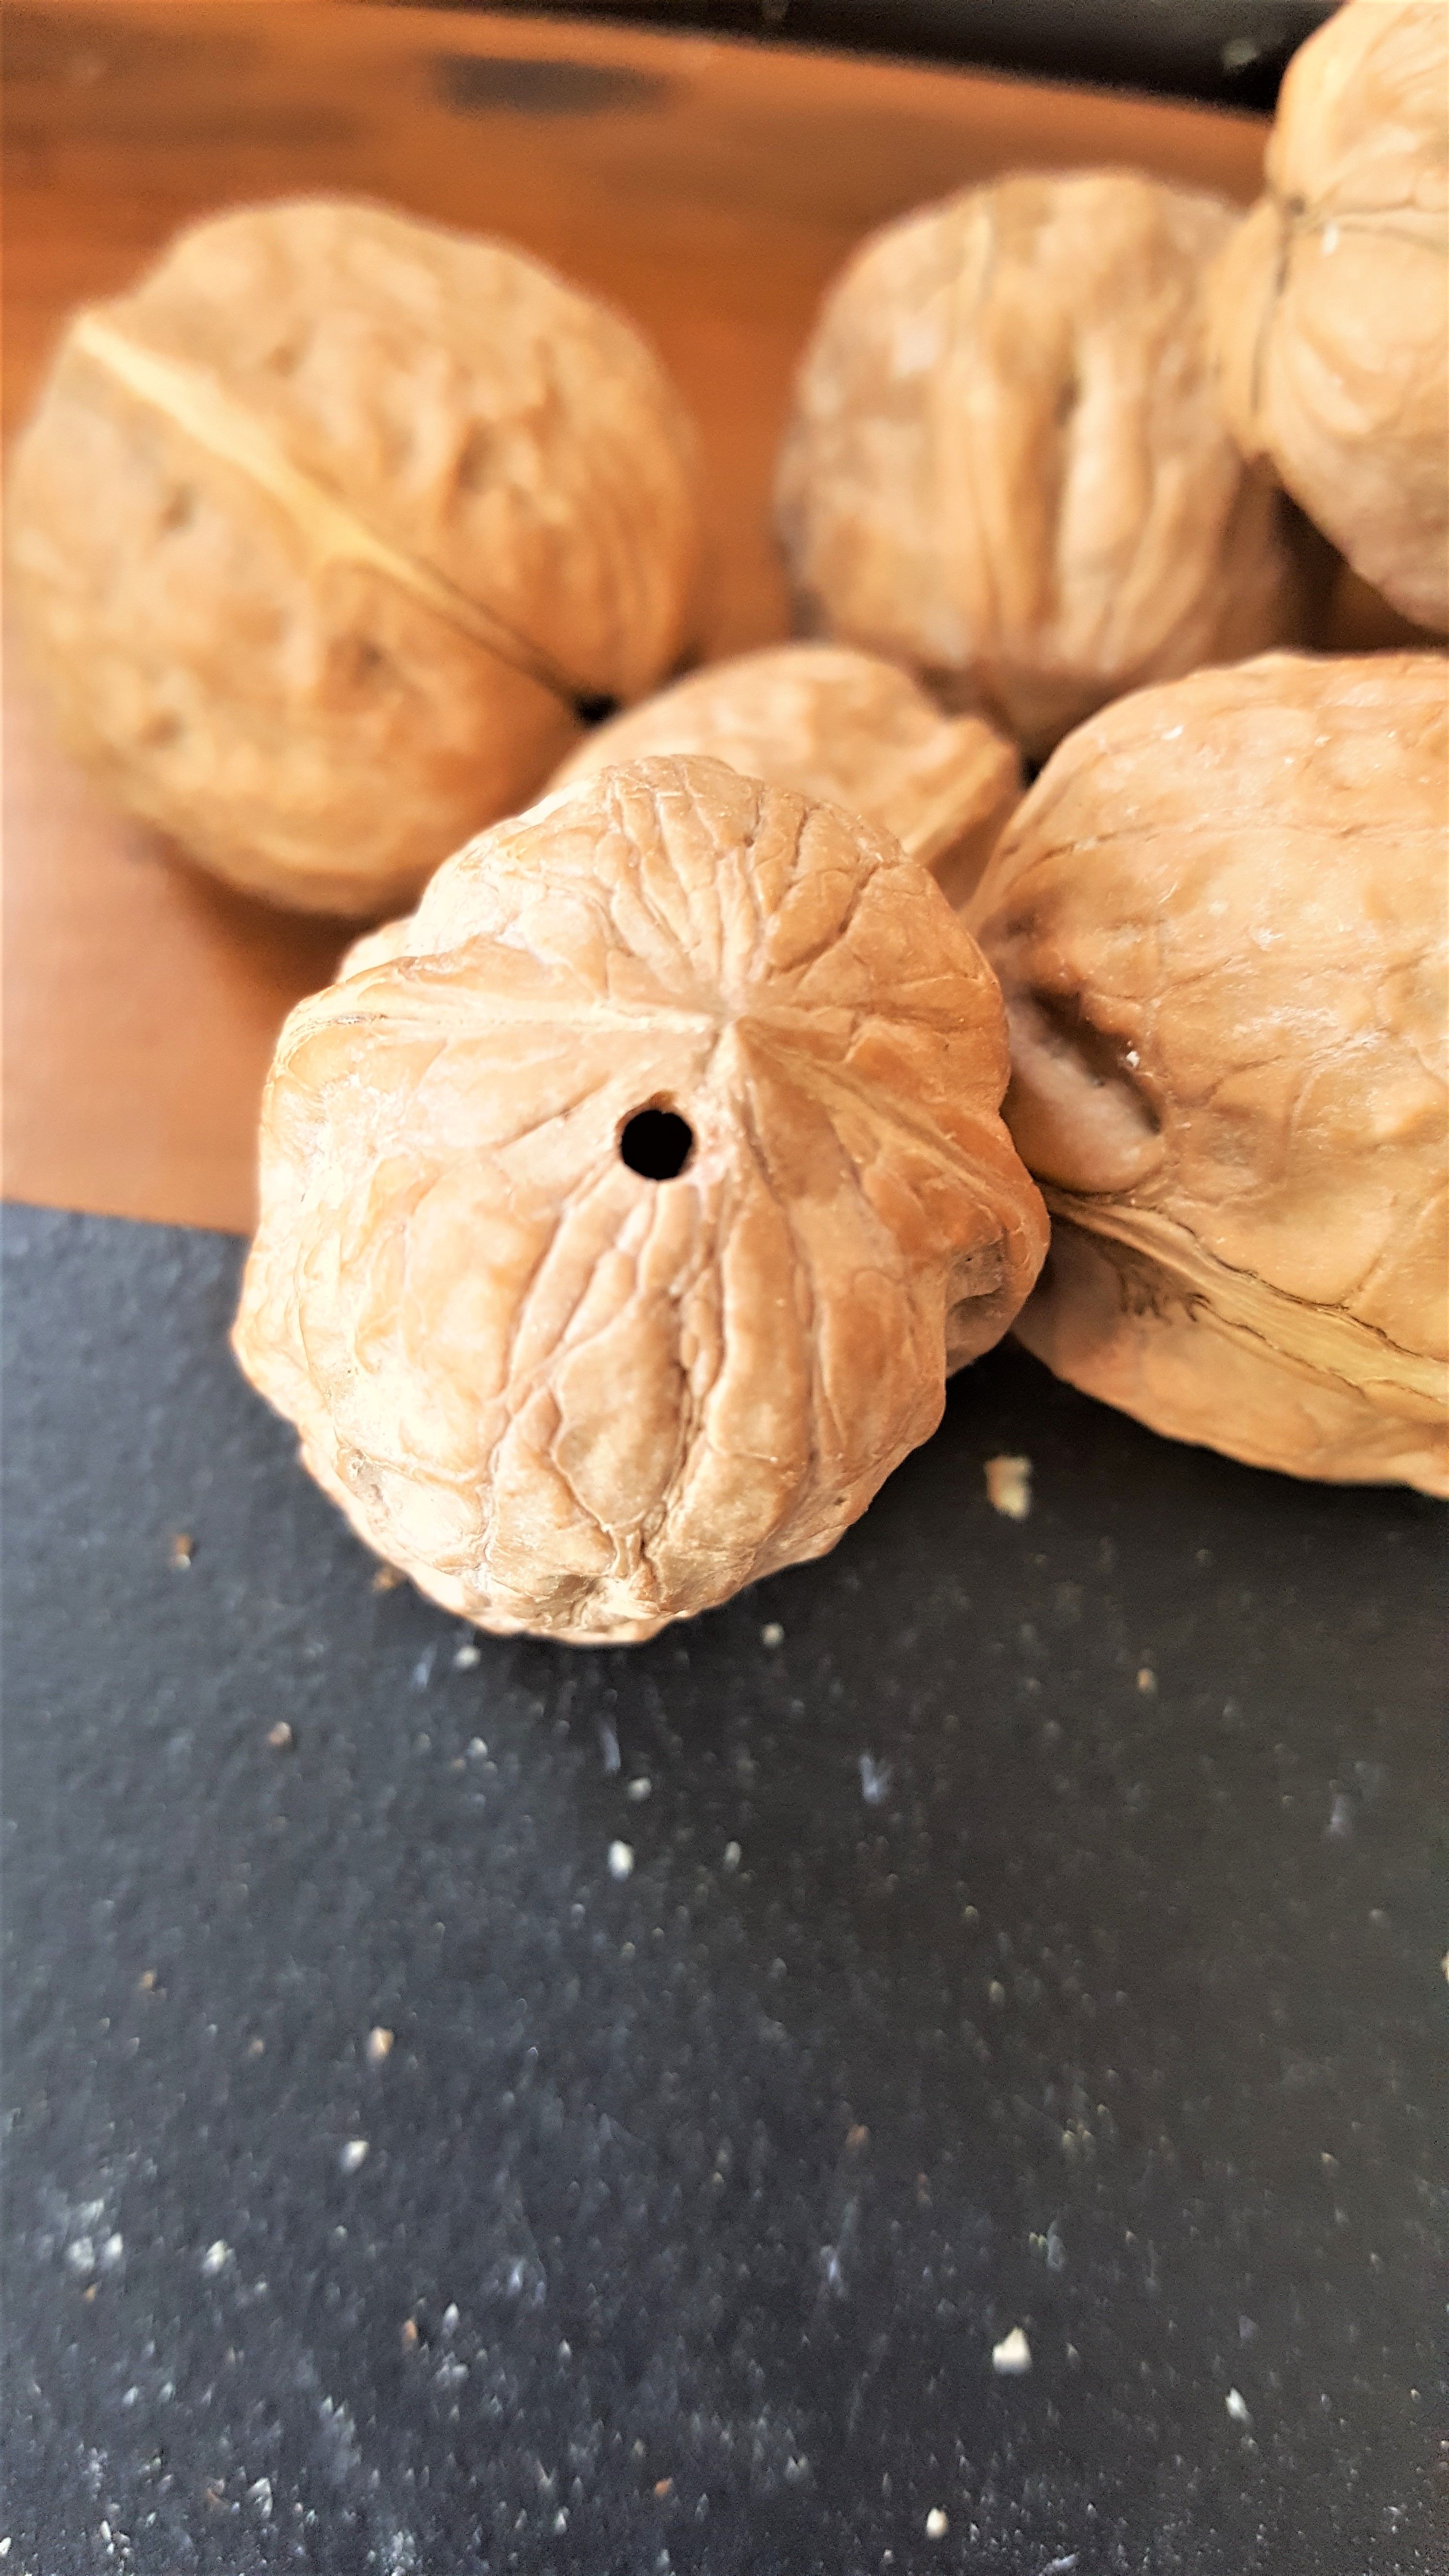
- 30 walnuts in the shell
-
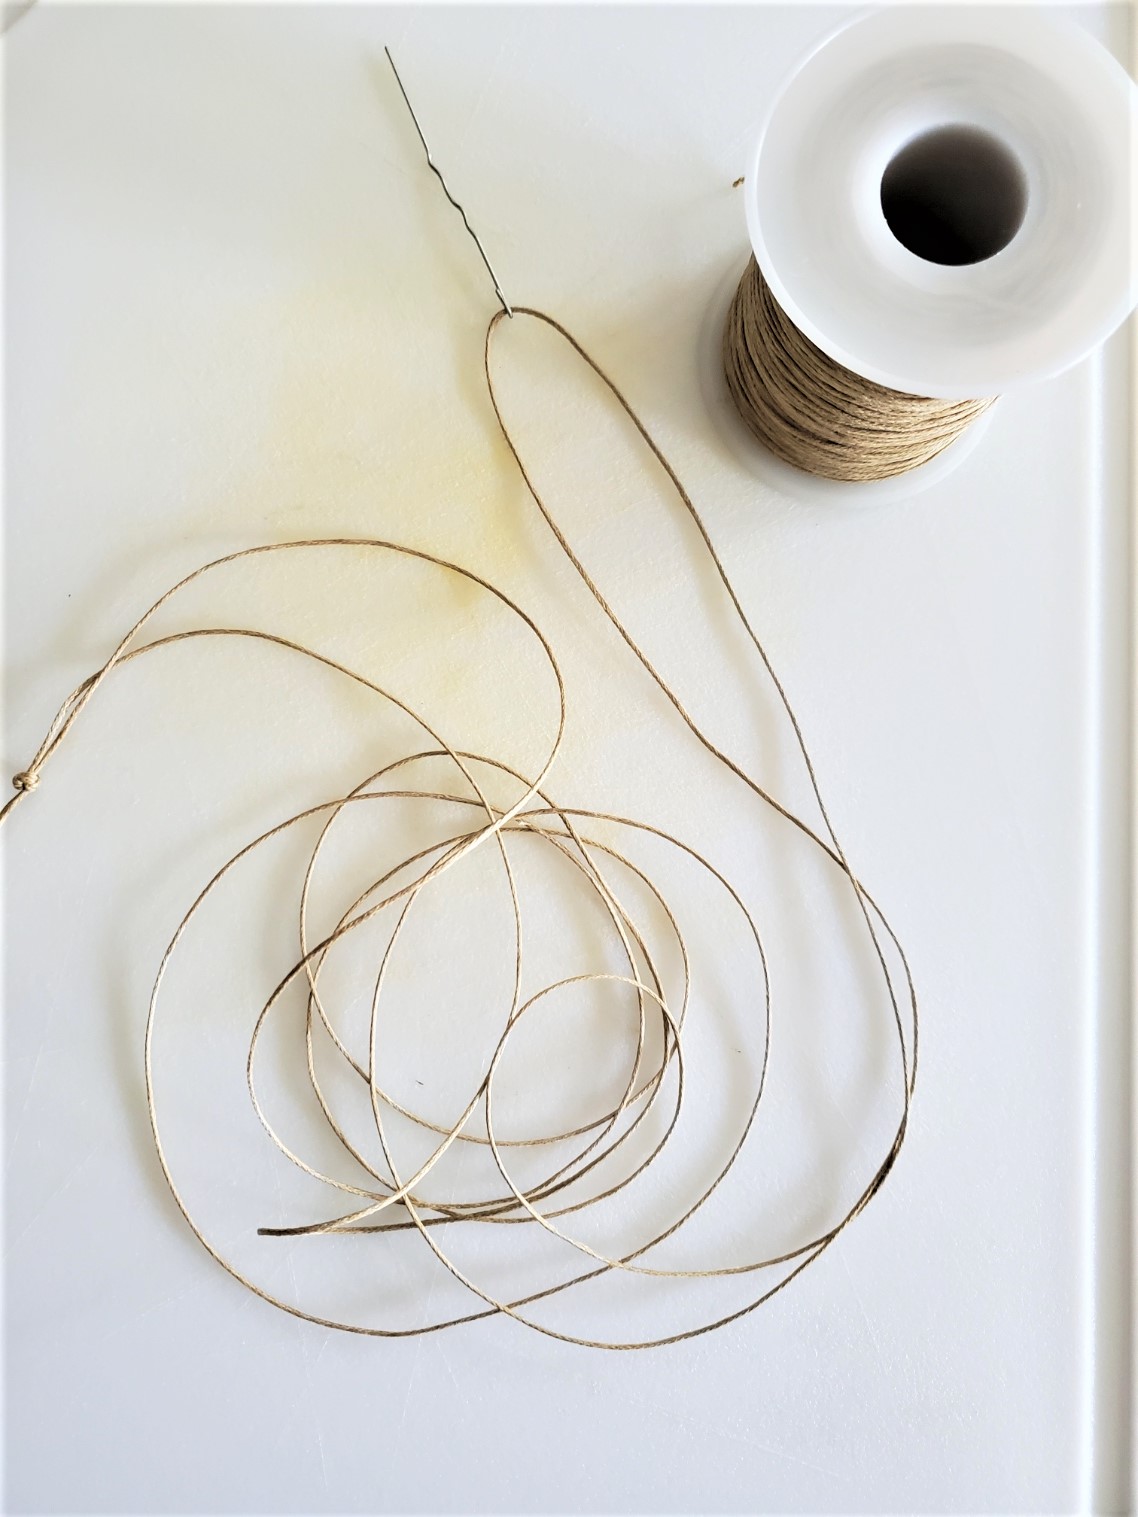
- thick neutral color thread or string
-
- large needle
-
- jute twine
-
- scissors
-
- drill and drill bit
-
- white or ivory craft paint (optional)
-
- small chip brush
-
- paper towel
-
- command hooks eye hooks
-
- ribbon (optional)
Making The Garland
This DIY Fall garland project is a great way to add natural elements which is one of the best parts about this time of year. I have spoken bout how nature is a gift for the fall and Christmas seasons. Which happen to be my favorite seasons.Step 1: Drill Holes
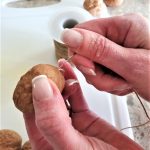
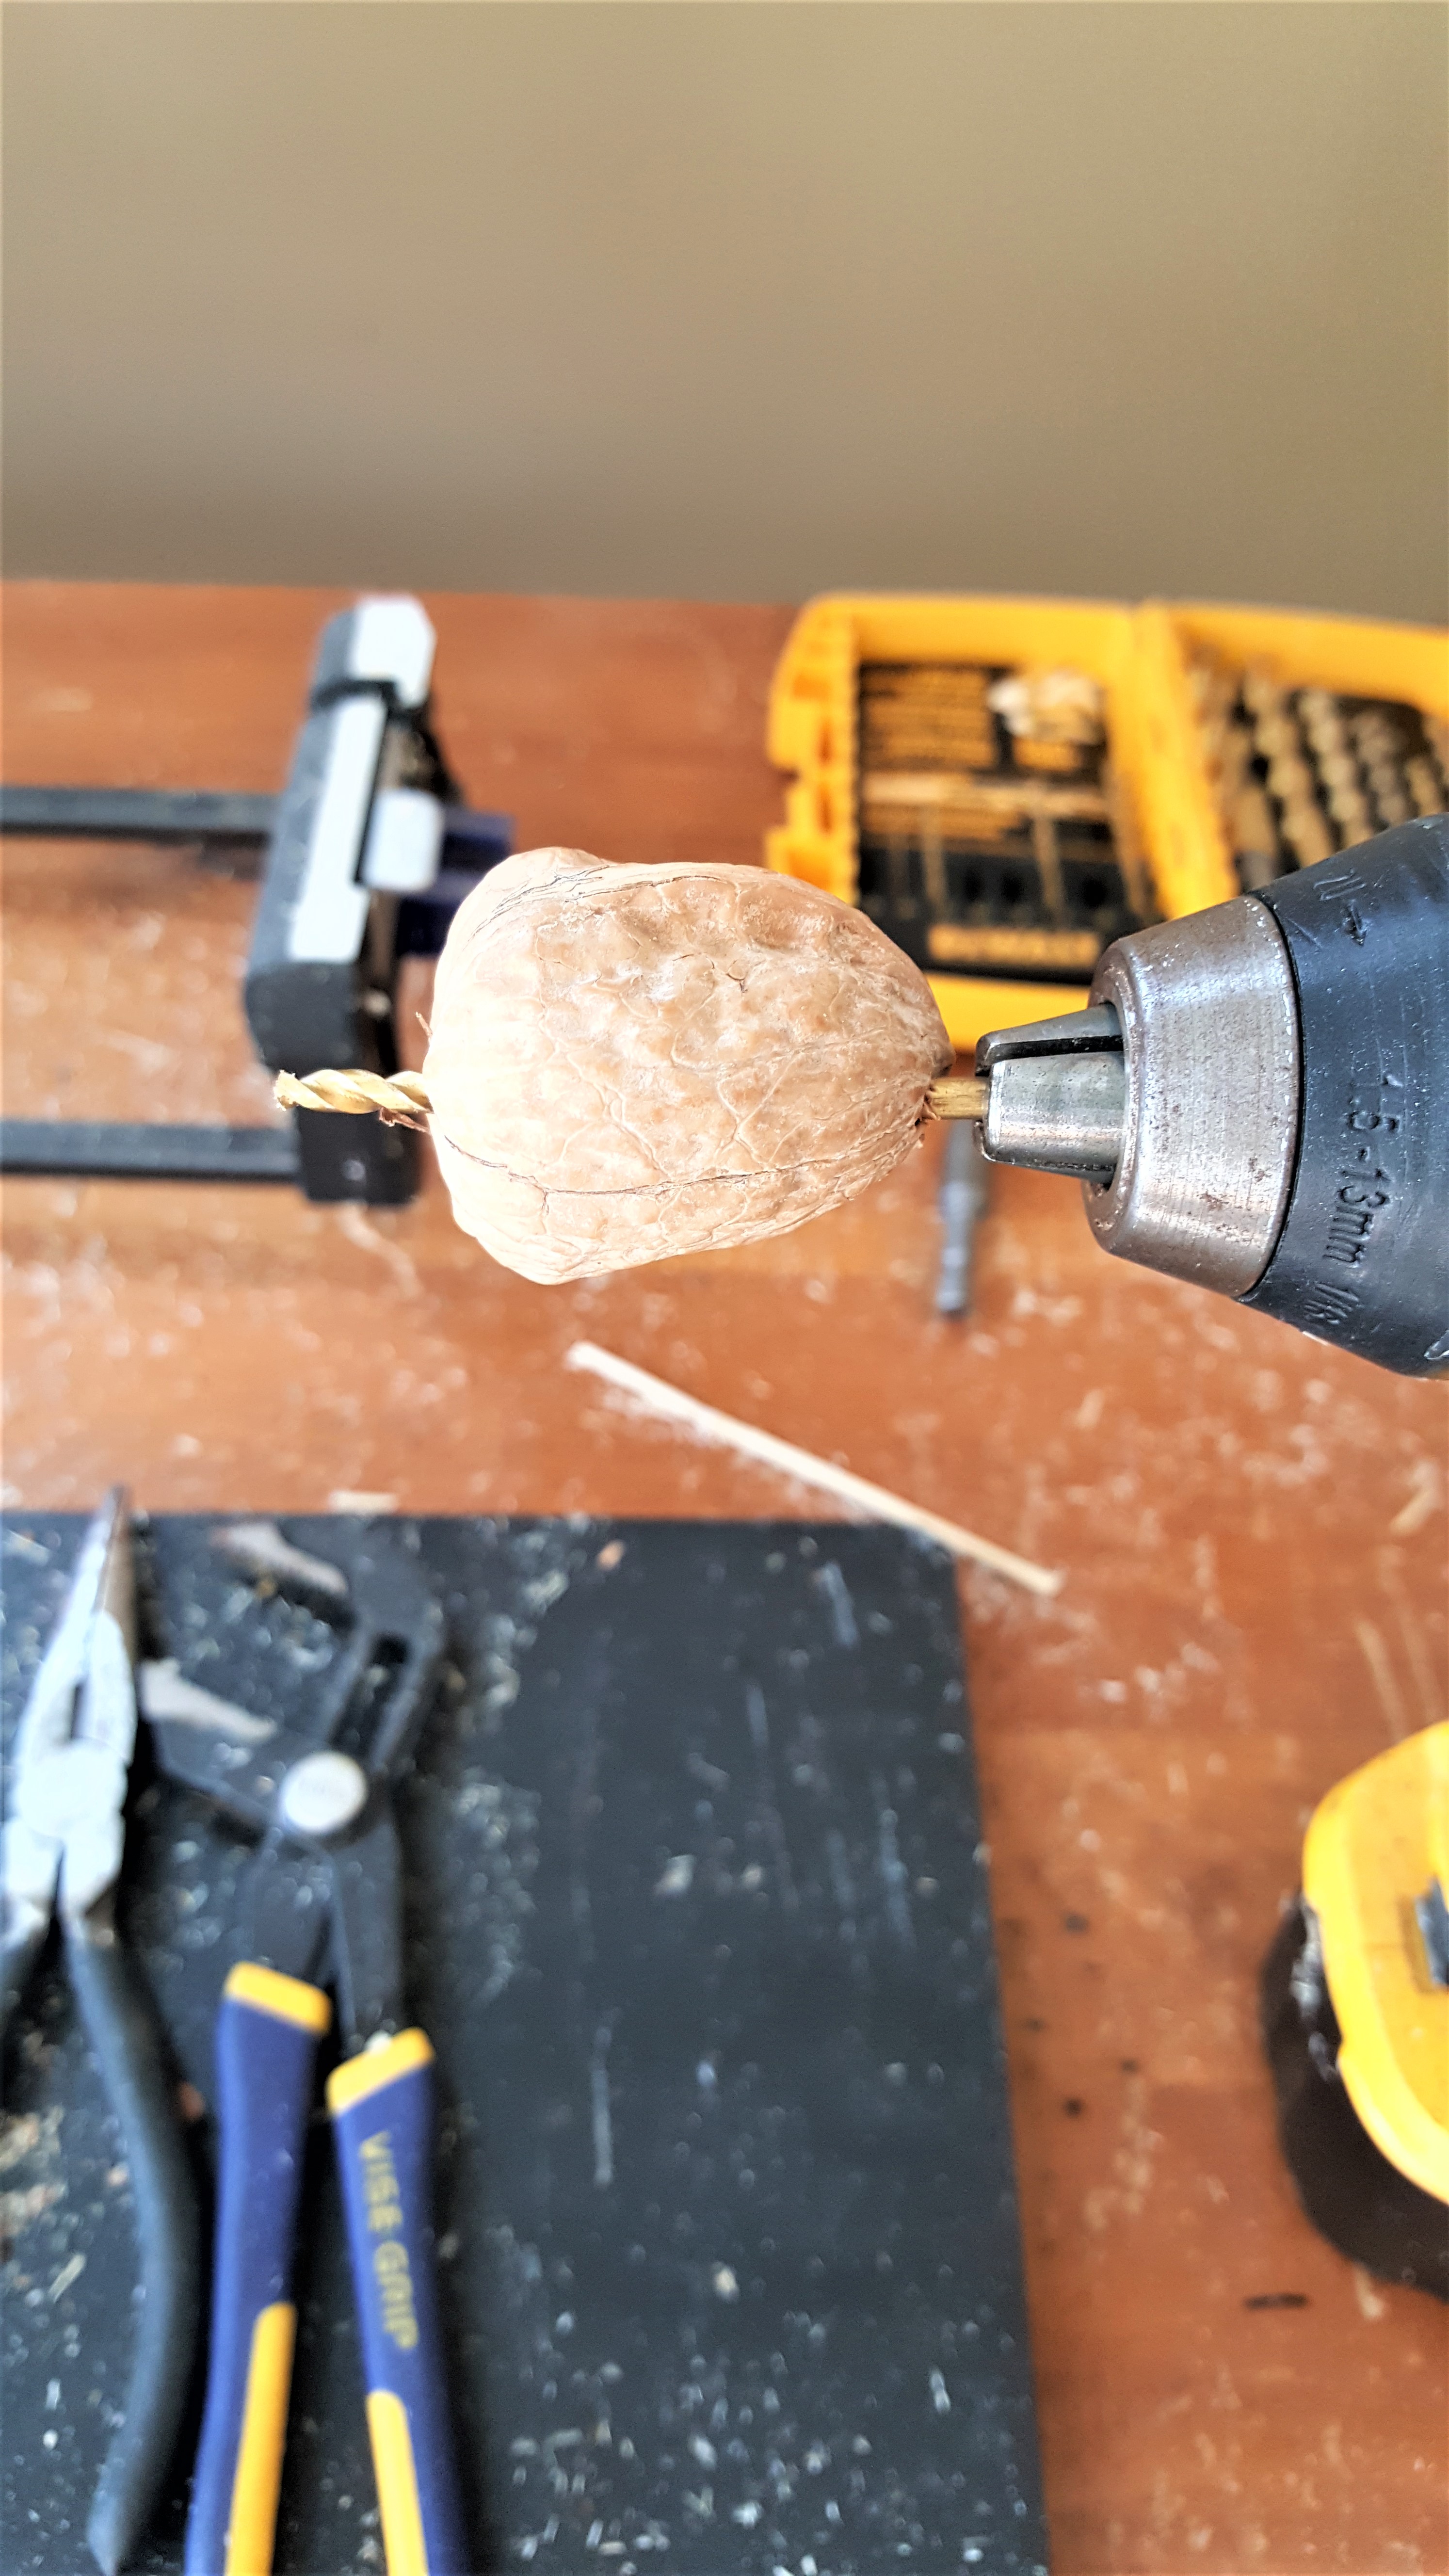
First thing, begin with drilling holes using a small drill bit through the walnut shells. If you aren't comfortable using a drill a Dremel tool will work too.
Step 2: Cut Twine
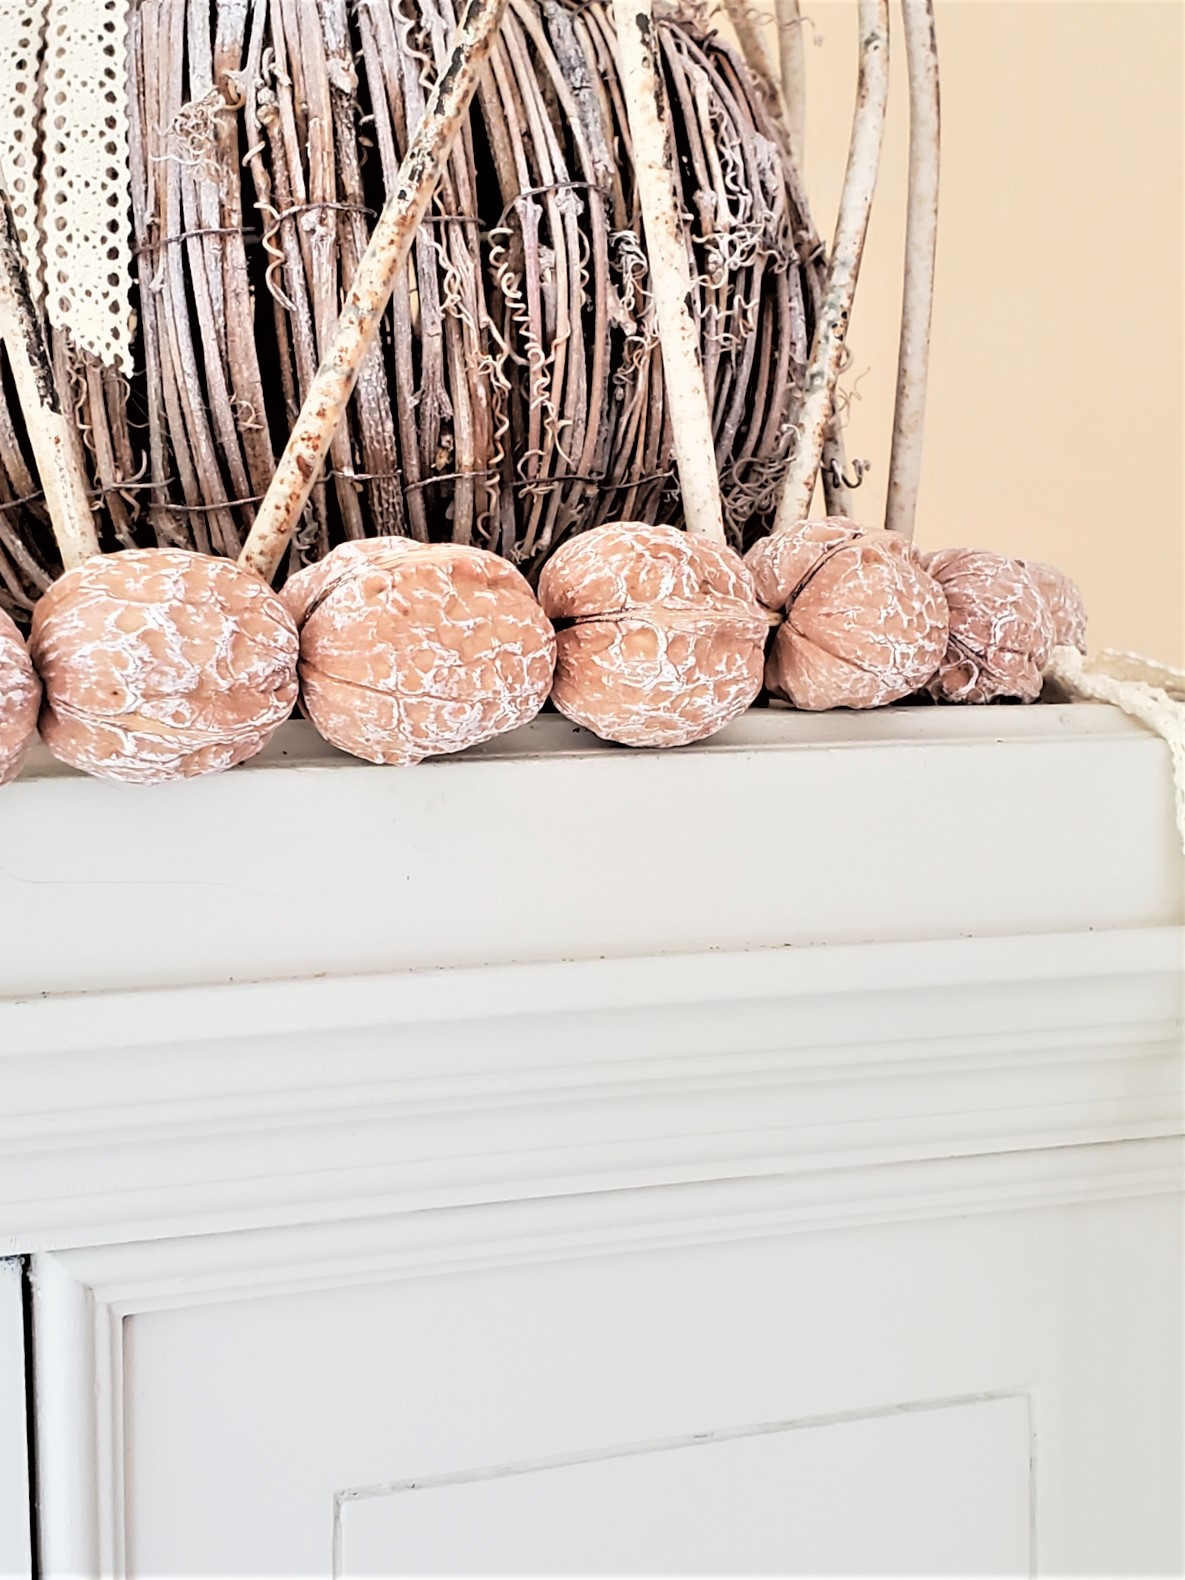
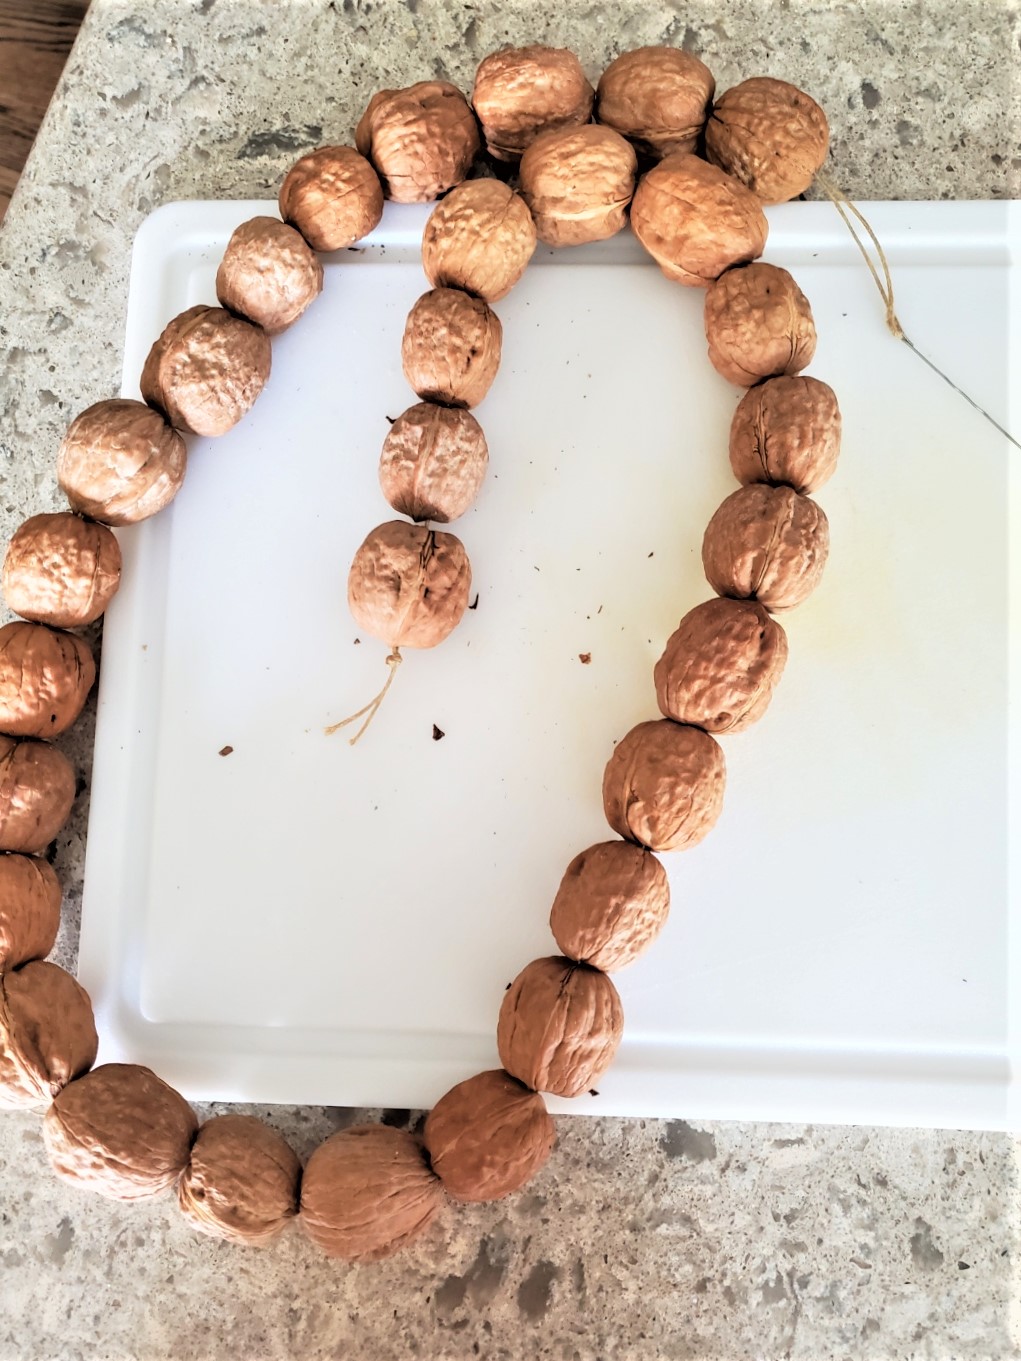
Lastly, string the walnuts or pecans with a quilting needle on the jute twine. After the first nut is in place tie a triple knot to keep the walnuts in place. When you are at the end tie another knot and this natural gorgeous garland is ready to hang on your mantle or the top of a china cabinet as I did.

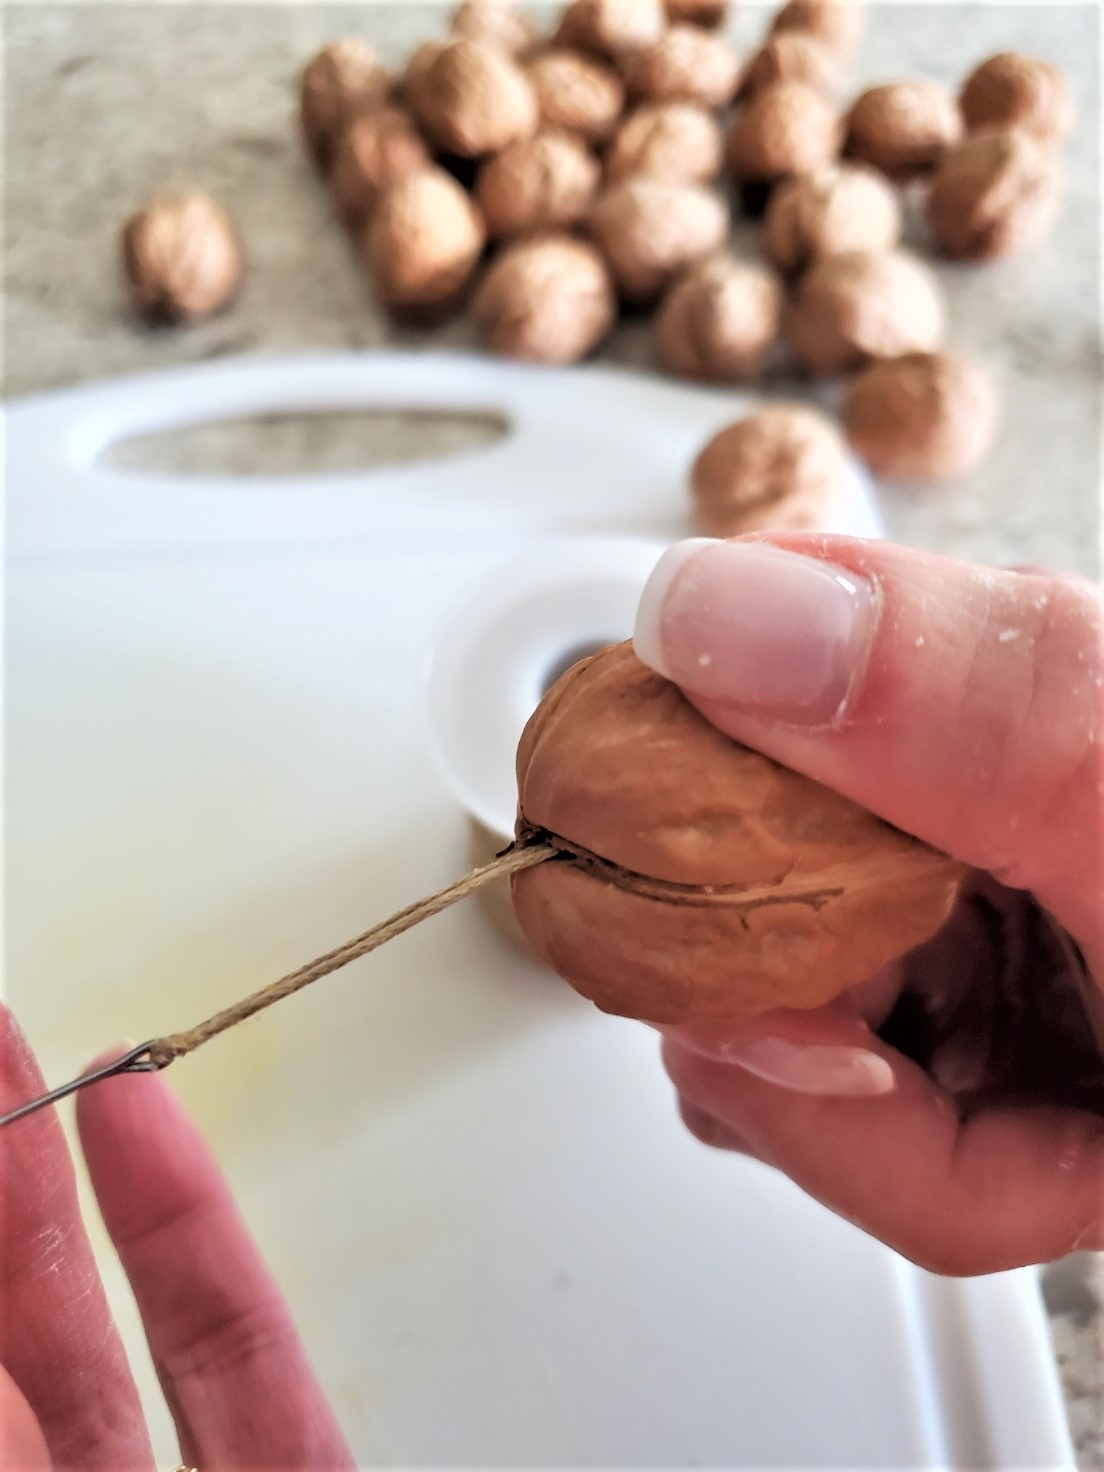
Step 3: String The Walnut Shells
Lastly, string the walnuts or pecans with a quilting needle. After the first nut is in place tie a triple knot (slip knot) to keep the walnuts in place. When you are at the end tie another knot and this natural gorgeous garland is ready to hang on your mantle or the top of a china cabinet as I did, or make it long enough and hang it on the Christmas tree. This would be beautiful with orange ornaments with wood beads strung through jute. Adding pine cones would be beautiful too and I happen to have a DIY fall blog post on how to preserve and clean pine cones. If you have pine trees or evergreens this is perfect because you have easy access to these beauties and they are free! Cindy's Tip: As another idea add a button to the ends of the jute twine.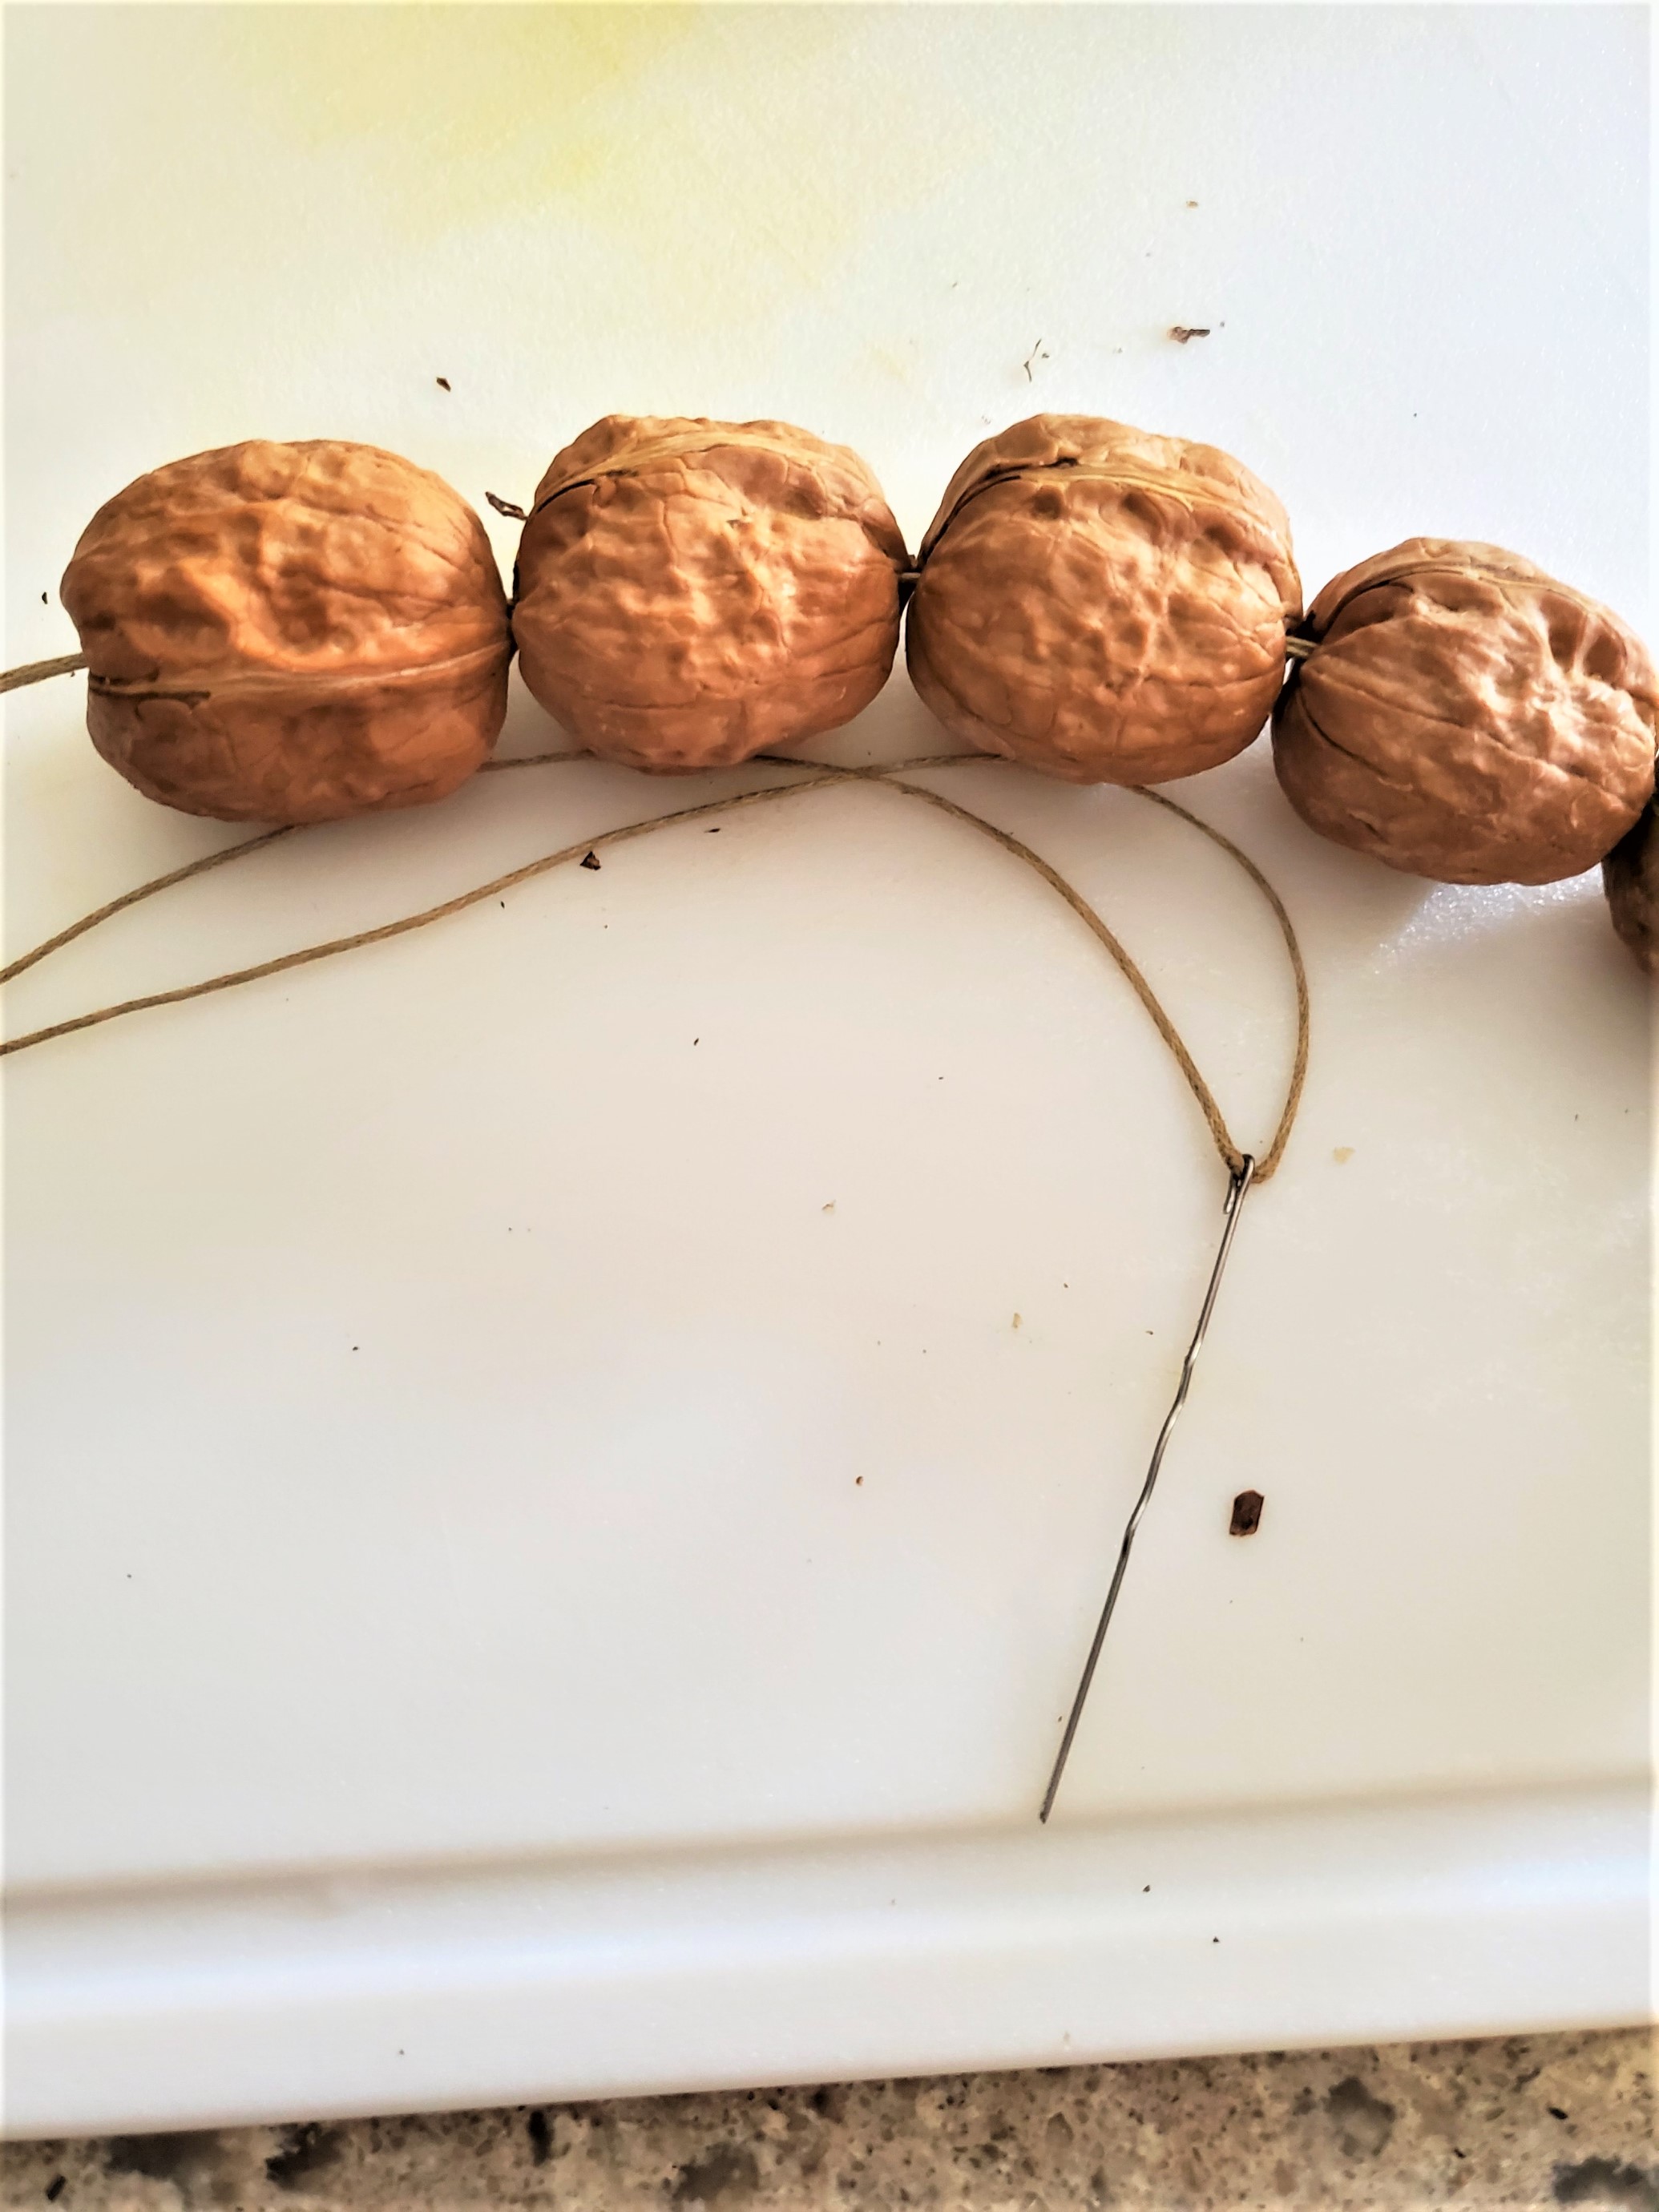
Project Put DIY Fall Garland Together
This is truly easy and took about 20 minutes to finish.
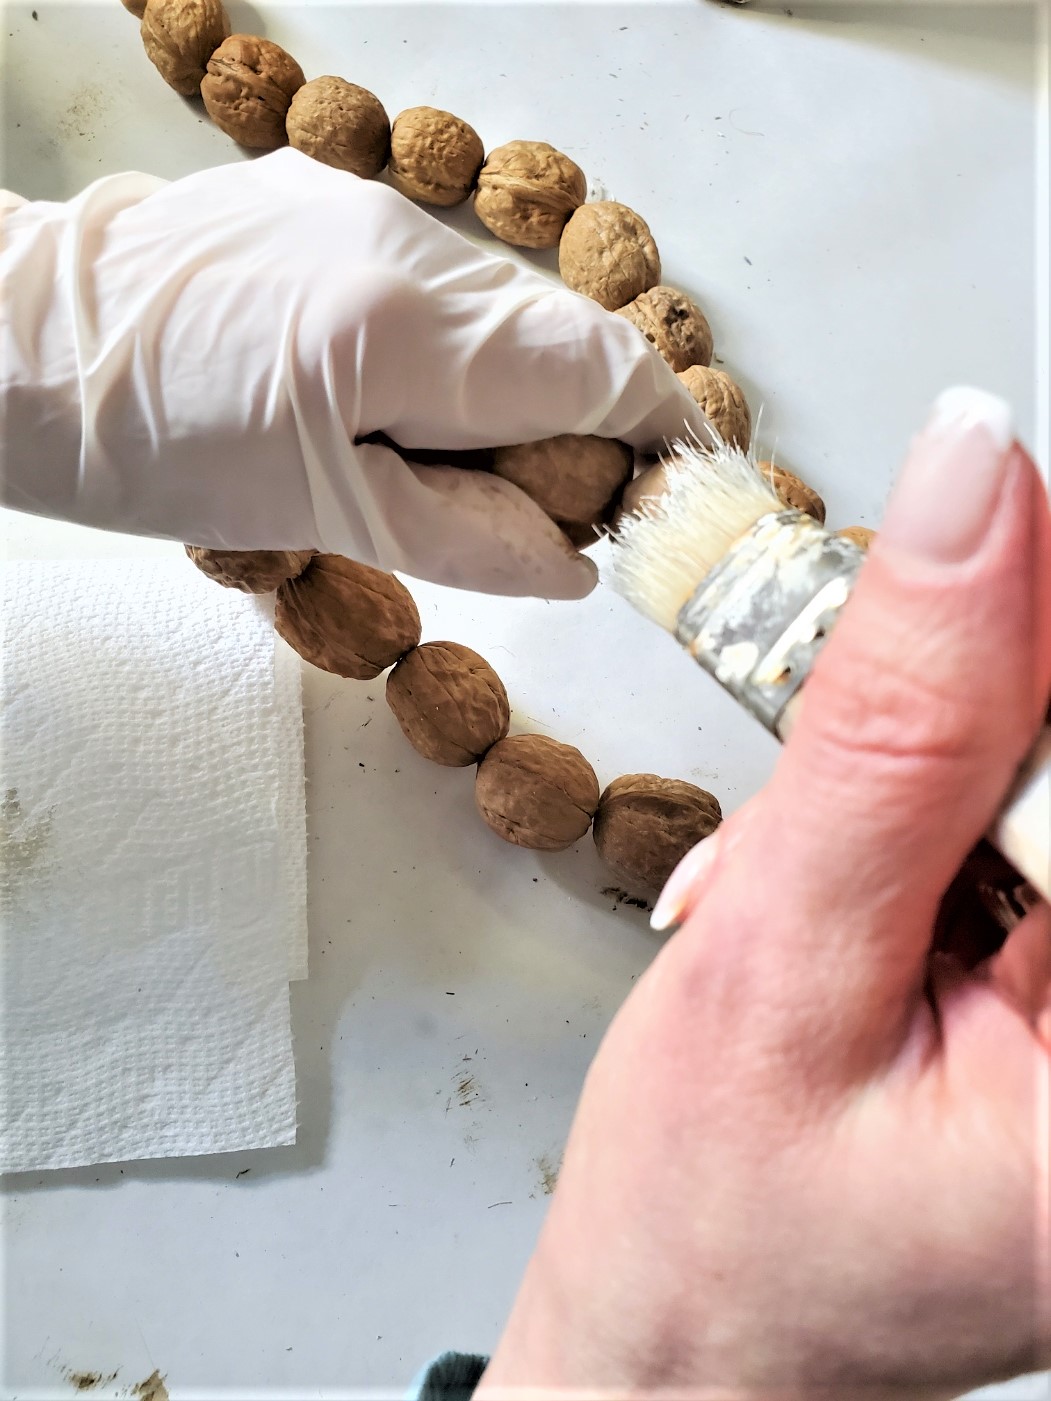
Step 5: Dry Brush Using White Paint (optional)
Next dry brush the walnut shells, this step is very fast. I have mentioned many times before dry brushing is easy. Load a bit of paint on the paintbrush and wipe any excess off on the paper towel. This is a great post to get tons of information on how easy this process is to add to projects. Adding a bit of paint adds texture and even more rustic beauty to this beautiful garland from nature!