DIY Peat Wreath
Welcome to my peat pot wreath series! Yes, three wreath ideas to share using these little pots that are affordable and easy to find. So, let’s look at a DIY peat pot wreath idea that is easy and quick to make!
Yield: 1 wreath
Cost: $20
Notes
DIY Peat Pot Wreath
Supplies:
- Peat pot — 2 inches (or the size of your choice)
- Foam wreath form or grapevine wreath — 10 inches (or the size of your choice)
- Burlap ribbon
- Spanish Moss
- Hot glue gun and glue sticks
- Chalk paint or white craft paint (HERE)
- Scissors
- Paper towel
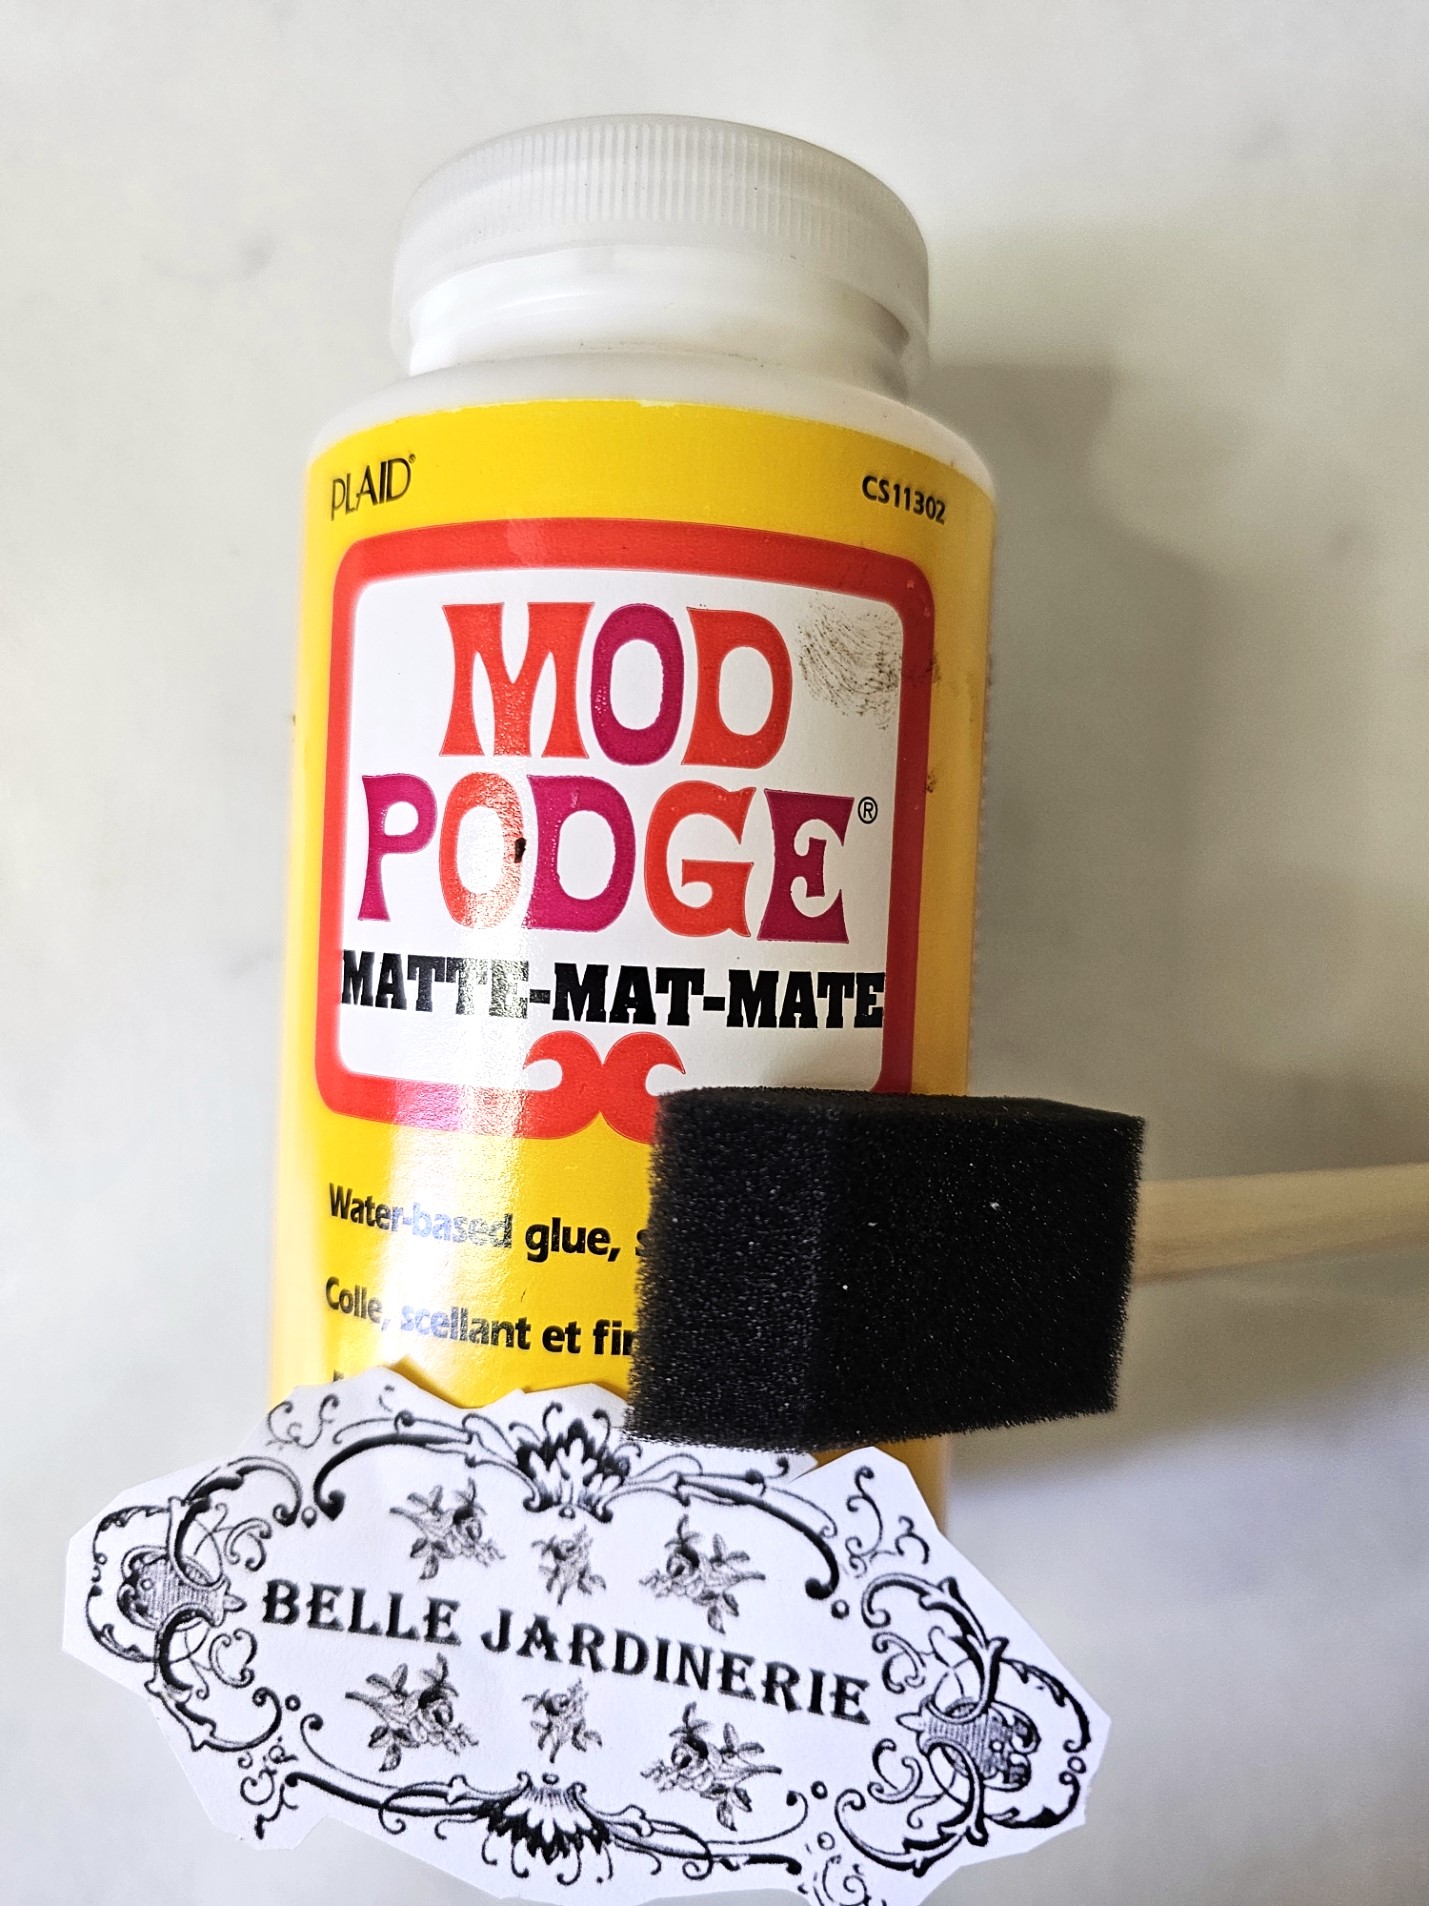
- Mod Podge - (HERE)
- Foam brush - (HERE)
- Small chip brush
- Graphic Images (optional)
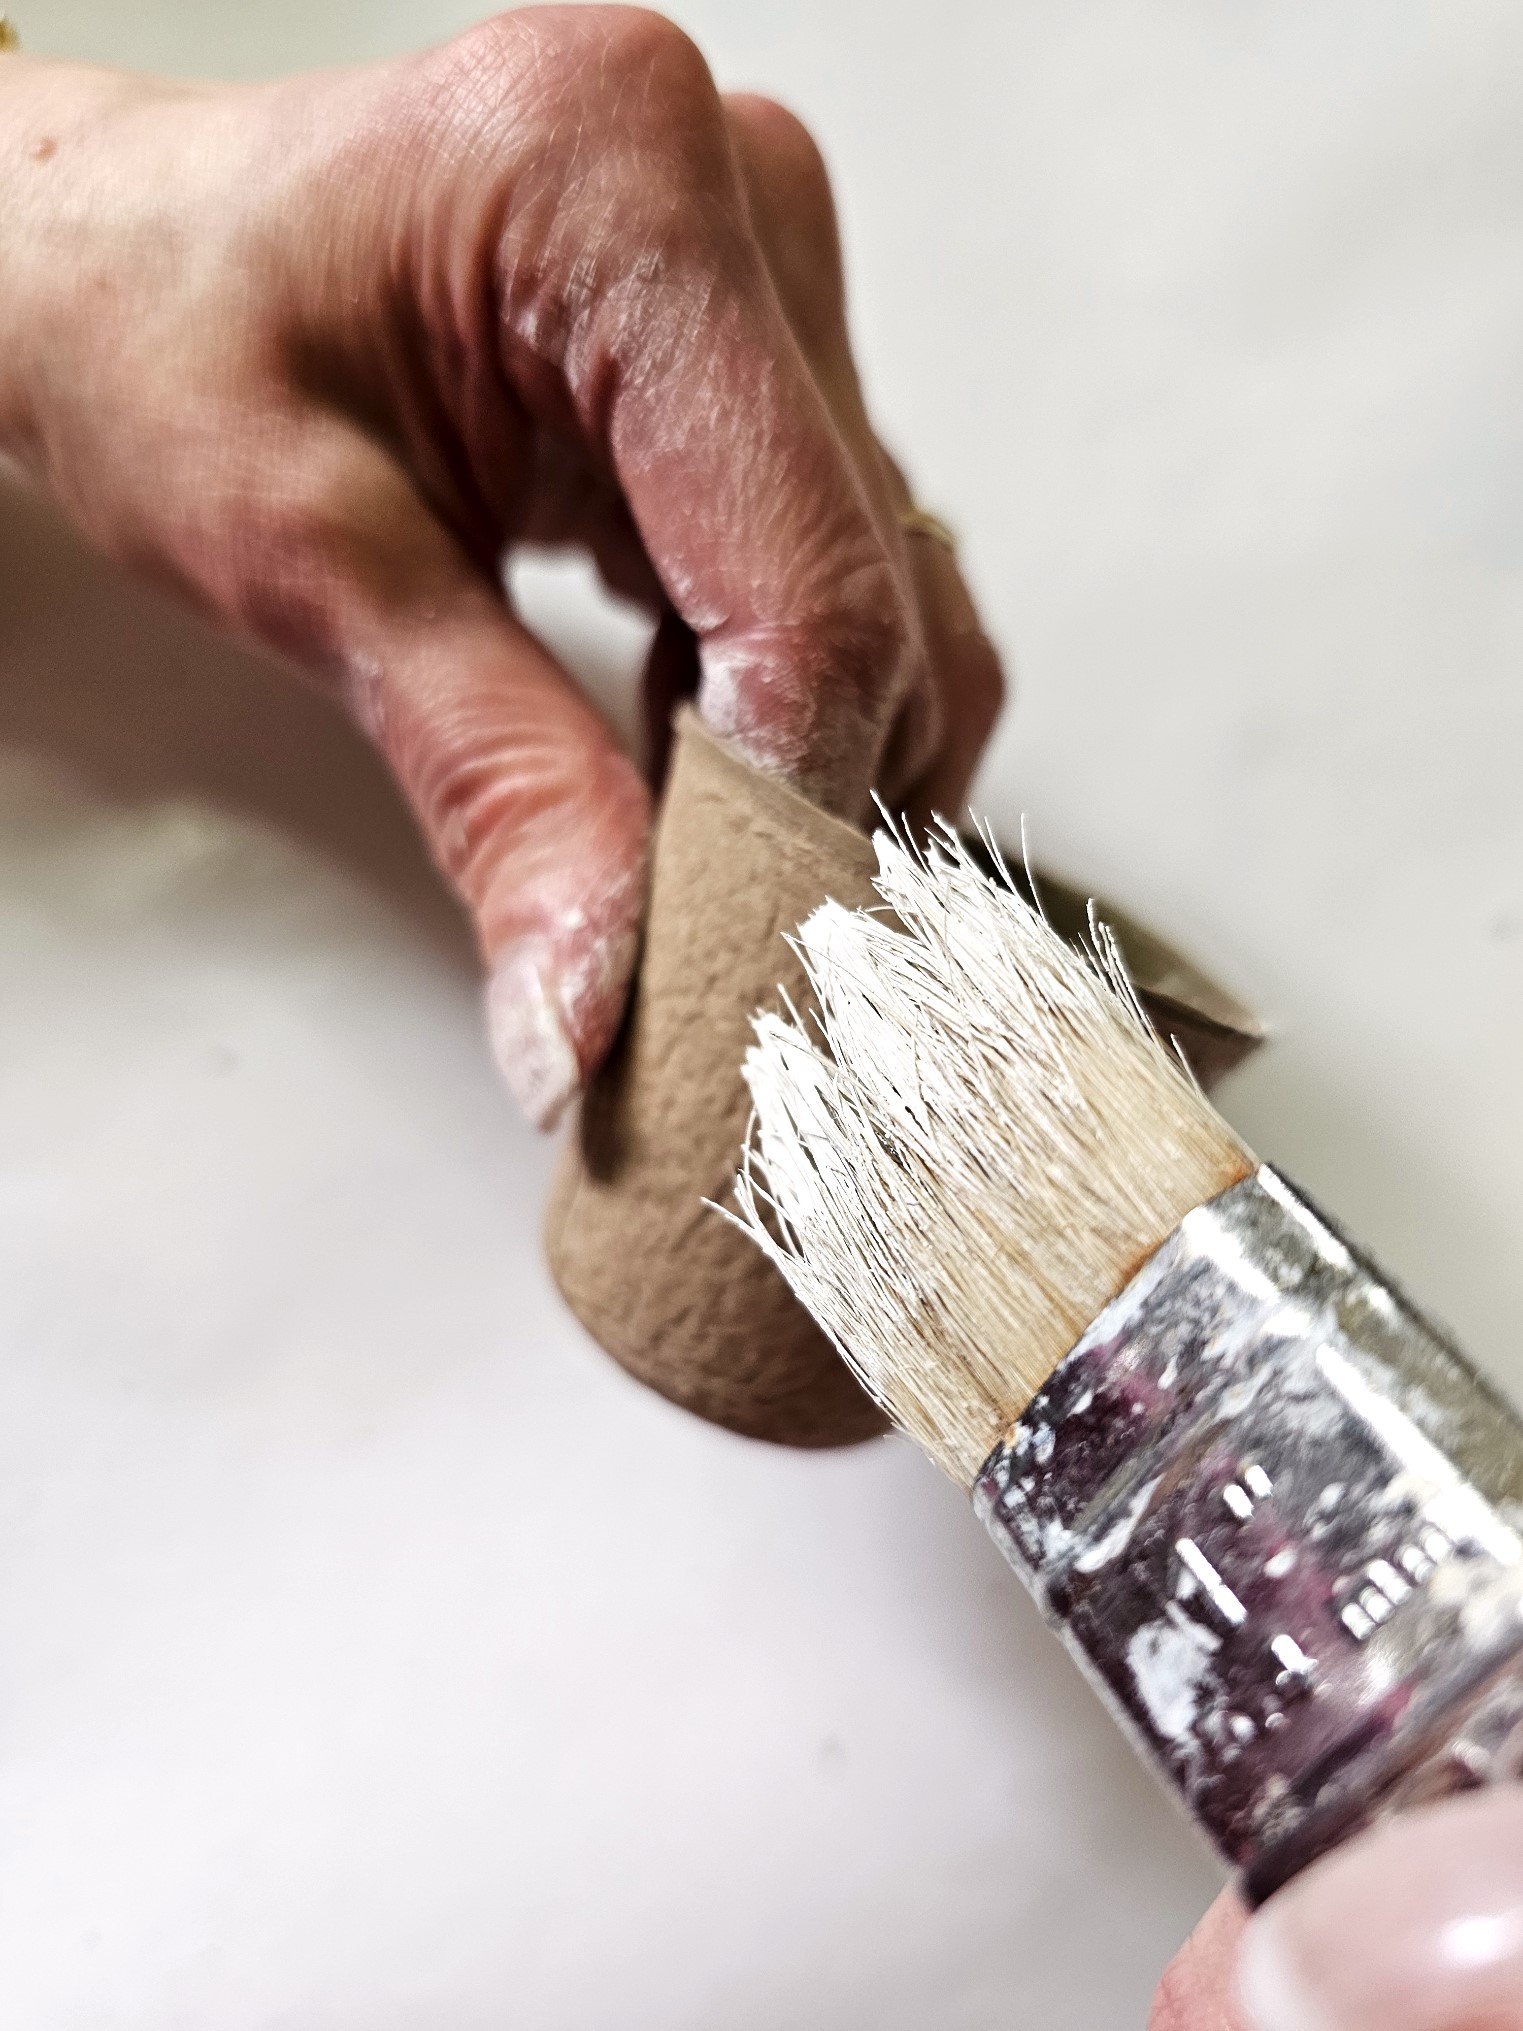
Dry Brush Pots
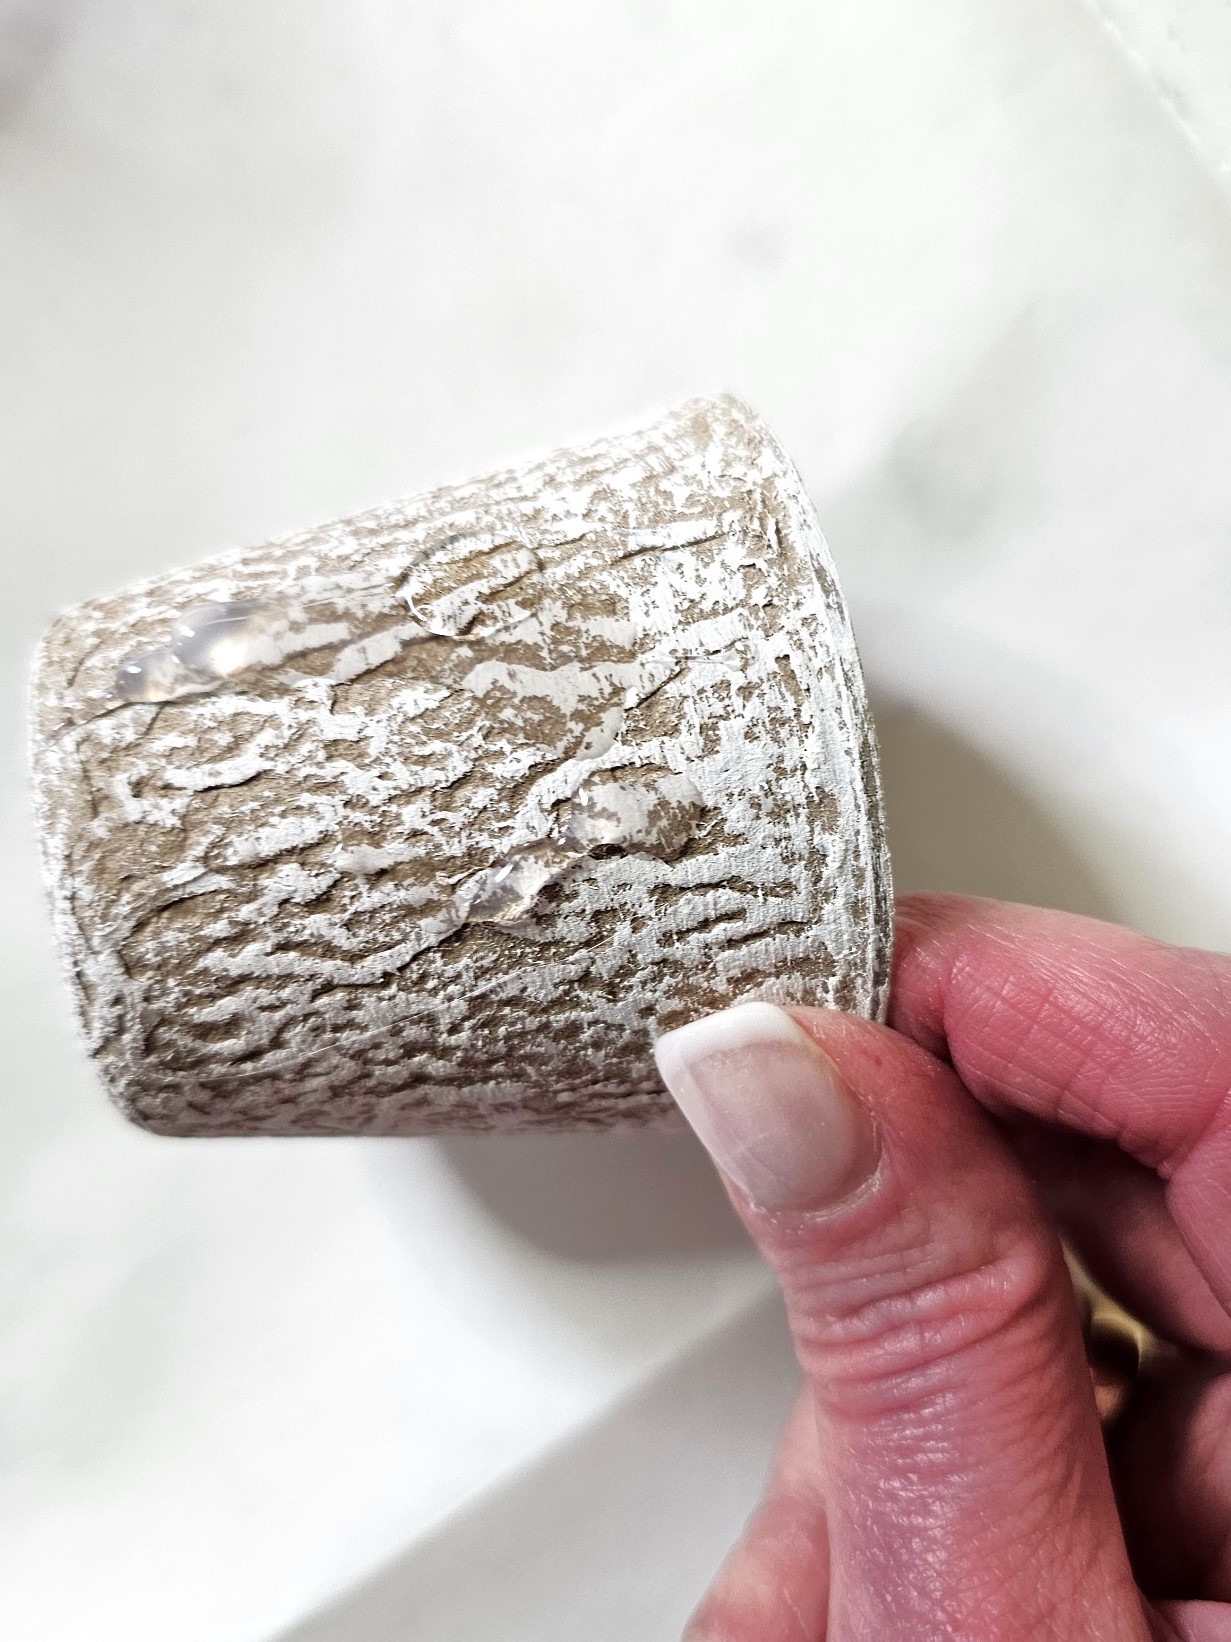
Using a dry brush technique is easy peasy, and if this is your first time, don’t worry, I will walk you through the process. Adding a dry brush with chalk or craft paint to these pots takes moments. Peat pots are more porous than working with terracotta pots. Because these pots are porous, I leave a bit more paint than normal. The drying time should take minutes.' I dip the tip of the chip brush into the paint. I wipe the excess paint on a paper towel. The brush should have a little more paint since these are porous.
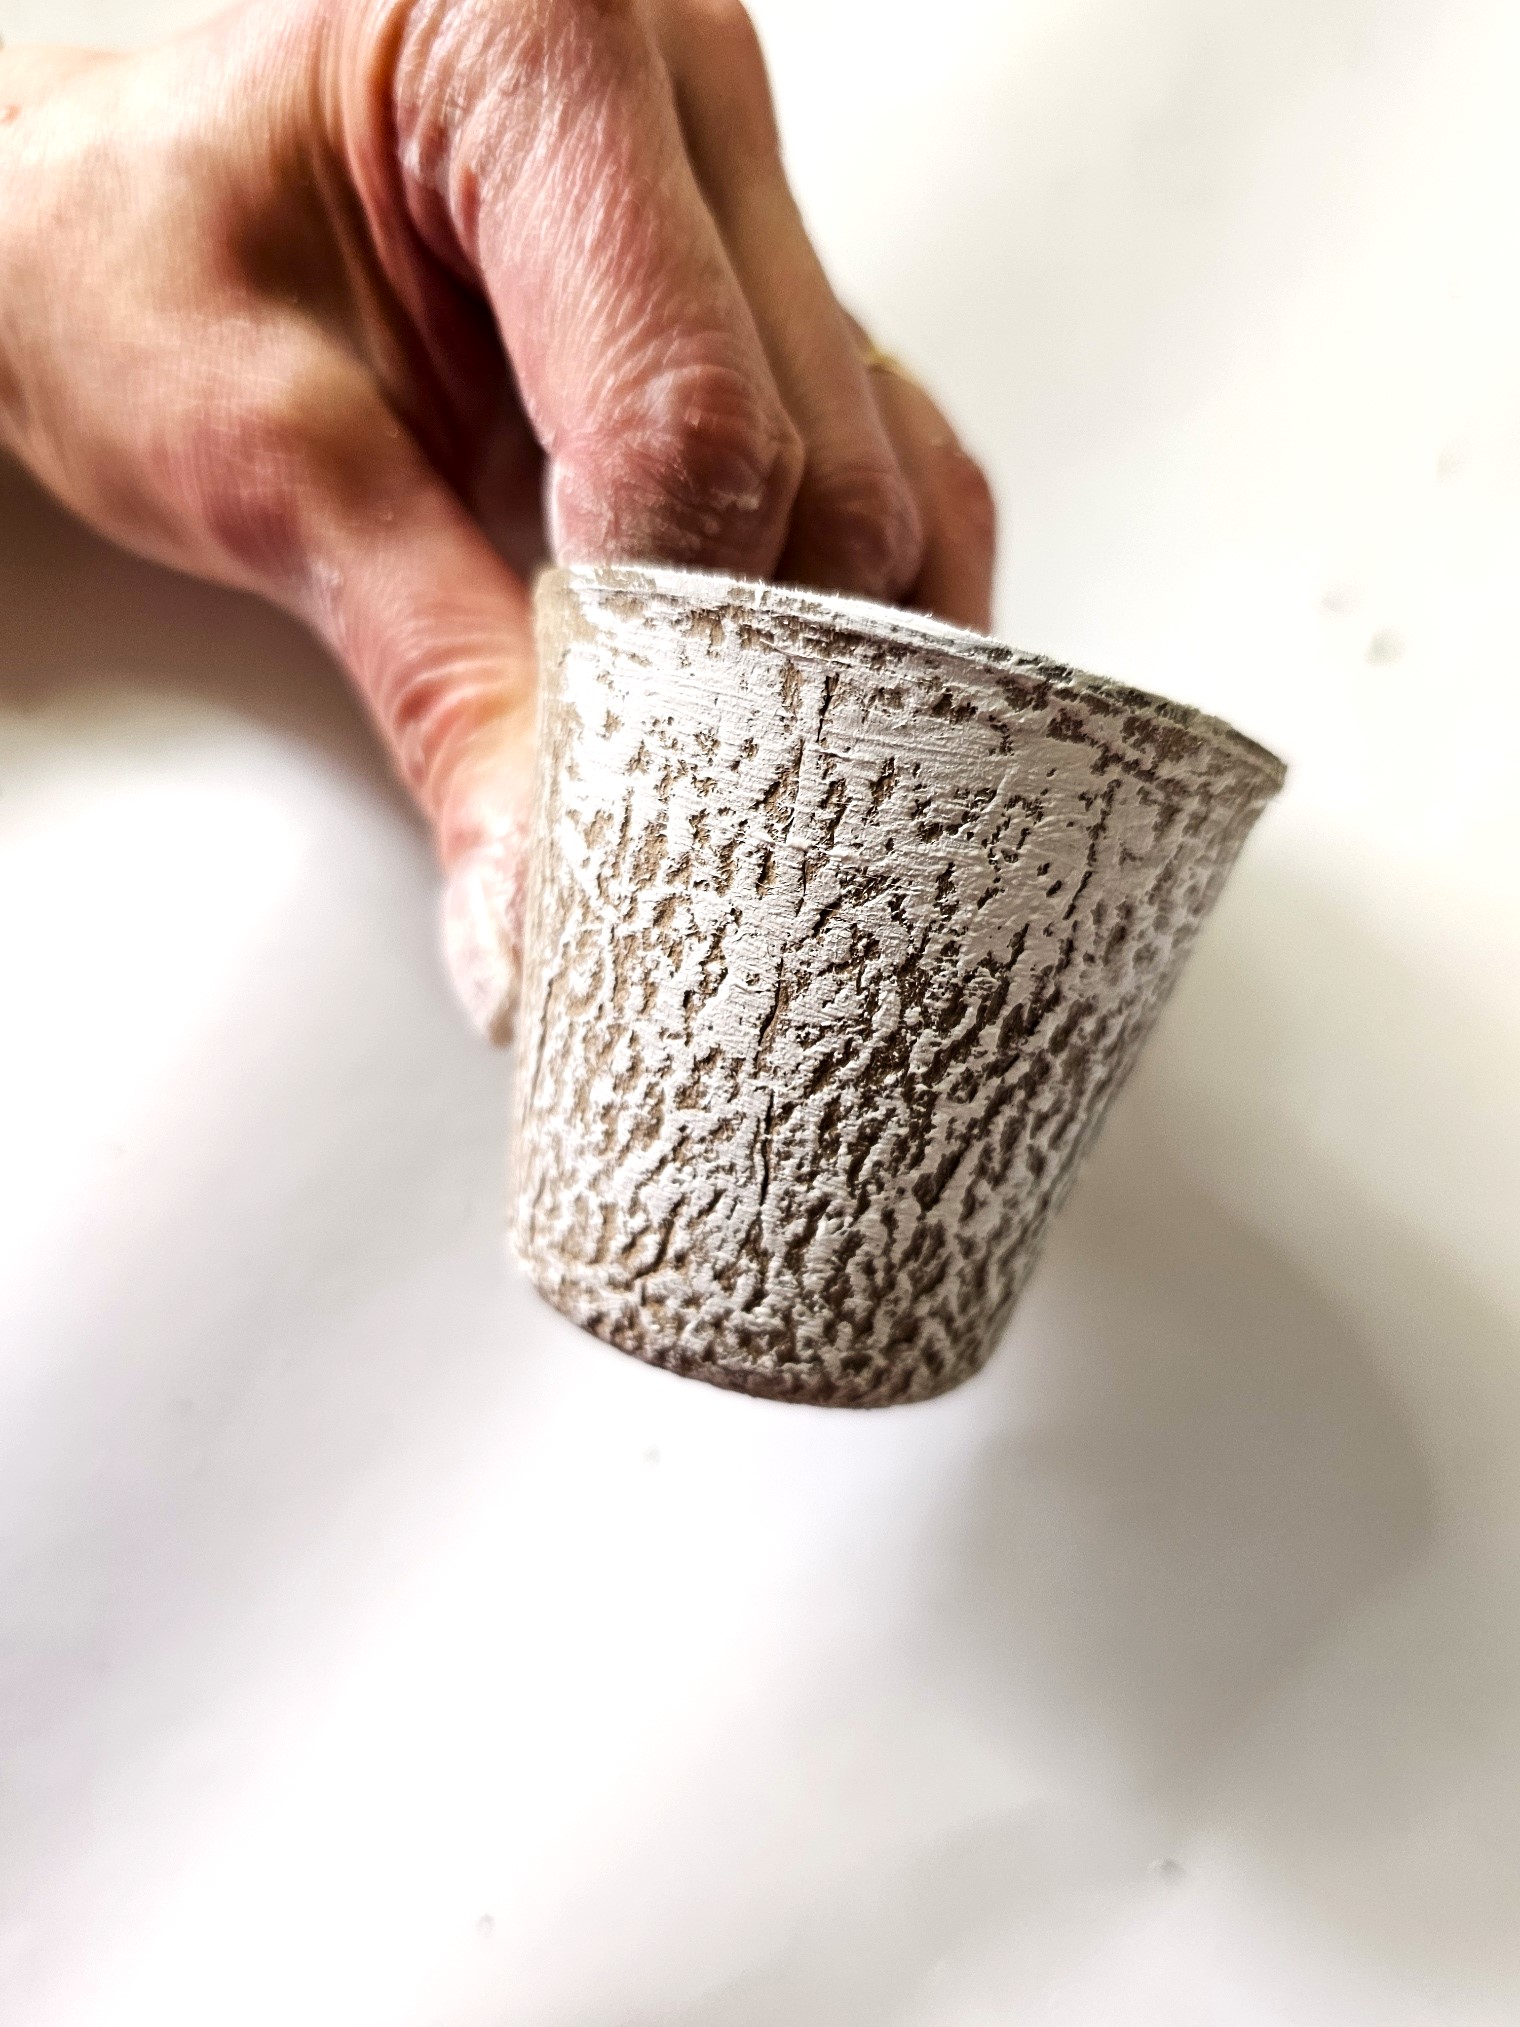
After removing some excess paint on the paper towel, add chalky finish paint to the side of the peat pot using a light stroke. I add the paint to the top of the pot too. This painting technique allows the natural colors of the pots to show.
The little pots are dry brushed with Annie Sloan’s old white, but white craft paint will work fine. Add paint to the top of the pot.
Step 1: Graphics
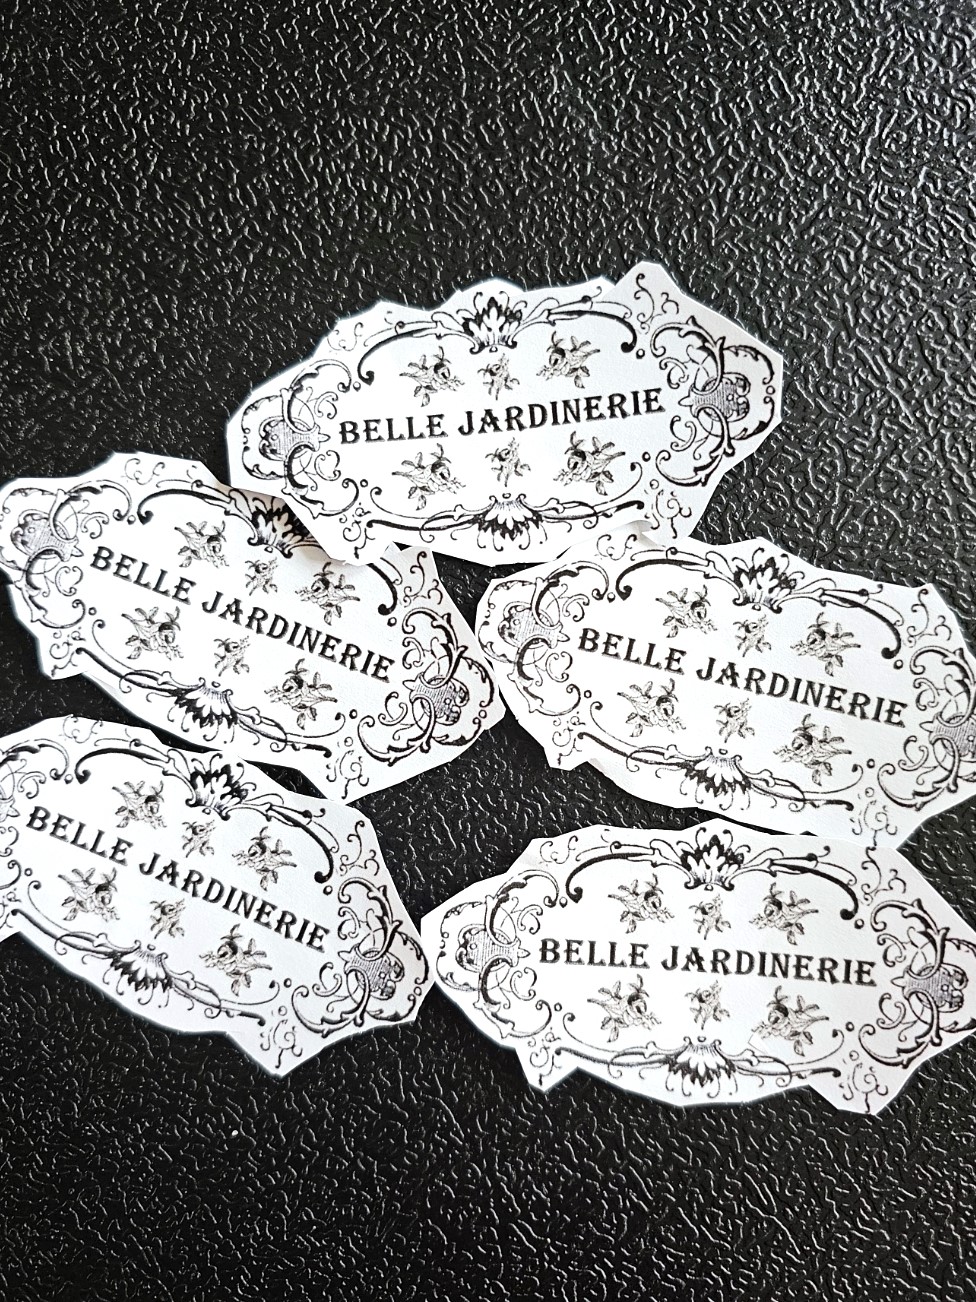
I printed a French graphic on printer paper. You can find free vintage graphics at The Graphics Fairy. Feel free to check my Pinterest board for many free graphics, too. I have collected quite a collection. Visiting The Graphics Fairy or Pinterest is a great way to add this spring wreath at no additional cost.

Step 2: Print, Cut and Cut Images
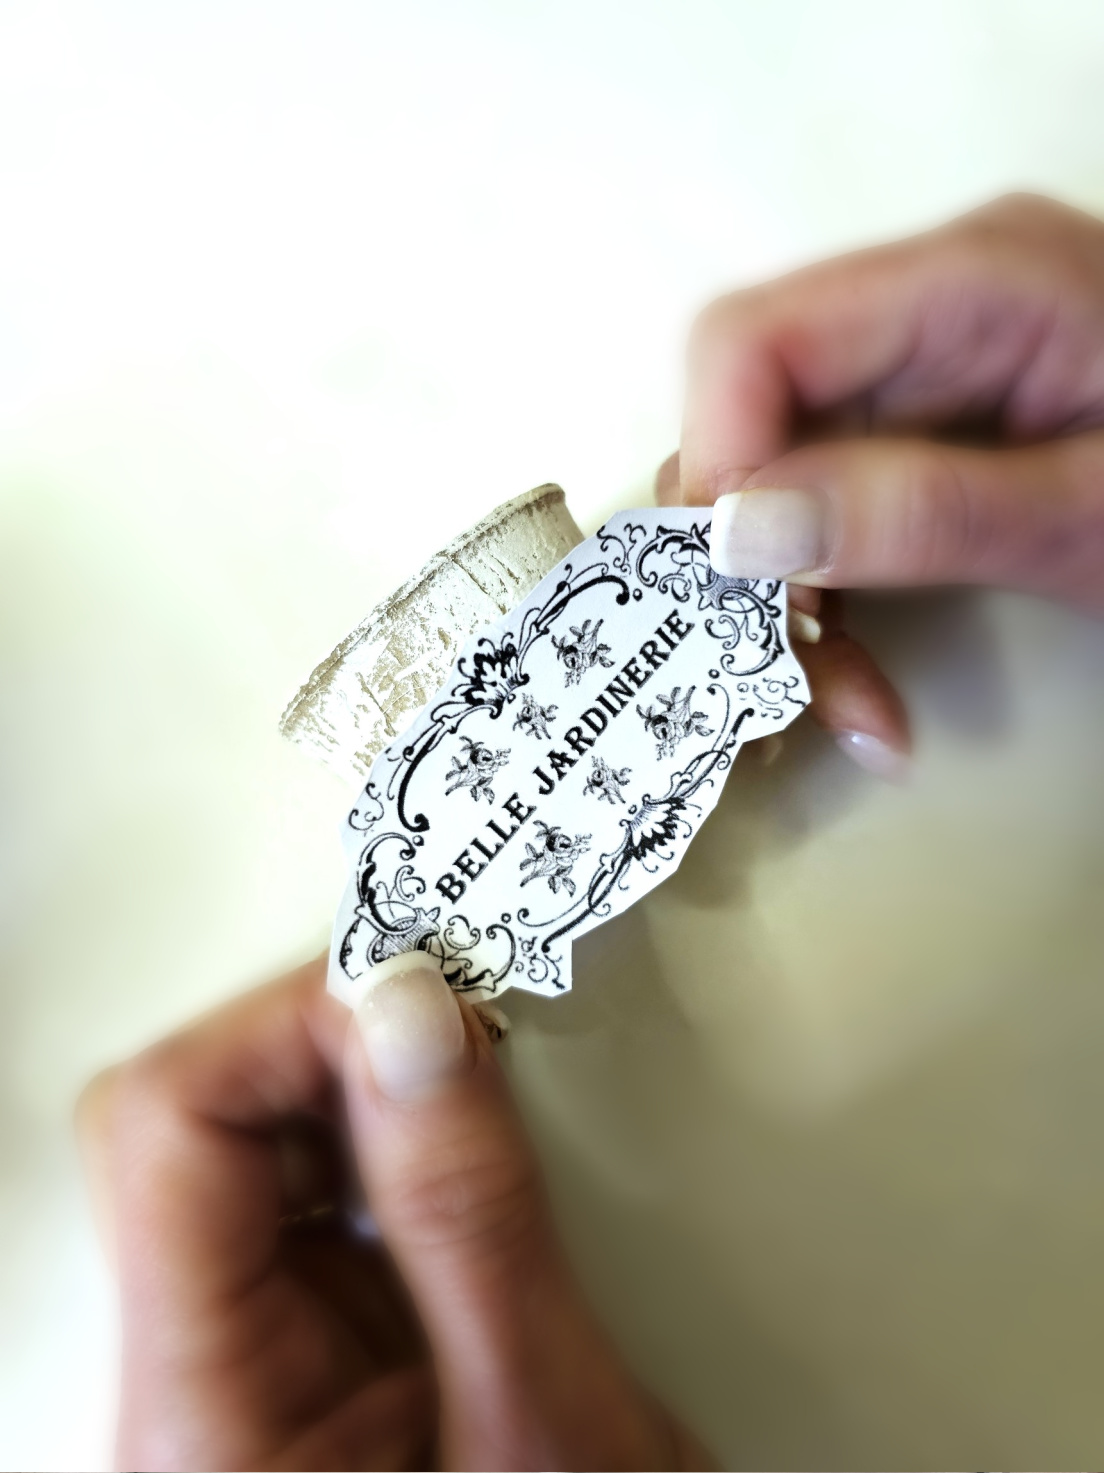
I printed the image 3 x 5 on computer paper. Next, cut the image. Cut as close to the words as possible. This allows the graphic to blend into each flower pot. Add Mod Podge to the back of the image for each pot. Cover the edges of the paper well. Flip it over and add it to the side of the peat pot. Press the image lightly with your fingertips. I added a second coat of Mod Podge to avoid yellowing and fading.
Step 3: Wrap Wreath with Burlap
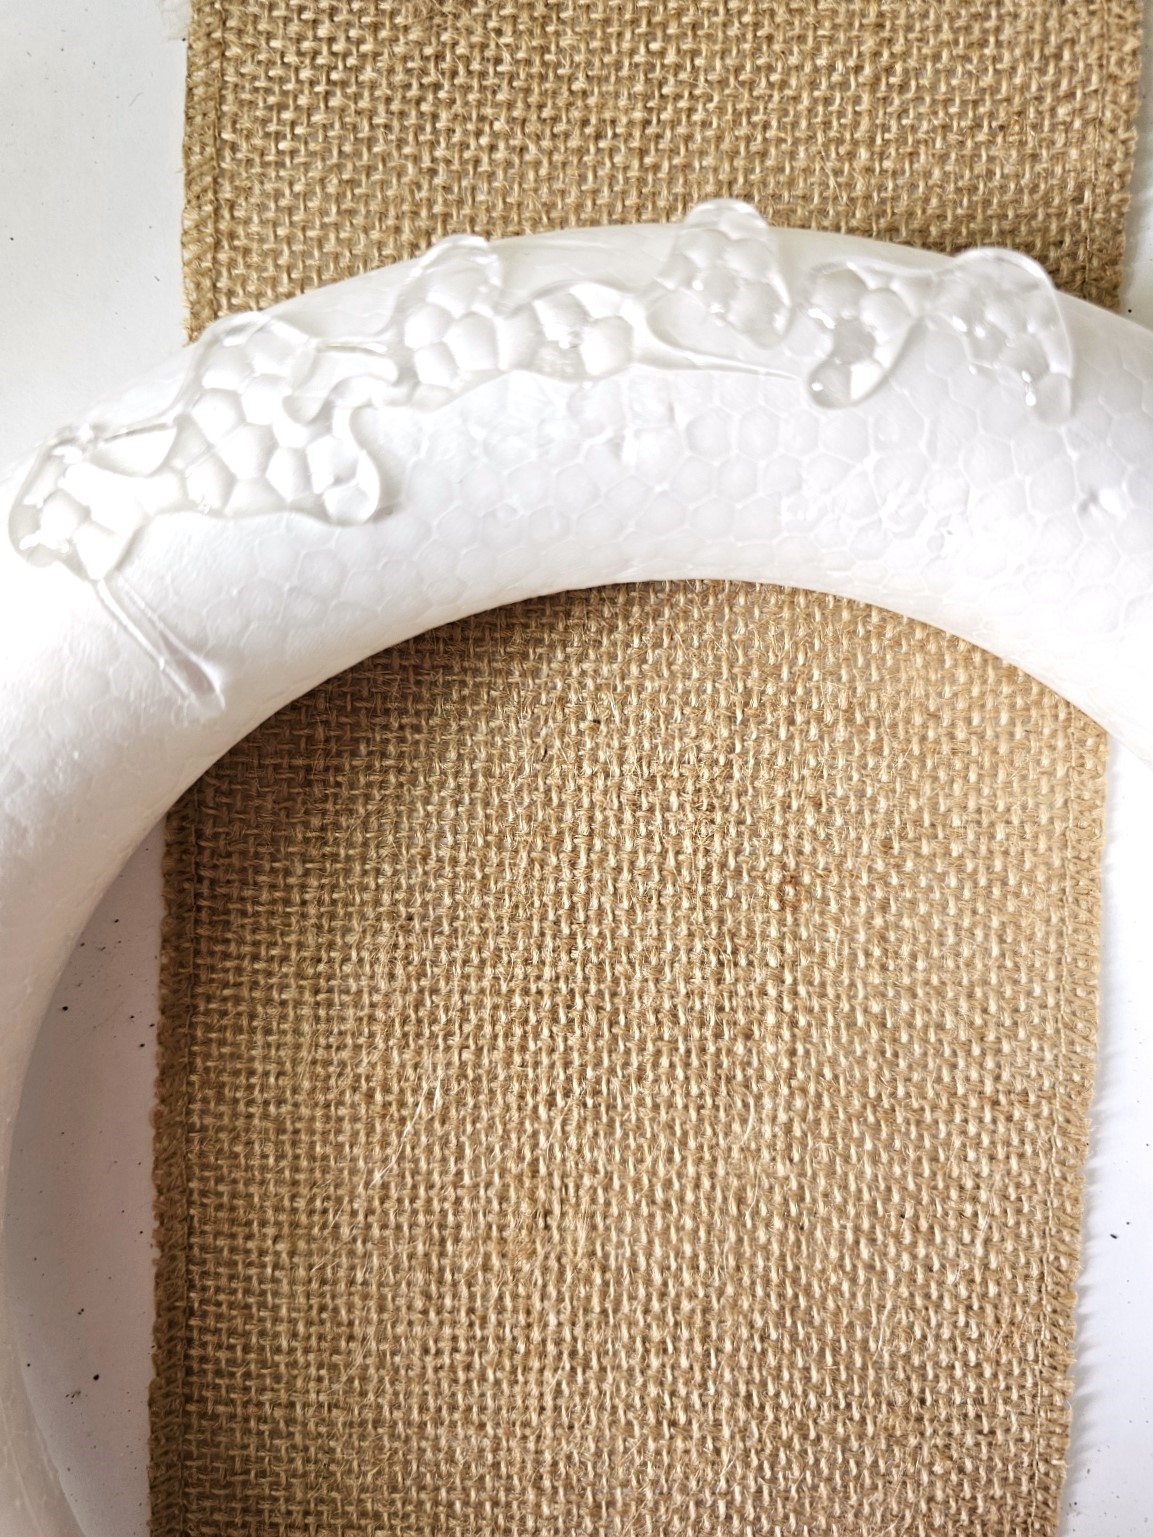
For this wreath, I used a foam wreath form. Wreath blanks were in my craft closet. I always check to see what I have at home before visiting the craft stores. To my surprise, I used my last two wreath forms, so I will be heading to the craft store soon to replenish. I can’t be without wreath forms!
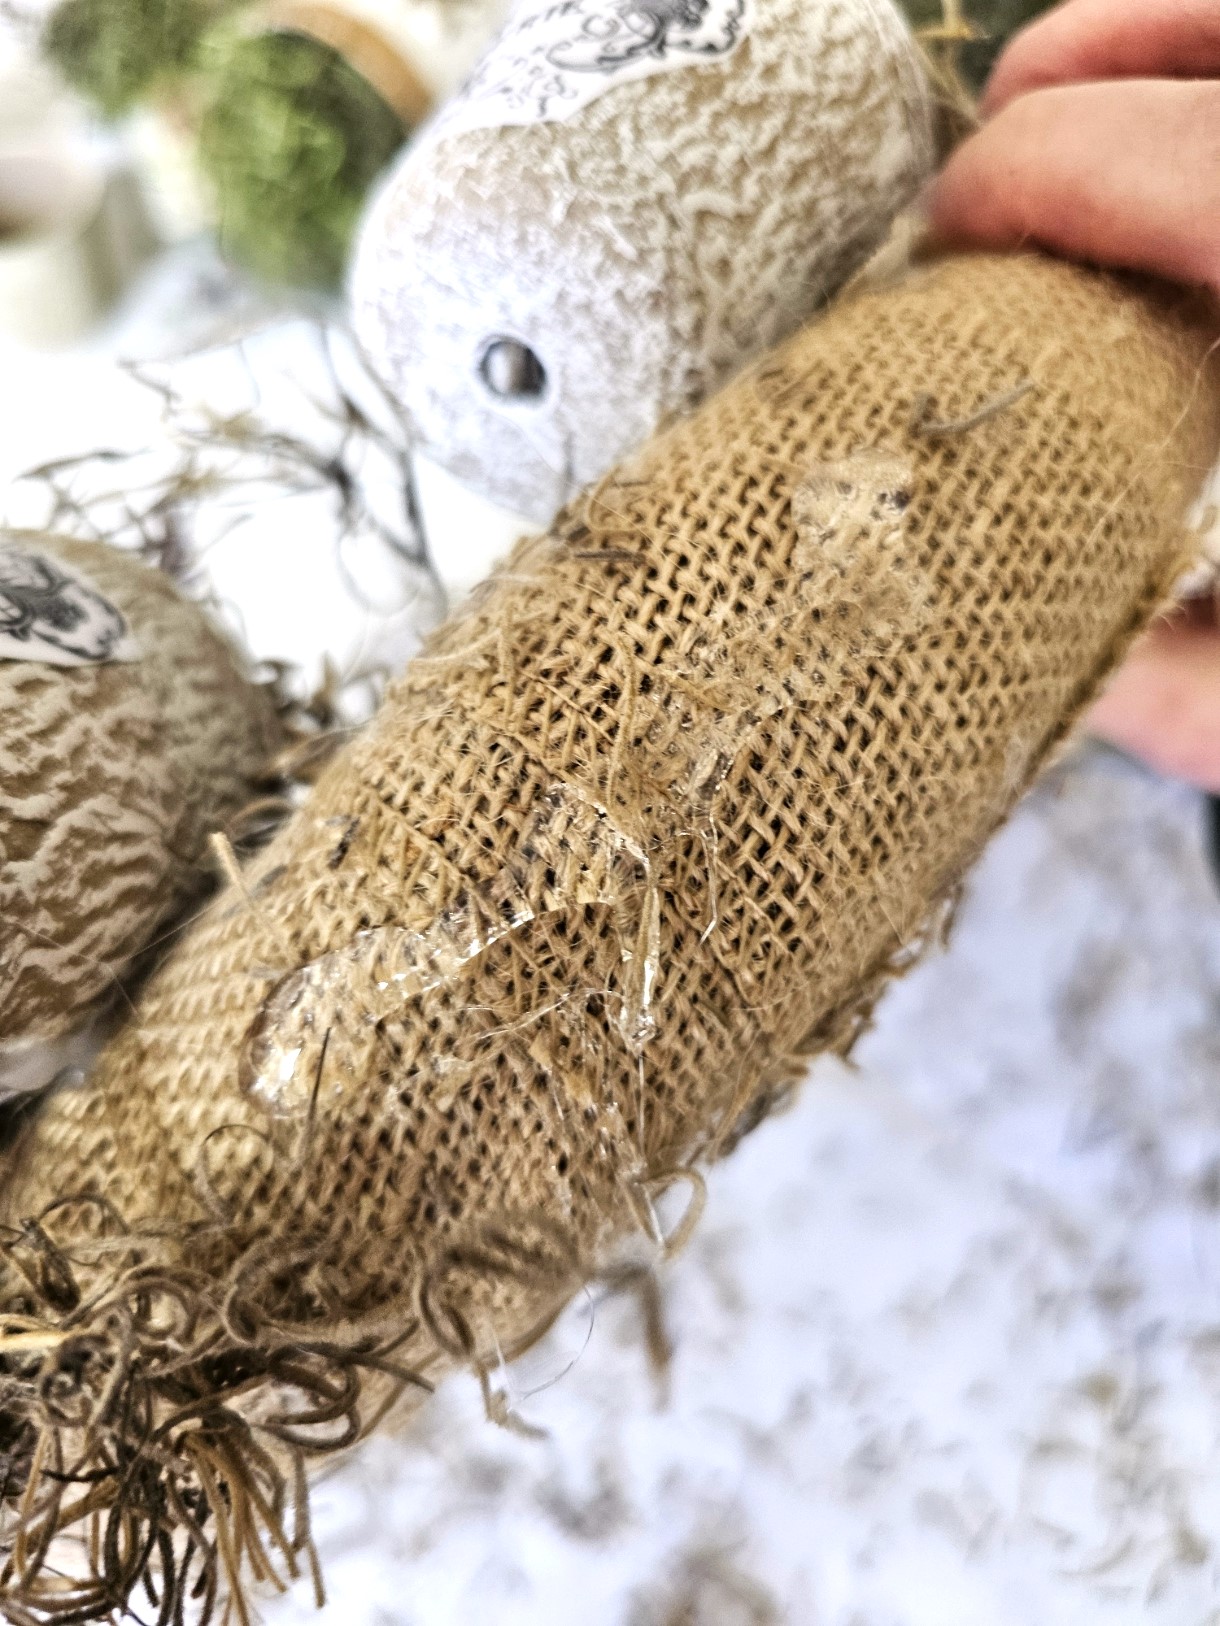
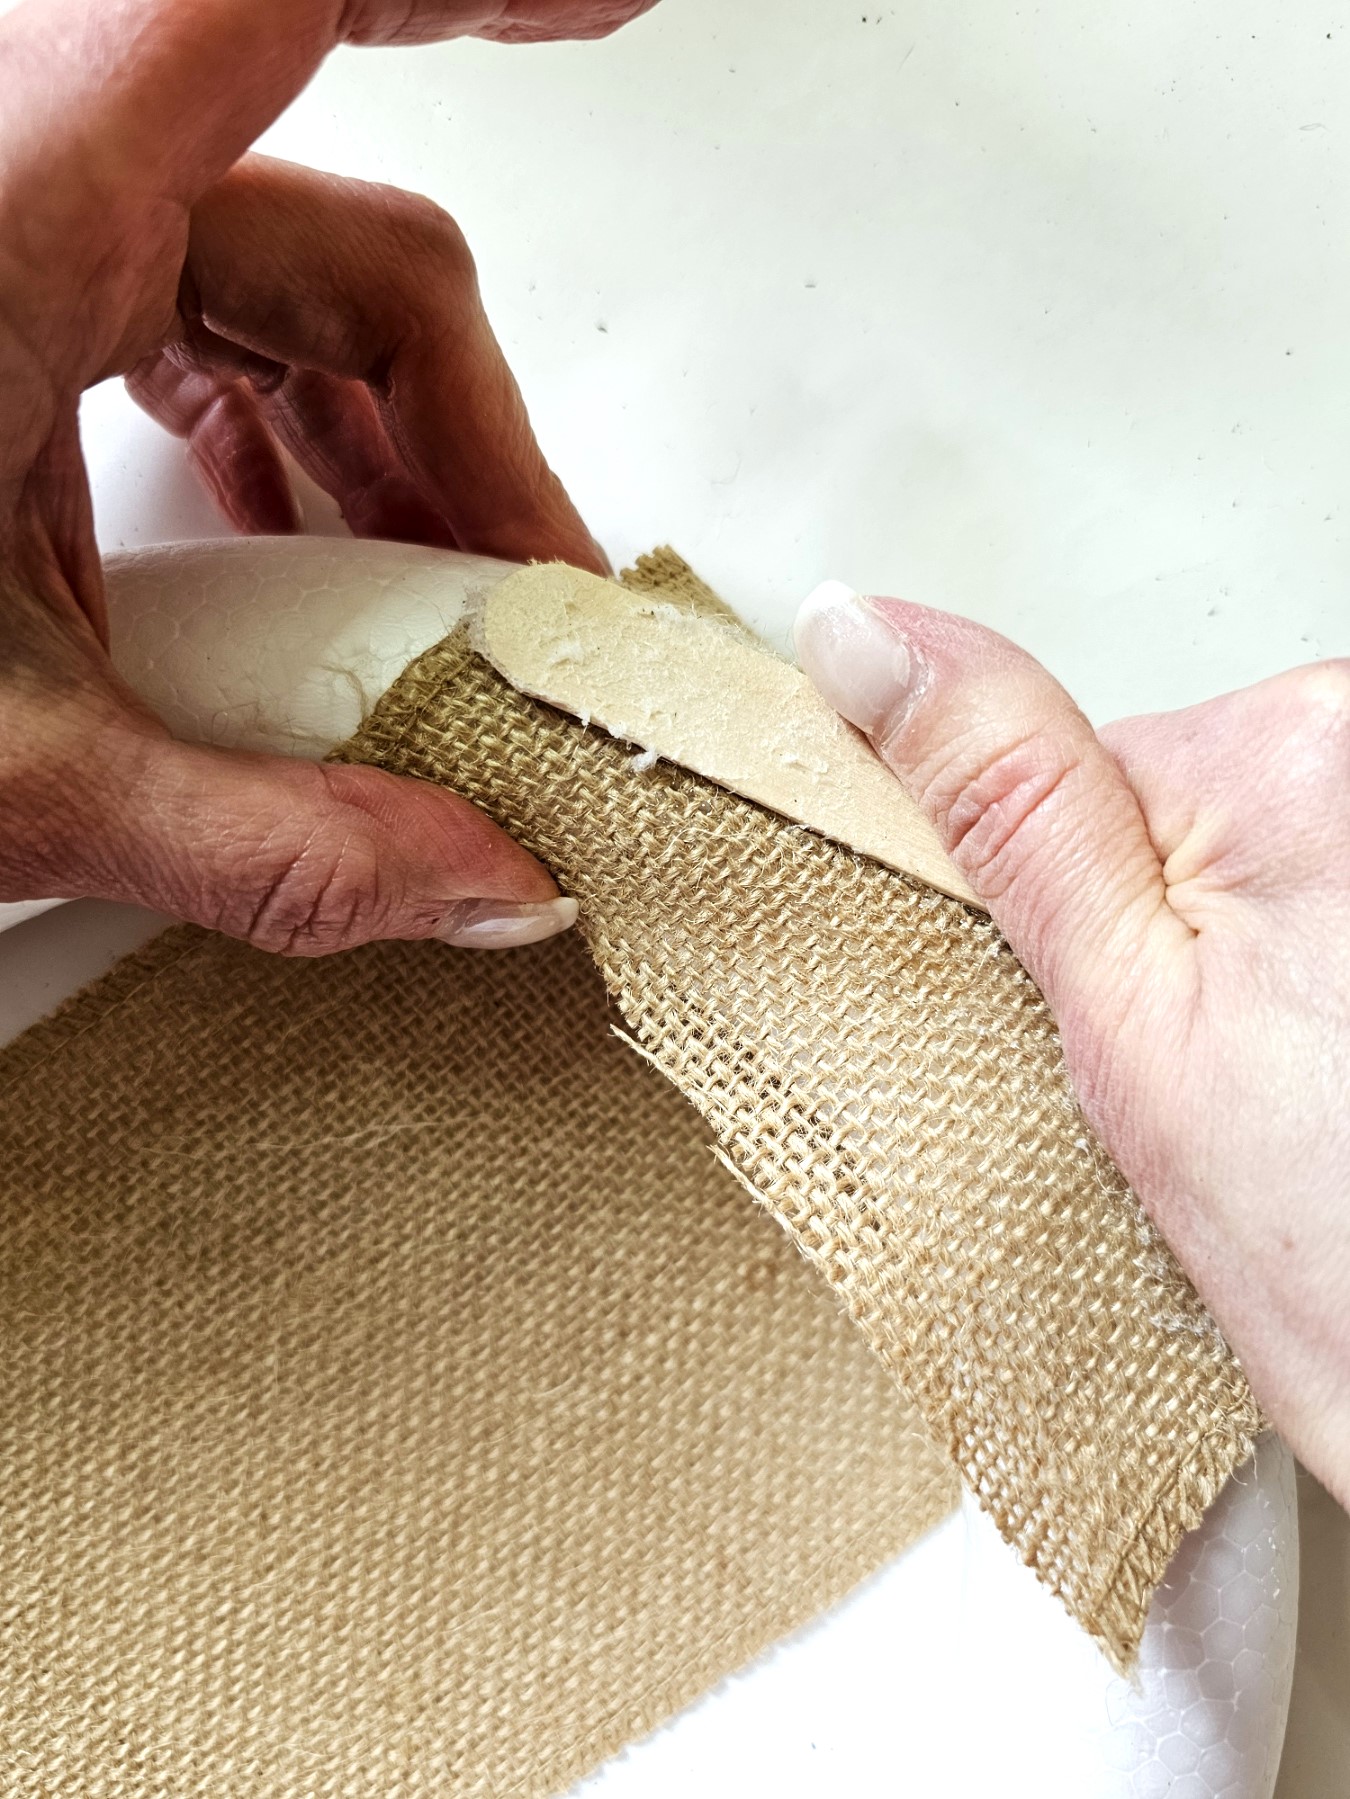
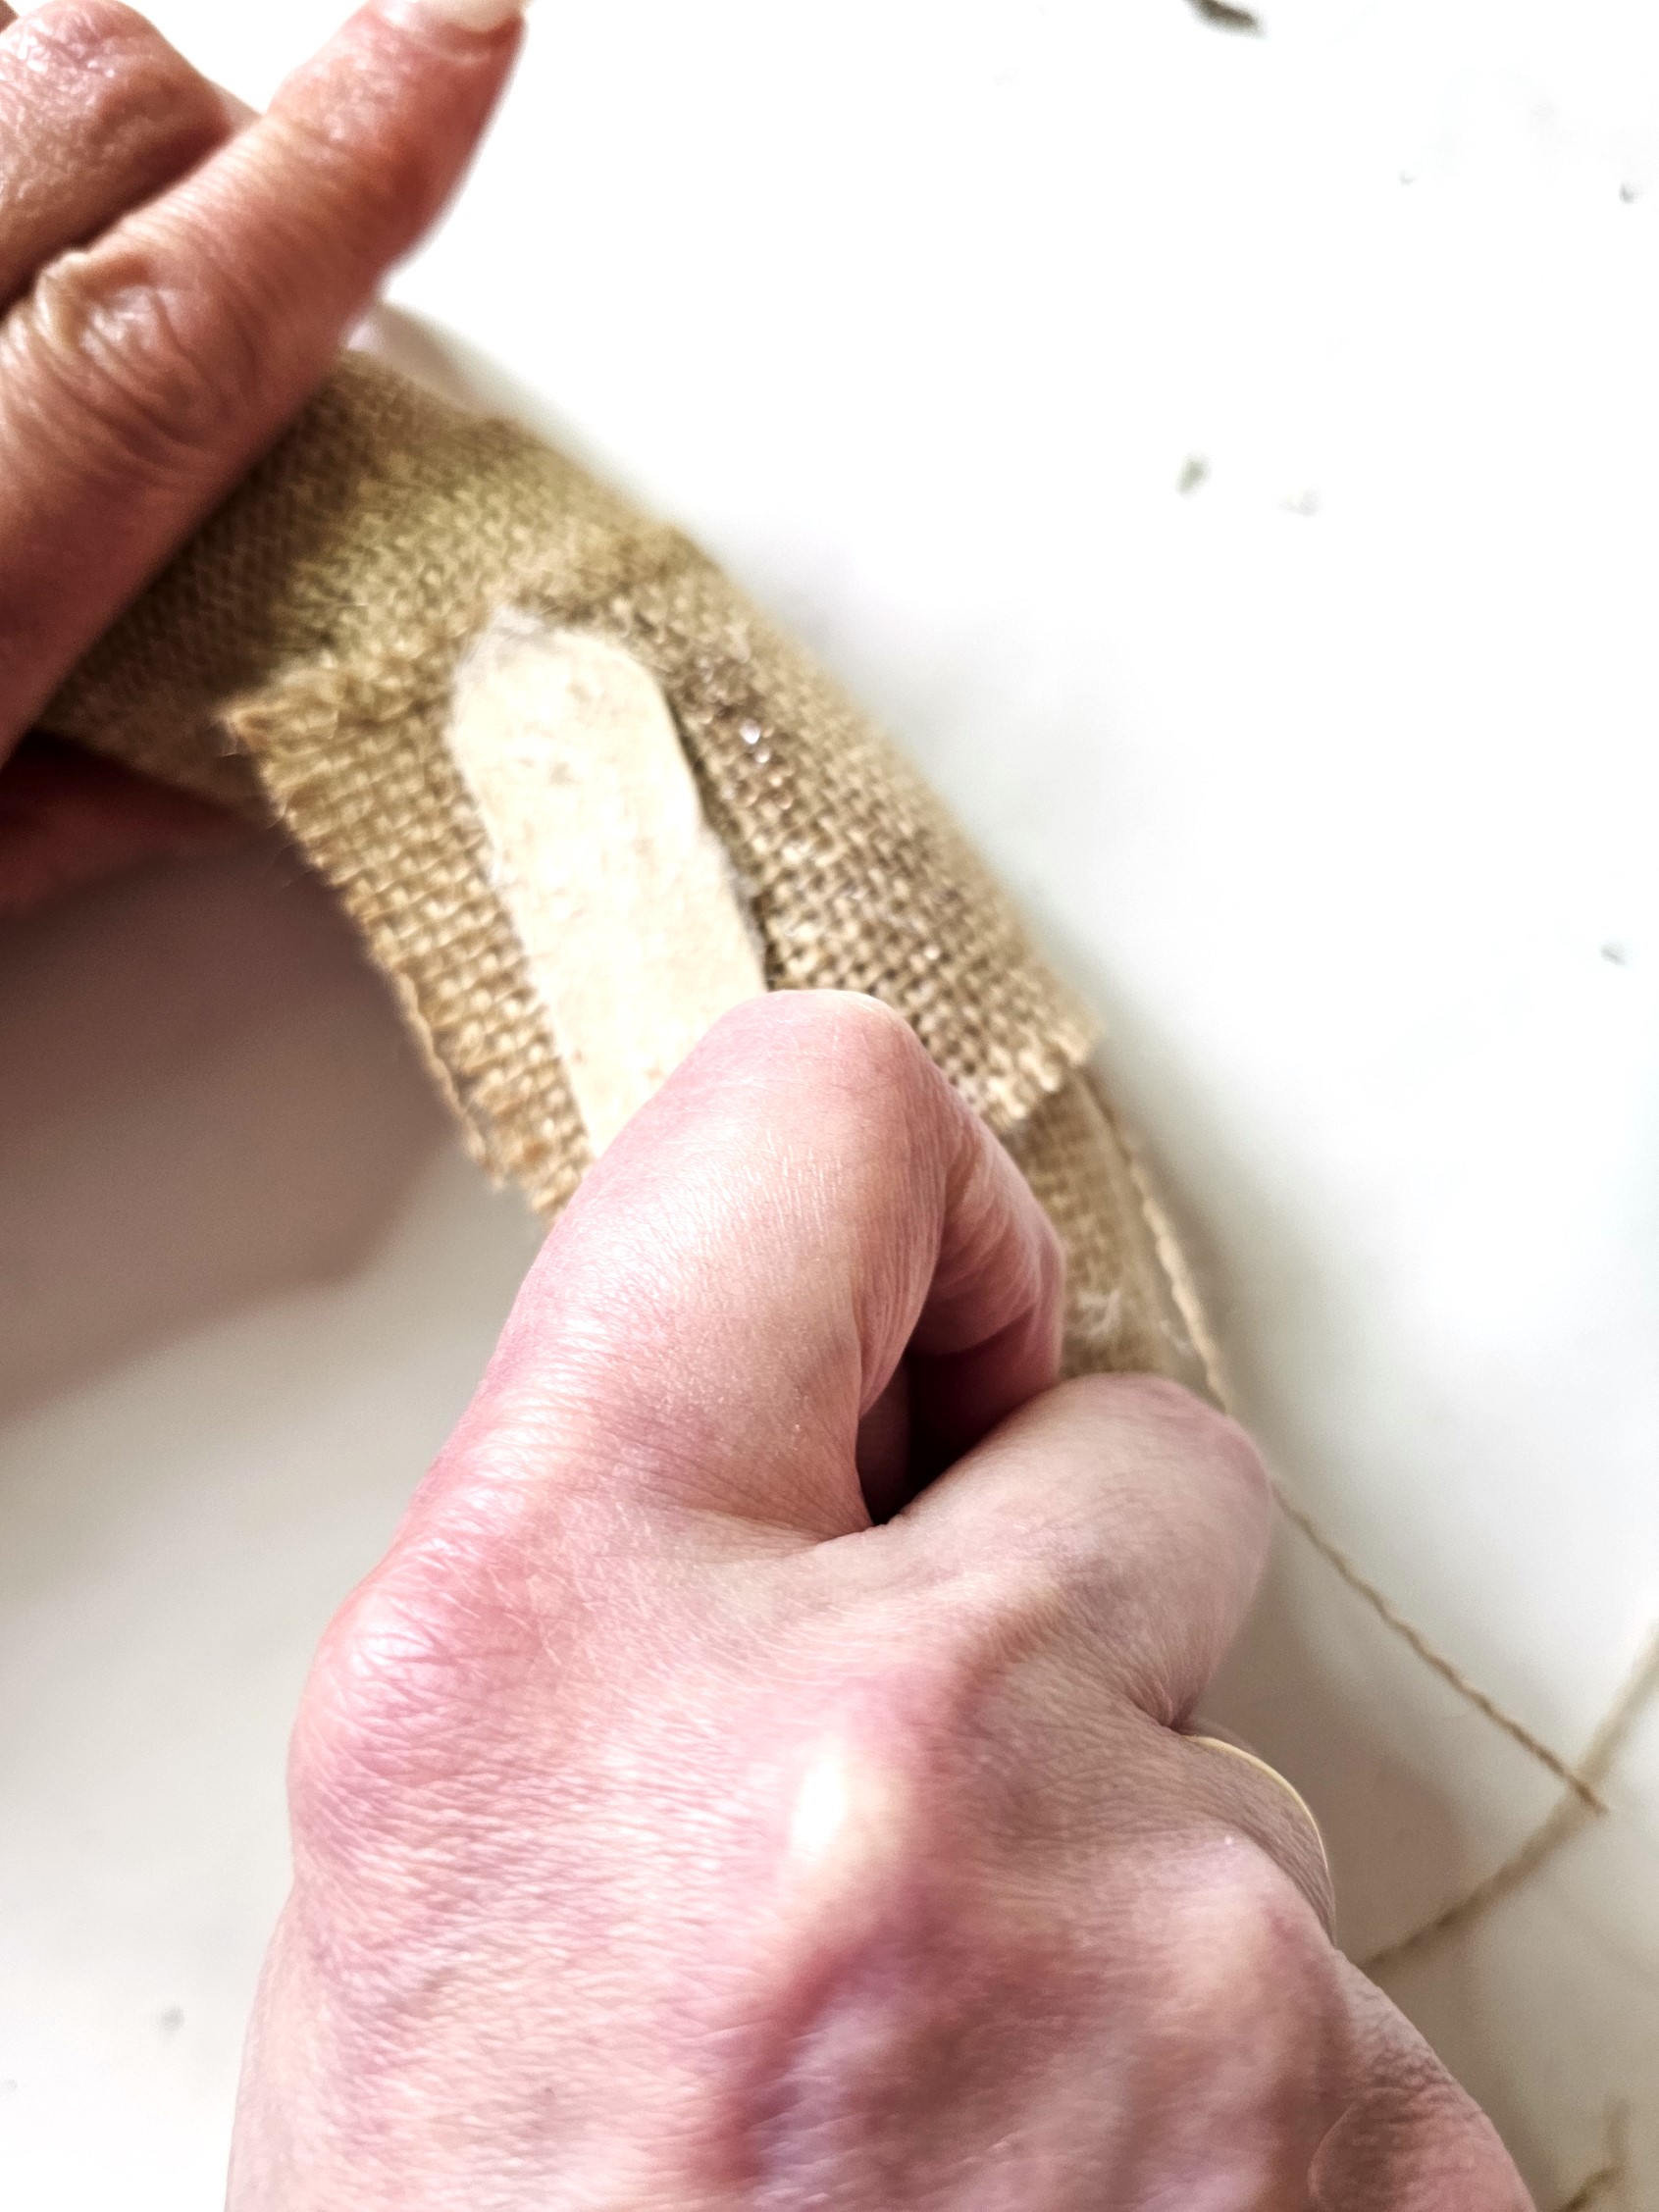
When I use a foam wreath form, I wrap the wreath form in burlap. This prevents the Styrofoam from breaking down from the glue. Add a dab of hot glue to the wreath and attach the end of the burlap ribbon. Hold it to set and wrap the wreath form. When you are at the end, add a dab of glue and hold it to set.
Tip: Using a dual temperature glue gun is best when making wreaths. Setting the glue gun on low temperature prevents Styrofoam from breaking down. It’s a great way to avoid burns. I can’t recommend getting one enough if you enjoy crafting.

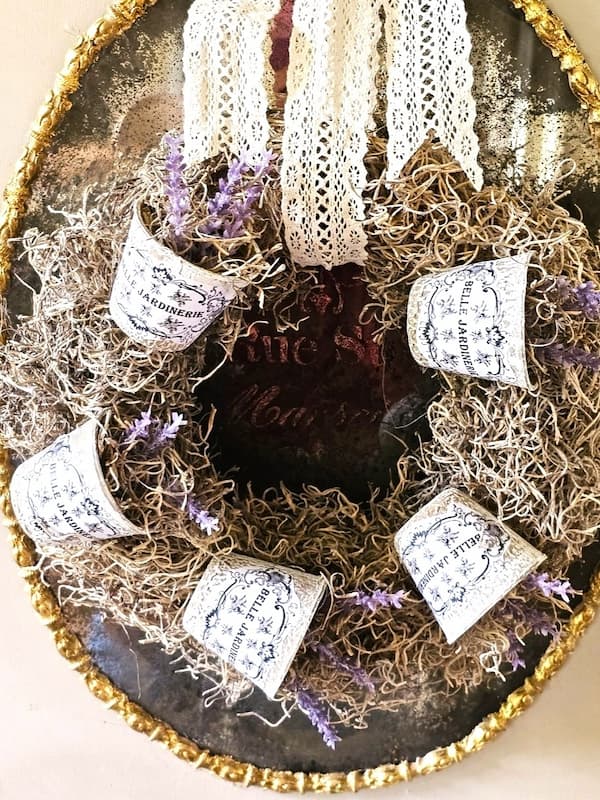
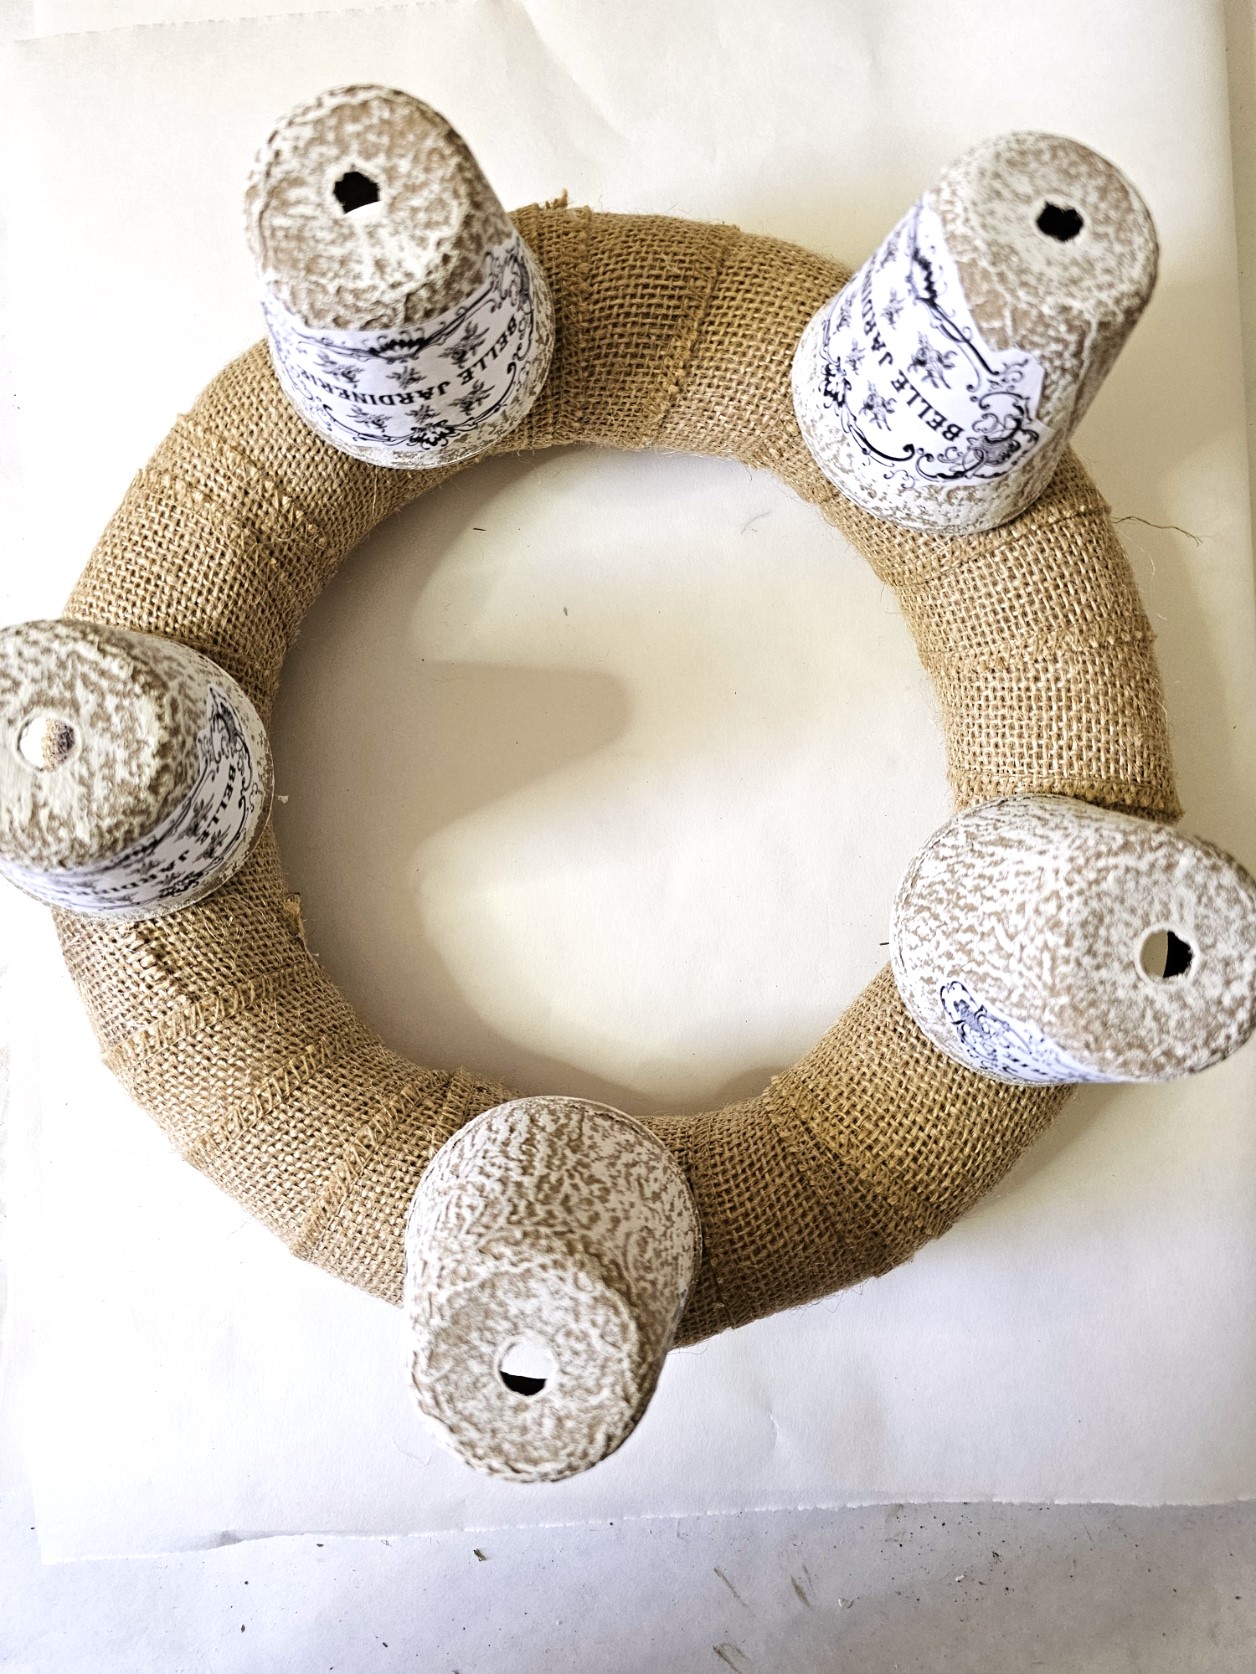
Step 4: Glue Pots
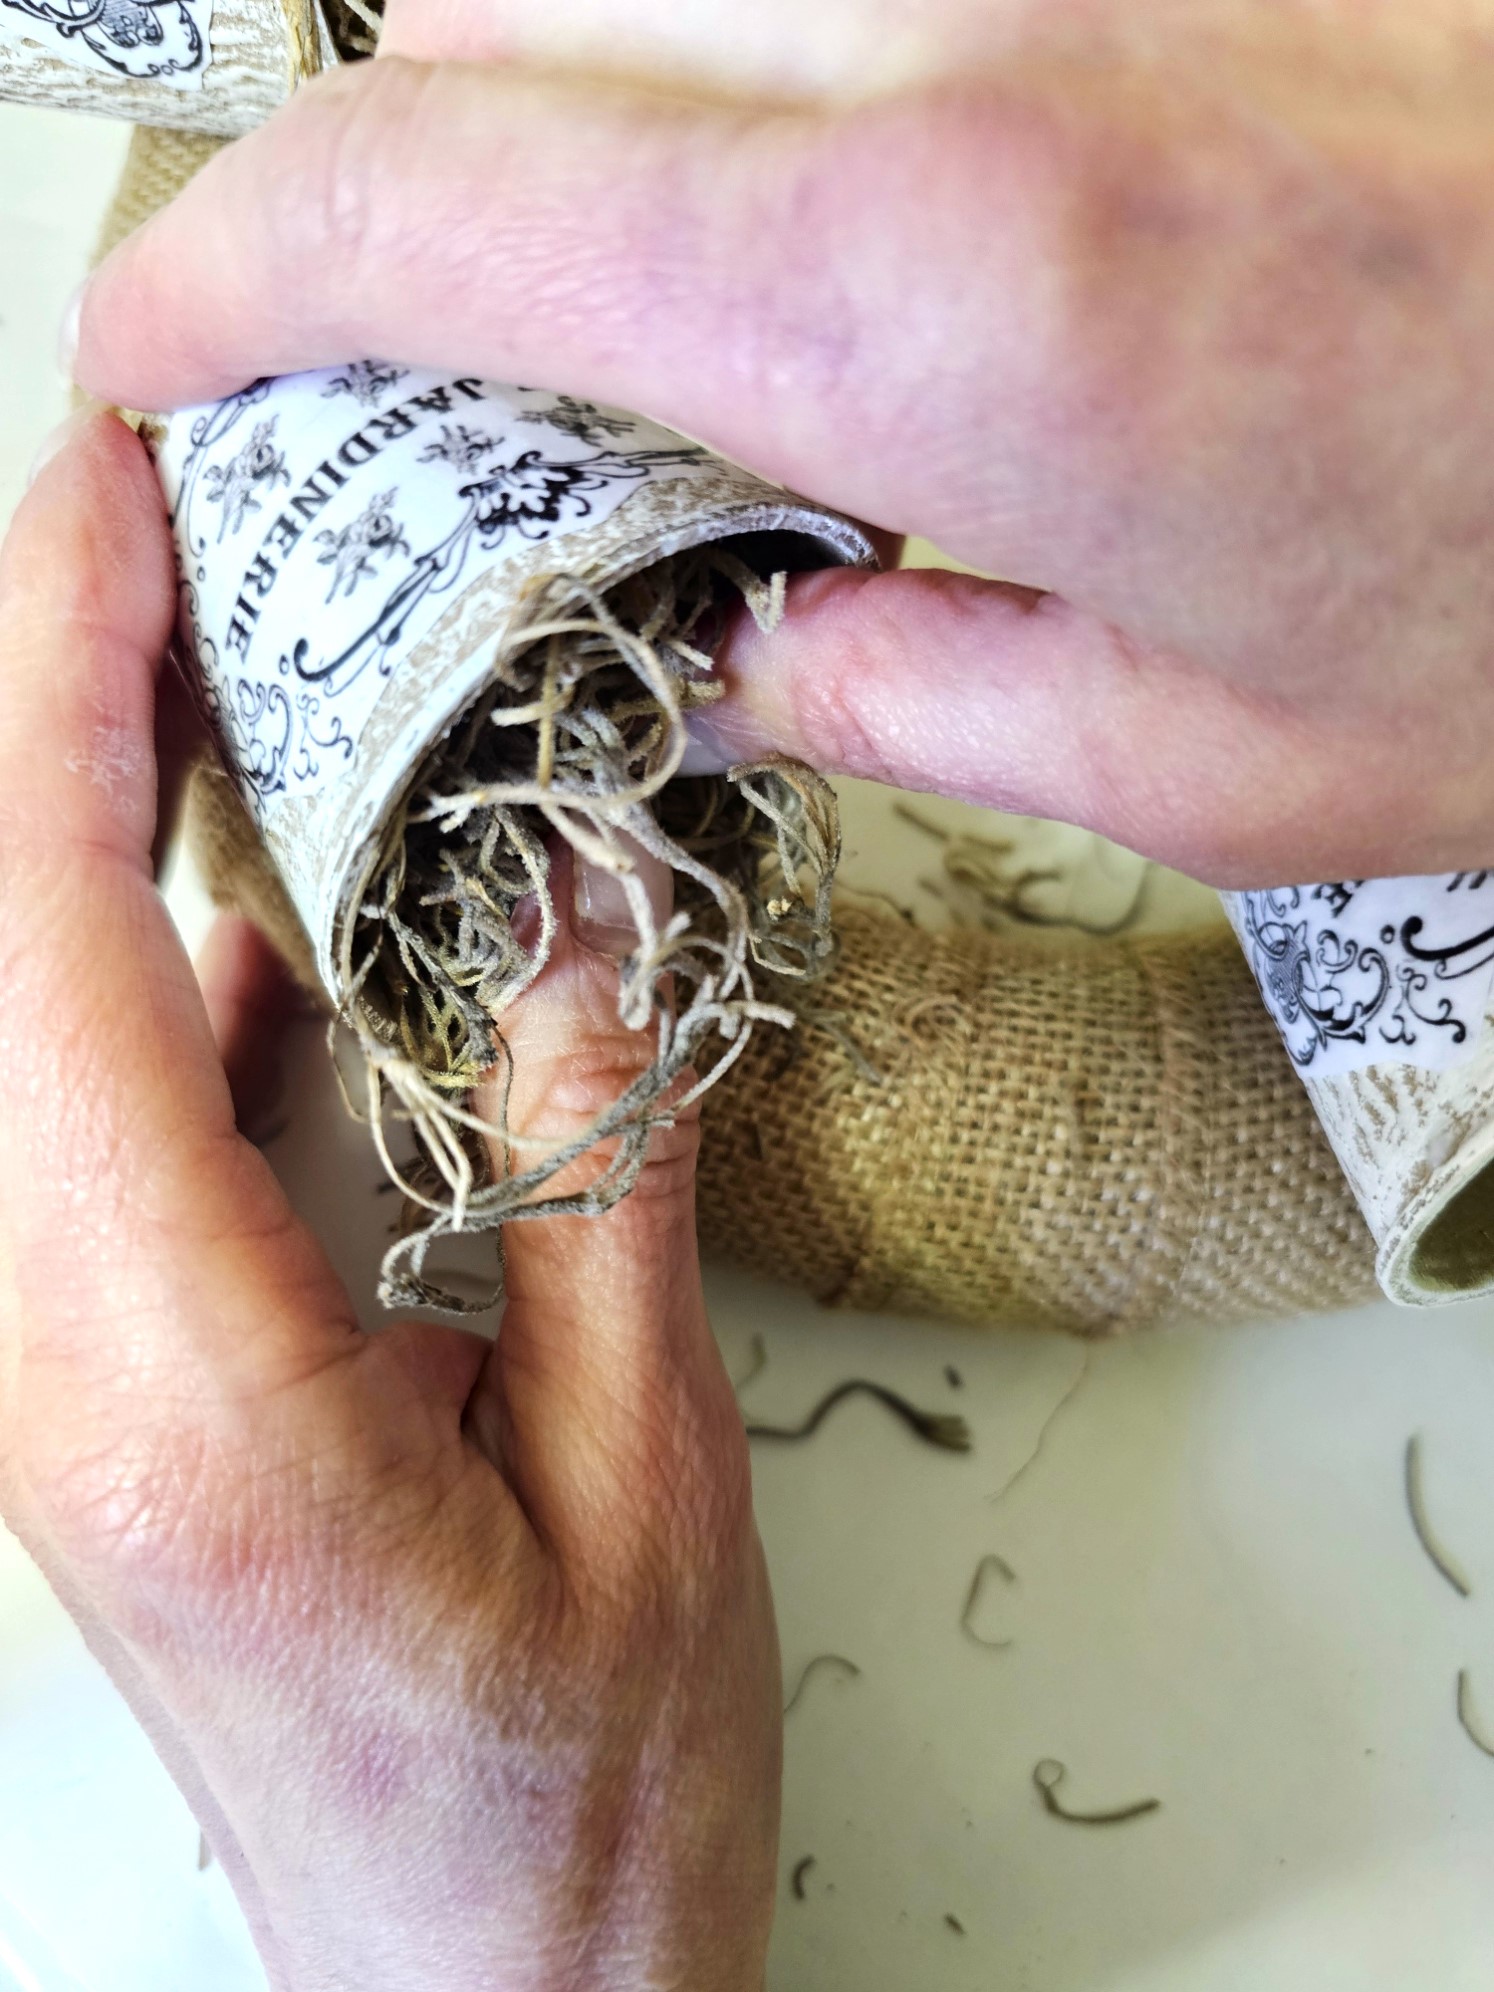
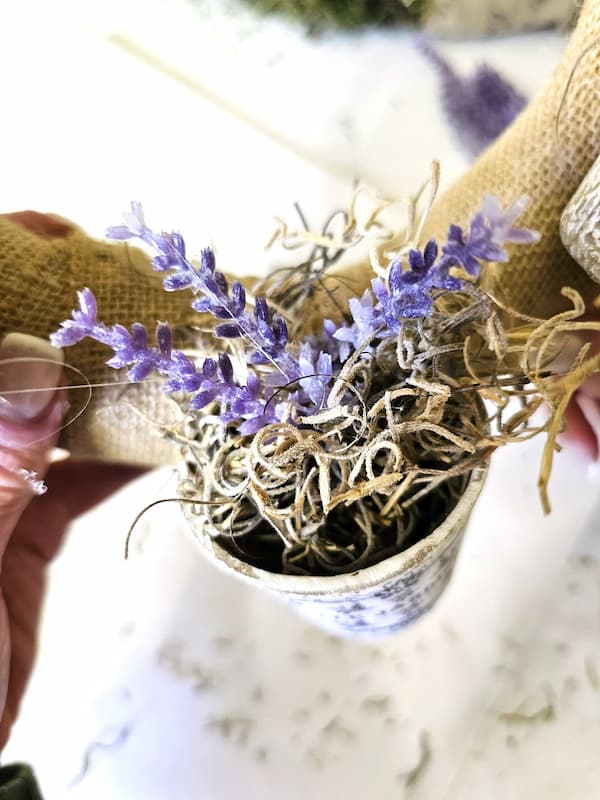
Add glue in two rows to the back of each little basket and hold them to set. I glued the pots first on this spring wreath because it allowed me to see how much moss was needed. I cut faux lavender and moss to add to each pot. Push the moss inside each pot. Add hot glue to the end of the lavender and hold it to set. Or add faux succulents for an adorable wreath for the spring and summer.
You can use terra cotta pots for this wreath. If you do thread the jute through the small hole in the pot. Pull the jute tight and double knot the jute to keep the pots stable. I share a blog post on making an eucalyptus flower pot wreath. Guess what, this wreath has garlands and floral wire and is perfect for spring through fall. You can see it (HERE)
Tip: I did a dry run to ensure my pots were glued in the correct spot. I tried to add these pots using a floral pin. The pots are too thick, the floral pin didn't go through the side of the peat pot.

Step 5: Glue Spanish Moss
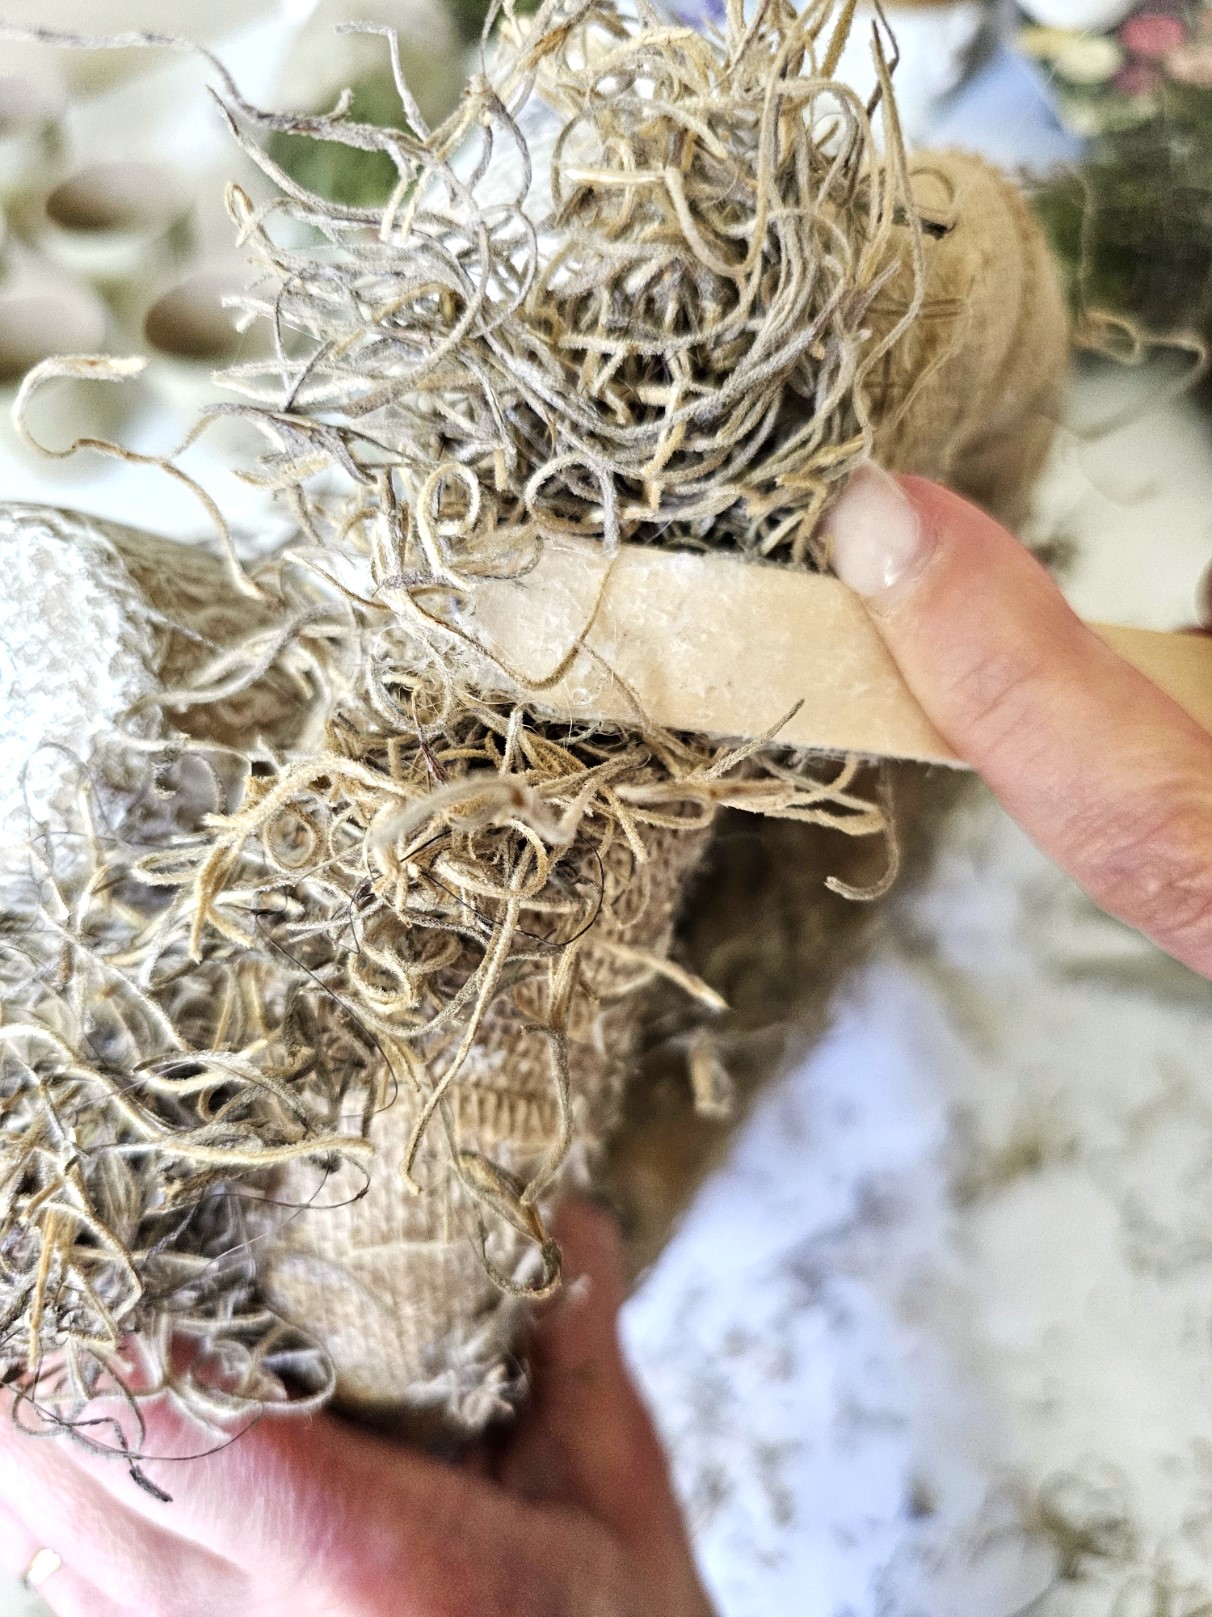
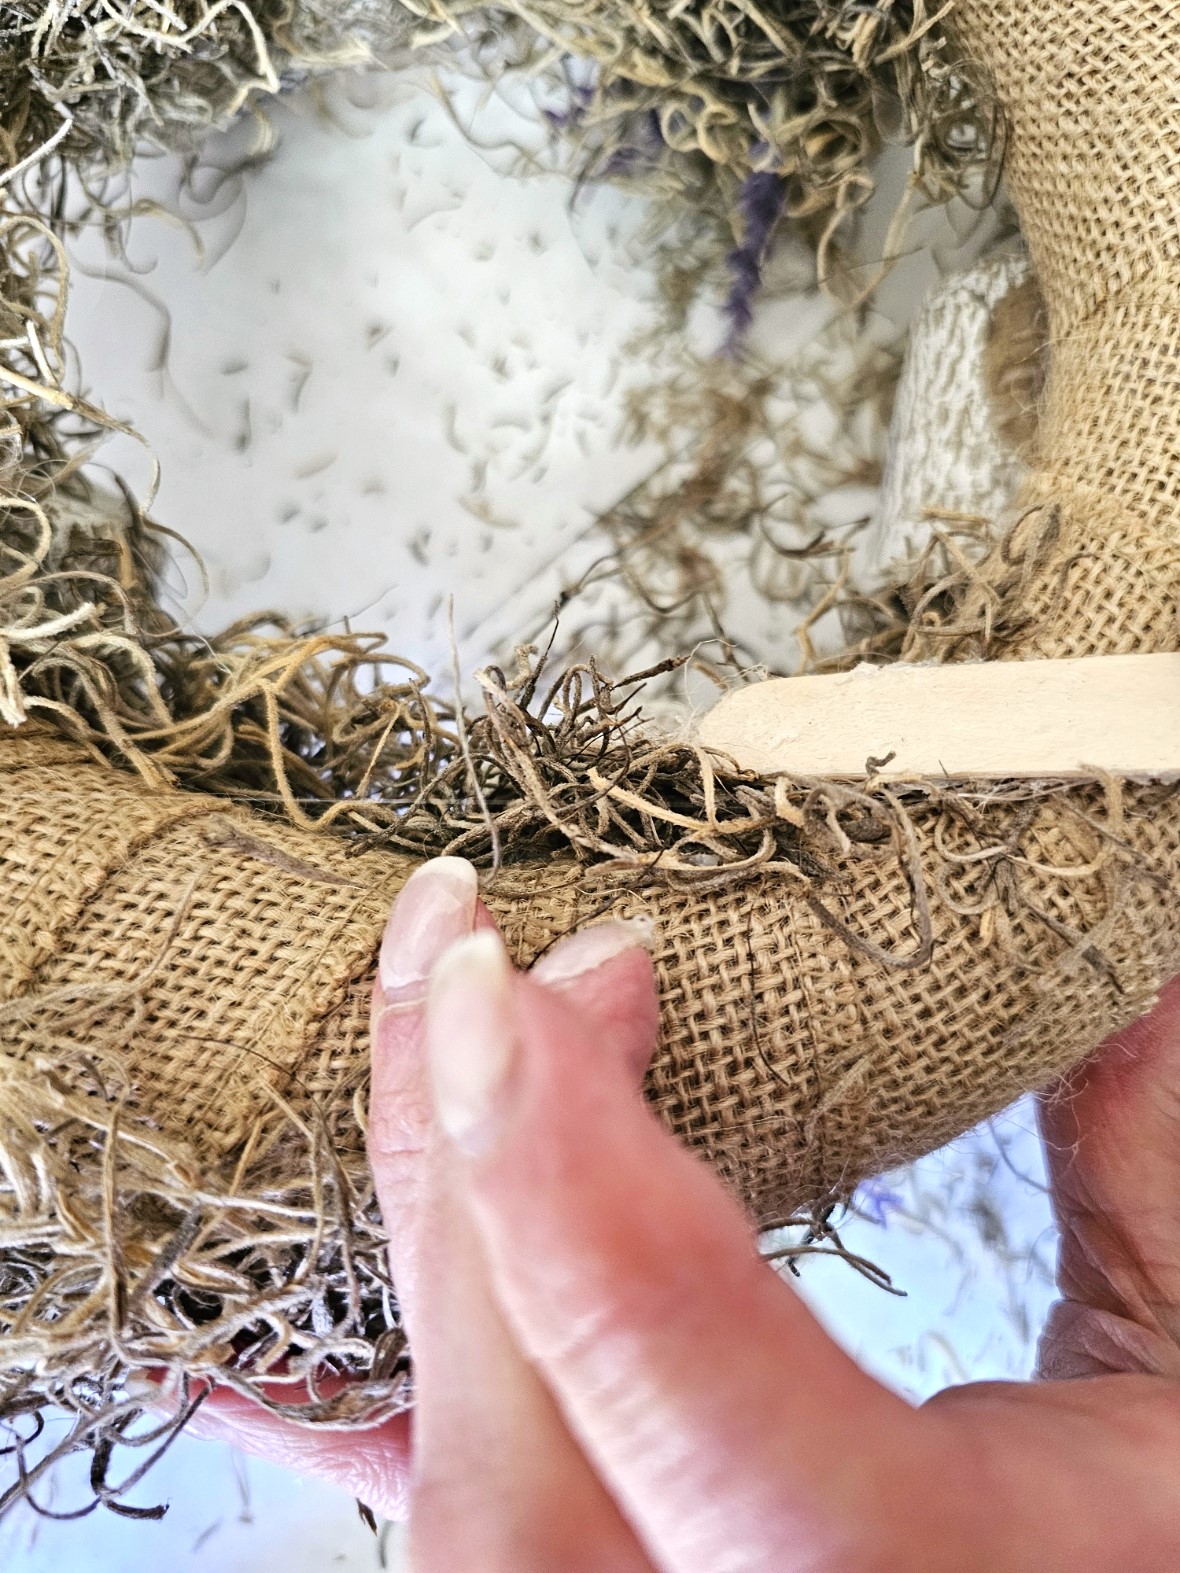
Next, I add hot glue to the wreath form and cut sections of moss. I added the Spanish moss in small sections at a time. As I add the moss, I use a popsicle stick to hold it to set. Cover the entire wreath with moss. Spanish moss can be messy. Add craft paper under your wreath. When you are finished, roll up the paper and throw it away. Easy peasy clean up.
Tip: Be sure to use a popsicle stick or rubber fingertips to hold the moss to set to avoid burns. I don’t use rubber fingertips because I have tried many, and none fit my fingers. My fingers are skinny. You can see from the popsicle stick how much glue seeps through the moss.