Star Anise Wreath In Three Steps Crafting With Nature
What's better than making a DIY star anise wreath in three steps crafting with nature? These will welcome family and friends to celebrate the season and the winter months.
Yield: 6 wreaths
Cost: $15
Equipment
- 6 Black wreath hoop set
- 1 Ribbon or burlap ribbon To wrap each metal wreath hoop
- hot glue gun
- 1 Set rubber fingertips optional
- 1 Roll of velvet ribbon or lace ribbon To hang each finished star anise wreath
- 1 strong craft glue
- star anise 25 anise stars small pine cones
Notes
Star Anise Wreath In Three Steps Crafting With Nature
Craft Supplies:
Star Anise 25 per wreath for an 8-inch wreath. Black wreath hoops, foam wreath forms, or metal wreath forms Ribbon or burlap ribbon to wrap metal wreath hoop or Styrofoam wreath form Hot glue gun and strong craft glue sticks Rubber fingertips (optional) Velvet or silk ribbon, burlap ribbon, or lace ribbon for hangingStar Anise Wreath in Three Steps Crafting With Nature
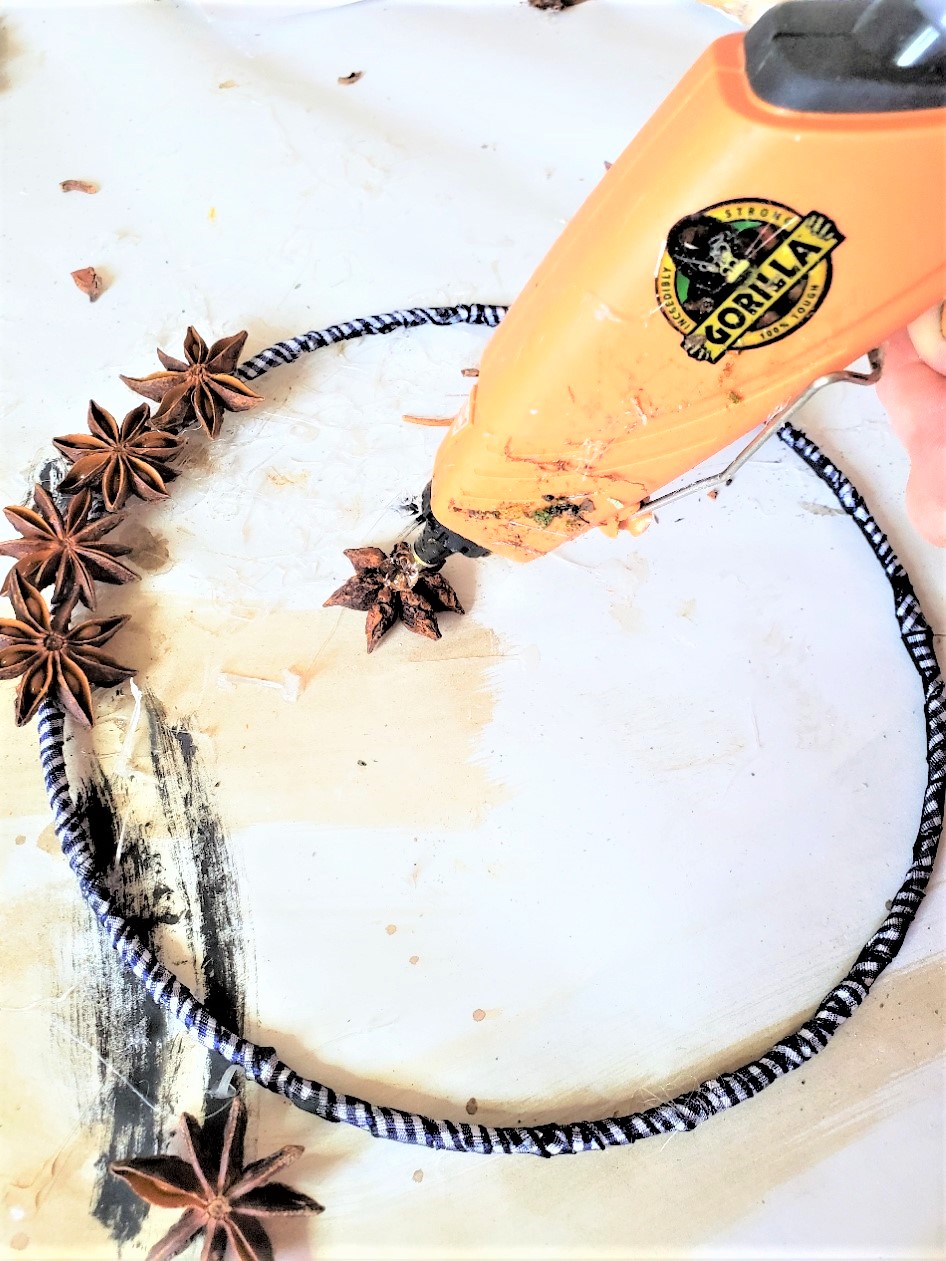
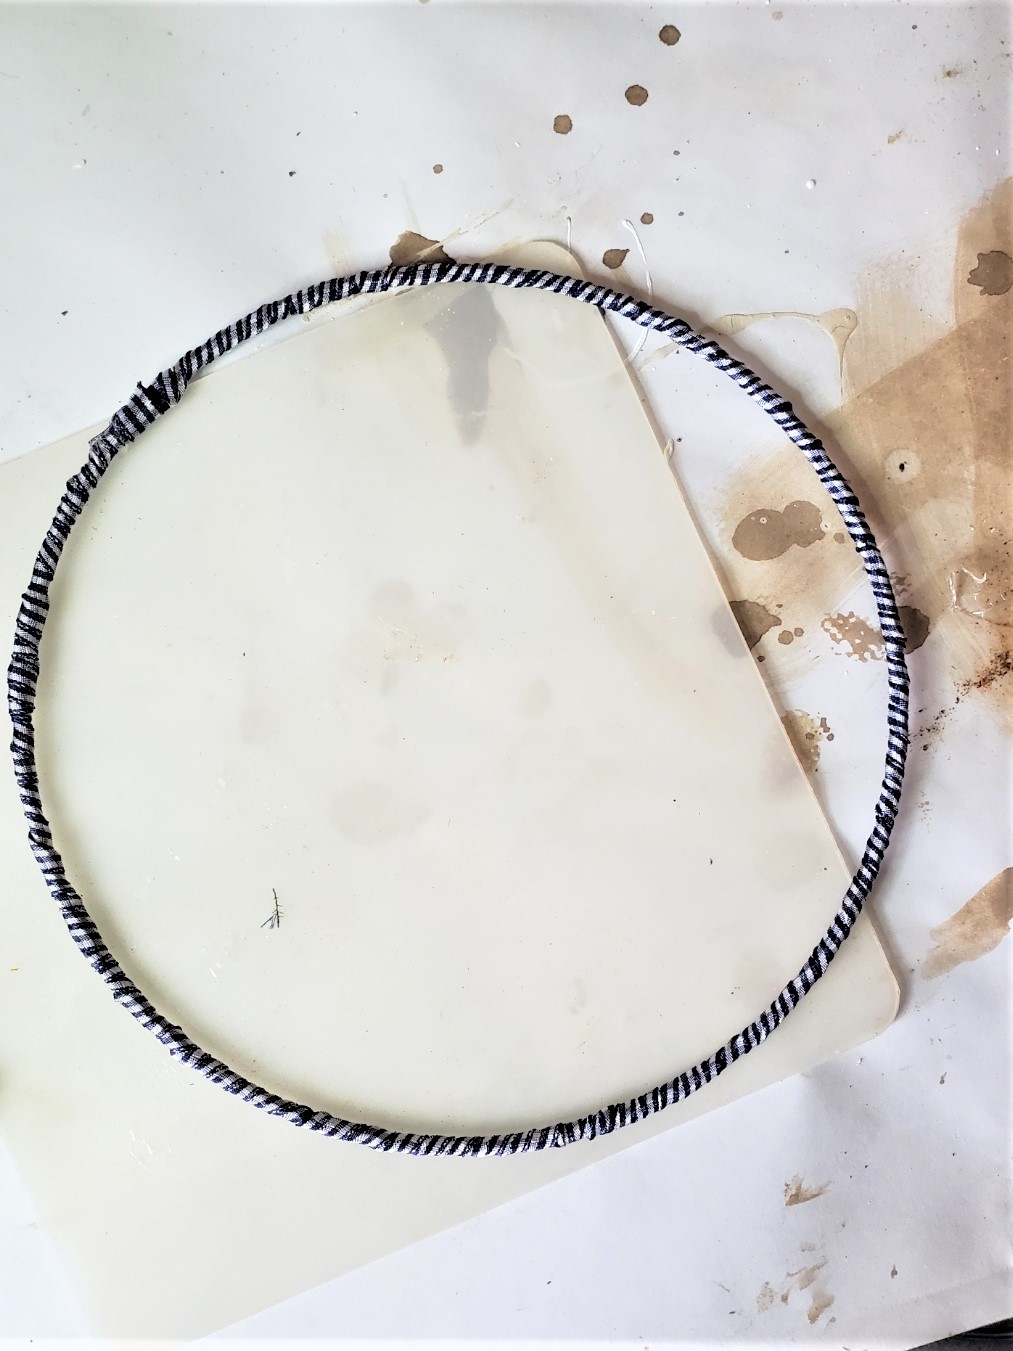
Step 1: Wrap the Wreath Forms
First thing, these will take a couple of hours to make. Plug in the hot glue gun on the low setting. Add a dot of hot glue to the end of the ribbon. Place it on wreath form and hold it to set. Cindy's Top Tip: If you are using a foam wreath form, spray paint it with dark brown spray paint. If there are gaps between the star anise this will blend the Styrofoam. Burnt umber or brown acrylic paint will work. The painting and drying time will take longer and require more paint. Now wrap the metal or foam wreath forms with the ribbon and add a dot of glue to the end of the ribbon to attach to your star anise wreath base. Cindy's Top Tip: When gluing the anise to the wreath form add hot, strong craft glue to the back of an anise star and place it on the wreath base. Hold the anise stars for a moment until each piece is set. Because these vary in size there will be larger-sized star anise and smaller pieces to glue and an odd number. Offset each star as you are gluing them on the wreath. Try to get the anise point in between the space of each point close to the center. I recommend setting your glue gun on a low setting.Step 2: Gluing
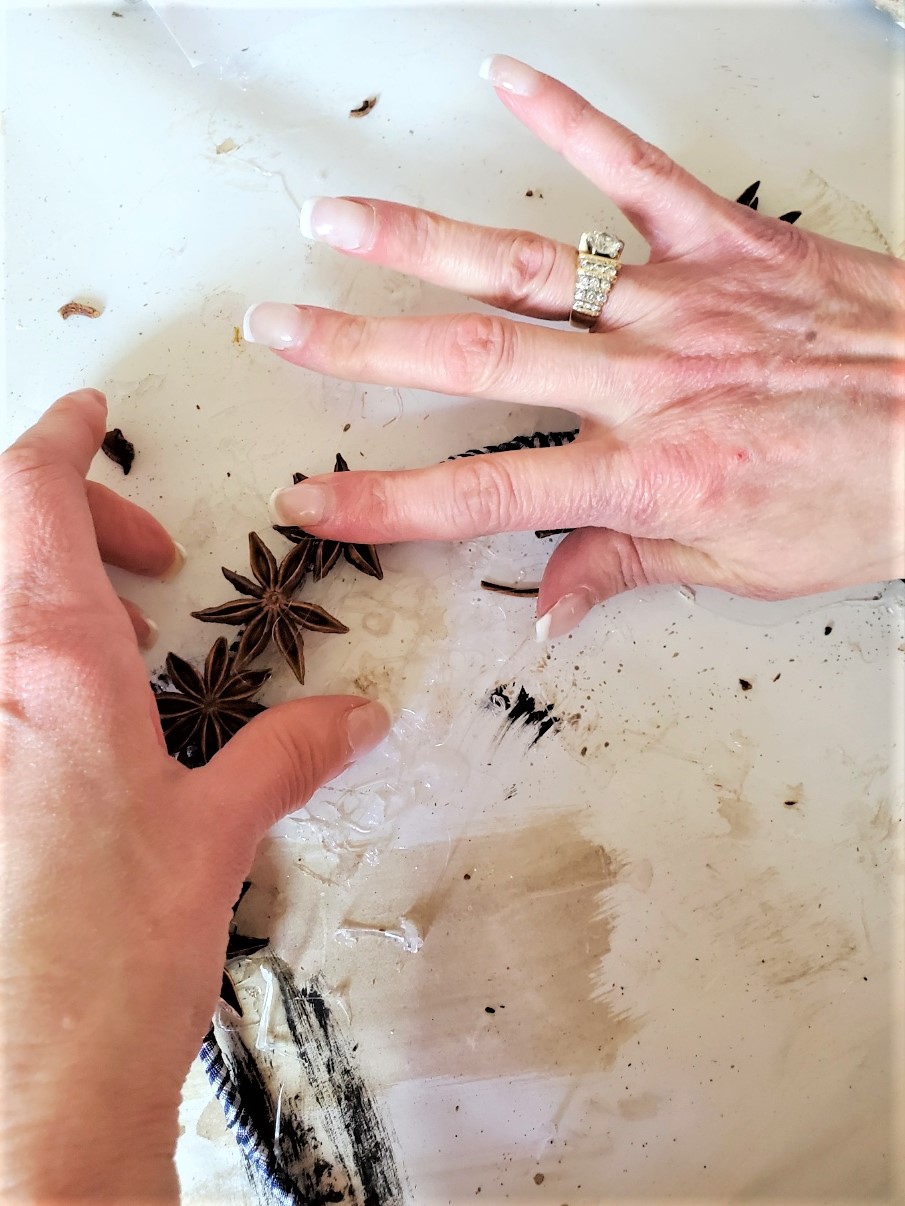
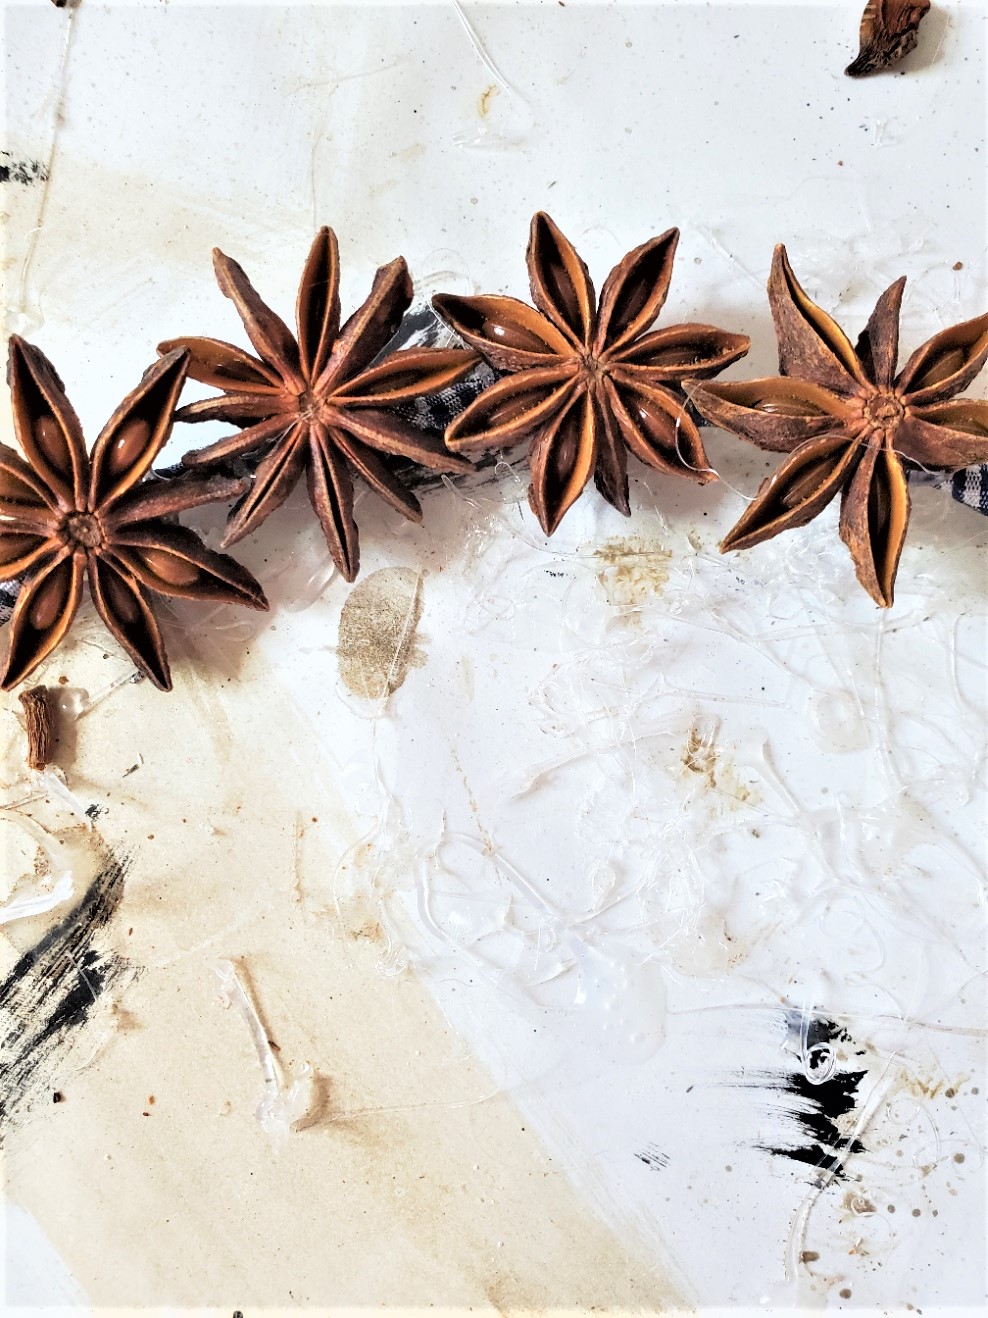
Use the hot glue gun to add an anise star to each wreath. Add hot, strong craft glue to the back of each and place it on the wreath base. Hold it for a moment until each piece is set. Cindy's Top Tip: These are small and setting the hot glue gun on low temperature will avoid burns. If you are concerned, I suggest buying fingertip protectors.Step 3: Hang The Finished Wreath
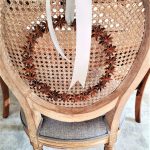
Hang each wreath with velvet ribbon, satin, or lace ribbon from the back of your dining chair, kitchen chairs, windows, or favorite place in your home. Happy crafting!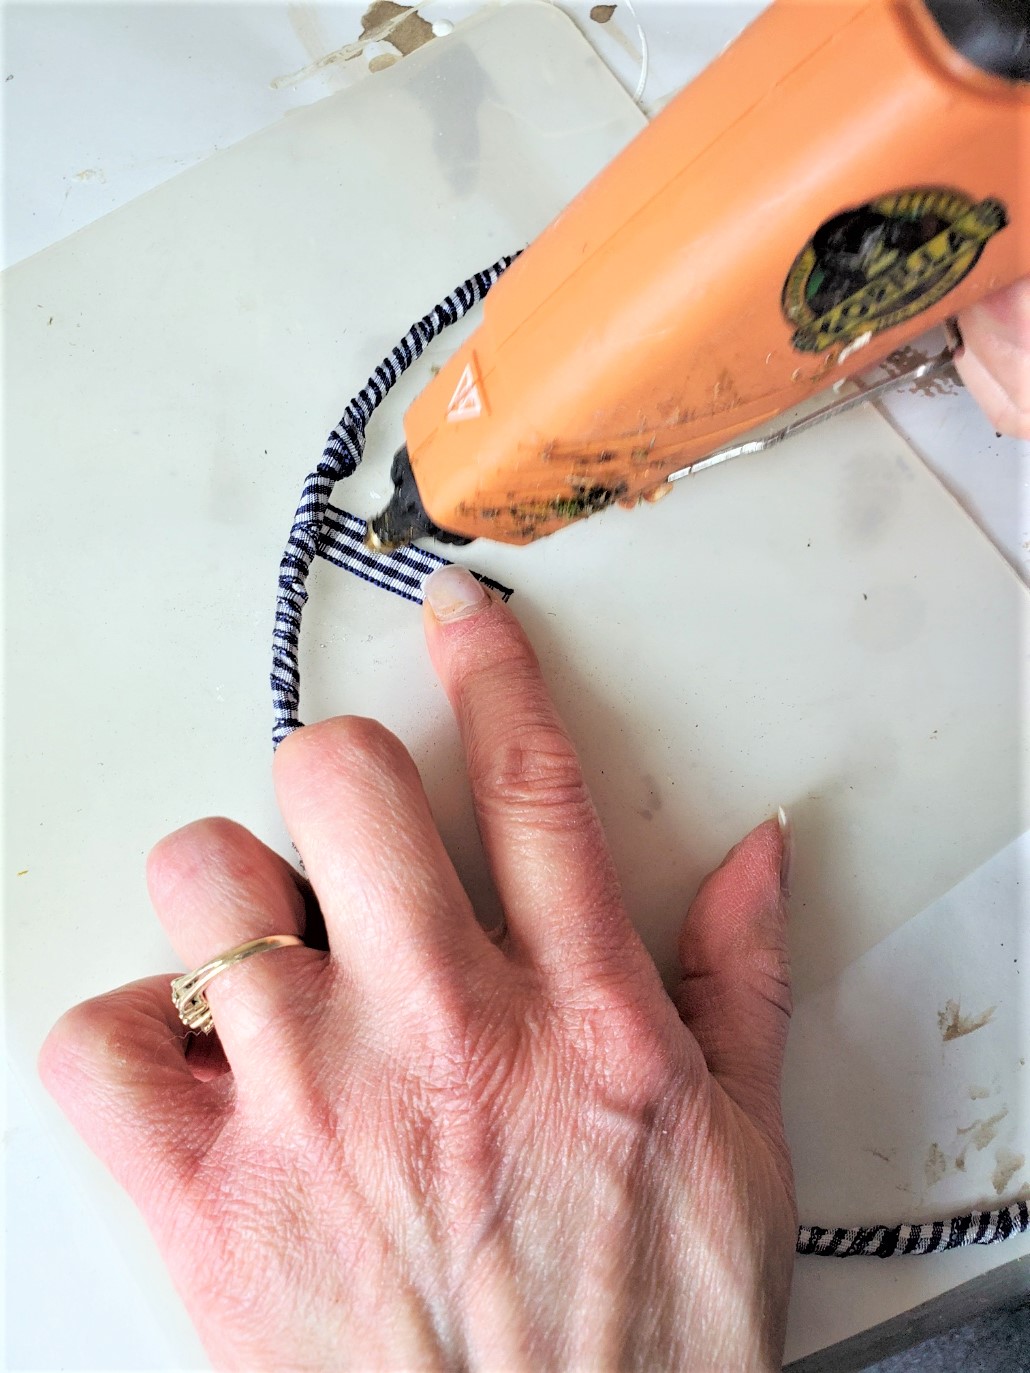
Step 2: Gluing