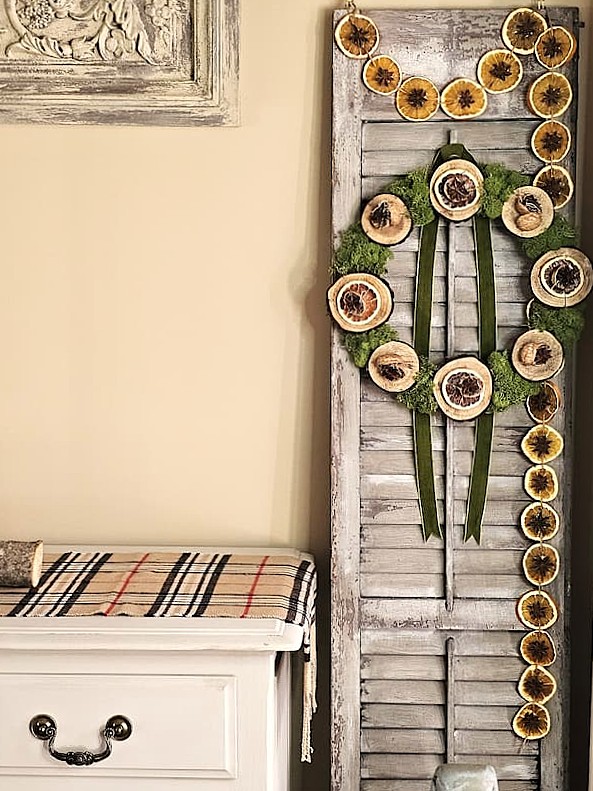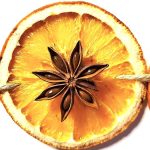
Star Anise Garland with Orange Slices
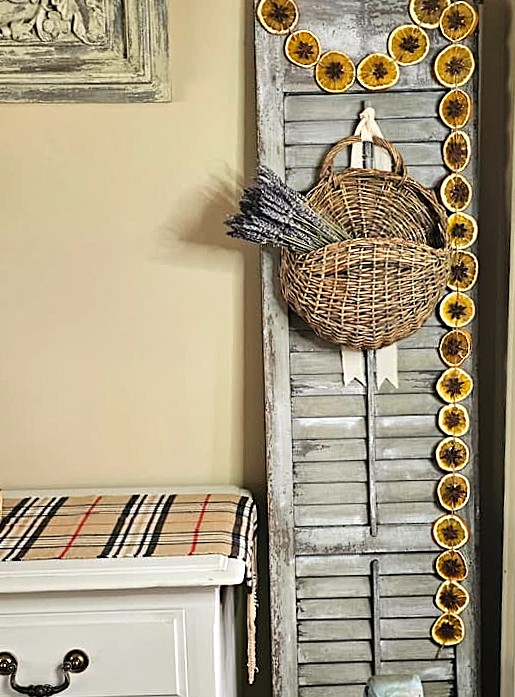
The warm scent of star anise and oranges makes this garland especially inviting for fall, the holiday season, and throughout the winter months.
Yield: 1 garland
Cost: $8
Notes
Star Anise Garland with Orange Slices
Craft Supplies:
- Bag of oranges - dried orange slices
- star anise - I bought these a few times
- sharp knife
- paper towels
- cookie sheet - My favorite
- cooling rack
- parchment paper
- twine
- large needle or yarn needle
- hot glue gun - My favorite
- hot glue sticks
- scissors
Step 1: Select Oranges
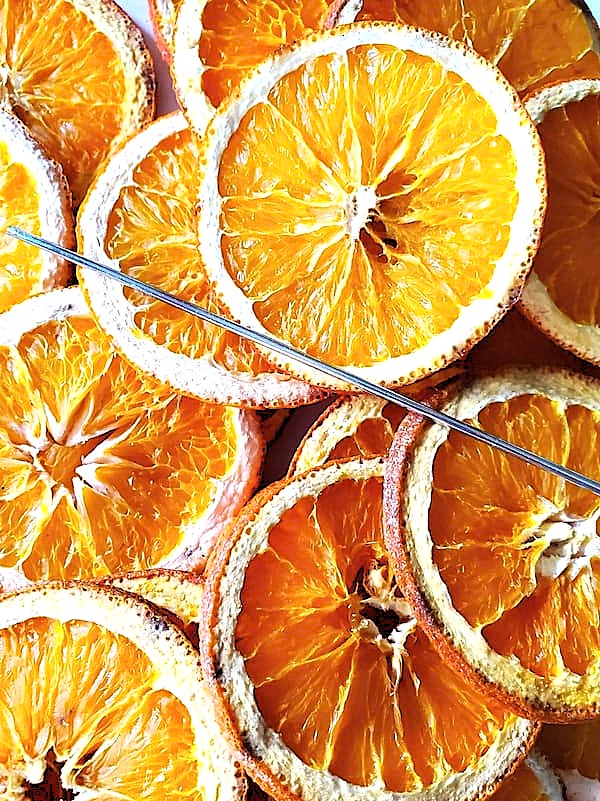
When drying oranges, navel oranges and blood oranges work best. They have a uniform, round shape and a thick skin, which makes them beautiful when dried. That being said, I have also dried mandarins. I enjoy drying mandarins because they are the perfect size for centerpieces, baskets, and a large decorative bowl throughout our home or the Christmas tree. Cindy's Tip: I buy a bag of oranges. It's cheaper. Because mandarins have a thin rind, they will usually last for one holiday season. Since this is an easy project, I don't mind drying them each year.Step 2: Slice the Oranges
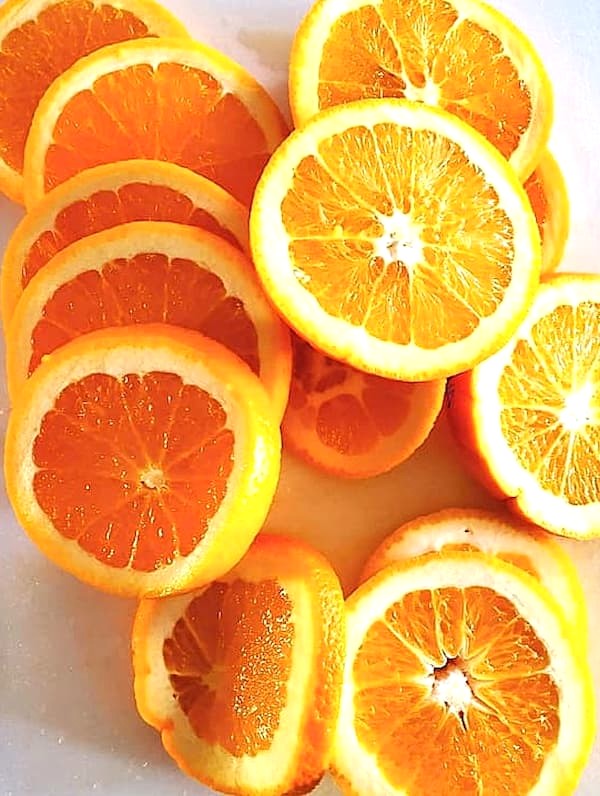
Use a sharp knife to slice oranges about 1/4 inch thick. Try to keep the slices as uniform as possible so they dry evenly. I find 1/4-inch-thick slices work well for this project because they are sturdy enough to decorate but don't take a long time to dry. Very thick citrus slices need additional drying time, while extremely thin slices can become fragile. After cutting the citrus slices, gently pat the slices with paper towels to remove the excess moisture. Cindy's Tip: A mandoline slicer will slice oranges faster. Set the blade on the mandoline to cut 1/4-thick slices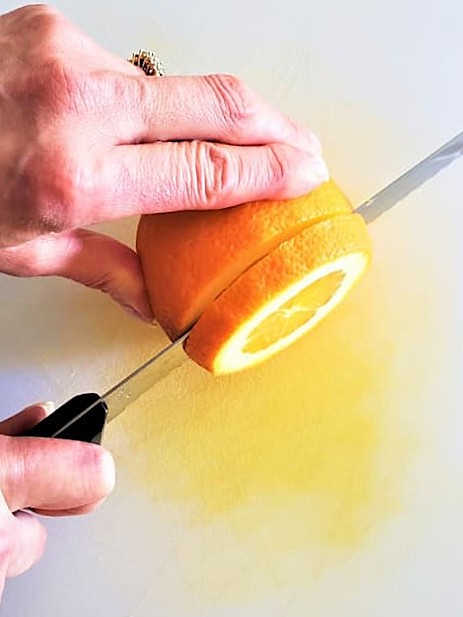
Step 3: Dry the Fruit
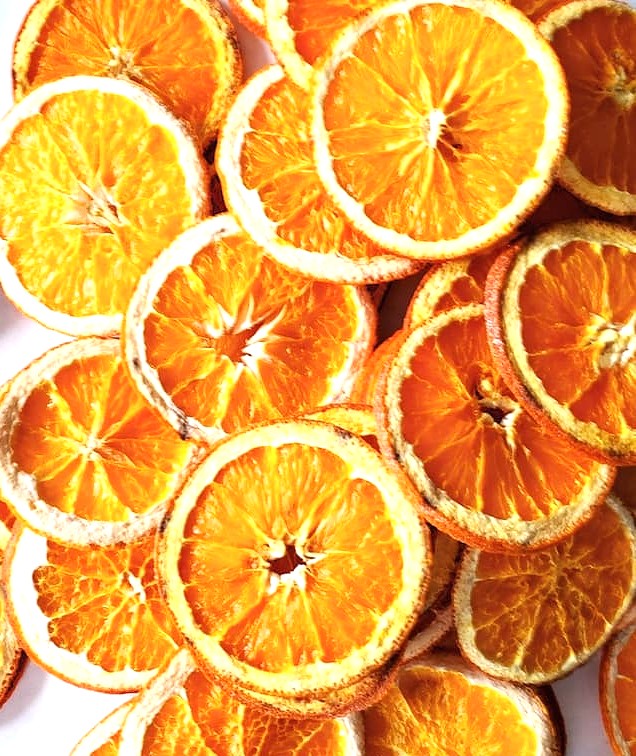
Set the oven to its lowest temperature setting. You can also use a food dehydrator for dried oranges if you have one. Arrange the citrus slices in a single layer on a cookie sheet lined with parchment paper, making sure the pieces don't touch. Bake for 4-6 hours, turning the oranges halfway through the drying process. Depending on the thickness of the citrus slices and your oven, the drying time can vary. Around the hour mark, check the fruit and continue checking it often during the last hour to make sure it isn't getting too dark or burned. I also recommend rotating the cookie sheet halfway through for more uniform drying. The finished dehydrated oranges should feel dry rather than soft or damp. Cindy's Tip: Once the dehydrated oranges are completely dry, place them on a cooling rack and allow them to completely cool before adding the star anise.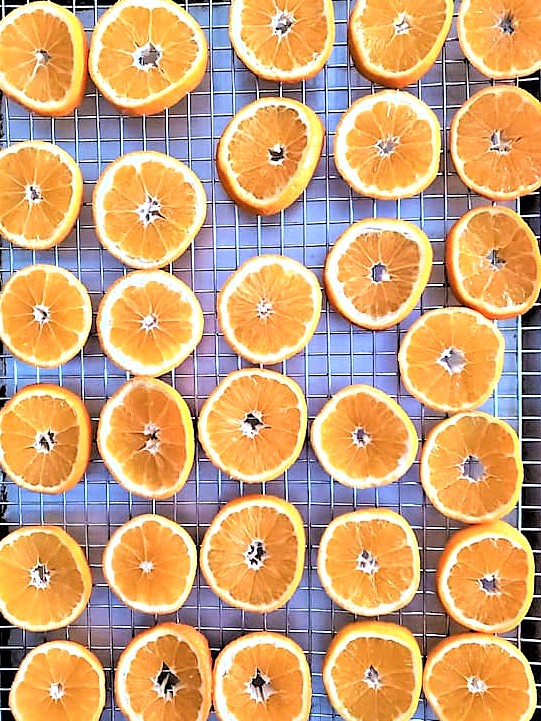
Step 4: Choose the Best Anise
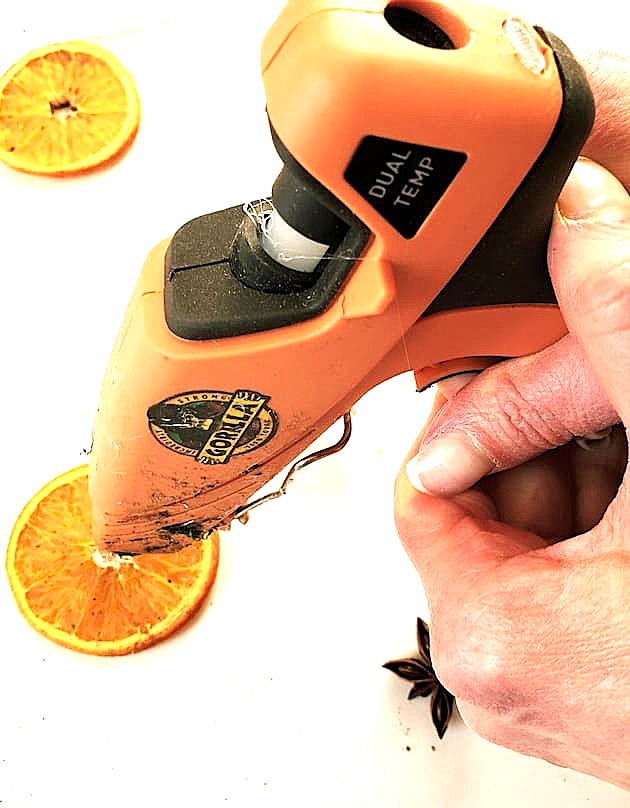
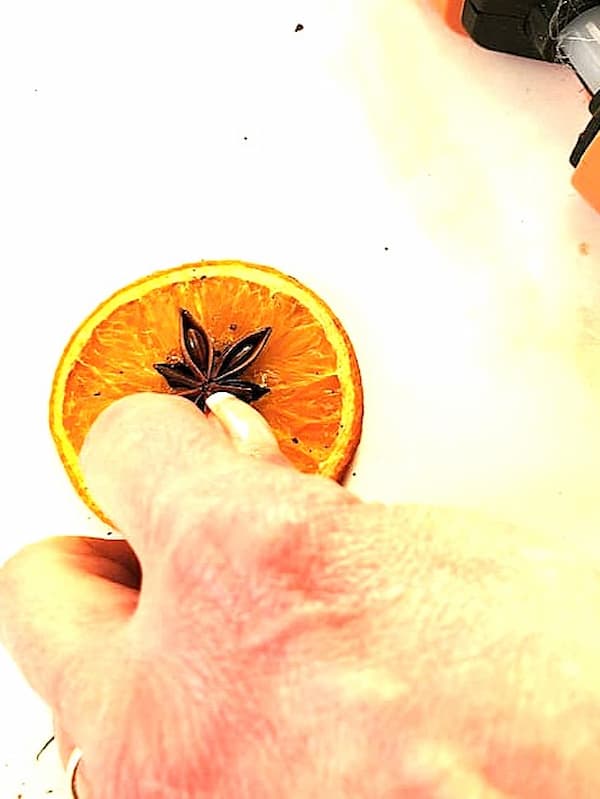
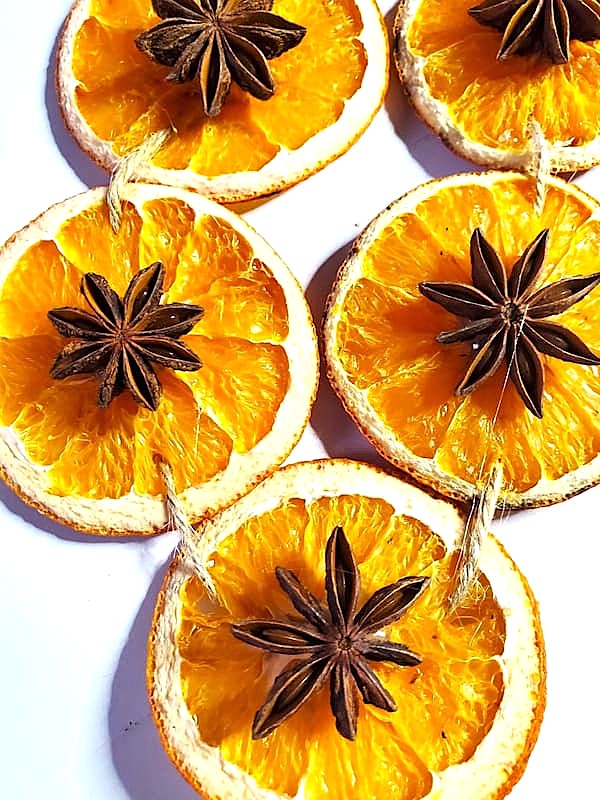
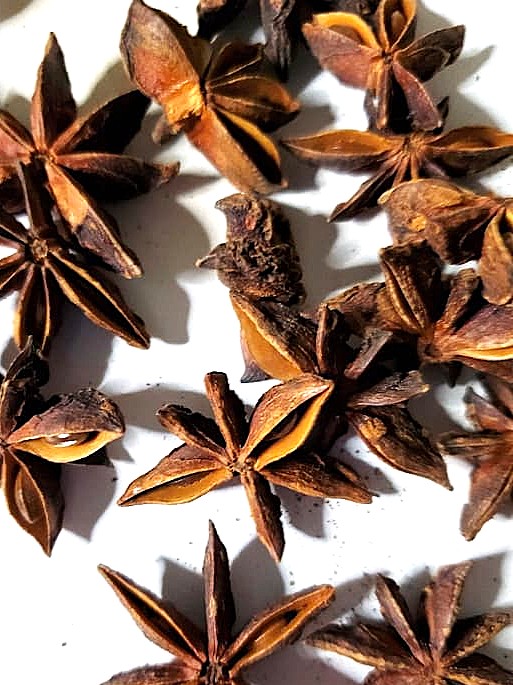
If you purchase star anise at the grocery store, the anise stars will usually be smaller than the ones I used on my garland. If you want pieces similar to mine, I recommend purchasing anise stars from Amazon. The package is a large quantity, but worth every cent. I also add these to my simmer pots. Purchase these here. Heat your hot glue gun and add a dab of hot glue to the back of each star. Place the star anise in the center of the orange and hold it for a few seconds to allow the glue to set. Cindy's Extra Easy DIY: Do you have leftover star anise? Yes, I do! I created this easy craft for your leftover pieces last year. A star anise wreath is an easy way to add a rustic look and natural materials to the backs of chairs or other areas of your home during fall, the holidays, and winter.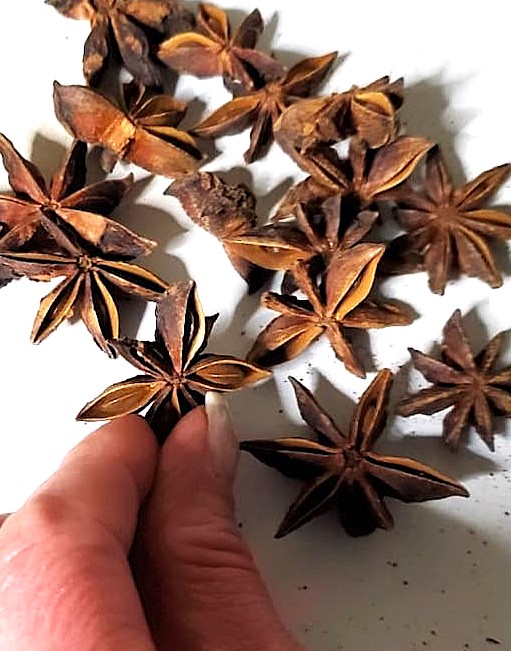
Step 5: Assemble the Orange Star Anise Garland
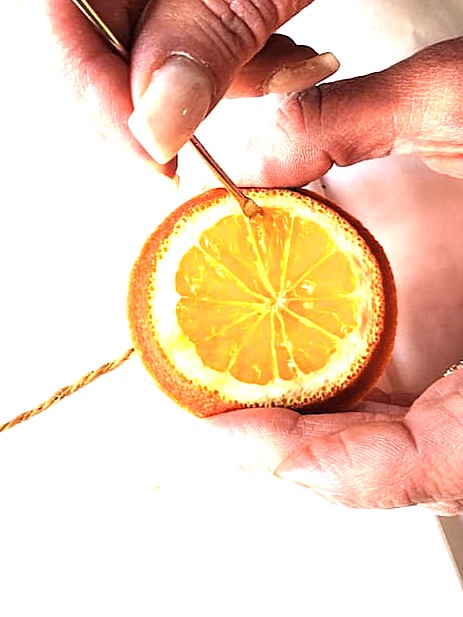
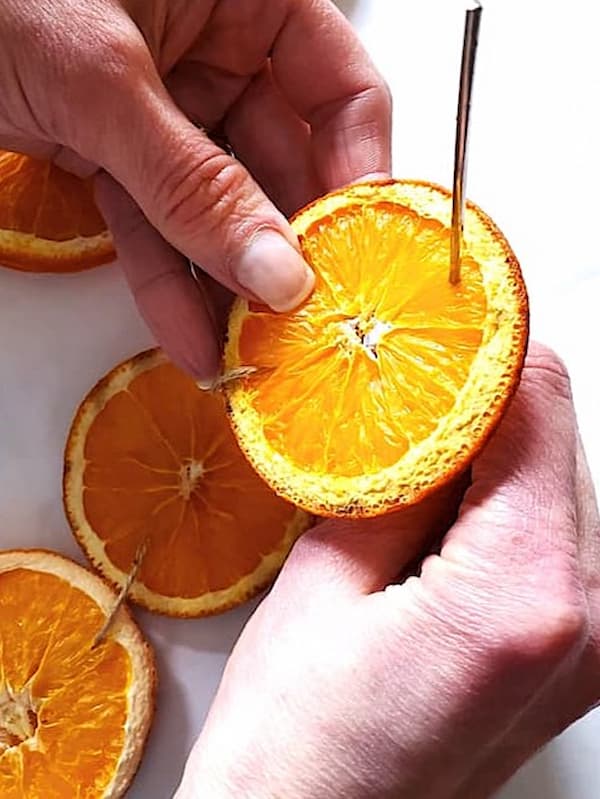
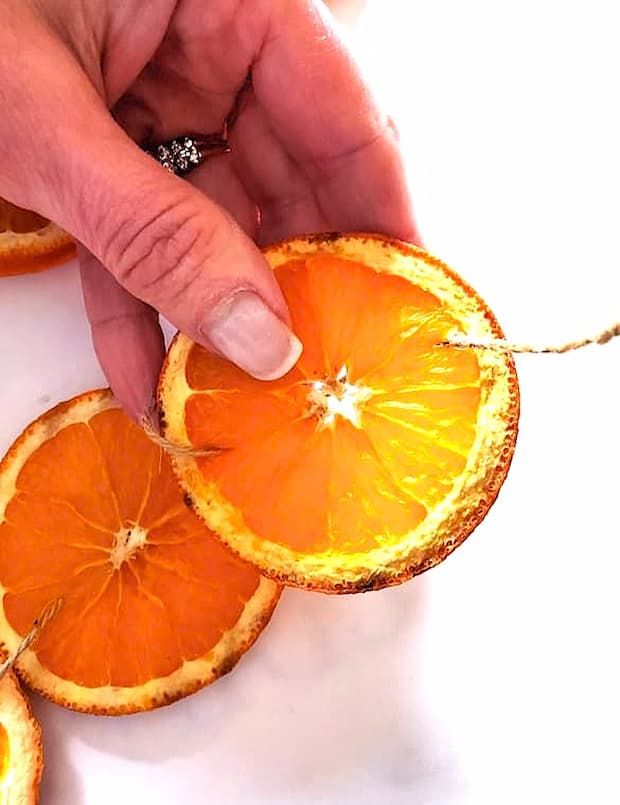
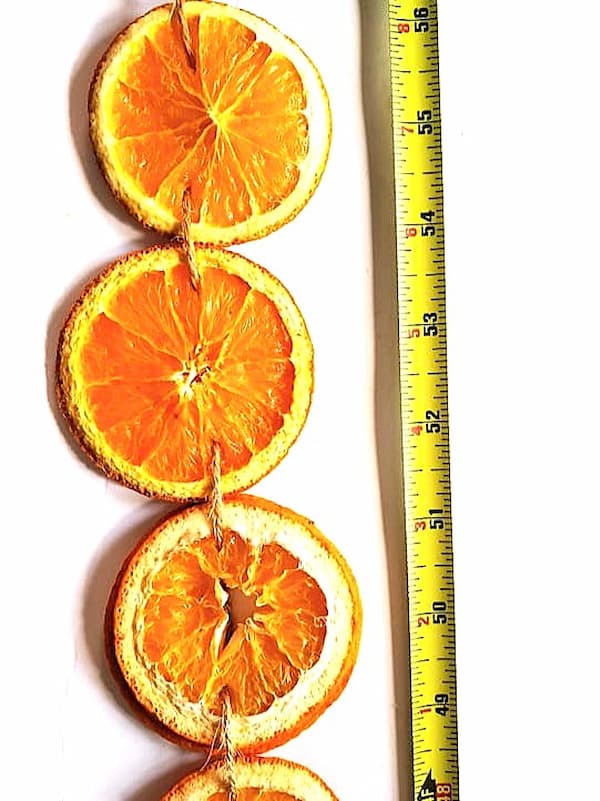
Before gluing the anise to e Once the anise is glued to each dried orange, it's time to string the garland together. Thread a large needle with your twine. Carefully push the needle through the flesh of each dried orange slice, then pull it behind the orange and pull it out through the other end. Thread each orange the same way, leaving a little space between the pieces. This keeps the orange slices from twisting, so the star anise stays front and center. Continue adding the oranges until your garland reaches your desired length. Tie a knot at each end, leaving enough twine for hanging. Cindy's Tip: Leave some slack between oranges if you want the garland to have a natural look when draping. If you prefer a taut straight look, you can pull the twine tighter.