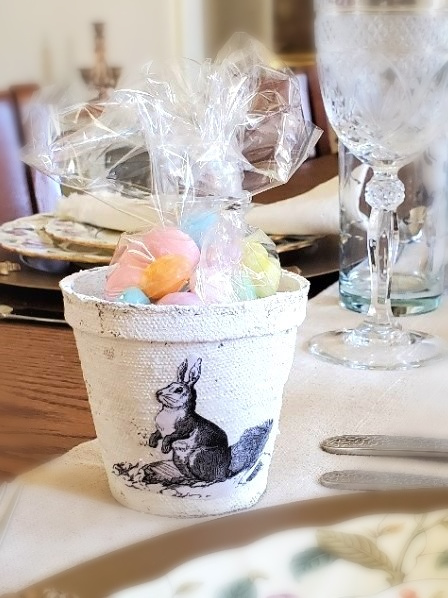
SPRING PEAT POT TREAT BASKETS IN 15 MINUTES!
Here's the good news: I'll show you the easiest way to create charming little baskets for spring or summer parties using peat pot treat baskets in just 15 minutes! With a little acrylic paint, some little pots, and a final touch, these treat baskets are sweet, simple, and ready to wow.
Yield: 6 peat pot baskets
Cost: $8
Notes
SPRING PEAT POT TREAT BASKETS IN 15 MINUTES!
Supplies List:
-
- Peat Pots
- White Acrylic Paint
- Scissor
- Pinking Shears - optional
- Mod Podge
- Rub N Buff - Antique Gold - optional
- Foam Brush
- Paintbrush
- Single Hole Punch - optional
- Paper or Card Stock
- Black Pen - optional
- Pencil
- Heavy Duty - wire handle
- Image Printer
Step 1: Priming Peat Pots With Acrylic Paint
Begin by painting the little pots white with acrylic paint. Because of the rough texture of the peat pots, use a paintbrush for a smooth finish. The good news is that one coat of paint is all that's needed to cover each pot. Let the pots dry overnight. This step sets the foundation for these Easter treat baskets.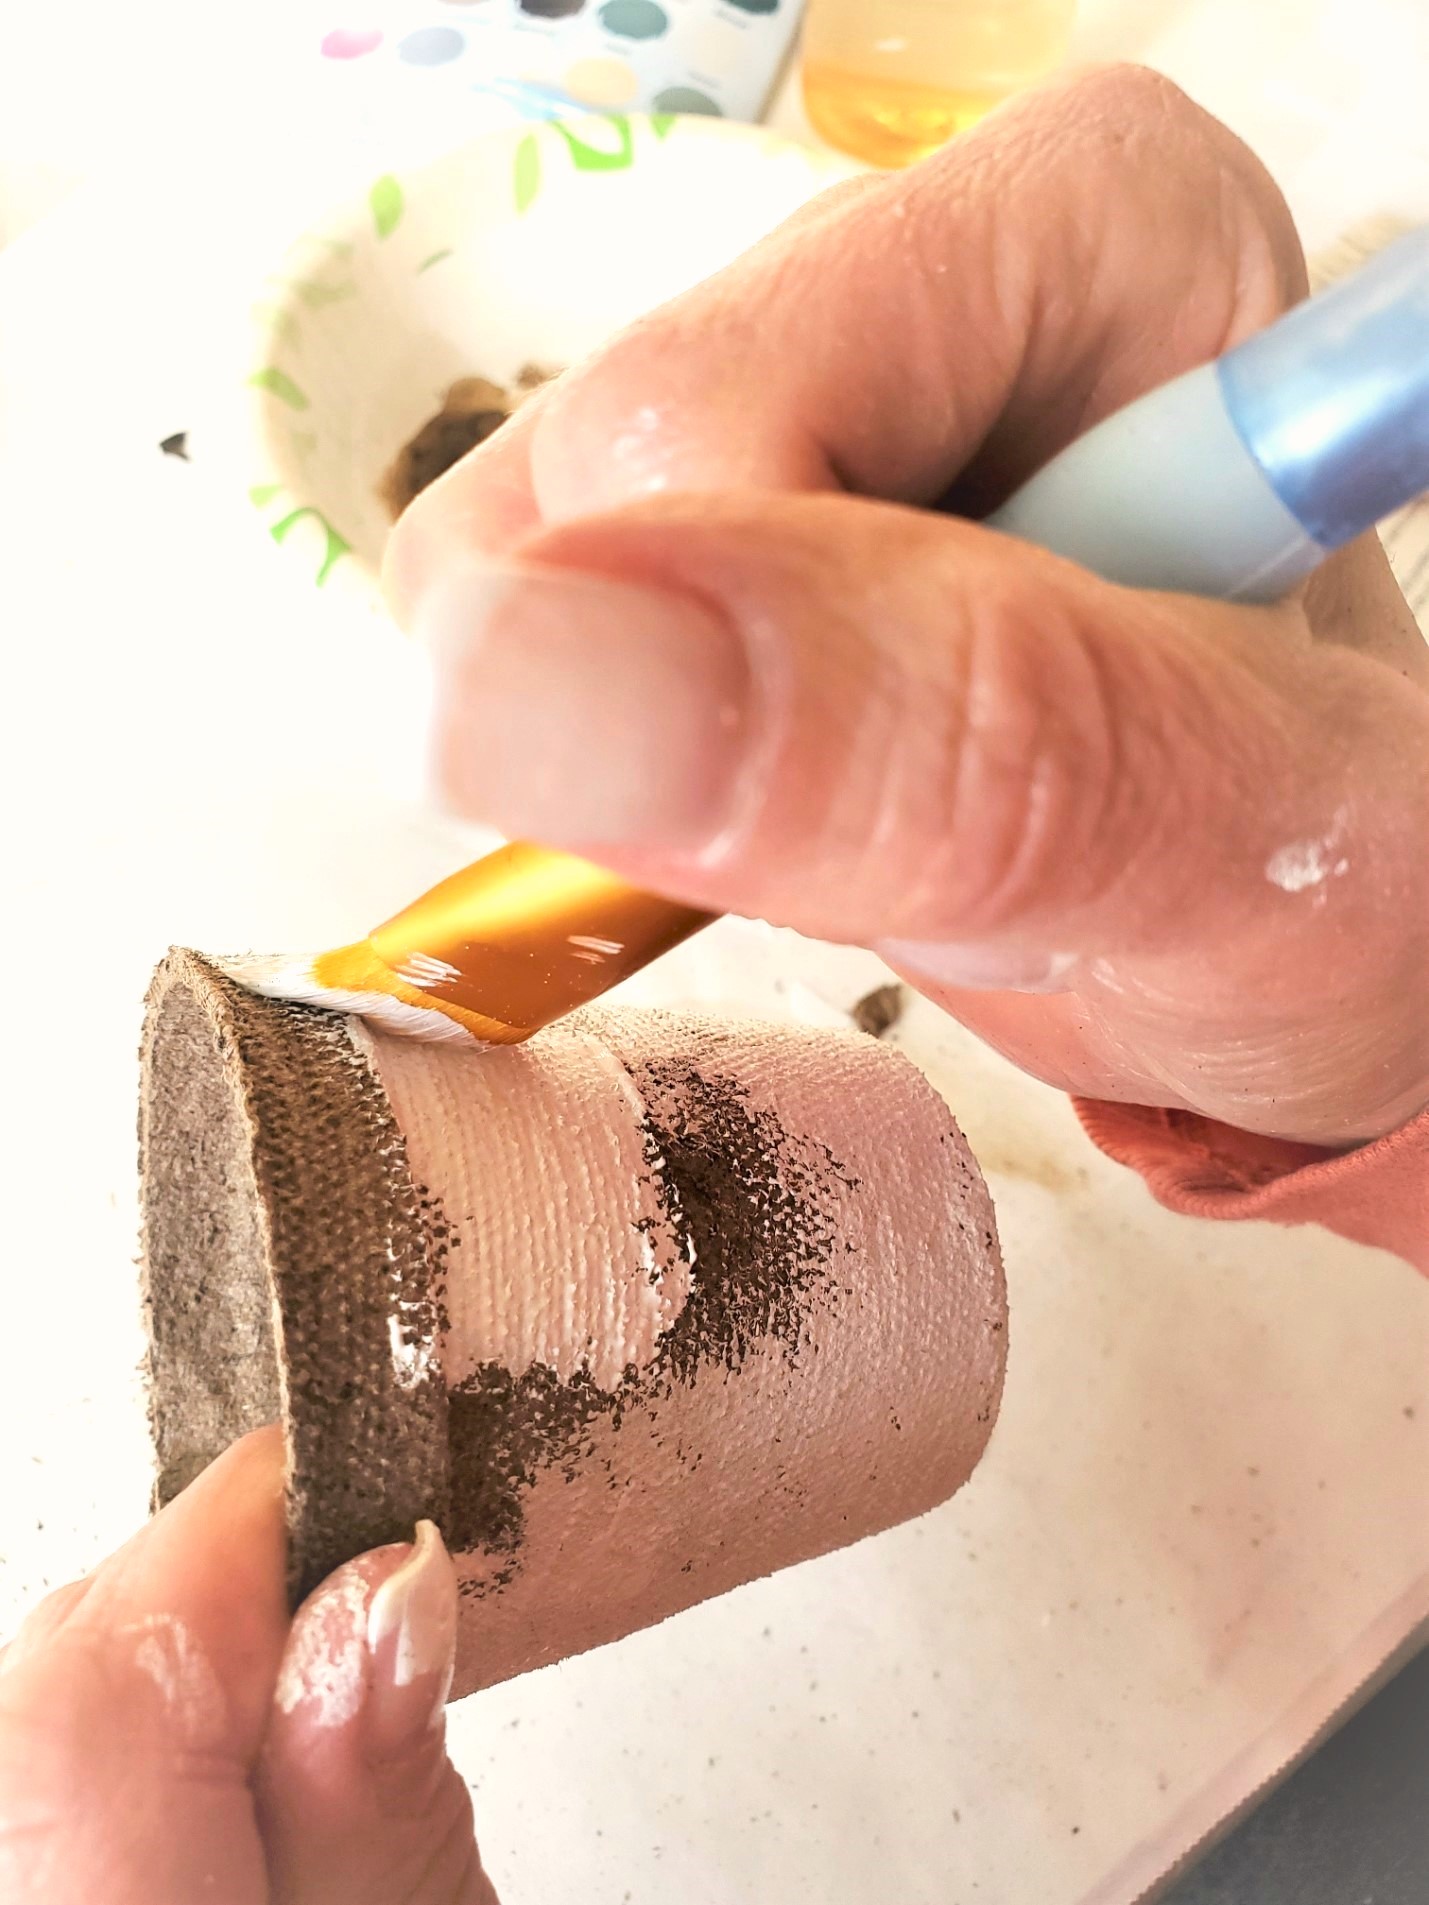
Step 2: Print and Cut Images for Peat Pot Easter Teat Baskets
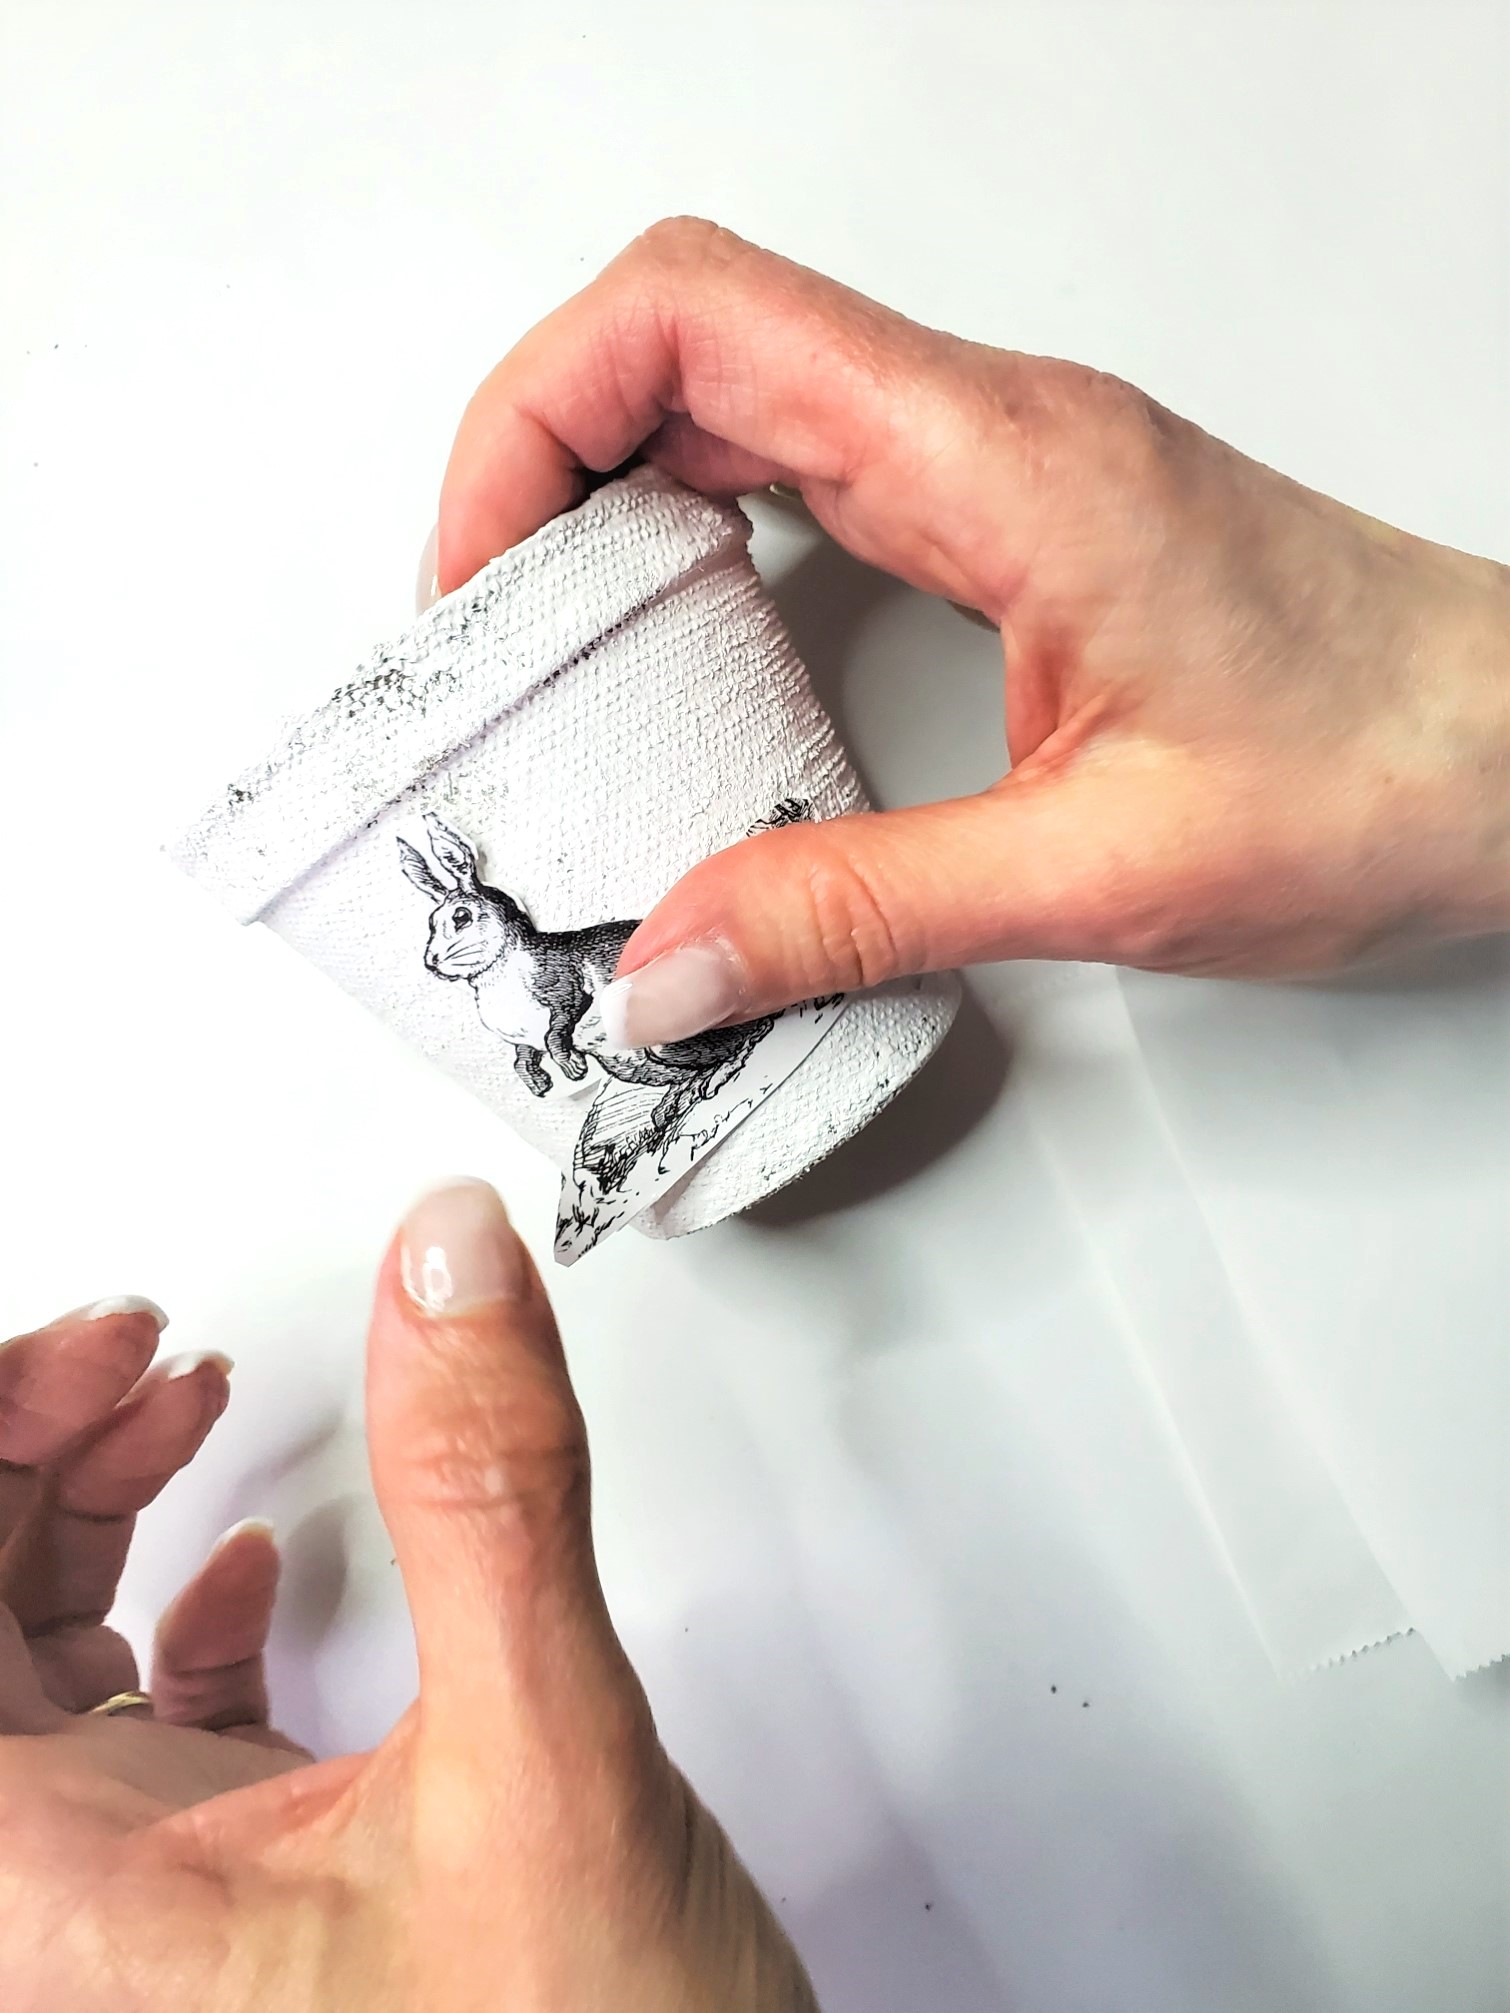
Add a graphic to the side of the peat pot. The second step is to print a spring graphic on regular printer paper, card stock, or tissue paper. Use scissors or decoupage scissors to cut around the image as close to the edges as possible. This process ensures that your graphic seamlessly blends on your little pots.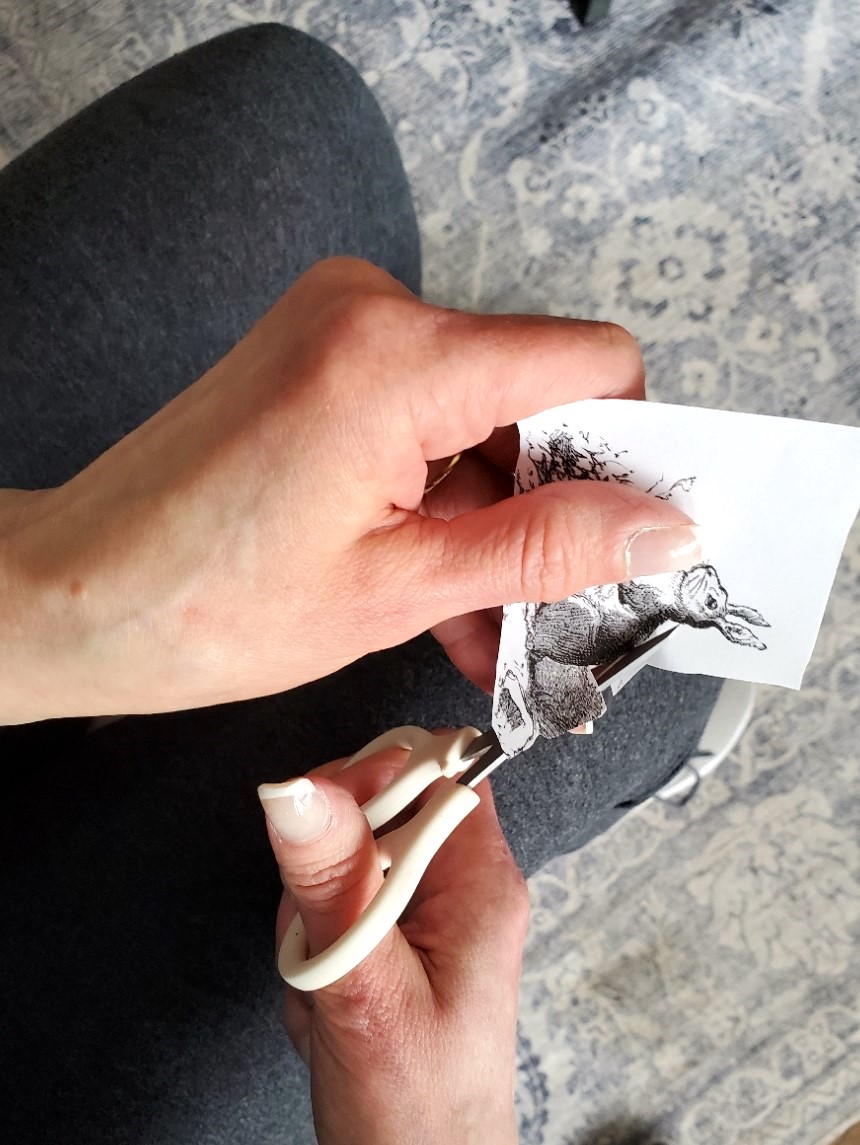
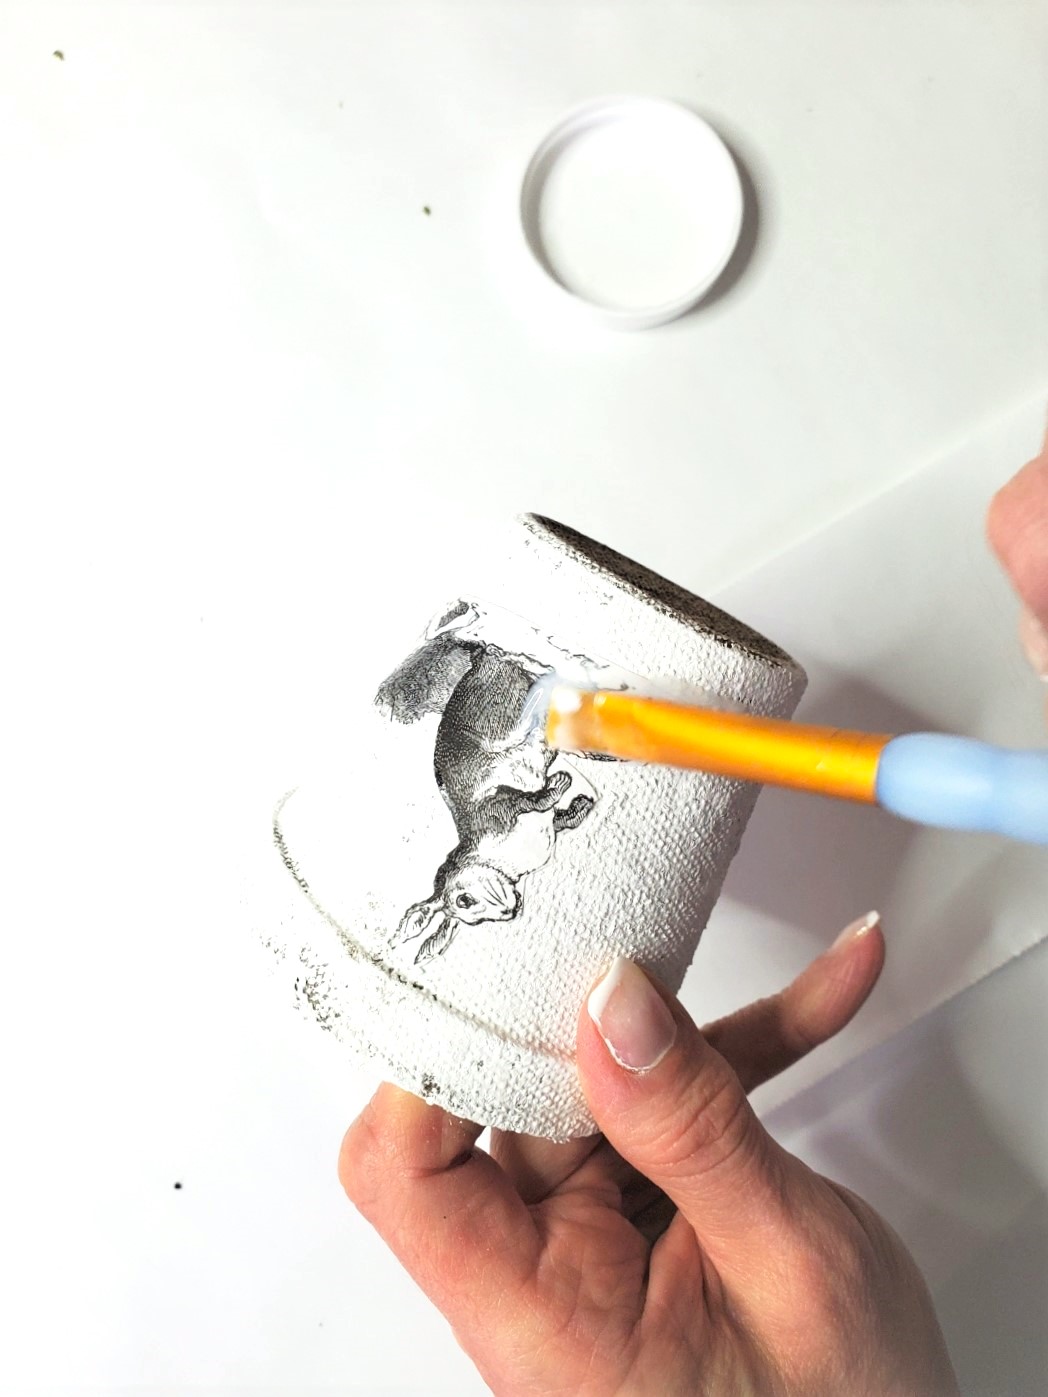
Step 3: Enhance Gift Baskets With Mod Podge And A Graphic
Add personality to your peat pot treat baskets using the Mod Podge for decoupage. Apply a coat of Mod Podge to the back of the cut graphic, paying attention to the edges. Gently place the graphic onto the side of the peat pot. Use a tapping motion to avoid any tears. To achieve a professional and polished look to your spring baskets, add another layer of Mod Podge on top of the graphic. This step not only secures the graphic but also enhances the vibrancy of the chosen design.