
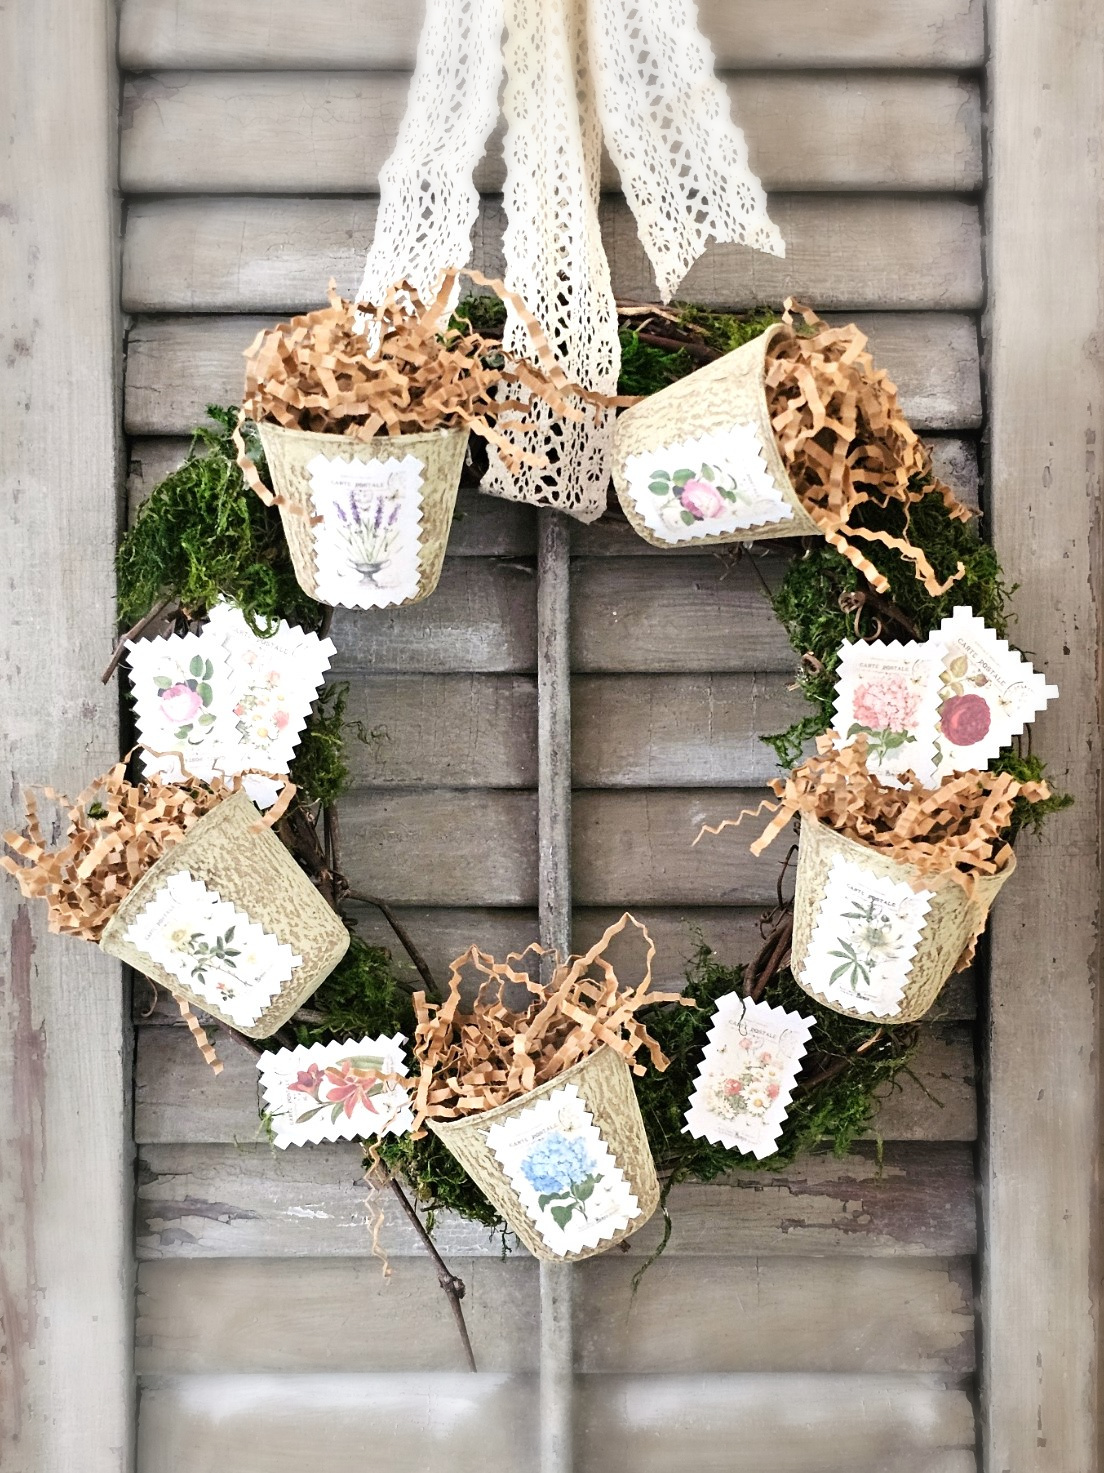
Peat Pot Wreath Idea in 15 Minutes!
Today I'm sharing my second wreath using Jiffy pots, and you can make this peat pot wreath in 15 minutes! If you miss the first wreath in the series, be sure to look, it's filled with Spanish moss, little pots, and French flair!
Yield: 1 wreath
Cost: $10
Notes
Peat Pot Wreath Idea in 15 Minutes!
Craft Supplies: Peat Pot Wreath Idea in 15 Minutes!
Step 1: Crafting Charm: Create an Easy Peat Pot Wreath
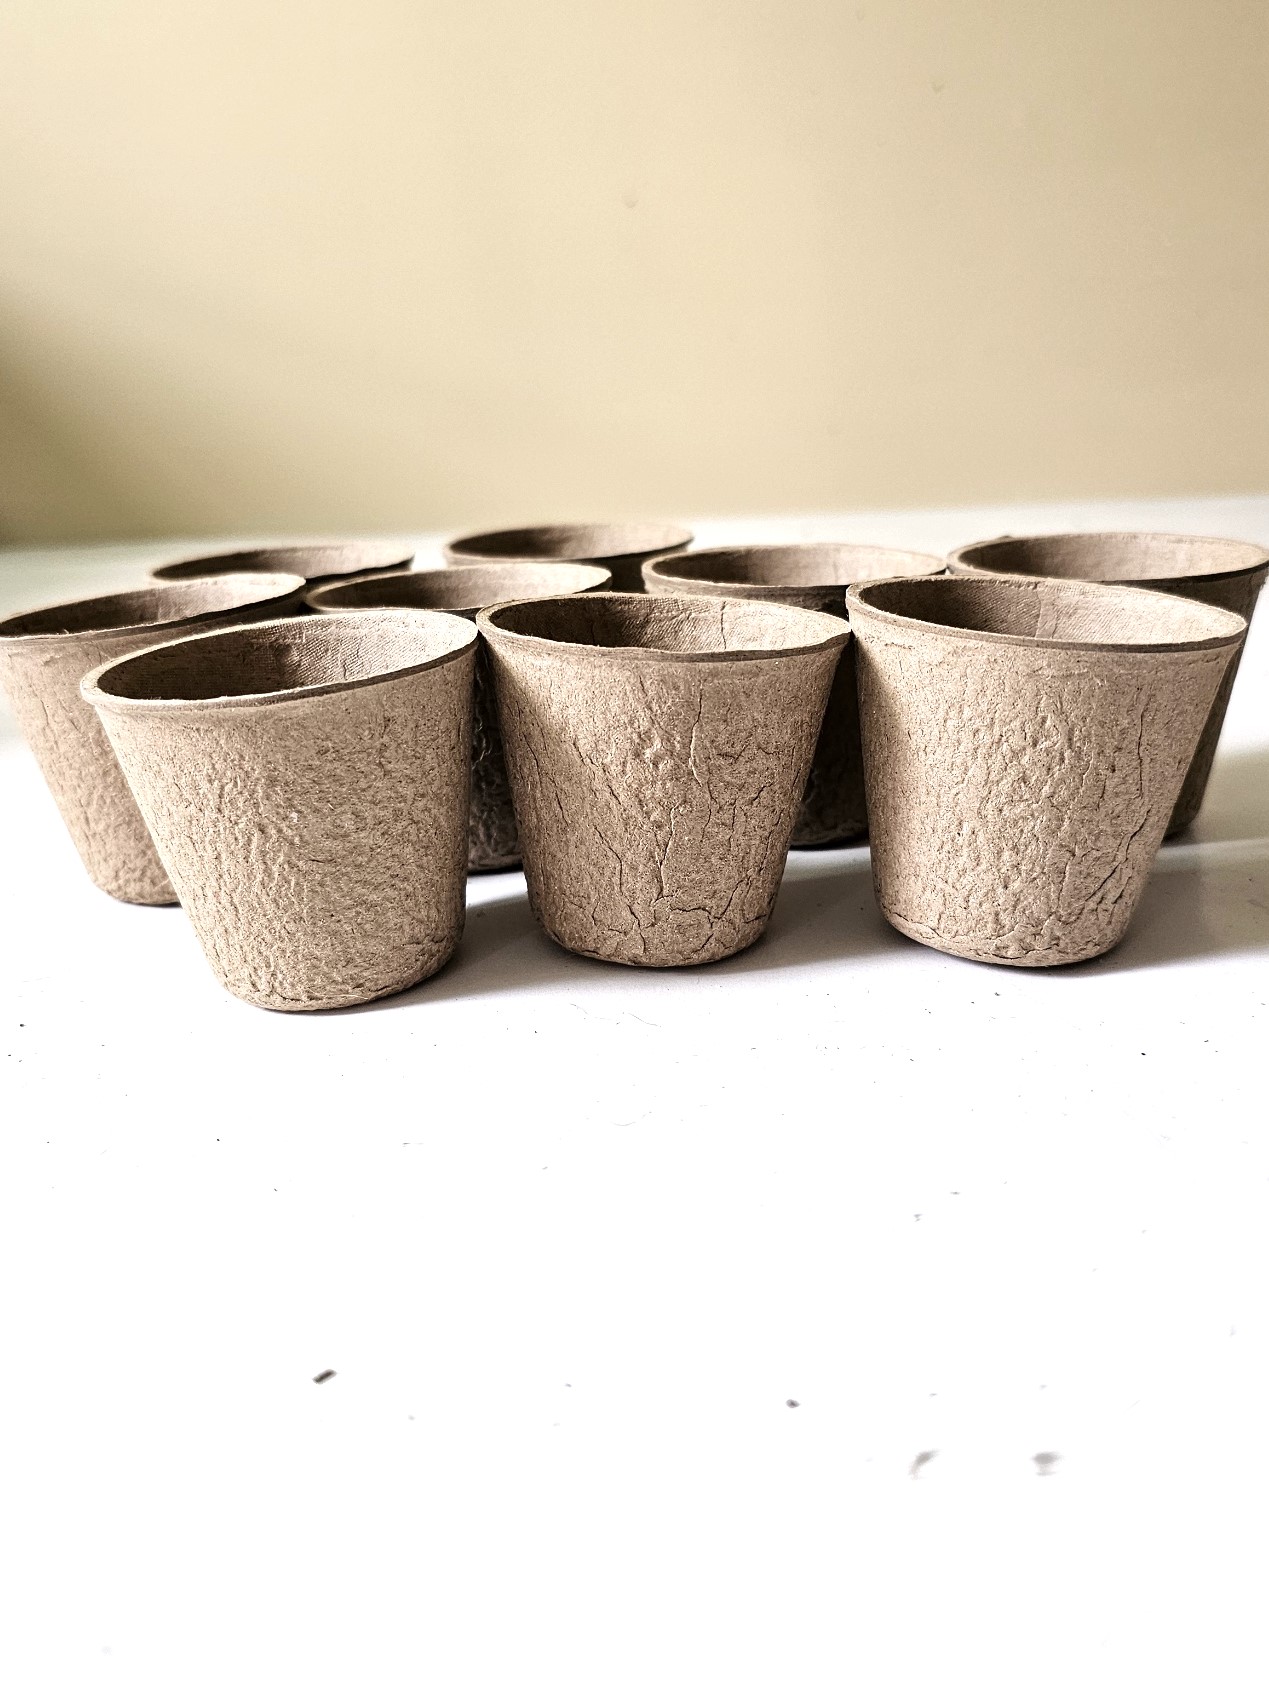
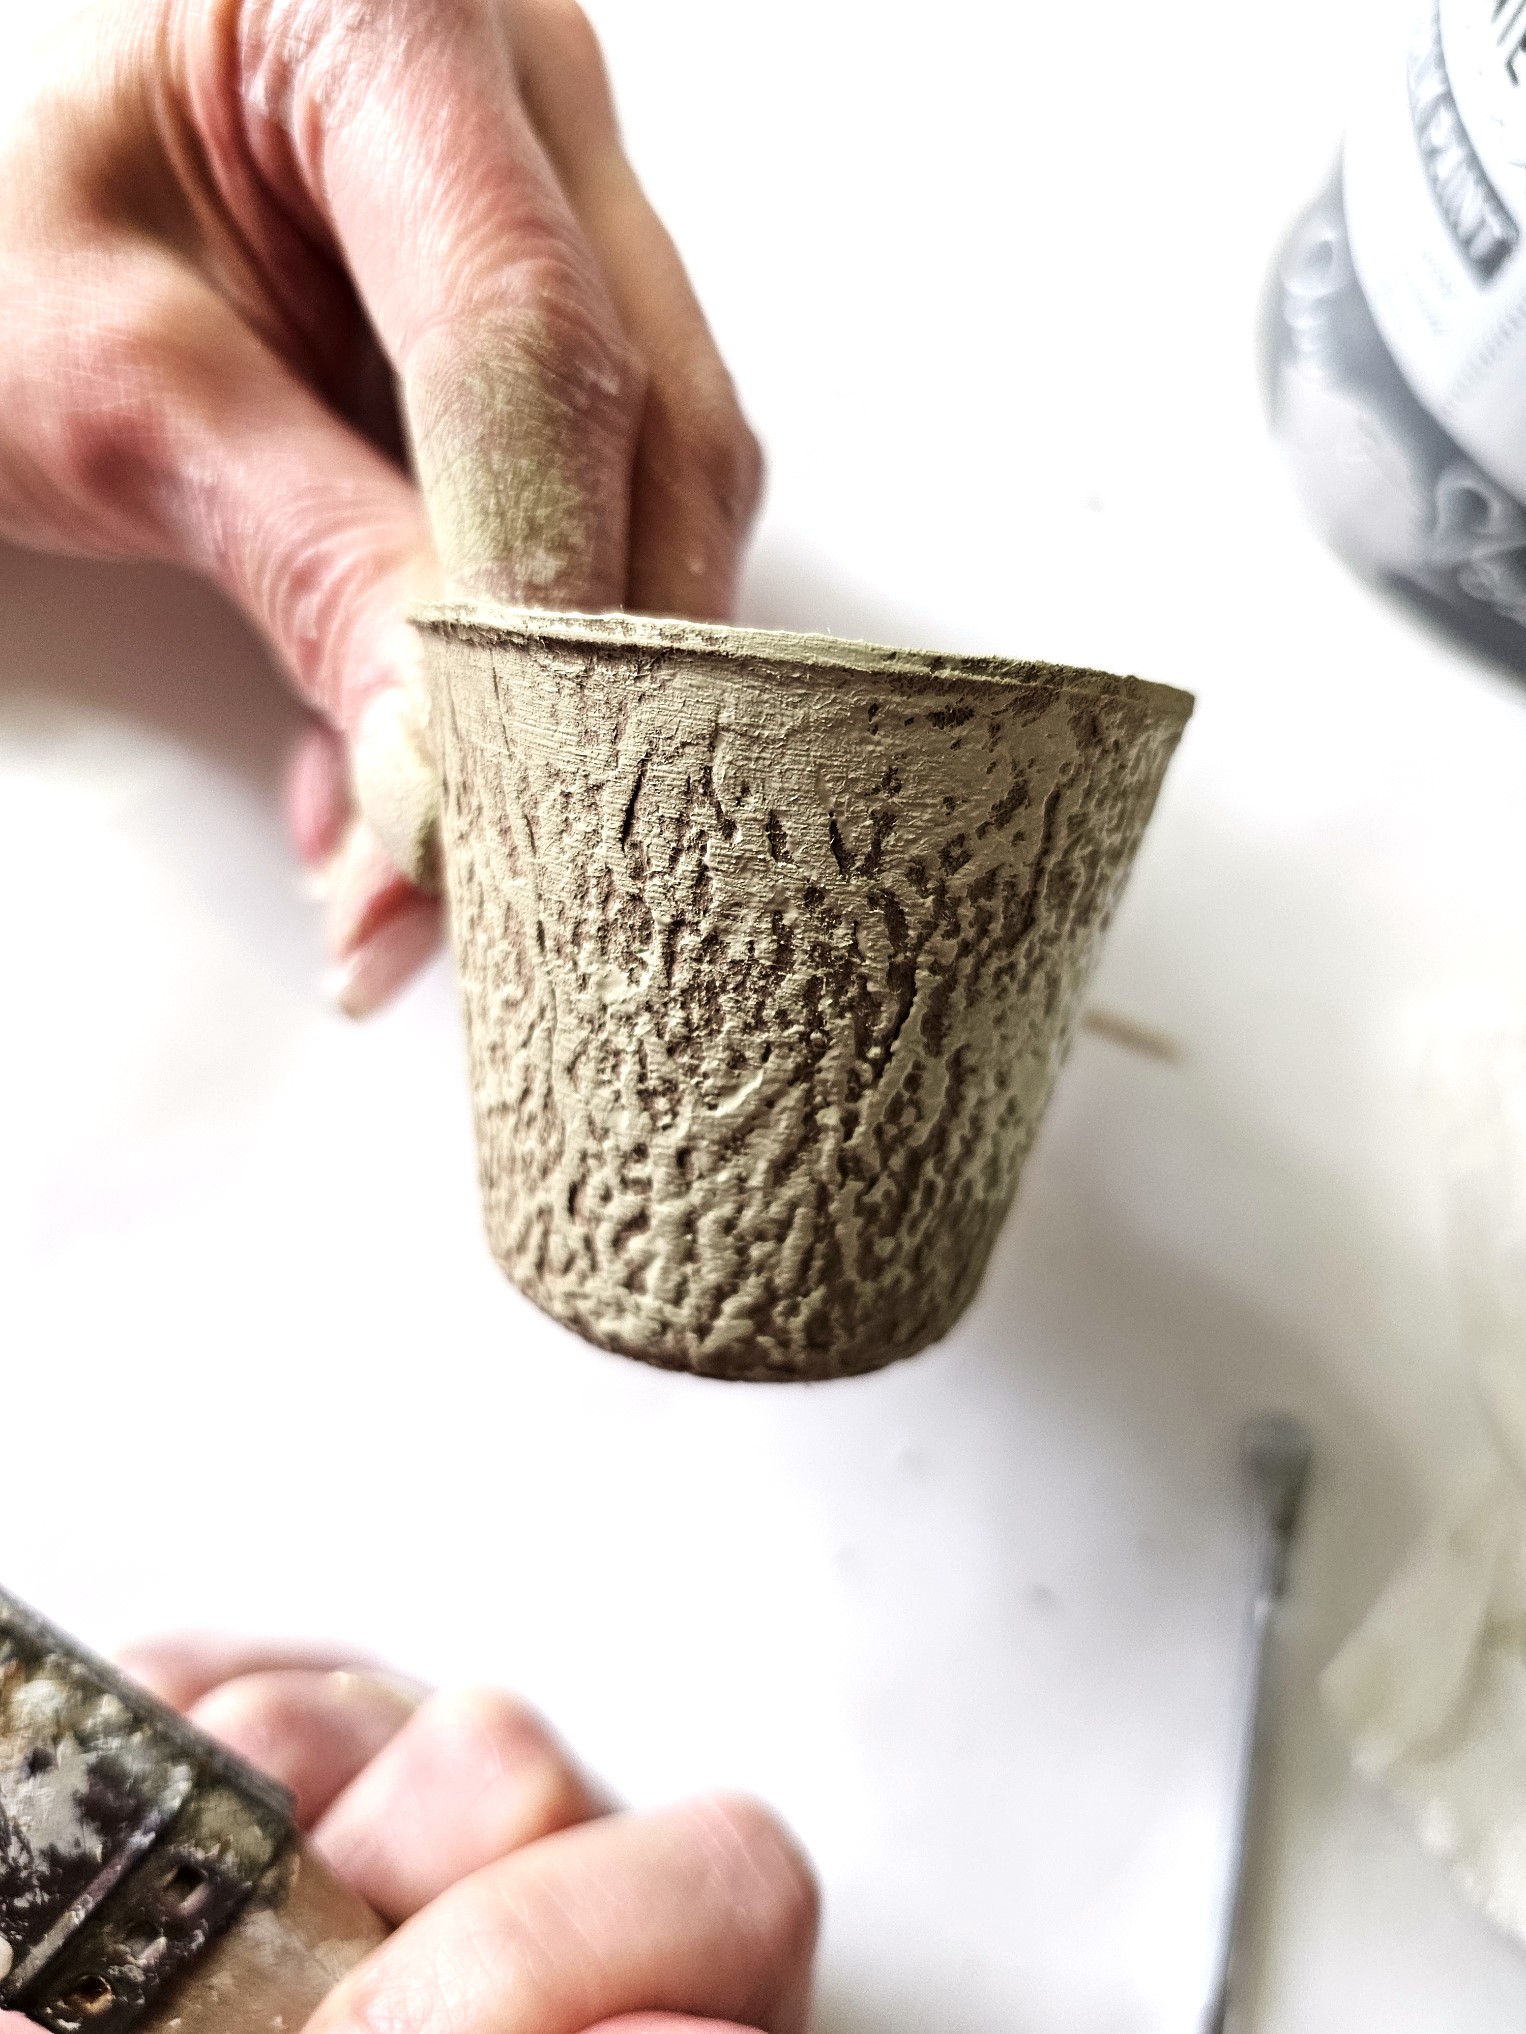
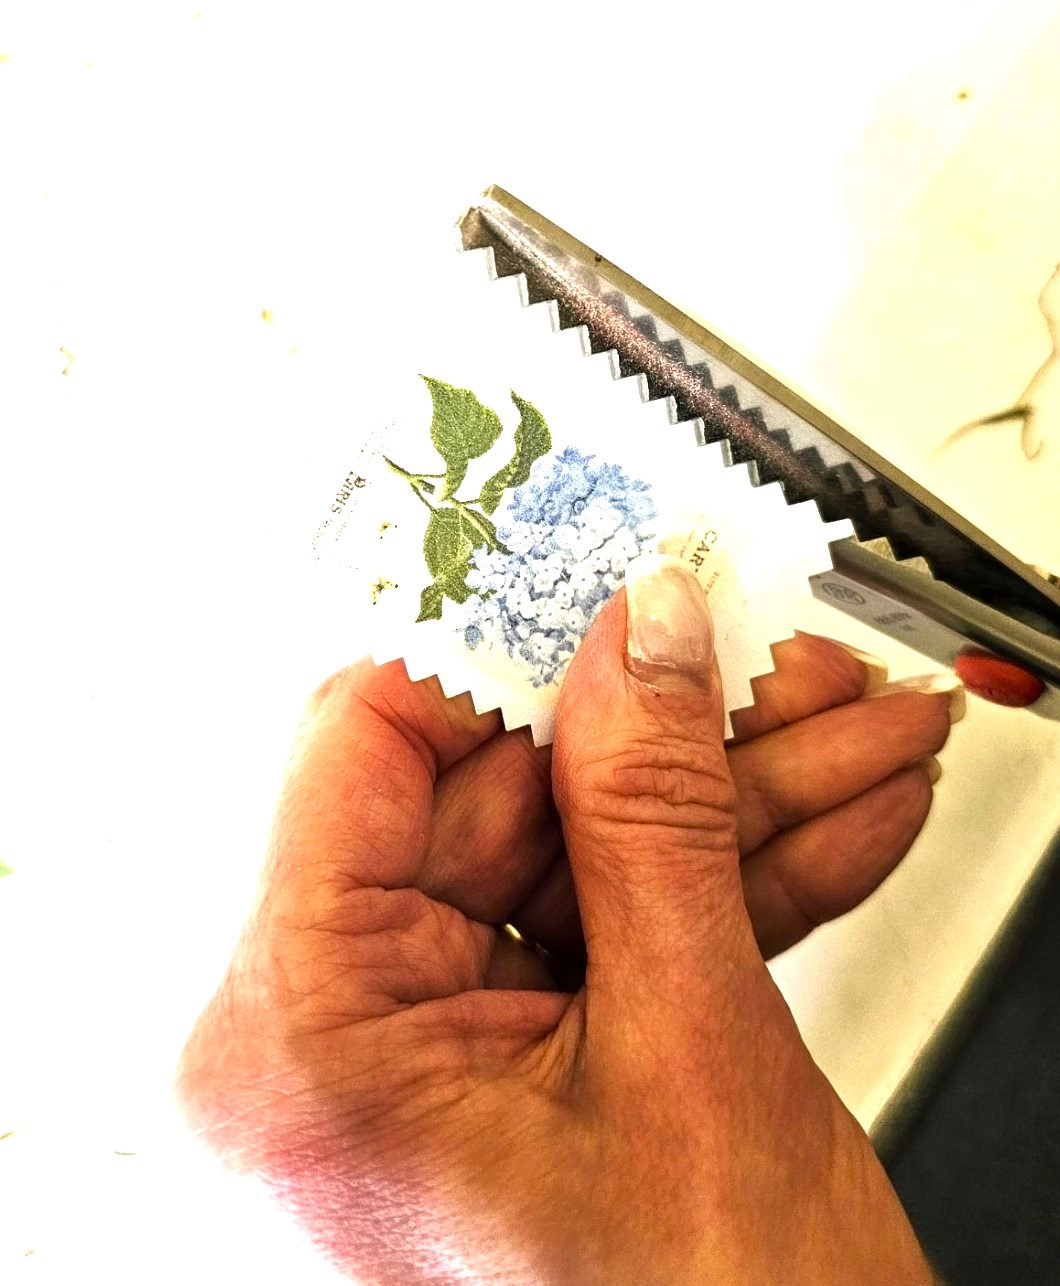
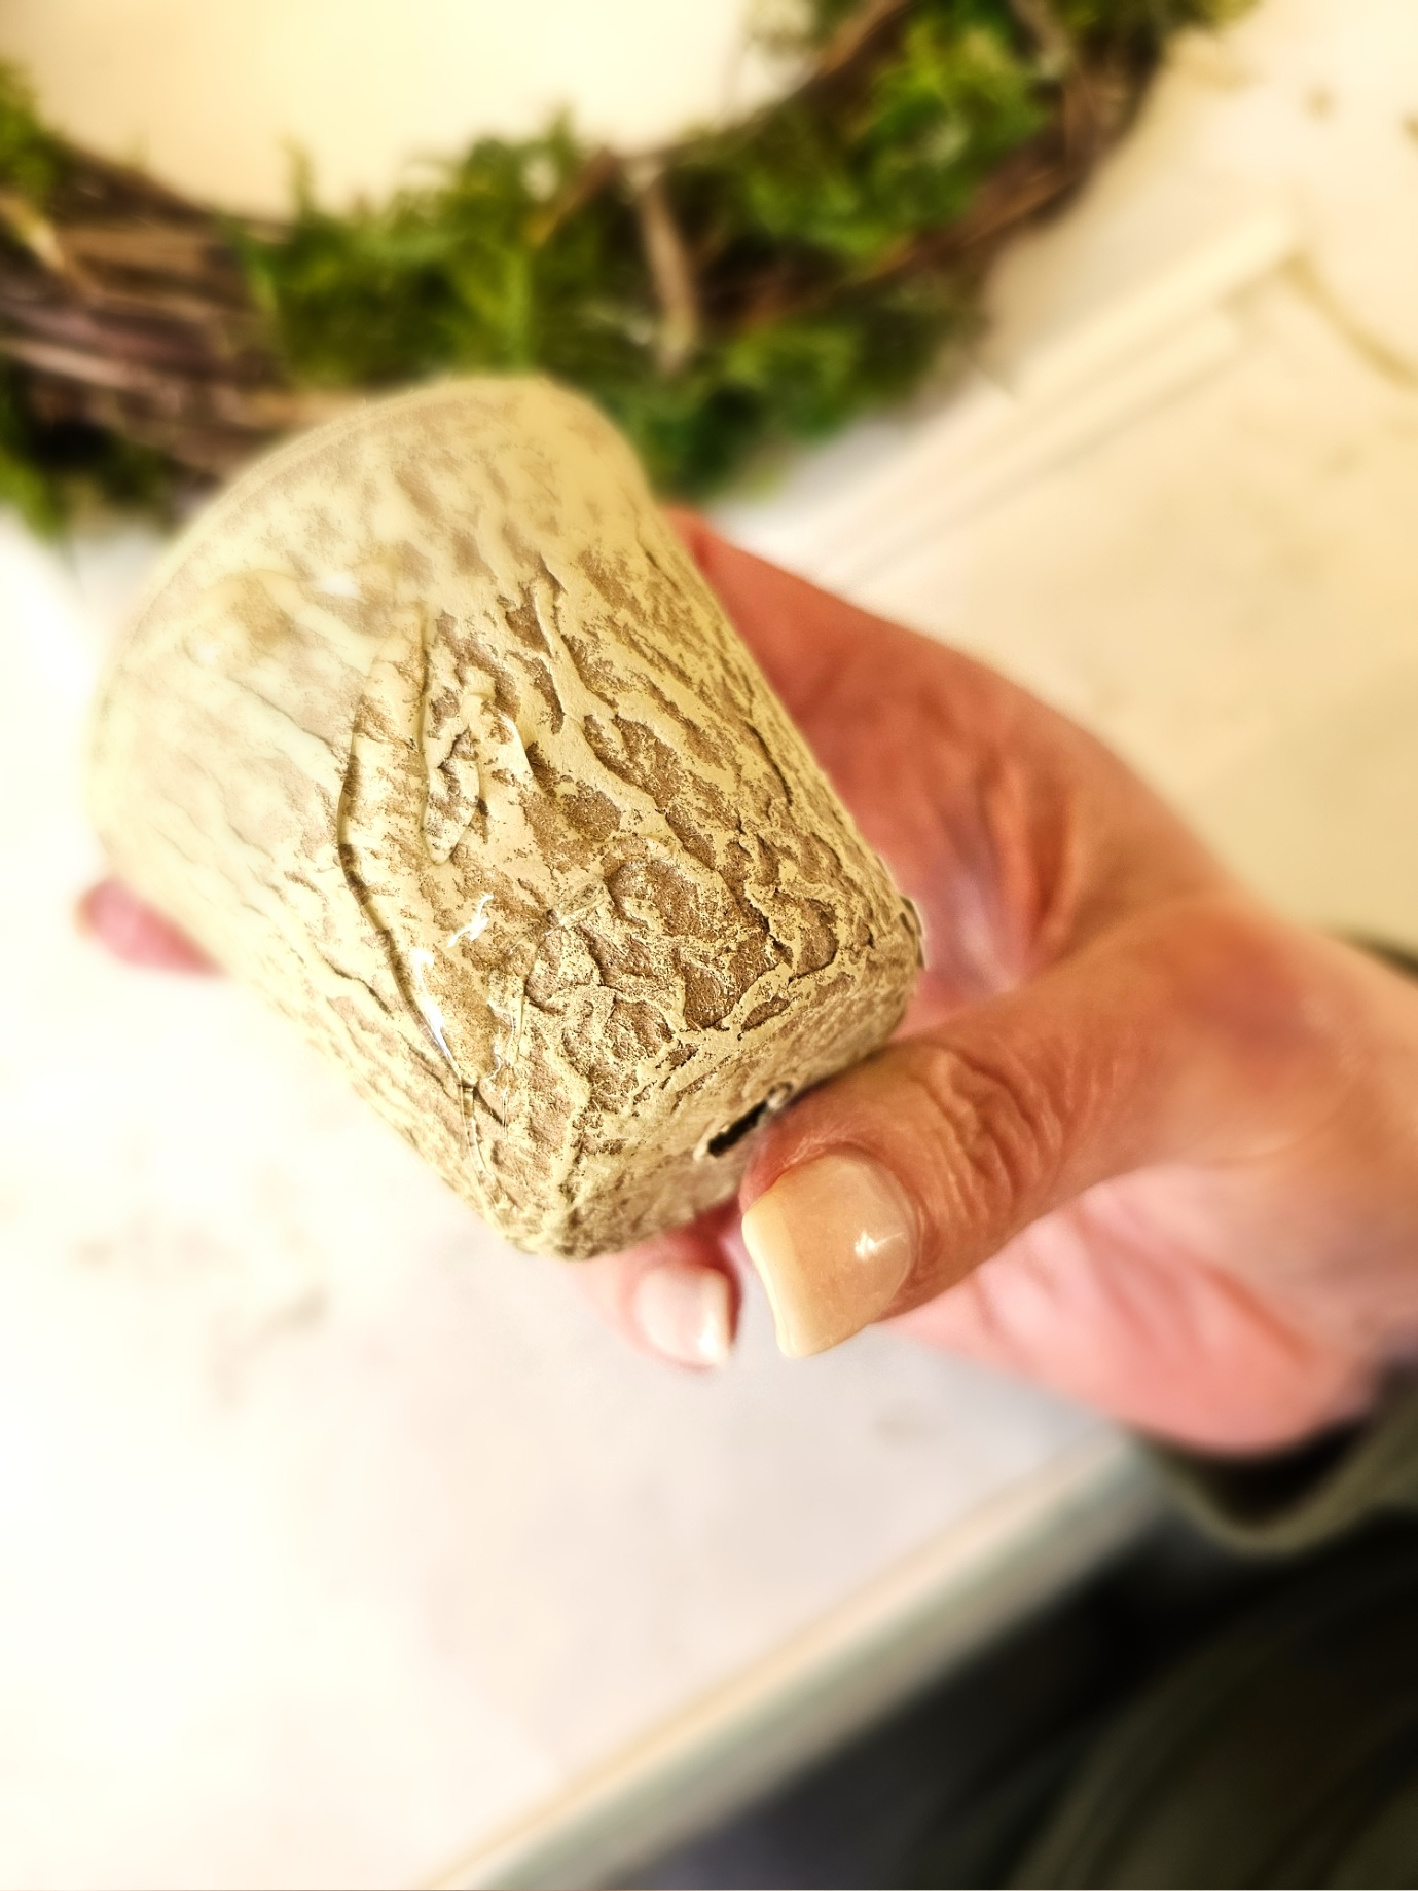
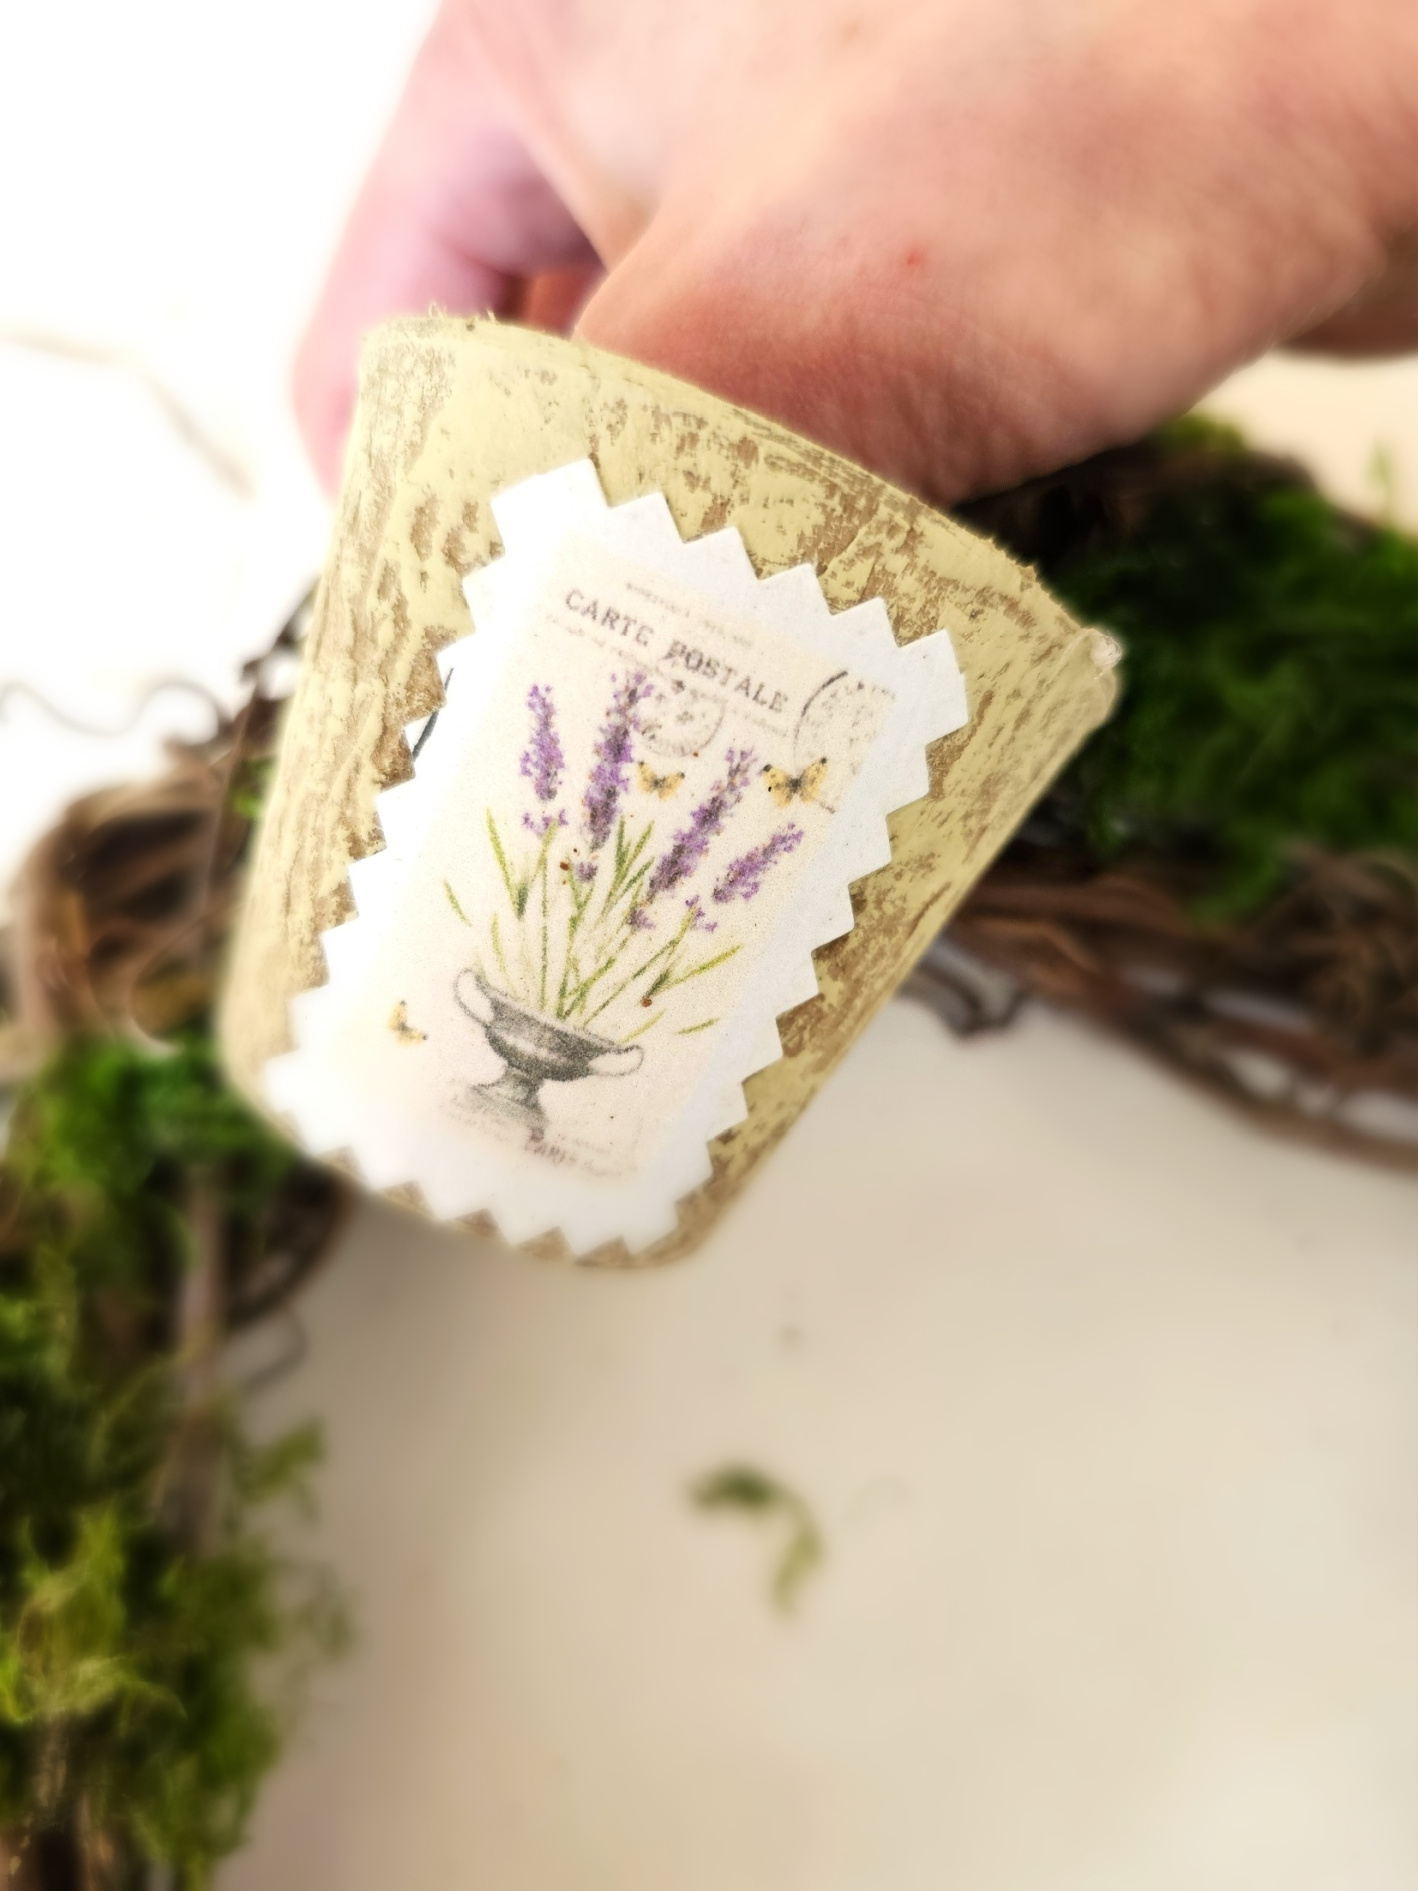
First step, dry brush the little pots with Annie Sloan's Versailles, white paint, or terra clay paints. Add paint to the top of the pot. You can find free vintage graphics at The Graphics Fairy. Feel free to check my Pinterest board for many free graphics. Visiting The Graphics Fairy or Pinterest is a great way to add no additional cost to this spring wreath.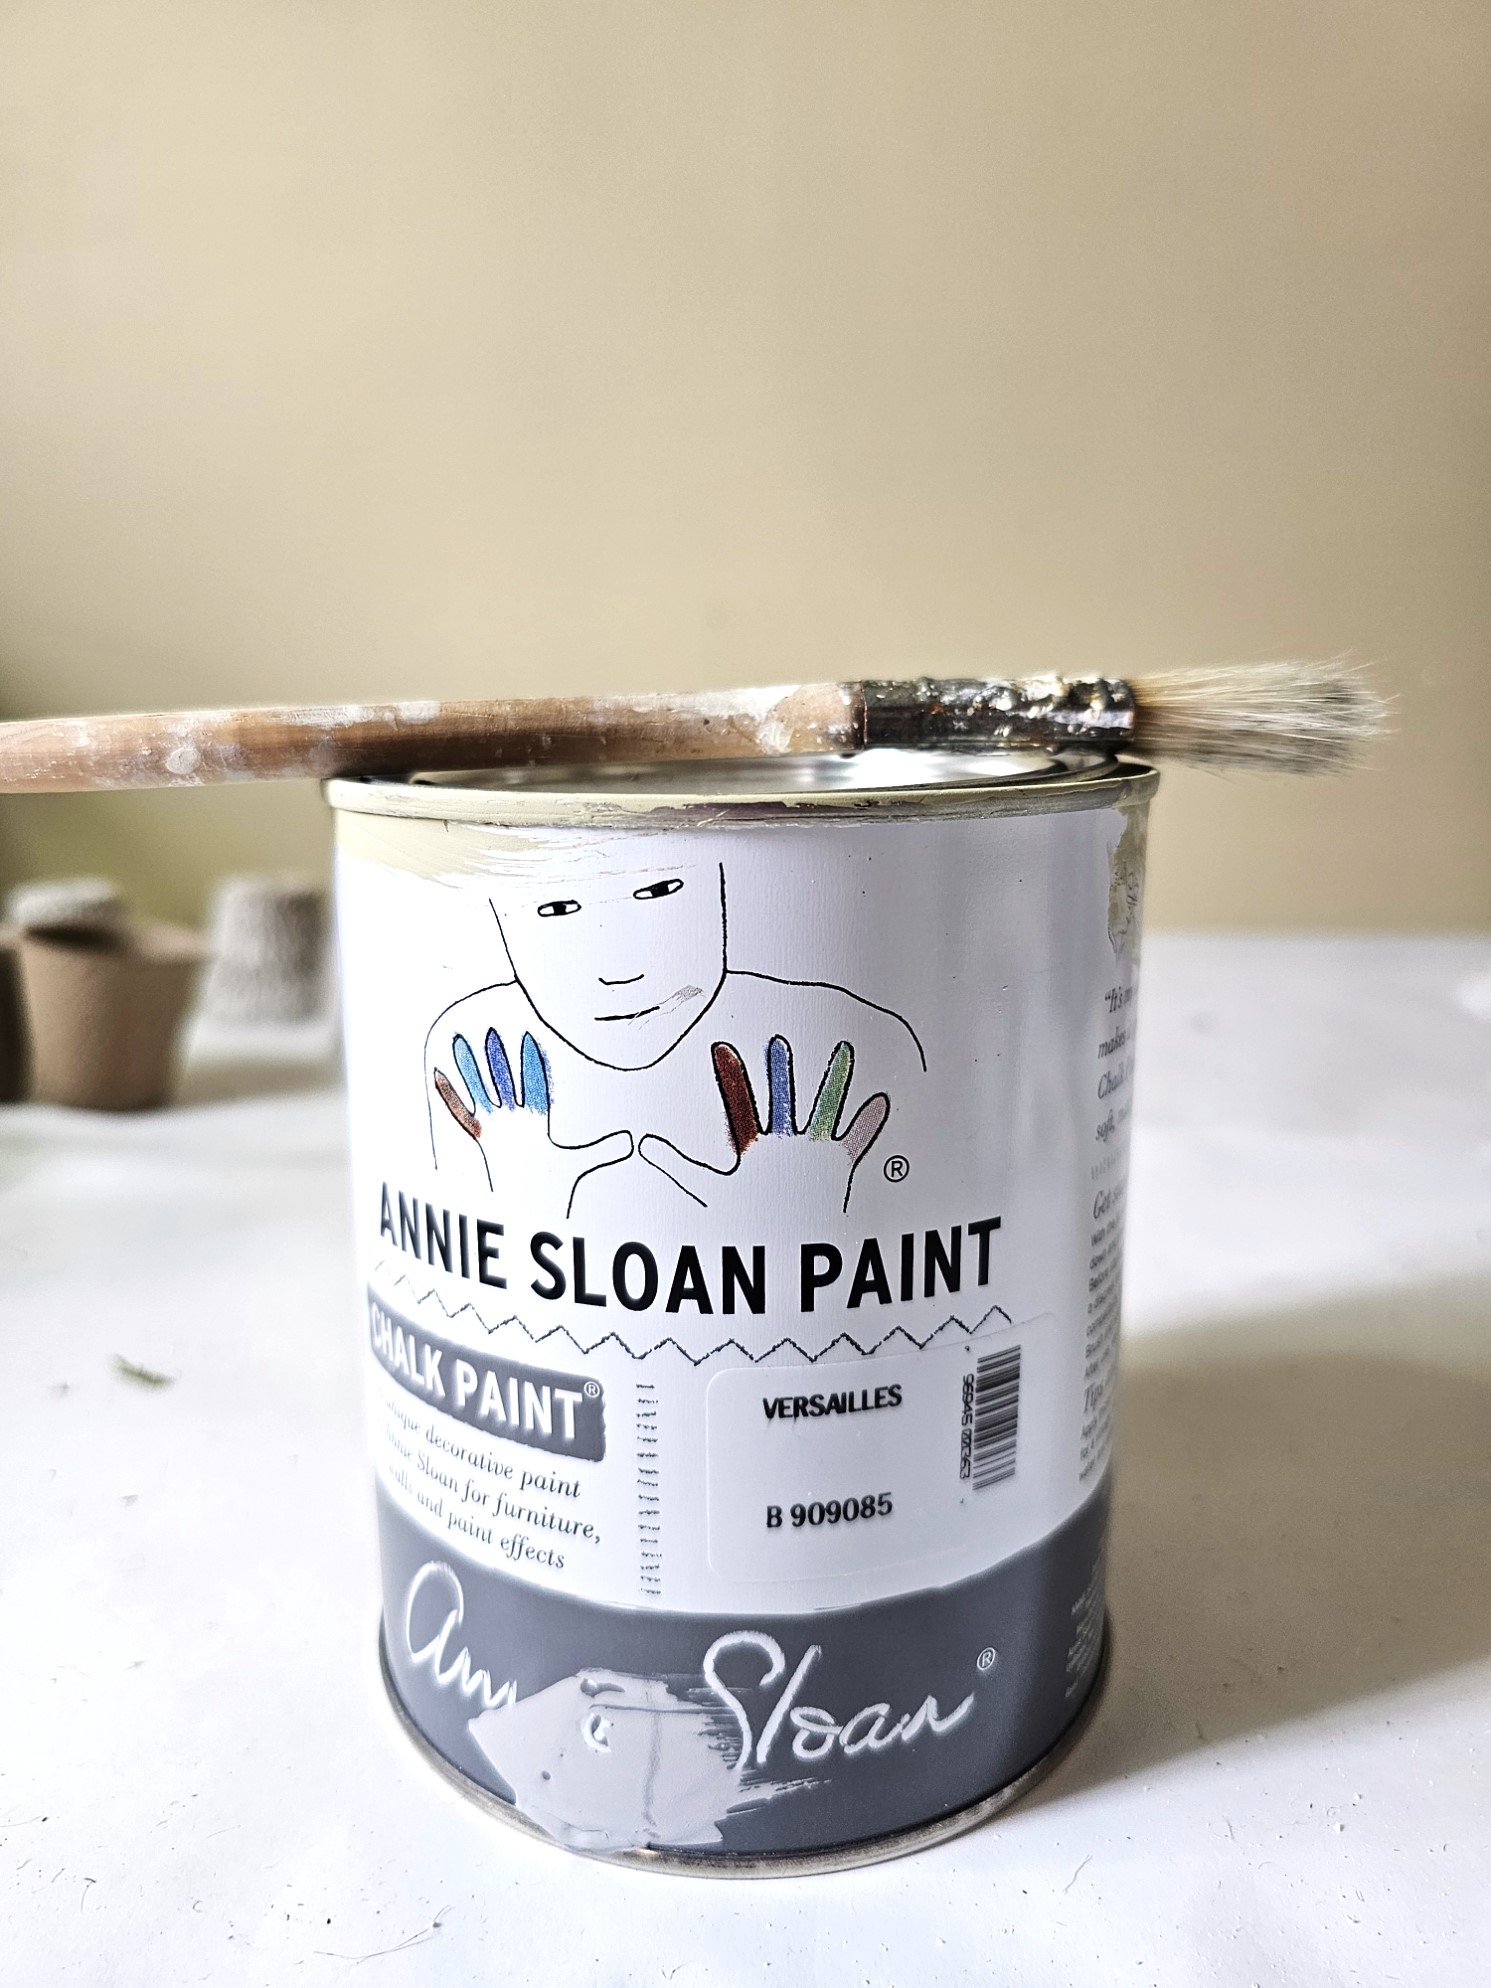
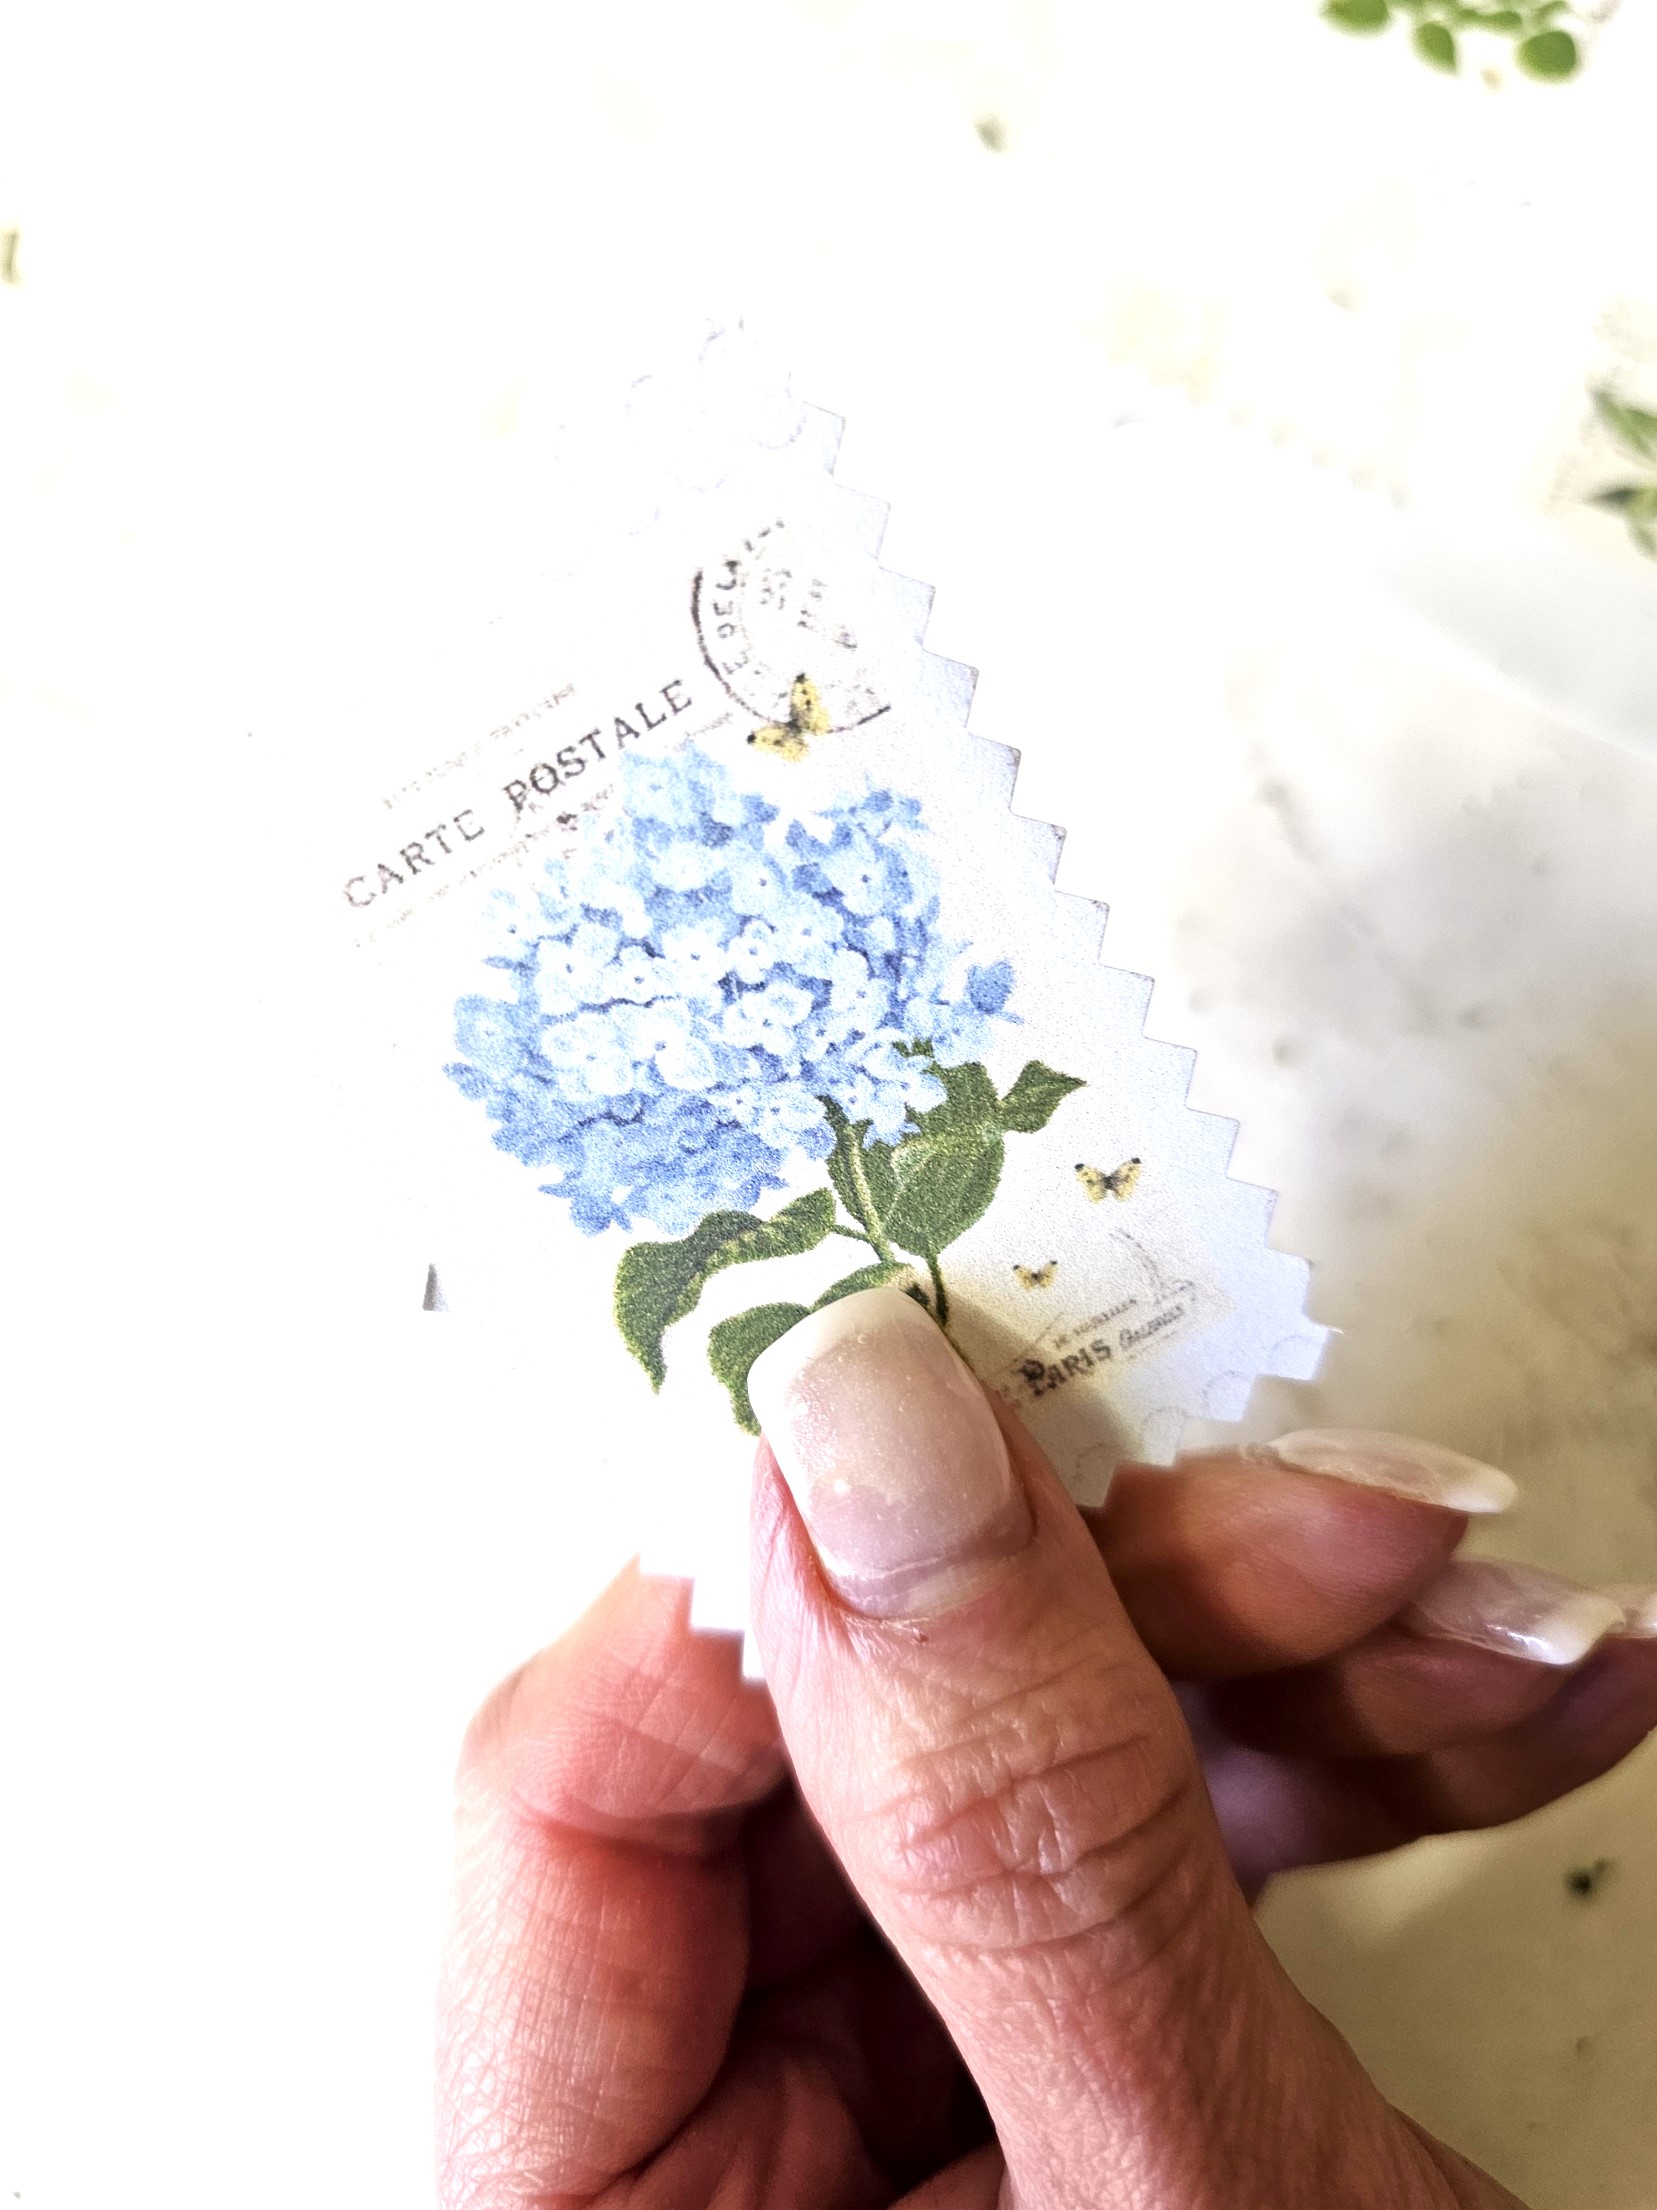
Step 2: Unveiling a Floral Stamp with Decoupage Magic
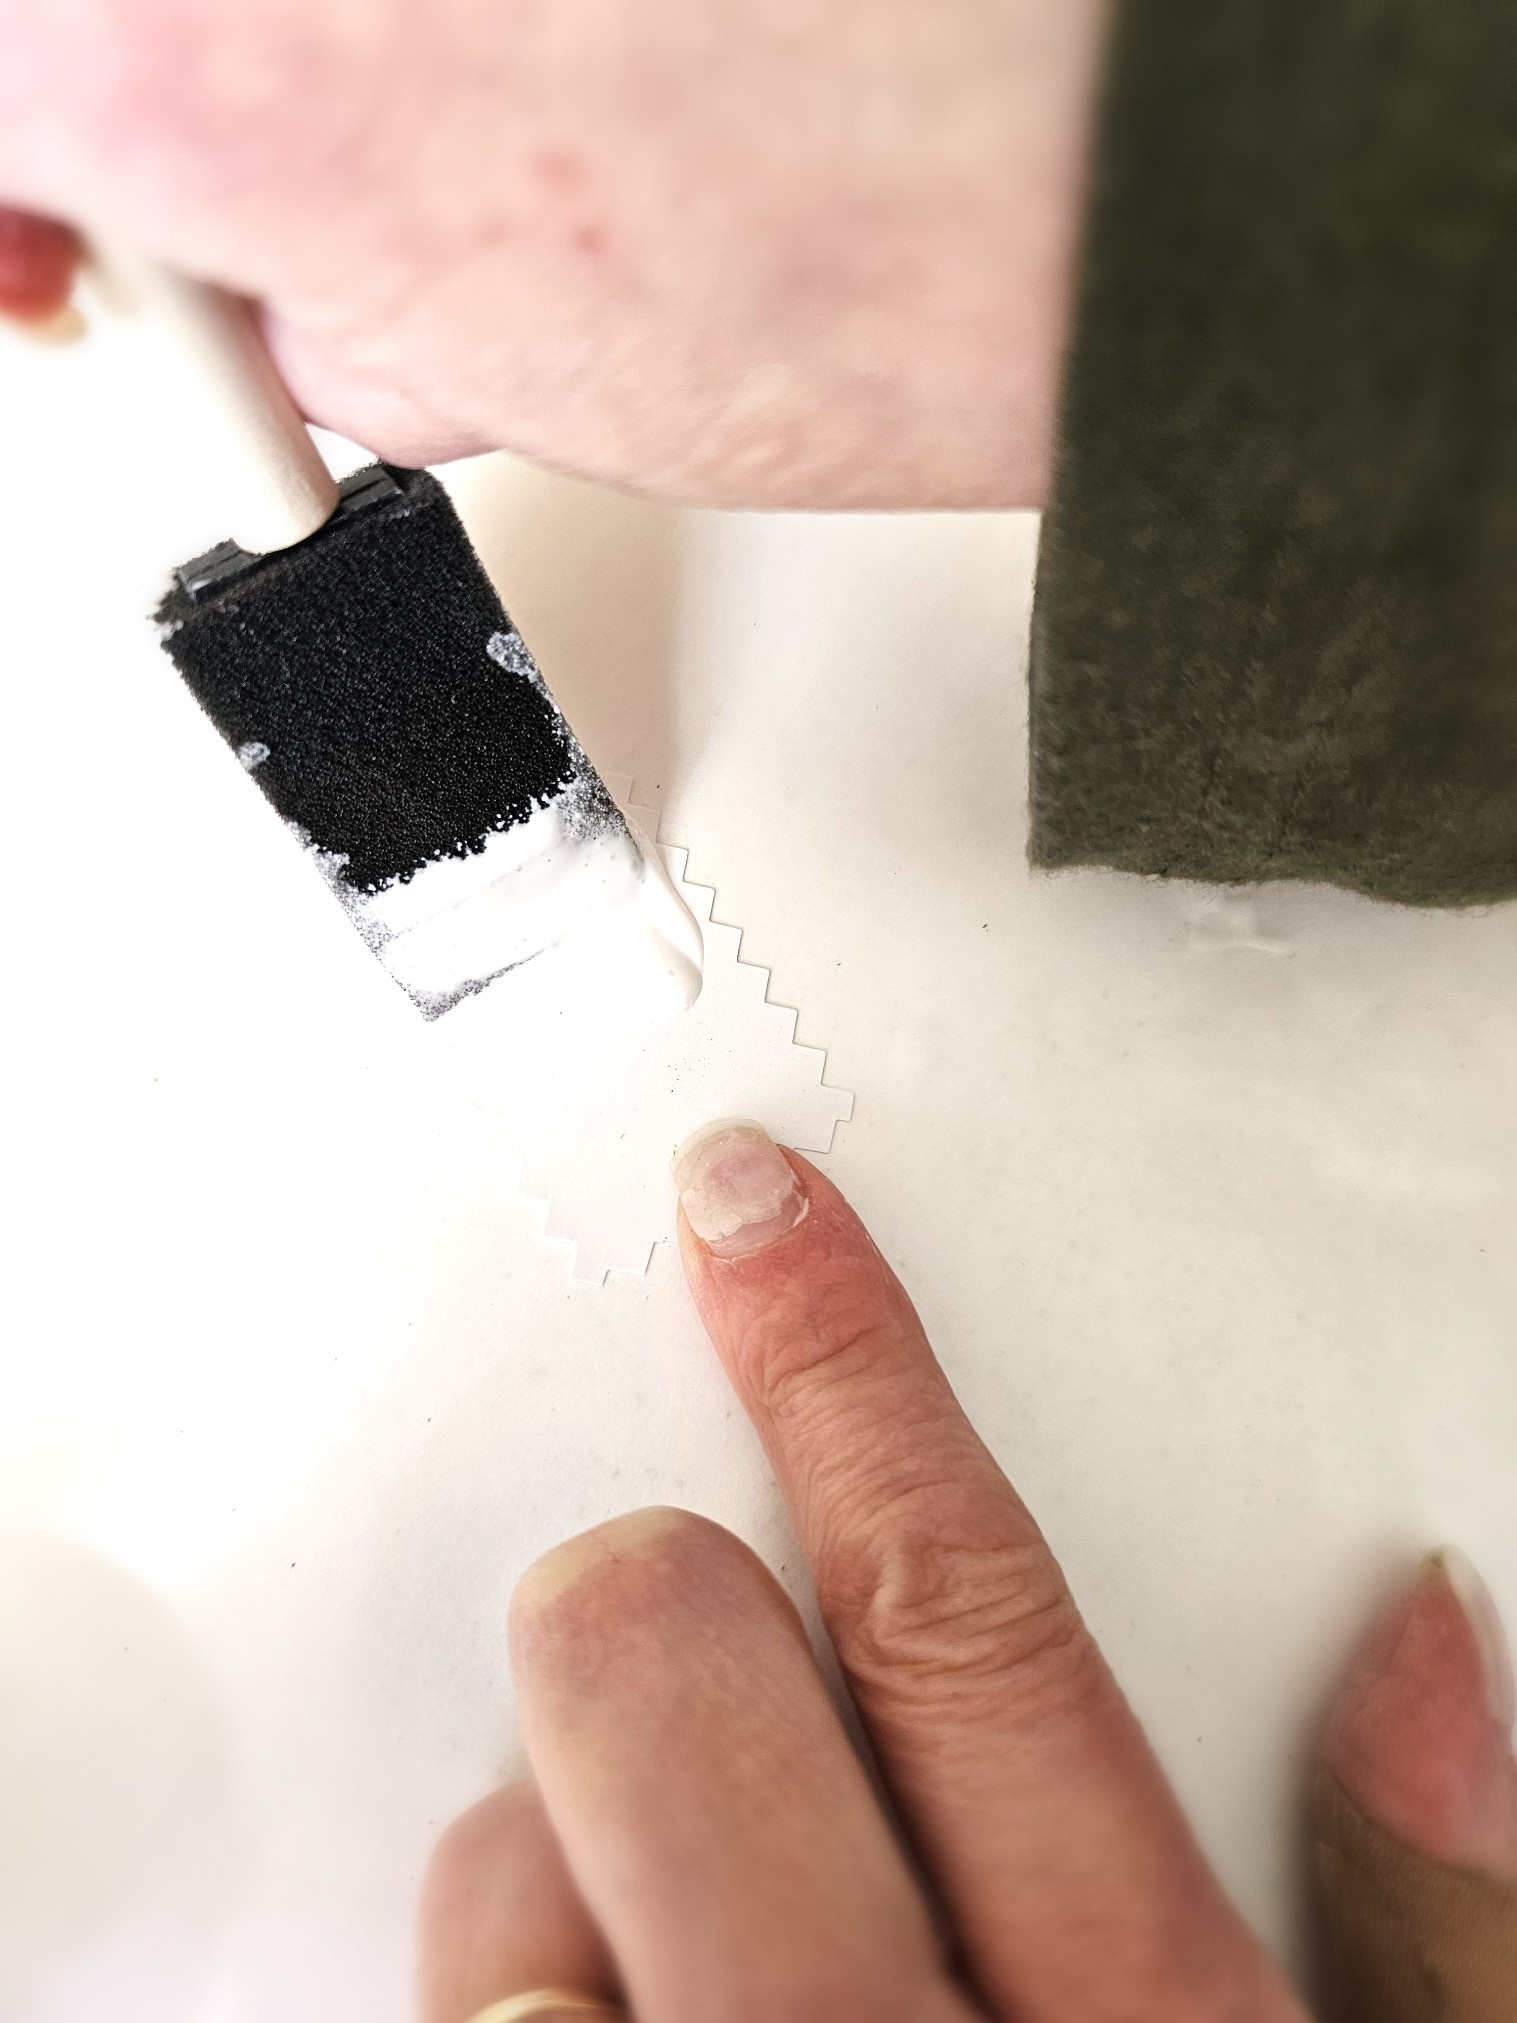
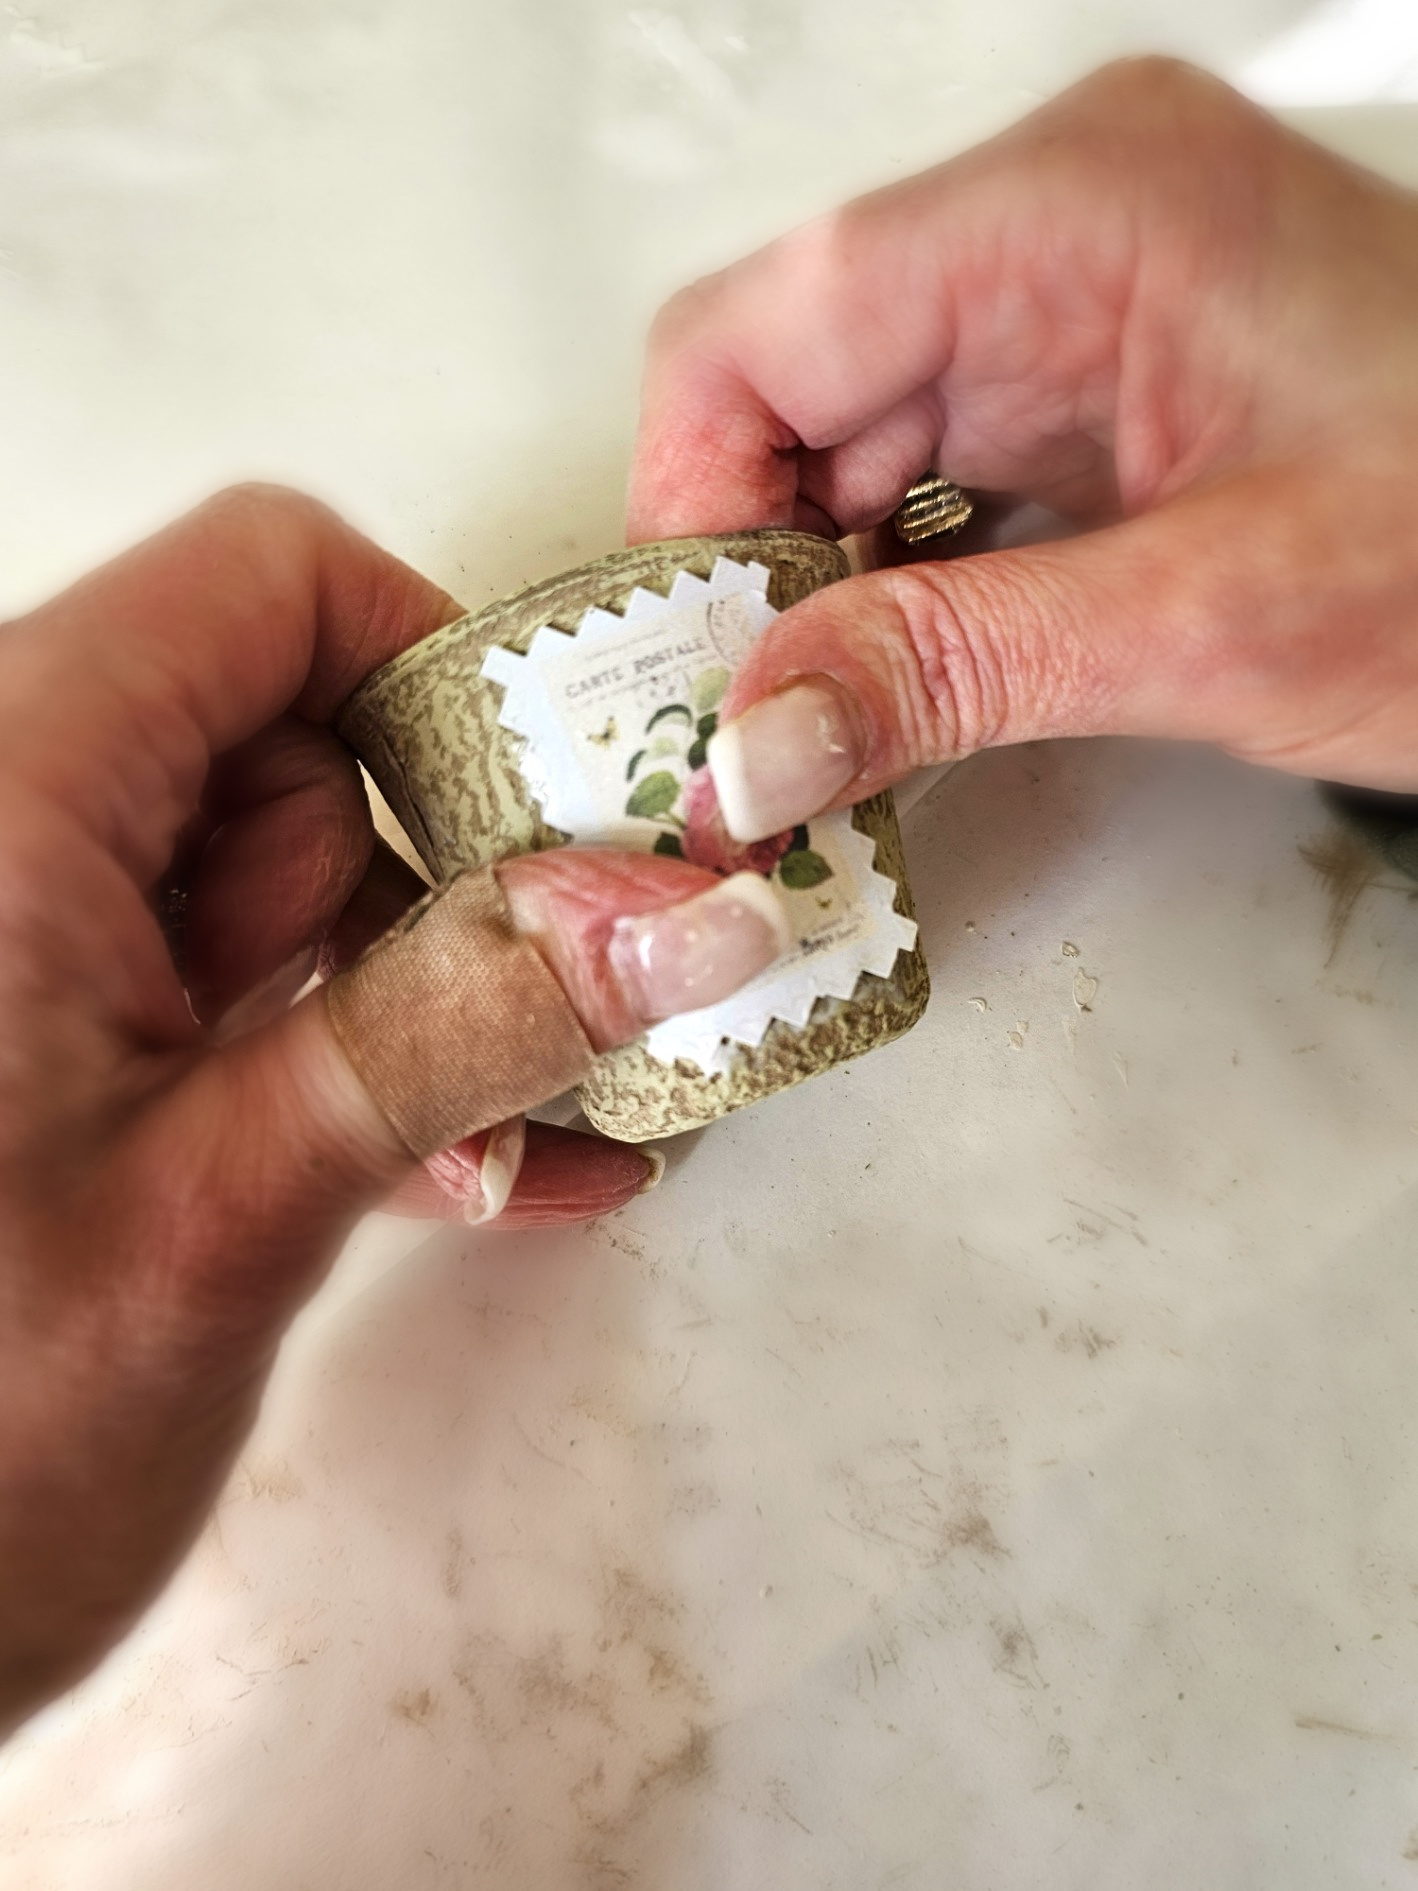
Add these floral stamps to create a spring wreath for your home decor or front porch. For these graphics, I used cardstock. I wanted these to weigh the same as seed packets. When adding these images, add Mod Podge to the pots and let the glue dry for a minute. This gives the glue time to get a bit tacky. I suggest this because the pots are porous. This is a good time to heat your hot glue gun. Add decoupage glue to the back of the cut stamp. Add the graphic to the side of the pot and hold the image for a moment. If you are using picking shears, add extra glue to the edges. Apply a second thin coat of decoupage to prevent the image from fading or yellowing.
Tip: These images can be printed on computer paper and added to the pots, using the same method.
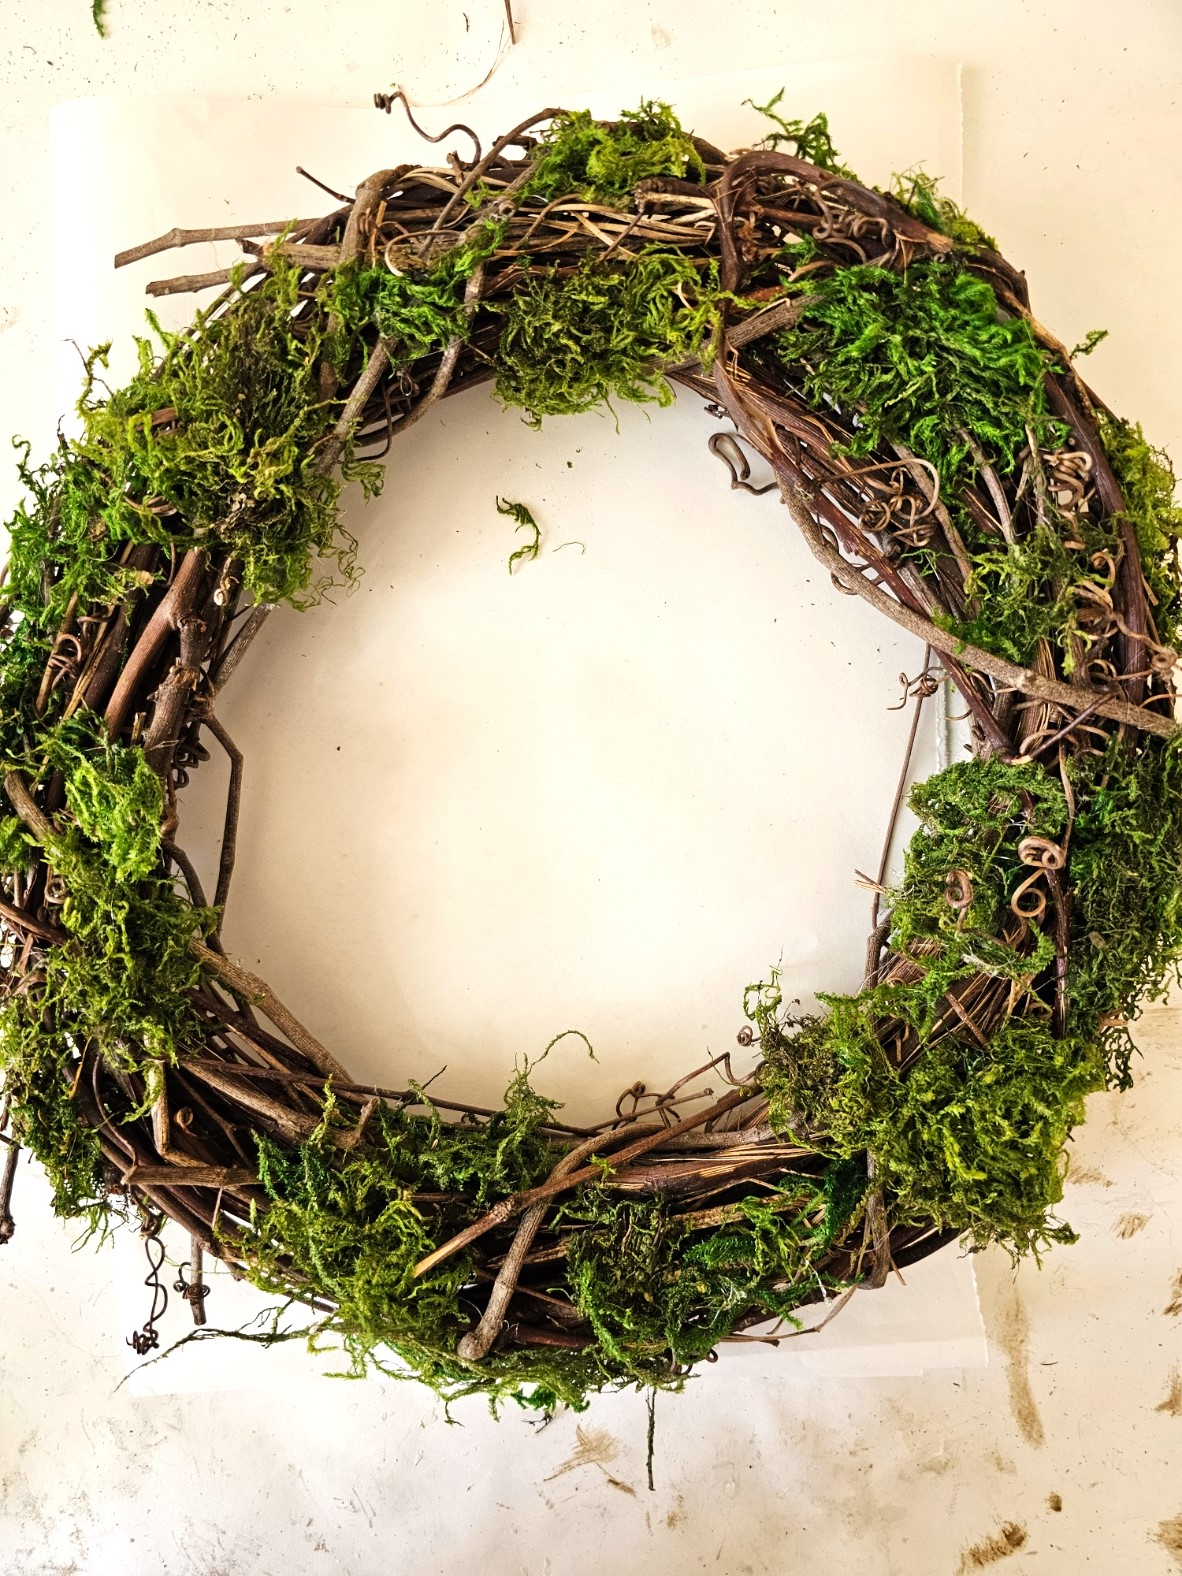
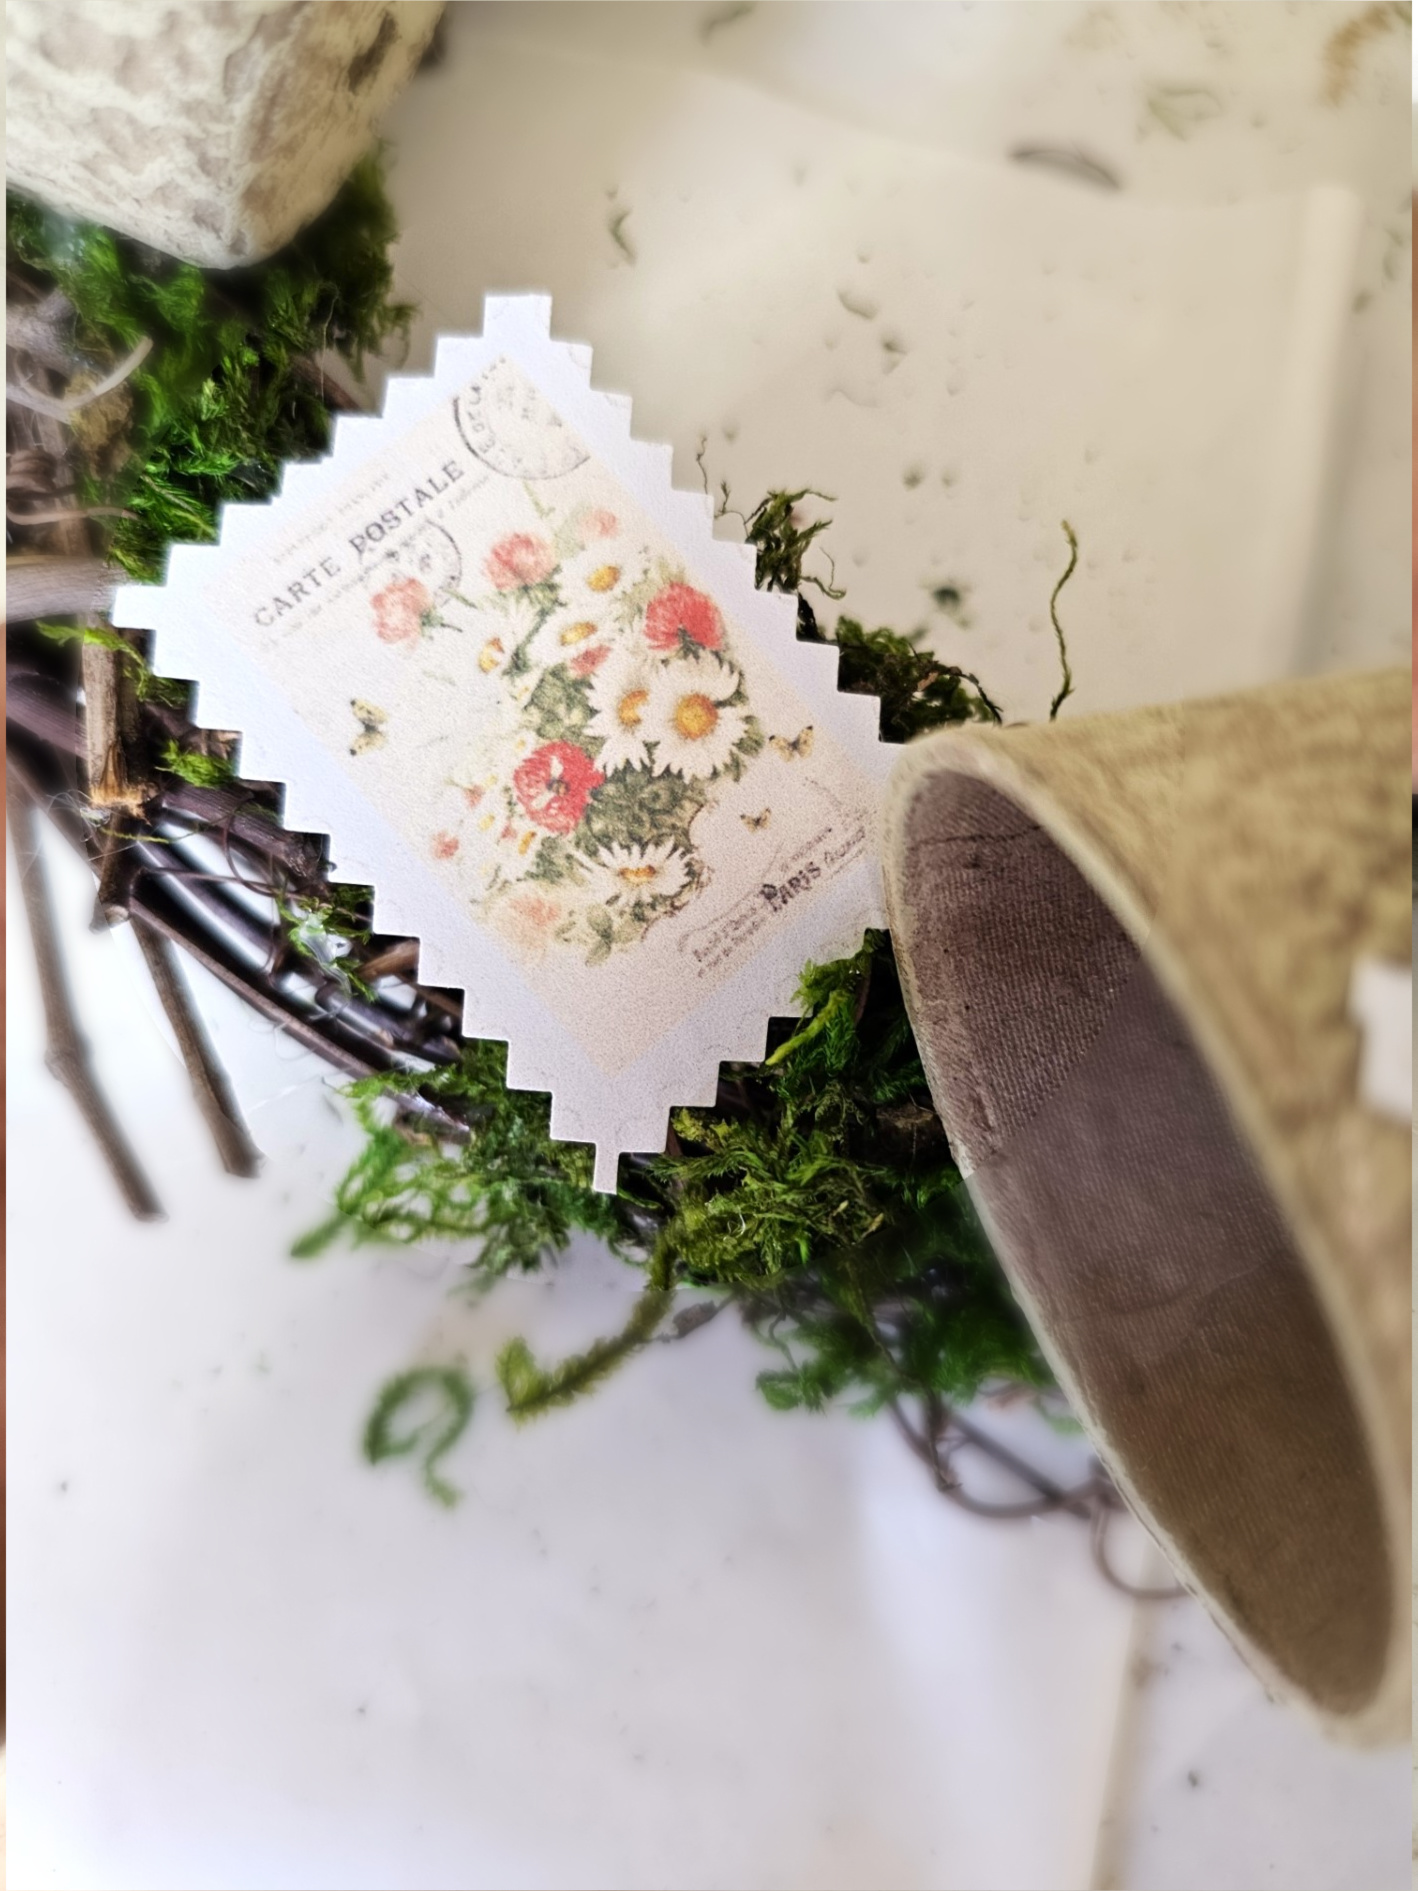
Step 3: Rustic Charm: Crafting a Spring Wreath with Grapevine and Green Moss
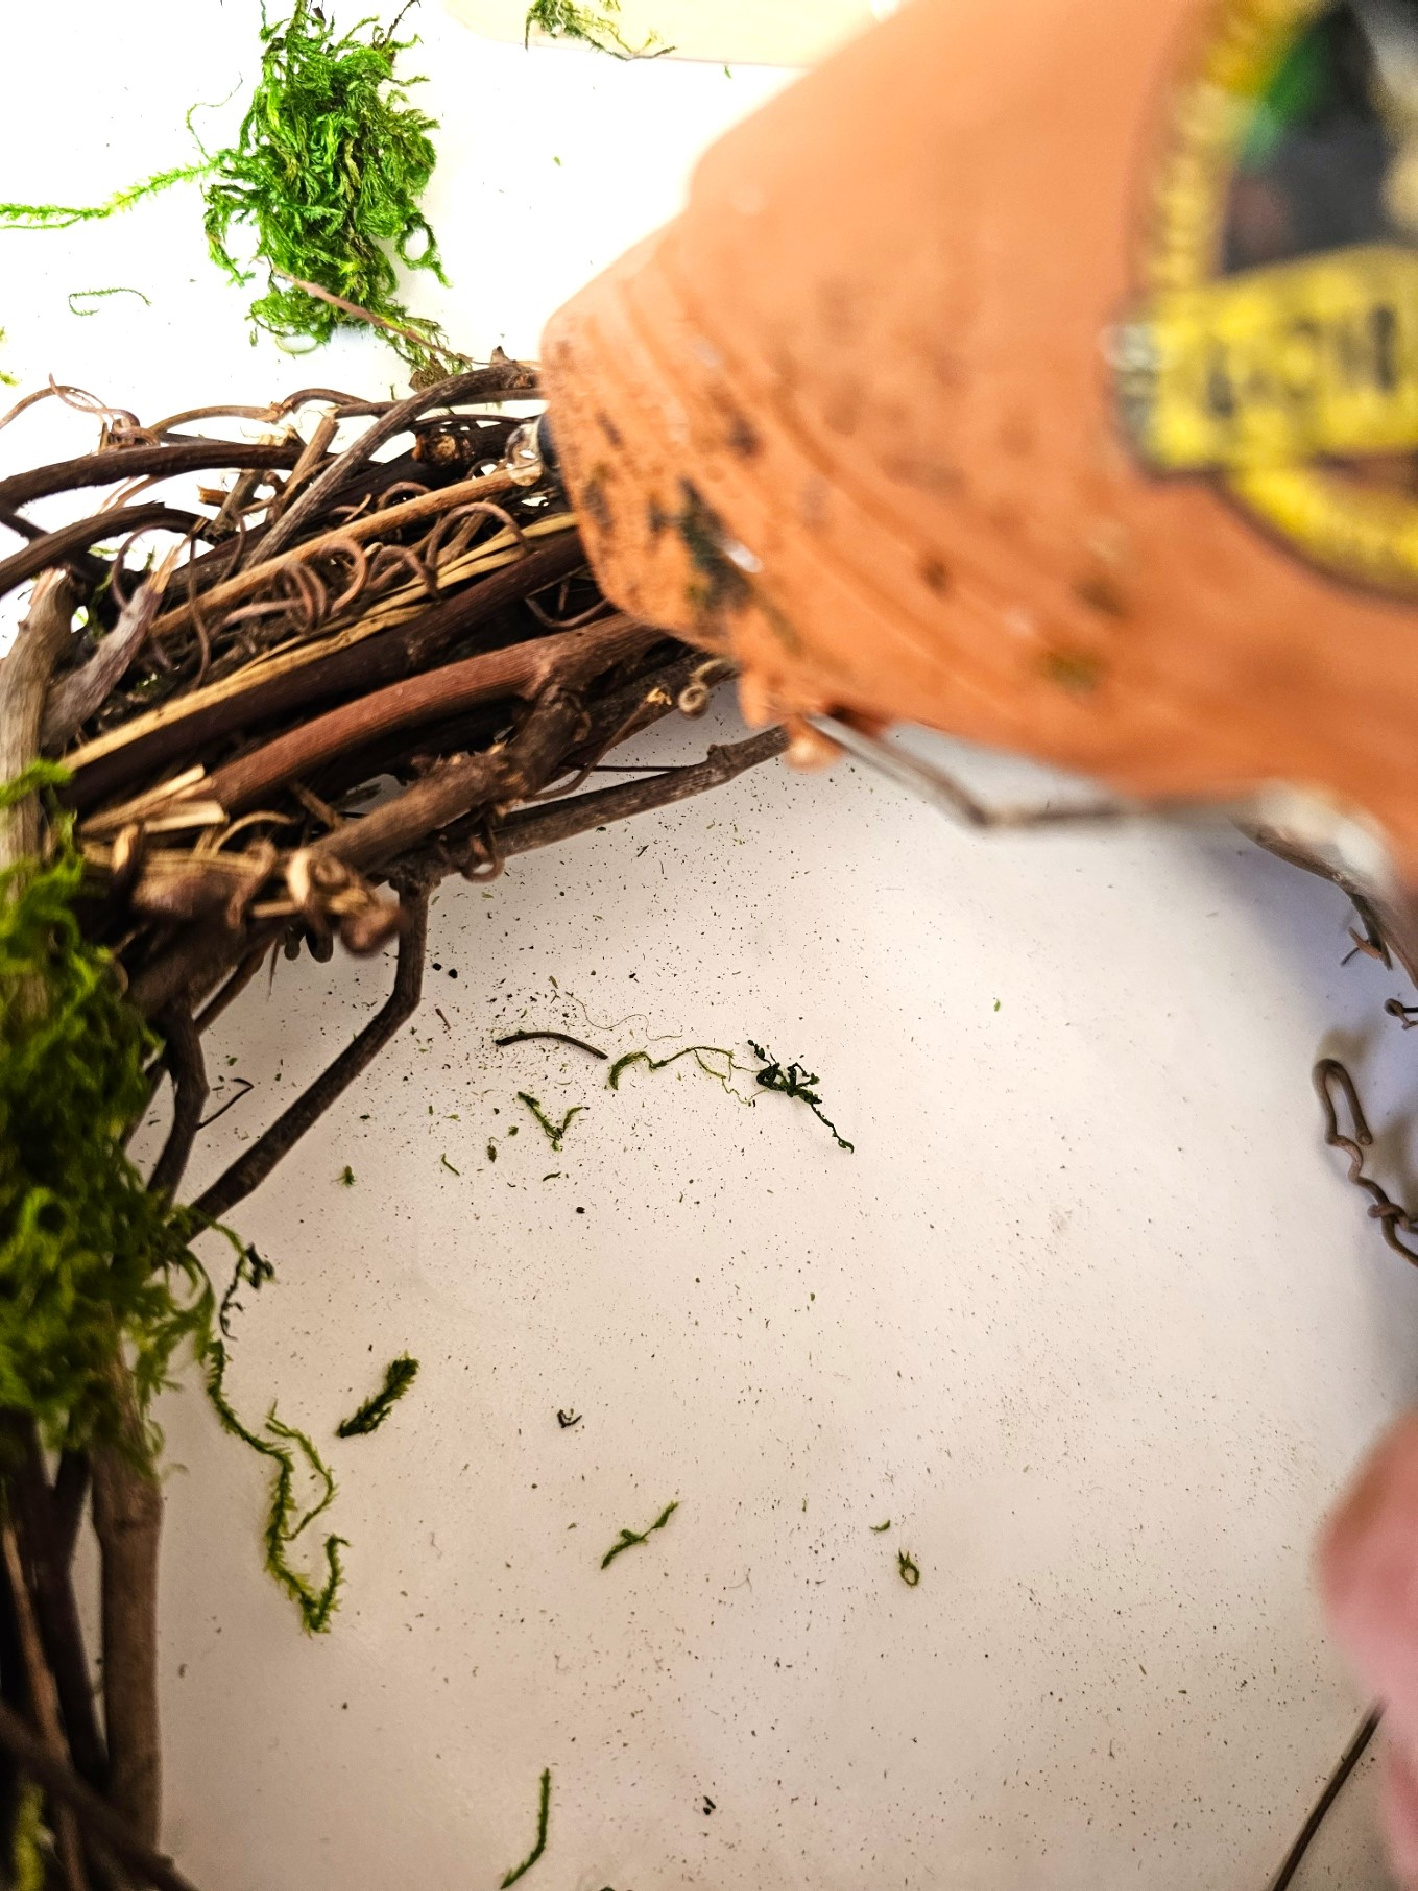
A grapevine wreath is one of my favorite things, so they are always in my craft stash! I love their rustic nature and make so many projects with them. Grapevine garland is a great way to make wreaths and garlands with little additional cost for any project. I have done this a few times. Wrap the garland into a circle or oval and add a heavy-gauge wire to hold it together, easy peasy! Who doesn't enjoy easy, right?
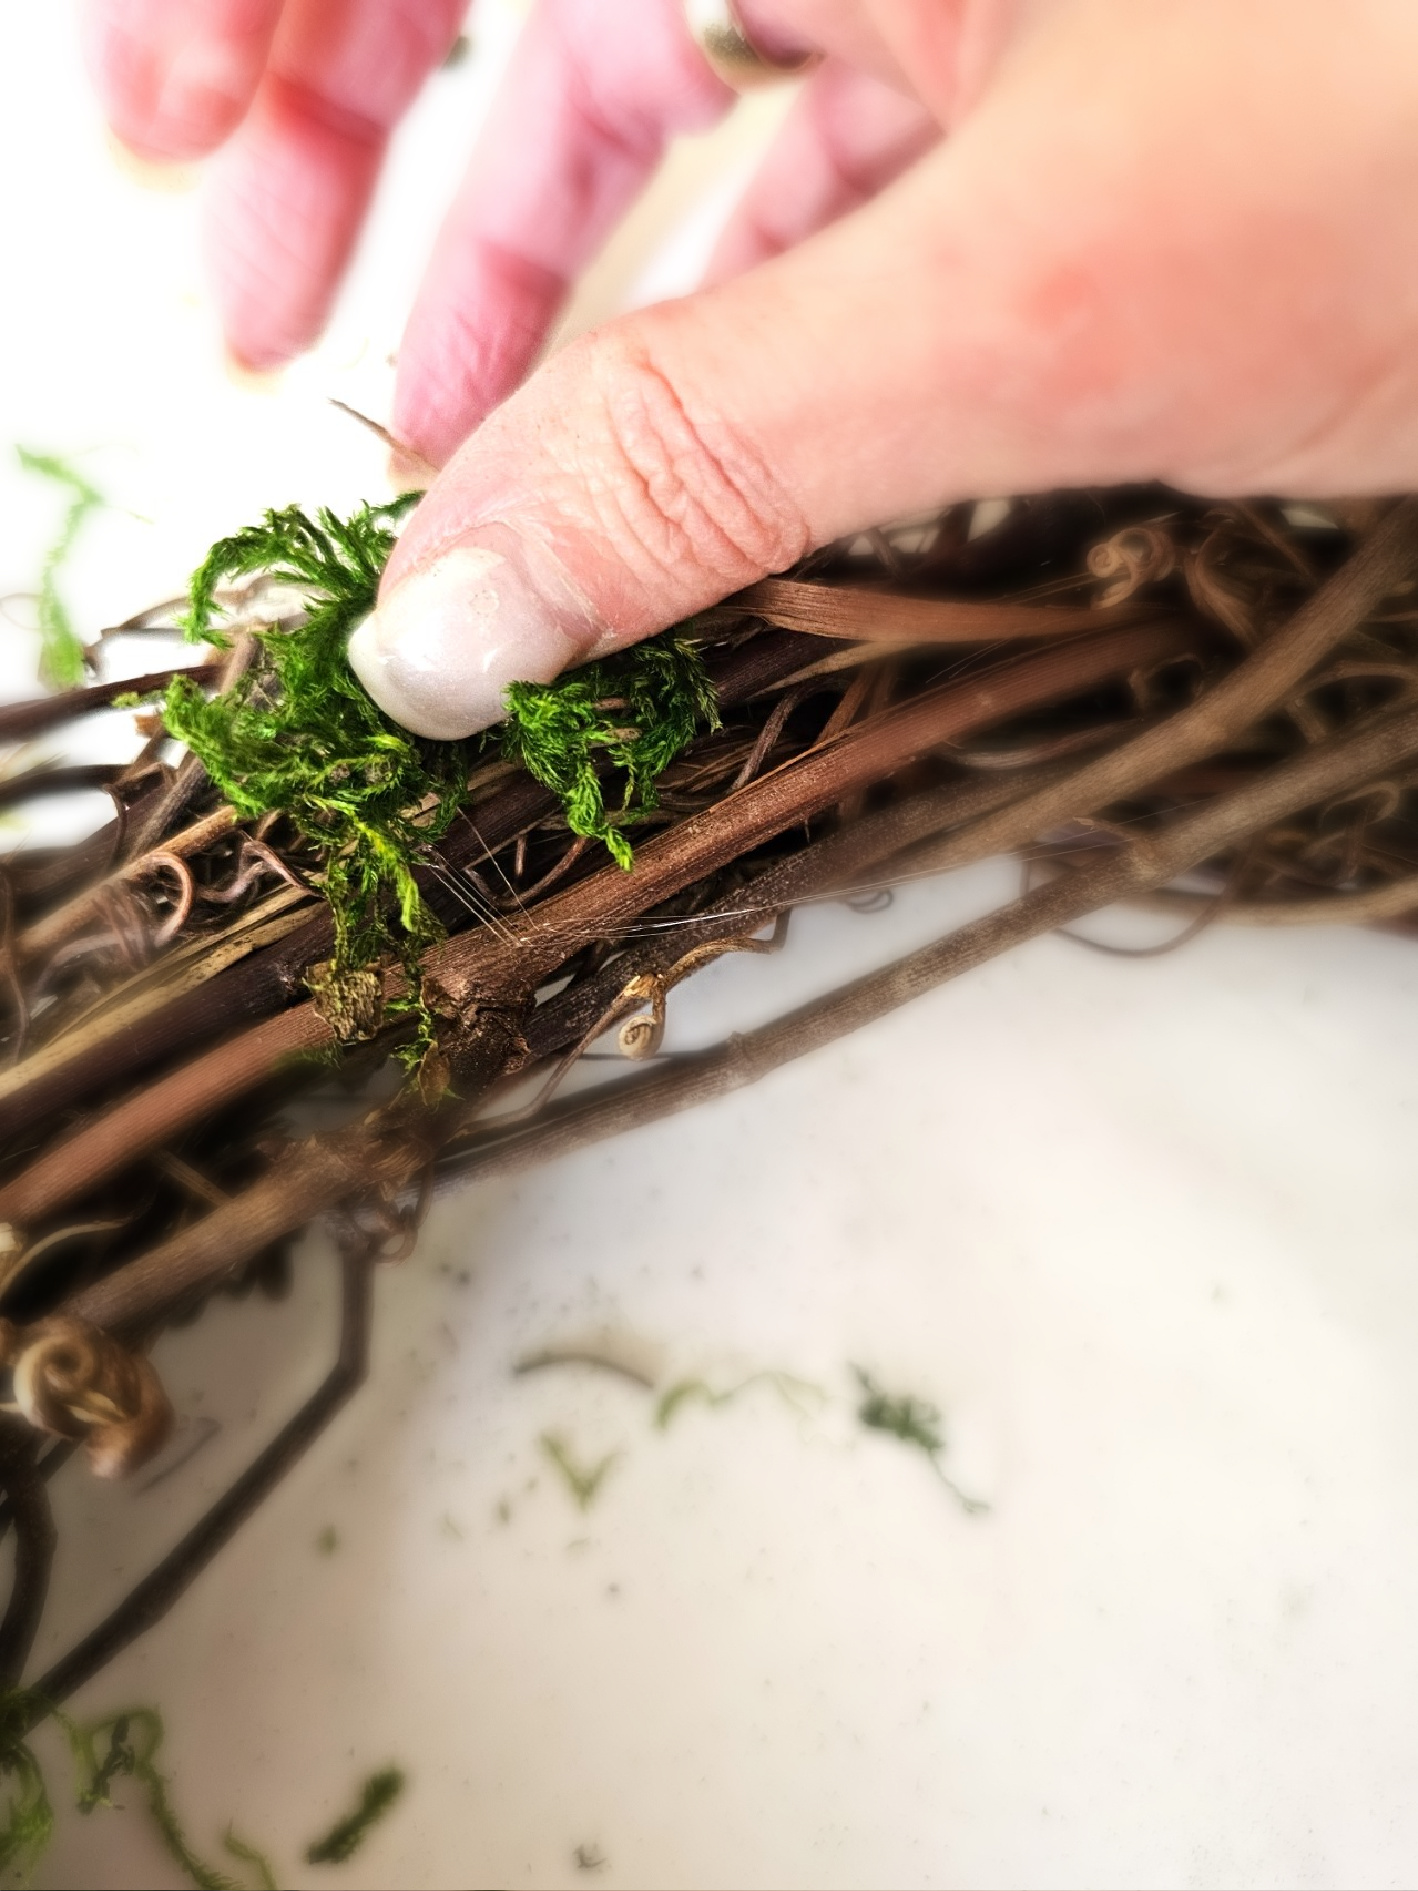
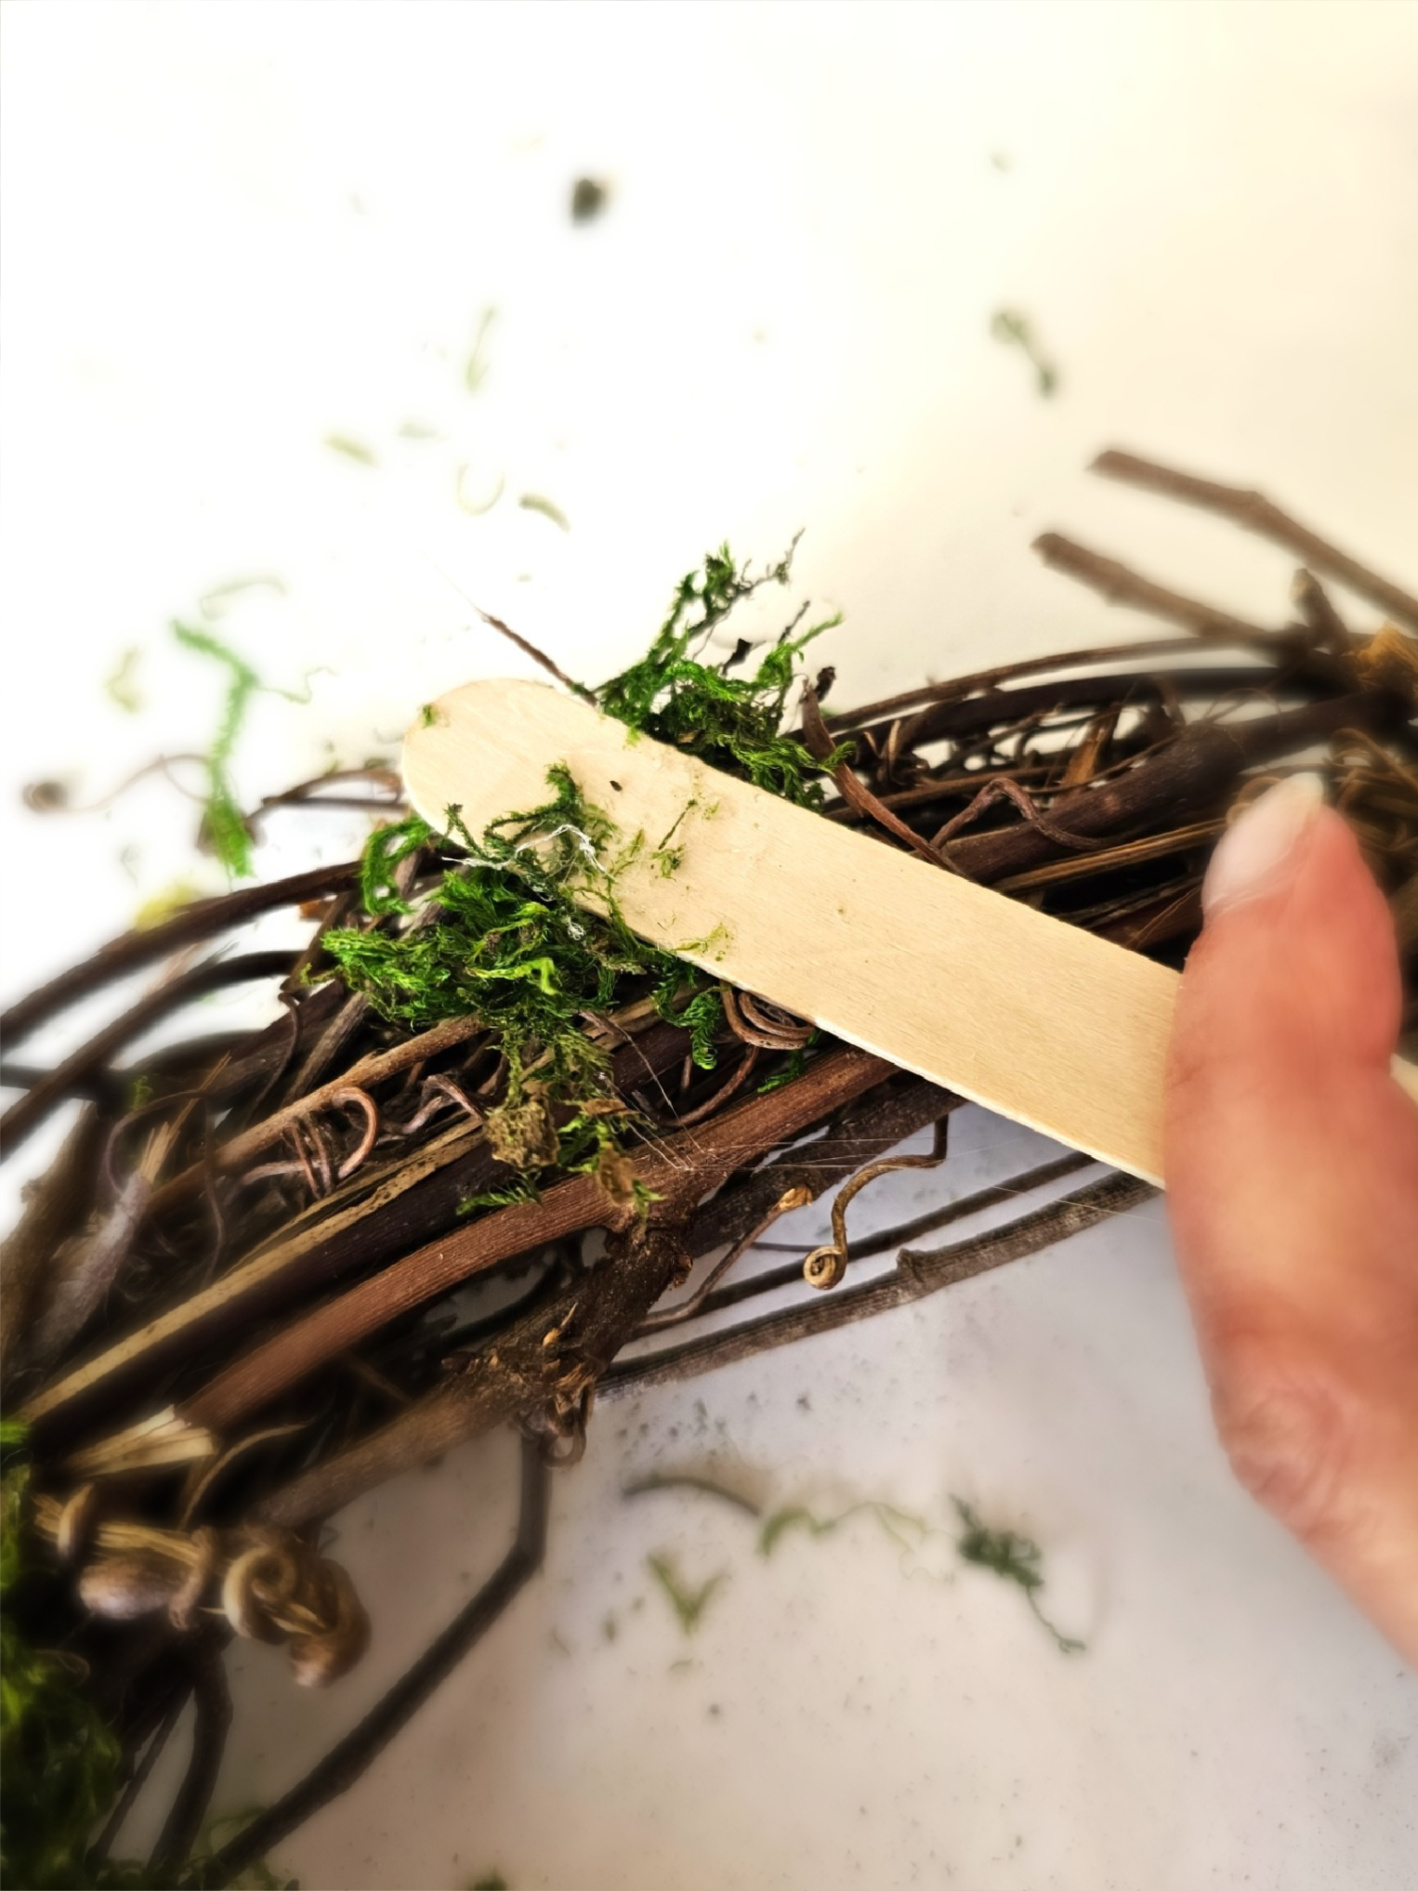
Add sheet moss or reindeer moss in small sections to the grapevine. Let some of the grapevine show; it adds a rustic texture and a bit of nature. I set my hot glue gun to a low temperature and added hot glue to the grapevine. Cut a small piece of sheet moss and add it to the glue. Use a popsicle stick to hold the moss to set.
Tip: Using a dual-temperature hot glue gun is best when making wreaths. Setting it on a low temperature is a great way to prevent burns. I can't recommend getting one enough if you enjoy crafting.
Step 4: Adding Pots to Your DIY Wreath — A Step-by-Step Guide
You can use terra cotta pots for this wreath. If you do heavy craft wire through the small hole in the pot. Pull the jute tight and double-knot it to keep the pots stable. I share a blog post on making an eucalyptus flower pot wreath.
In the next step, add hot glue in two rows to the back of the pots and hold each pot to set. These pots are light, so hot glue will hold them onto the wreath.
Tip: I tried floral pins on my first peat pot wreath, and the pots are too thick for the floral pins to get through. They bent when I pushed them through the side of the peat pot.

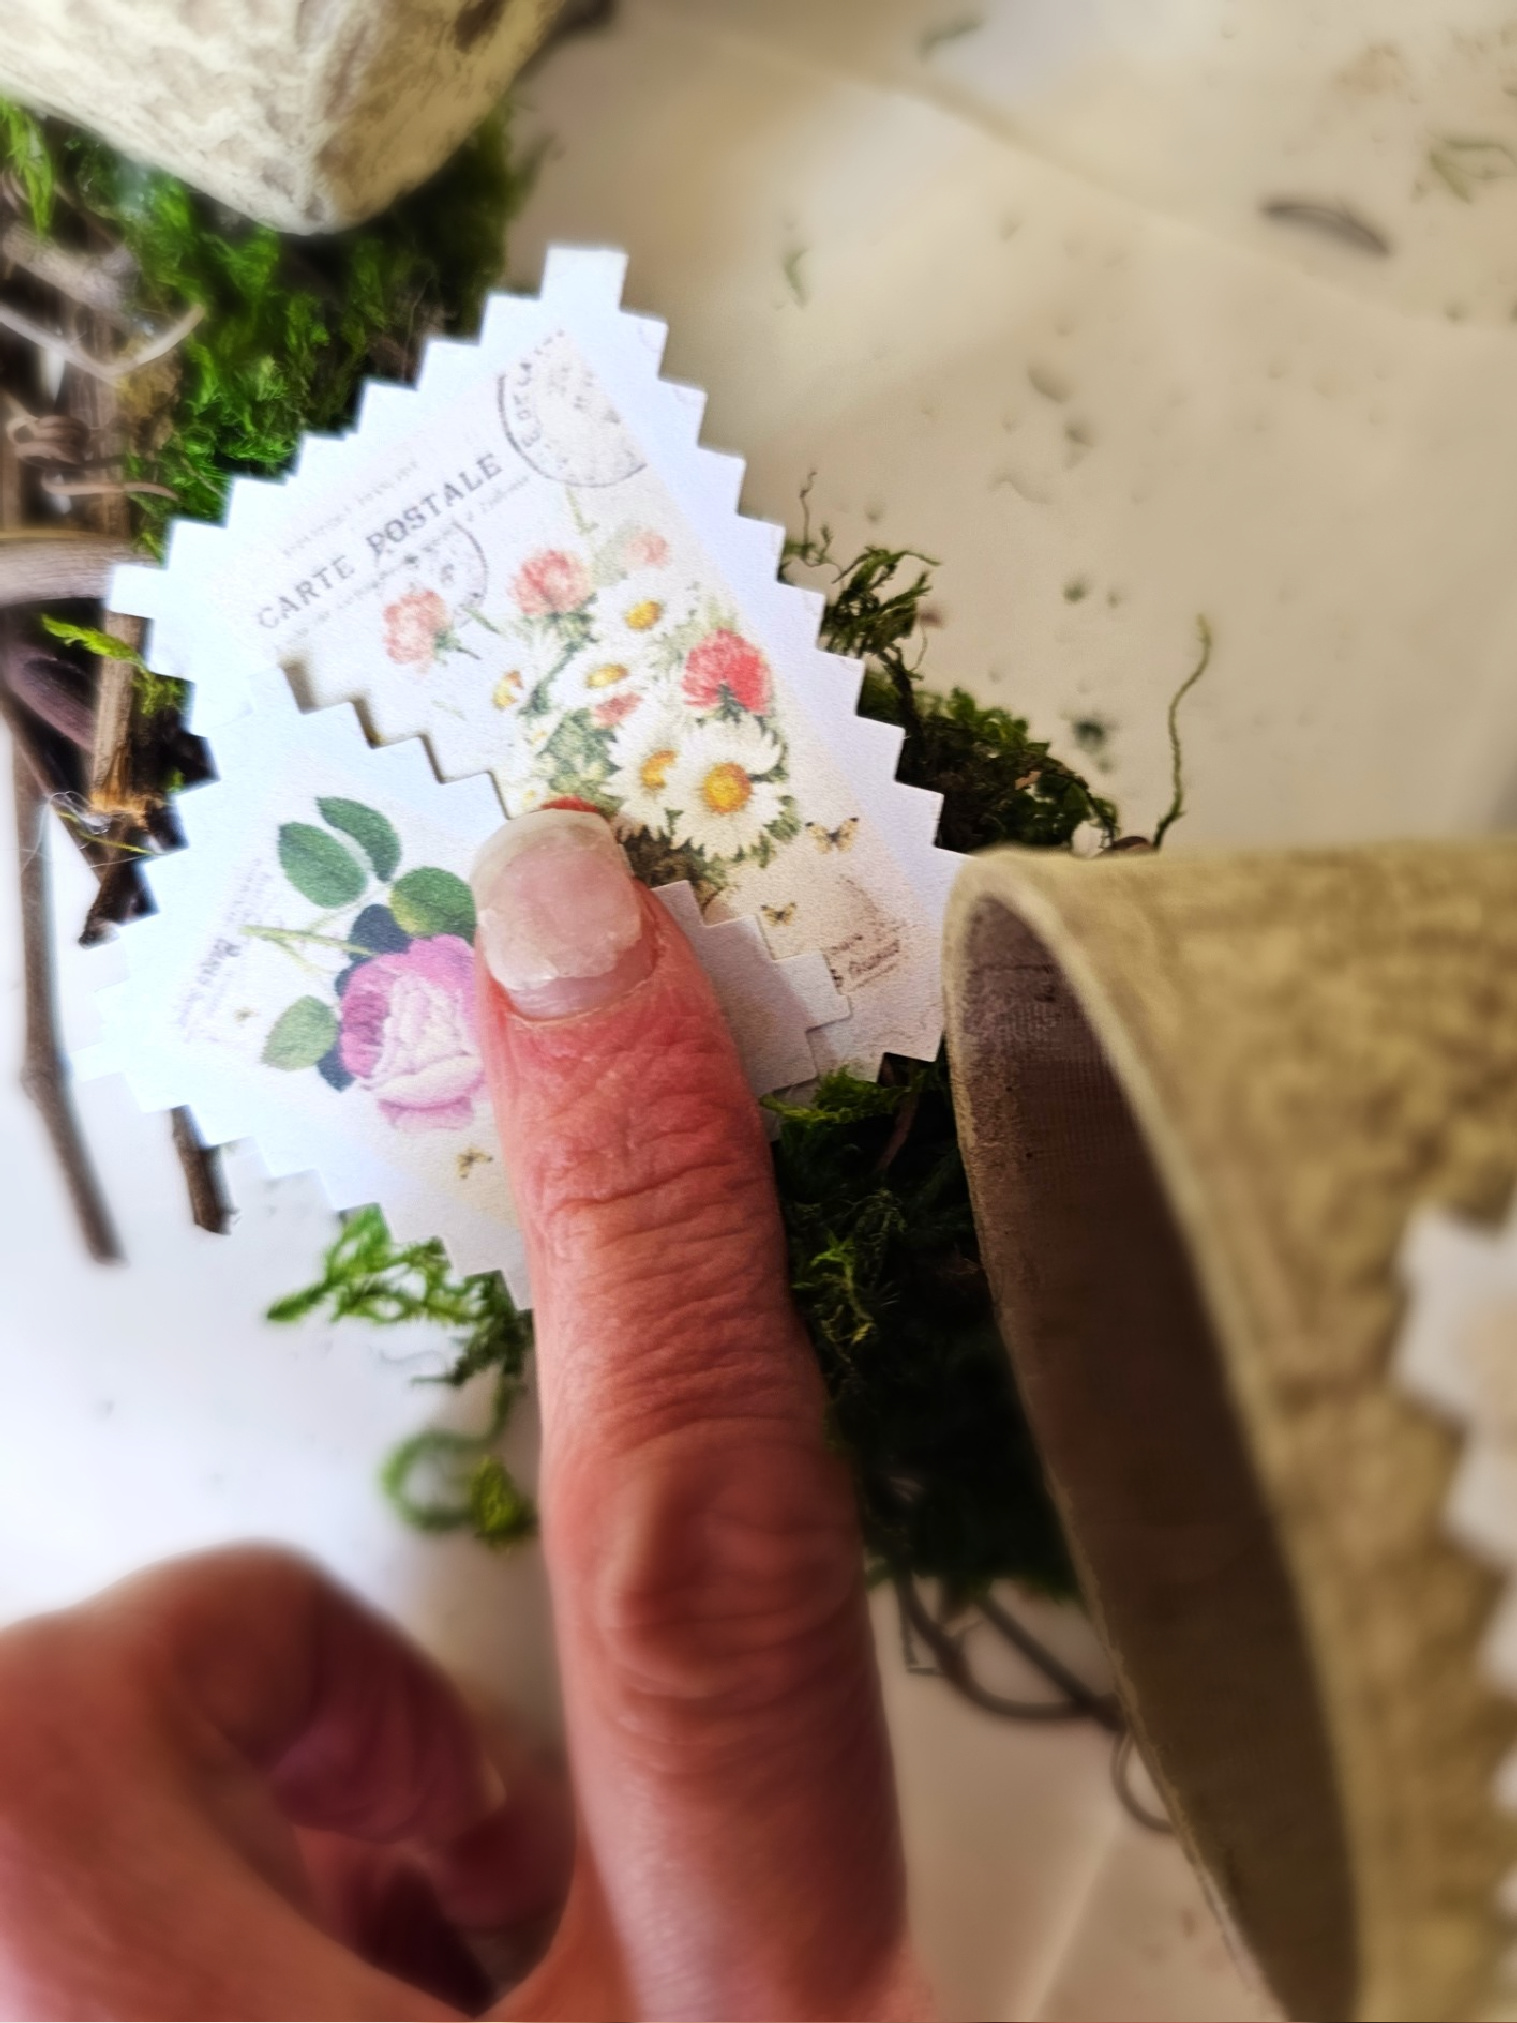
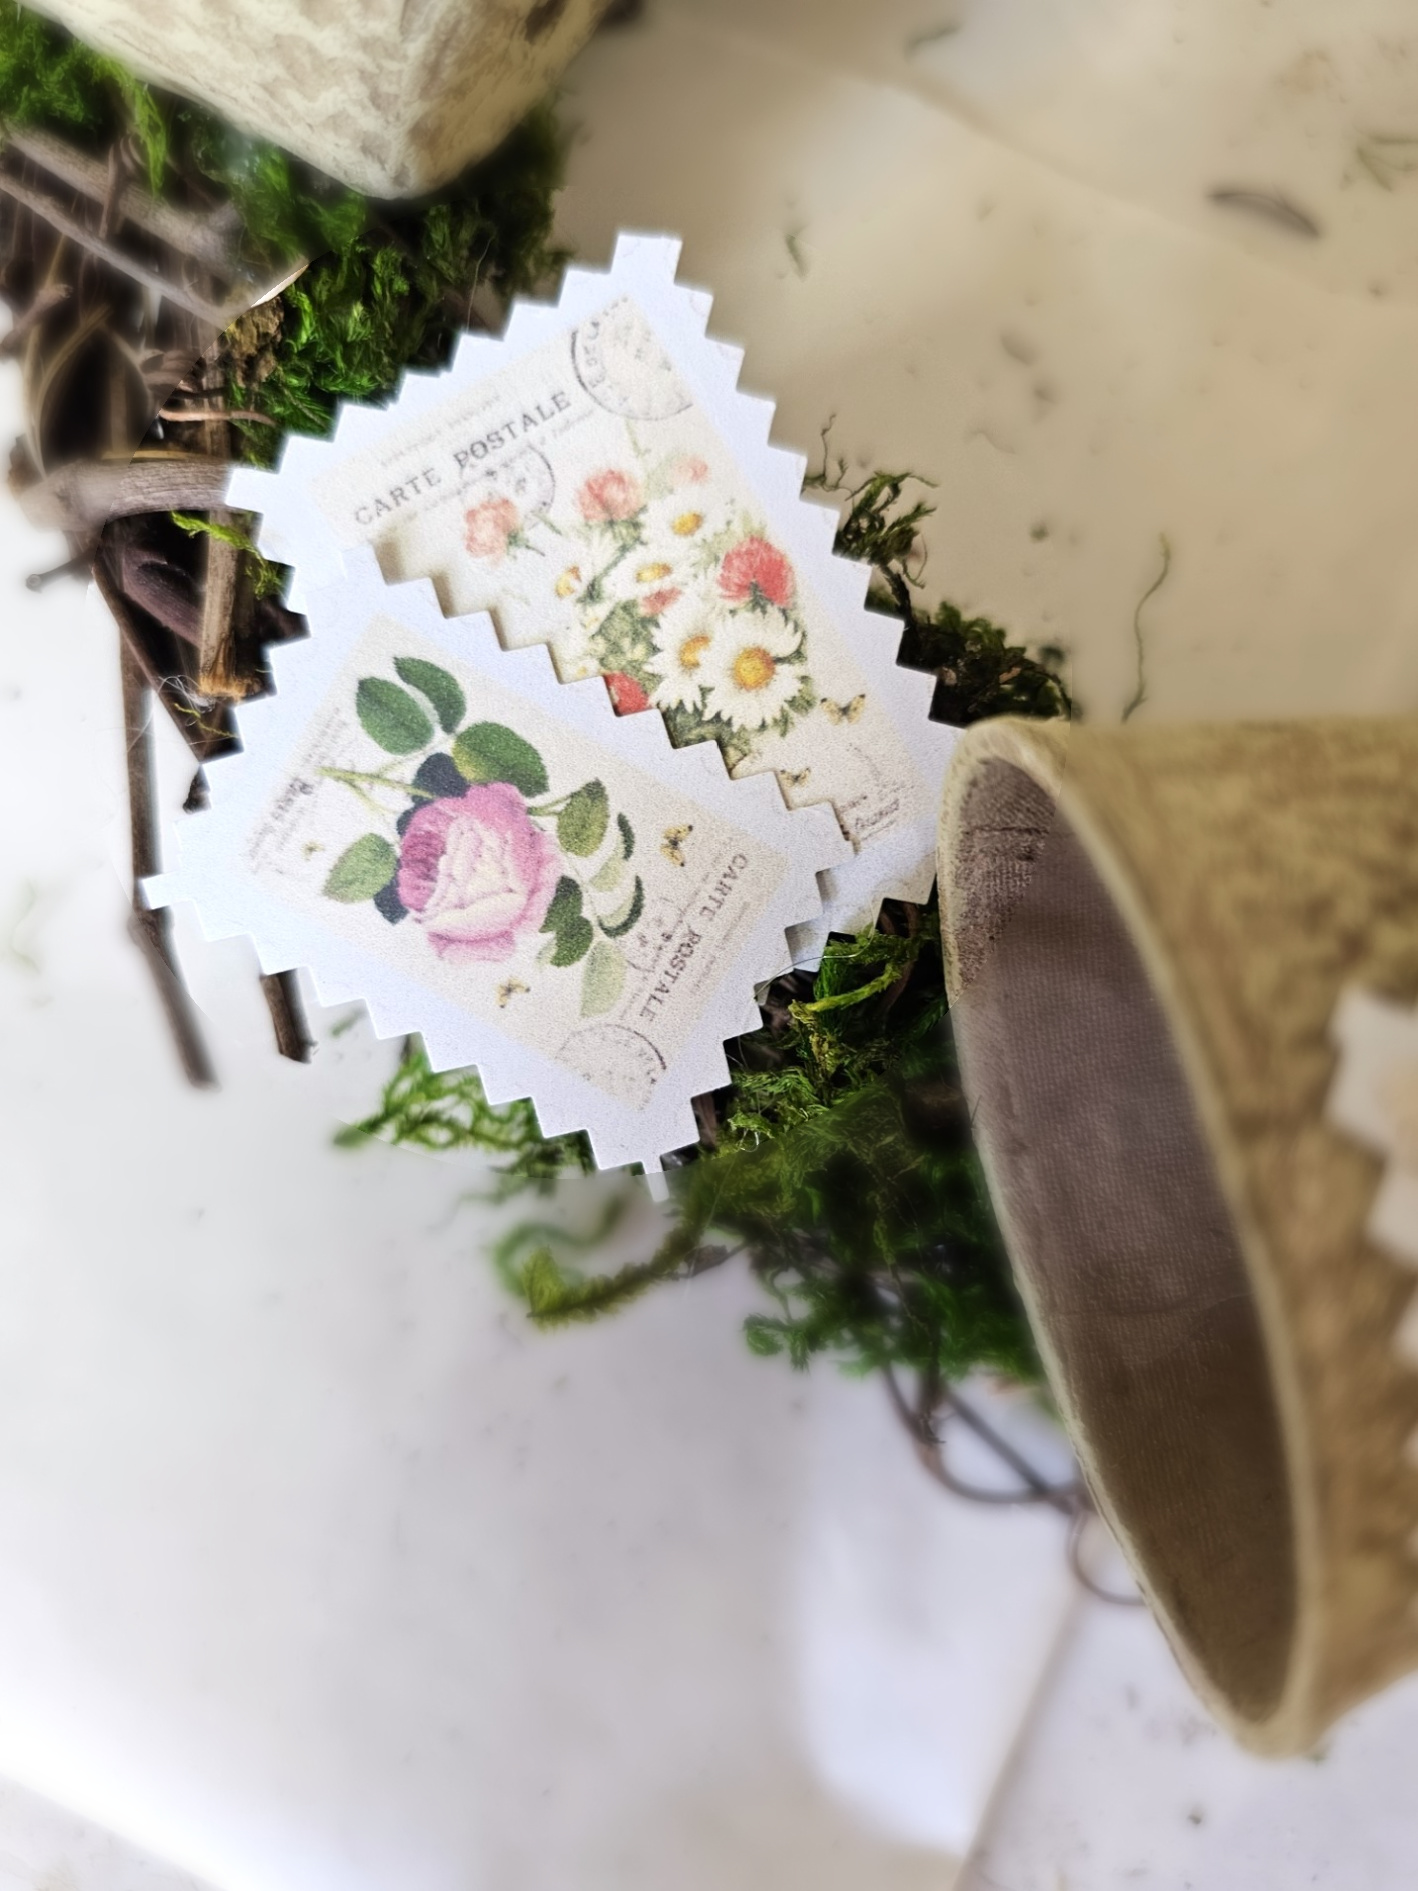
Step 5: Stamp of Creativity: Enhancing Your Wreath with Stamps
After attaching the pots, I glued two stamps. One medium and one small, onto my wreath. On this wreath, I filled the pots with shredded brown paper. Find this at craft stores in the card section. However, you're welcome to embellish with flowers or faux succulents.
Note: This is a good time to look for unique wreath ideas for your home decor, front door, and porch. These are an easy DIY and work for multiple seasons!


 Happy Crafting!