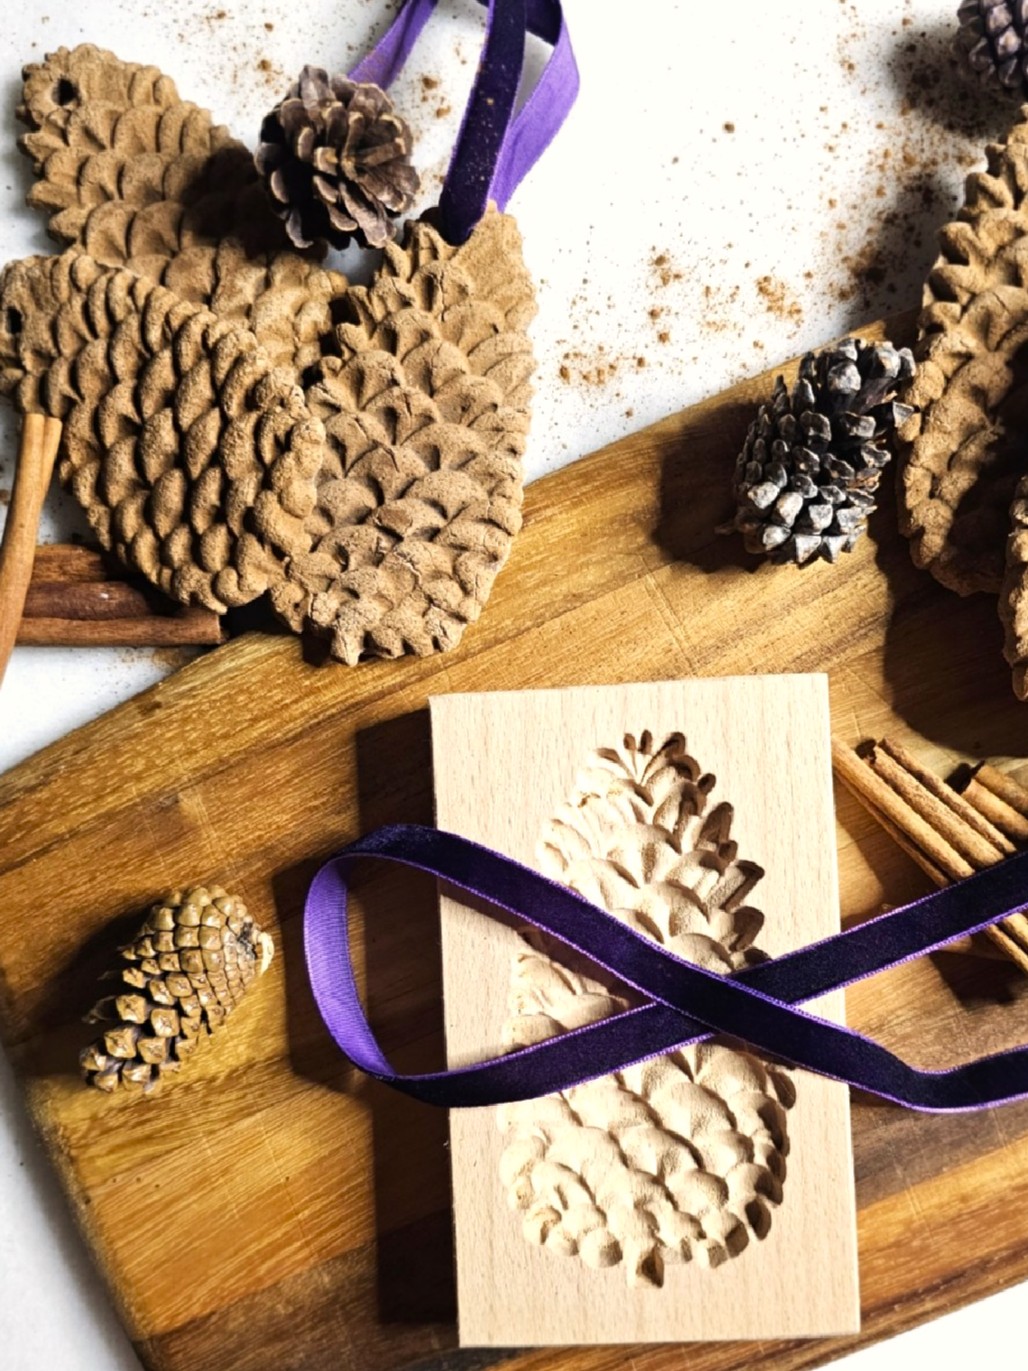
Molded Cinnamon Salt Dough Ornaments to Make Now!
The holiday season is approaching so this is a great time to share these beautiful salt dough ornaments. Let's look at these molded cinnamon salt dough ornaments to make now! This is a fun project for the whole family this time of year on a chilly afternoon!
Yield: 20 ornaments
Cost: $10
Notes
Molded Cinnamon Salt Dough Ornaments to Make Now!
Equipment Needed
-
- Cookie sheet or baking sheet
-
- Parchment paper
-
- Cooling rack
-
- Offset spatula or bench scraper
-
- Springerle molds aka wood molds, cookie cutters, rubber stamps, or cookie stamps
-
- Rolling pin
-
- Glass measuring cup
-
- 1 cup measuring cup
-
- ¼ measuring cup
-
- Whisk
-
- Large mixing bowl
-
- Wooden spoon
-
- Plastic straw or wooden skewer
-
- Baker's twine or thin ribbon
-
- Foam brush
-
- Mod Podge or matte Polyurethane spray
Use the Following Ingredients
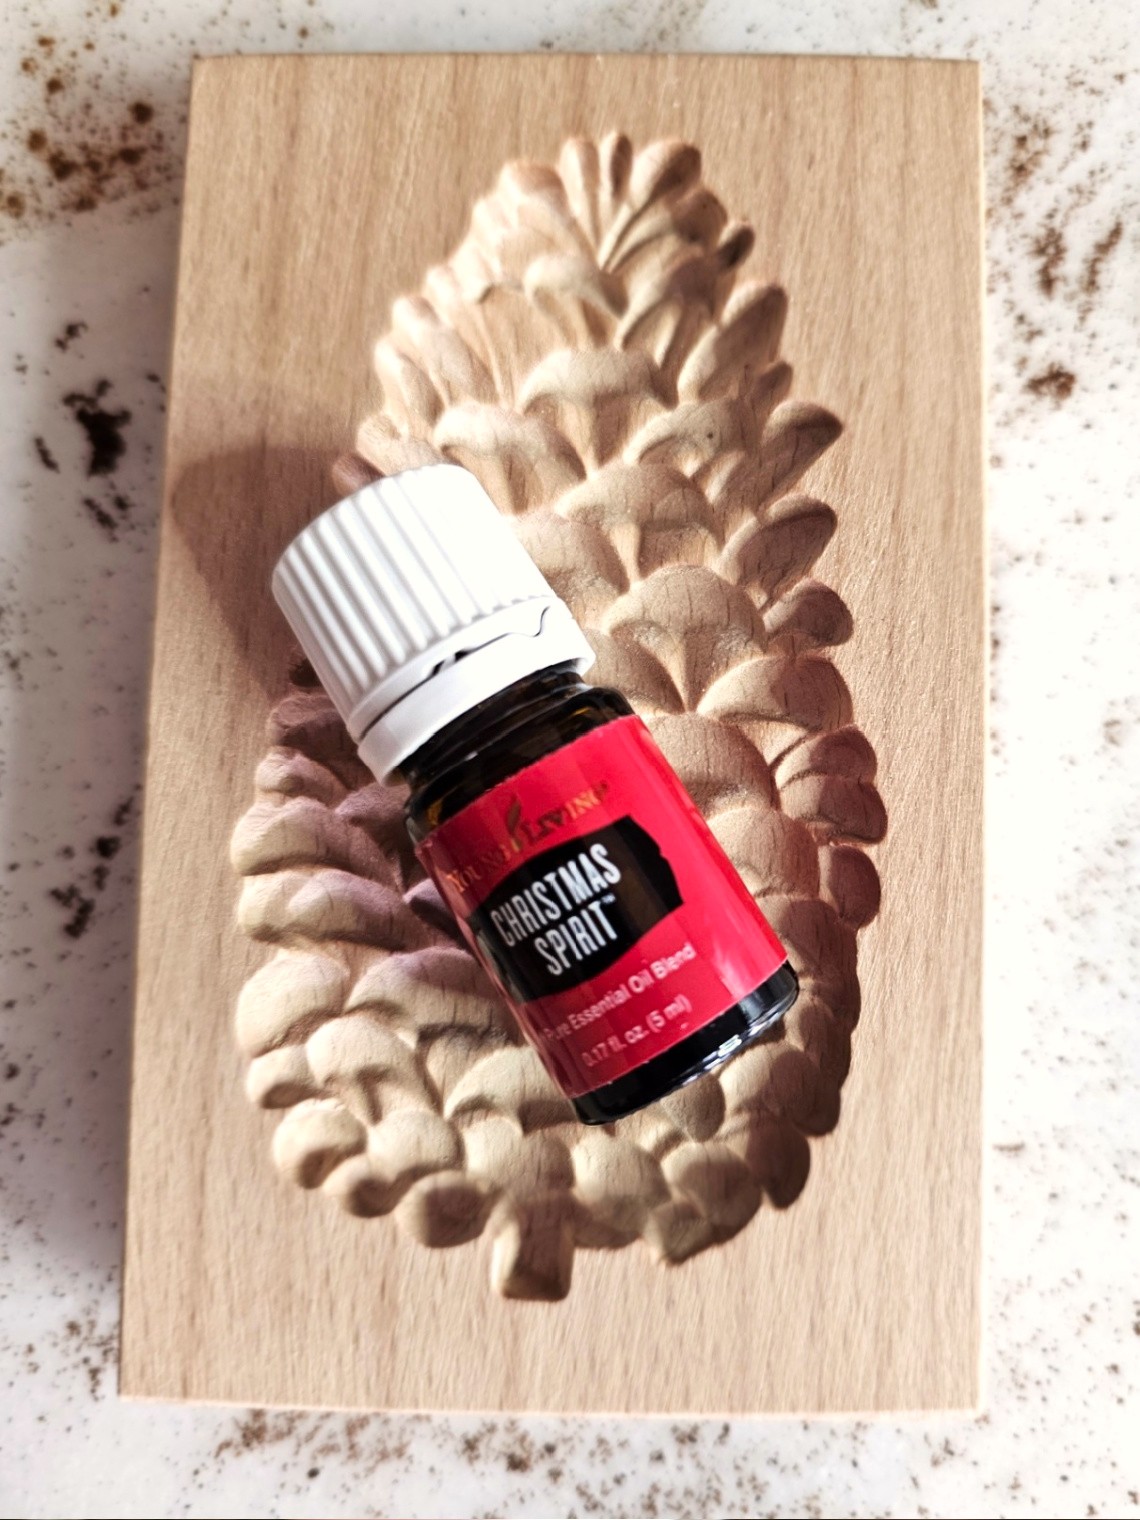
The best thing about salt dough is it uses simple ingredients already in your kitchen or pantry. Using these pantry staples create beautiful salt dough ornaments with these essentials: 3 cups of all-purpose flour, 1 cup of salt, ¾ cup cinnamon, ¼ cup ground cloves, and 2 cups of warm water. Add optional essential oils! Cindy's Tips: Adding a lot of cinnamon gives your handmade ornaments the gingerbread look. The best way to get the dough the right consisitency, is add a little bit of warm water at a time to the flour mixture.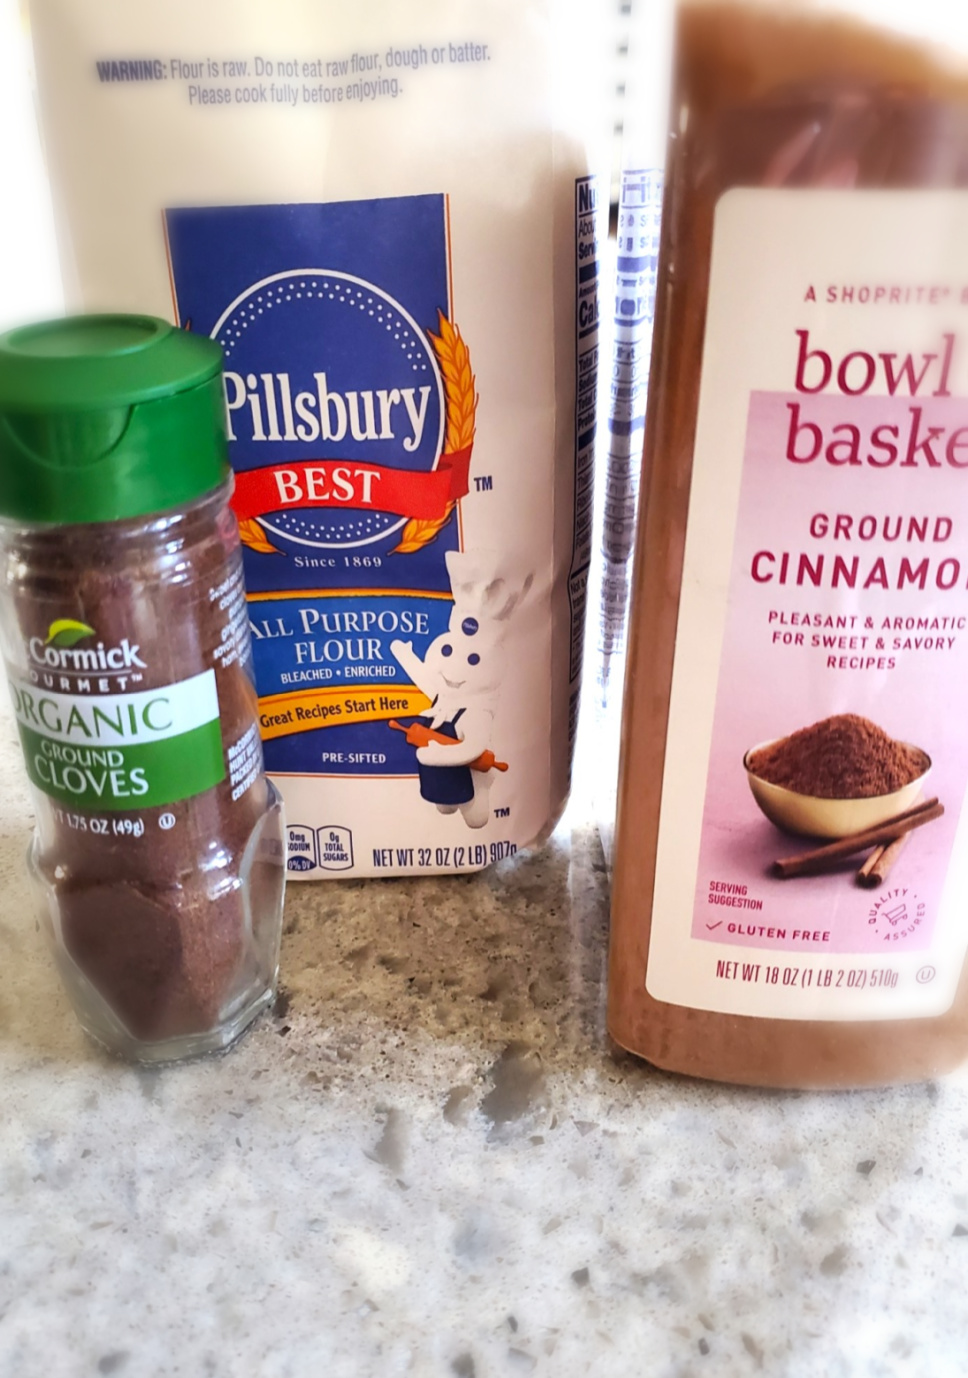
 Preheat 200-degree Oven
Preheat oven to 200 degrees f. and line a cookie sheet or baking sheet with parchment paper. Baking at a lower temperature for a couple of hours prevents your gingerbread salt dough ornaments from cracking and puffing up.
Preheat 200-degree Oven
Preheat oven to 200 degrees f. and line a cookie sheet or baking sheet with parchment paper. Baking at a lower temperature for a couple of hours prevents your gingerbread salt dough ornaments from cracking and puffing up.
Step 1: Mix Flour Mixture for Gingerbread Ornaments
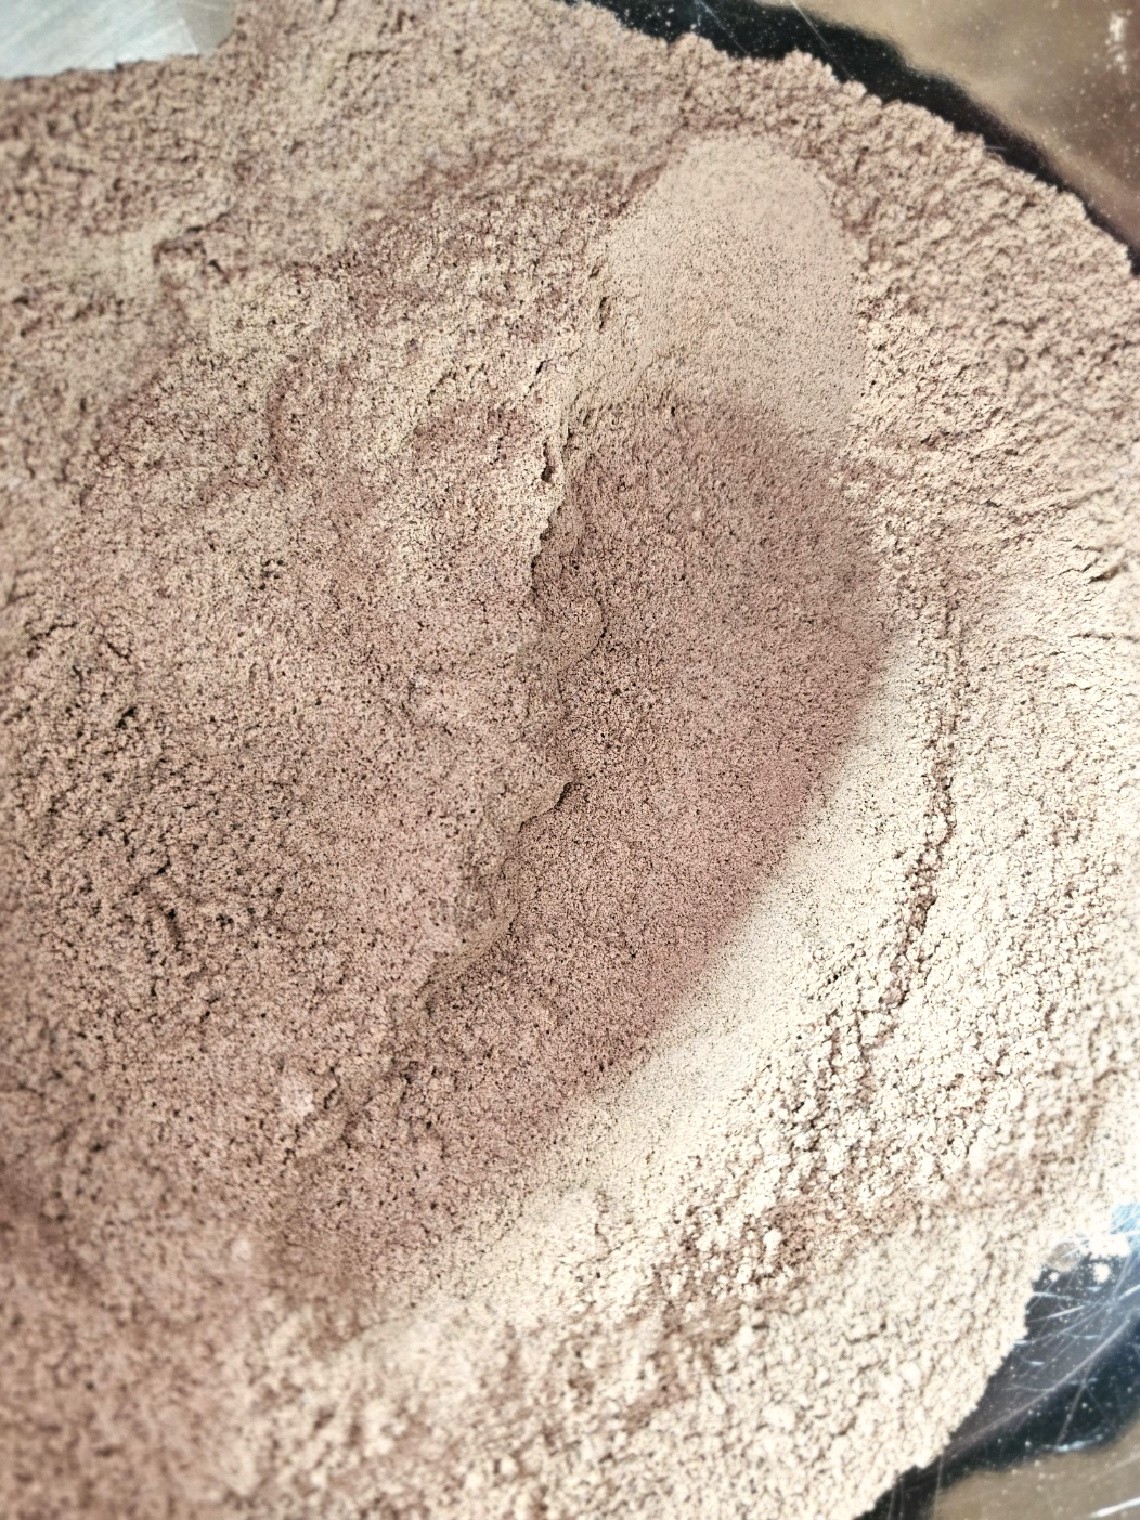
Add 3 cups of flour and one cup of salt to a large mixing bowl. Next, add ¾ cup cinnamon and ¼ cup of cloves to the flour mixture and whisk the dry ingredients. Adding a lot of cinnamon is the best way to add the look of real gingerbread ornaments.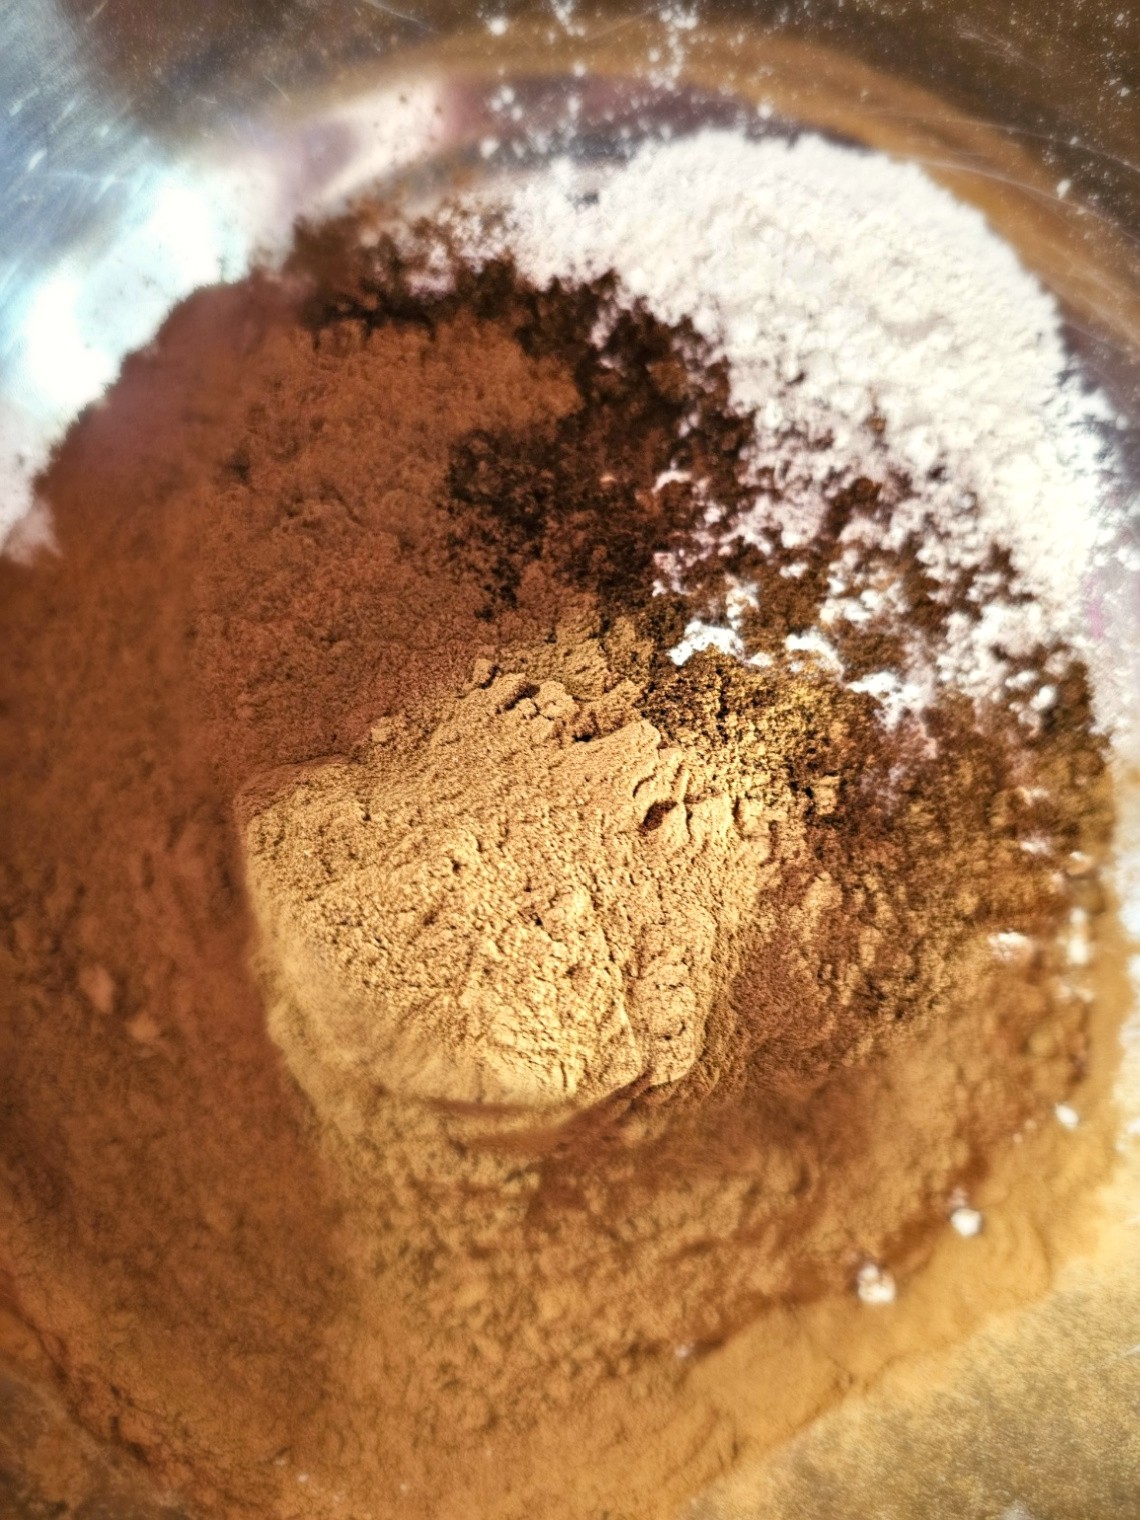
Step 2: Combine Water and Flour for Smooth Dough
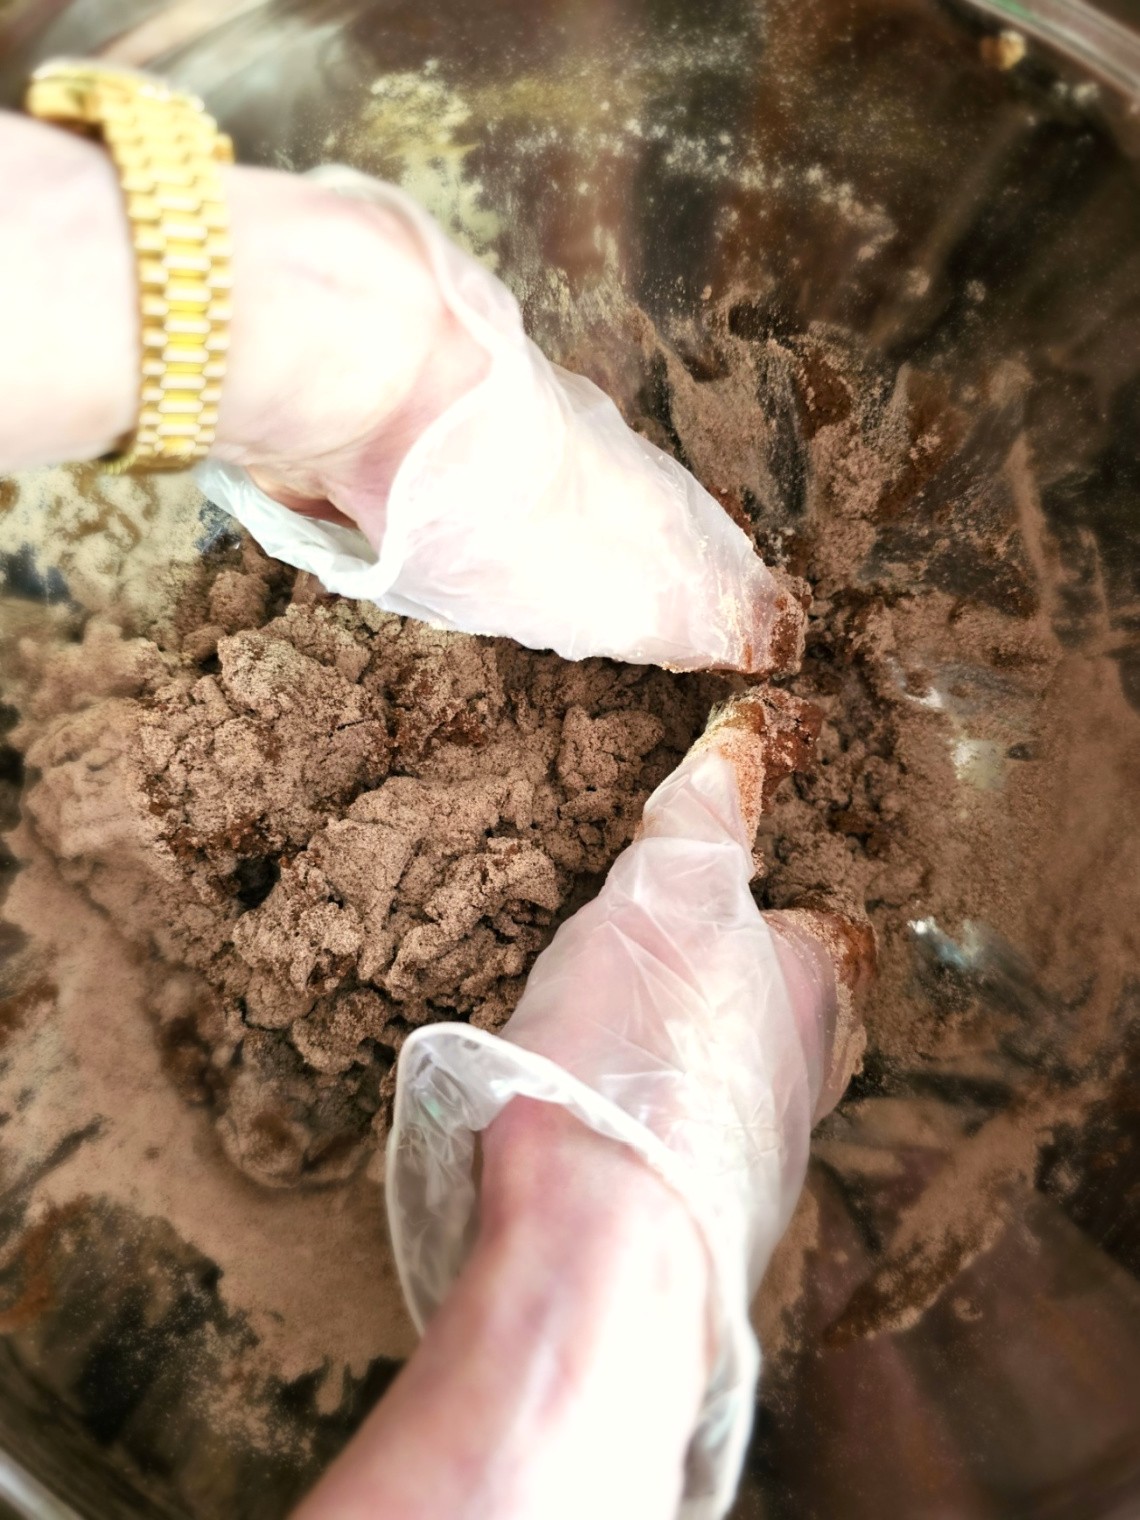
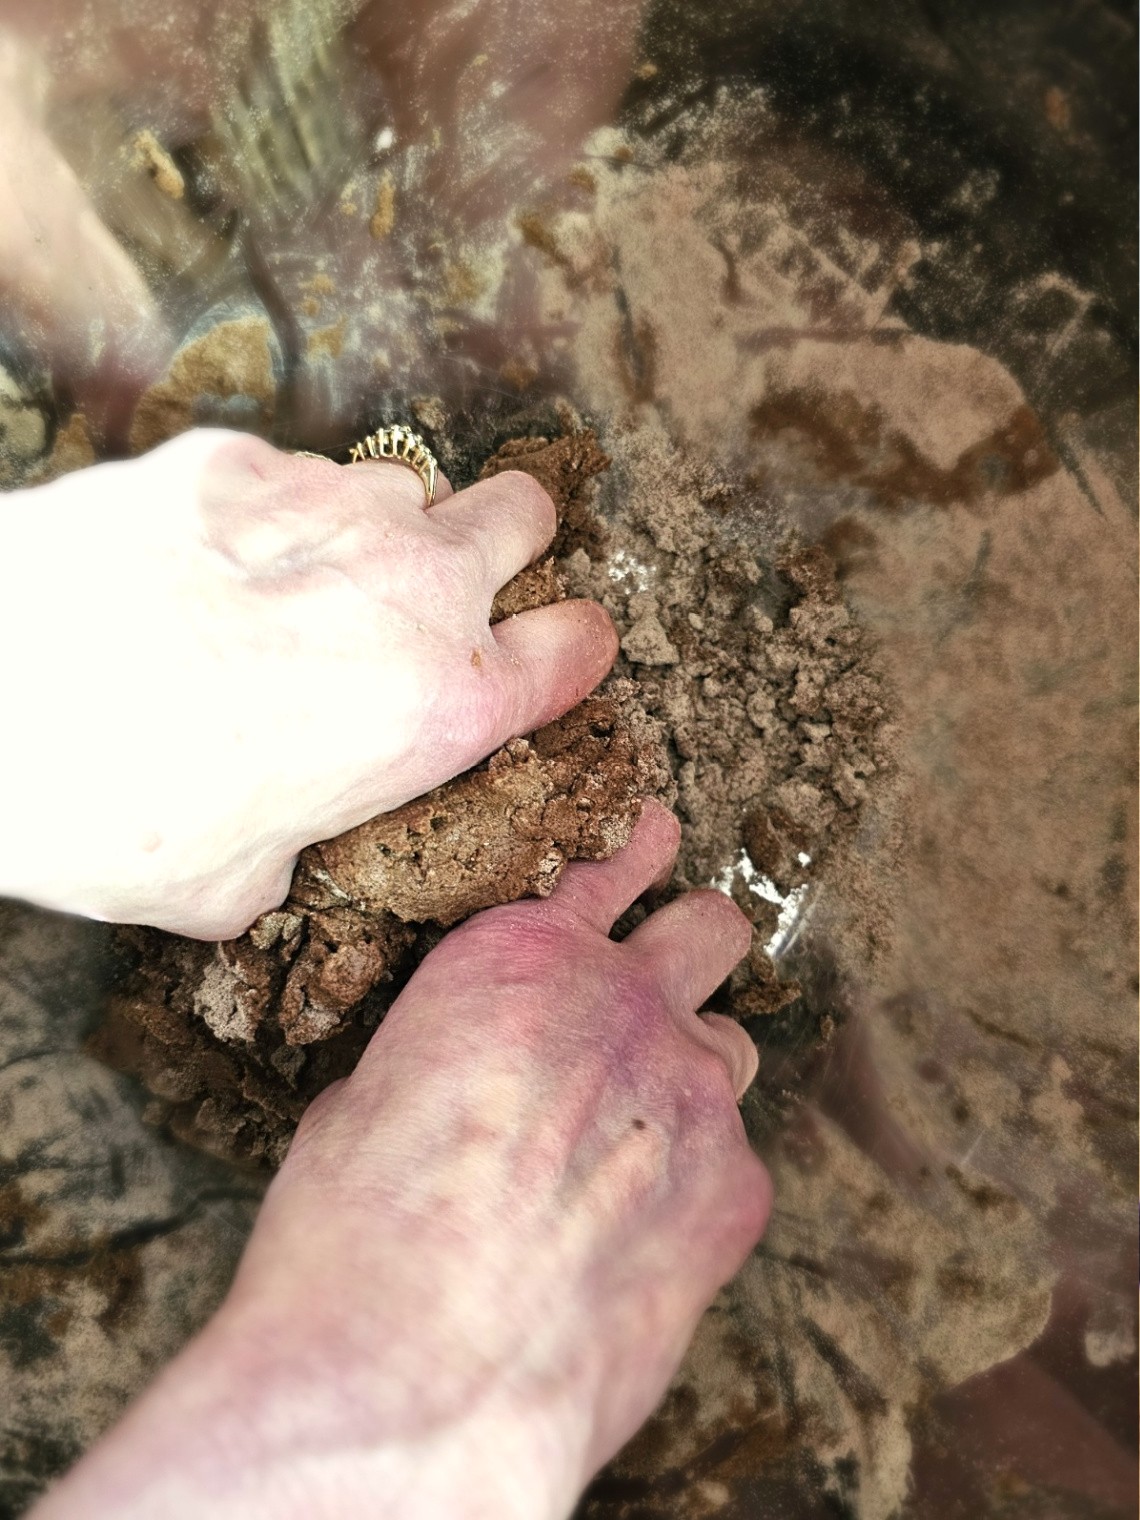
Next, I slowly add a cup of water to the dry ingredients a little bit at a time. Mixing this salt dough ornament recipe is best done with your hands. Knead the dough for 10 minutes to achieve a smooth dough that's the right consistency to make the perfect homemade salt dough ornaments. Add essential oils or food coloring to the warm water and stir. Cindy's Tip: I added 10 drops of cinnamon fragrance oil to the cup of water and stirred well. Combined with the ¾ cup cinnamon, this salt dough ornament recipe smells amazing! Personal note, I used rubber gloves when mixing my salt dough because I have fingernails. Okay, it's not about vanity, the dough would have been under my nails for hours. I removed the gloves when the warm water combined with the flour mixture.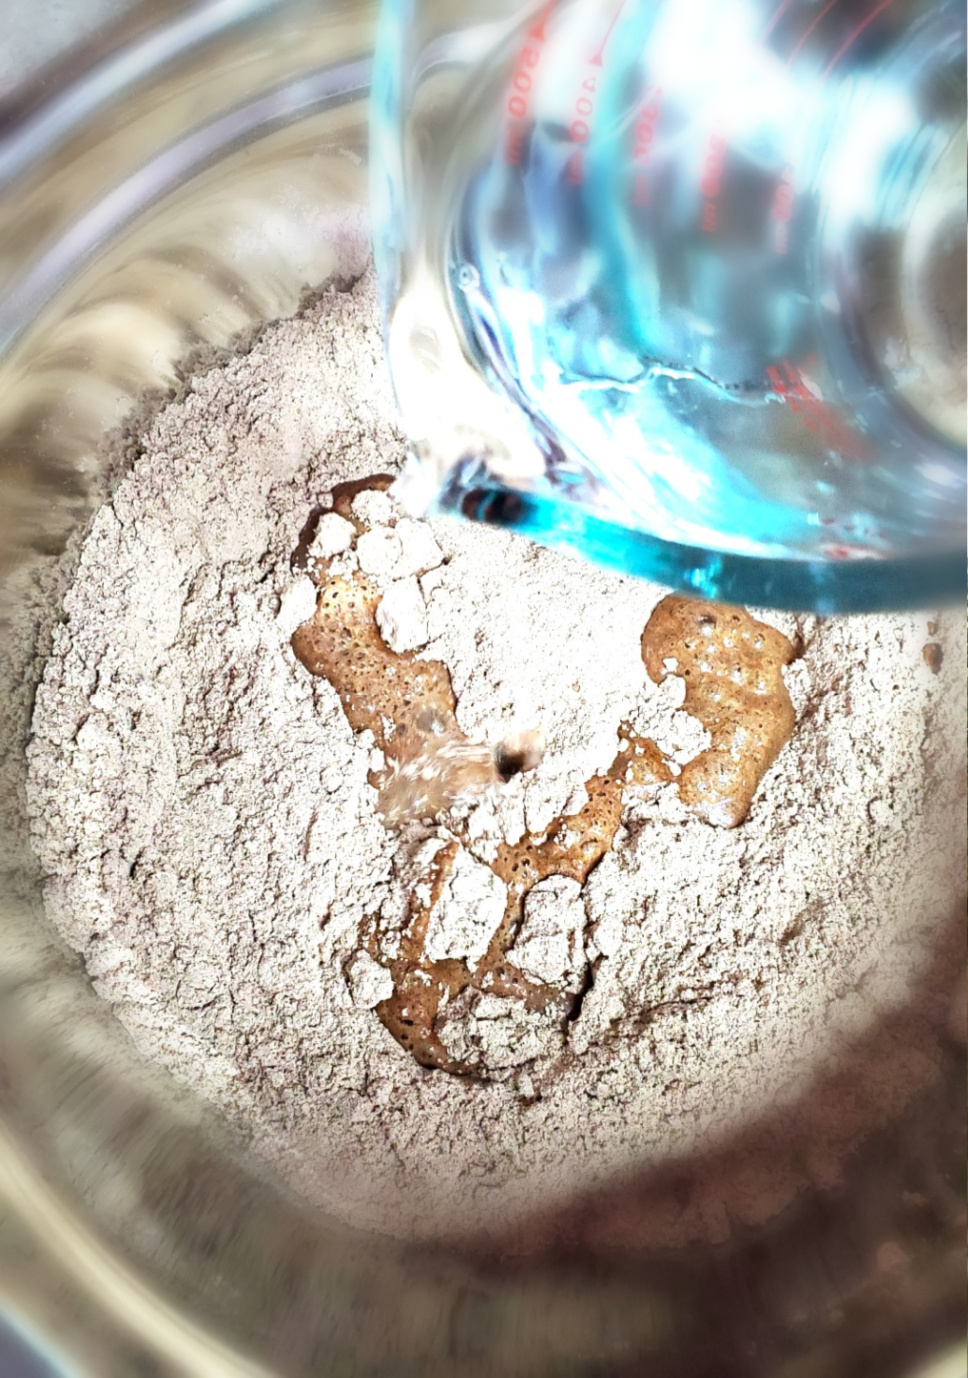
Skip a Floured Surface Use Cinnamon Instead
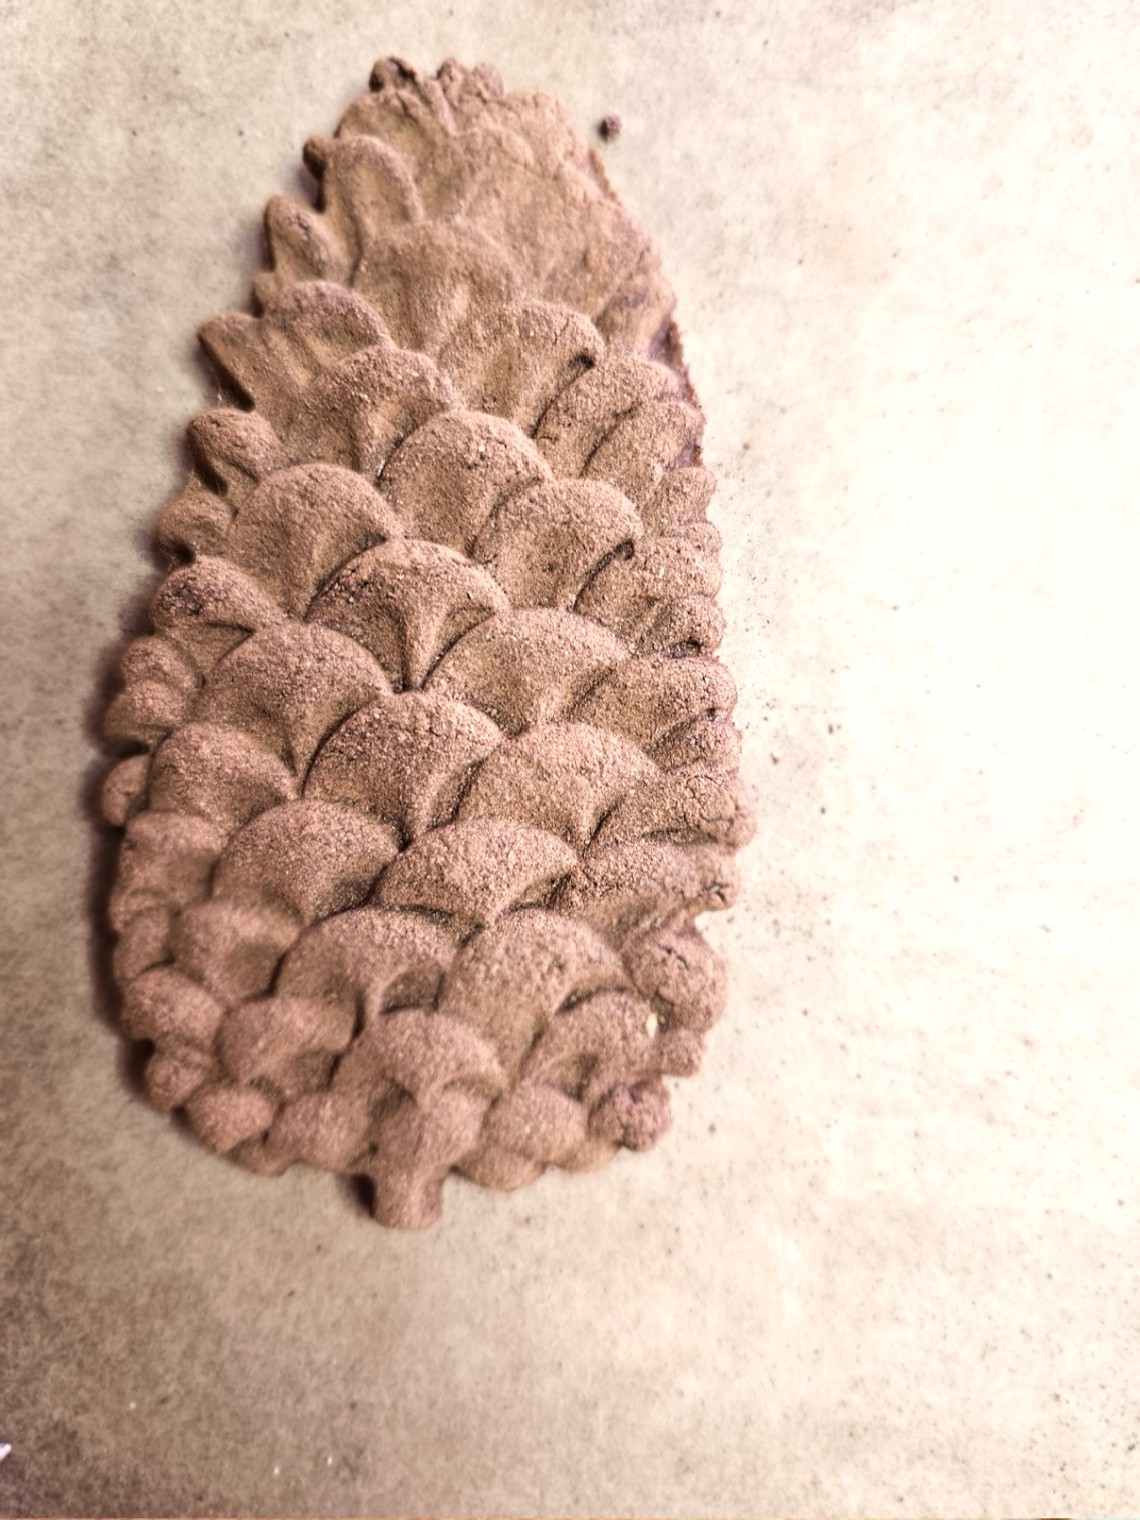
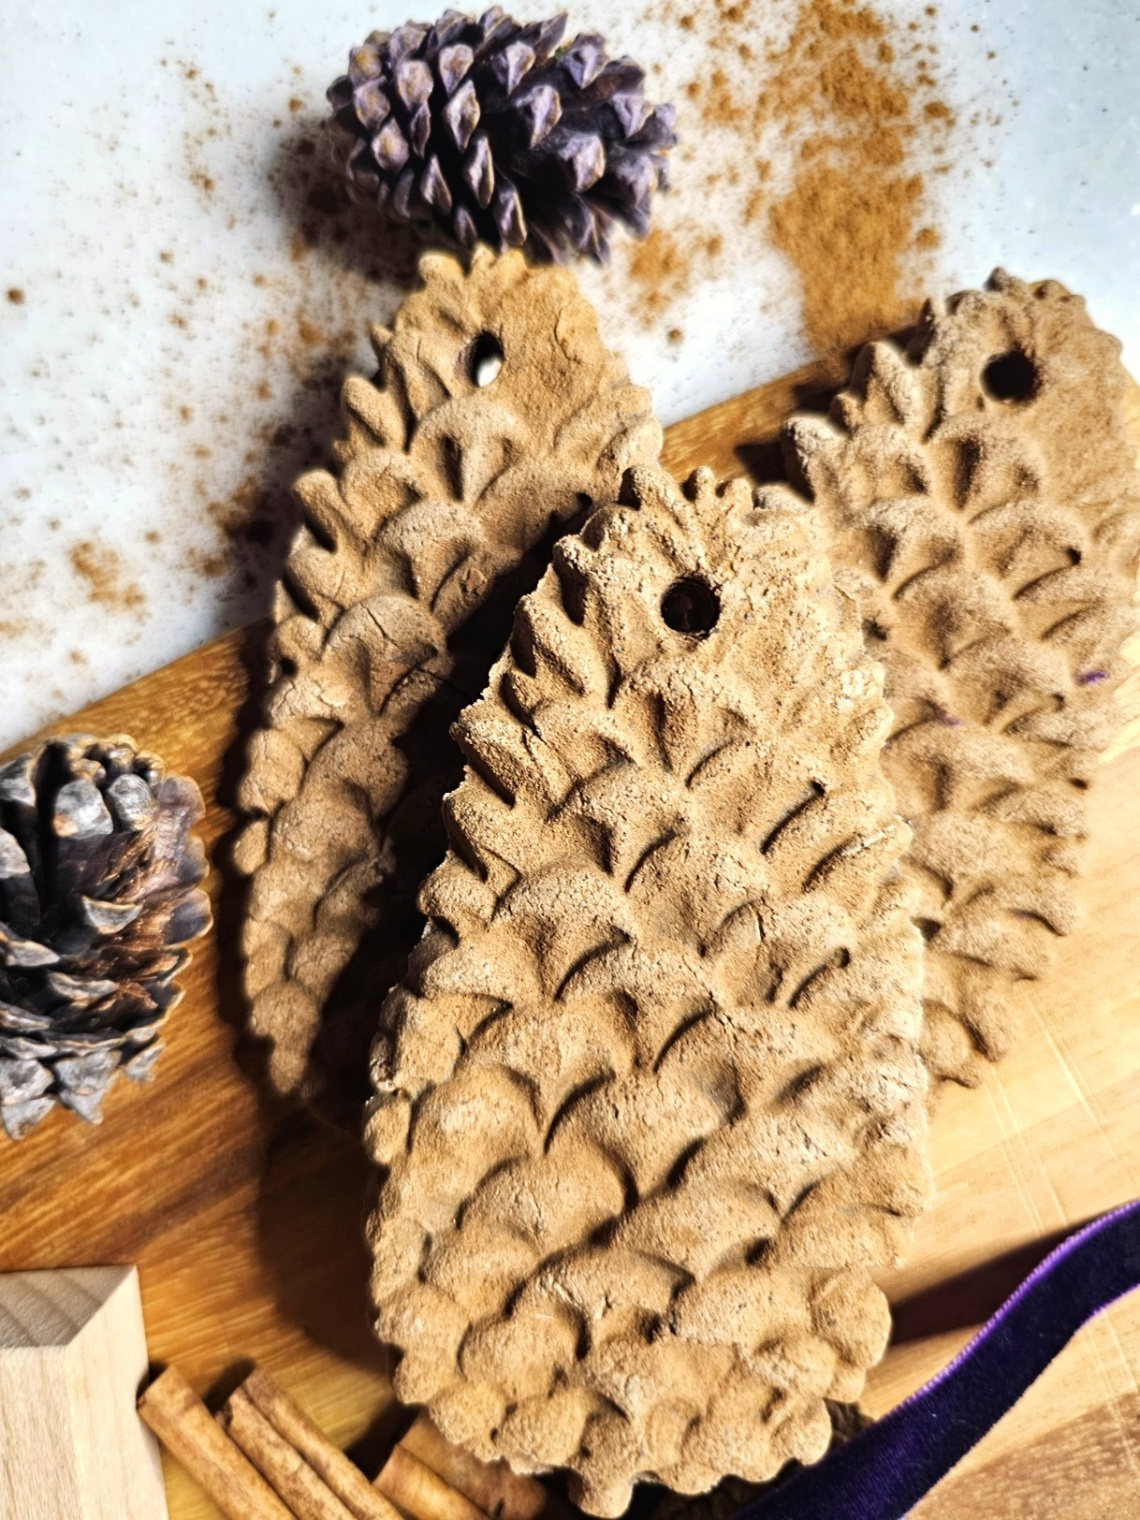
Instead of using a floured surface for my salt dough recipe, I used a tablespoon of cinnamon adding a little bit at a time on my pastry board, rolling pin, and pinecone wooden mold. This is the best way to ensure the entire ornament doesn't stick. It gives the finished ornaments the coloring of real pinecones.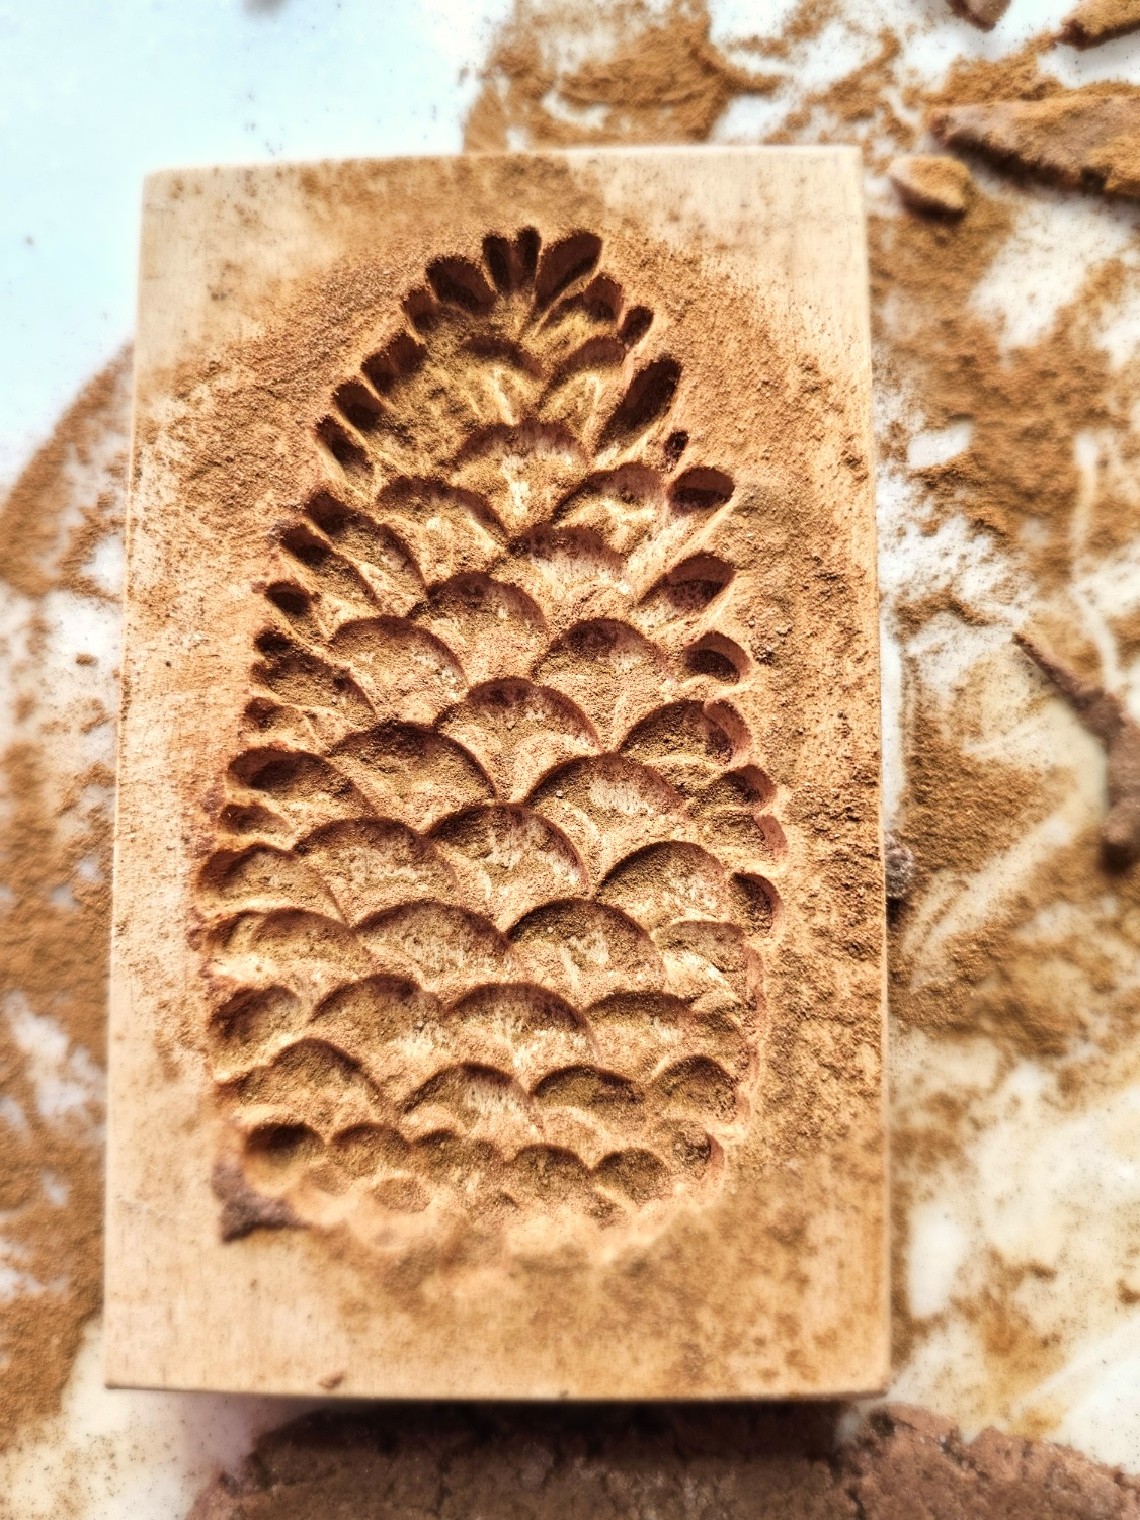
Step 3: Mastering Wooden Molds for Gingerbread Salt Dough Ornaments
Begin adding your salt dough ornament recipe to the wooden molds. Because I never used wooden cookie molds before this was a little bit of a learning curve. But I'm happy I can share this extra step with you. On my first try for molded cinnamon salt dough ornaments to make now, I added the dough to the mold and pressed it into the mold to get my design. As a result, the pinecones had extra dough. I needed to trim the dough with a small pairing knife and wanted a better process. I took sections of dough my rolling pin to 1/4 inch thick, and placed it on my mold. Taking the time with this extra step makes adding the batch of dough to my wooden cookie molds easier.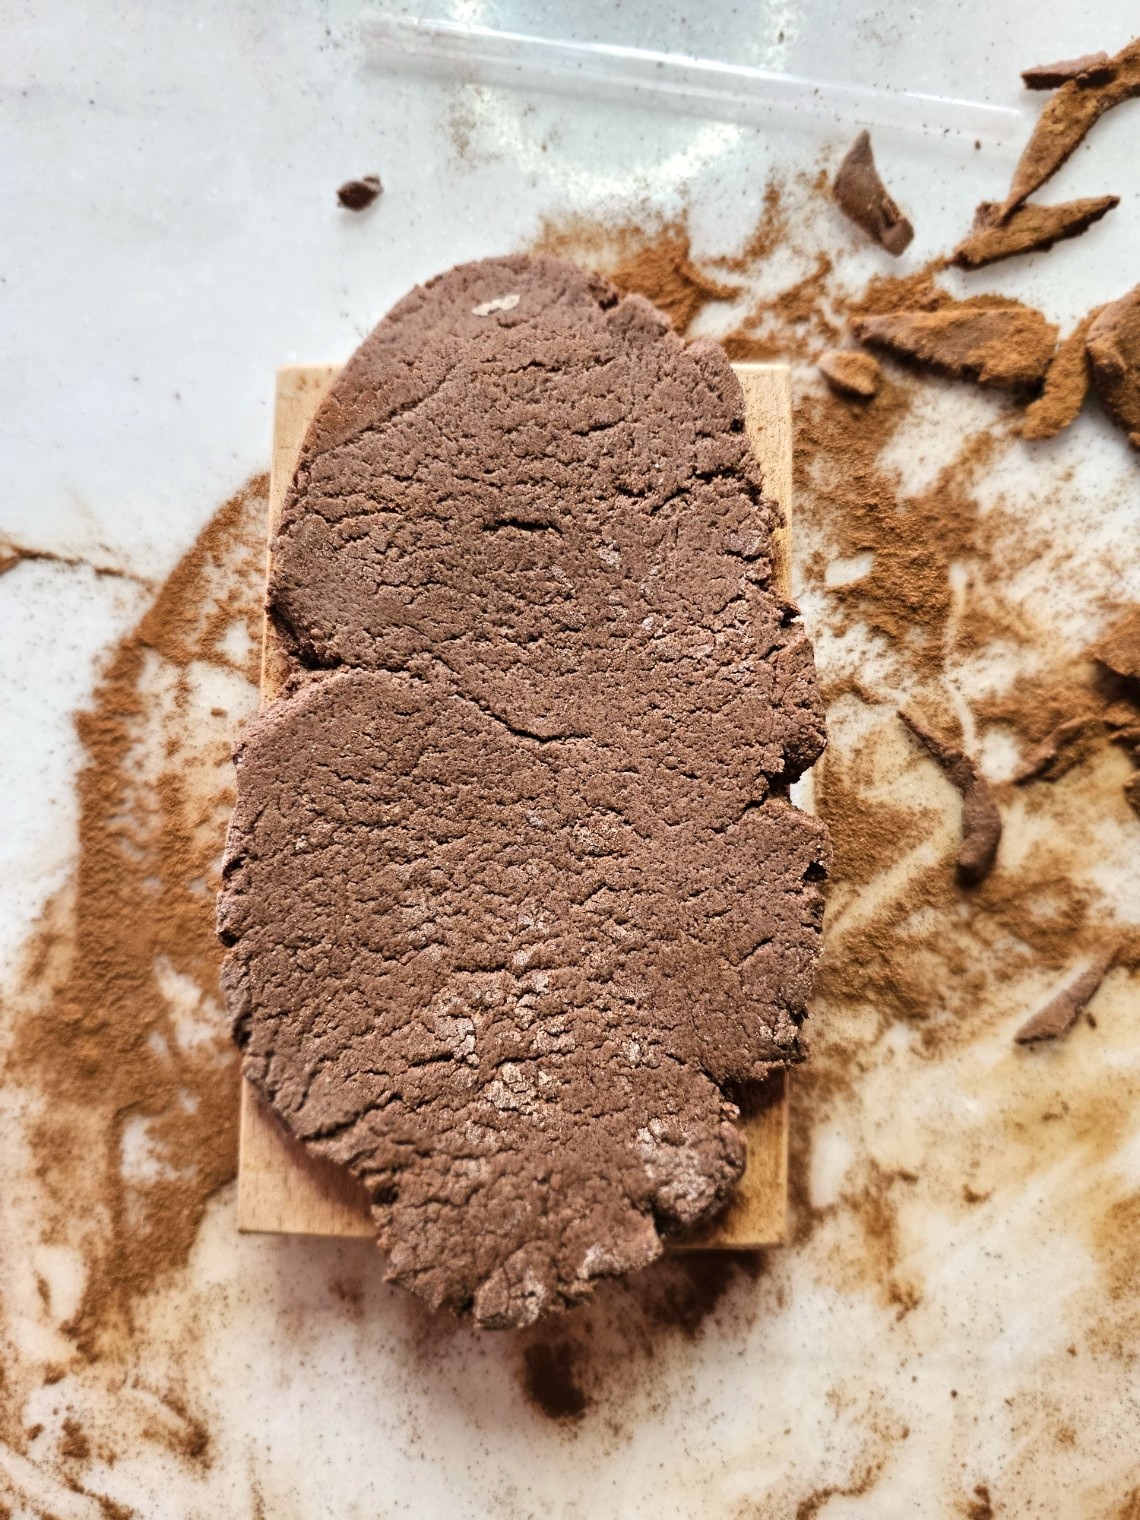
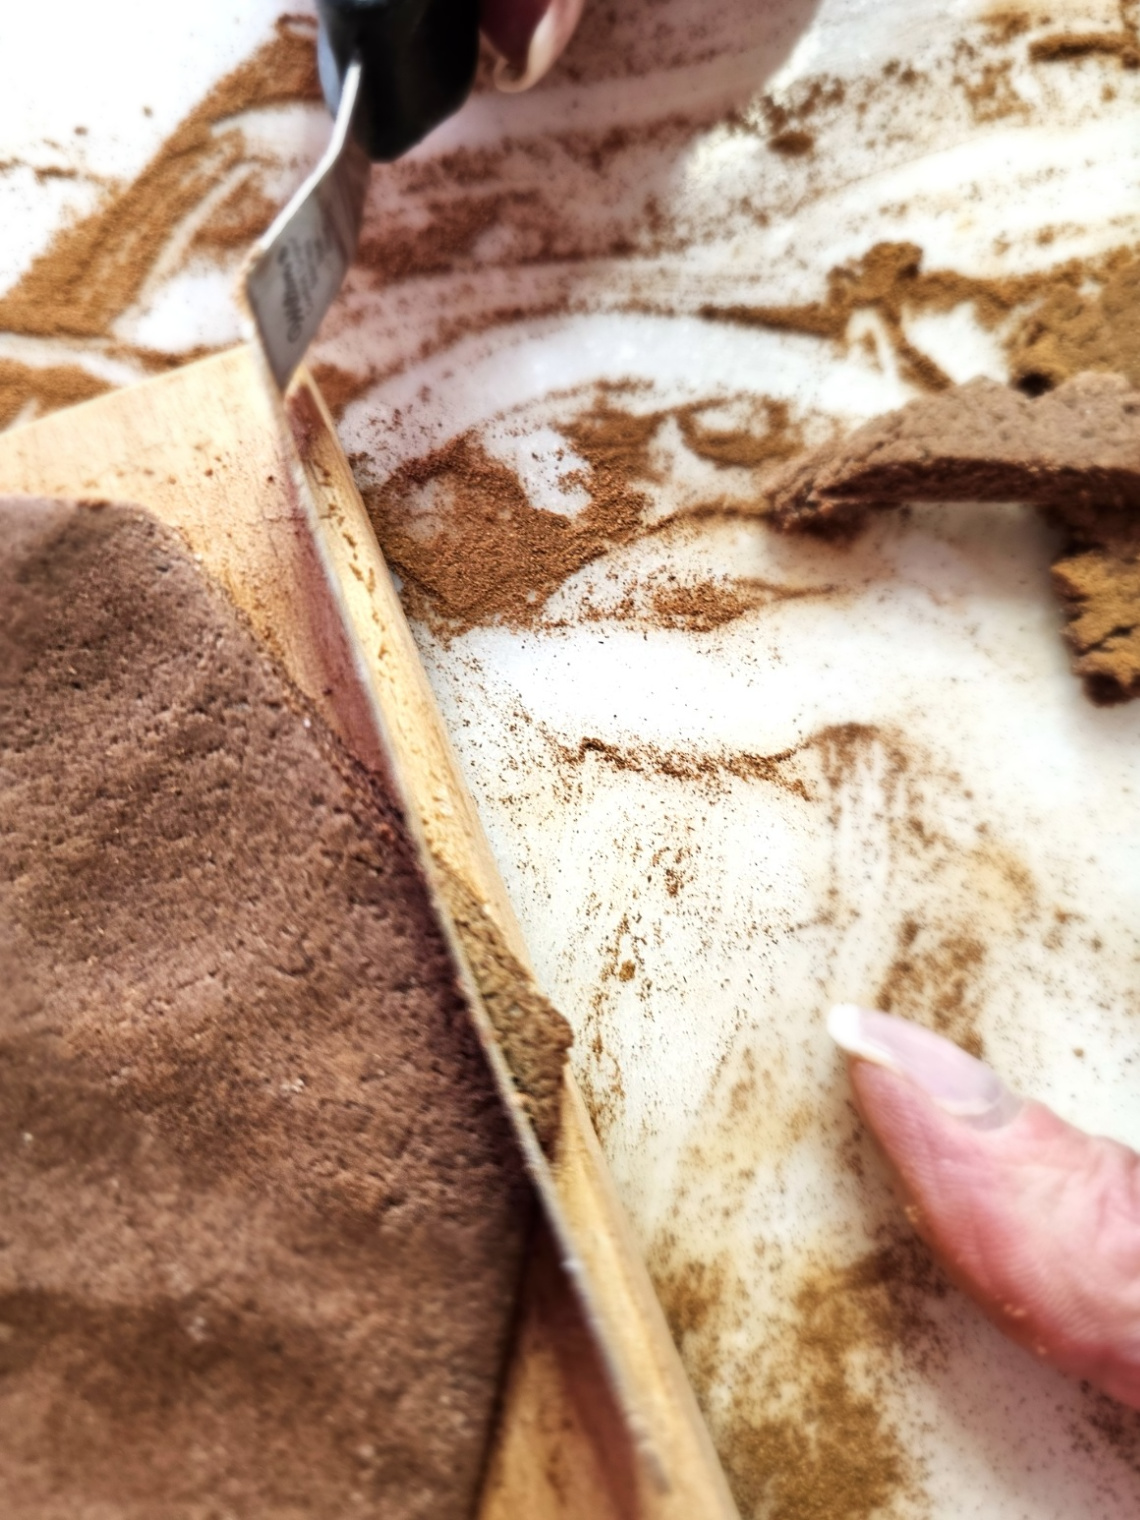
Step 4: Remove Excess Dough
After adding my cinnamon ornaments to the wooden molds, I trimmed the excess dough with an offset spatula a little bit at a time. This was a great way to get a polished look for my finished ornaments.Step 5: Prepare the Ornament for Hanging
Place the finished ornaments, on a parchment paper-covered cookie sheet. Use a plastic straw to make a small hole on the top of the ornament for hanging with a pretty ribbon or baker's twine. Cindy's Tip: If you don't have a plastic straw use a wooden skewer or the end of a small craft paintbrush to make a small hole. Make it big enough at the top of each ornament for a thin ribbon to hang on the Christmas tree. Add these ornaments with orange slices, to each place setting and let family members take them home. They can hang them on their own tree next holiday season.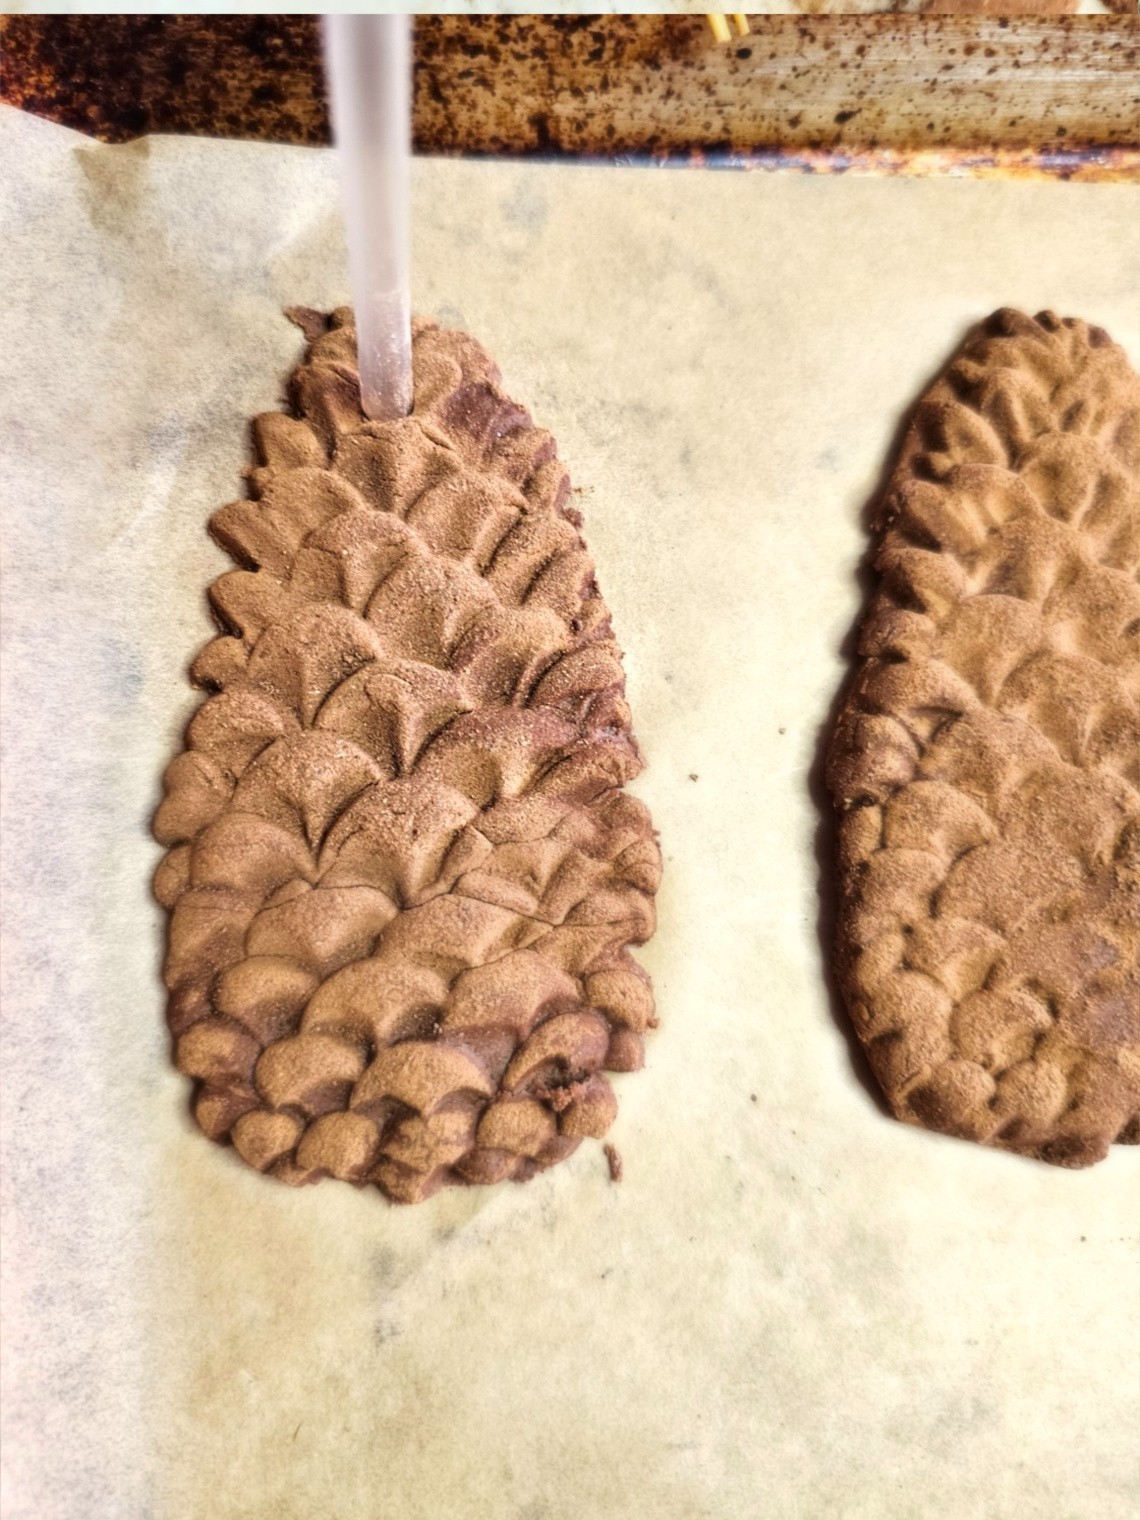
Step 6: Bake Beautiful Salt Dough Ornaments with Ease
Next, I placed the baking sheet with my homemade salt dough ornaments in a 200-degree oven for the drying process. Baking salt dough at a lower temperature is a must! Because these are thicker ornaments the drying process for these salt dough Christmas ornaments takes a couple of hours.-
- Bake for 1 hour
-
- Flip over (Don't worry about the design from the mold, it will be fine)
-
- Bake for another hour
-
- Total process: 2-3 hours
Step 7: Seal Your Ornaments
Add a thin coat of Mod Podge or matte polyurethane spray to the entire ornament. This is a great way to protect your salt dough Christmas ornaments from moisture and ensure they last a long time.Step 8: Remove Excess Cinnamon
Use a pastry brush or paintbrush to remove the excess cinnamon from ach Christmas tree ornament before hanging. The cinnamon from the mold leaves behind.