HOW TO MAKE A VINTAGE WINE CRATE DIY CHARCUTERIE
If you're a fan of chocolate and sweets then you will enjoy learning how to make a vintage wine crate DIY charcuterie that is the perfect way to elevate your chocolate and dessert-loving experience.
Yield: 1 charcuterie board
Cost: 10
Equipment
- 1 untreated wine crate
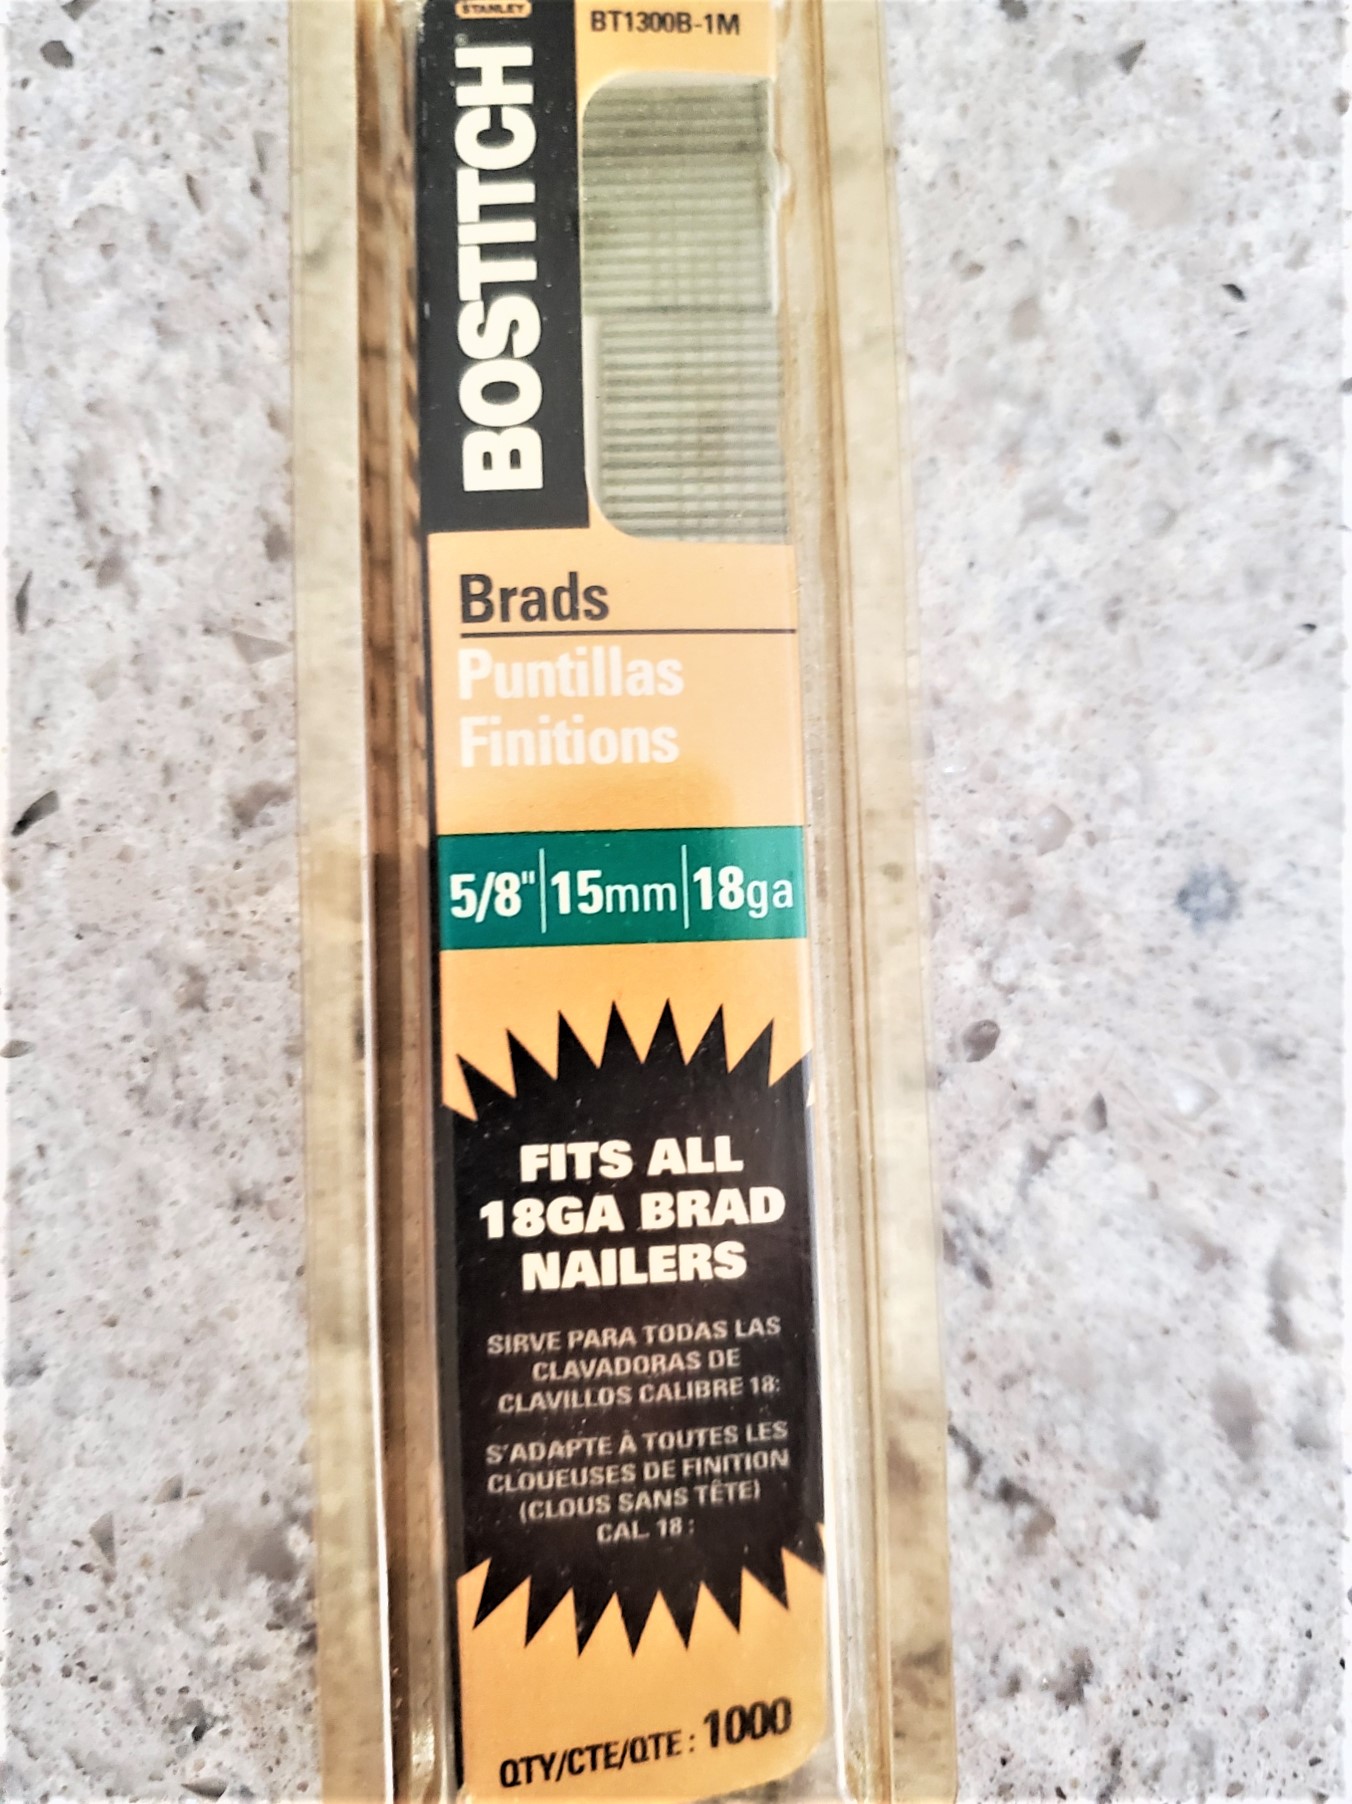
- 1 package of brad nails 5/8 inch
- 1 nail gun or hammer
- 1 bottle of wood glue
- 1 screwdriver
- 2 metal brackets
- 4 feet wood candlesticks from Hobby Lobby or feet of your choice
- 1 bottle Tried and True Oil plain Mineral oil
Materials
- 1 package brad nails 5/8 inch
- 1 untreated wine crate
- 1 bottle wood glue
- 1 nail gun or hammer
- 4 pieces wood candlesticks for feet wood
- 2 brackets metal
- 1 screwdriver
- 1 piece paper towel
- 8 screws for brackets
- 1 piece 1 inch thick board for support of your choice
Instructions
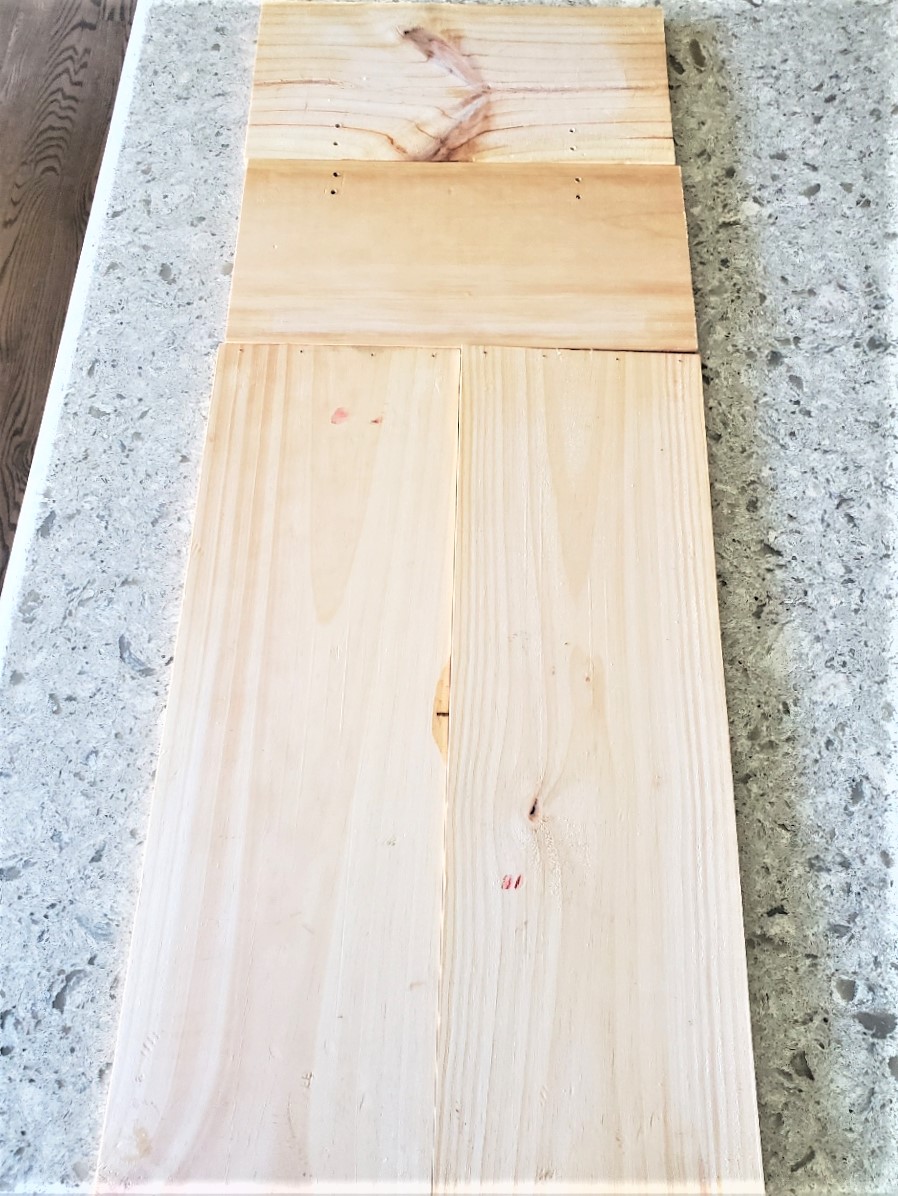
- Step 1: Applying Wood GlueBefore joining the boards, apply a small amount of wood glue to the edges that will be connected.Spread the glue evenly using a brush or your finger, be sure the adhesive covers the entire surface.
- Step 2: Connecting The BoardsAlign the edges of the boards you want to connect to create your charcuterie board.Once the edges are aligned, firmly press the boards to allow the wood glue to connect.
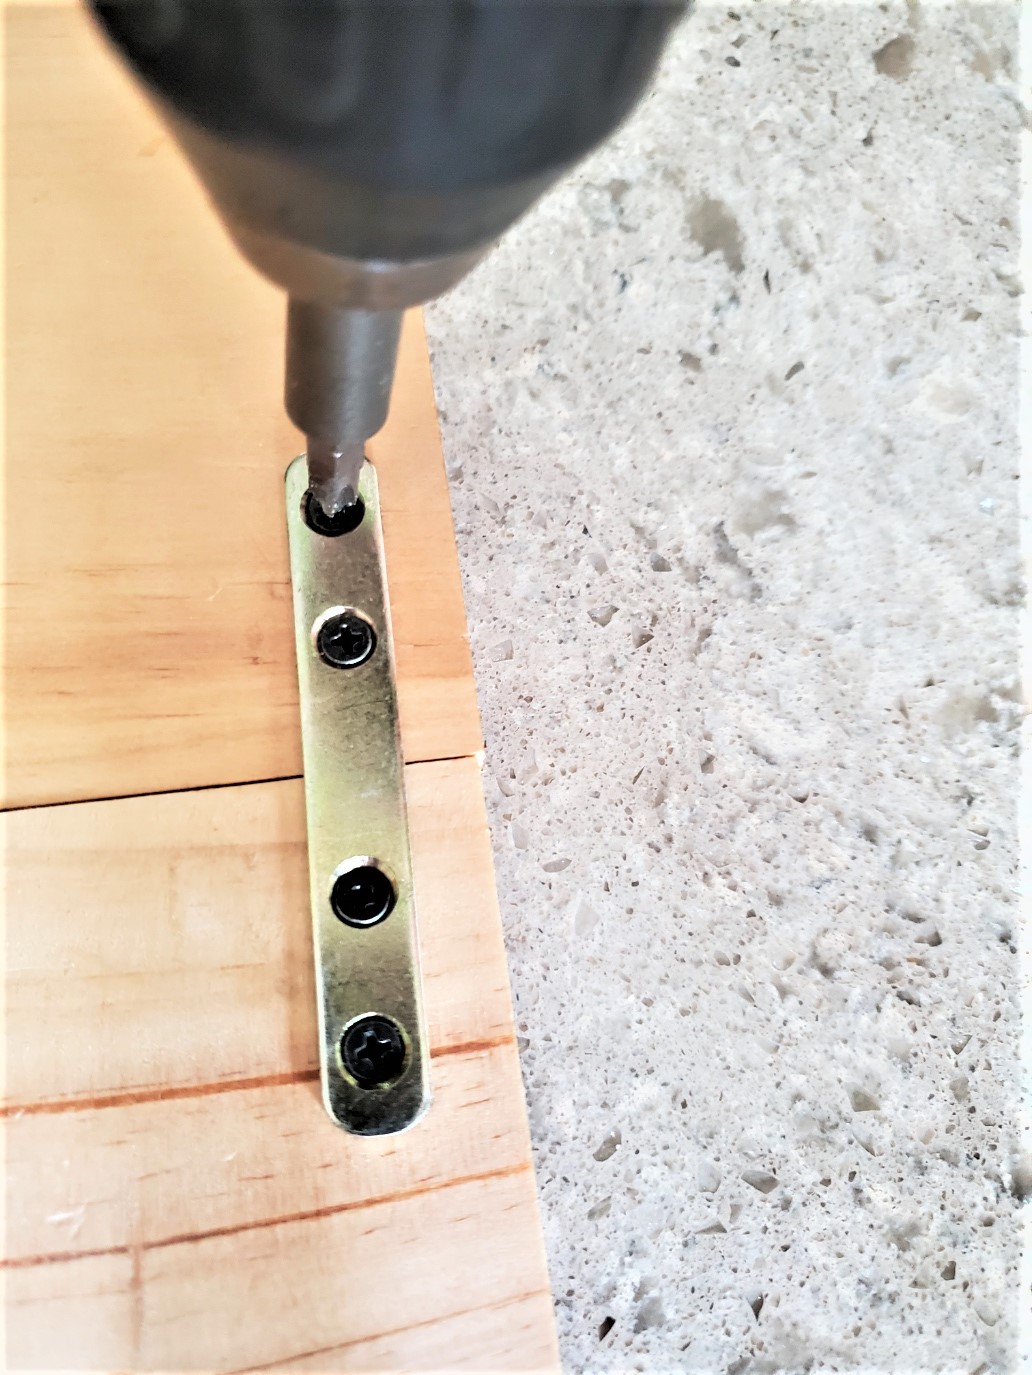
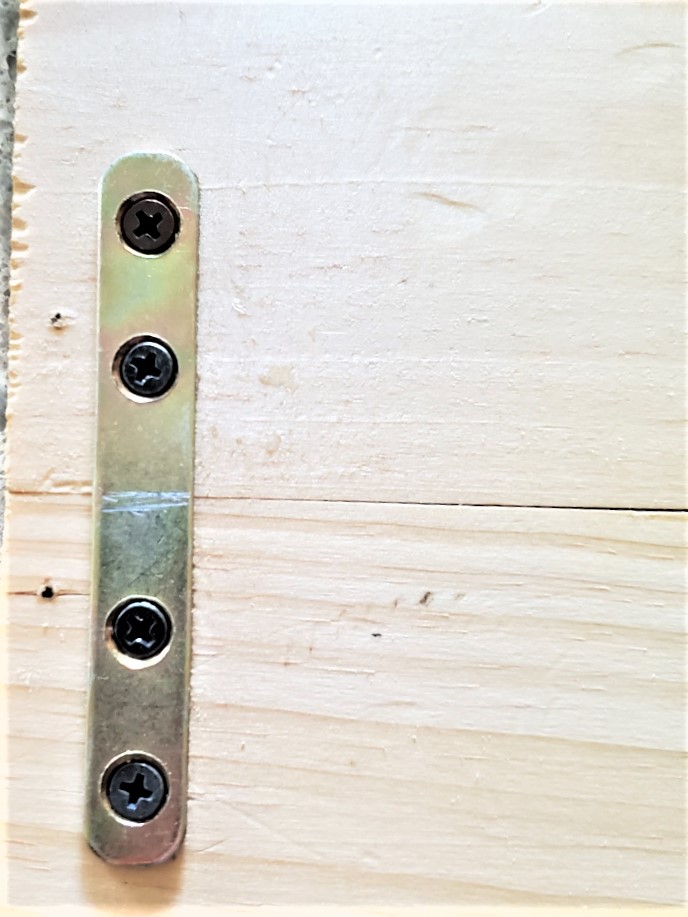
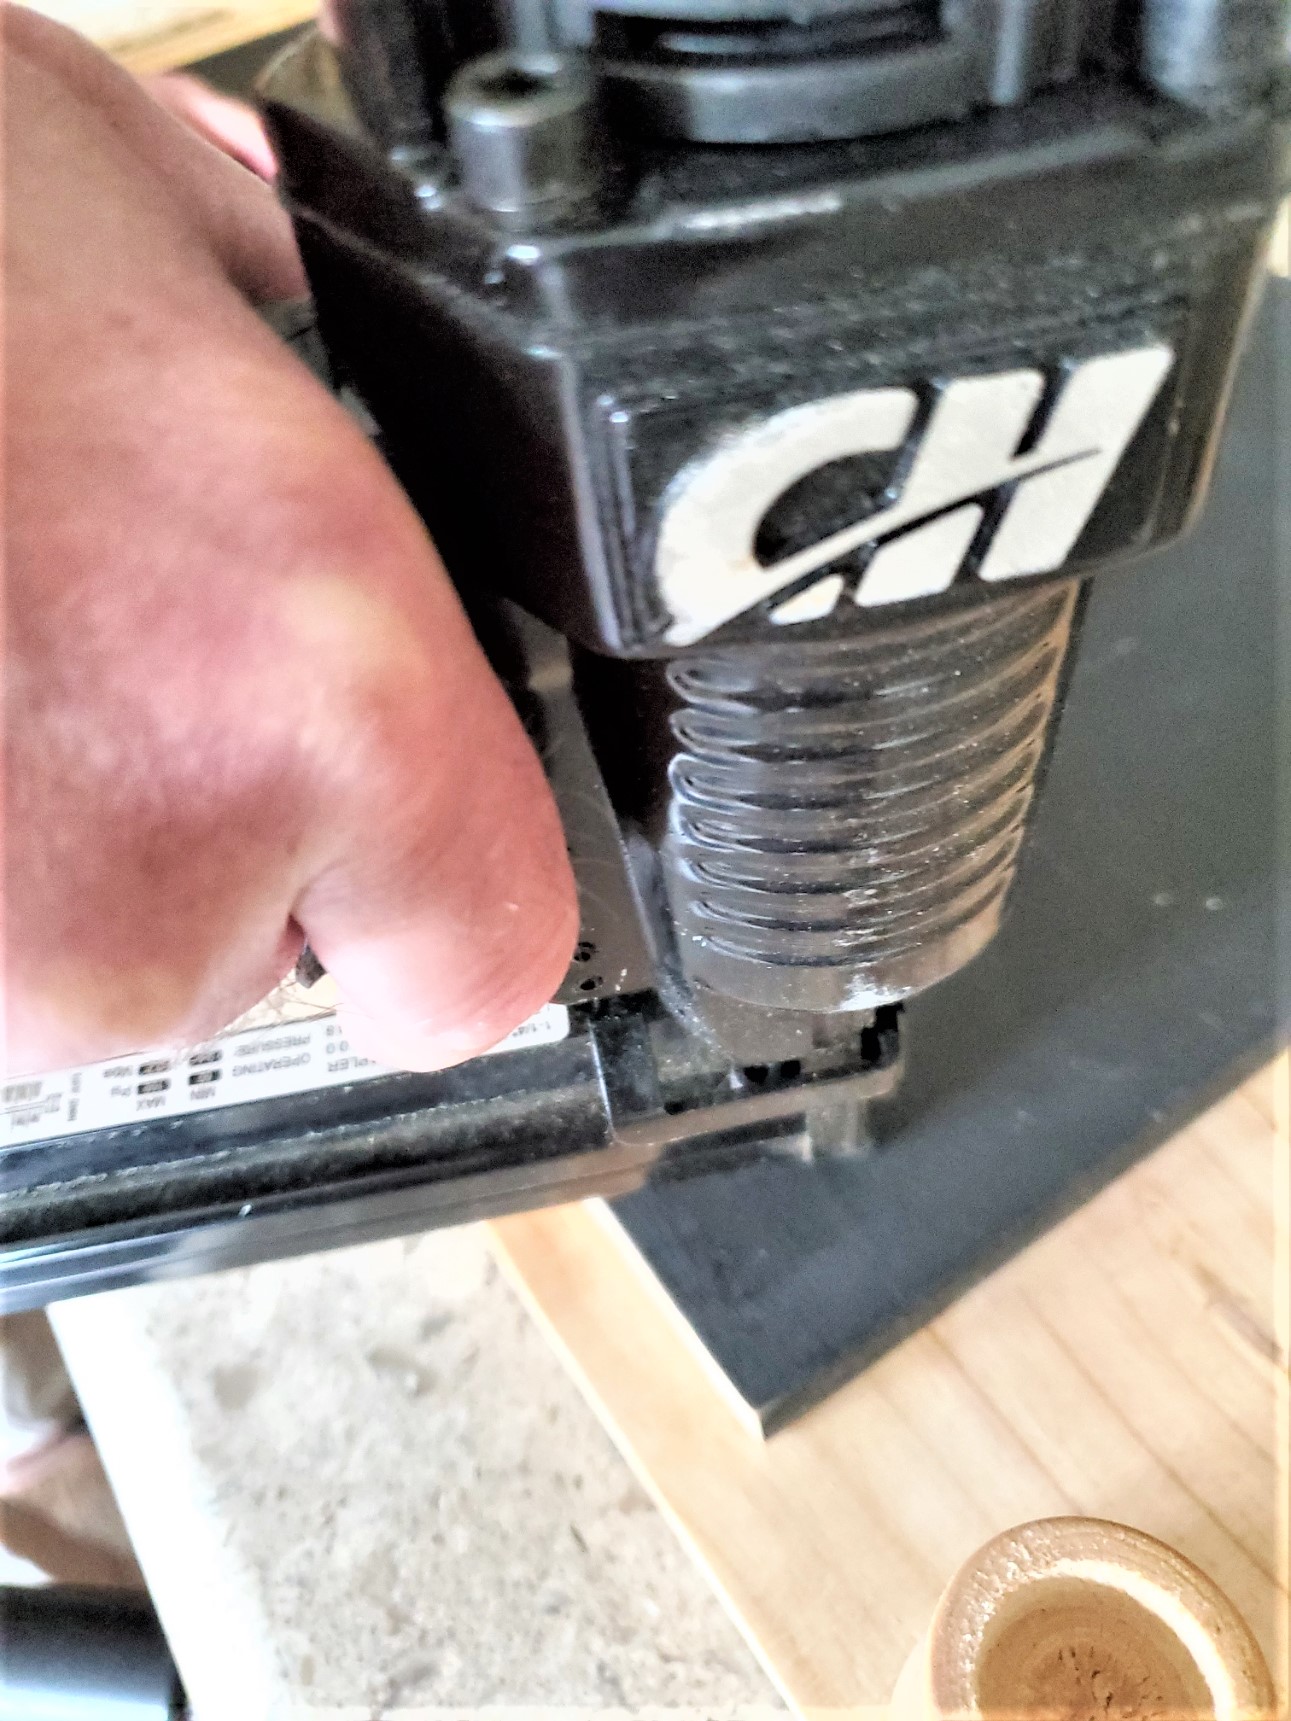
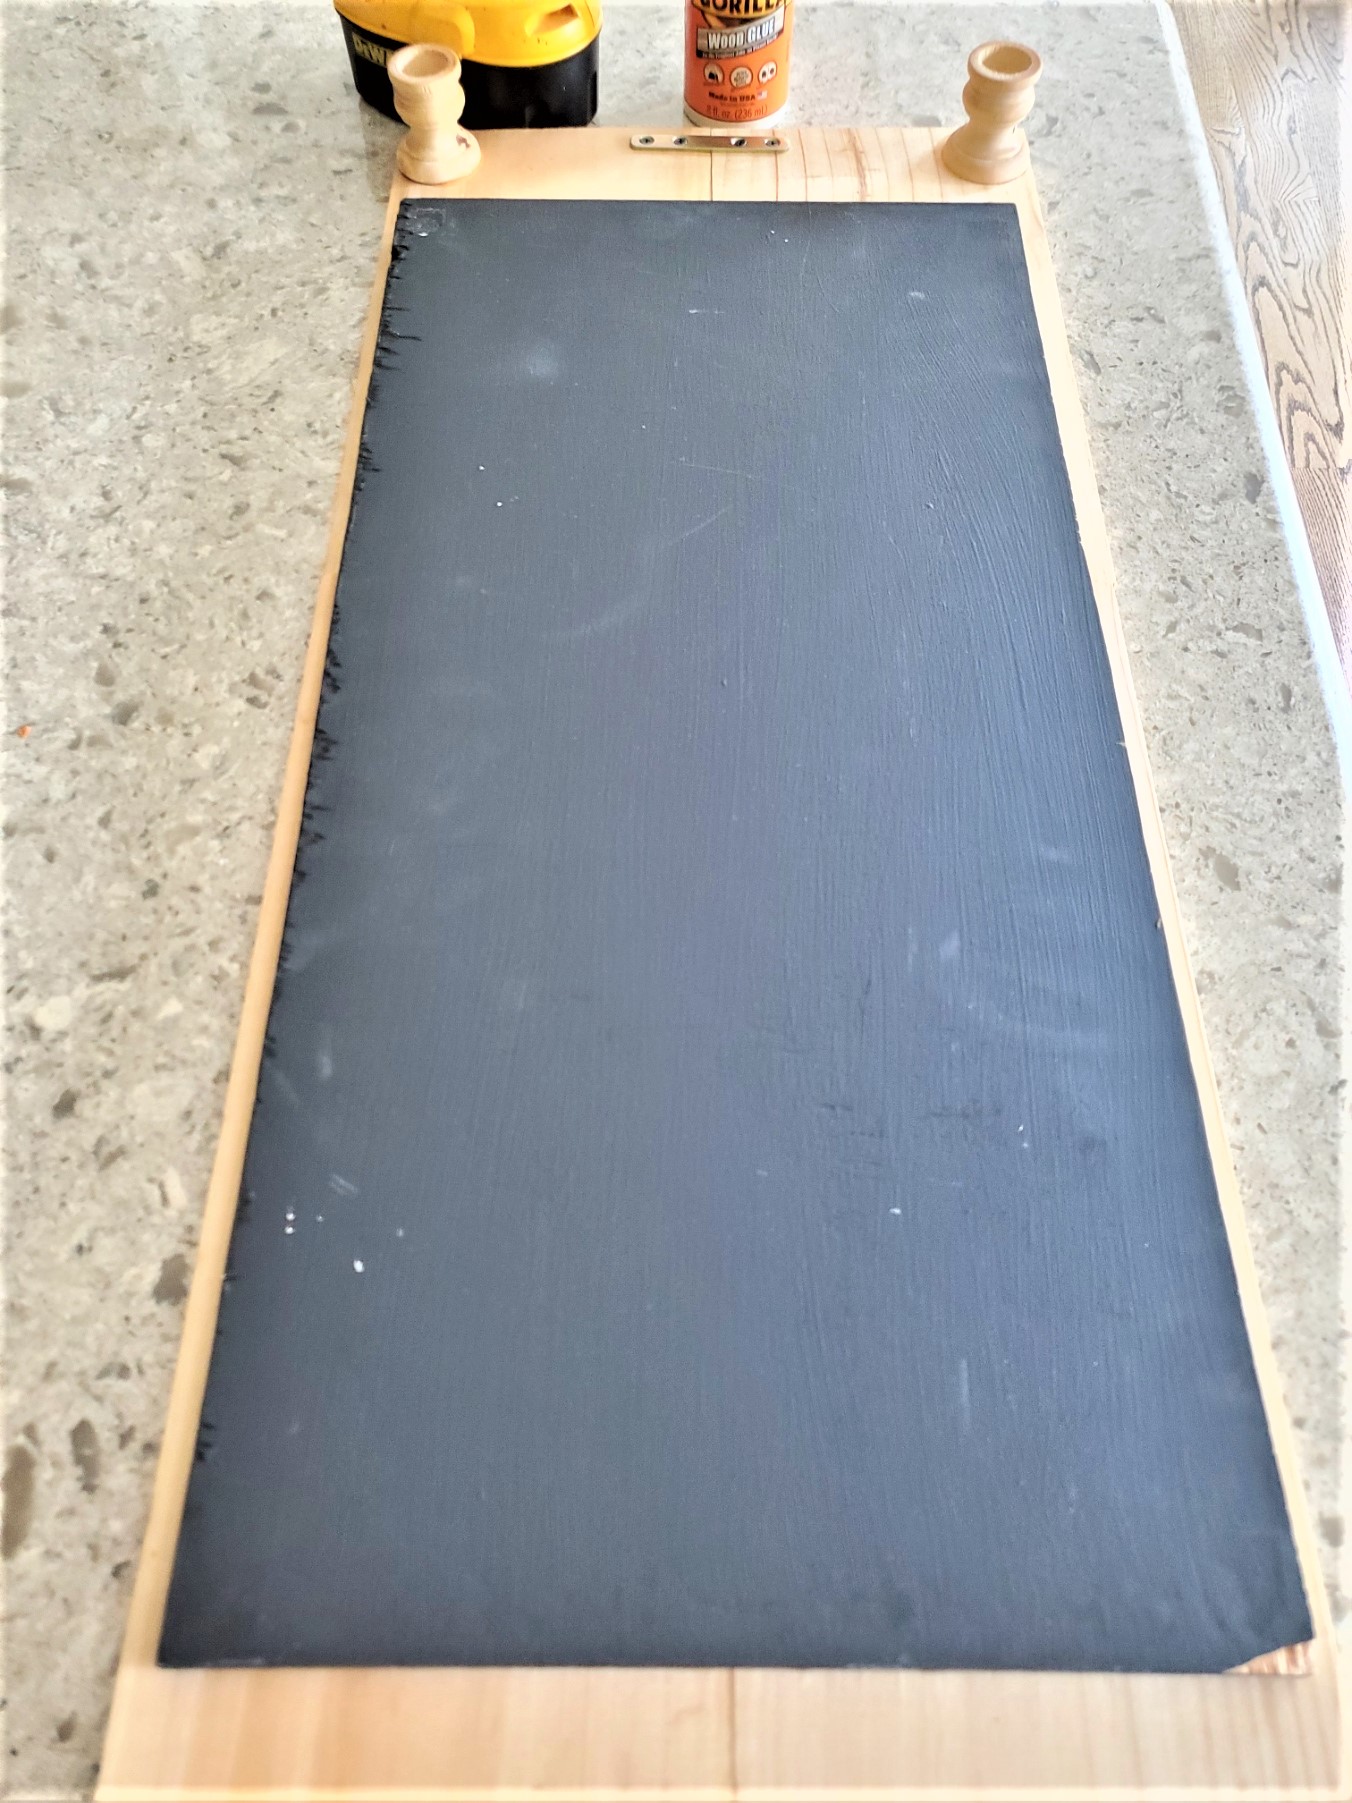
- Step 3: Use A Nail GunYou can use a nail gun to secure the boards together to provide additional support and stability.Place the nail gun perpendicular to the boards, aiming at an angle toward the joint.Carefully squeeze the trigger to drive the nails into the wood, ensuring they penetrate both boards without going all the way through.Space the nails evenly along the joint, approximately every 6 to 8 inches (15 to 20 cm), depending on the length of the boards.For additional support add a 1"³ thick board to the back. We added an old sign to the back of our charcuterie.
- Step 4: Checking Alignment:Double-check the boards are still aligned correctly after using the nail gunAdjust the position if necessary to ensure a straight and even surface.
- Step 5: Allow The Glue To Dry:After the boards are connected and secured with nails, allow the wood glue to dry completely.Follow the manufacturer's instructions for the recommended drying time, as it may vary depending on the type of glue used.
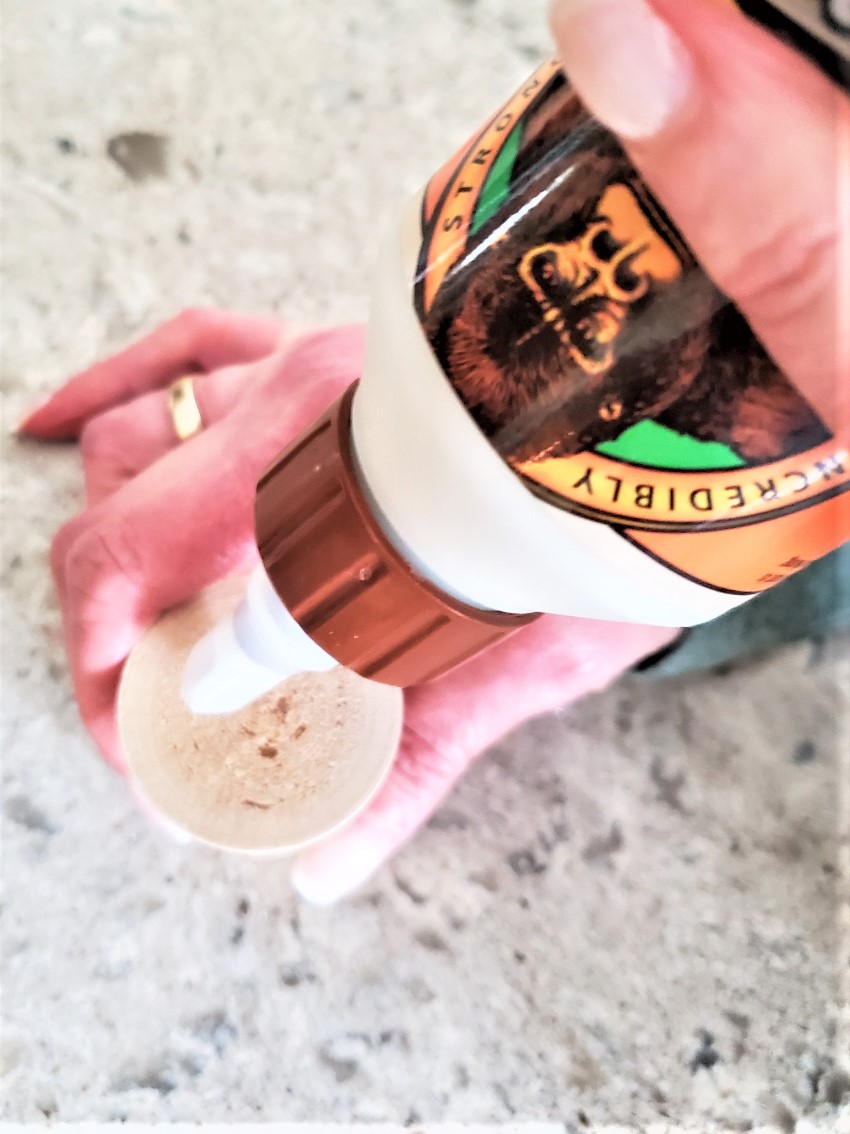
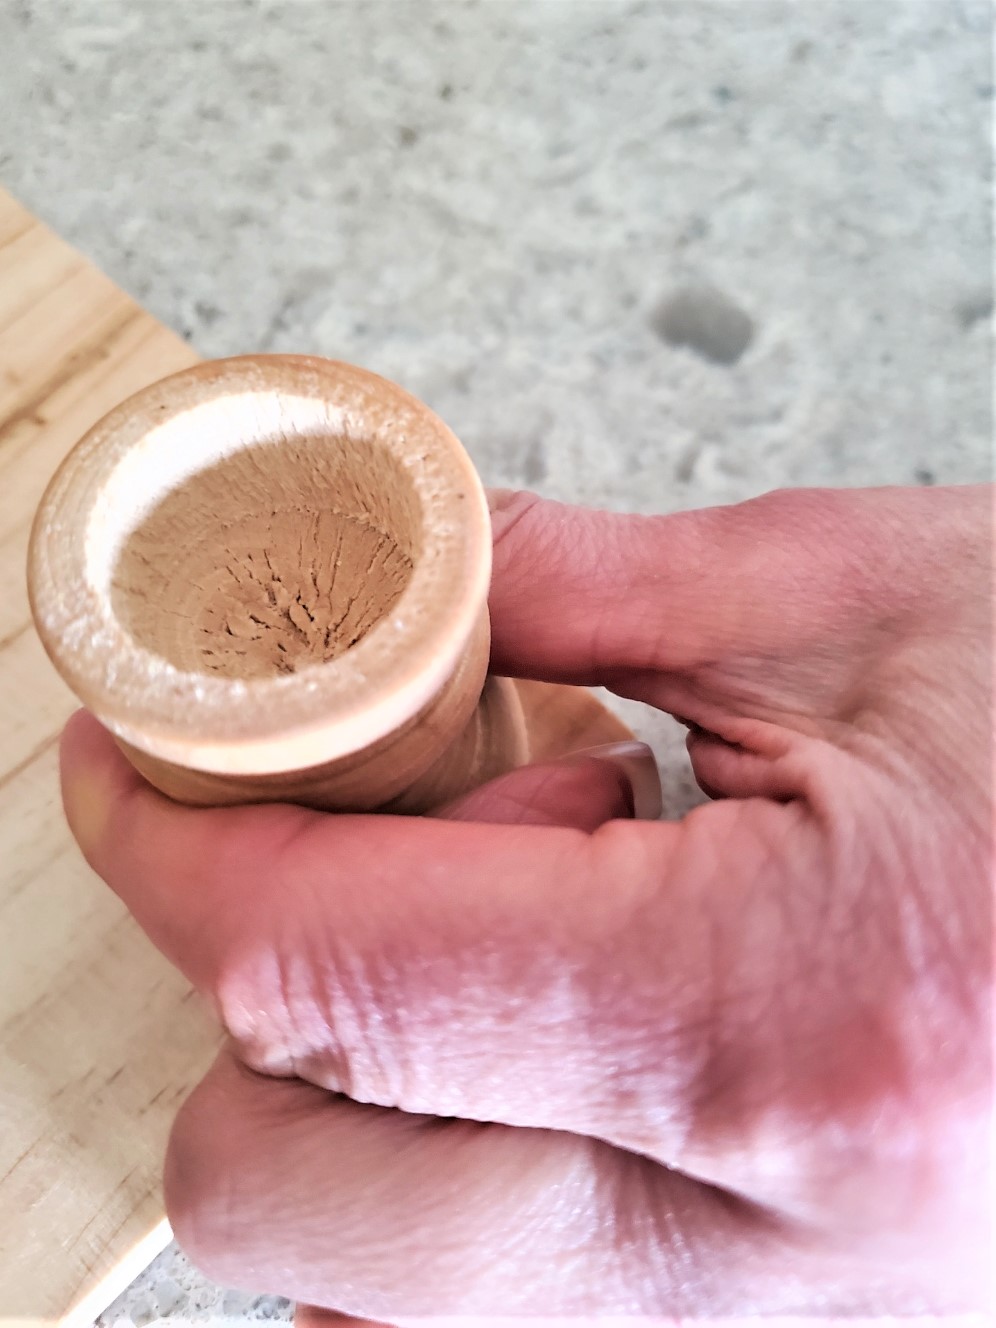
- Step 6: Connecting FeetTo keep with the theme of our pine charcuterie board, when it came time to add feet, we found a budget-friendly option — wood candleholders from any craft store. By applying a bit of wood glue, we attached them to the bottom of the charcuterie. This not only adds a finishing touch to the charcuterie board but also elevates it, making it easier to serve and display. After attaching the feet, remember to apply a coat of mineral oil to protect the wood to intensify its beauty.
- Step 7: Finishing Touches:Once the glue has dried and the boards are firmly connected, you can add any desired finishing touches to your charcuterie board.Apply a food-safe finish or sealant to protect the wood and enhance its appearance. Make sure to choose a finish that is safe for food contact.
Notes
HOW TO MAKE A VINTAGE WINE CRATE DIY CHARCUTERIE
DIY Steps:
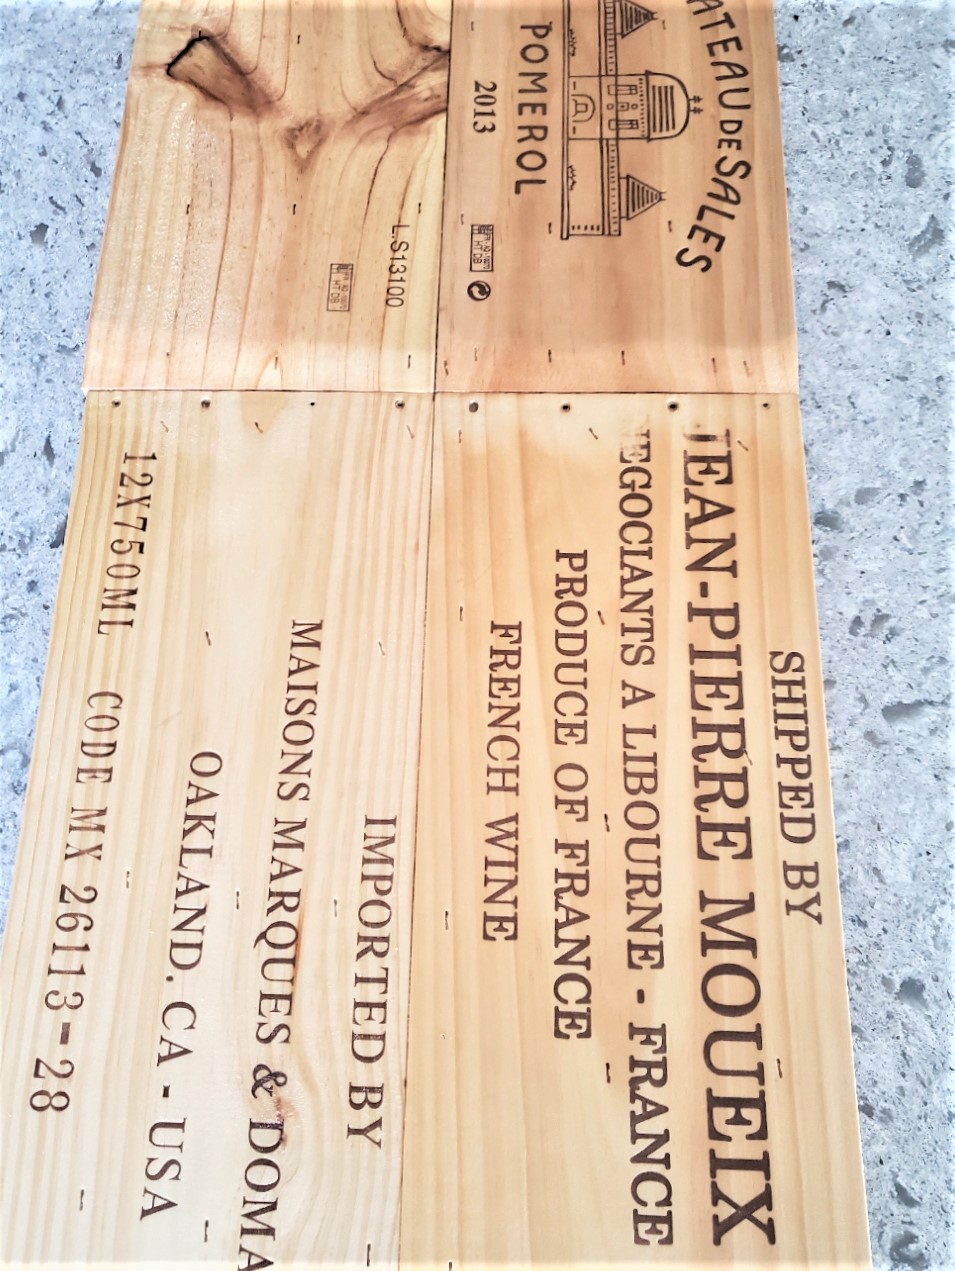
Step 1: Choose The Perfect Crate
Begin by selecting a vintage wine crate as the base for your charcuterie board. Look for crates with beautiful designs or labels that add a touch of an authentic look to your creation. Old wood crates often have a rustic charm that complements a charcuterie.Step 2: Prepare The Crate
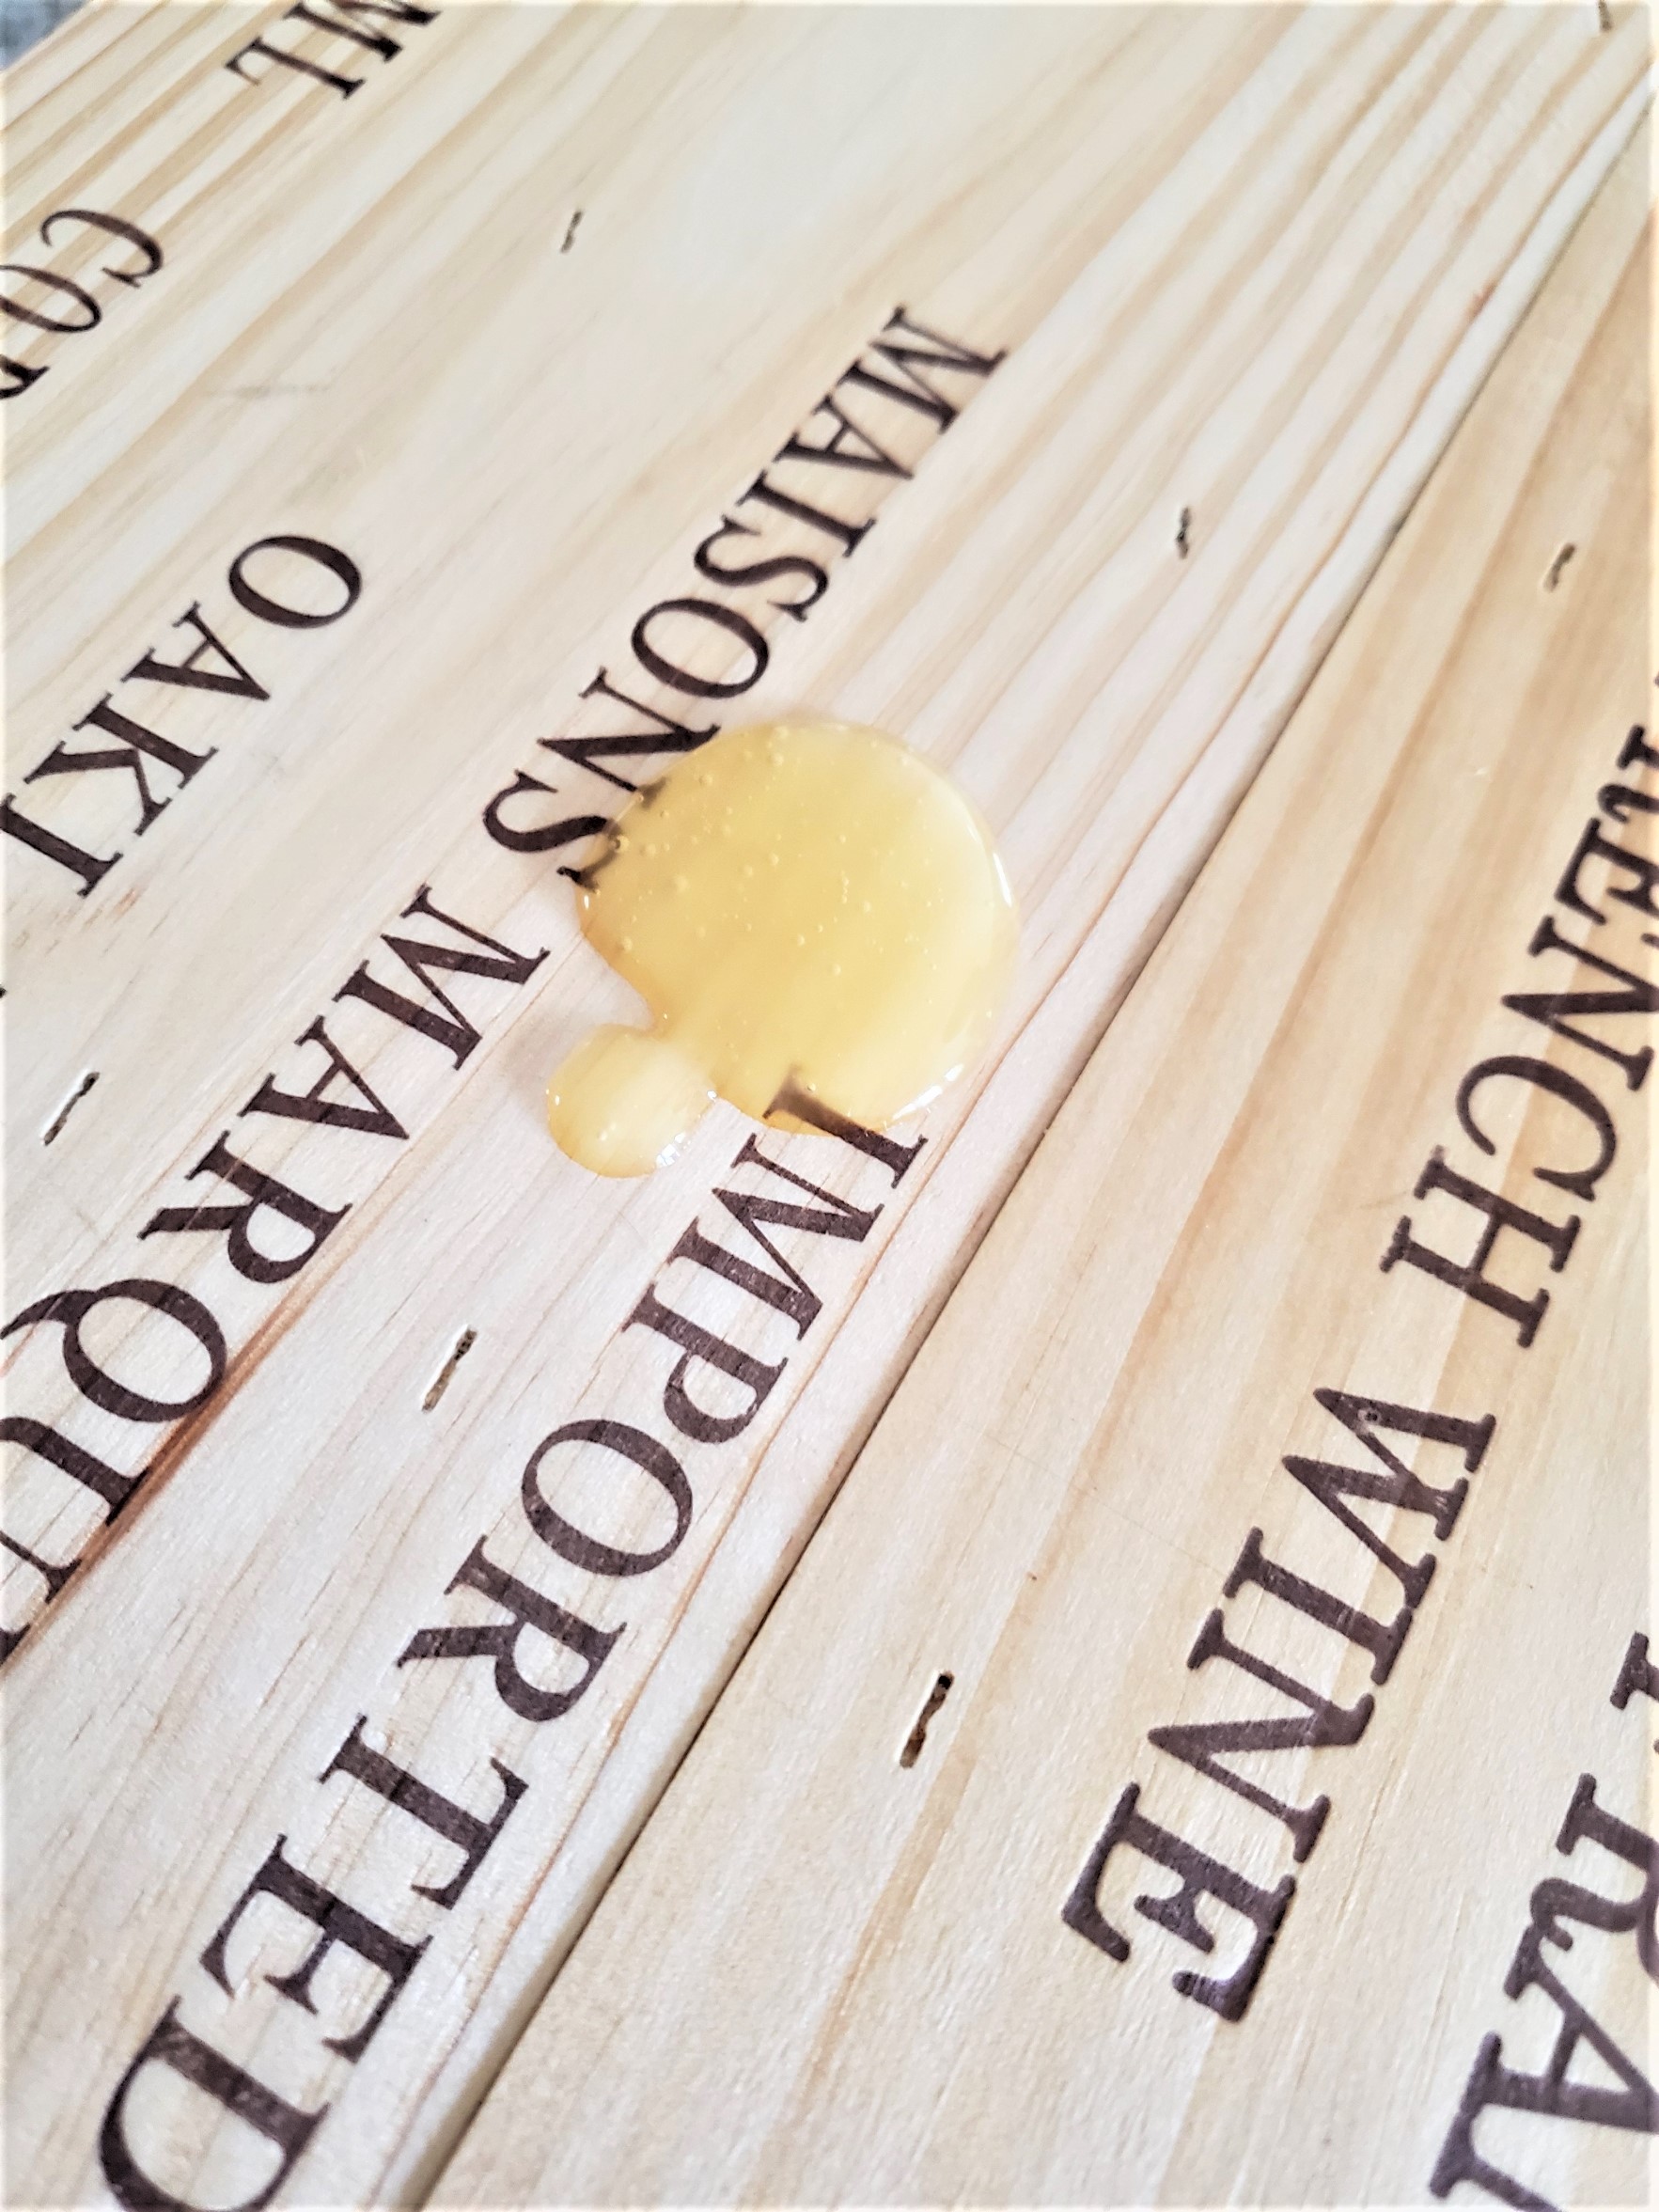
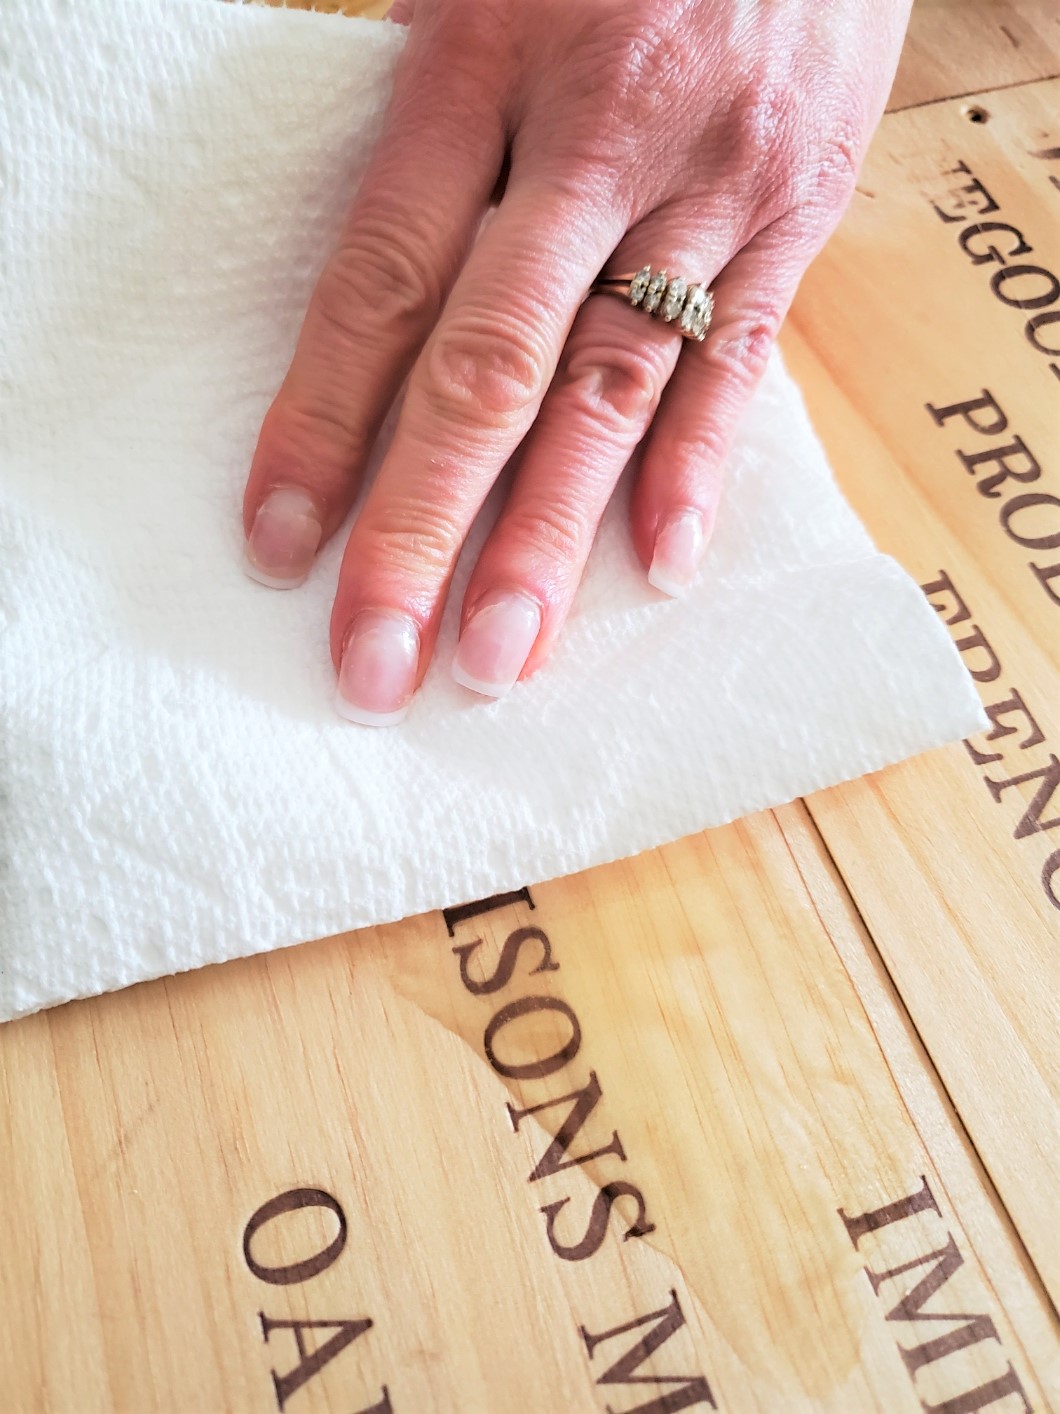
Clean the wine crate thoroughly to ensure it's free from dirt or residue. If necessary, sand down rough edges to create a smooth surface. Apply mineral oil to condition the wood and enhance its natural beauty. Allow it to dry completely before moving on to the next step.Putting The Cheese Board Together
Step 1: Applying Wood Glue
- Before joining the boards, apply a small amount of wood glue to the edges that will be connected.
- Spread the glue evenly using a brush or your finger, be sure the adhesive covers the entire surface.
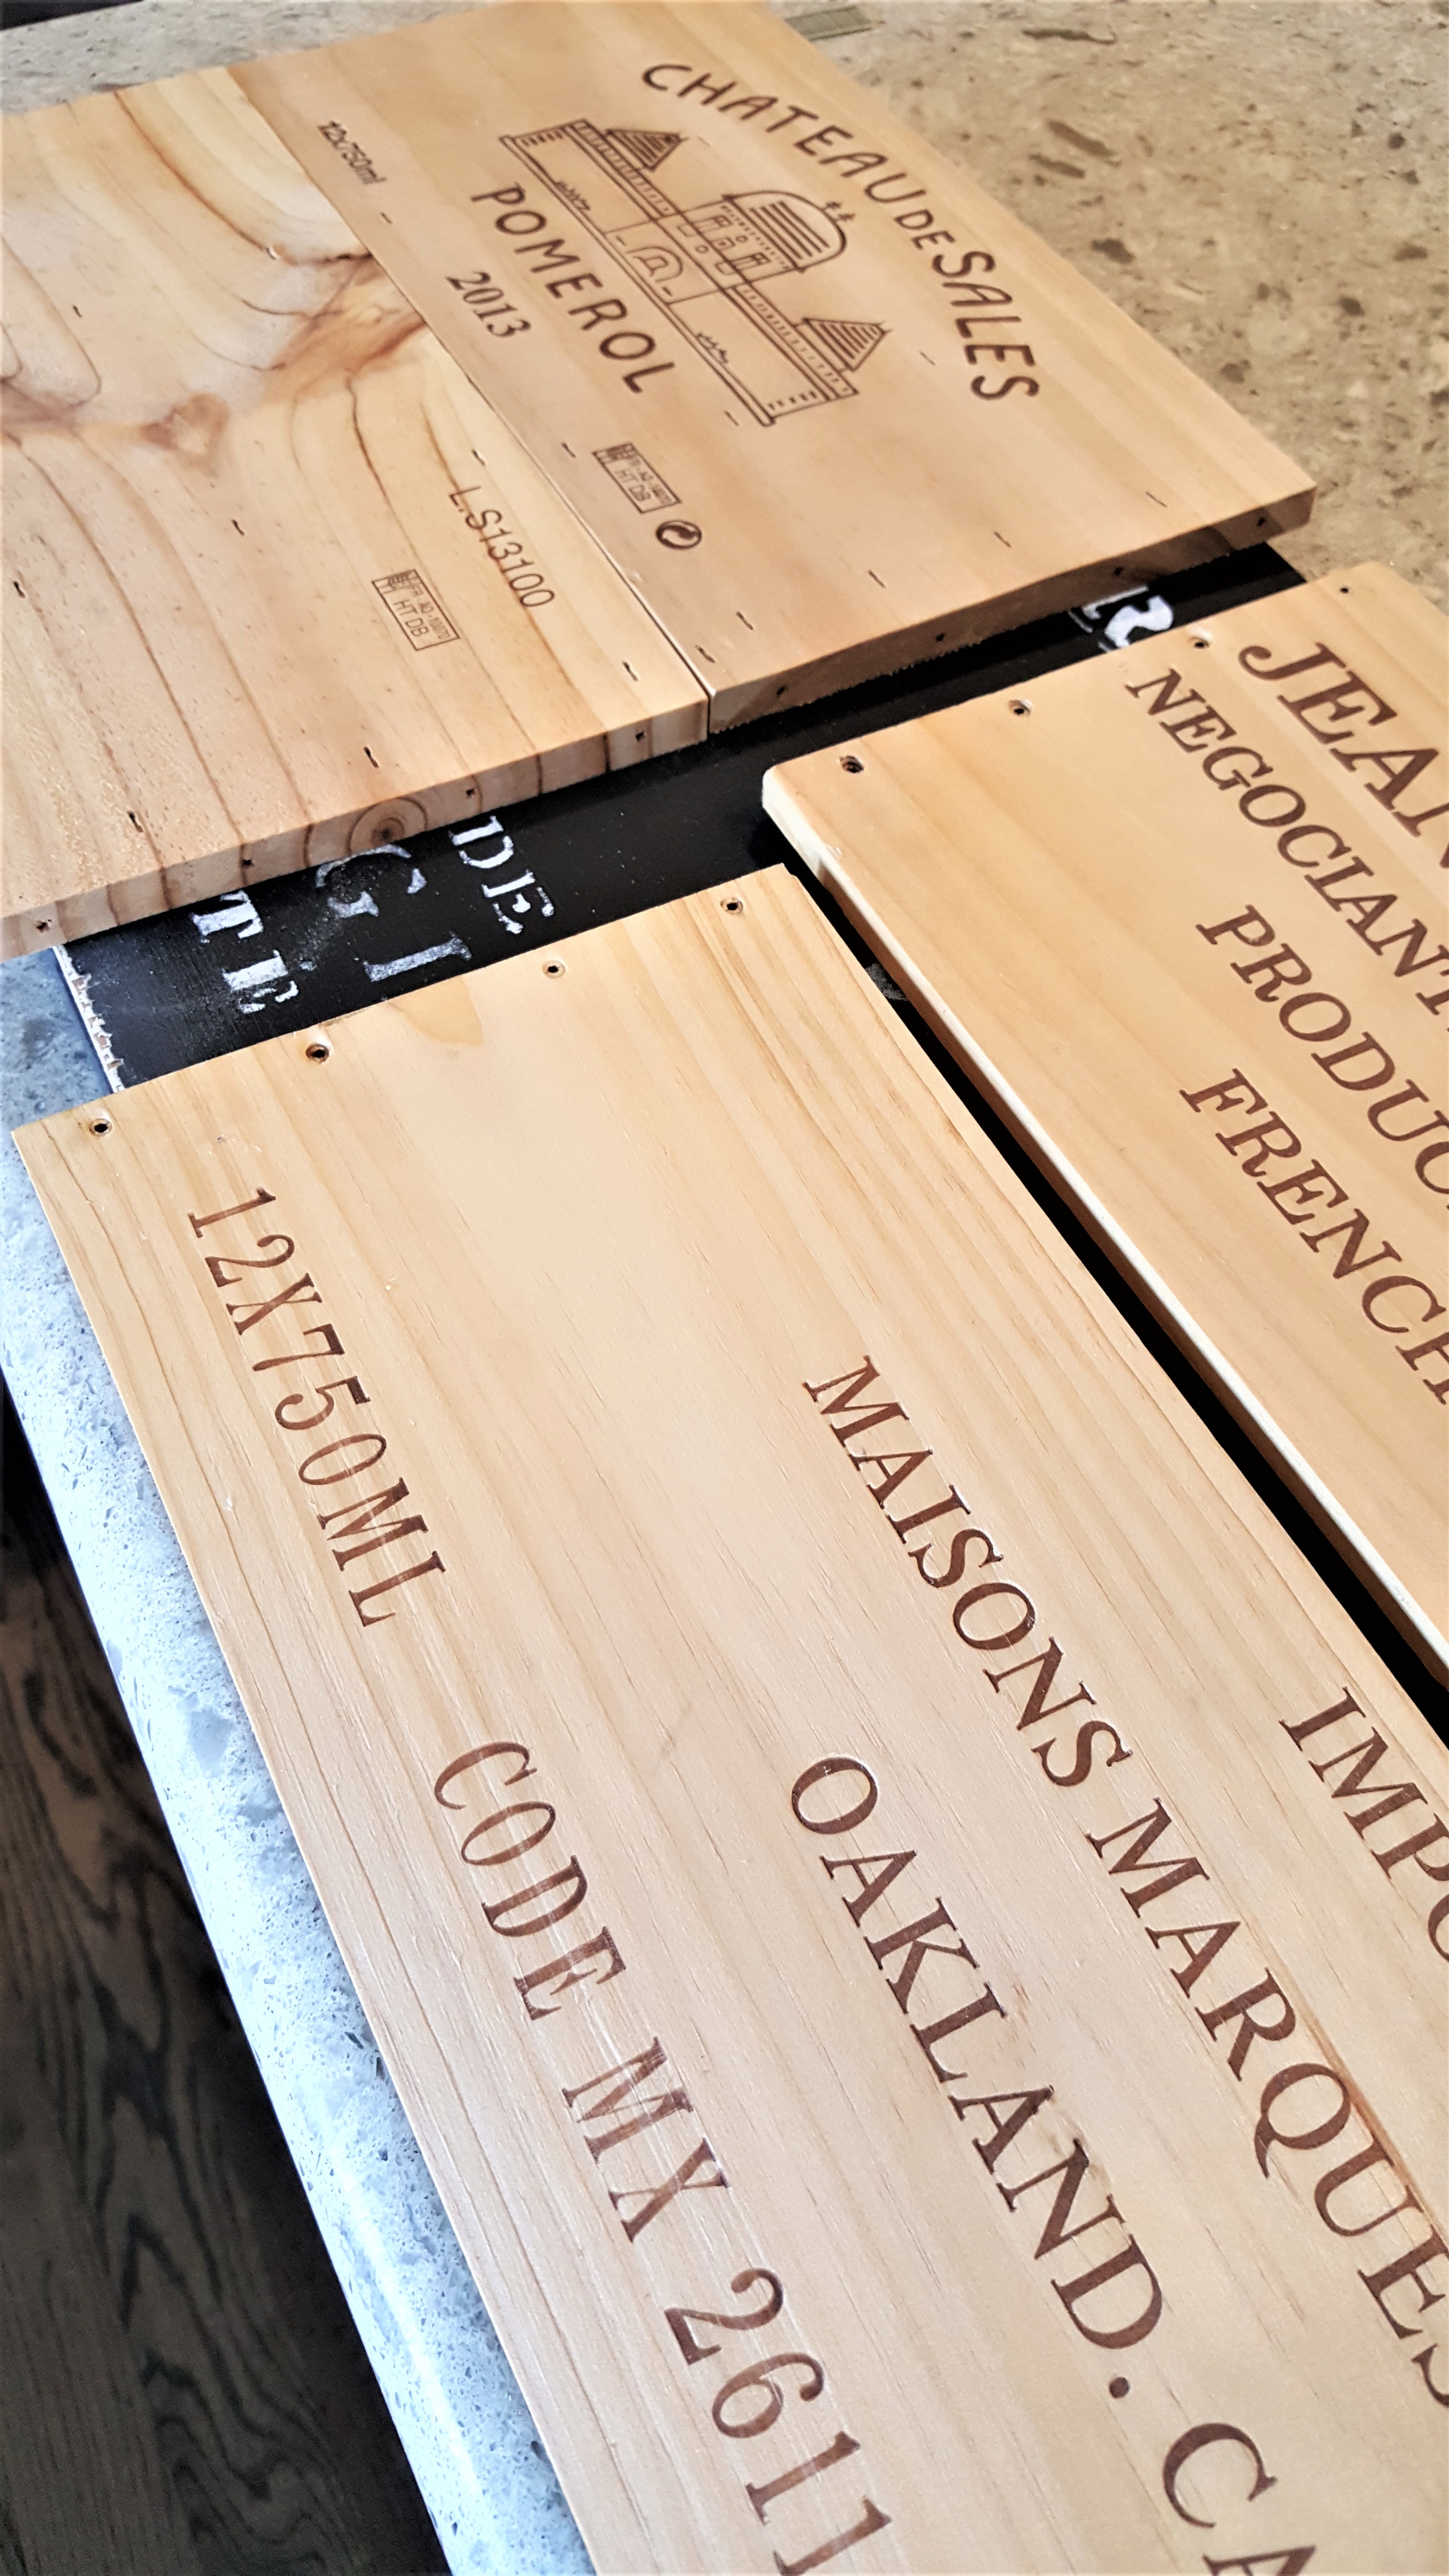
Step 2: Connecting The Boards
- Align the edges of the boards you want to connect to create your charcuterie board.
- Once the edges are aligned, firmly press the boards together to allow the wood glue to bond.
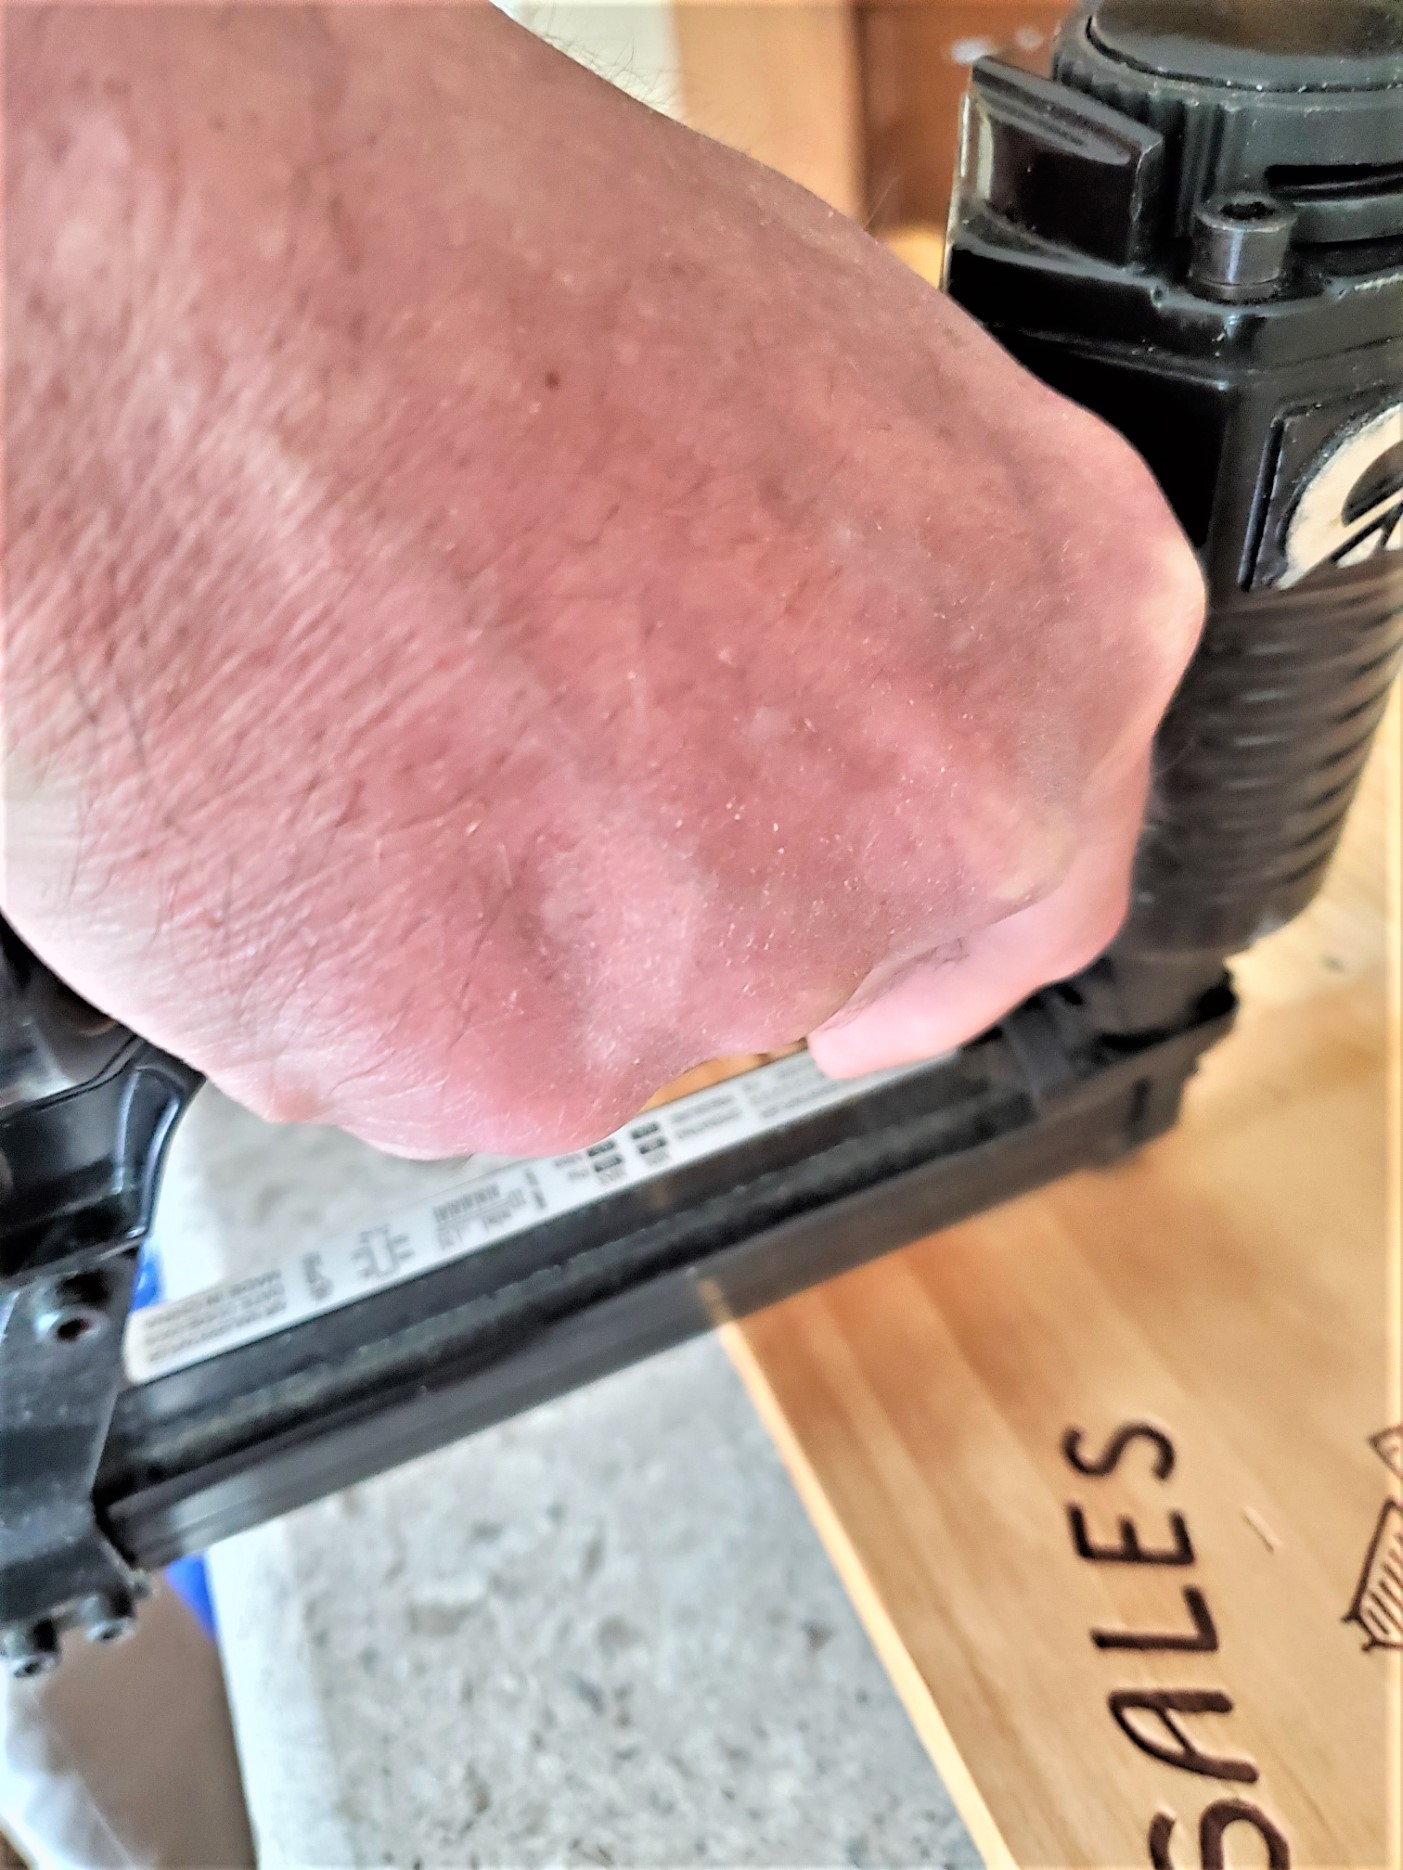
Step 3: Use A Nail Gun
- You can use a nail gun to secure the boards together to provide additional support and stability.
- Place the nail gun perpendicular to the boards, aiming at an angle toward the joint.
- Carefully squeeze the trigger to drive the nails into the wood, ensuring they penetrate both boards without going all the way through.
- Space the nails evenly along the joint, approximately every 6 to 8 inches (15 to 20 cm), depending on the length of the boards.
- For additional support add a 1"³ thick board to the back. We added an old sign to the back of our charcuterie.
Step 4: Checking Alignment:
- Double-check the boards are still aligned correctly after using the nail gun
- Adjust the position if necessary to ensure a straight and even surface.
Step 5: Allow The Glue To Dry:
- After the boards are connected and secured with nails, allow the wood glue to dry completely.
- Follow the manufacturer's instructions for the recommended drying time, as it may vary depending on the type of glue used.

Step 7: Finishing Touches:
- Once the glue has dried and the boards are firmly connected, you can add any desired finishing touches to your charcuterie board.
- Apply a food-safe finish or sealant to protect the wood and enhance its appearance. Make sure to choose a finish that is safe for food contact.