How To Make A Plate Wreath Craft Damage Free
The concept behind a plate wreath is simple yet elegant: carefully arranging and attaching plates of various sizes, colors, and designs onto a wreath base. This allows you to showcase cherished plates that have sentimental value, such as heirlooms, antique finds, or even your favorite dishware. Each plate tells a story, capturing moments of nostalgia and connection.
Yield: 1 wreath
Cost: 20
Equipment
- 1 wreath form flat metal wire wreath frame, grapvine works too
- 1 roll of butchers twine
- 1 roll of jute
- 3 wire plate hangers
- 1 hot glue gun and glue sticks
- 1 Pair of Scissors
- 1 can spray paint optional
Materials
- 3 saucers small plates large plates and butterm pat woks too
- 3 flowerpots terracotta pots peat pots work well
- 1 sheet self-stick sheet moss
- 1 bag Spanish moss
Instructions
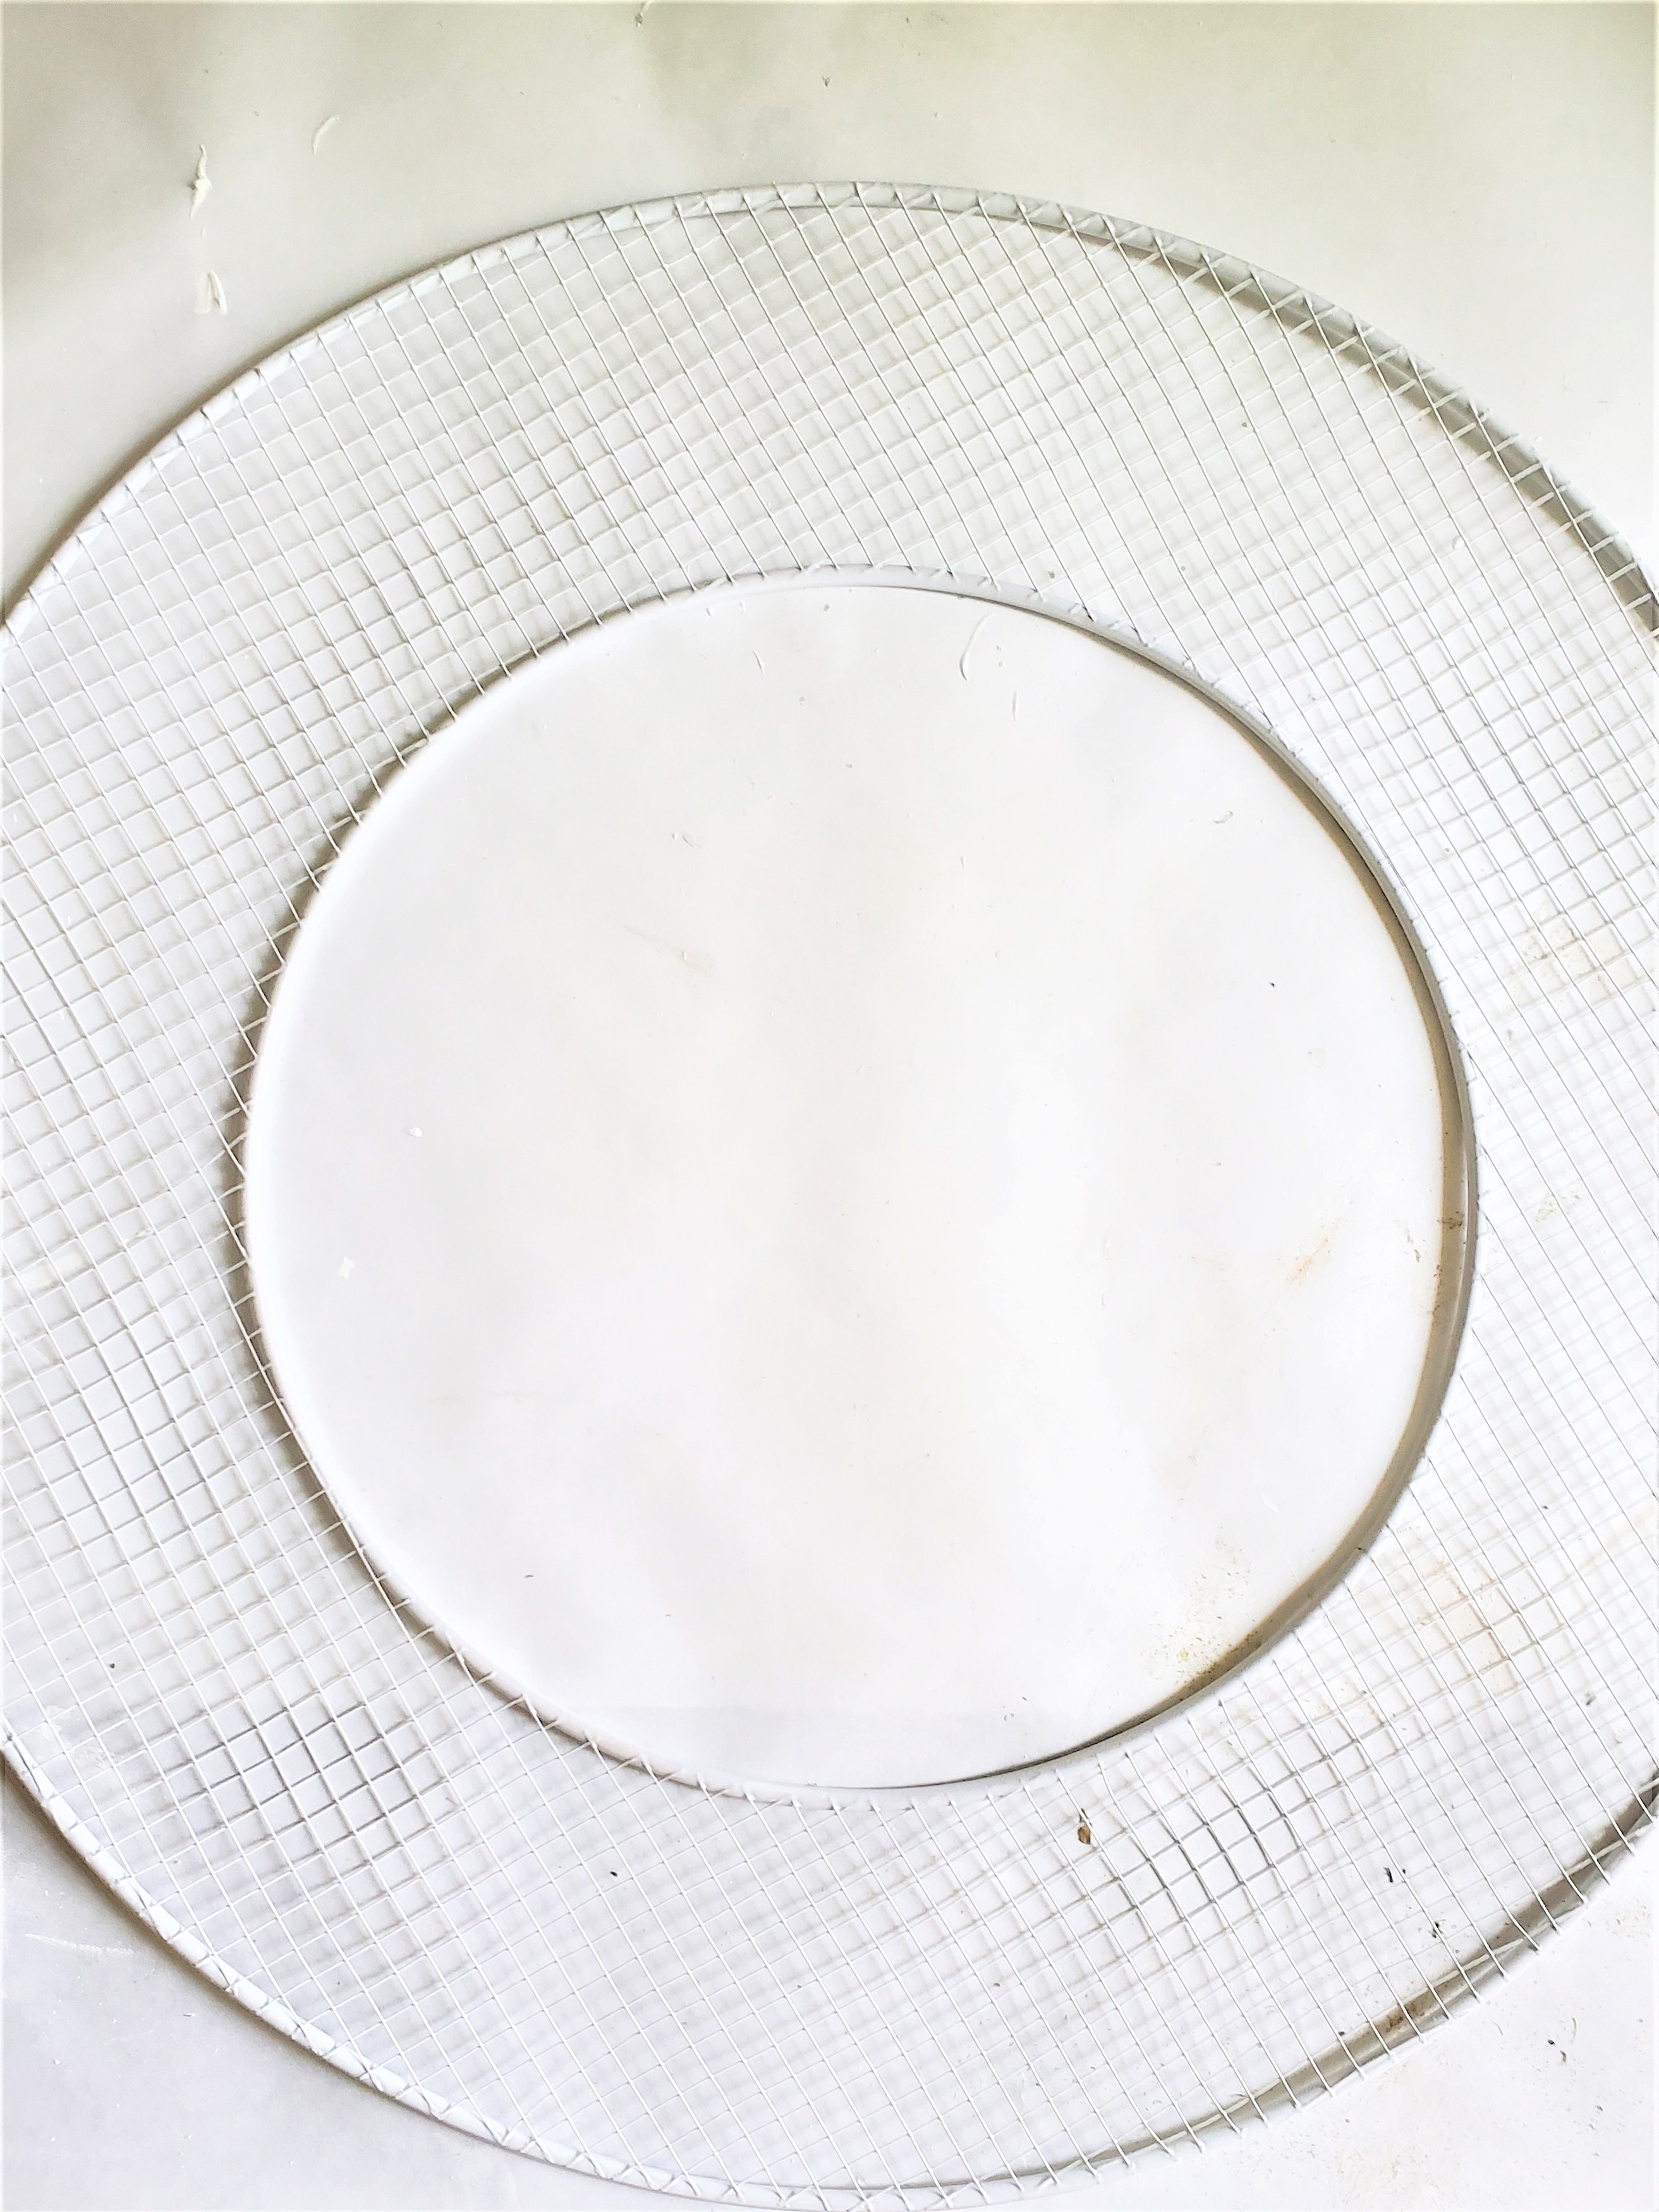
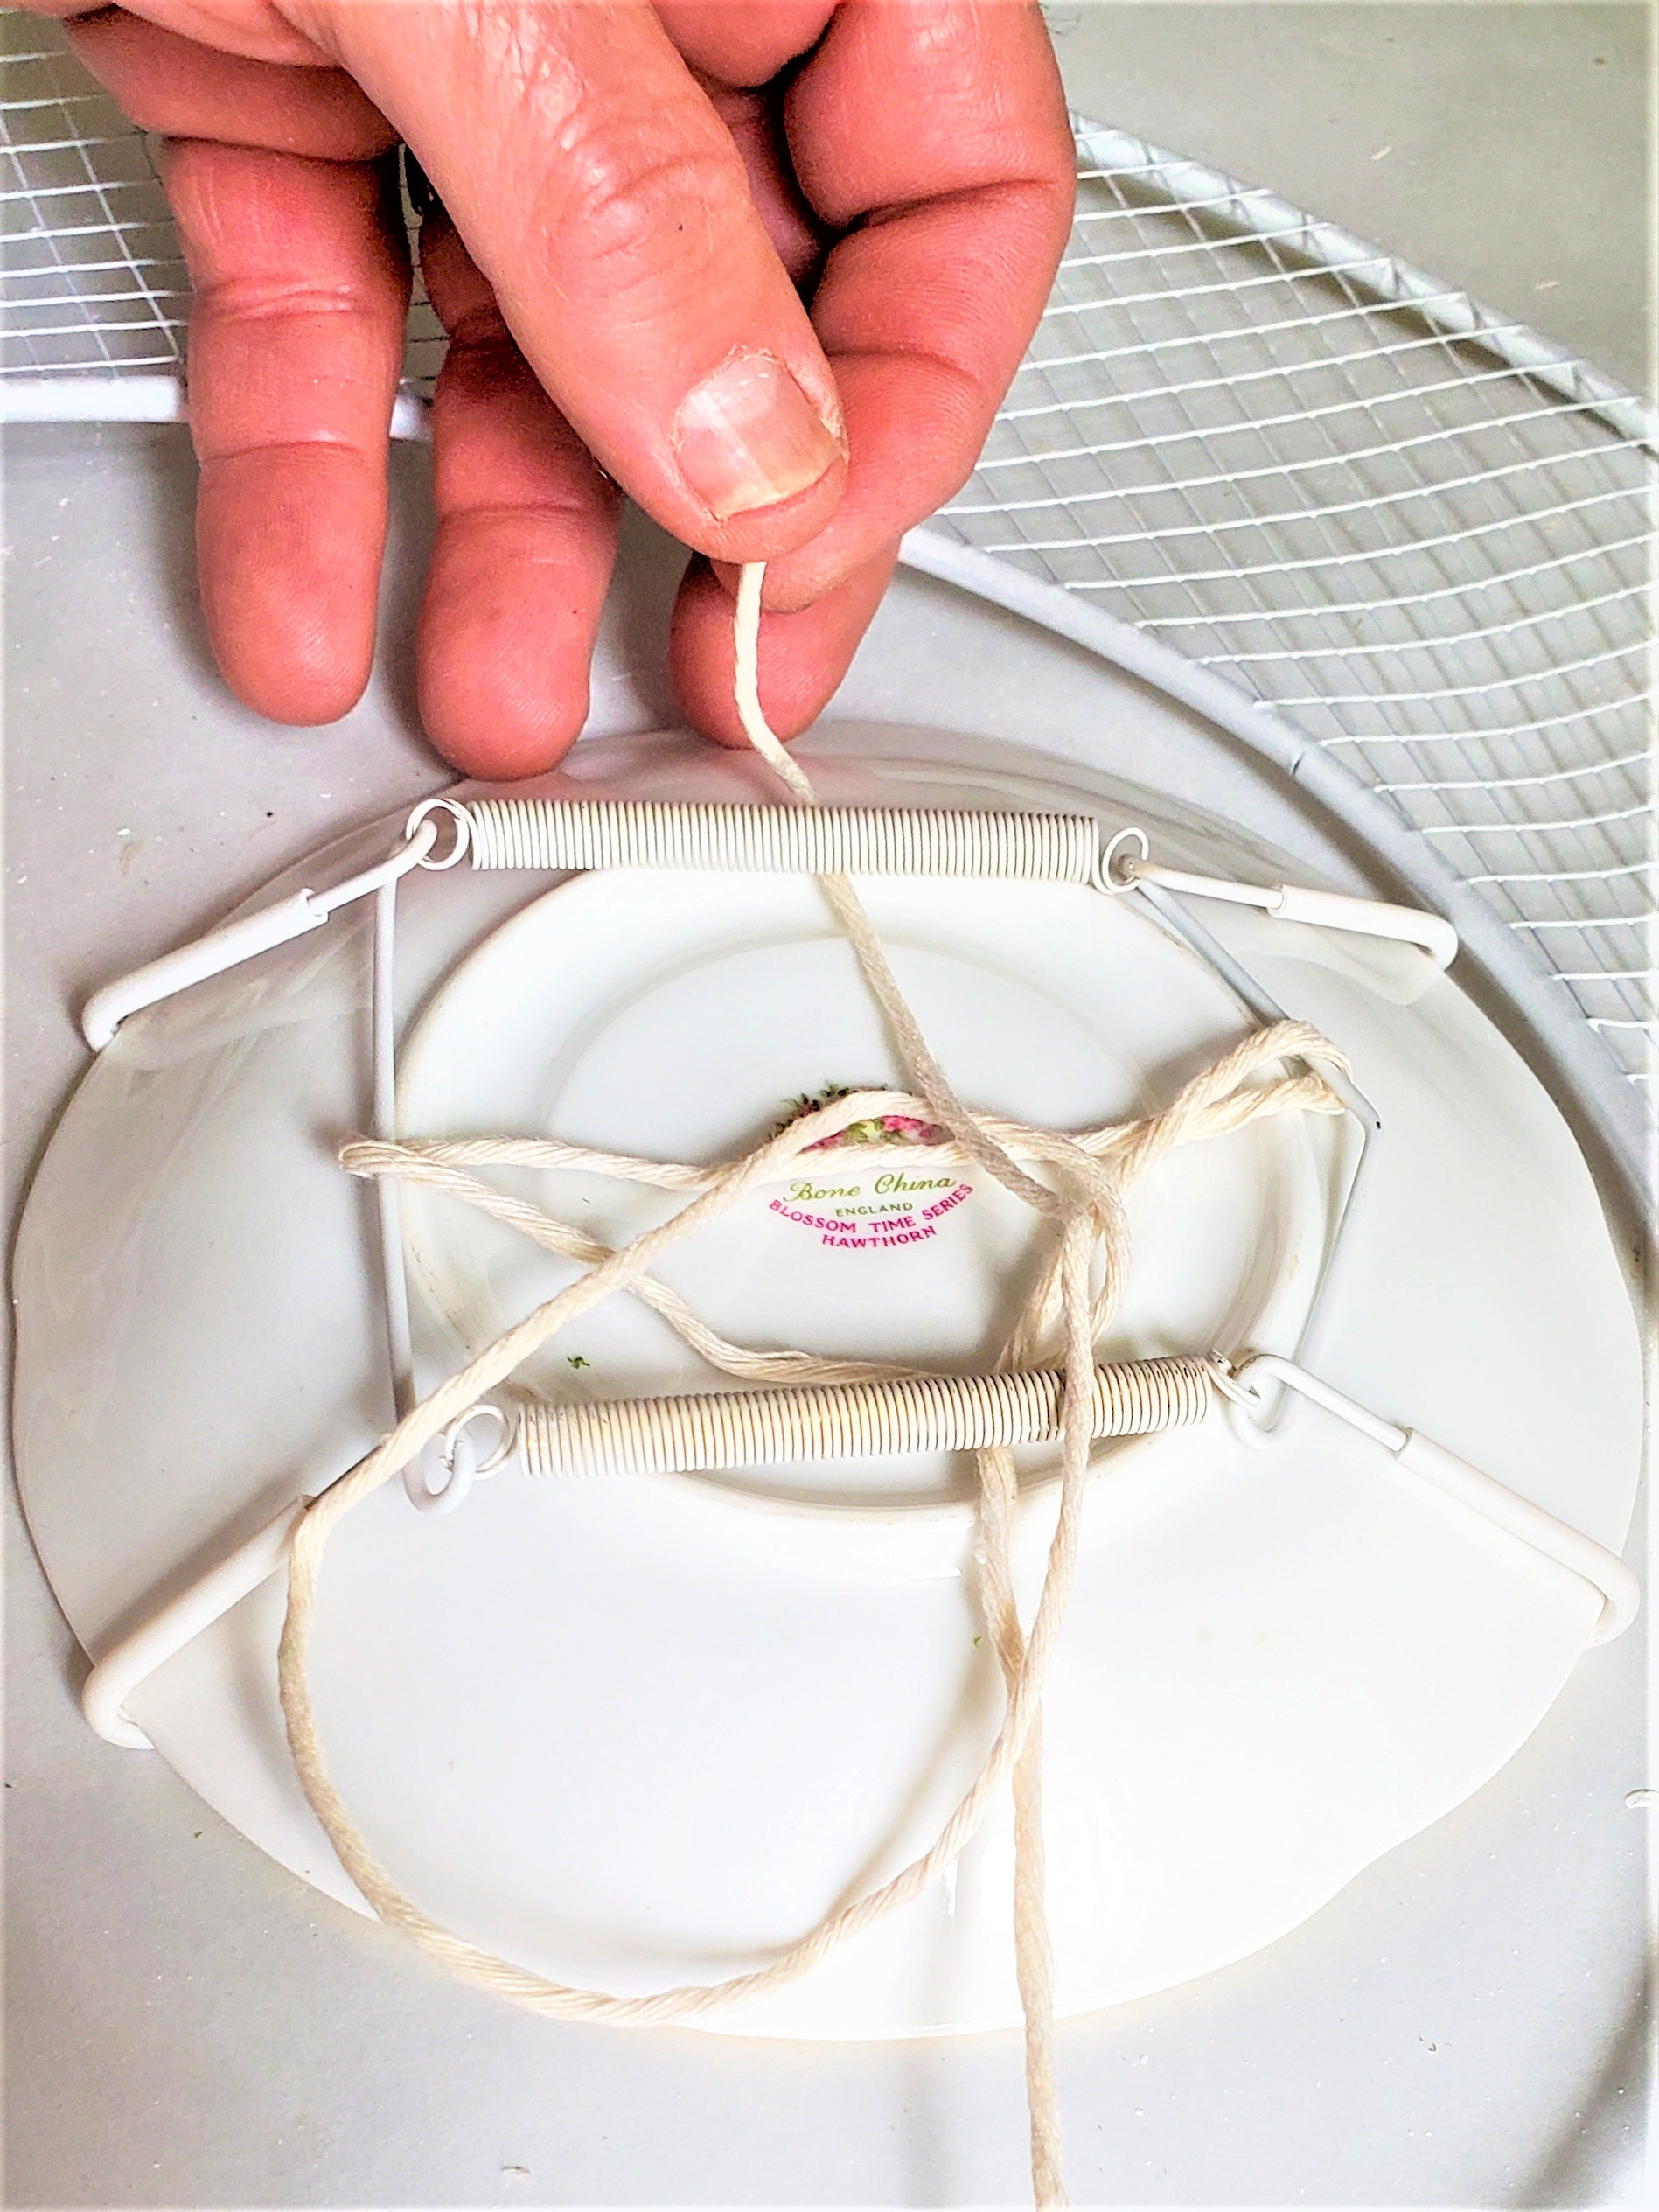
- Step 1: Prepare The Wreath FormIf you're using a metal mesh wreath form or a wire wreath, you can spray paint it white or with a desired color. Let it dry.Attach the plate hangers to the back side of the plate. White plate hangers blend with the plate wreath or use layers of Velcro command strips. Plate hangers are the best option and are the most sturdy to keep plates damage free that are added on top of the moss.
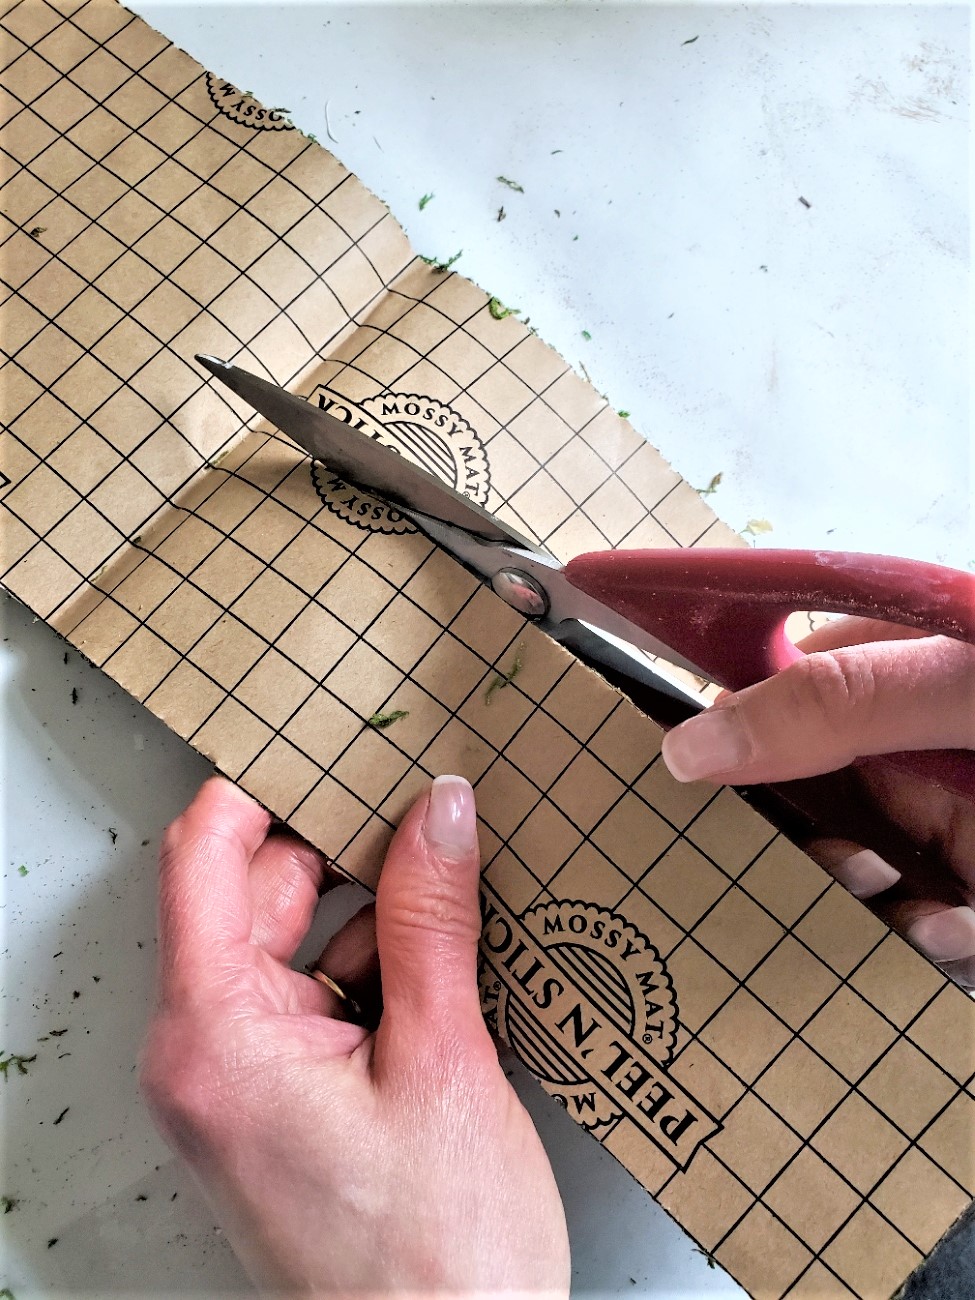
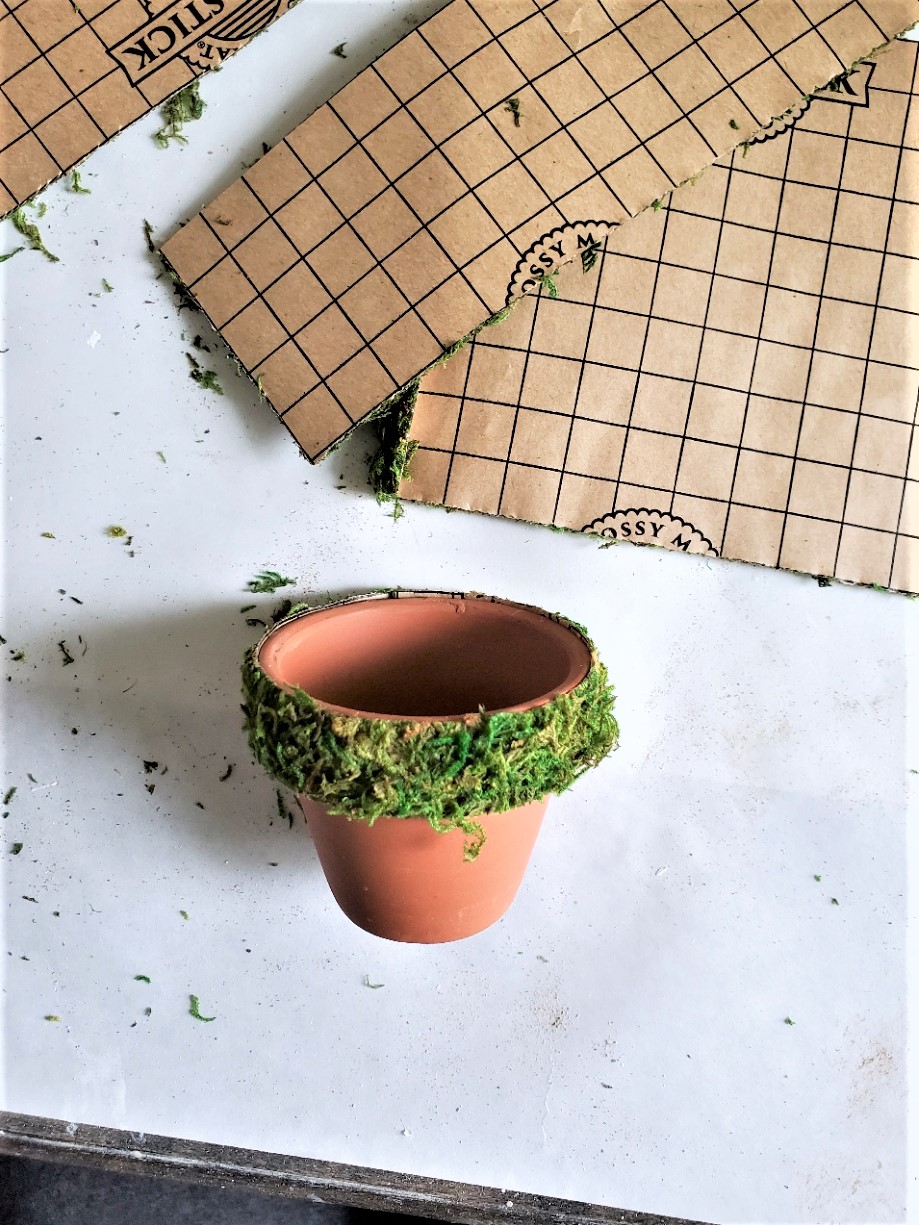
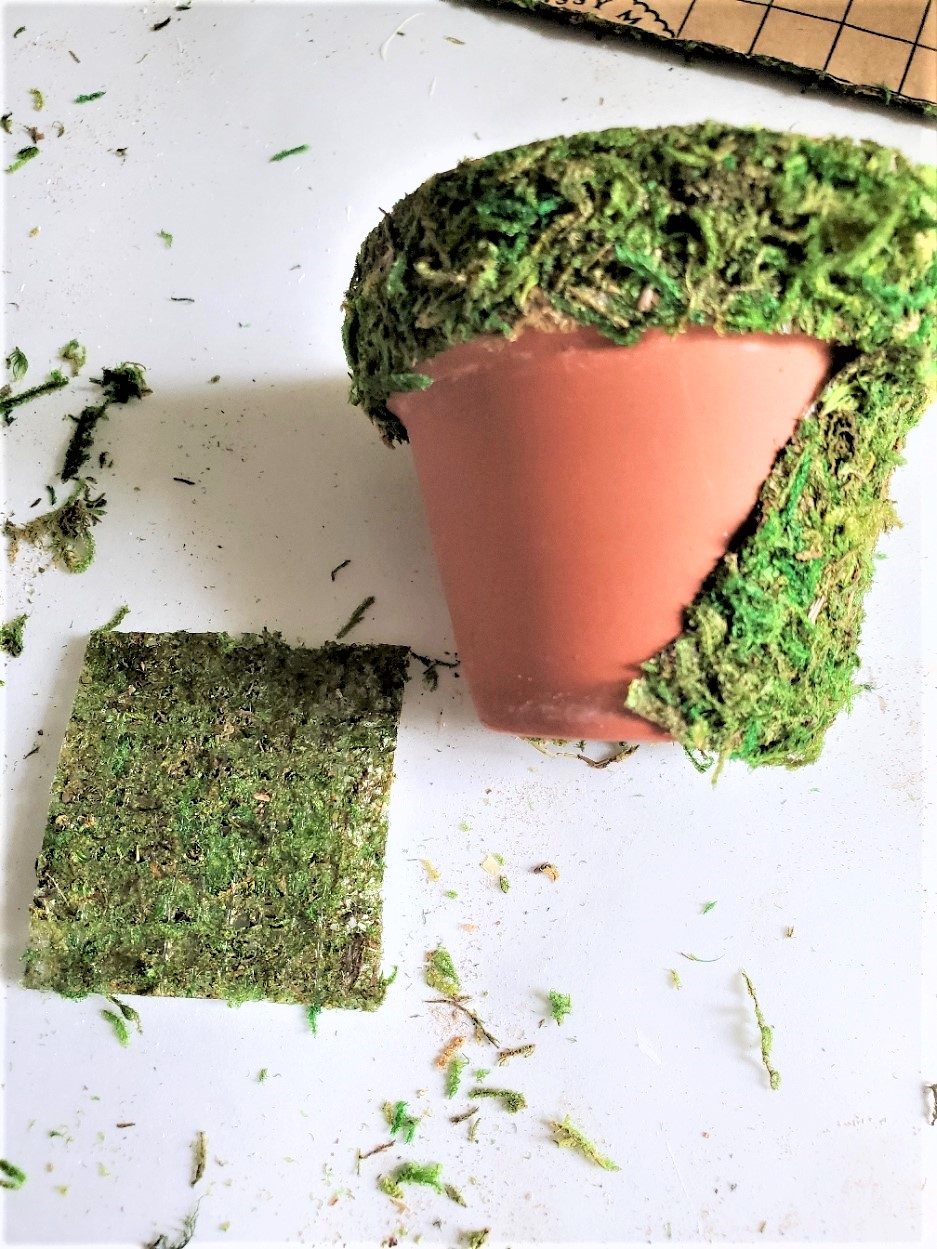
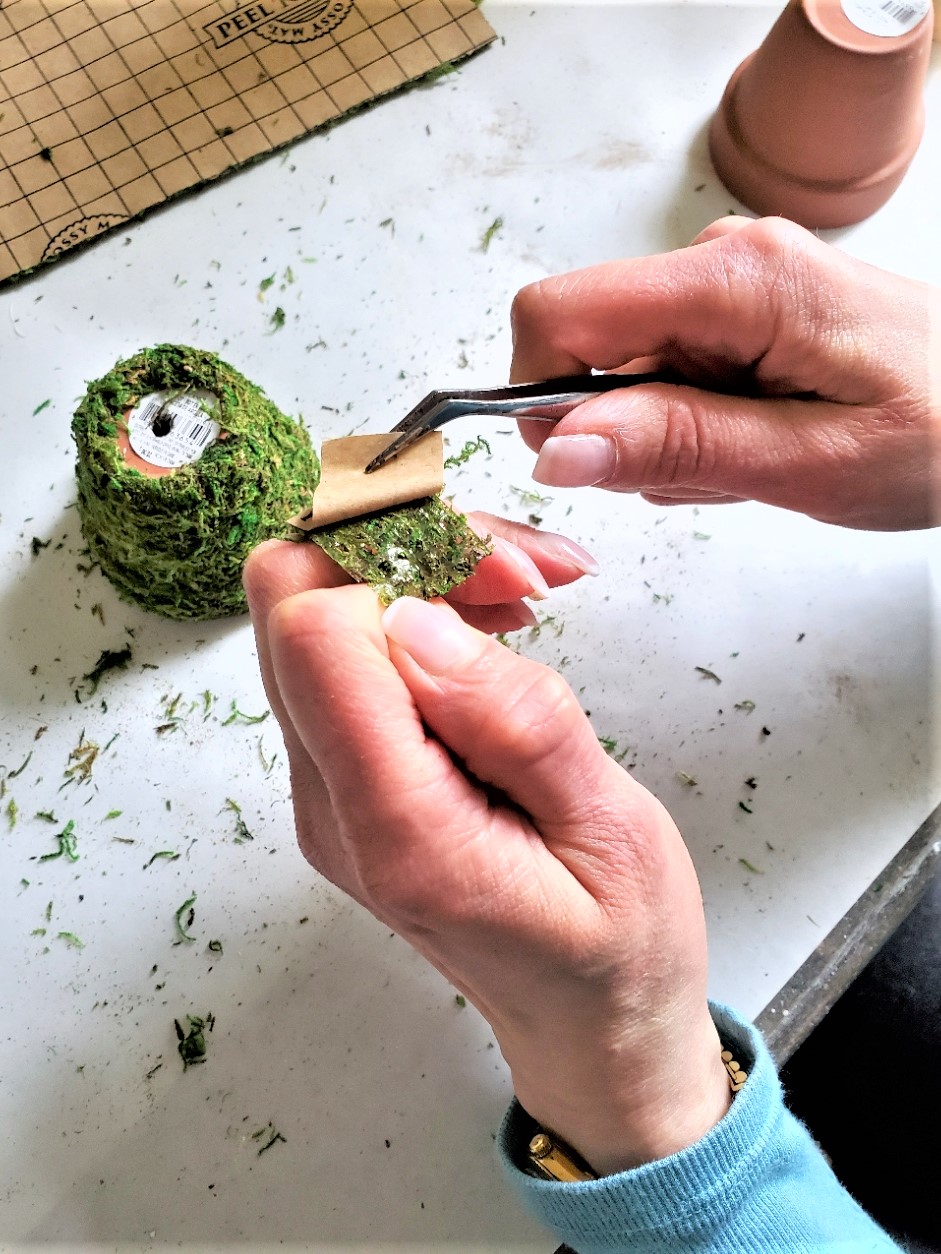
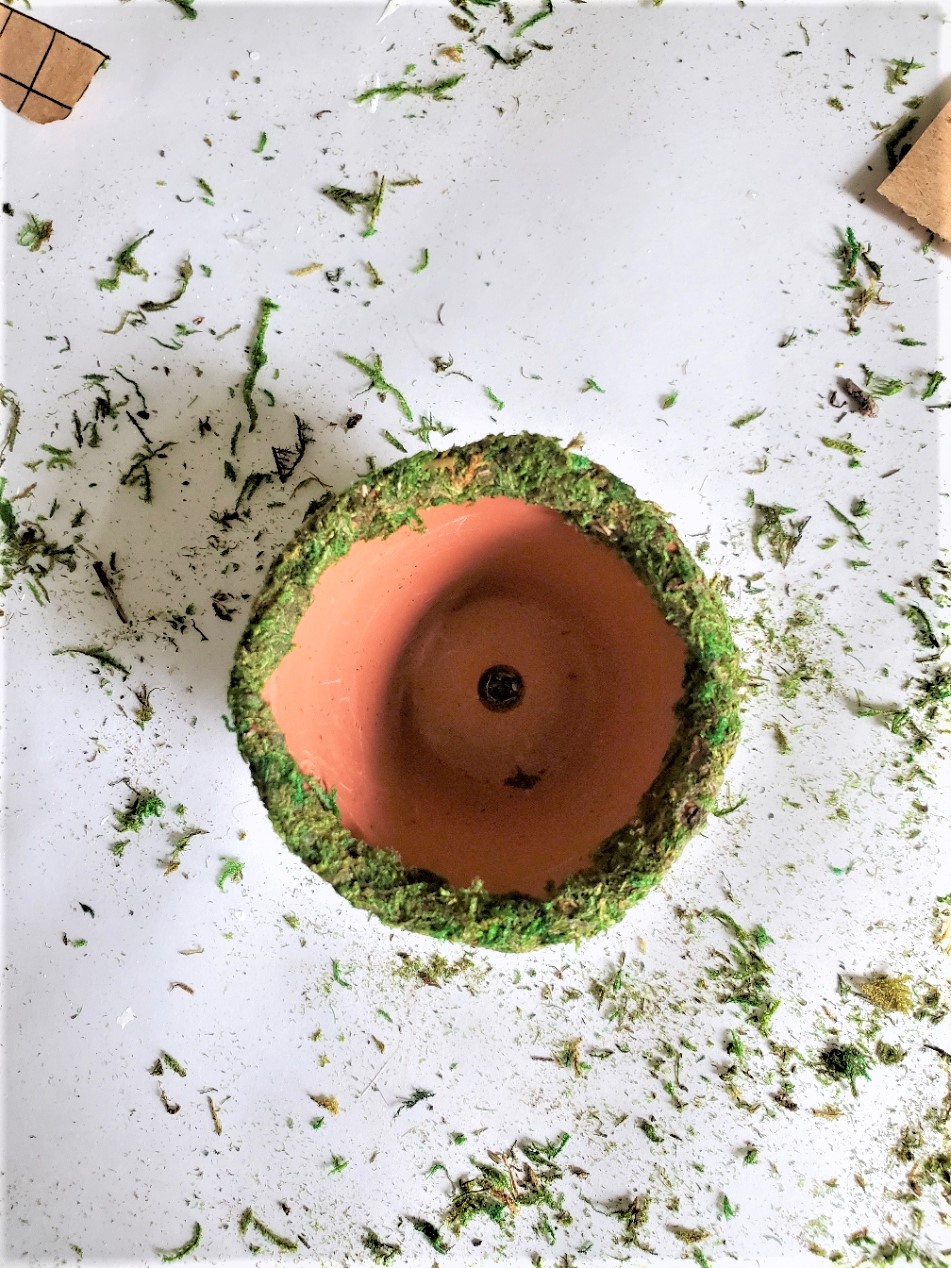
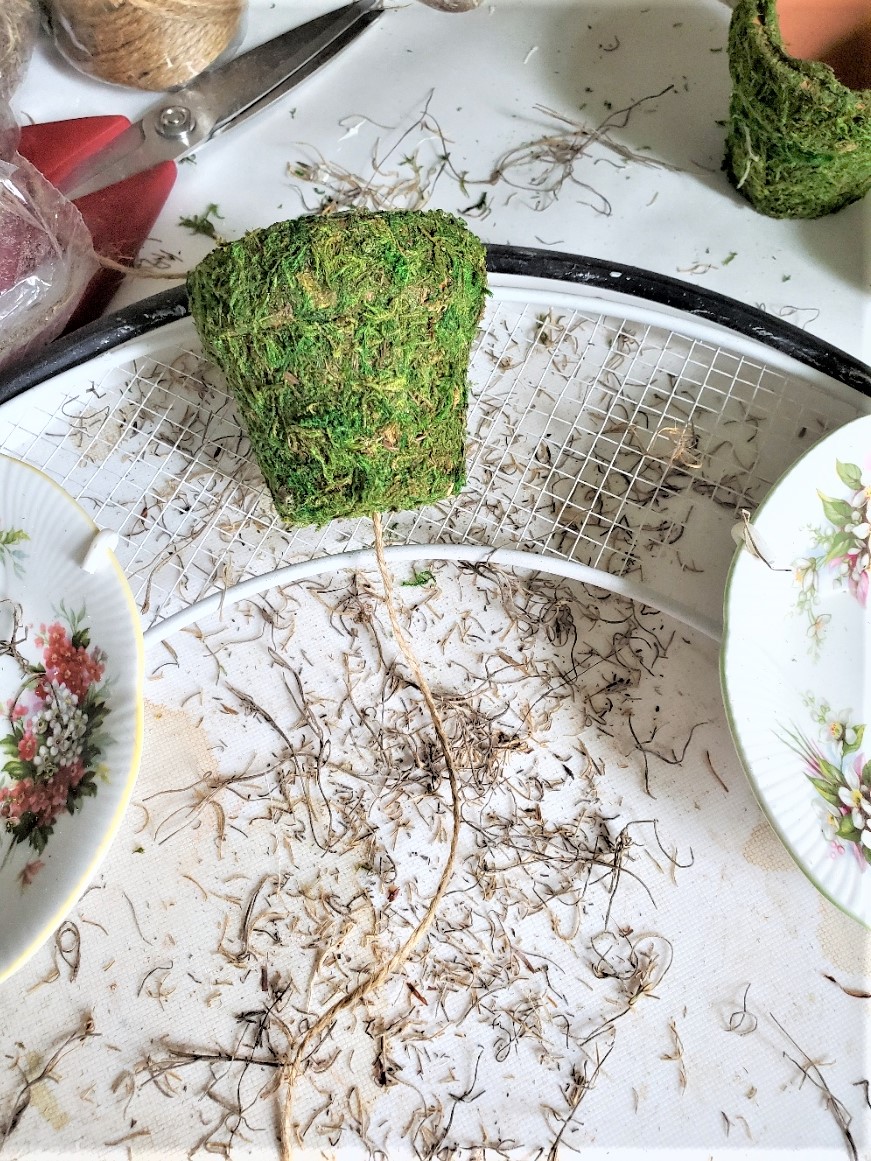
- Step 2: Cover The FlowerpotsCut pieces of self-stick sheet moss and use them to cover the flowerpots. Start with a narrow strip to stick around the rim of the pot, then cut small squares to cover the sides.Add a thin strip of moss to the edge of each flowerpot to create a finished look. Cover the bottom of the pots with a small square of moss. If you don't want to add sheet moss feel free to paint the pots.
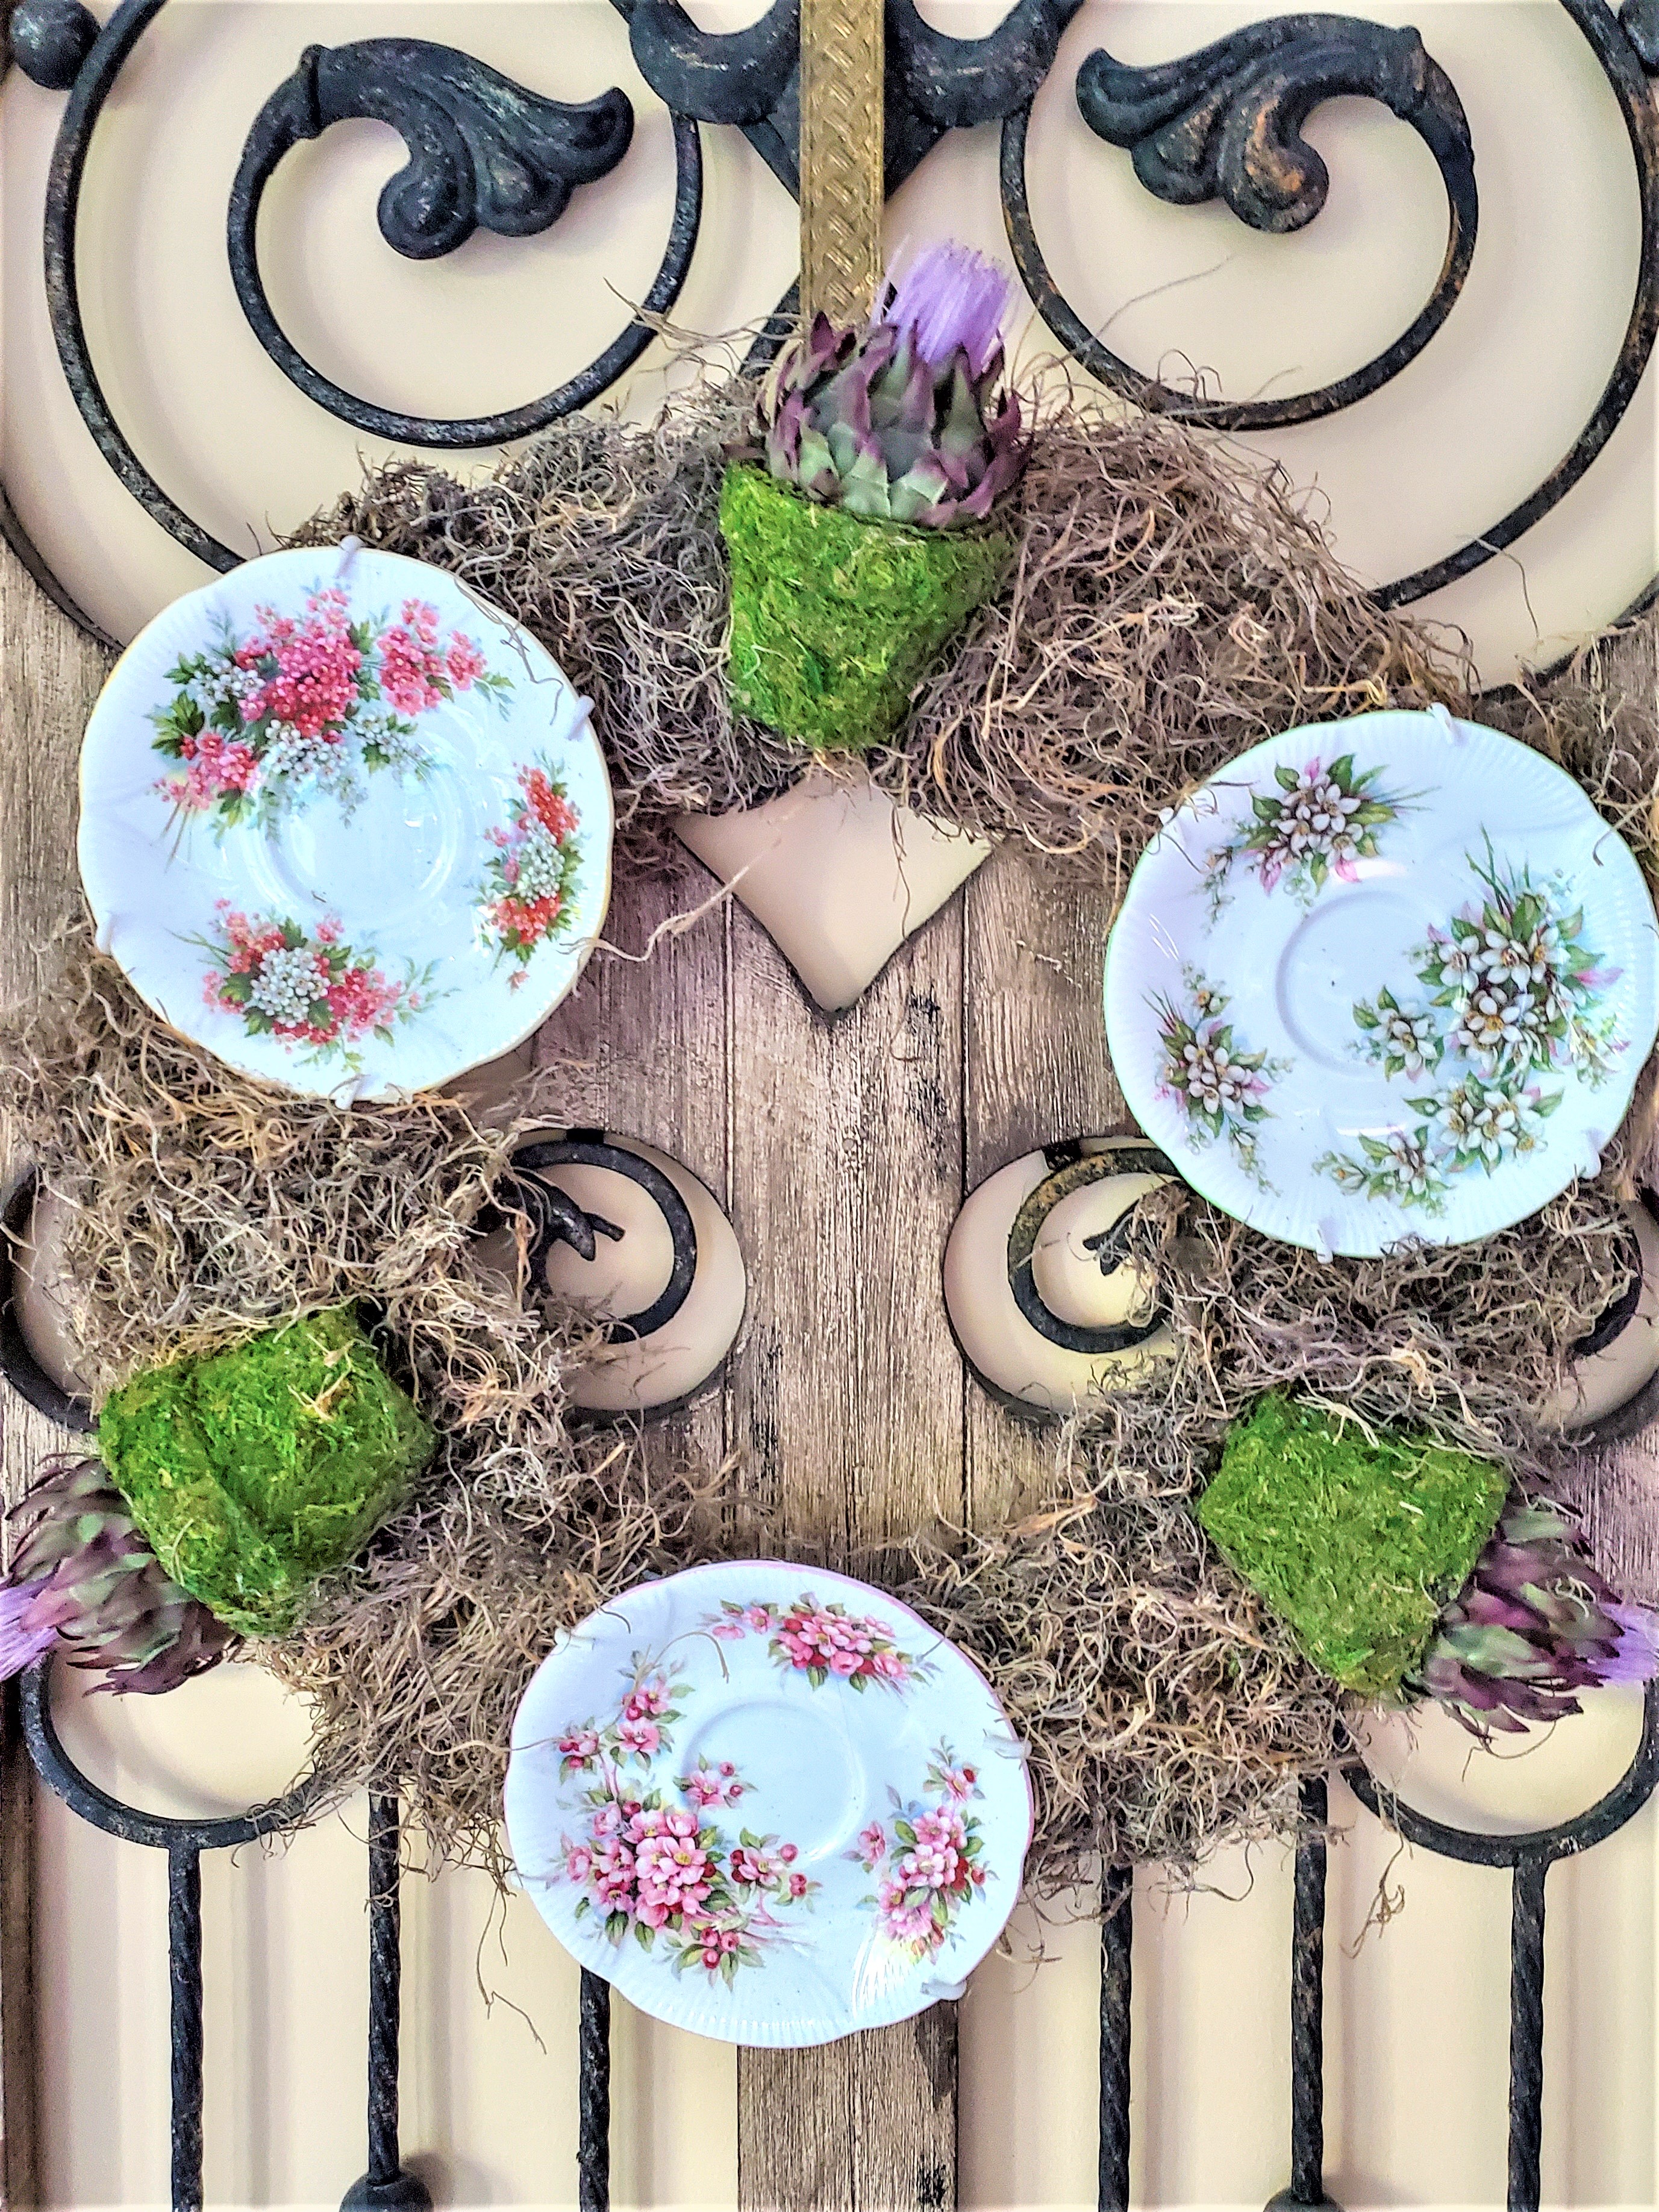
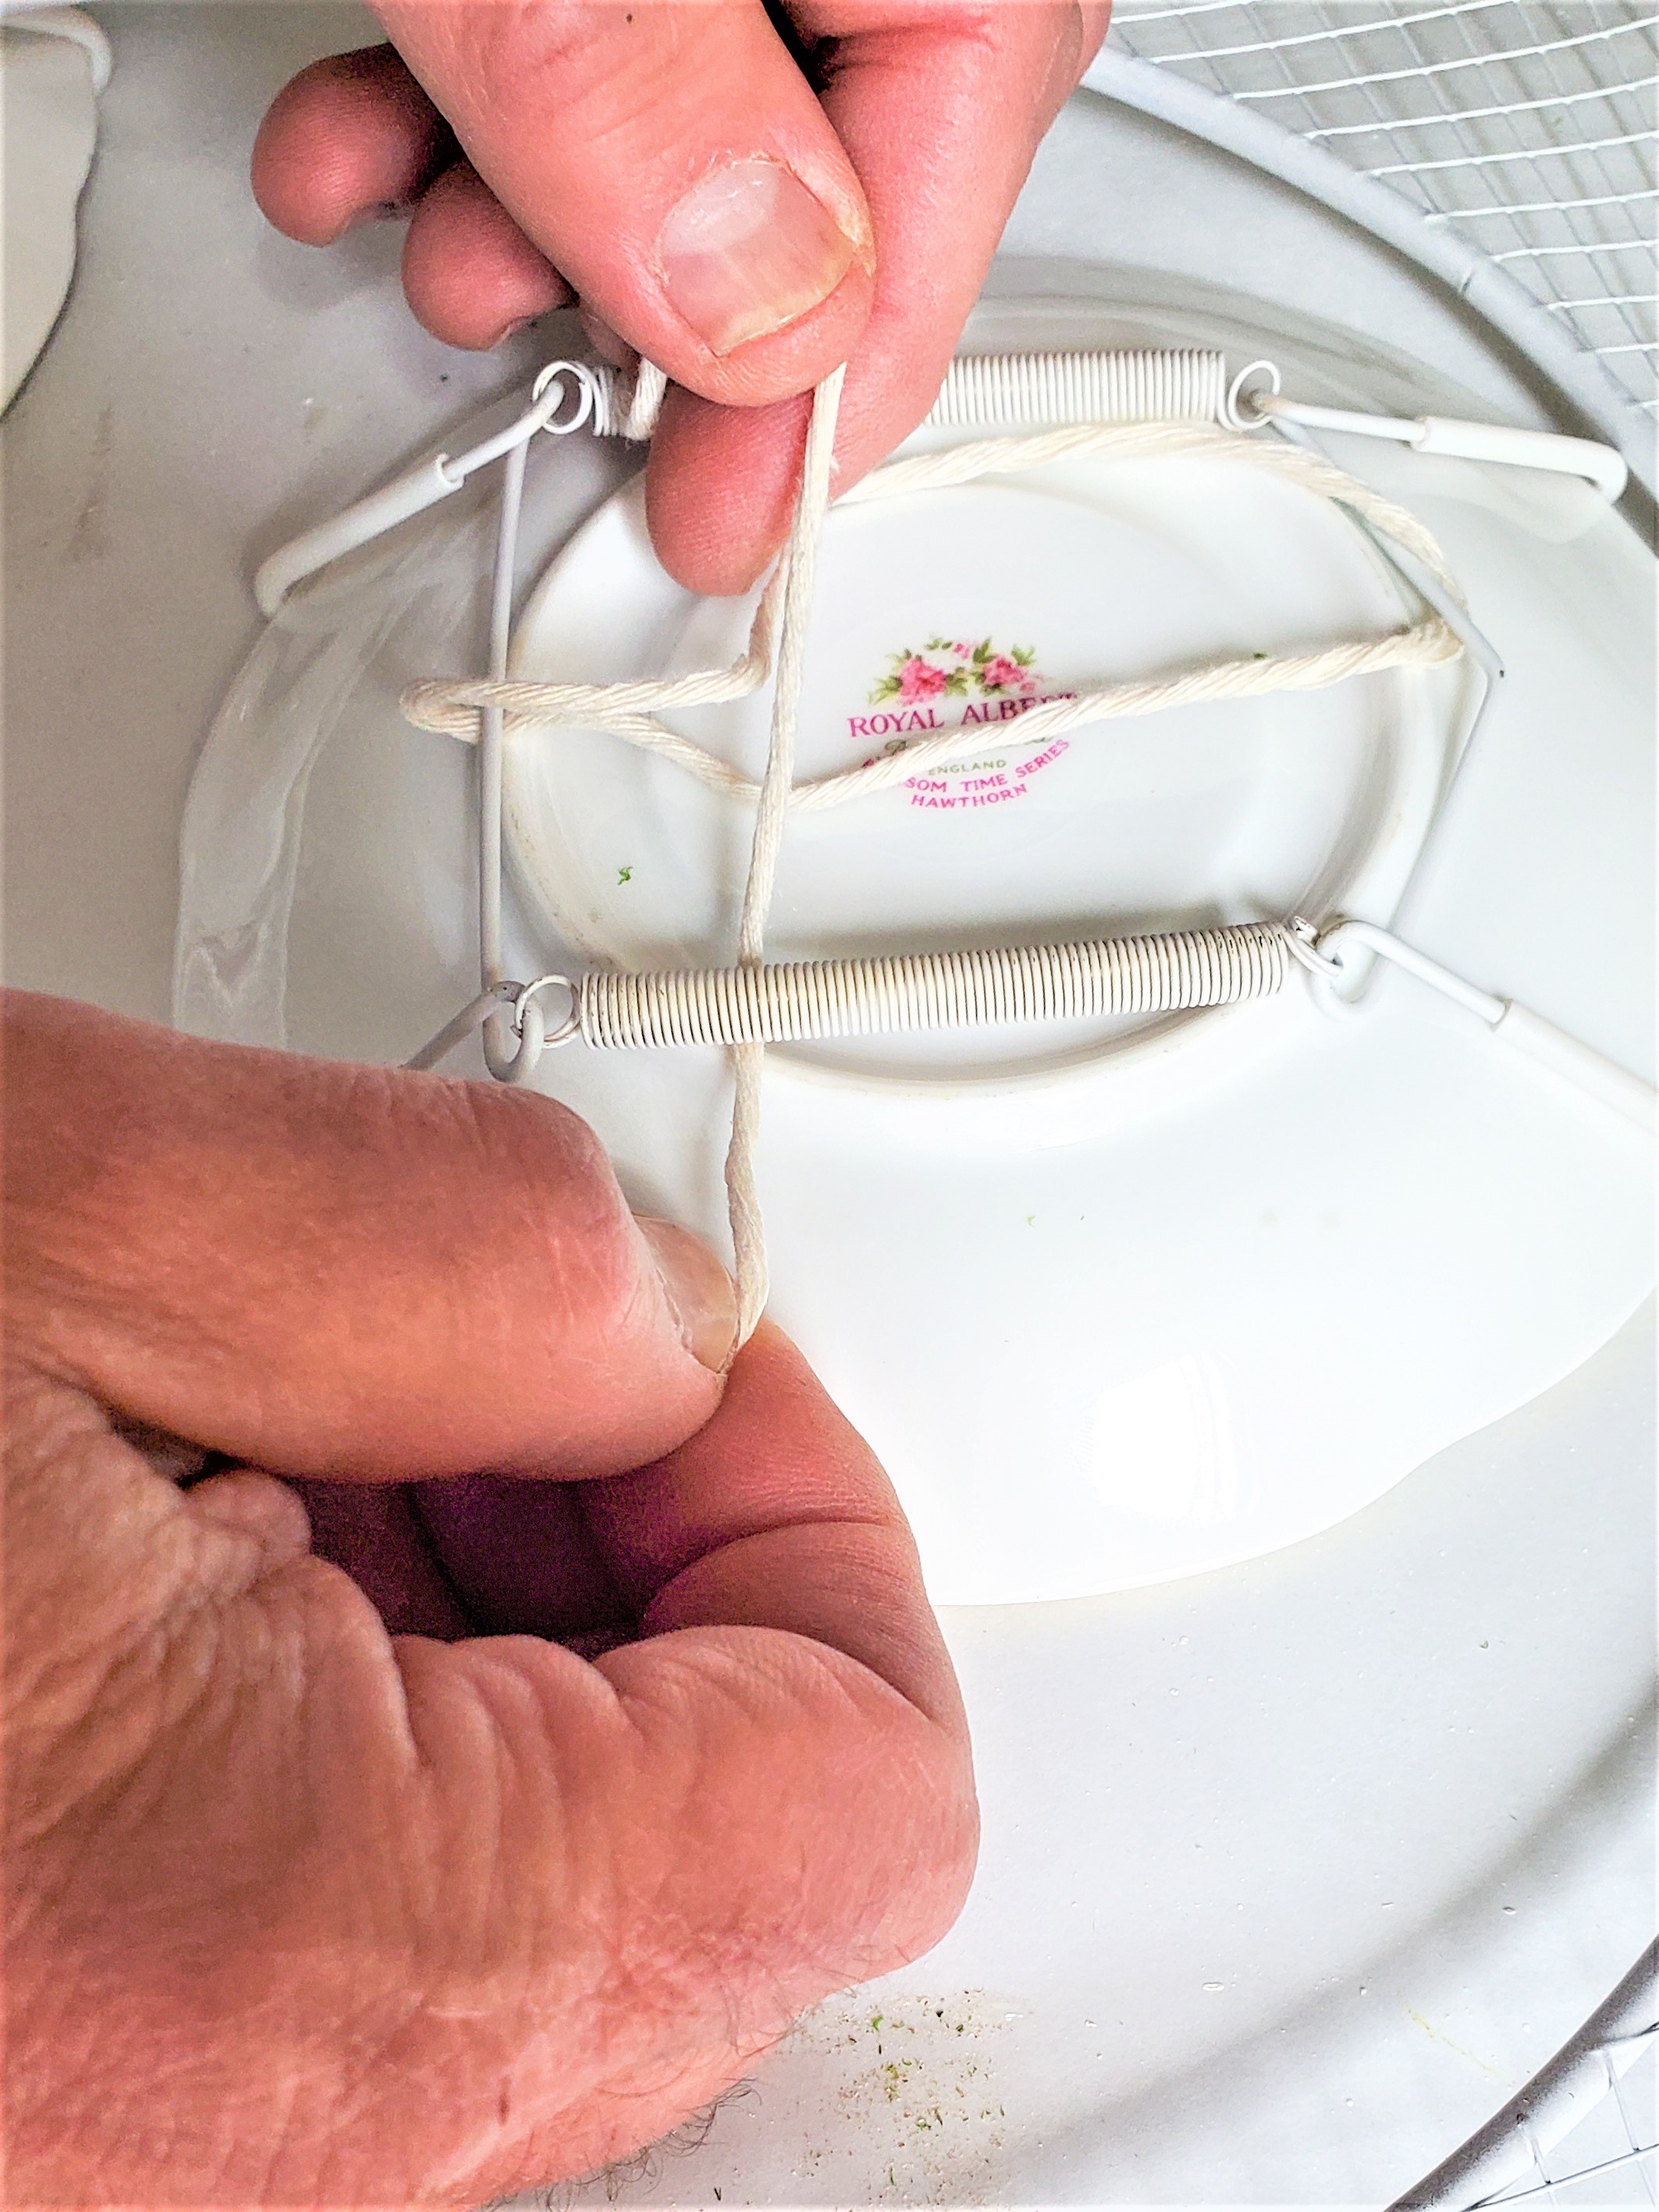
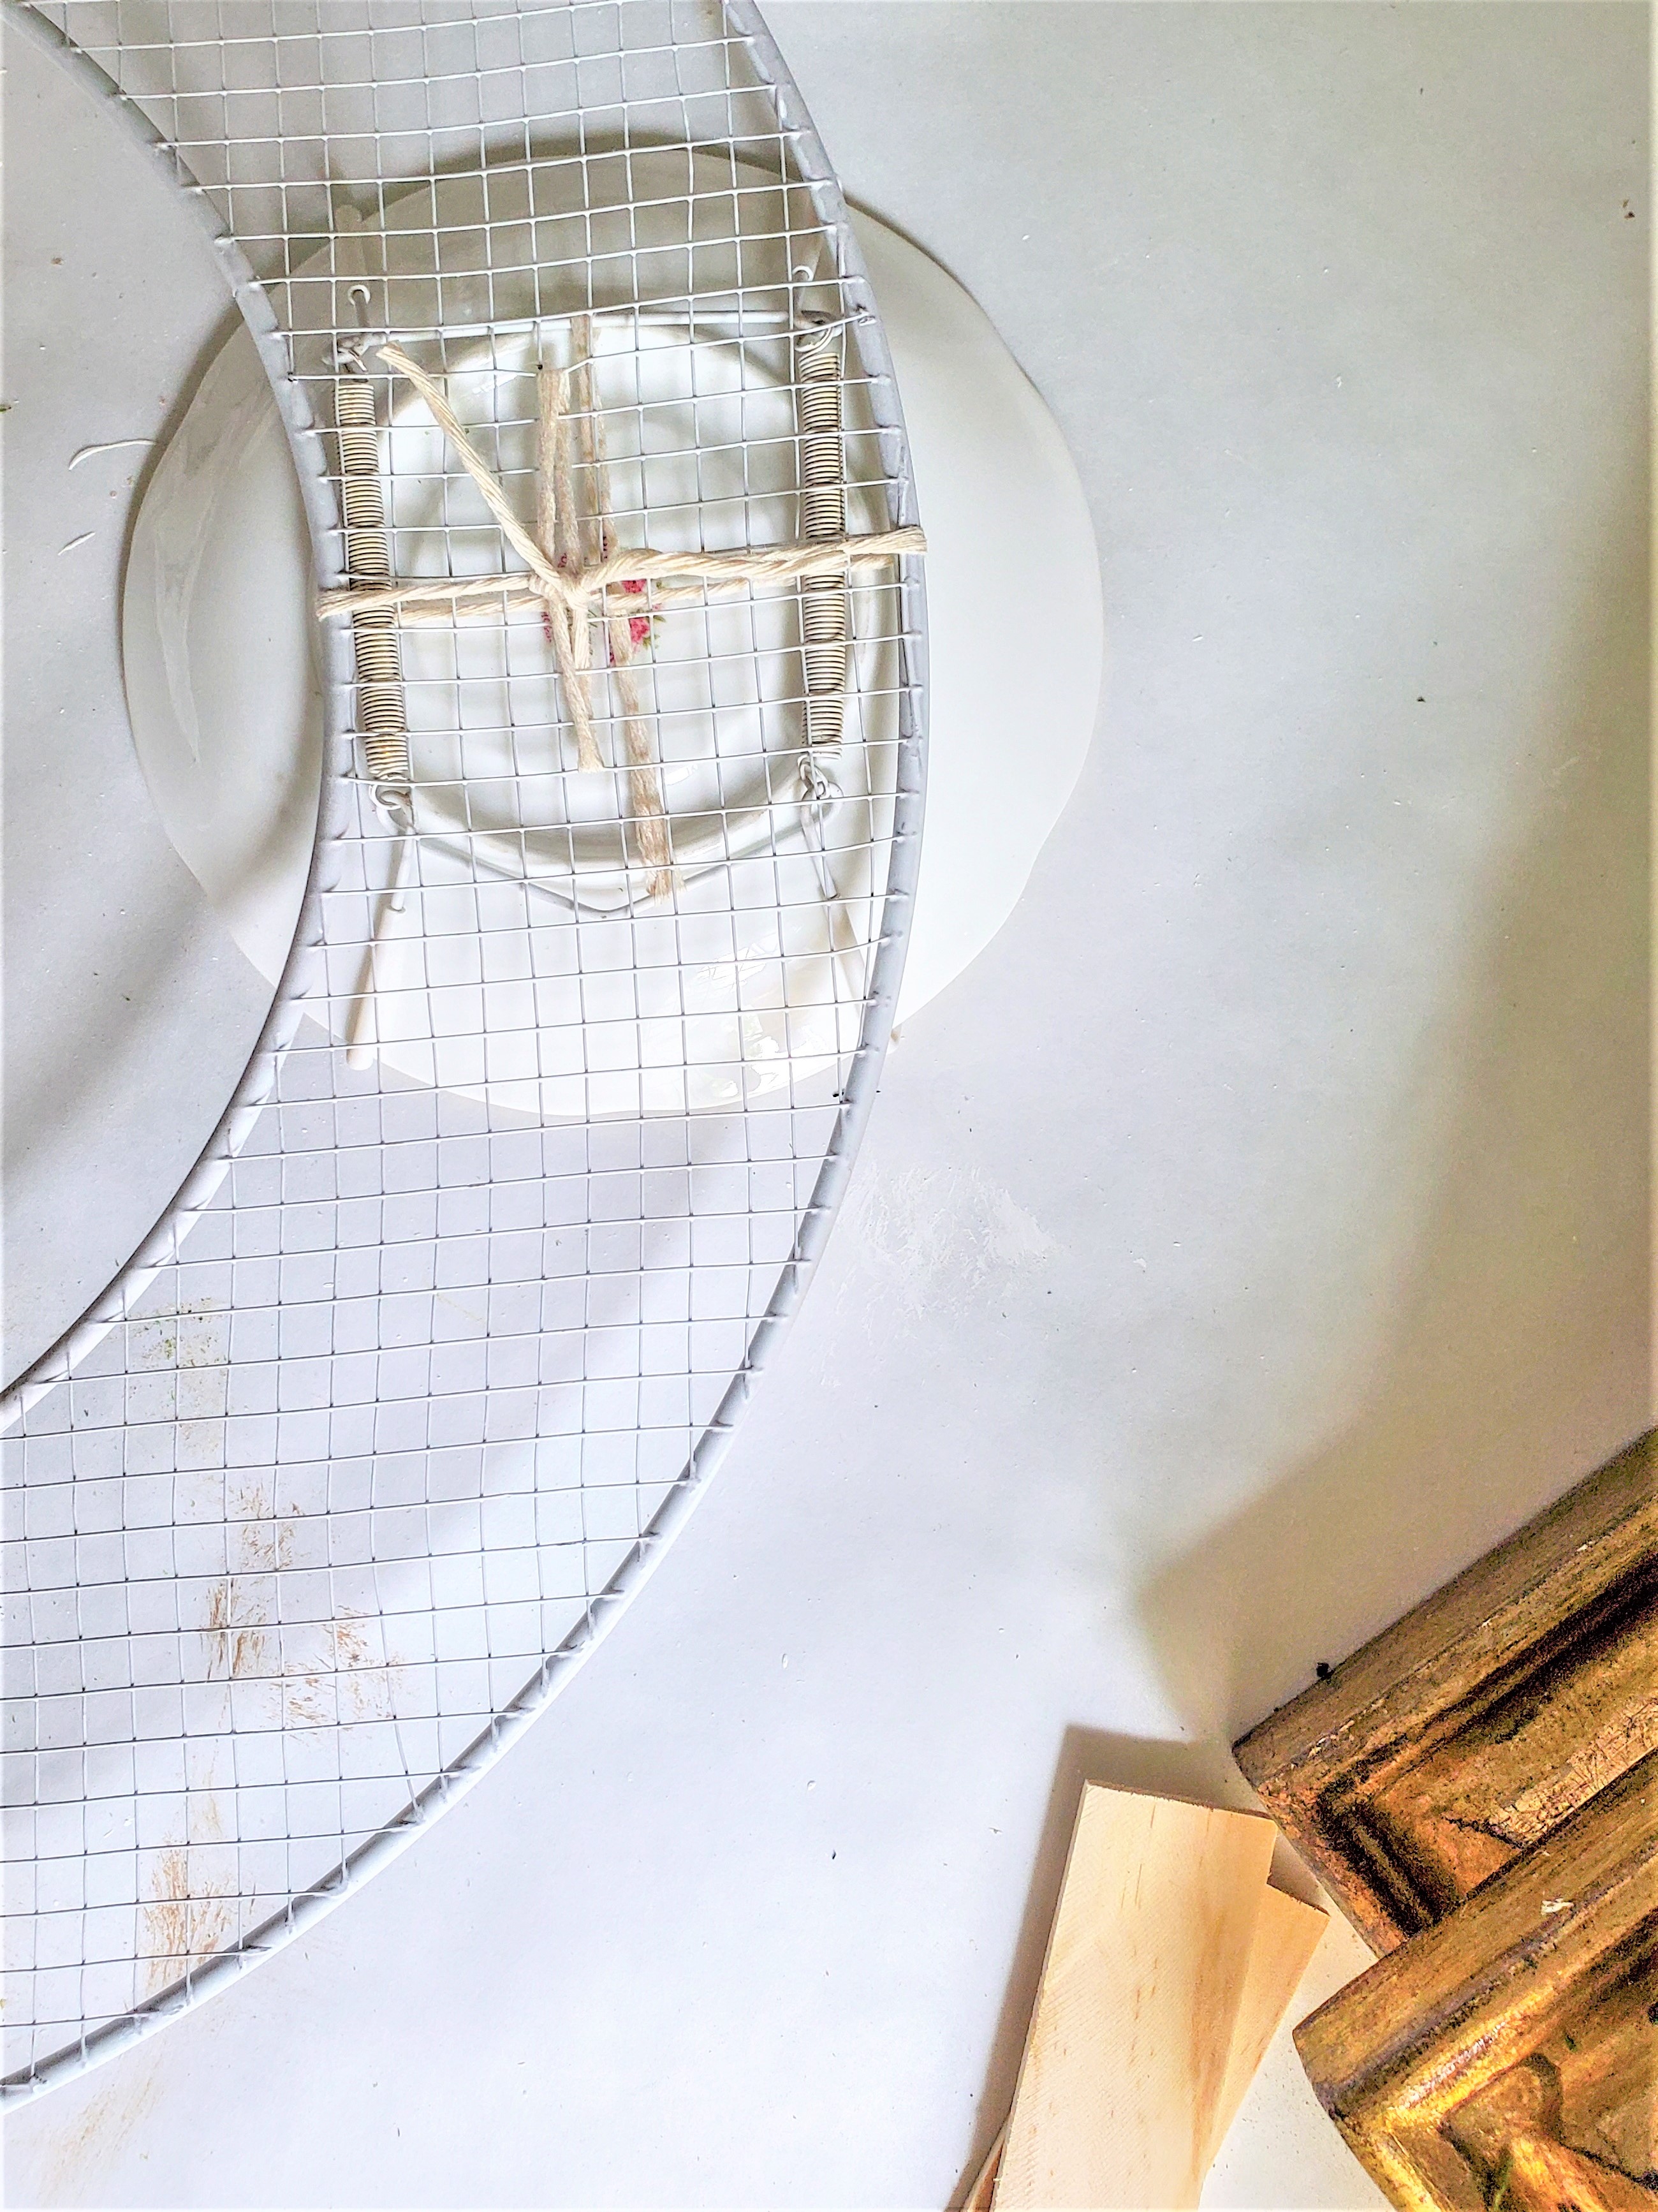
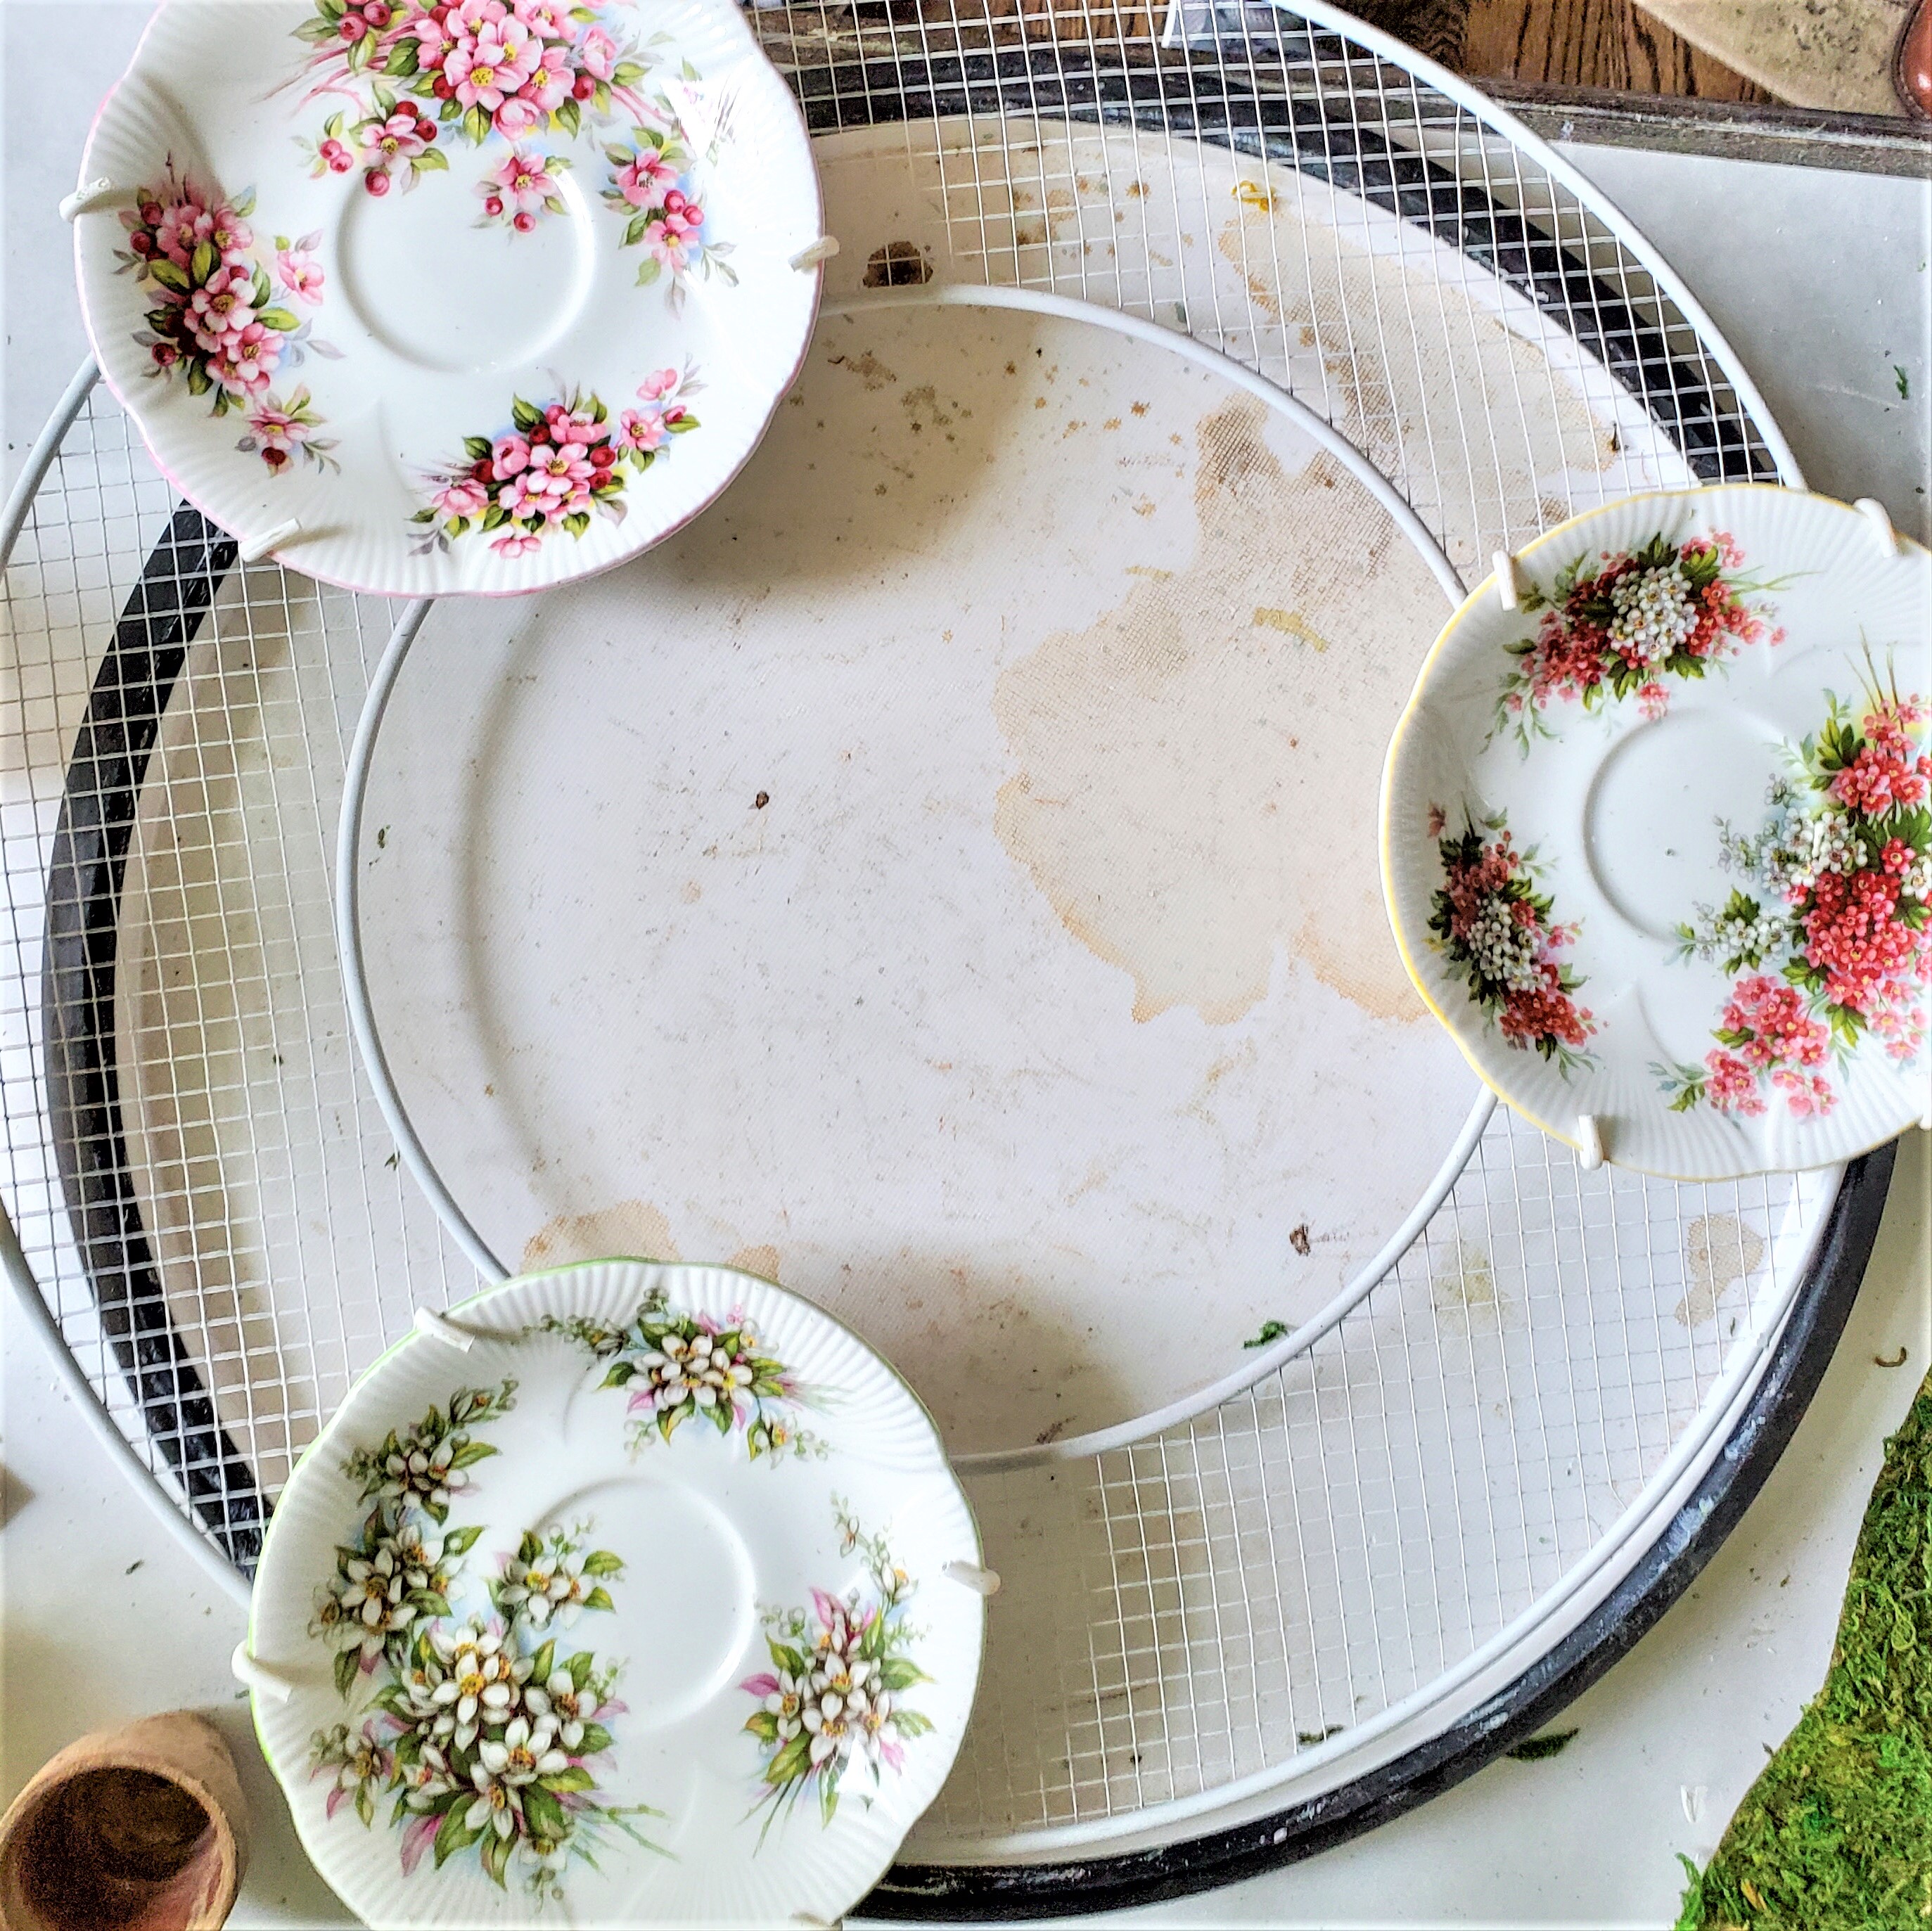
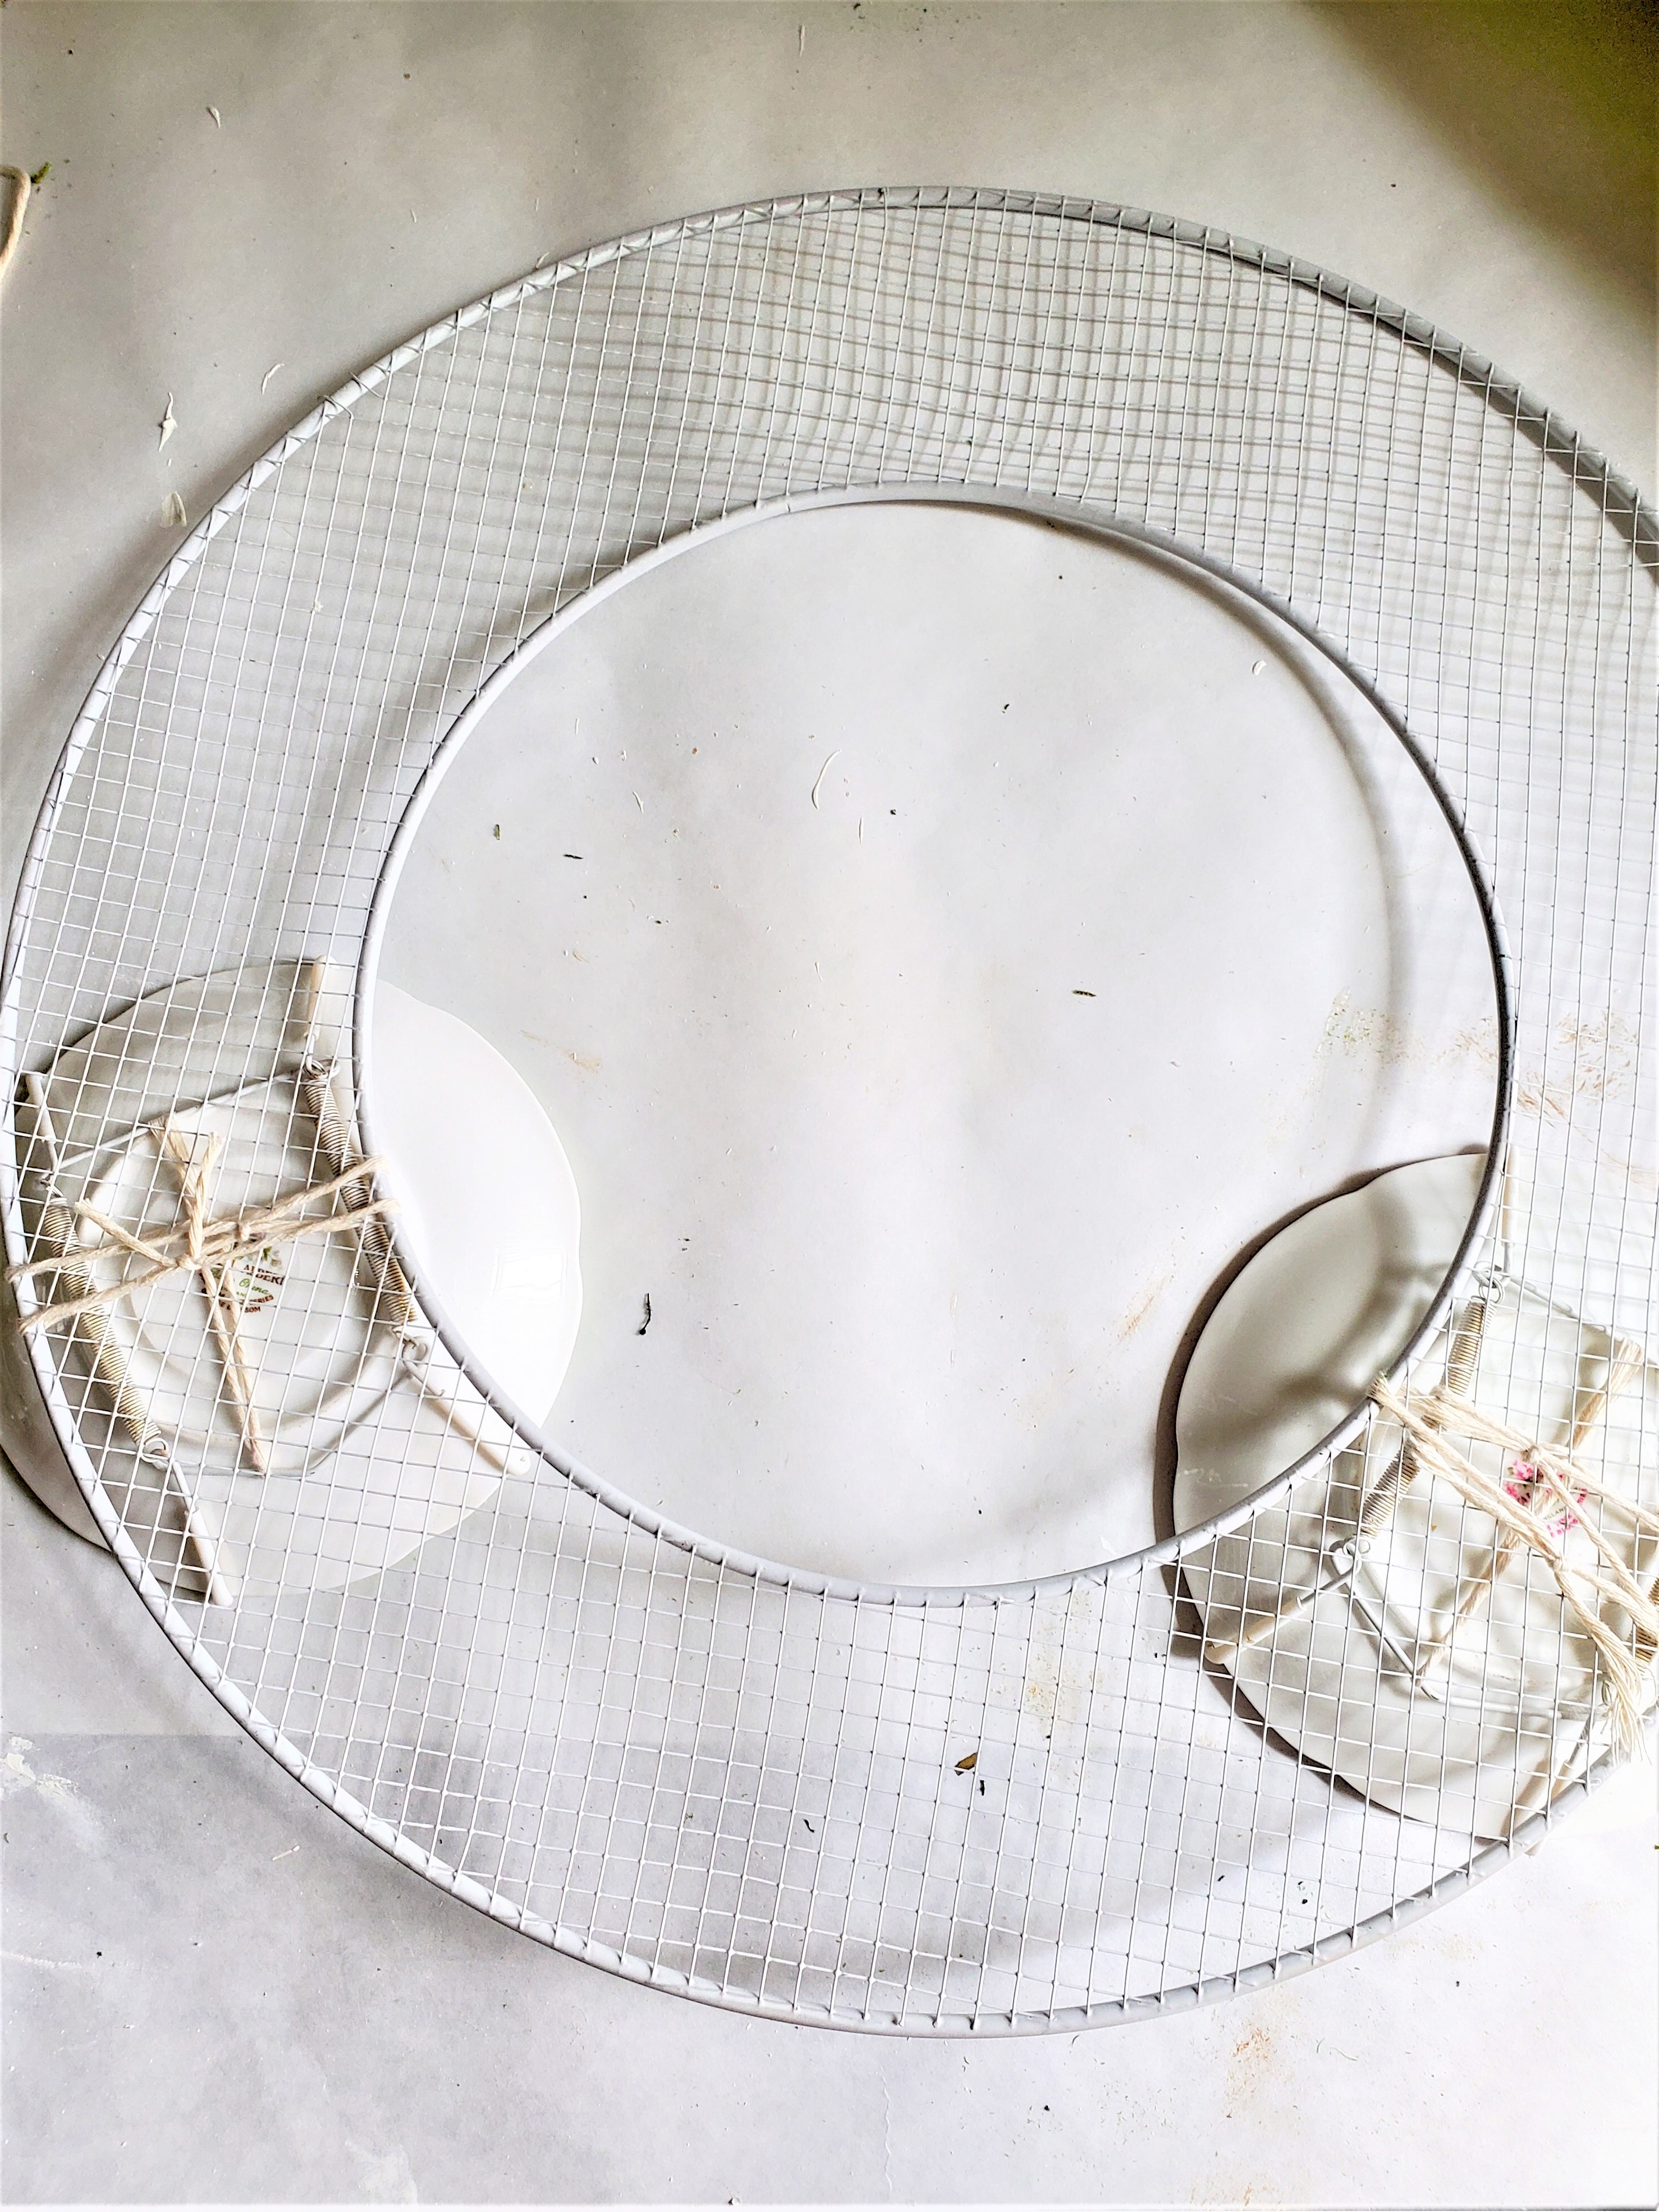
- Step 3: Attach The Dishes To The Wreath FormBegin attaching the small plates to the back of the wreath using butcher's twine or jute. Add this to the back side of the plate. Slide the string underneath each of the plate hangers. Loop it through the wreath frame, and tie a double knot.Repeat this process until all the plates are securely attached to the wreath form. Aim for a balanced arrangement, forming a triangle with the plates.
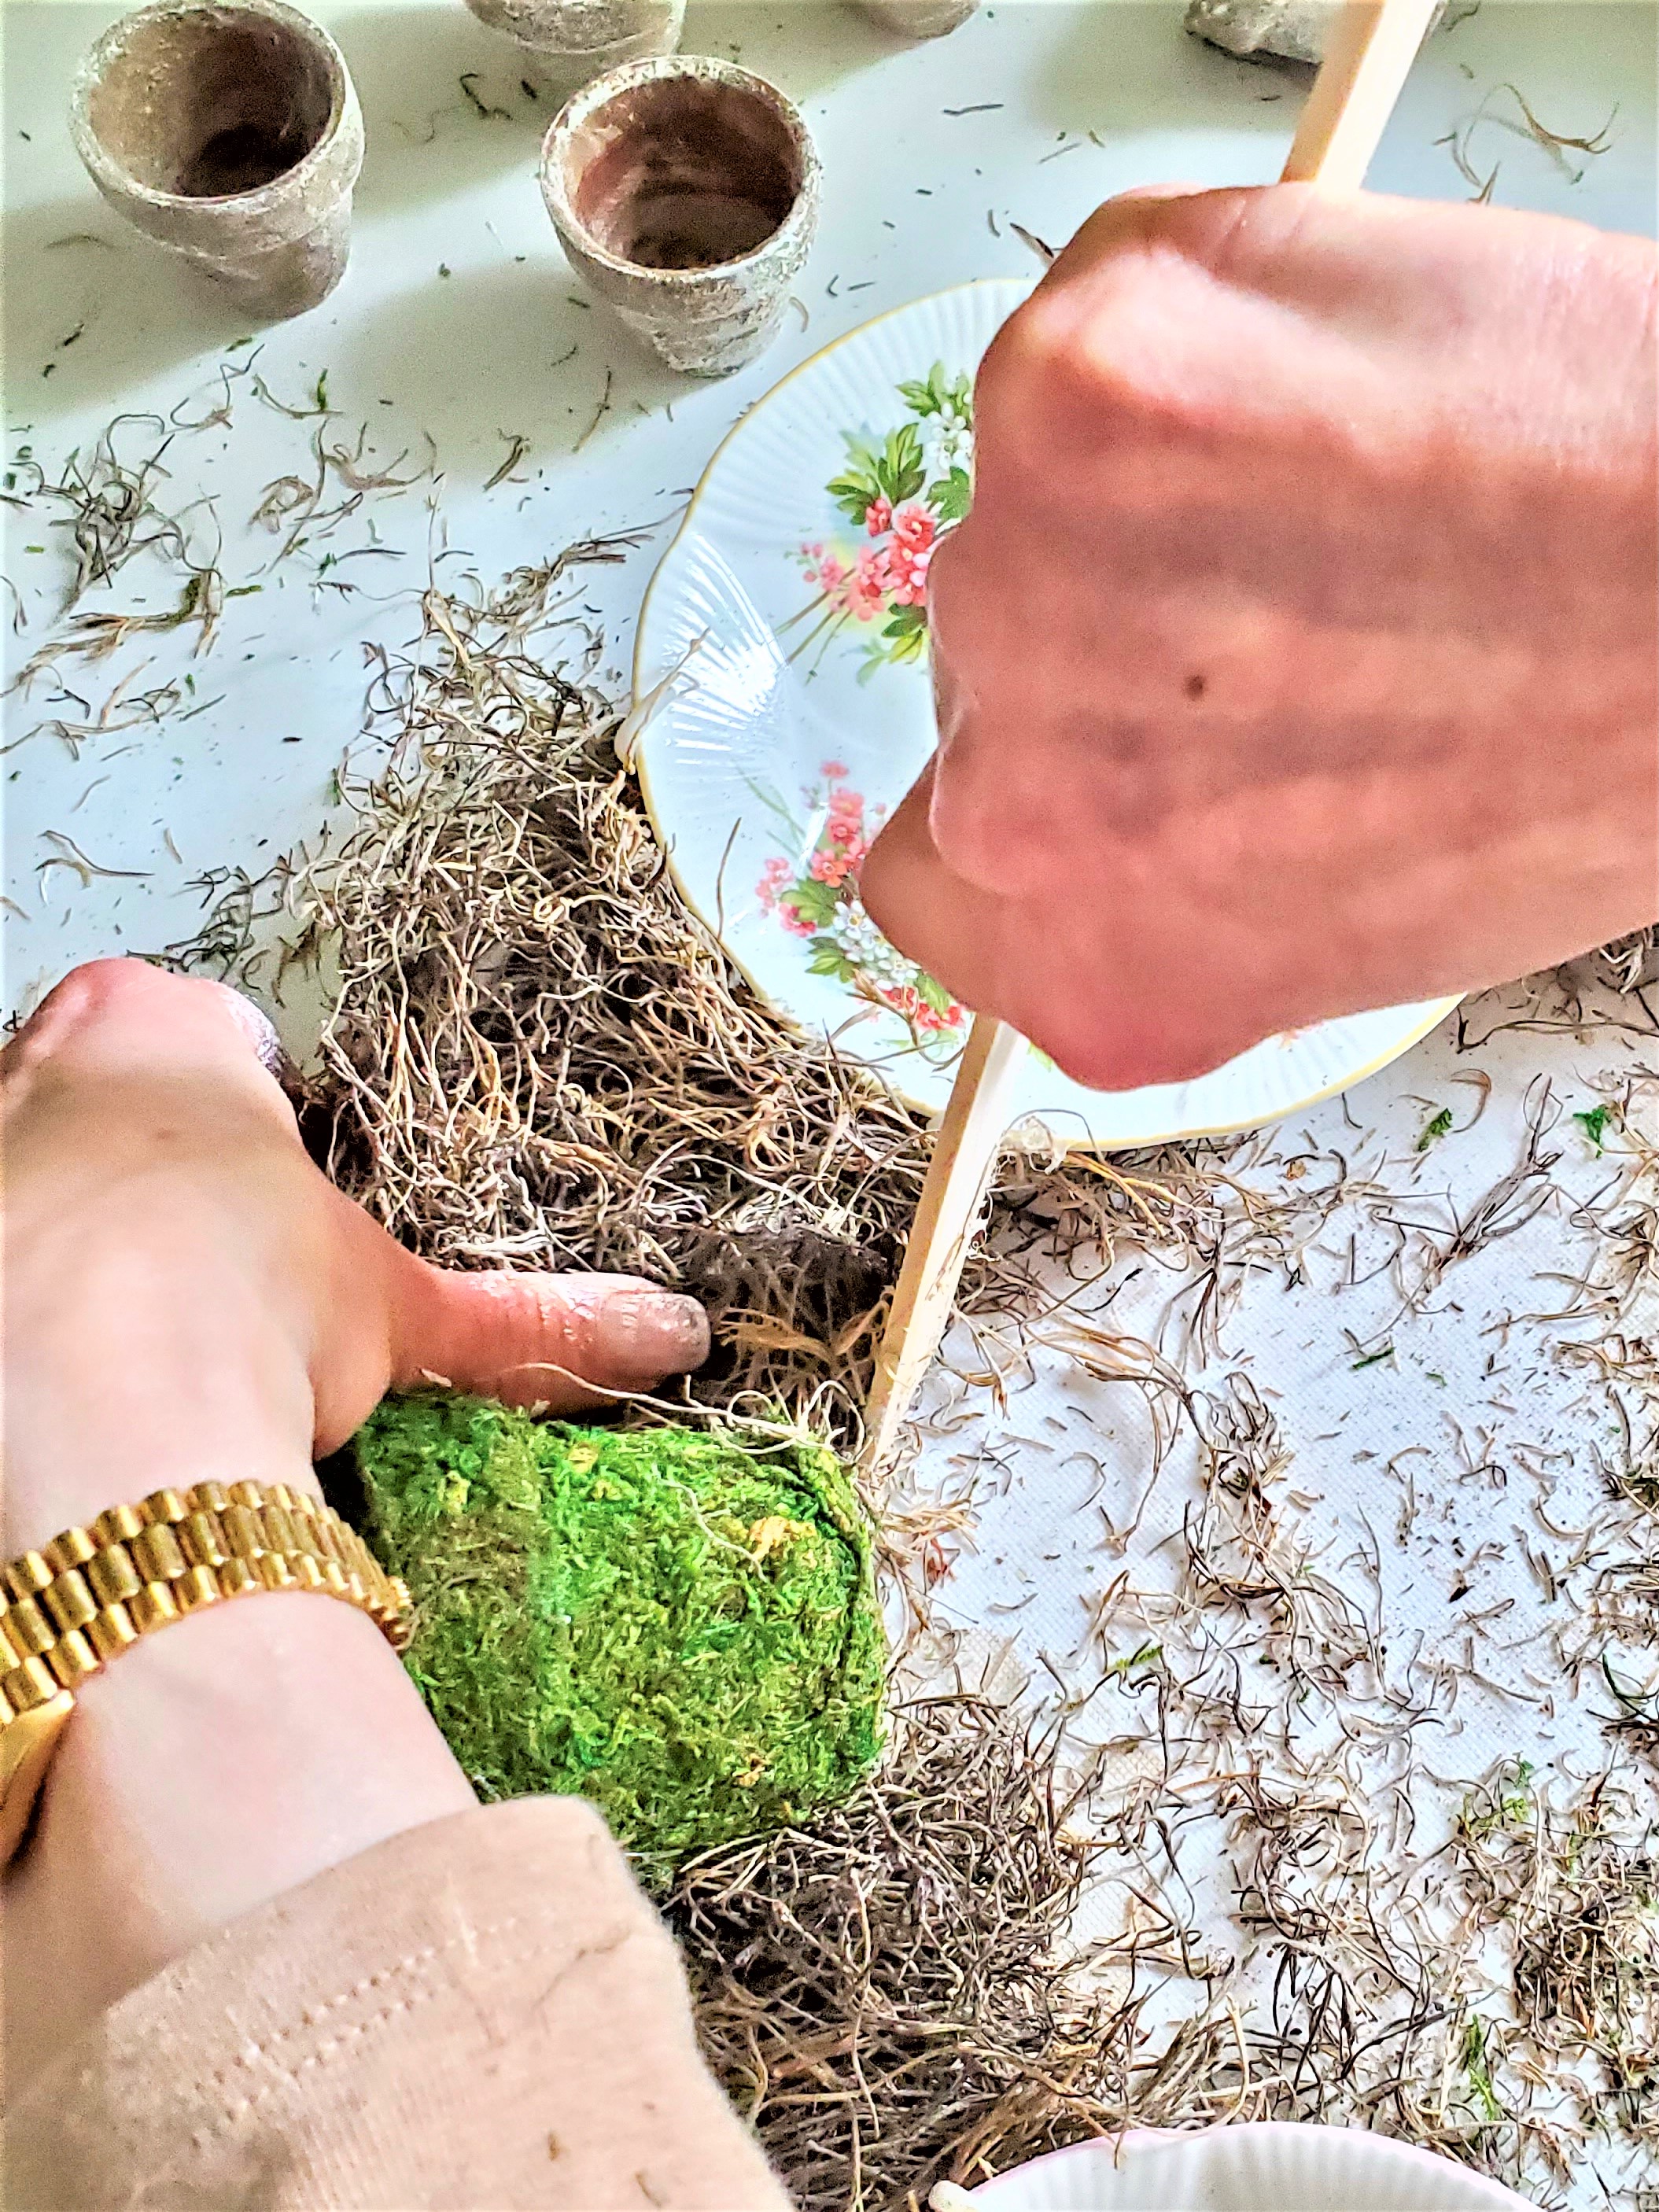
- Step 4: Connect The FlowerpotsUse jute to connect the flowerpots to the wreath. Push the jute through the hole on the bottom of each pot using a long tweezer or a similar tool.Pull the jute through the wreath frame and tie a double knot to secure the flowerpots in place.
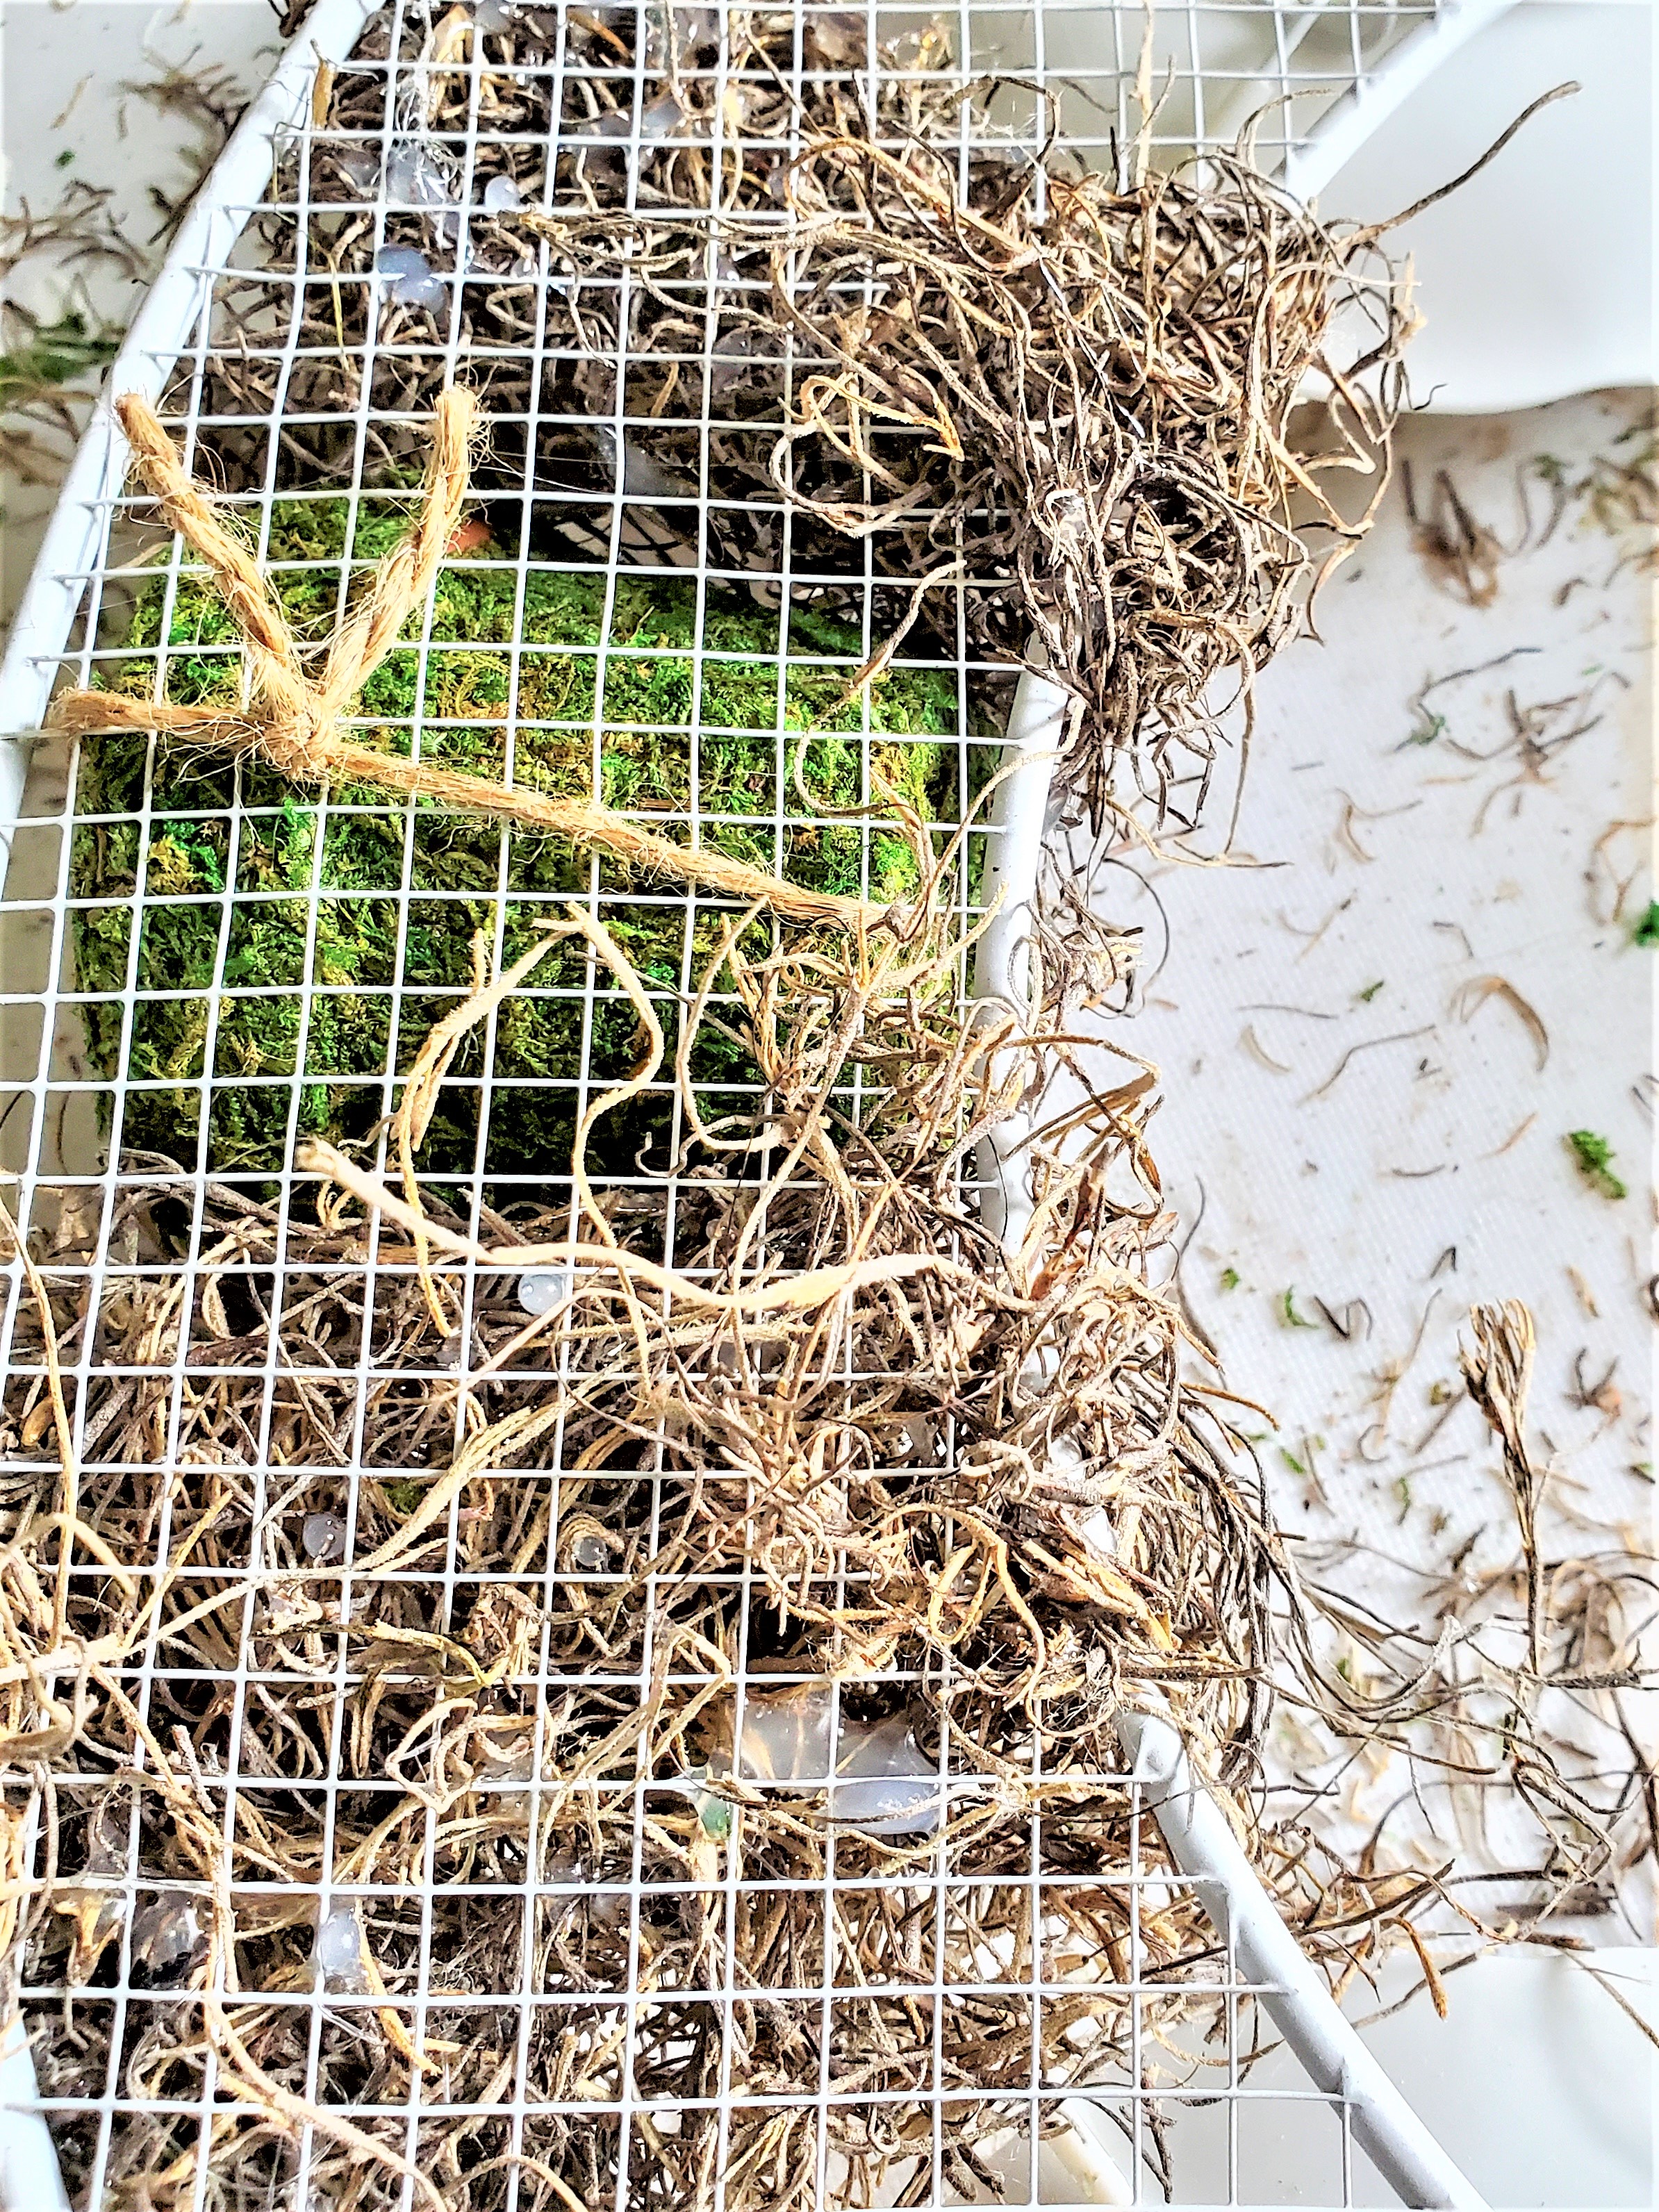
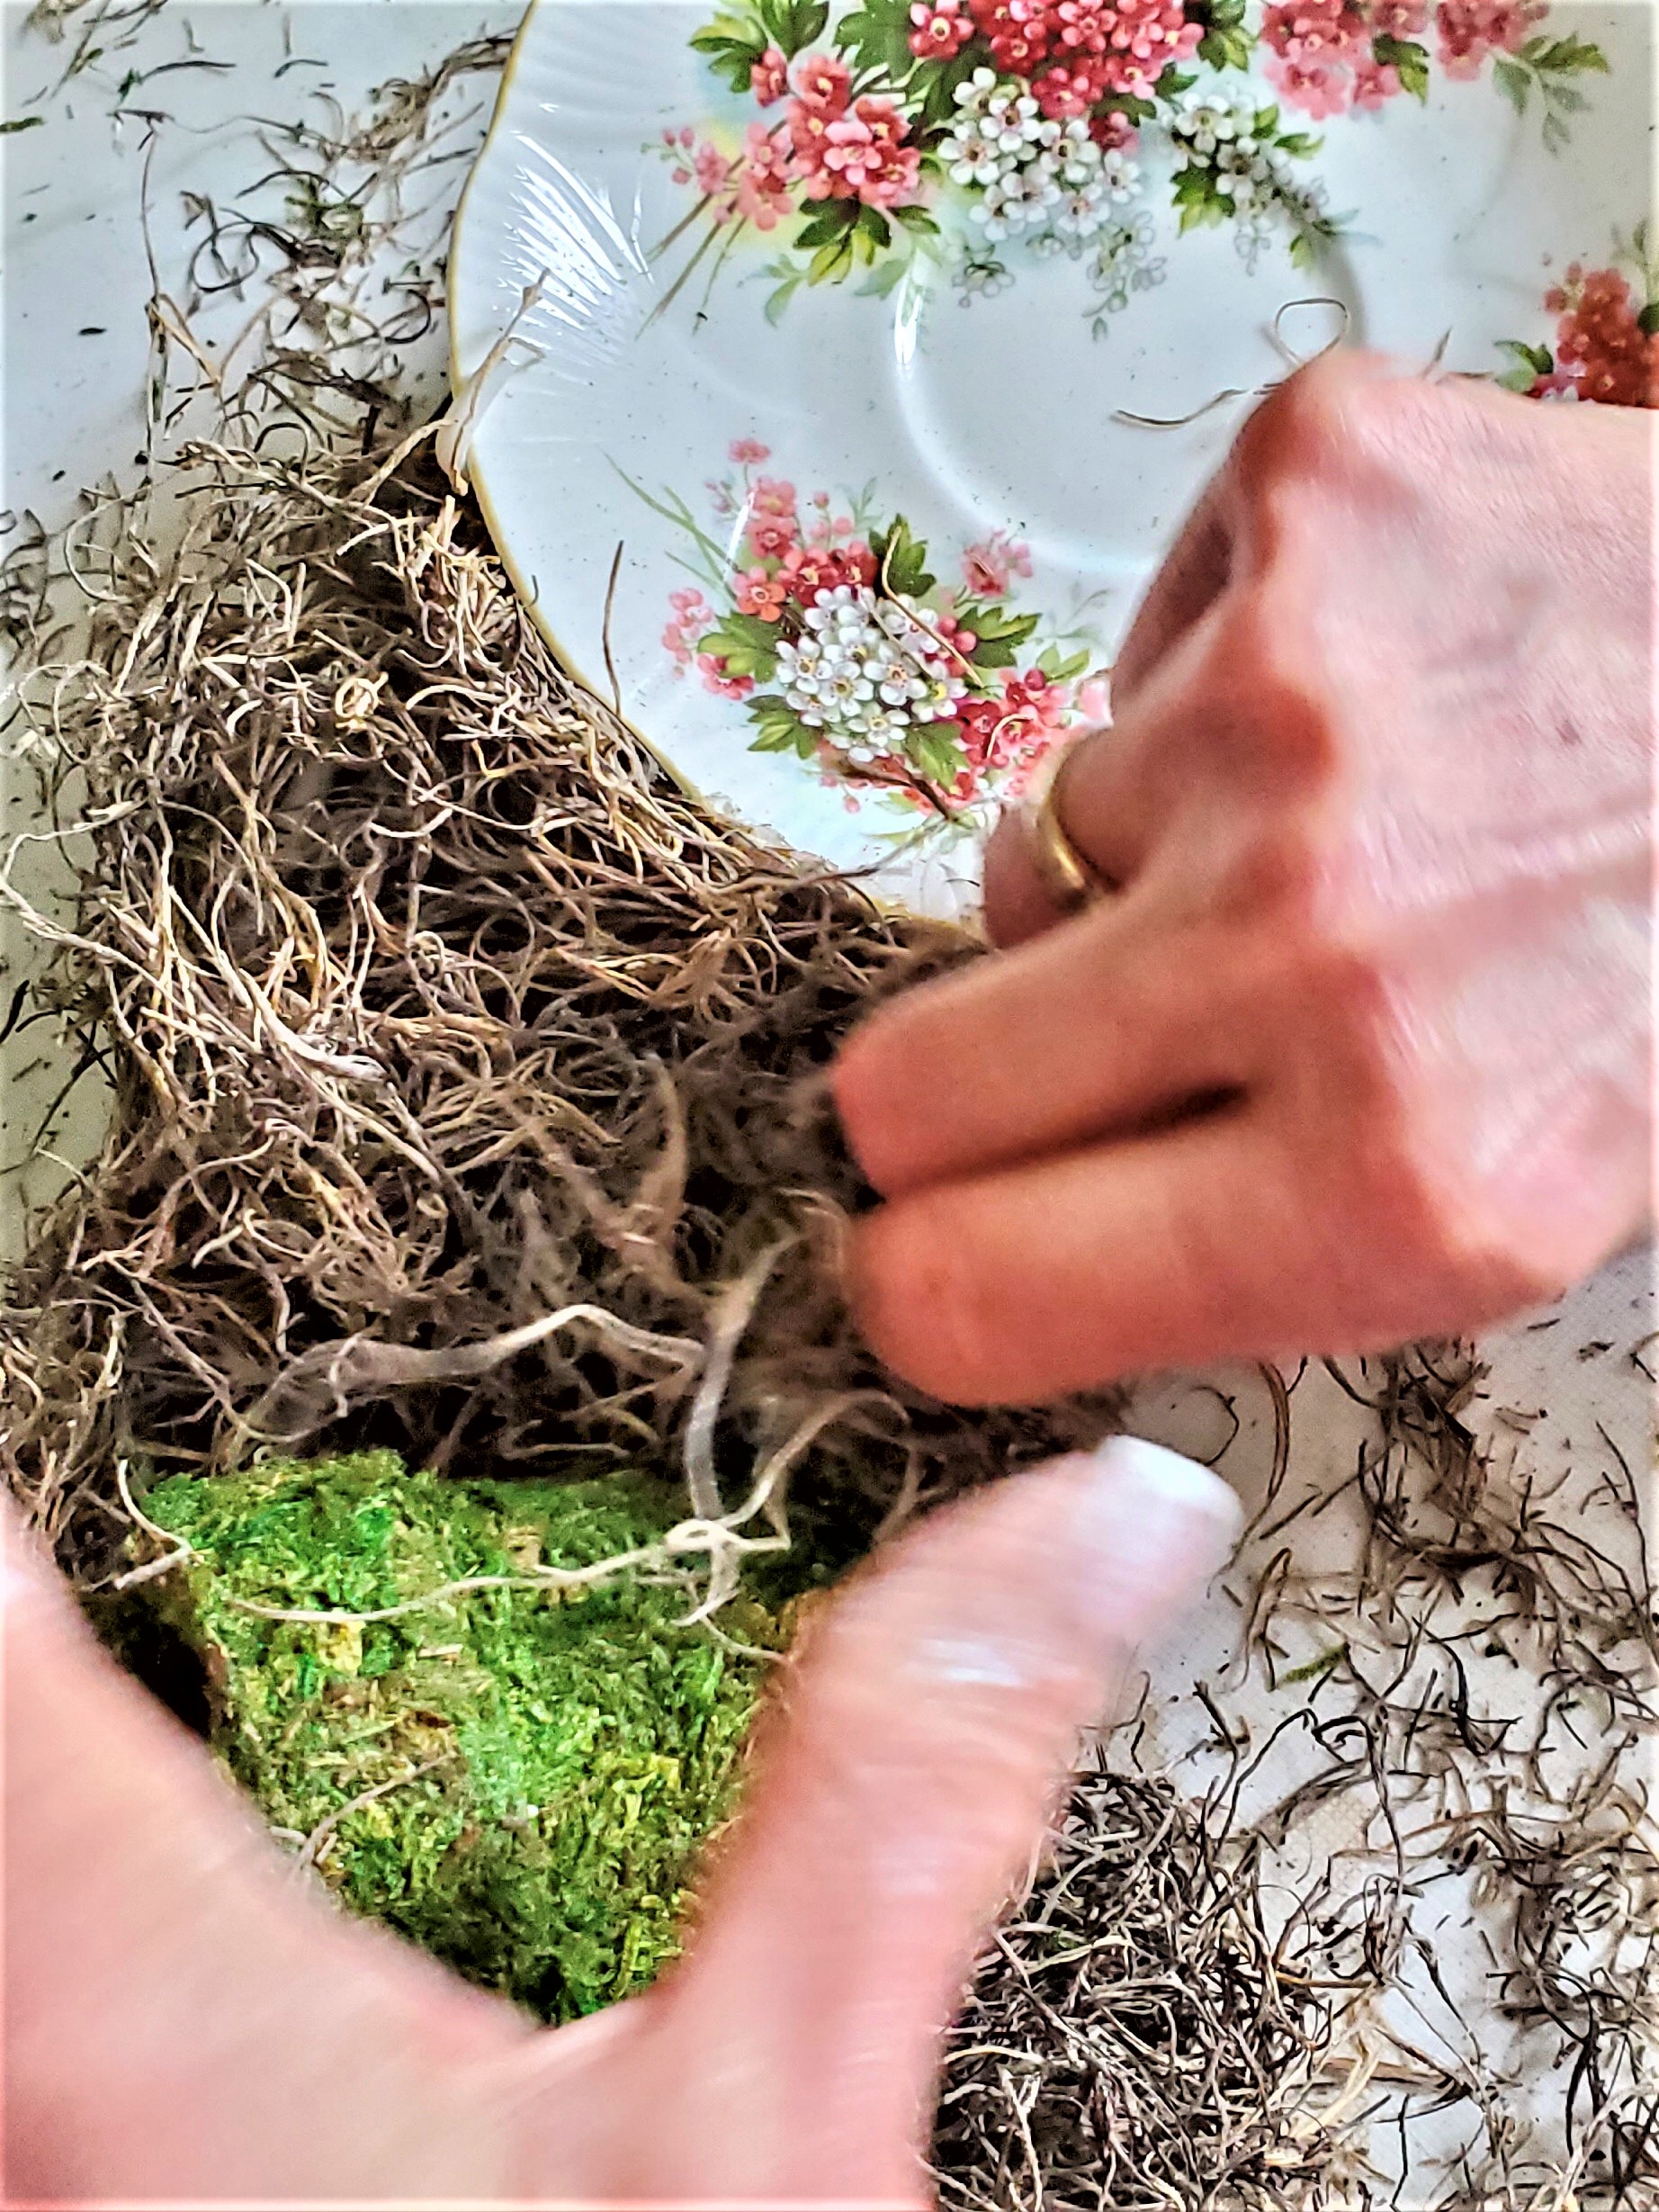
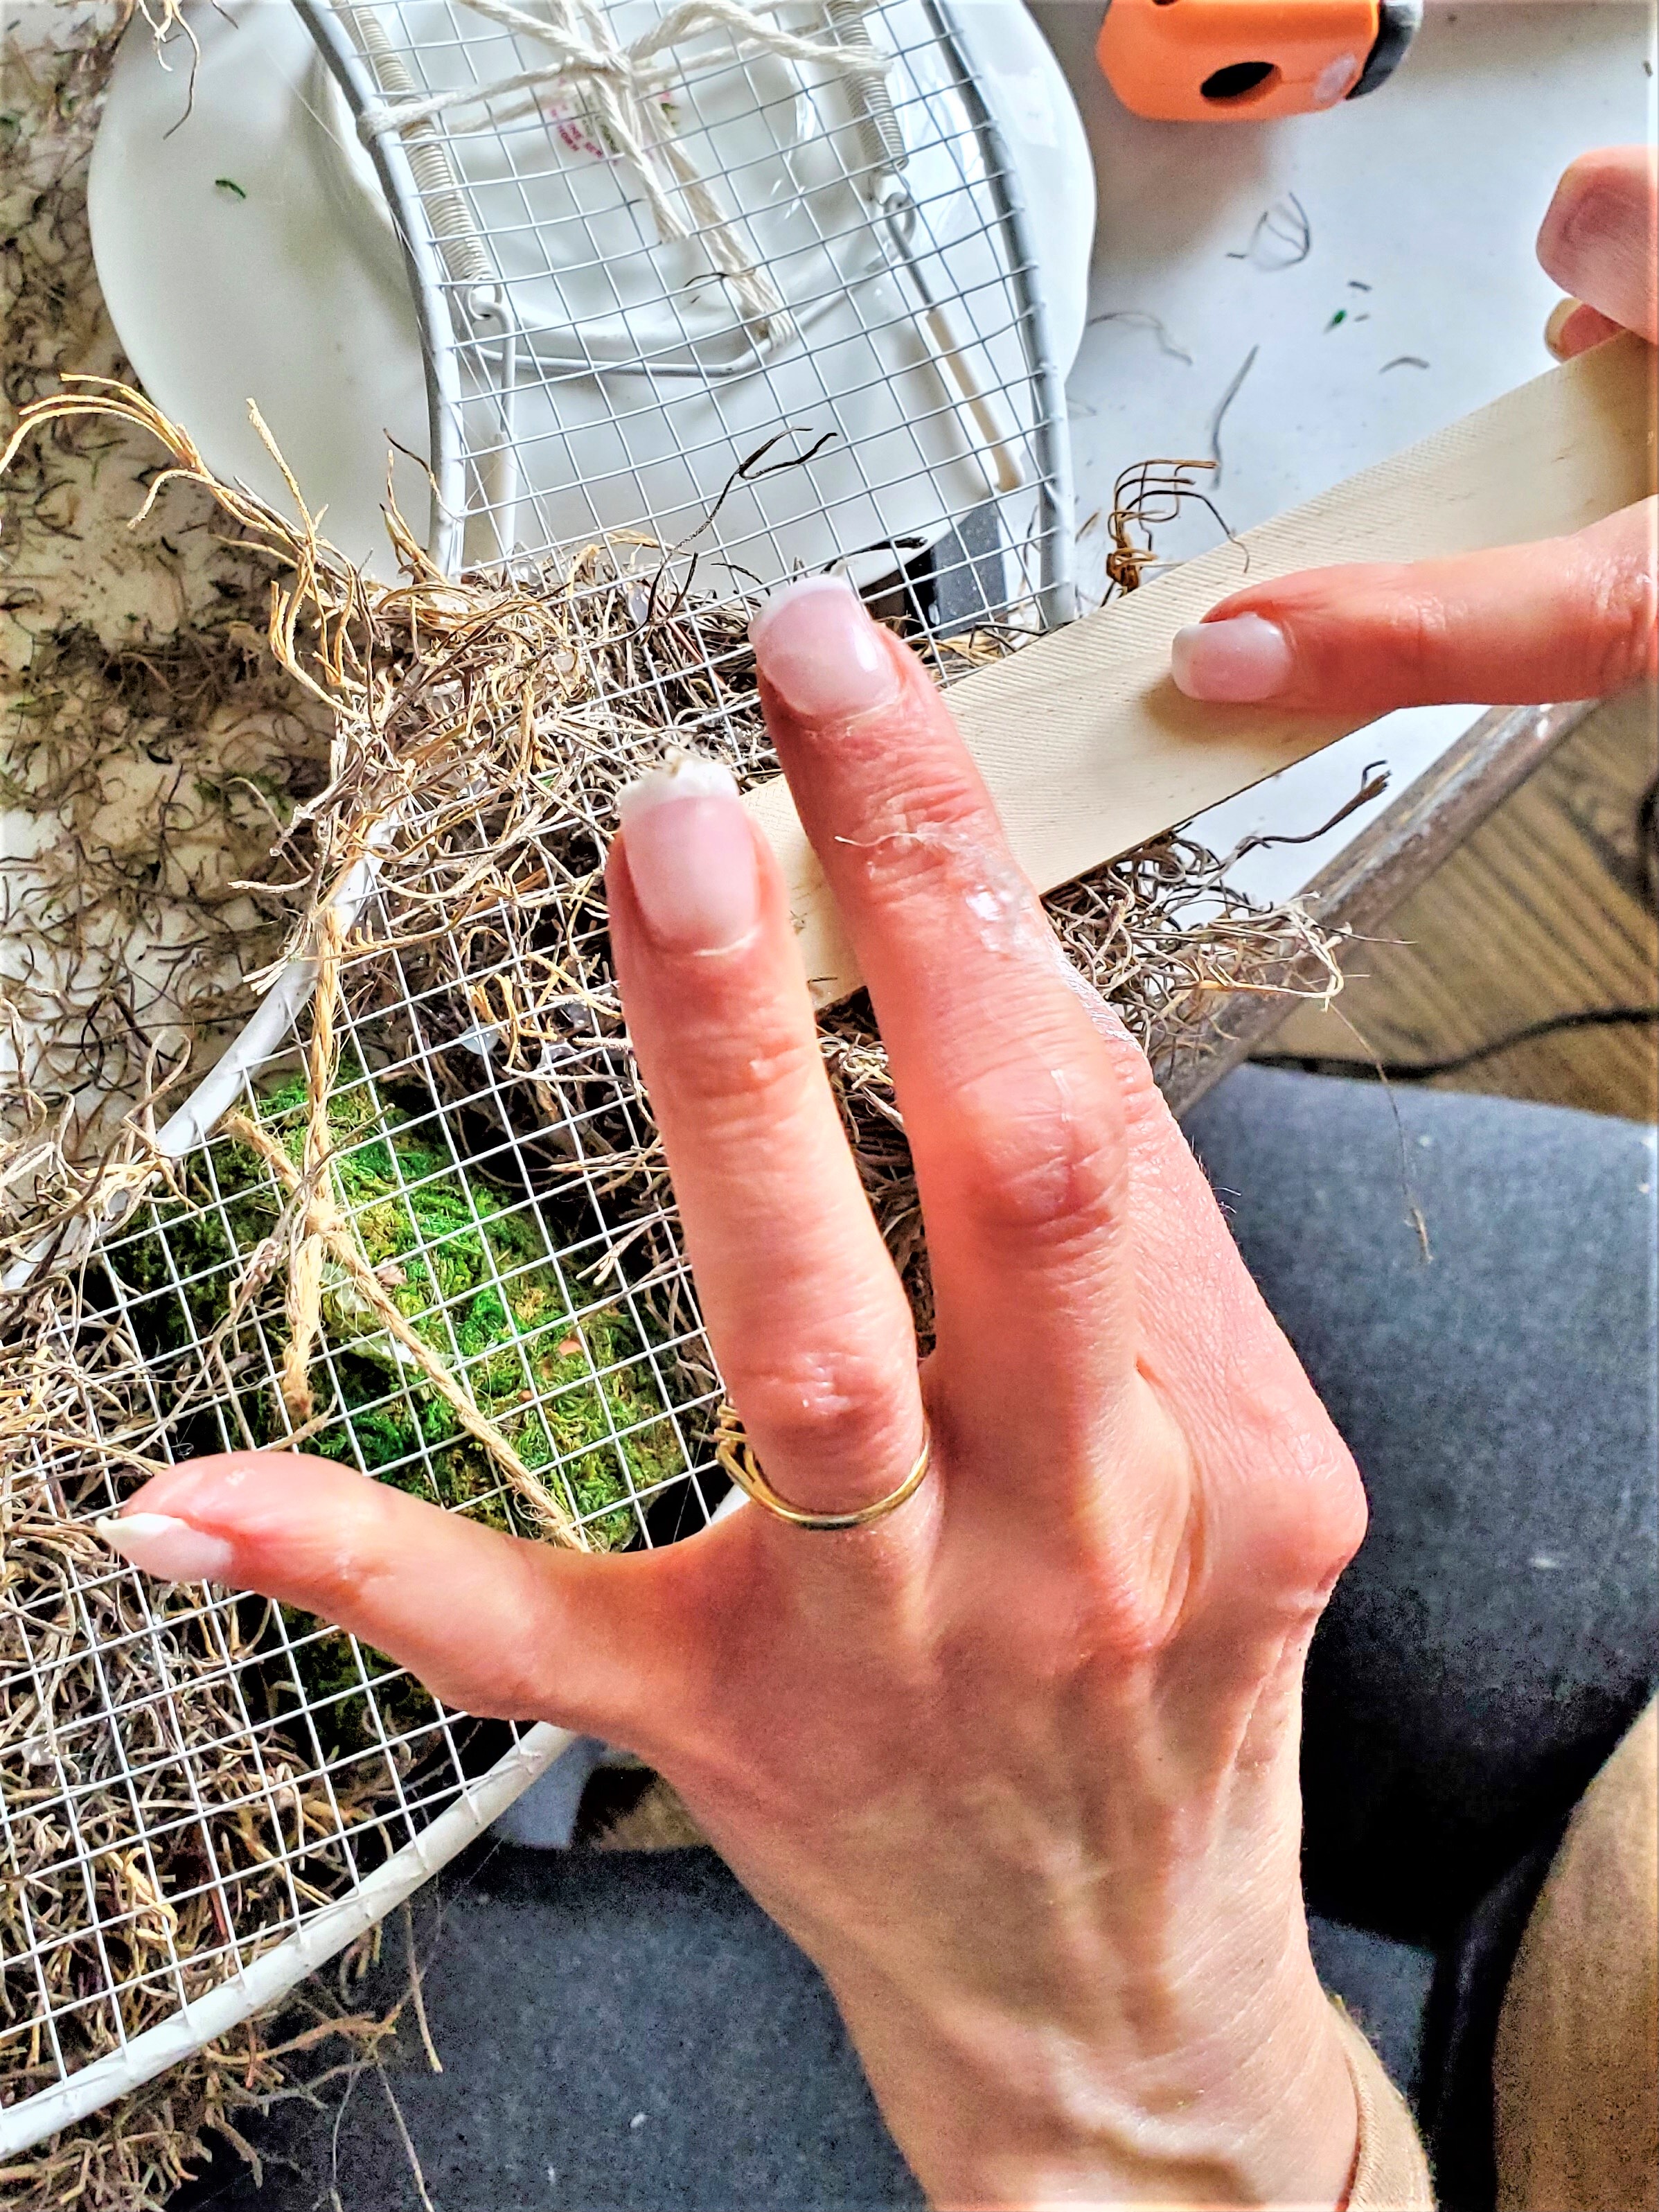
- Step 5: Cover The Wreath Form With MossTo add texture begin to lay moss the wreath frame, glue Spanish moss to the wreath using a hot glue gun.Cover the edges of the ring with moss.If adding moss doesn't work for you, add a mixture of greenery. Fill in spots with leaves from the craft store or extra pieces you may already own and have in your home.
- Step 6: Add Decorative ElementsFinally, you can add blooming artichokes or any other decorative elements such as baby's breath, or faux lavender to the wreath. Use hot glue to attach them securely.You can use faux eucalyptus bundles, or succulents for a different look.
Notes
How To Make A Plate Wreath Craft Damage Free
Craft Supplies:
-
- Wreath form or flat metal wire wreath frame)
-
- 3 saucers or small plates
-
- Butcher's twine or jute
-
- Flowerpots
-
- Moss (sheet moss or Spanish moss)
-
- Hot glue gun
-
- Blooming artichokes or other decorative elements
-
- Spray paint (optional)
-
- Wire plate hanger
Step 1: Prepare The Wreath Form
-
- If you're using a metal mesh wreath form or a wire wreath, you can spray paint it white or with a desired color. Let it dry.
-
- Attach the plate hangers to the back side of the plate. White plate hangers blend with the plate wreath or use layers of Velcro command strips. Personally, plate hangers are the best option and are the most sturdy to keep plates damage free that are added on top of the moss.
Step 2: Cover The Flowerpots
- Cut pieces of self-stick sheet moss and use them to cover the flowerpots. Start with a narrow strip to stick around the rim of the pot, then cut small squares to cover the sides.
- Add a thin strip of moss to the edge of each flowerpot to create a finished look. Also, cover the bottom of the pots with a small square of moss. If you don't want to add sheet moss feel free to paint the pots.
Step 3: Attach The Dishes To The Wreath Form
-
- Begin attaching the small plates to the back of the wreath using butcher's twine or jute. Add this to the back side of the plate. Slide the string underneath each of the plate hangers. Loop it through the wreath frame, and tie a double knot.
-
- Repeat this process until all the plates are securely attached to the wreath form. Aim for a balanced arrangement, forming a triangle with the plates.
Step 4: Connect The Flowerpots
-
- Use jute to connect the flowerpots to the wreath. Push the jute through the hole on the bottom of each pot using a long tweezer or a similar tool.
-
- Pull the jute through the wreath frame and tie a double knot to secure the flowerpots in place.
Step 5: Cover The Wreath Form With Moss
-
- To add texture begin to lay moss the wreath frame, glue Spanish moss to the wreath using a hot glue gun. Cover the edges of the ring with moss.
-
- If adding moss doesn't work for you, add a mixture of greenery. Fill in spots with leaves from the craft store or extra pieces you may already own and have in your home.
Step 6: Add Decorative Elements
- Finally, you can add blooming artichokes or any other decorative elements such as baby's breath, or faux lavender to the wreath. Use hot glue to attach them securely.
- Alternatively, you can use faux eucalyptus bundles, or succulents for a different look.
- Add extra charm to your plate wreath. Stagger silver sugar tongs. Add these with a tan pipe cleaner or a piece of floral wire.
- Silver tea spoons attached to this wreath would be so much fun. Attach these by wrapping a piece of floral wire around the tea spoons and wrap it around the wreath to secure.