
Fall Napkin Rings in Minutes for Your Holiday Table
Today I'm sharing fall napkin rings DIY in minutes for your holiday table. The best part? The only skill level needed, cutting with scissors, a hot glue gun, and a little time! These napkin holders will be perfect to add cozy vibes to fall table decor or a Thanksgiving table.
Yield: 6 napkin rings
Cost: $8.00
Materials
- 6 napkin rings seagrass or wood
- 1 package self stick moss
- 1 package six acorn caps optional
- 1 pair scissors
- 1 hot glue gun hot glue gun and glue sticks
Notes
Fall Napkin Rings in Minutes for Your Holiday Table
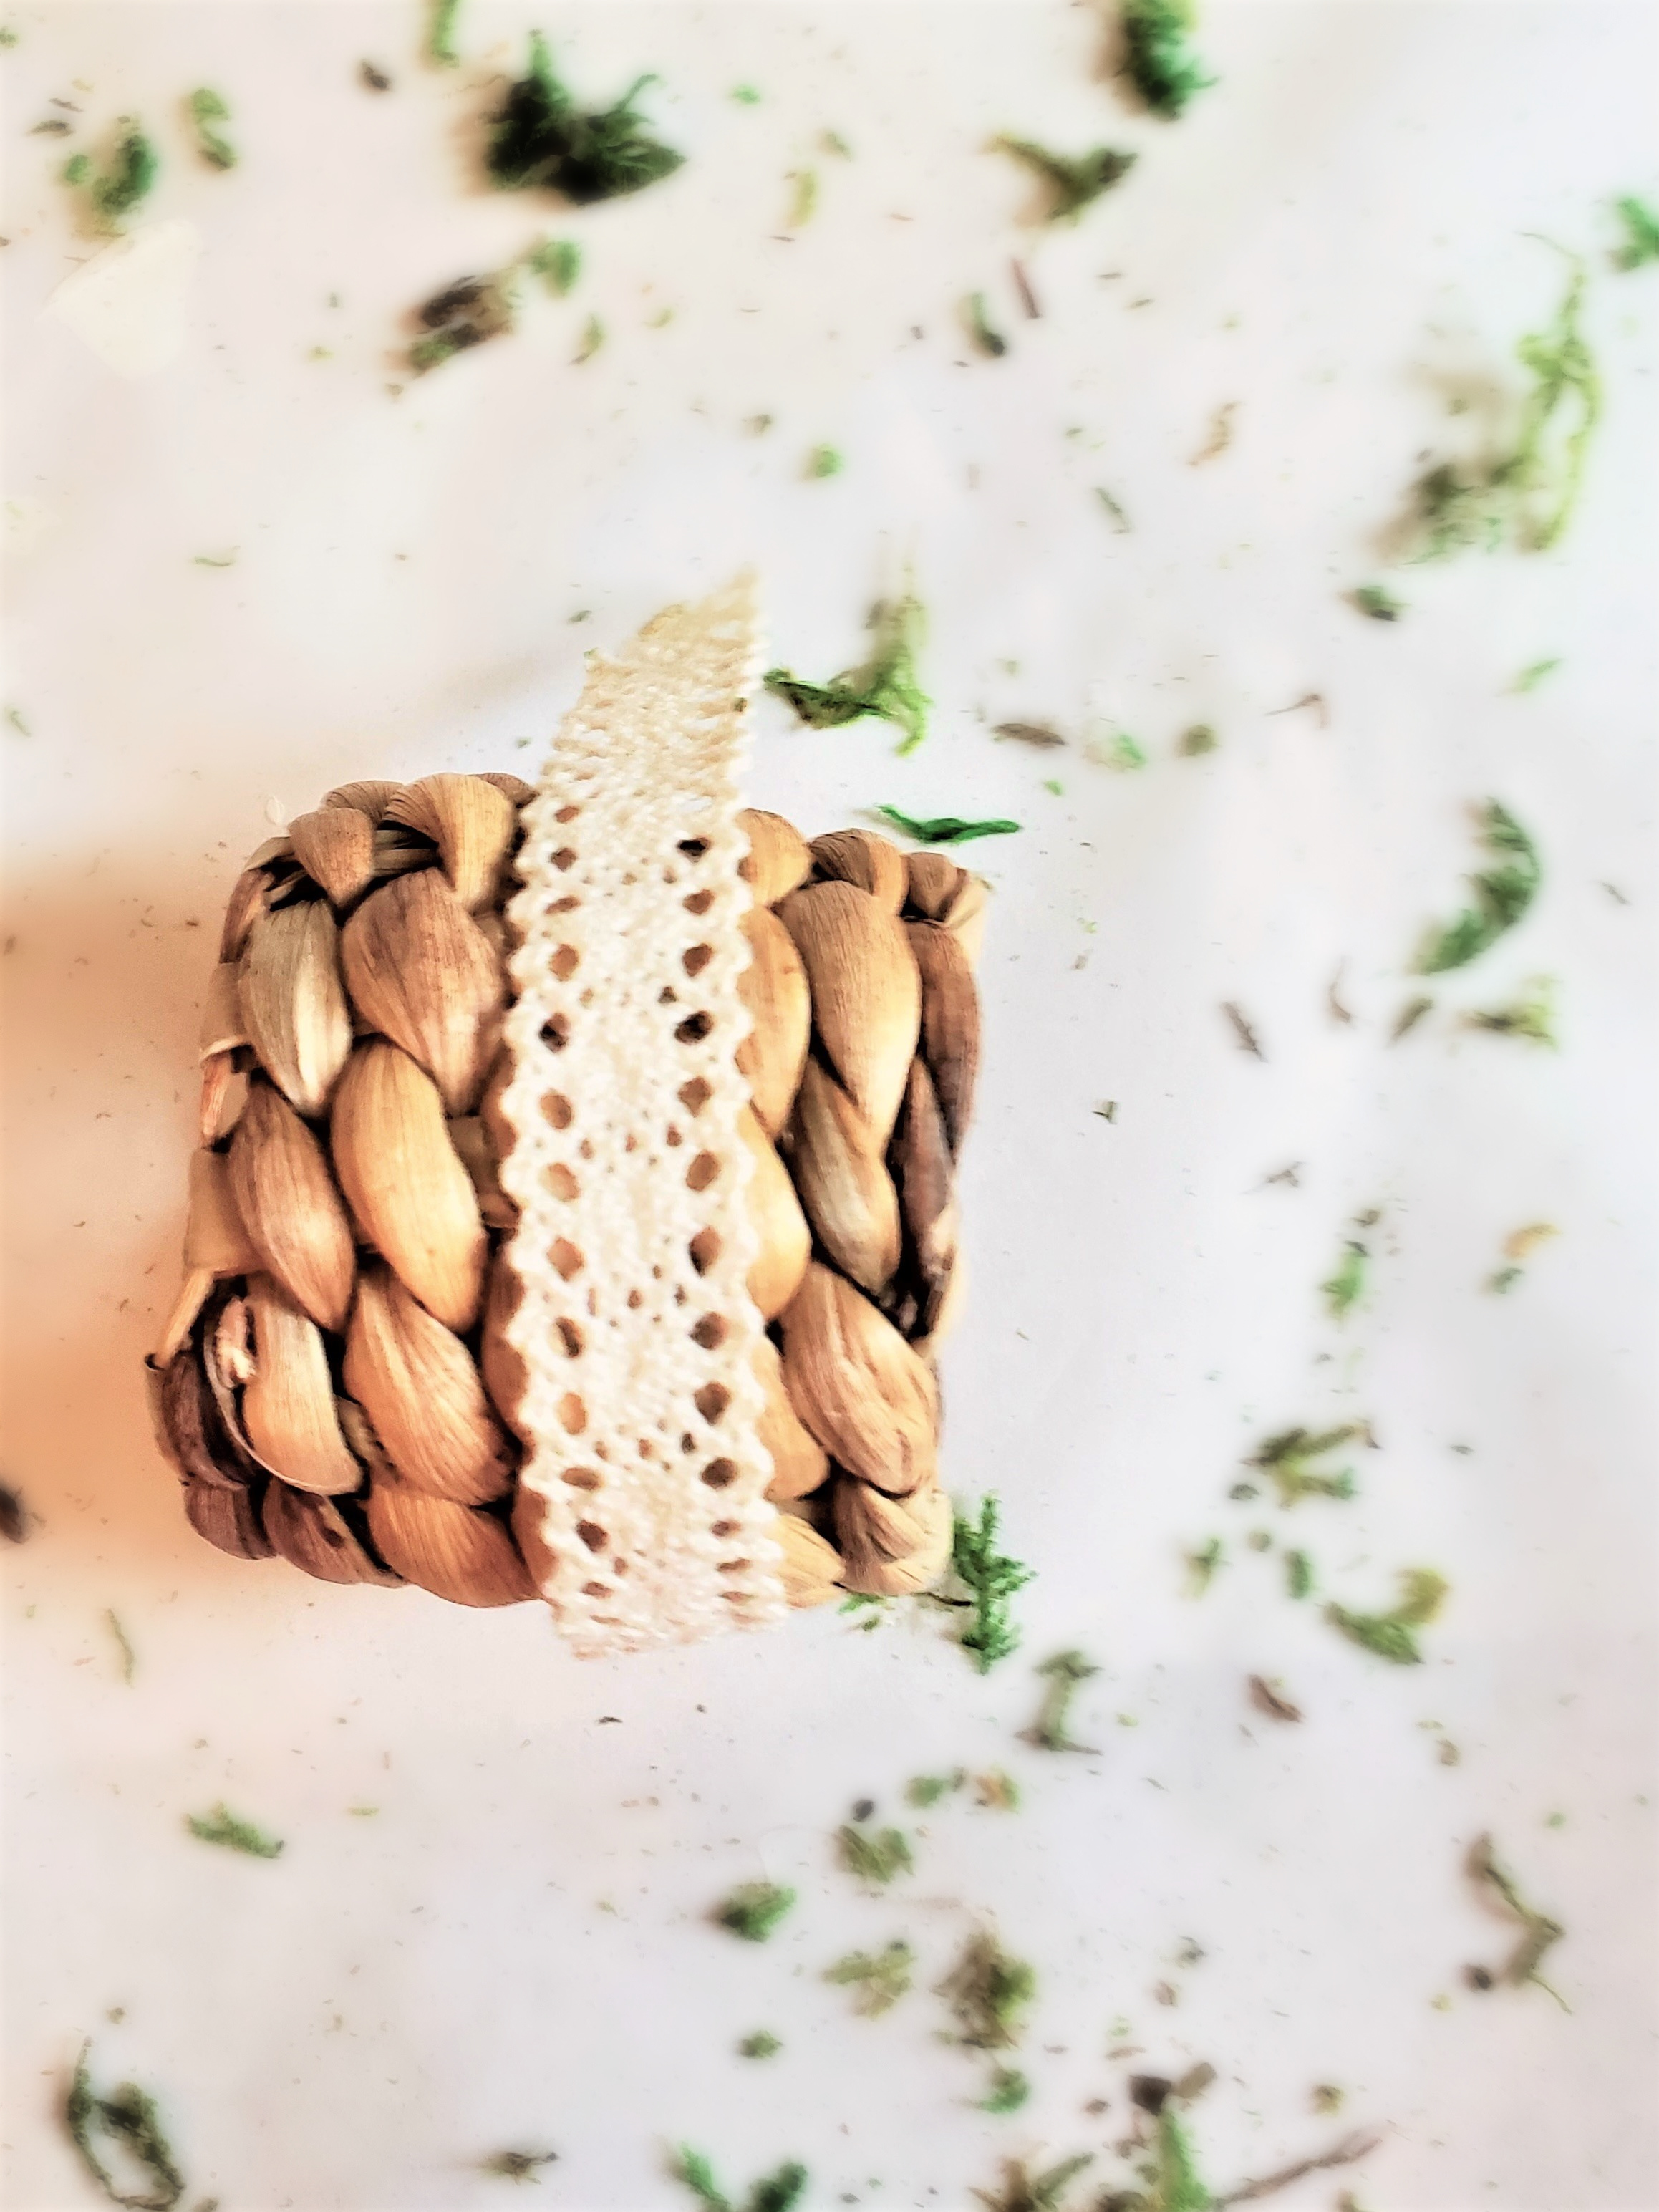
Step 1: Measuring Moss for DIY Napkin Rings
I was too lazy to get the measuring tape out, so, I grabbed a piece of leftover ribbon. It was on my craft table. If you use empty paper towel rolls, measure 2" - 2 and a half inches high. This is a good time to plug in your hot glue gun. Cindy's Safety Tip: Remember to use caution with a glue gun, especially around children and pets.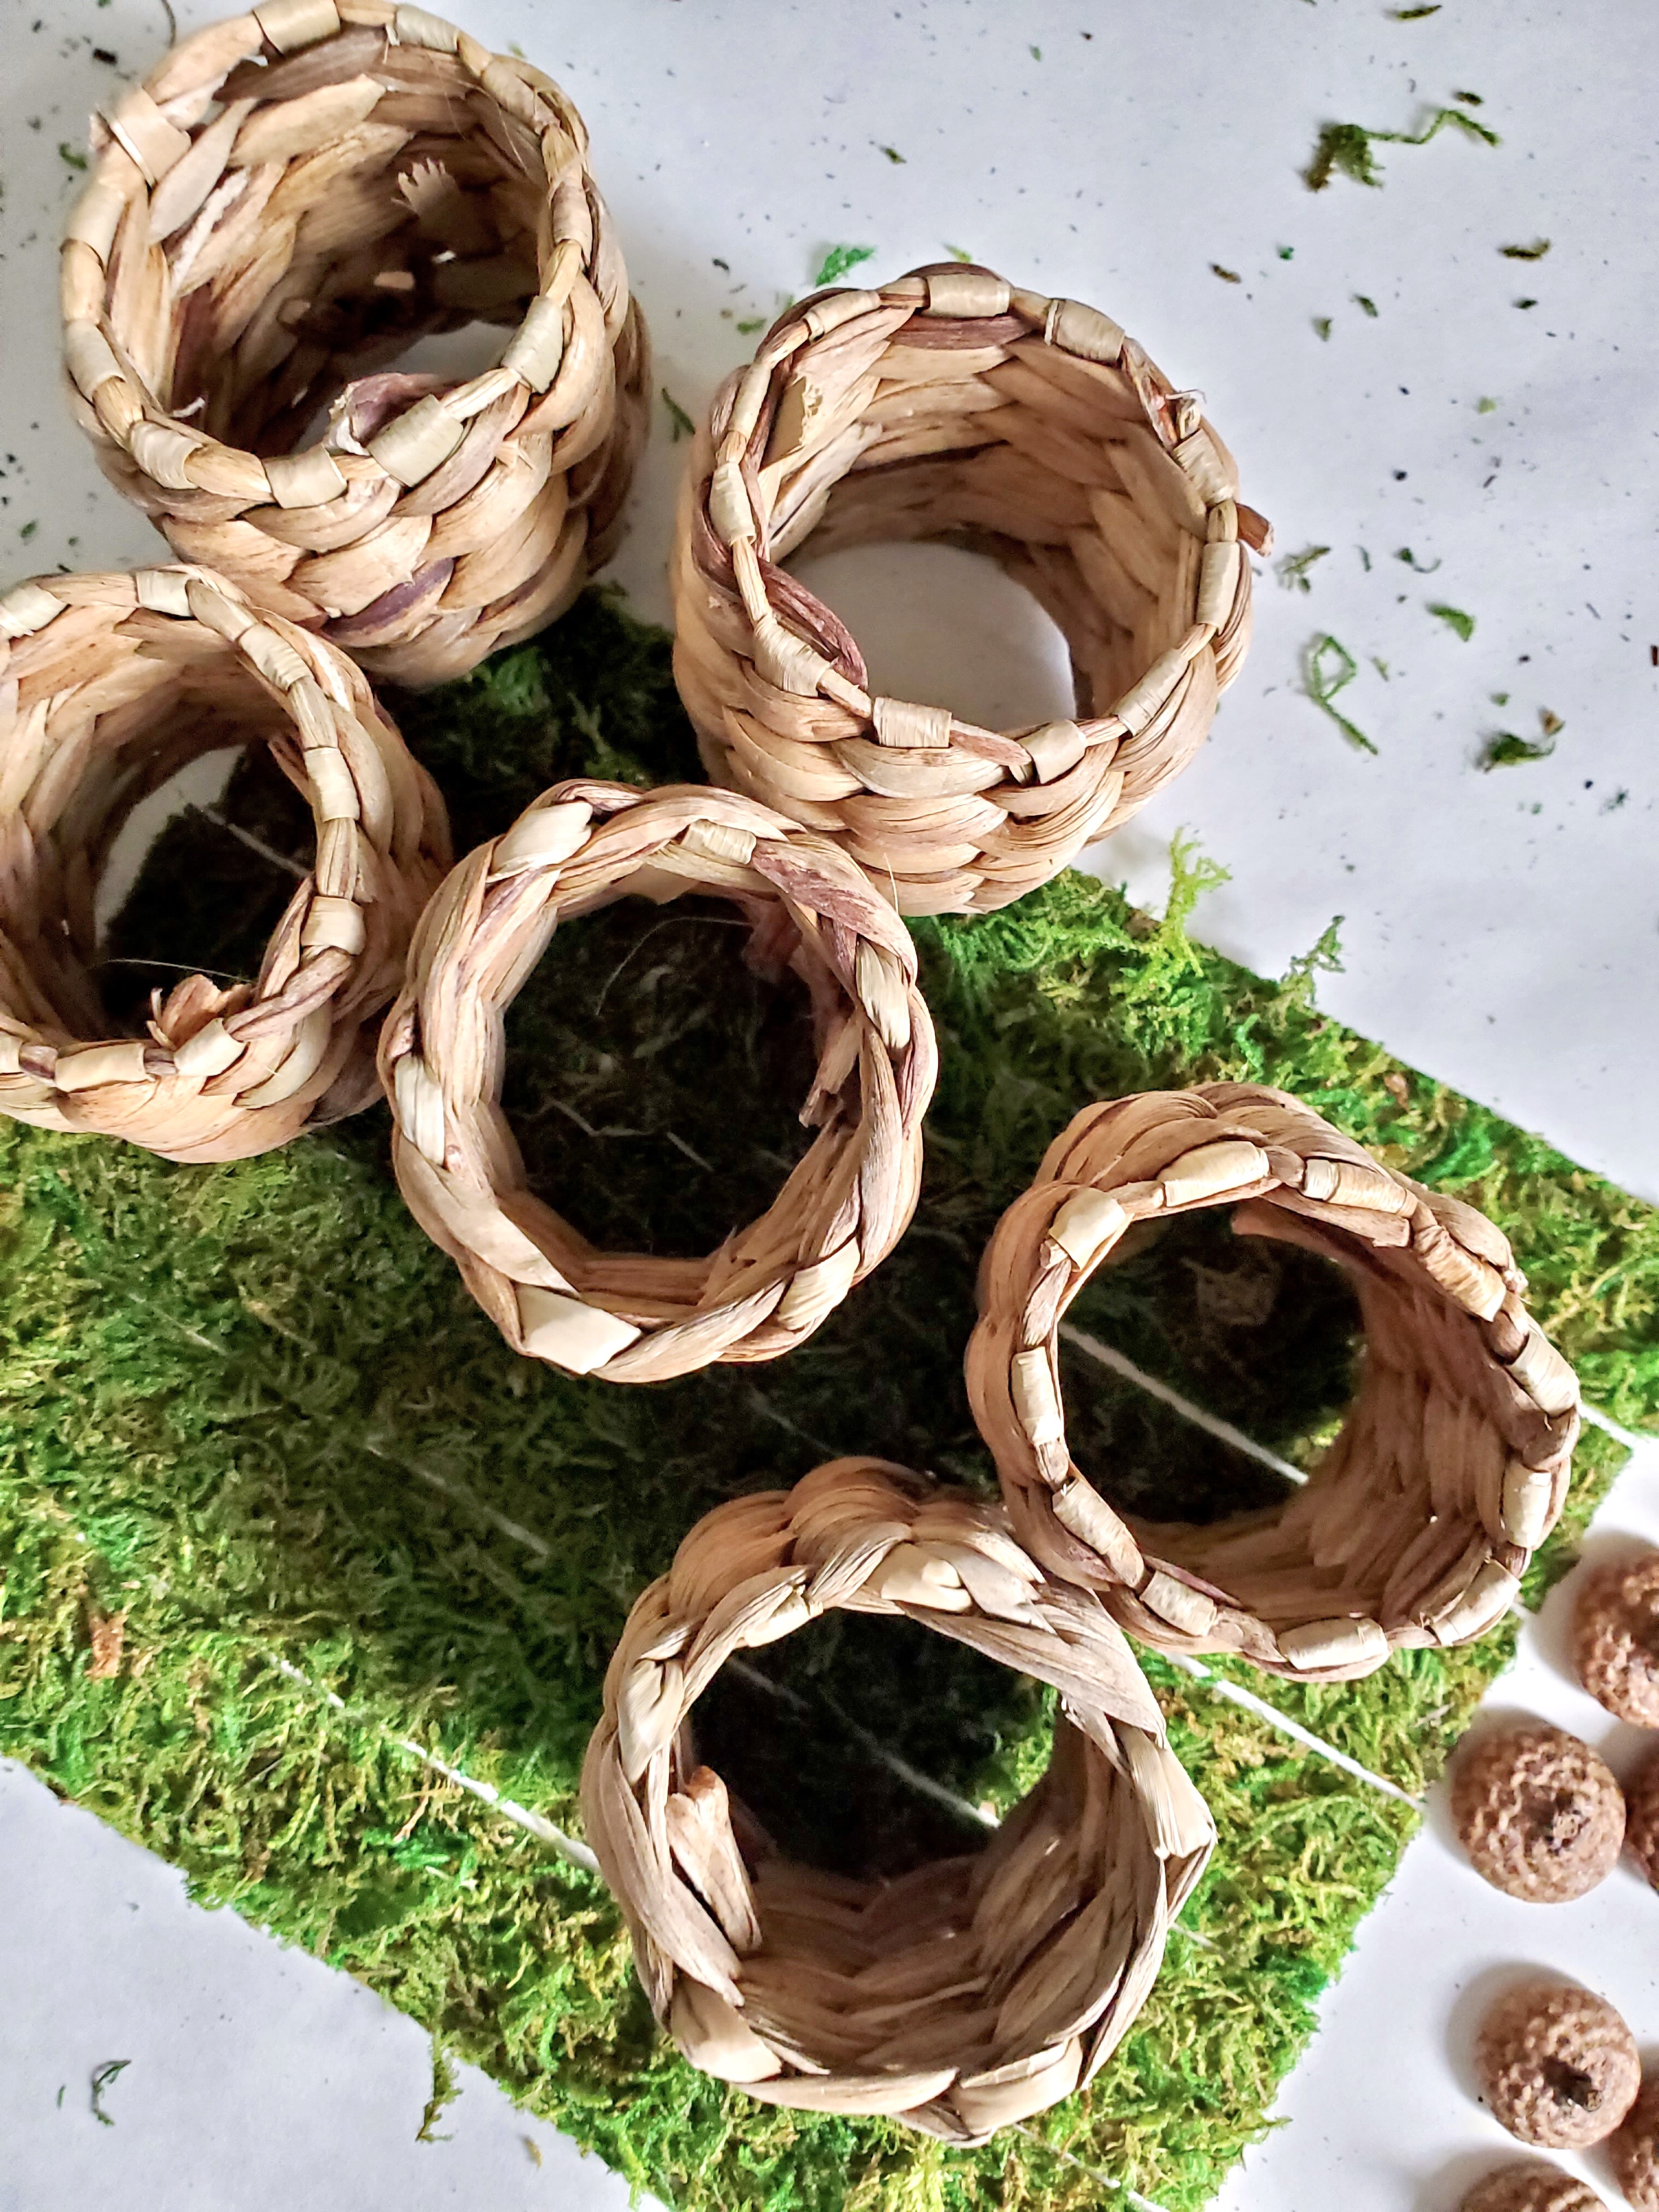
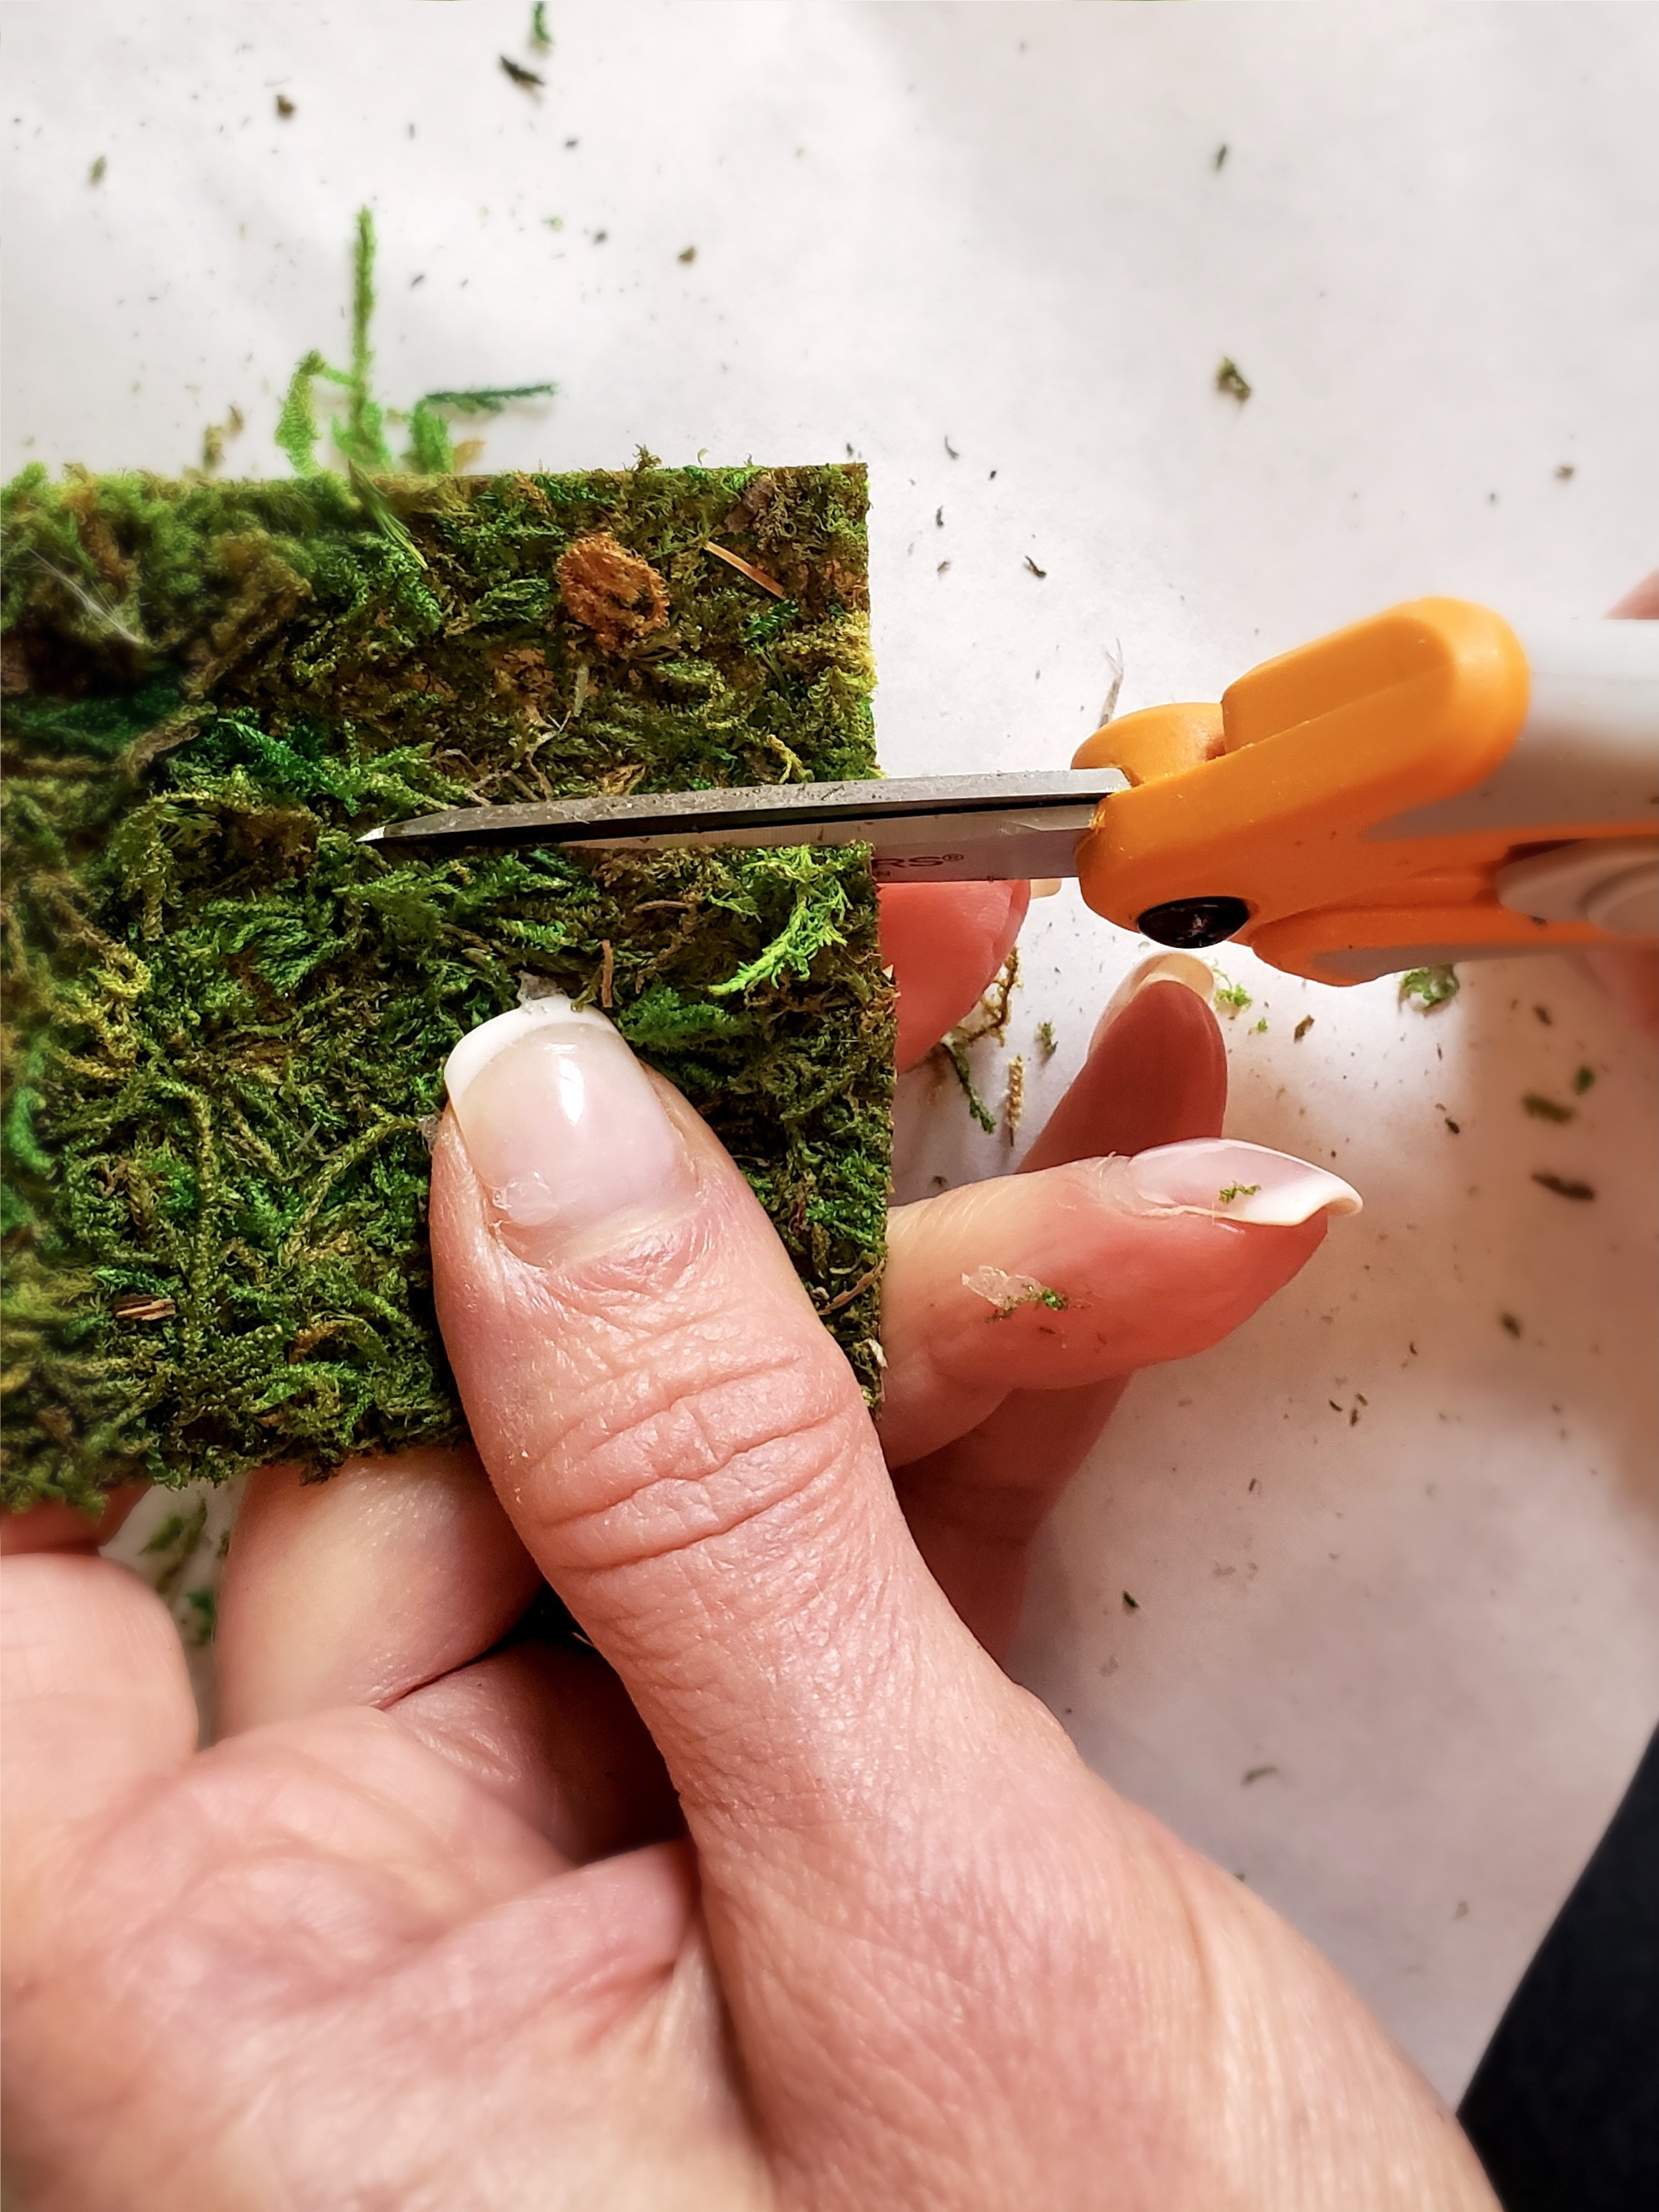
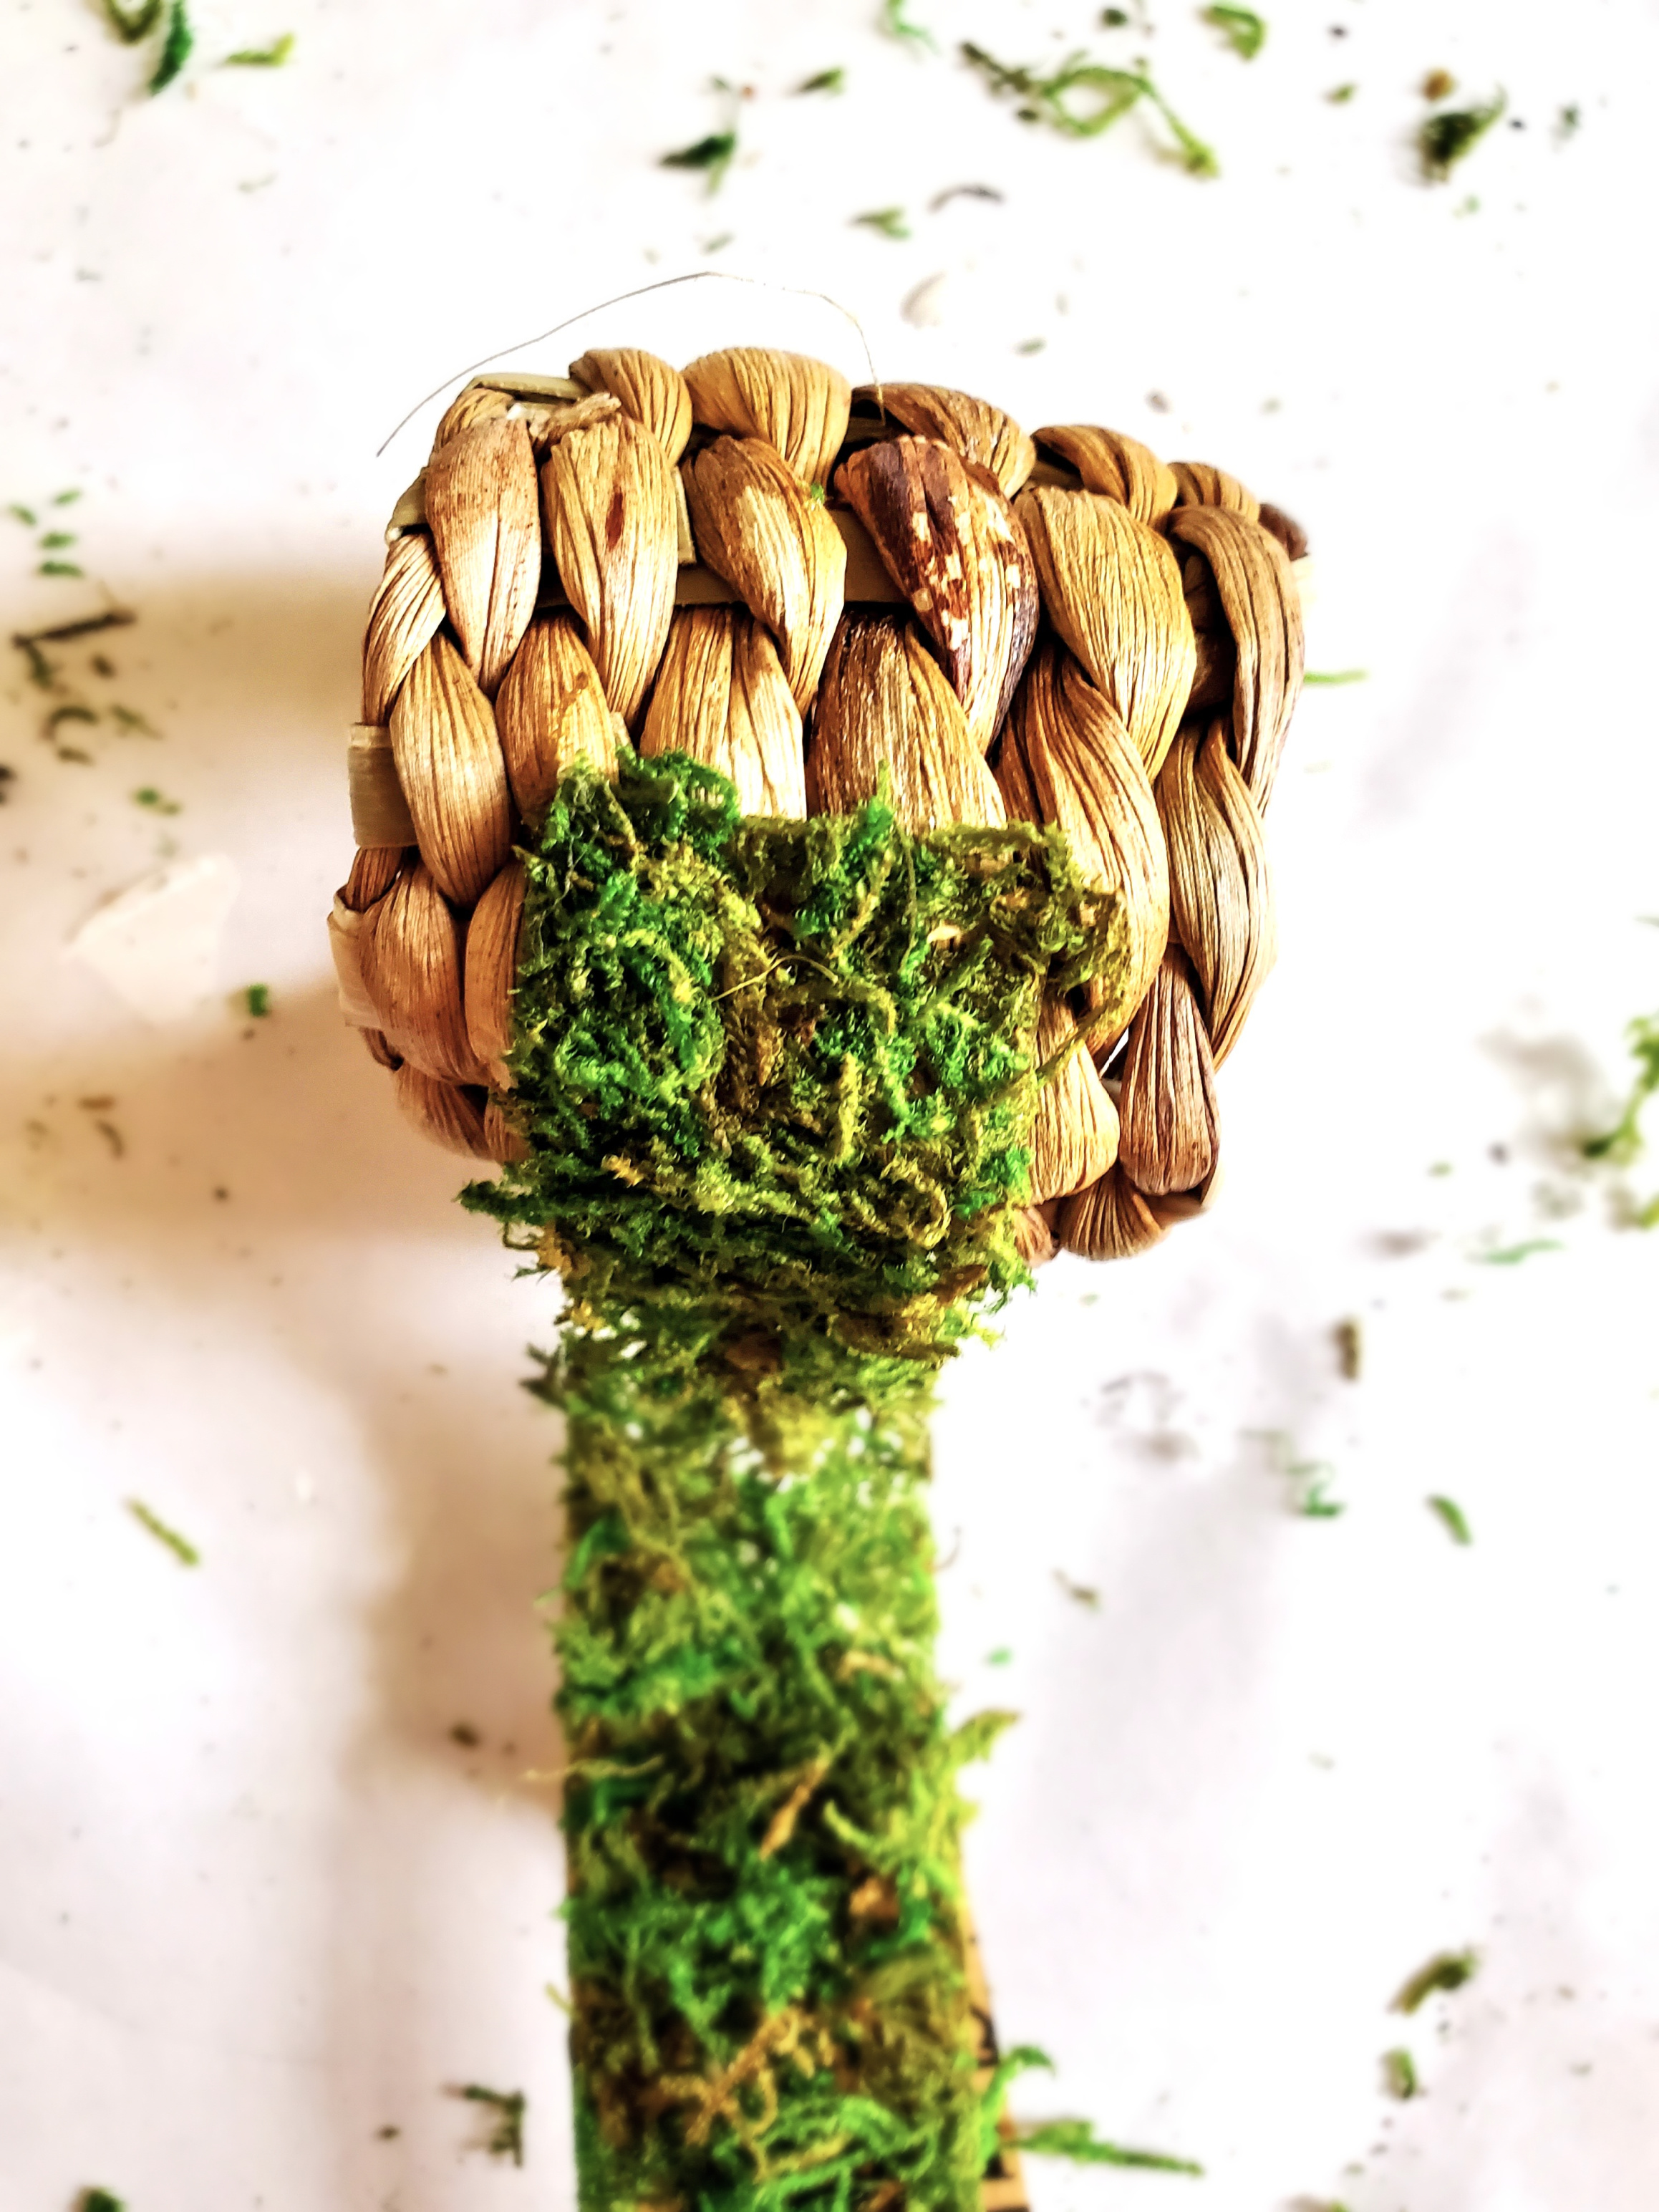
Step 2: Cutting Moss
Measure the length needed to cut the moss, length 7". Next, using sharp scissors cut six strips of moss. Carefully remove the backing of the first strip, self-stick moss is very sticky.
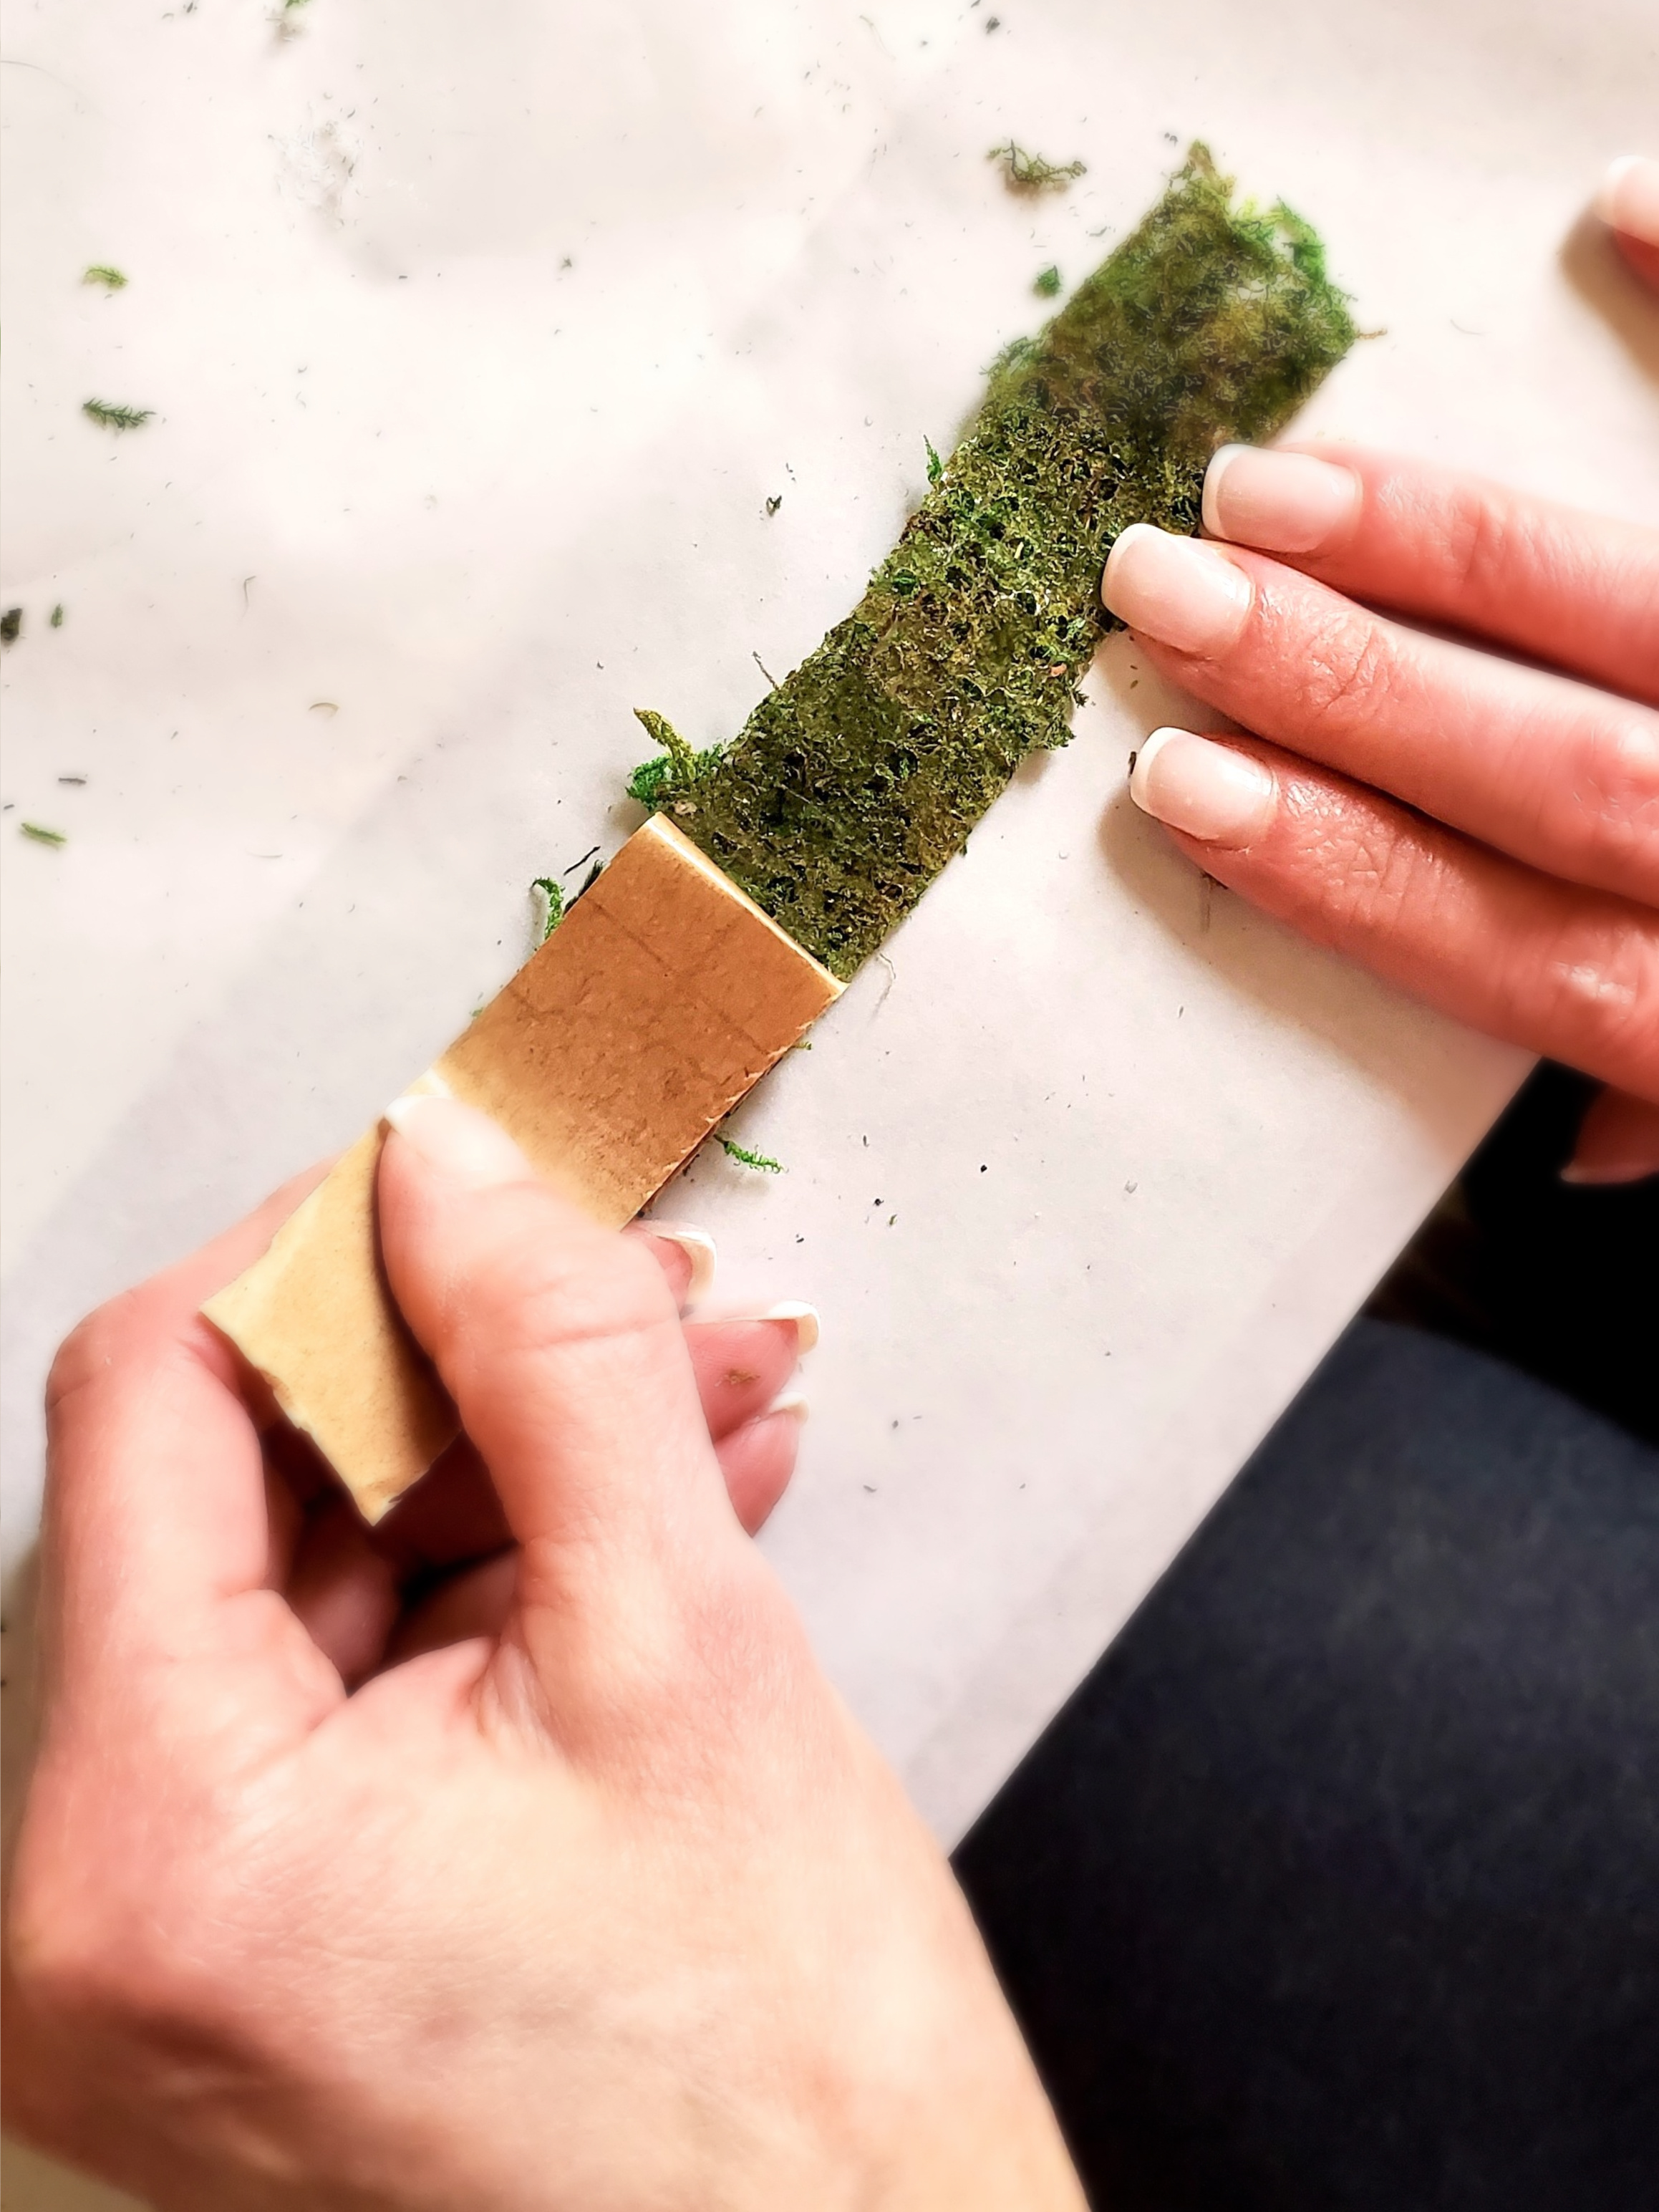
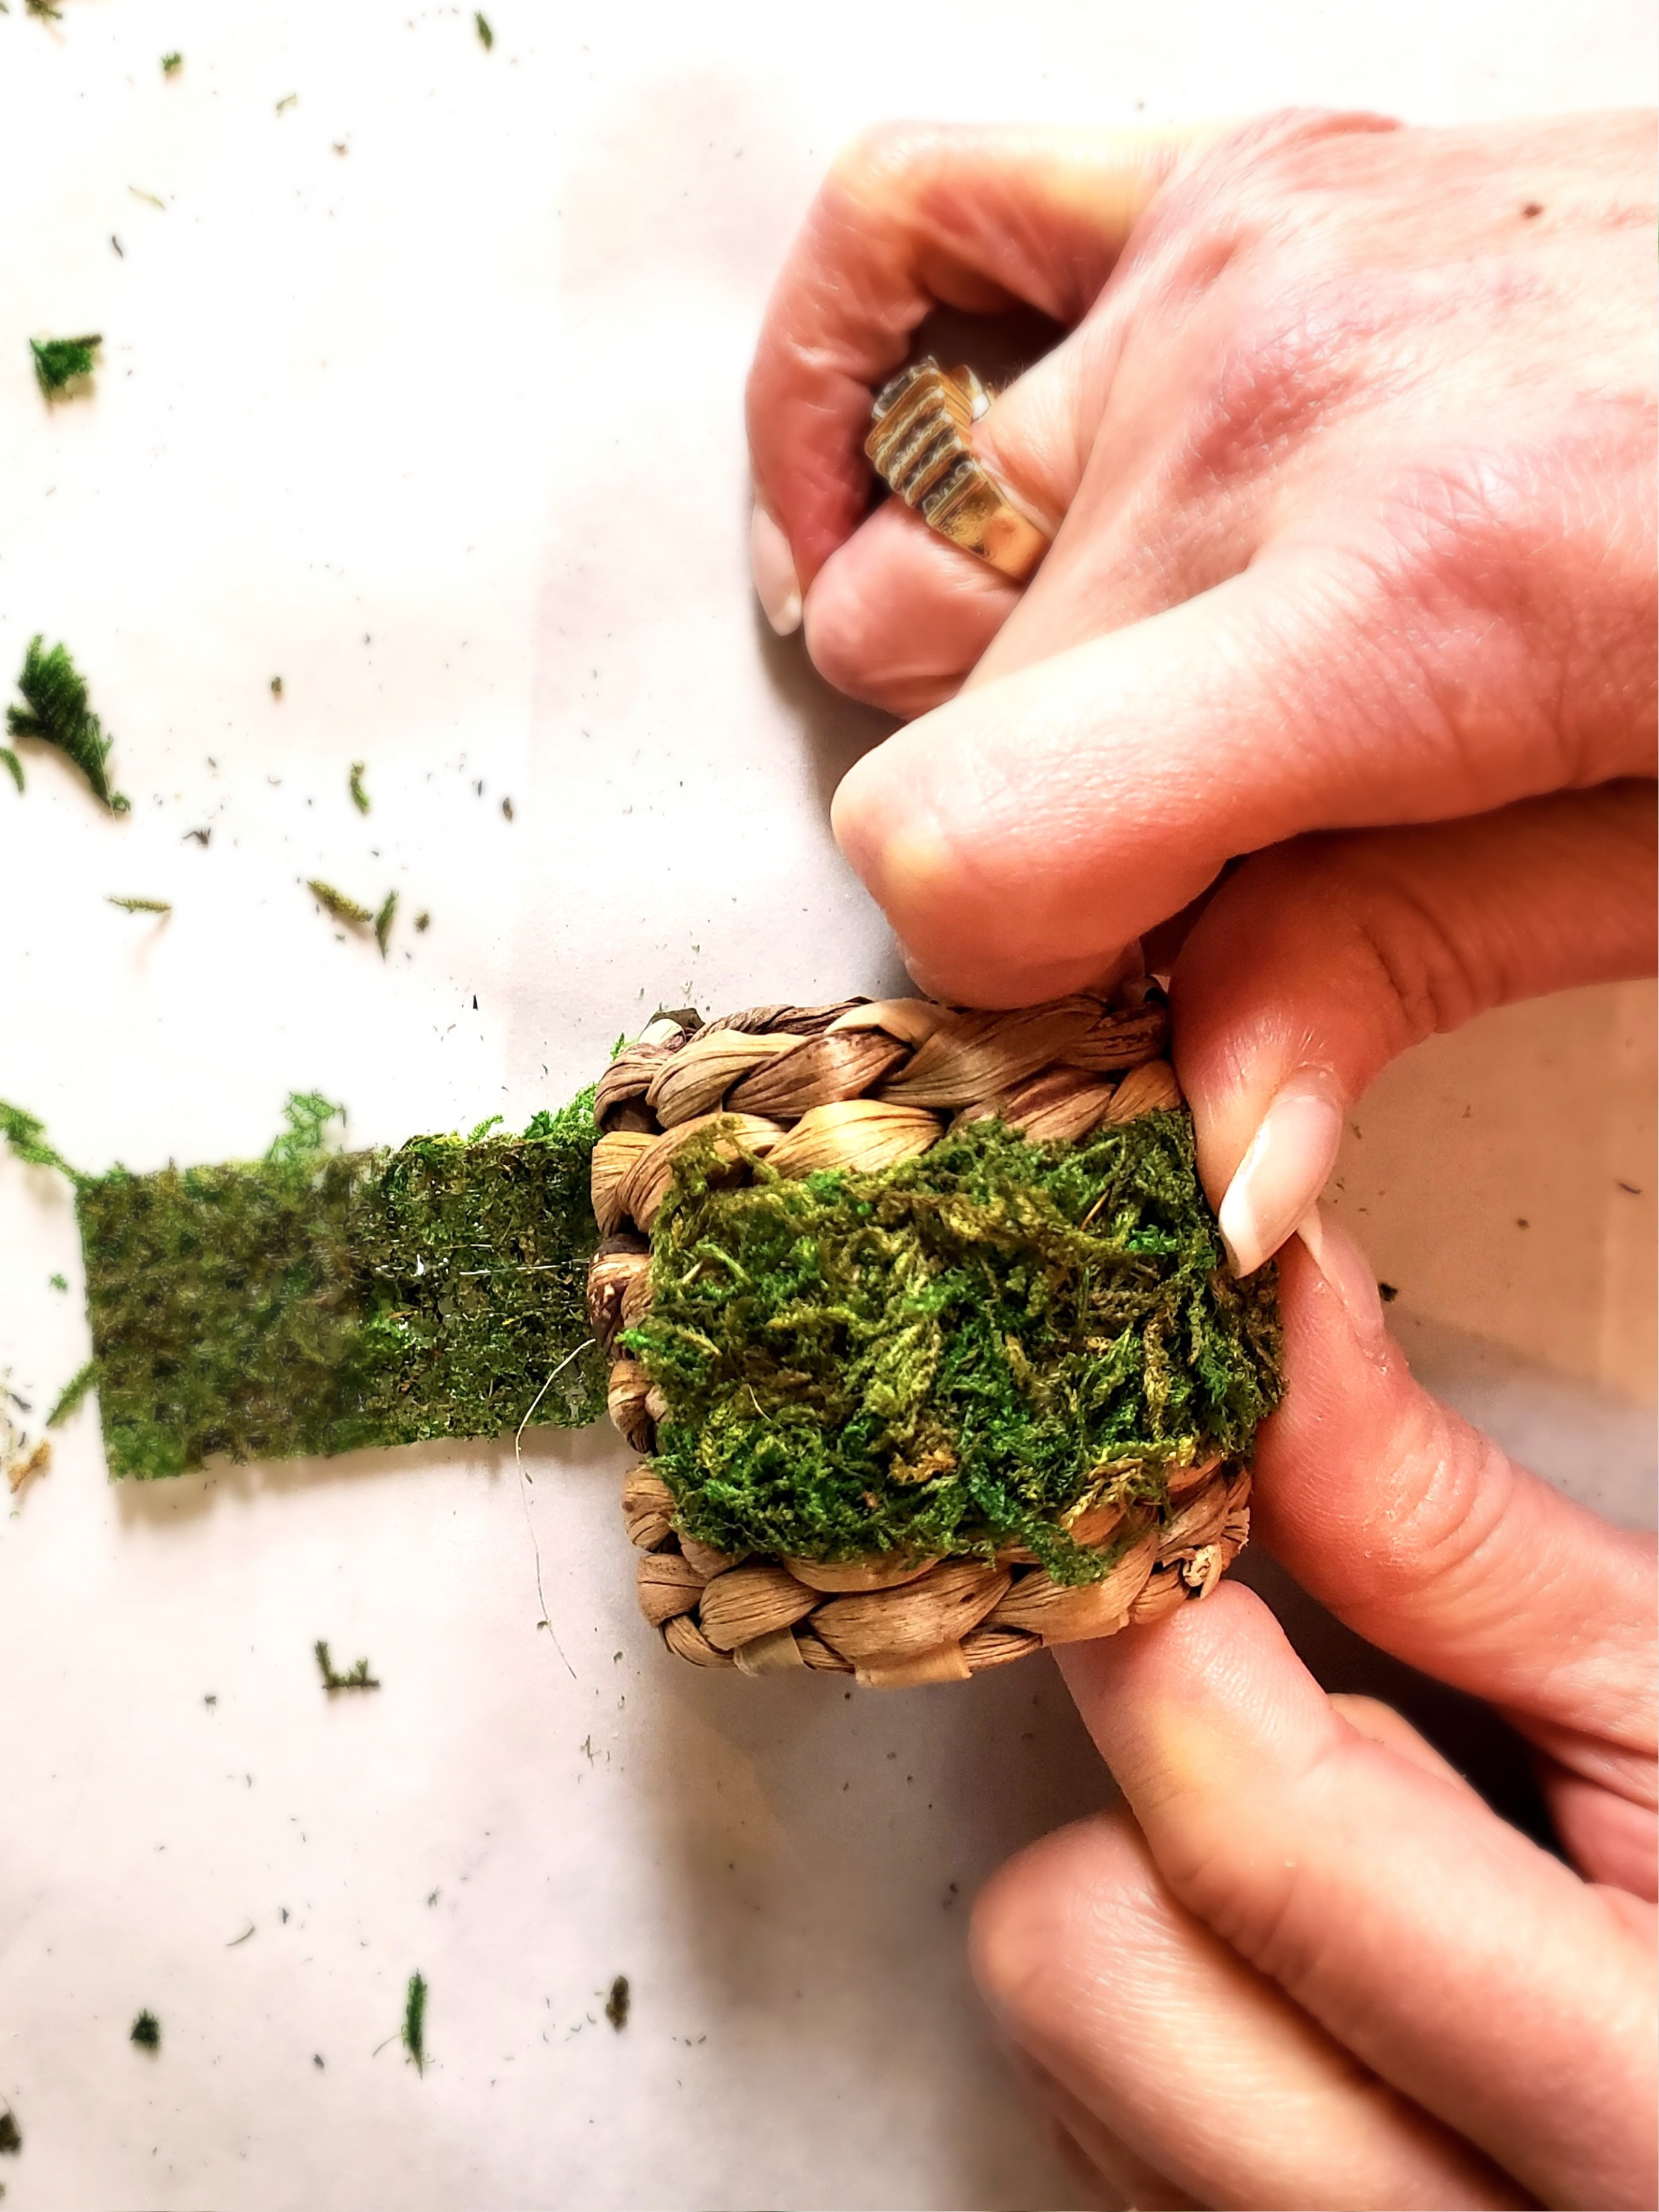
Step 3: Elevating Your Napkin Ring
Use your hot glue gun, and add a little bit of hot glue to the strip of moss. Cindy's Moss Tip: Even though the moss is sticky, I recommend using a bit of hot glue. This will ensure the moss sticks. Remember to use caution with a glue gun, especially around children and pets.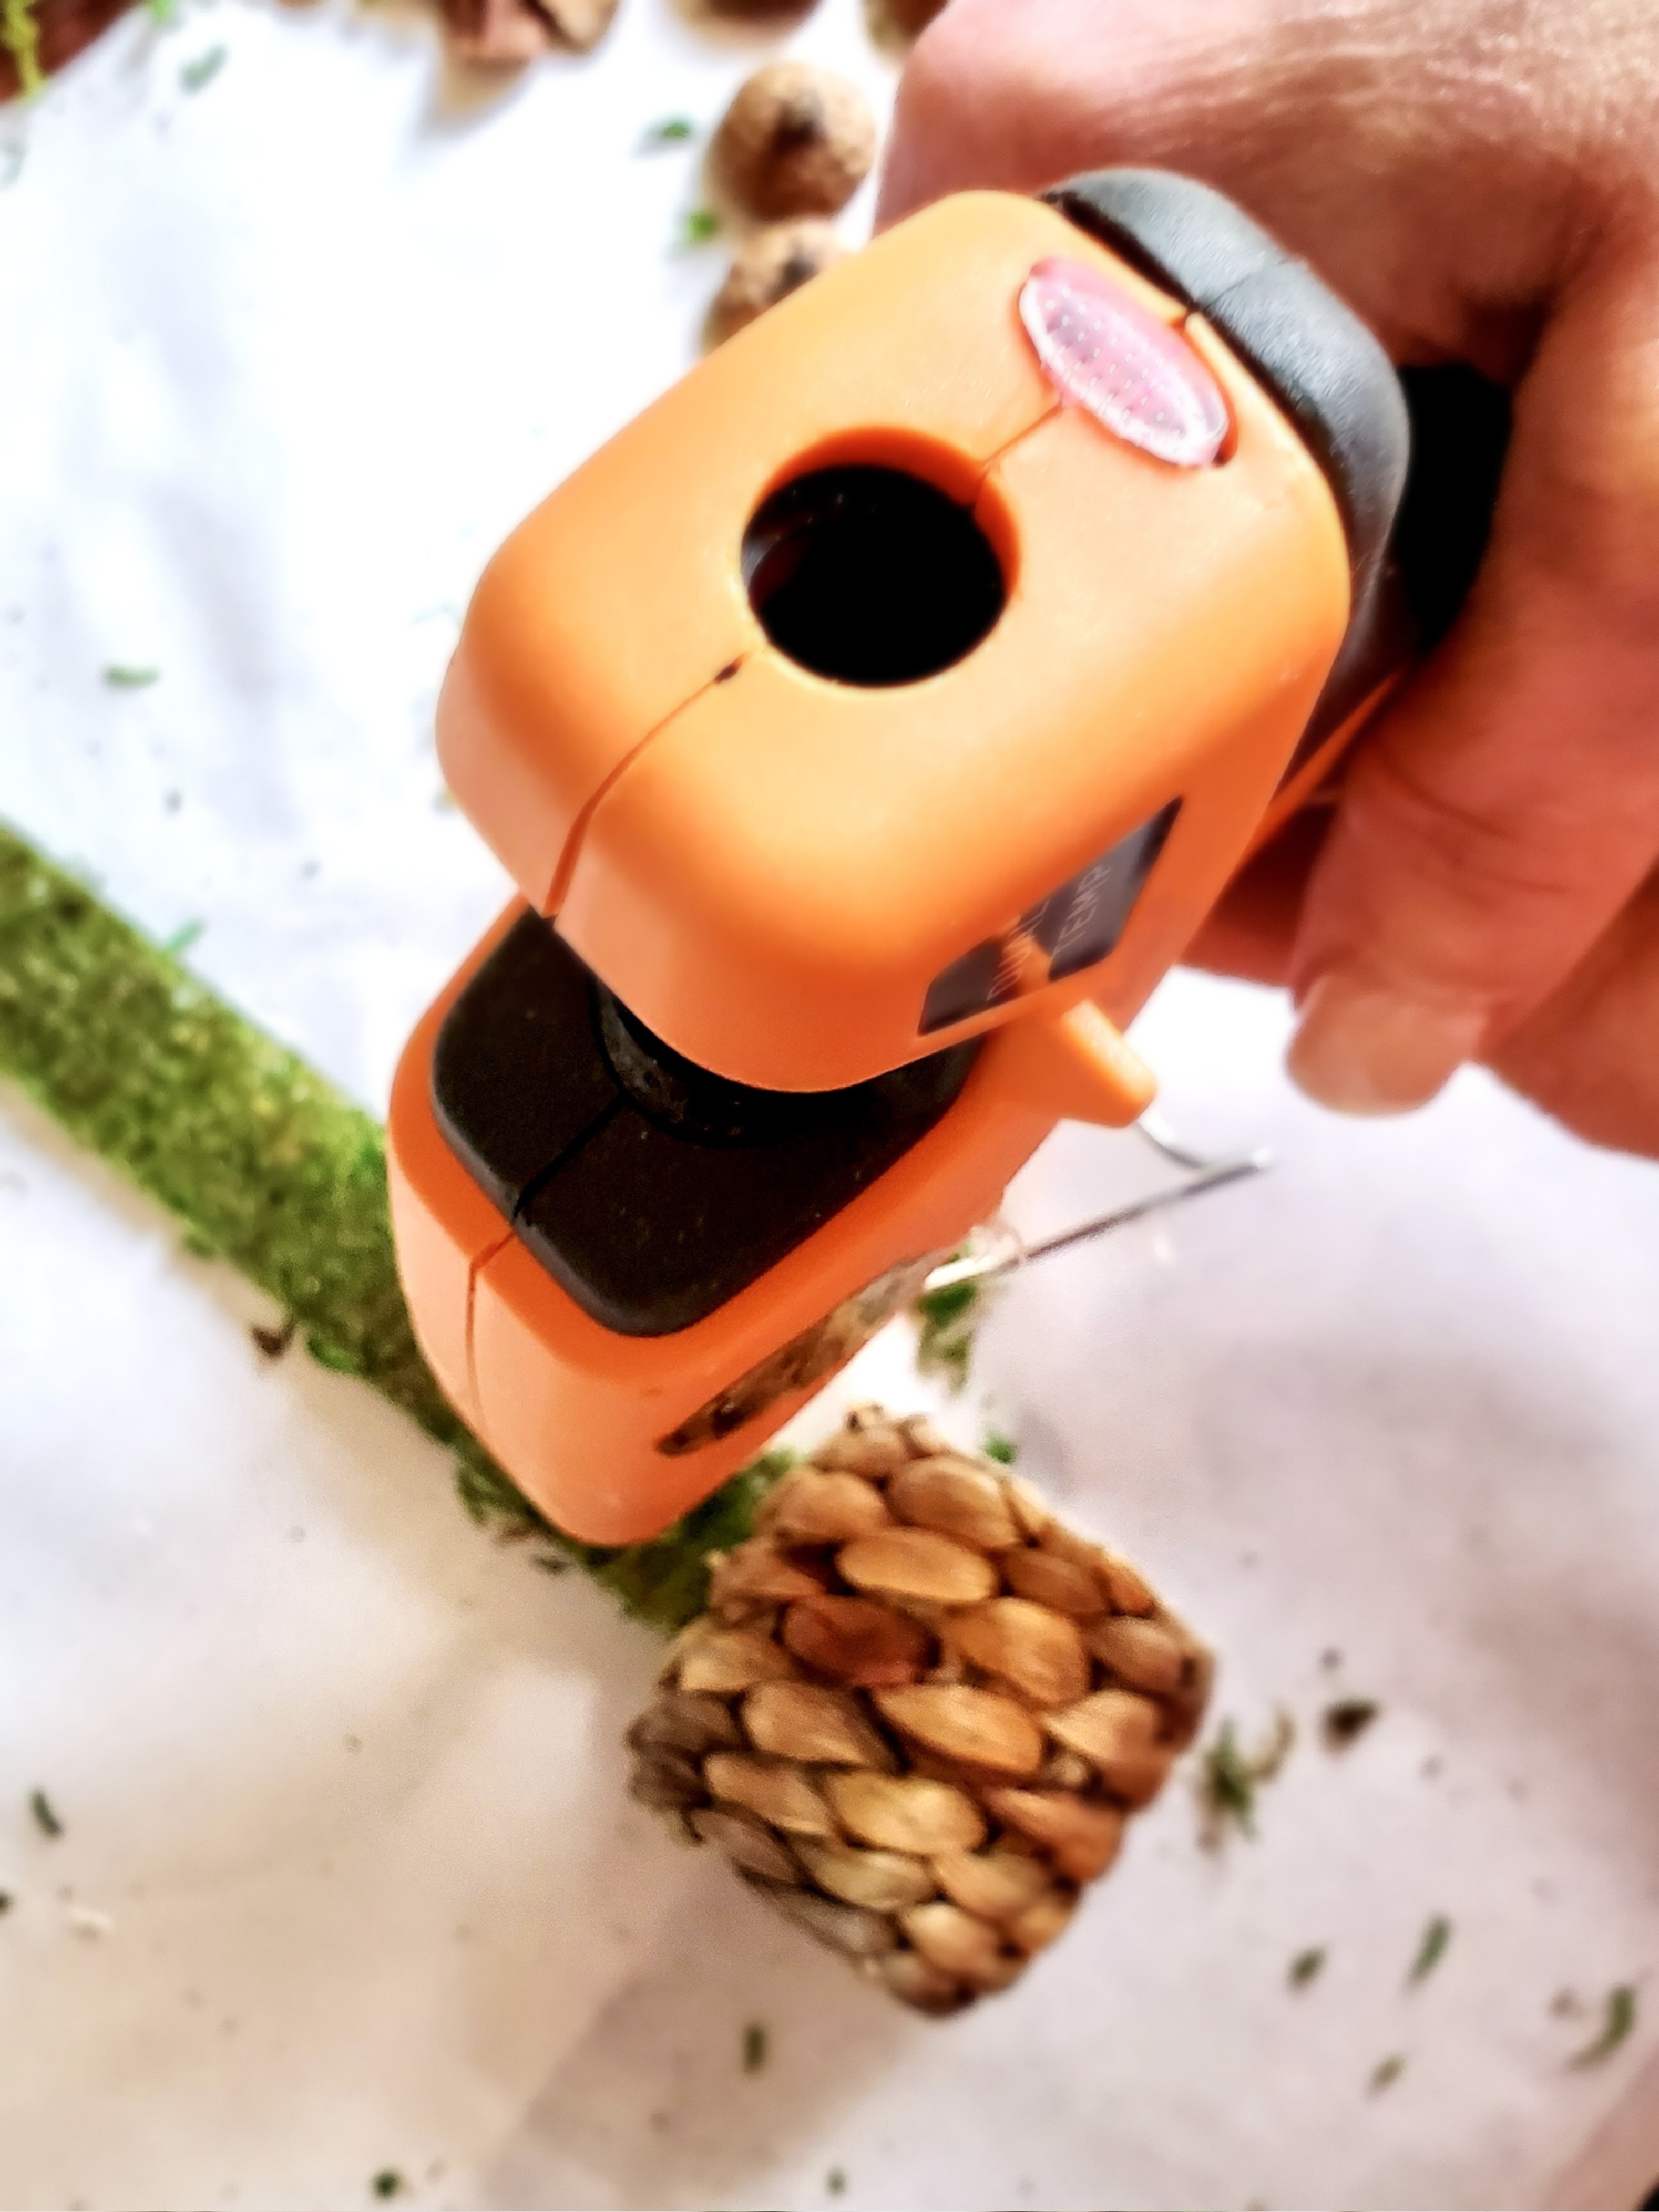
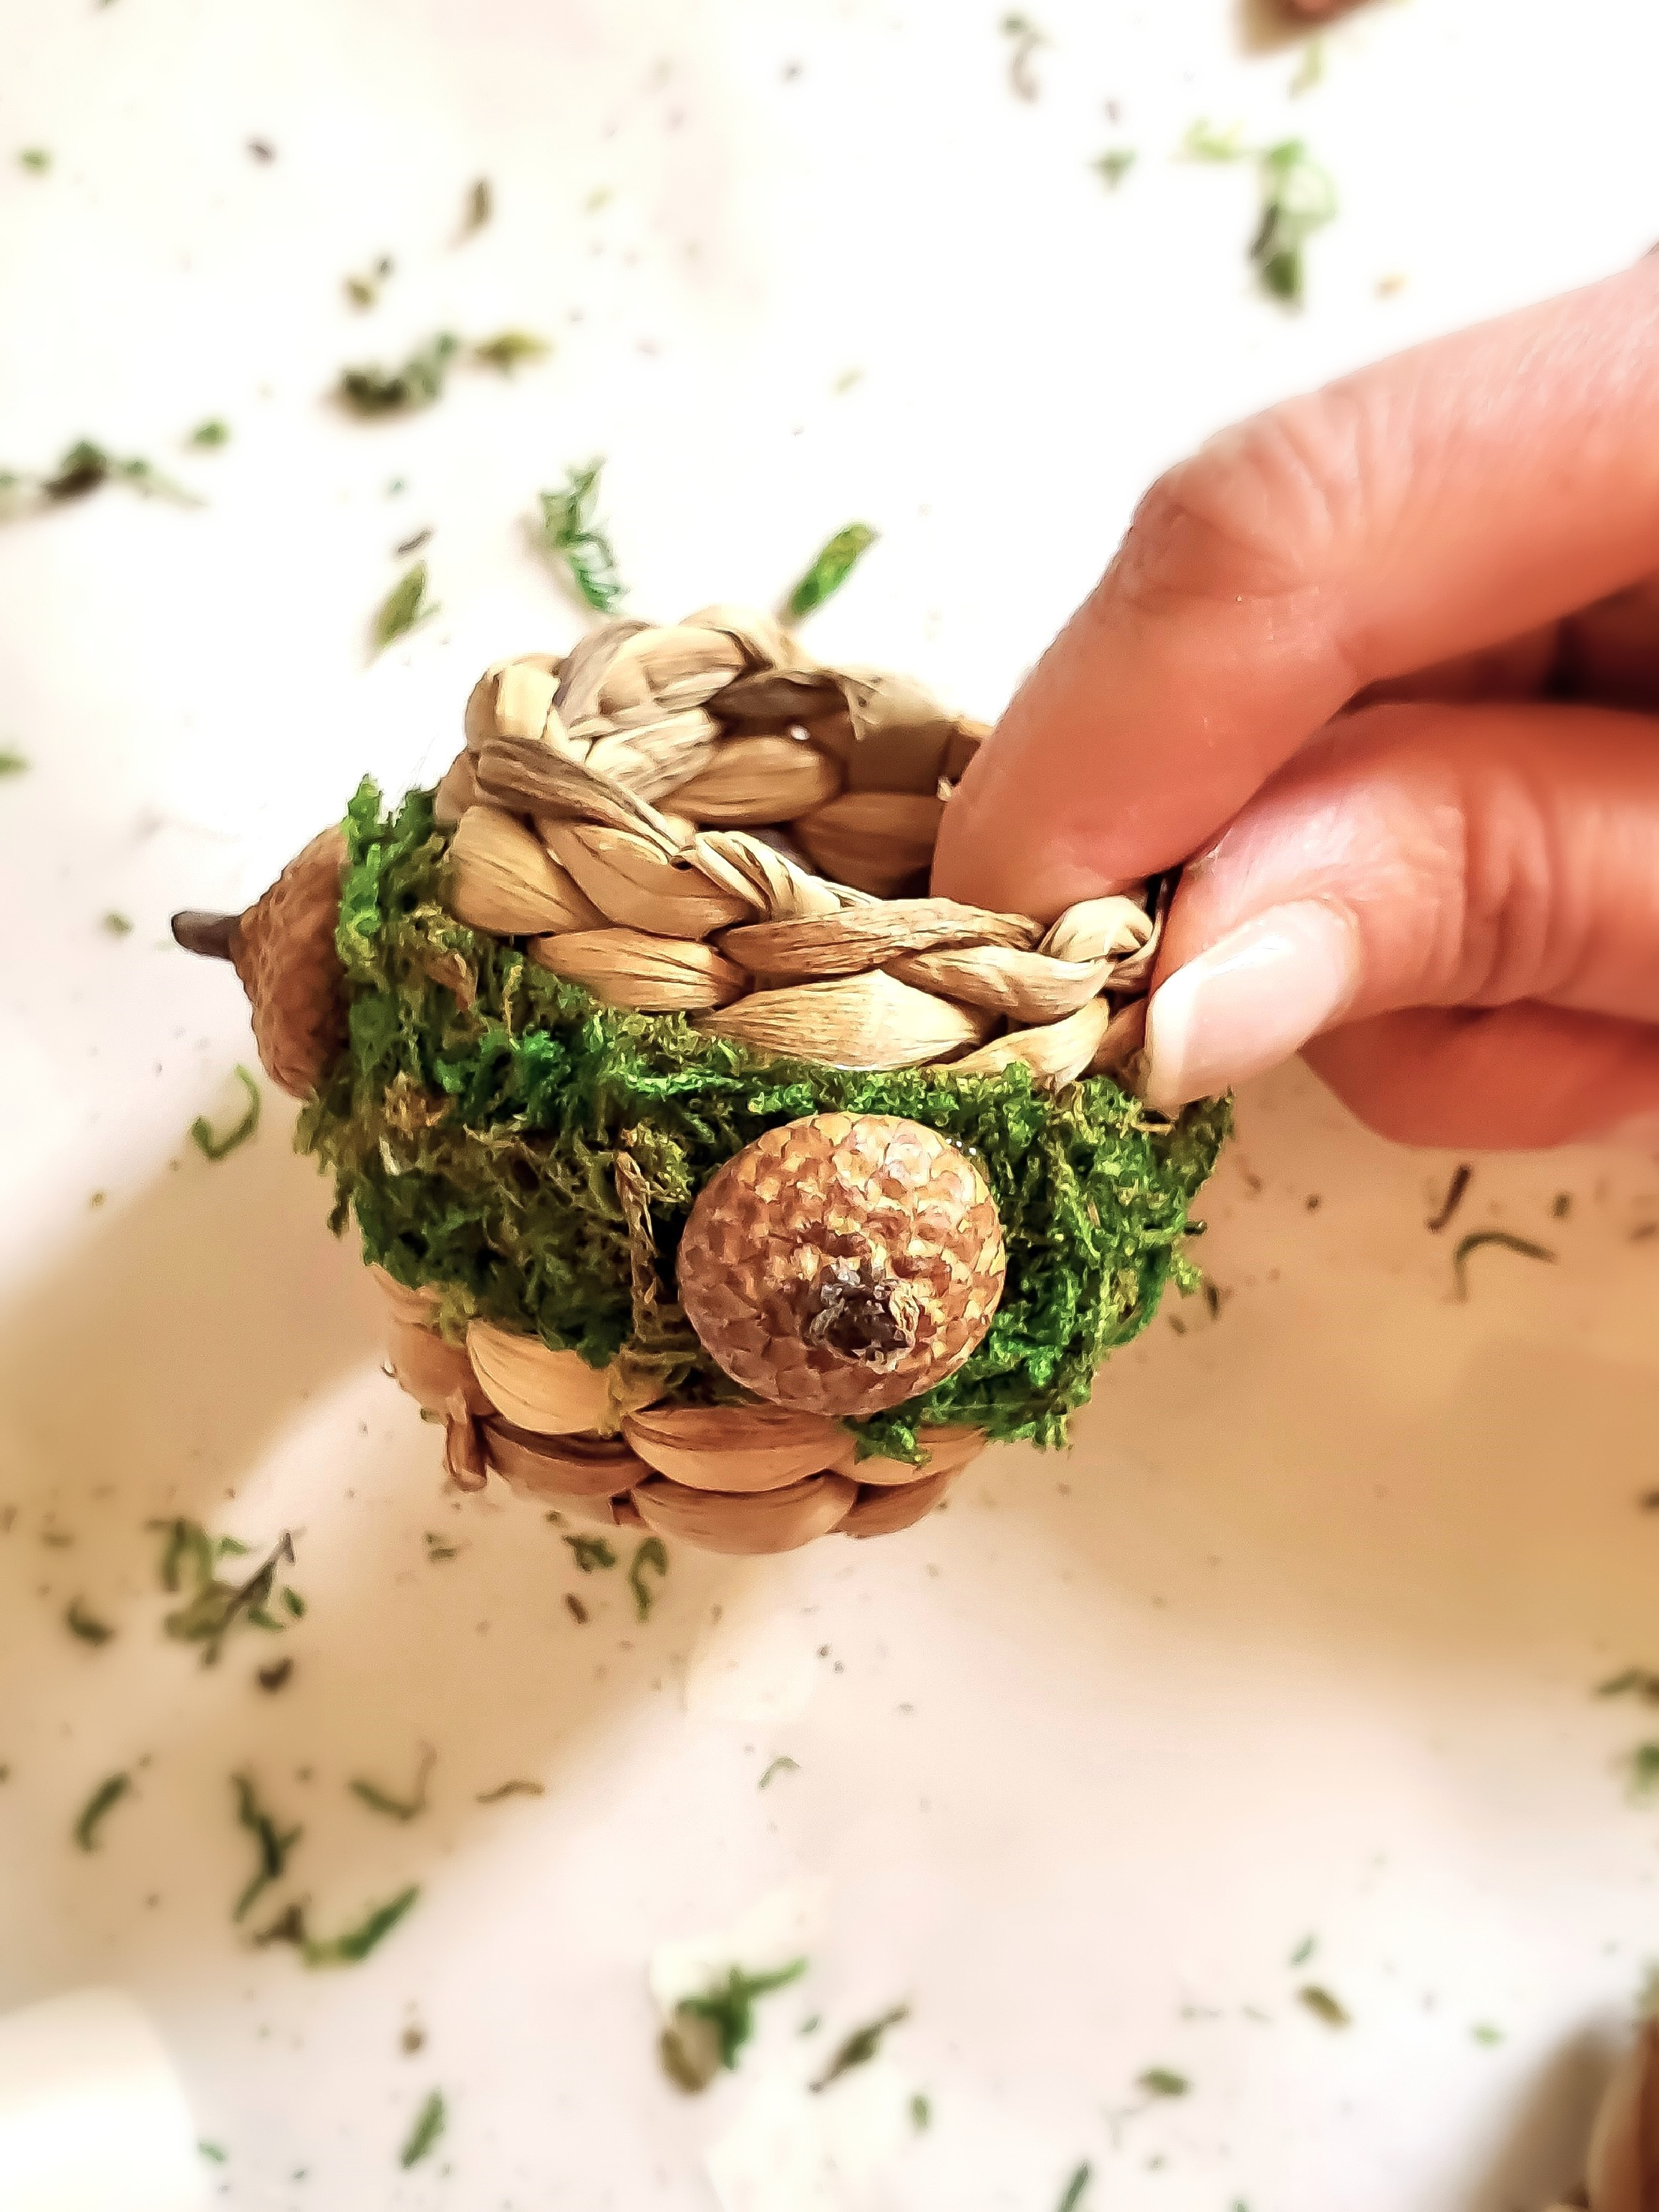
Step 4: Embellish the Napkin Holders
Add a little bit of hot glue to the acorn top and attach it to the moss. Lastly, add a thin coat of matte Modge Podge or spray sealer matte Mod Podge to the moss. This will prevent moss from shedding on your table during Thanksgiving dinner! I apologize, my husband did this in the garage and forgot to snap a picture. He usually remembers.
That's it! I told you these napkin rings would only take a little time and there would be easy steps to create the perfect finishing touch to add to all your fall celebrations. The fun part was only needing a minimal skill level to cut the moss and hot glue.

 Please don't forget to read my ideas for other napkin ring embellishment ideas. I also share other craft ideas using nature that will add charm to your home and table.
Thank you and Happy crafting!
Please don't forget to read my ideas for other napkin ring embellishment ideas. I also share other craft ideas using nature that will add charm to your home and table.
Thank you and Happy crafting!