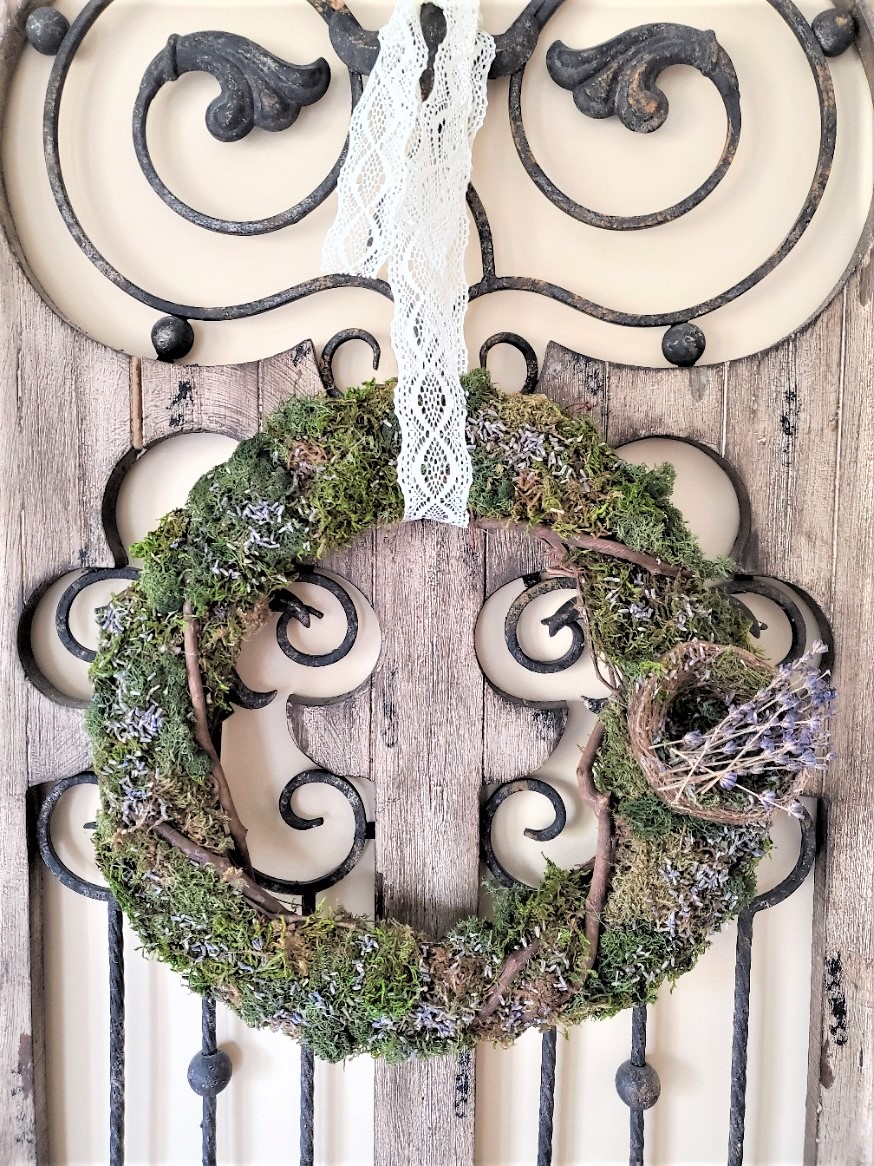
EASY MOSS AND LAVENDER BUD WREATH
Let's take a look at how to make an easy moss and lavender bud wreath. This is a great way to add natural elements to our homes. I'm also a fan of lavender and anything moss so when I come up with an easy way to add it to our home I will!
Yield: 1 wreath
Cost: $10
Notes
EASY MOSS AND LAVENDER BUD WREATH
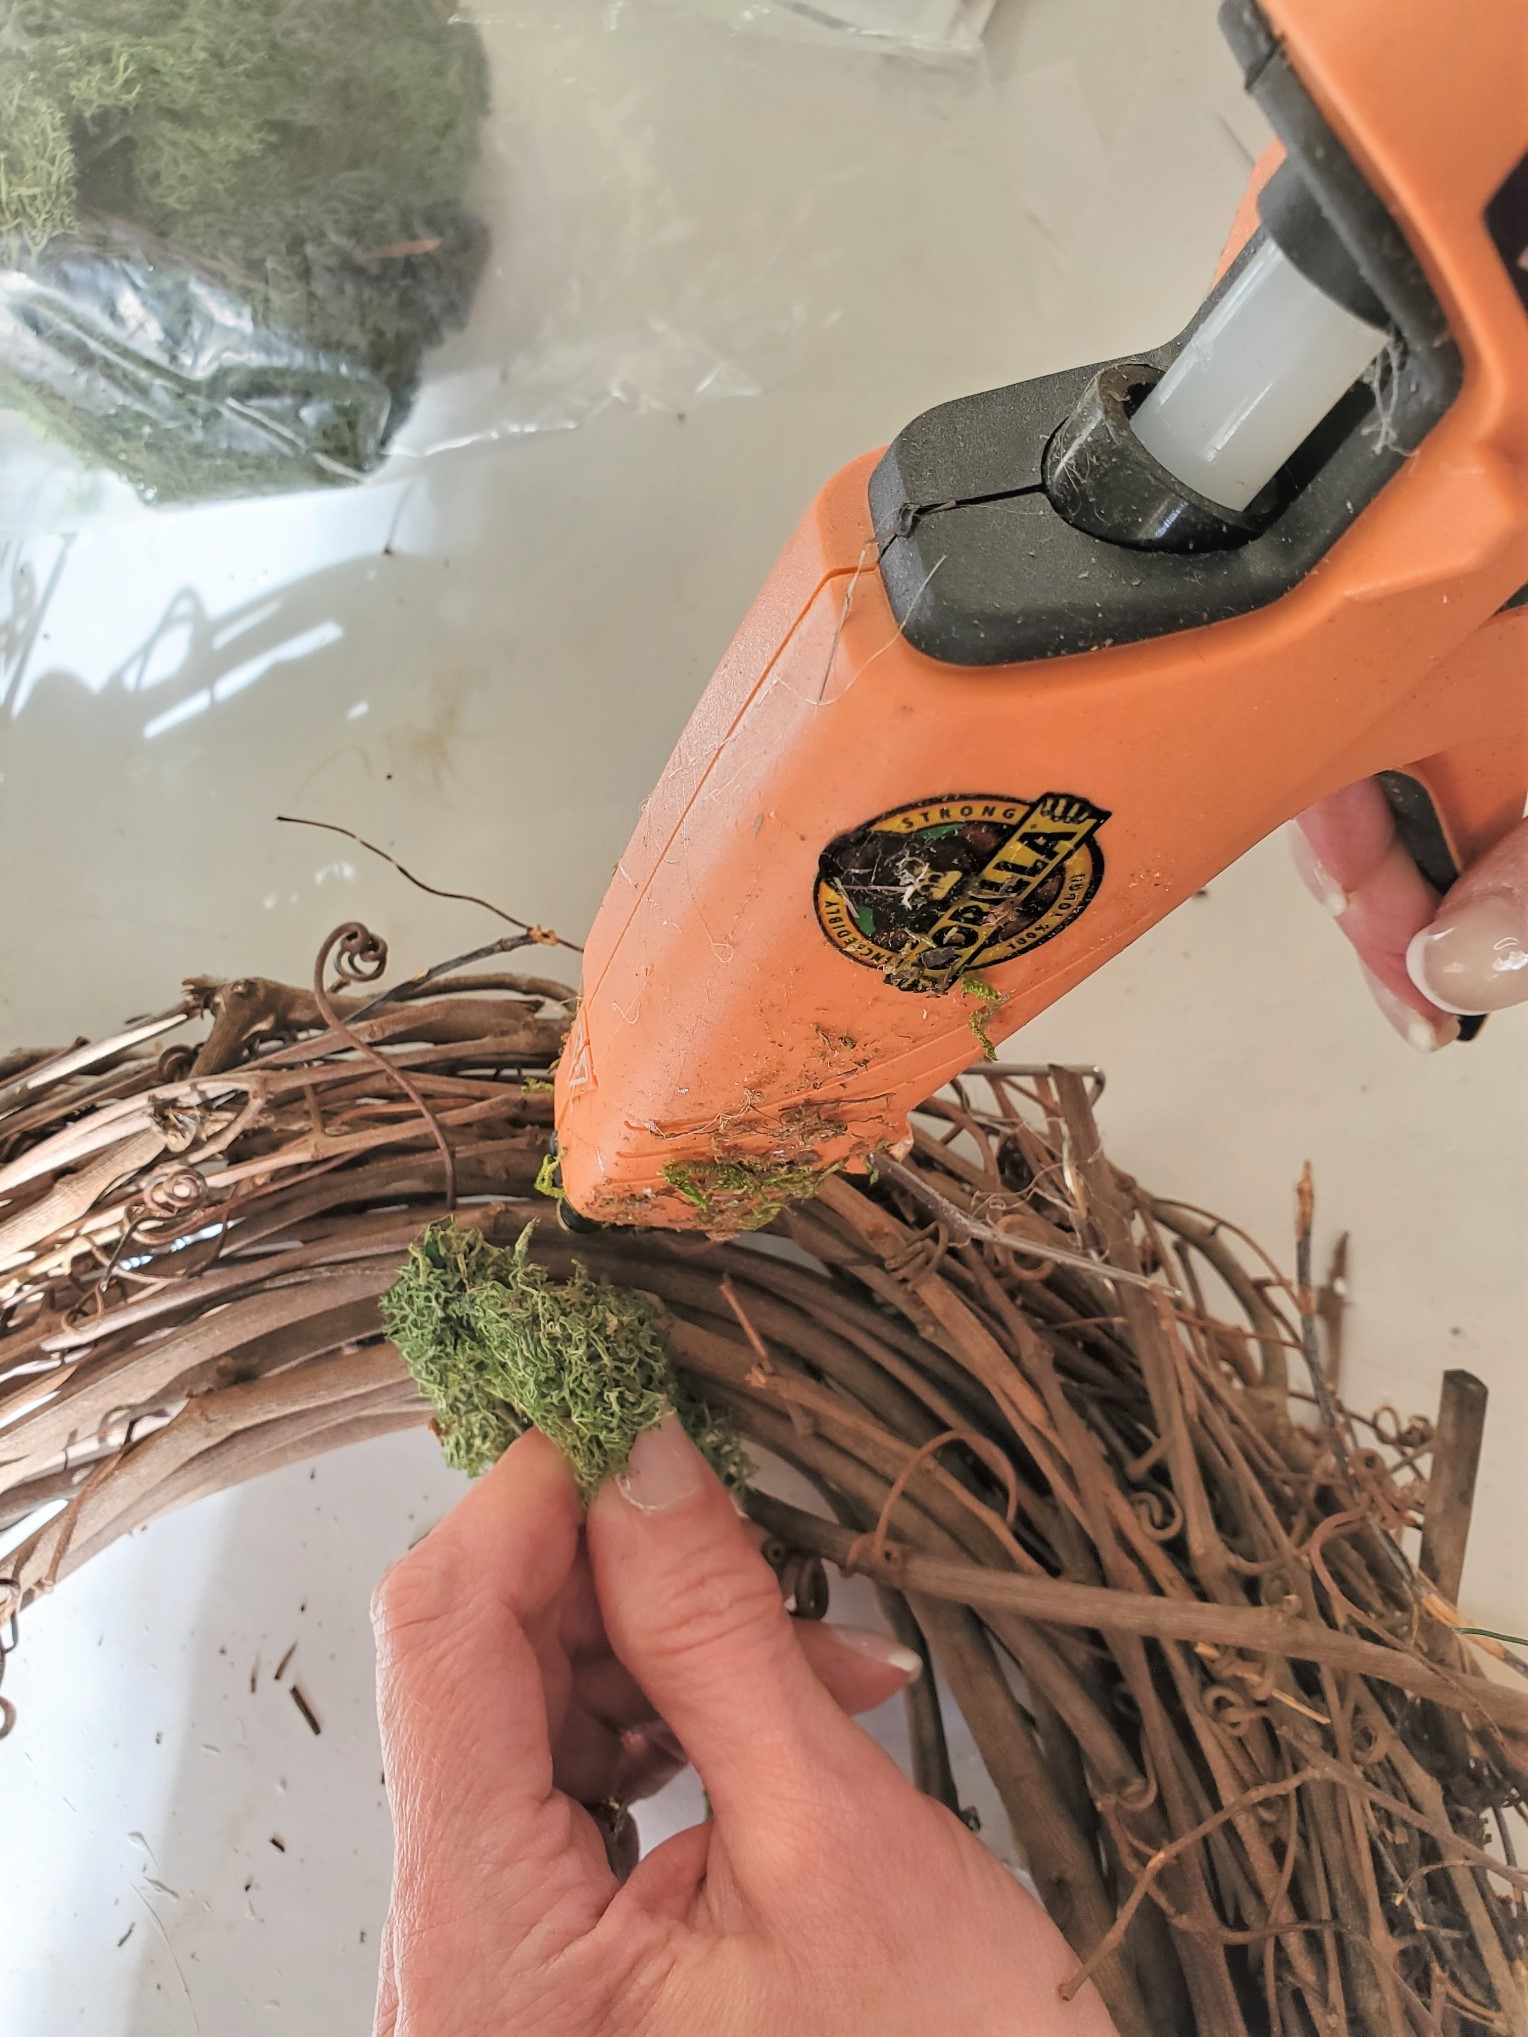
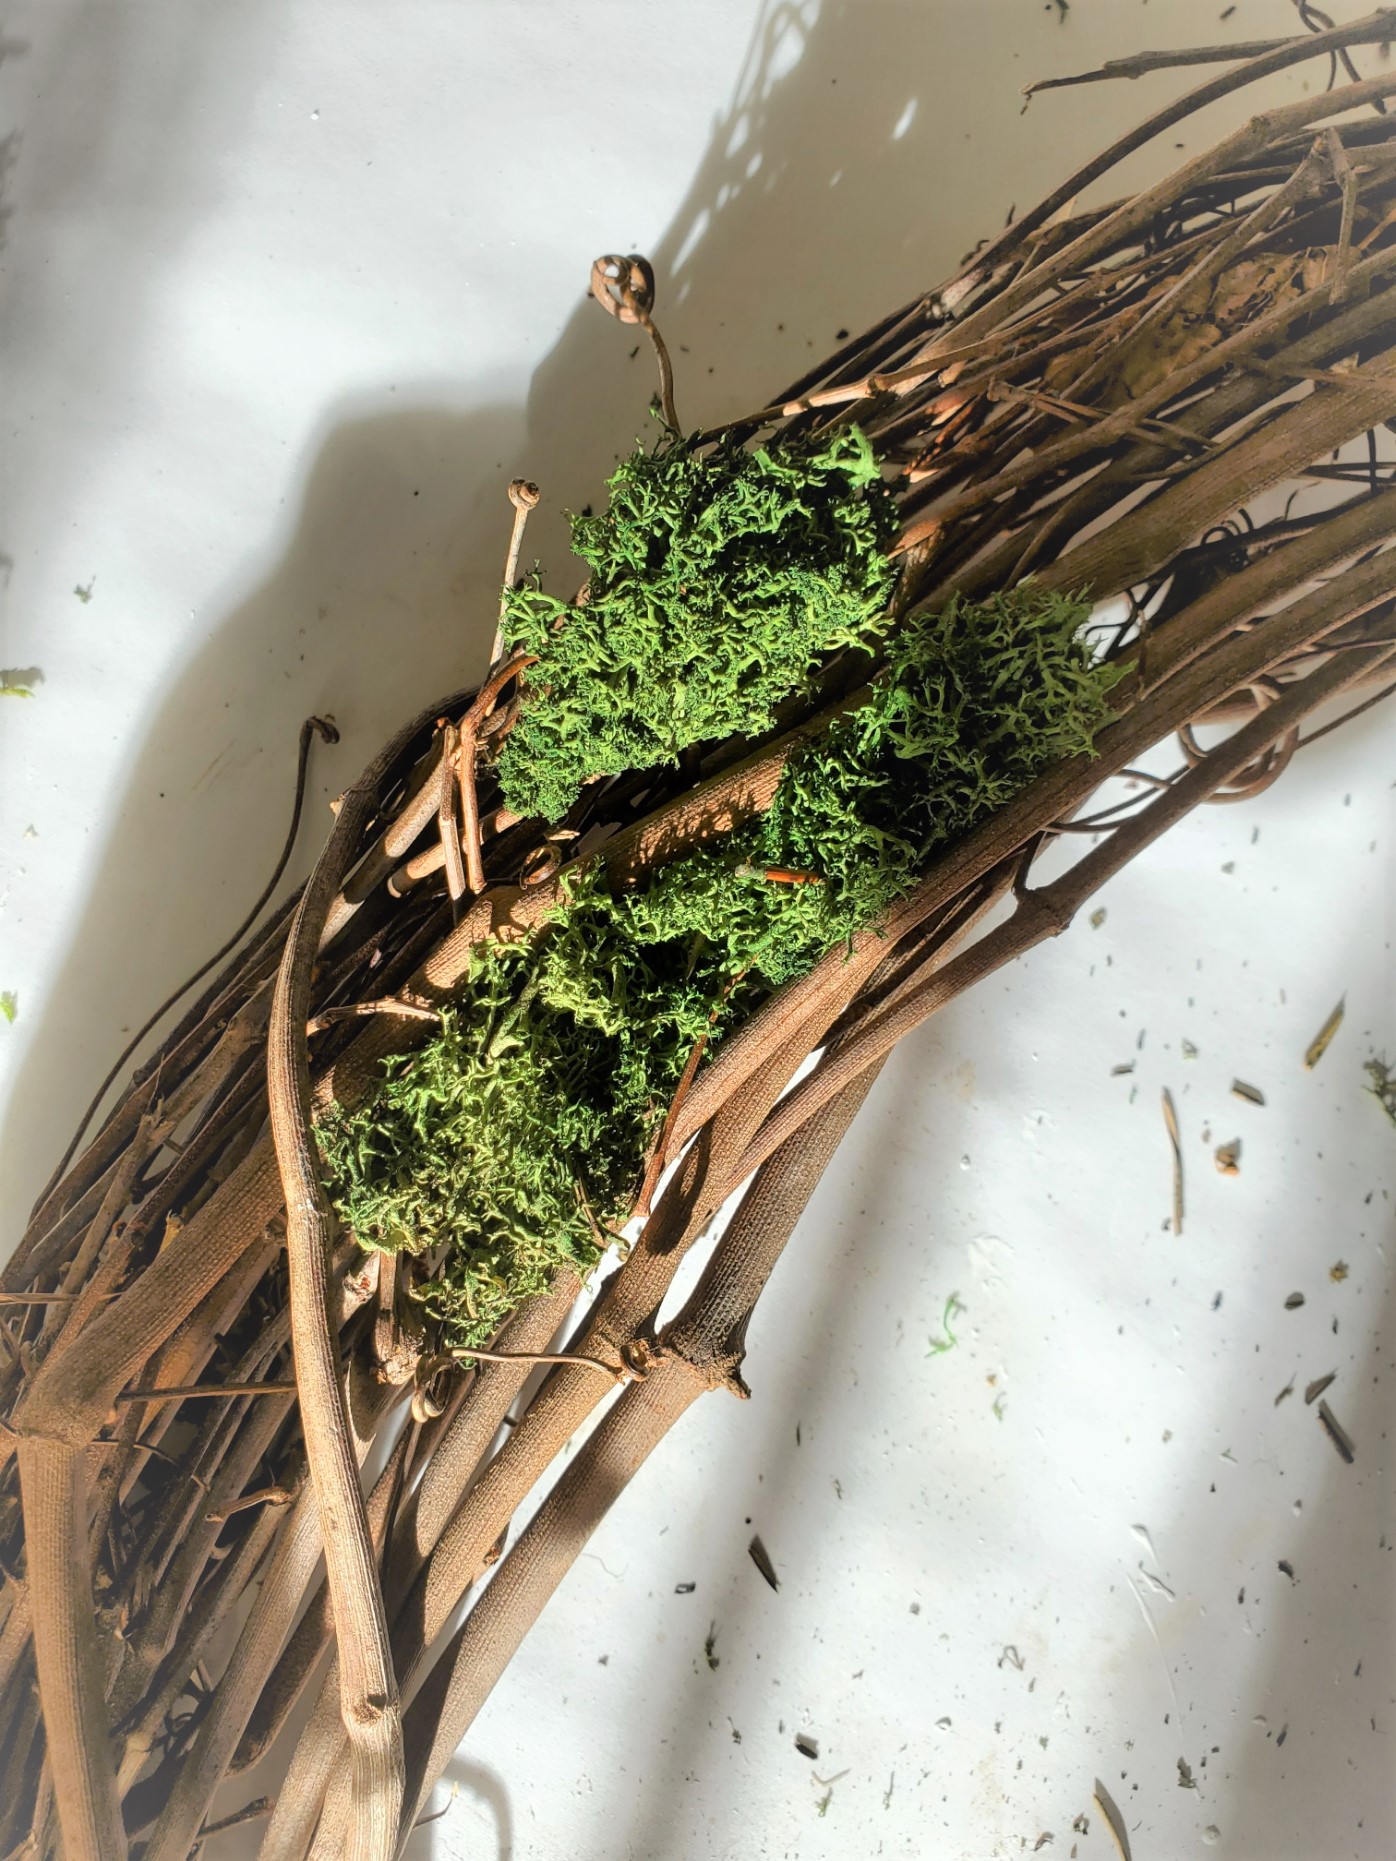
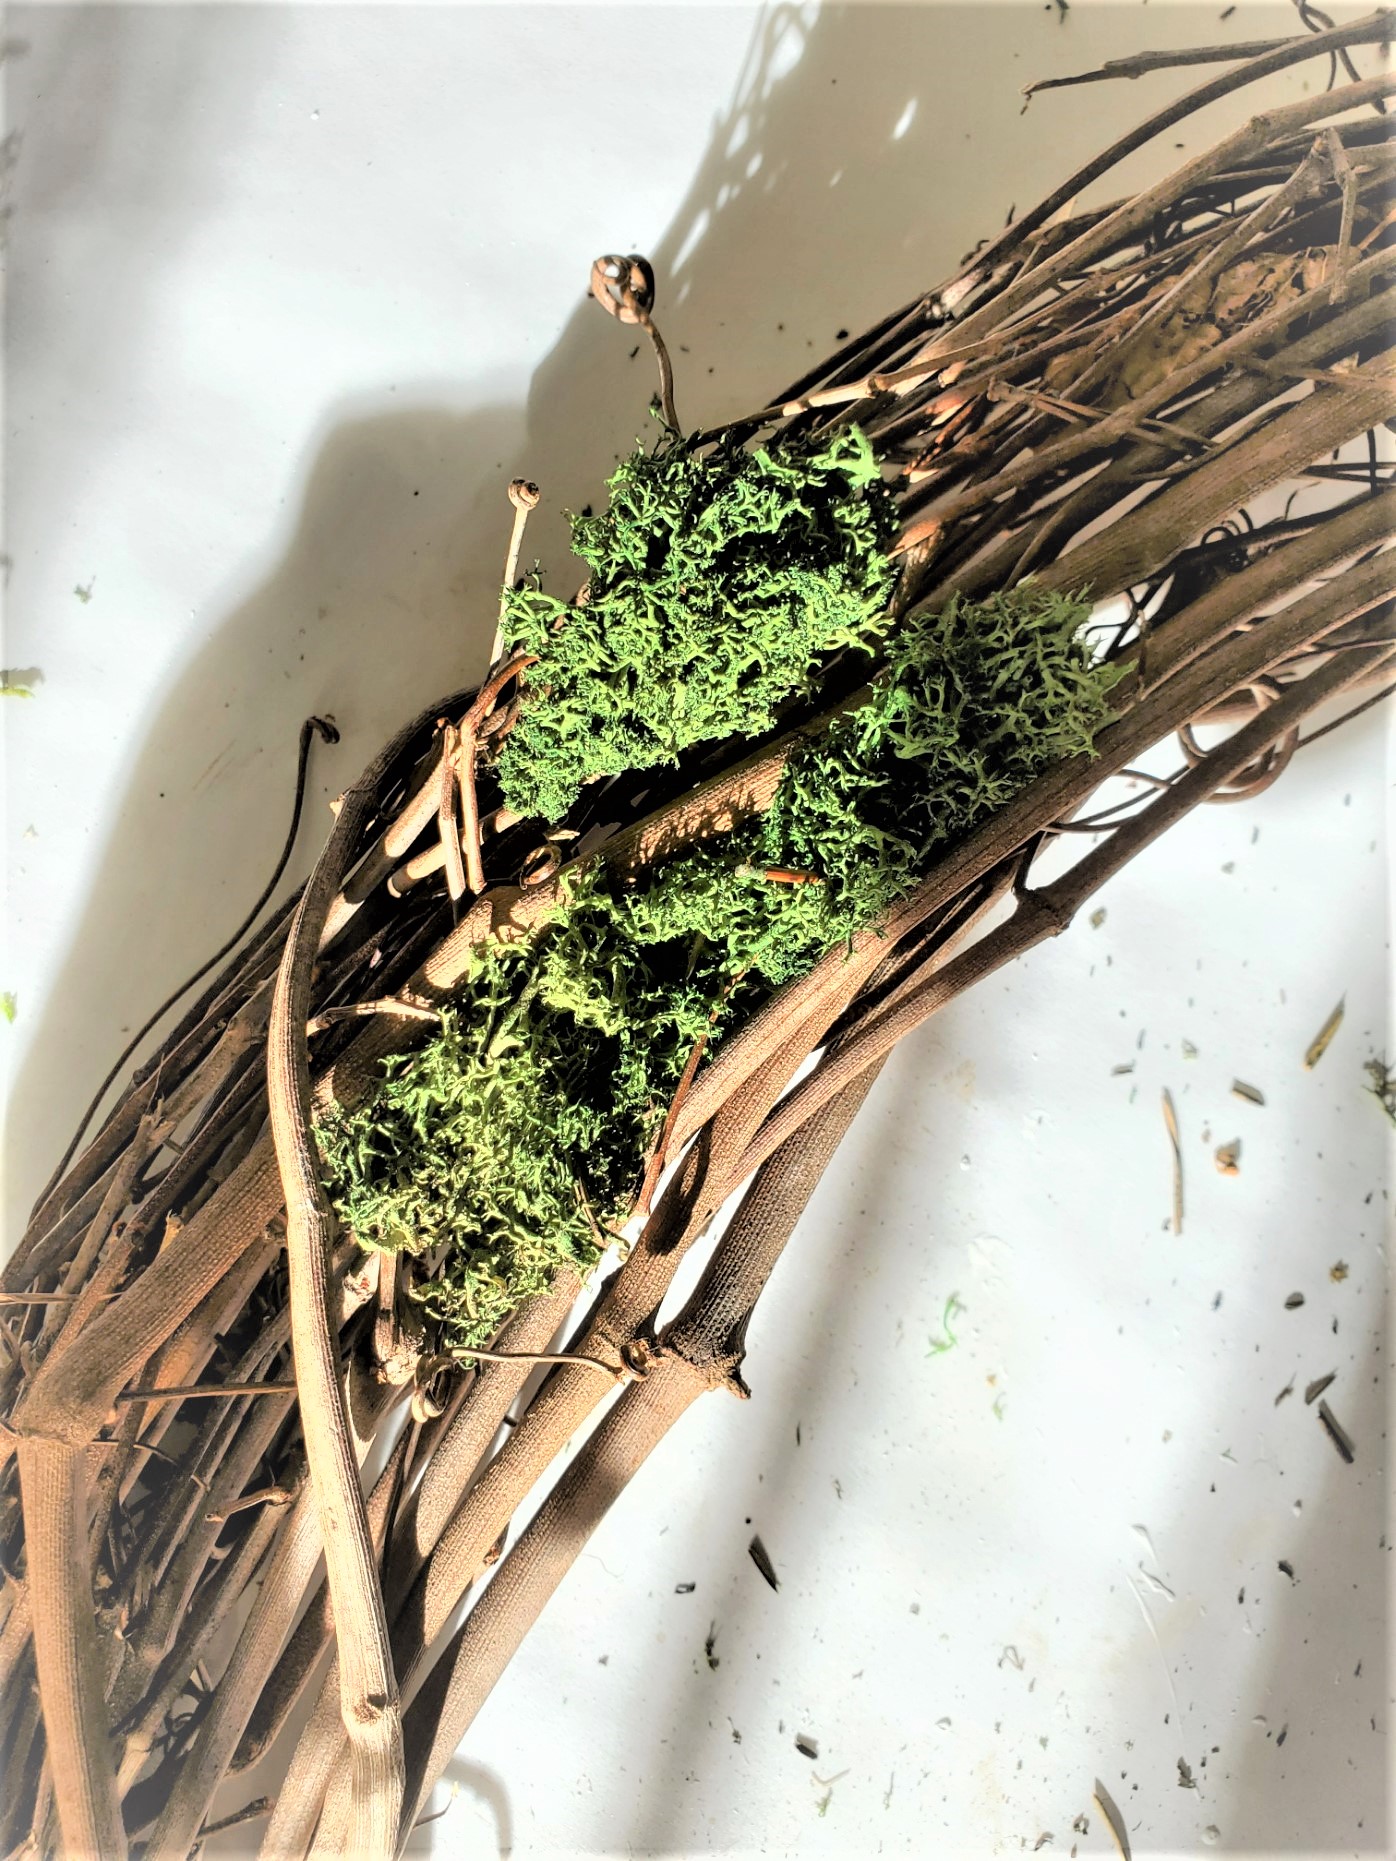
Step 1: Gather Supplies and Glue the Moss to the Wreath Base
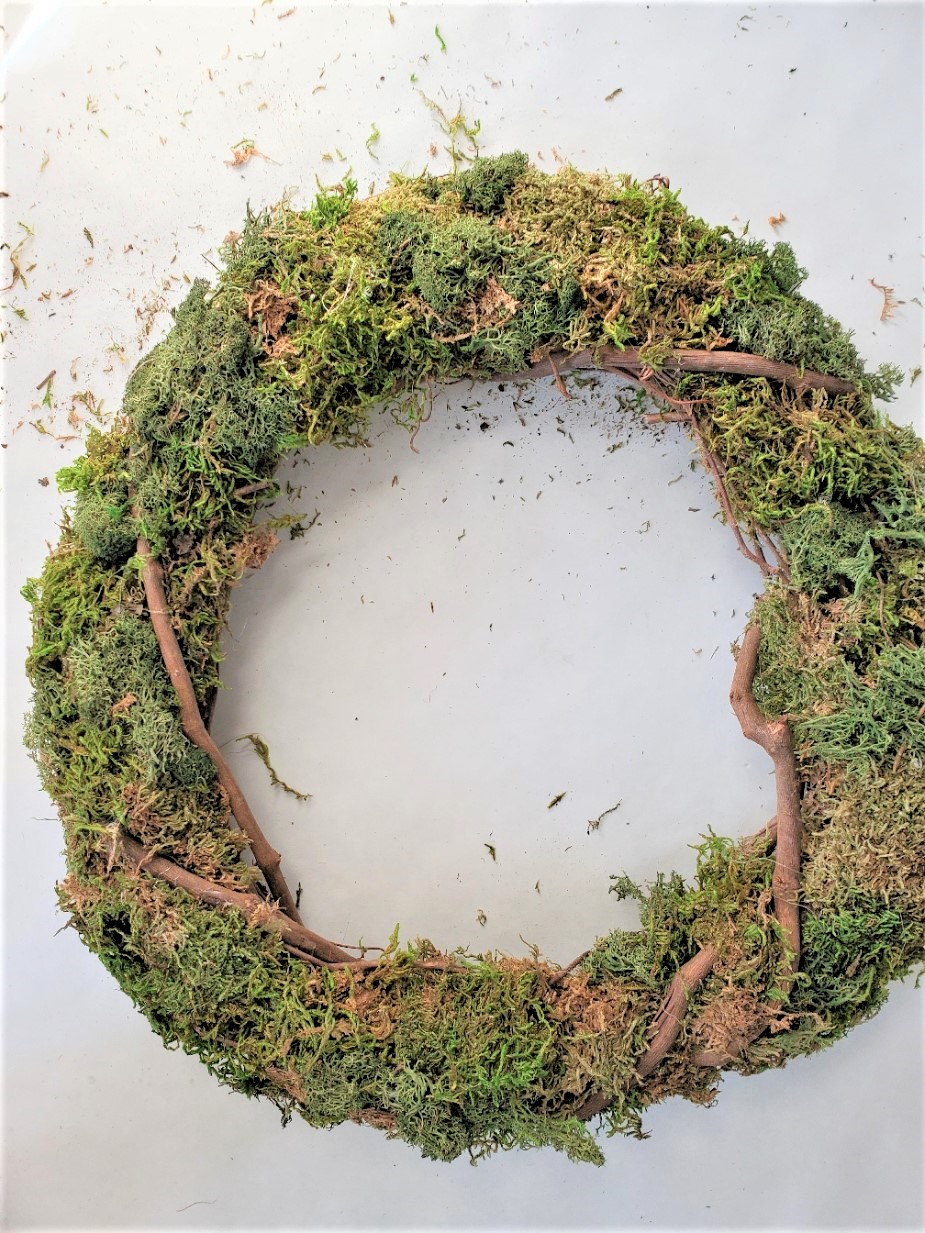
I usually begin any new wreath by gathering my supplies. Start by plugging in your glue gun to heat up at a low temperature. Here I suggest low temperature because when working with moss glue can seep through and the low temperature will avoid burns. Now when I begin making this moss wreath, I separate pieces of the moss and begin filling in my grapevine form. Reindeer moss is easy to work with because it doesn't separate too much. This is especially helpful when gluing this around the grapevine wreath. My goal for this wreath is to have thicker grapevine branches on the wreath form noticeable. This adds texture and character to the wreath. I do this by using the tip of my finger and wedging the moss between the branches. A little bit of glue is all you need. After the wreath is filled in with moss you are happy. It's time to add the dried lavender buds. I love the combination of the green with the purple from the lavender.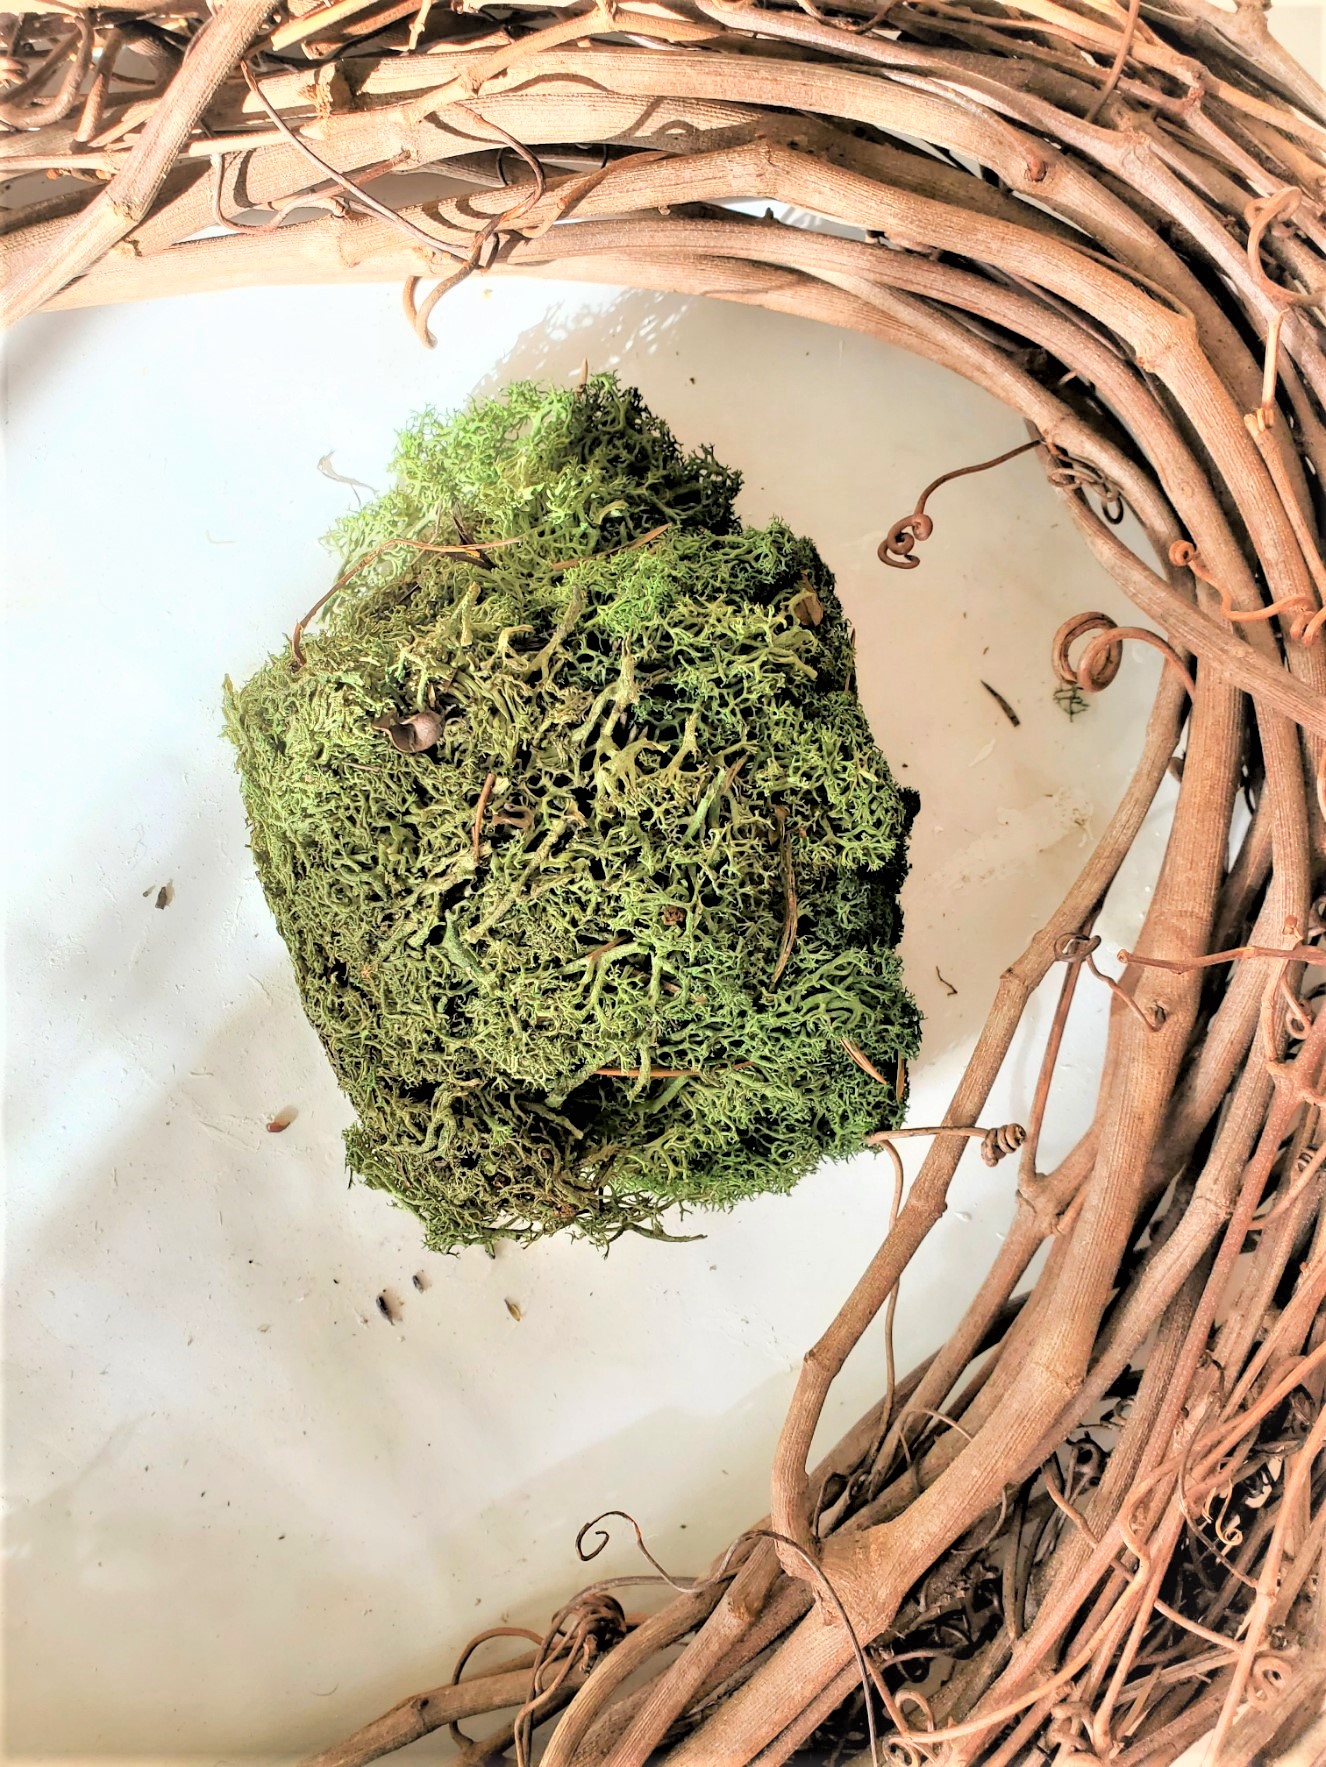
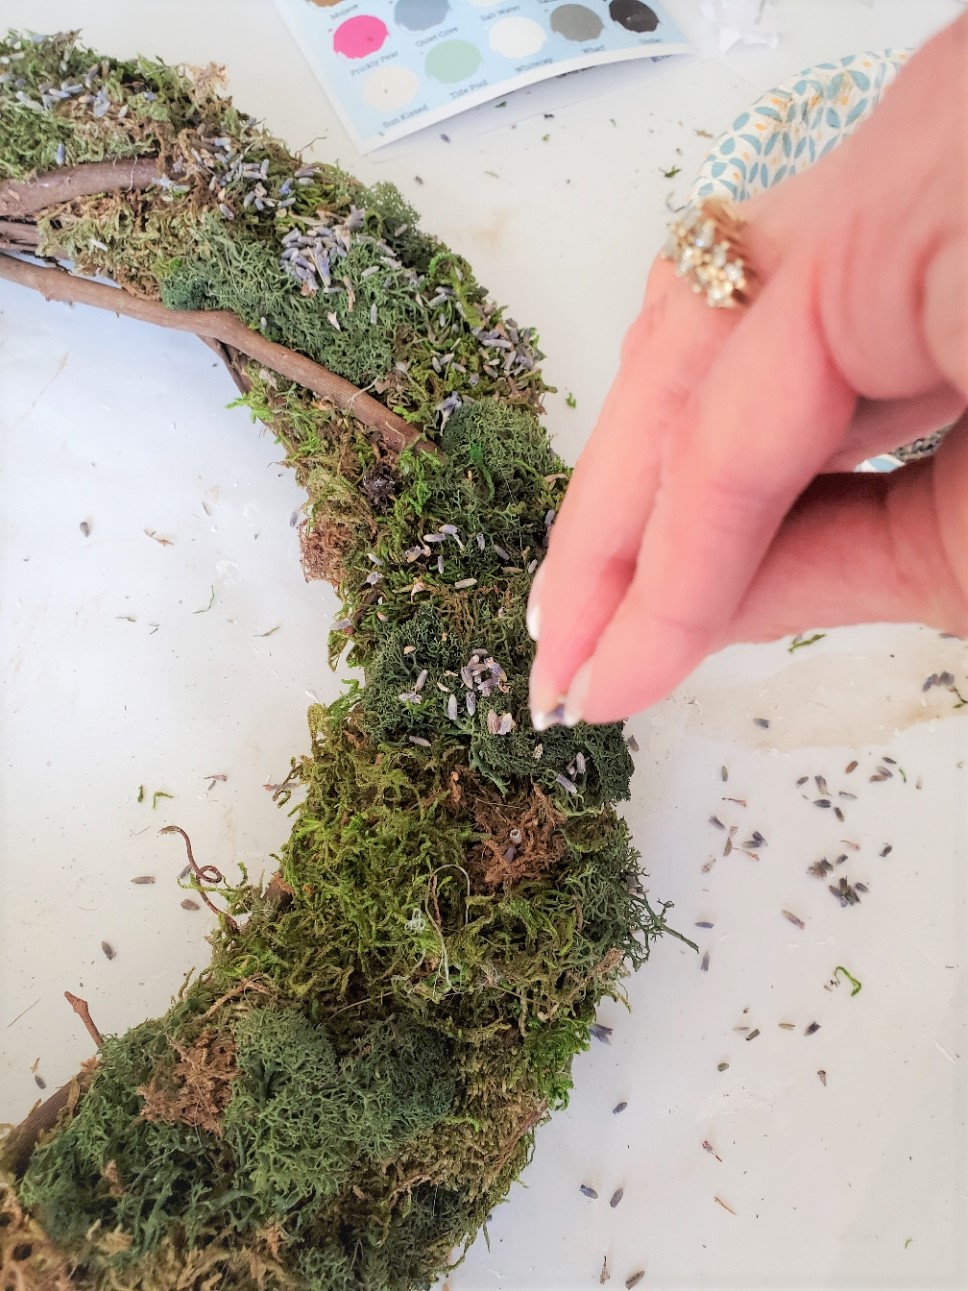
Step 2: Using Spray Adhesive Sprinkle and Adhere the Dried Lavender Buds
Now when doing this I did add spray adhesive to the moss and the wreath in my craft room. I had no problem because only a small amount is needed. I did however open the window when doing this step to be safe. Sprinkle a generous amount of dried lavender buds. The combination of the green moss and purple of the lavender truly makes this a beautiful wreath. Let this dry for five minutes. The dried lavender buds can be bought on Etsy for little cost. I will share other links at the end of this post for the rest of the products needed for this easy spring wreath moss and lavender bud wreath.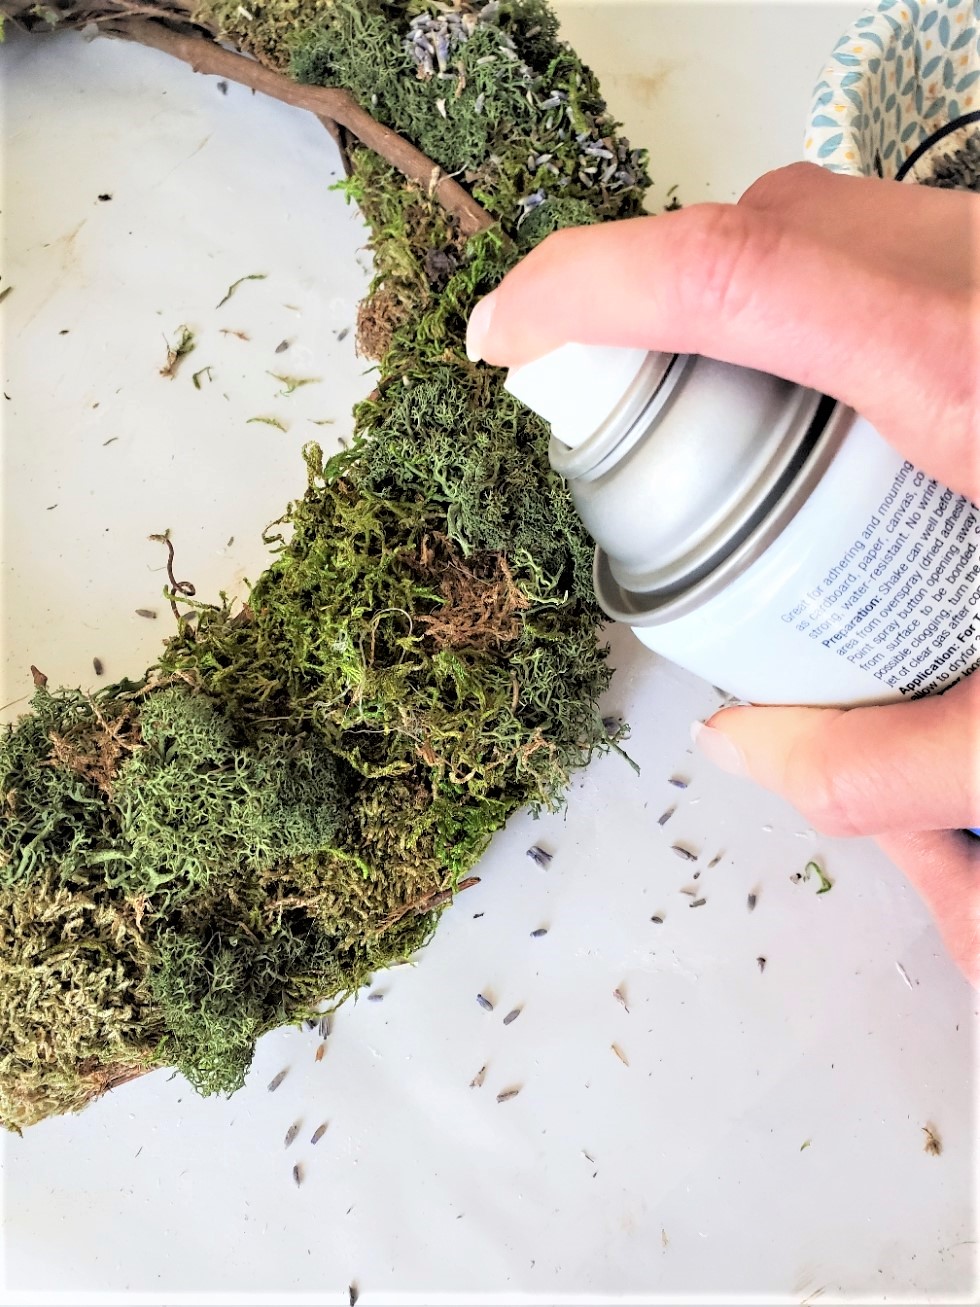
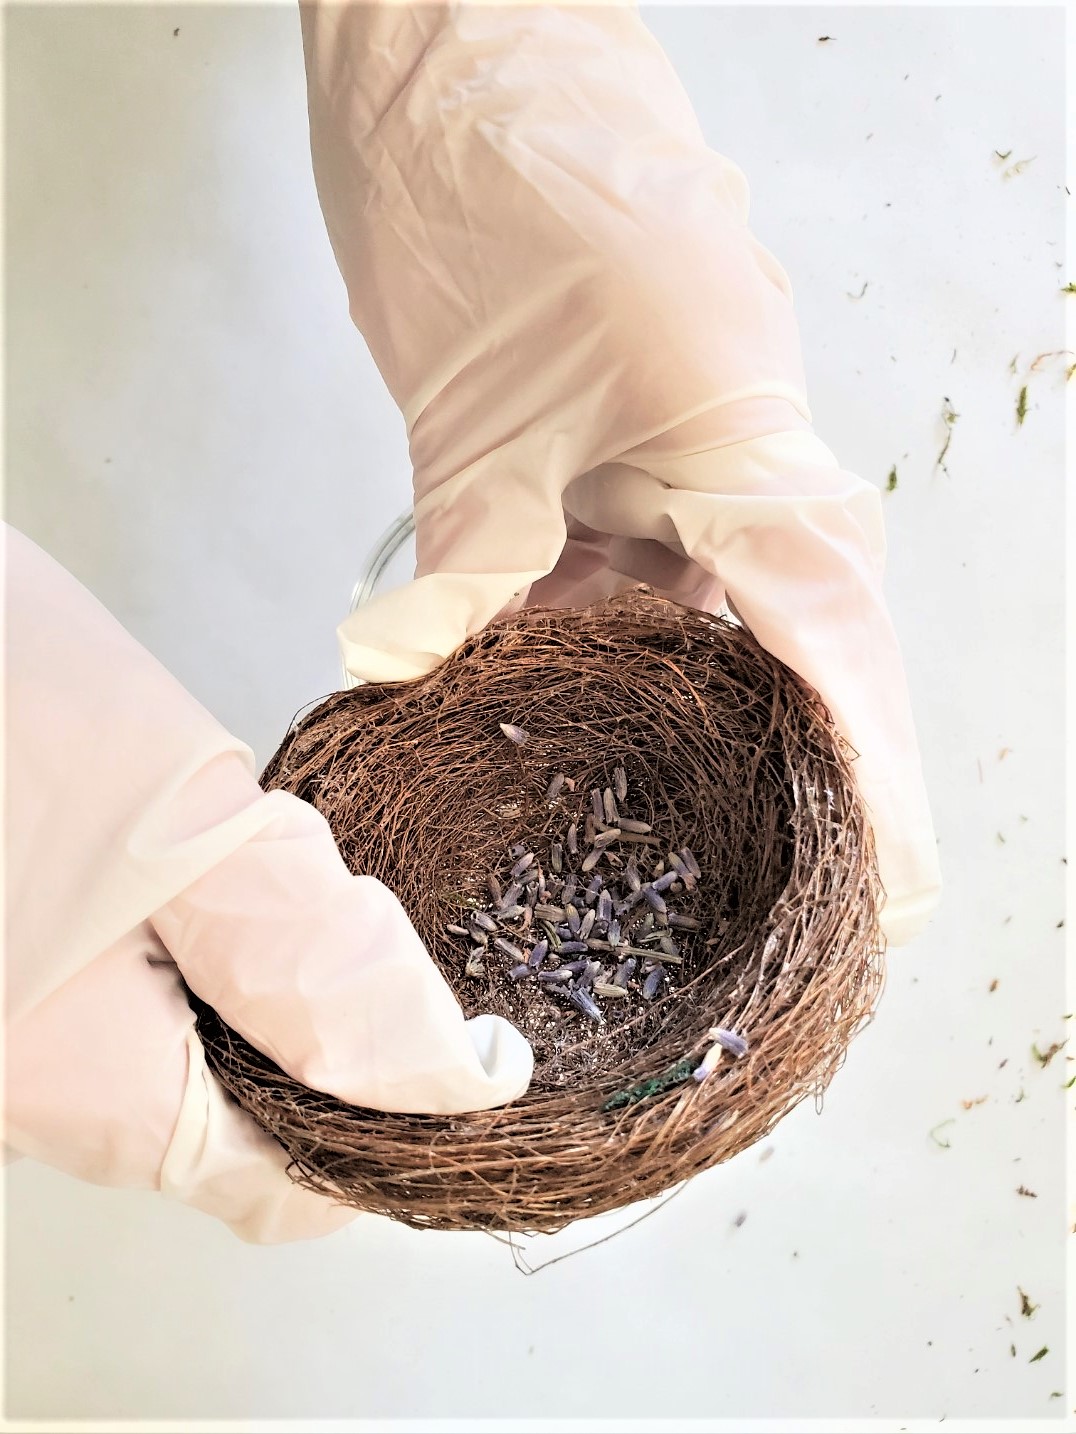
Step 3: A Nest Adds a Touch of Nature
Adding the next is completely optional. However, I adore the added rustic look it adds to the wreath. I made these in minutes I enjoy scattering these around our home, especially for spring decor! In keeping with the dried lavender buds, I added some dried lavender buds to the center of the nest. Again, I added just a bit of spray adhesive and sprinkled the dried buds inside. Make sure to wear gloves for this process. It's very sticky!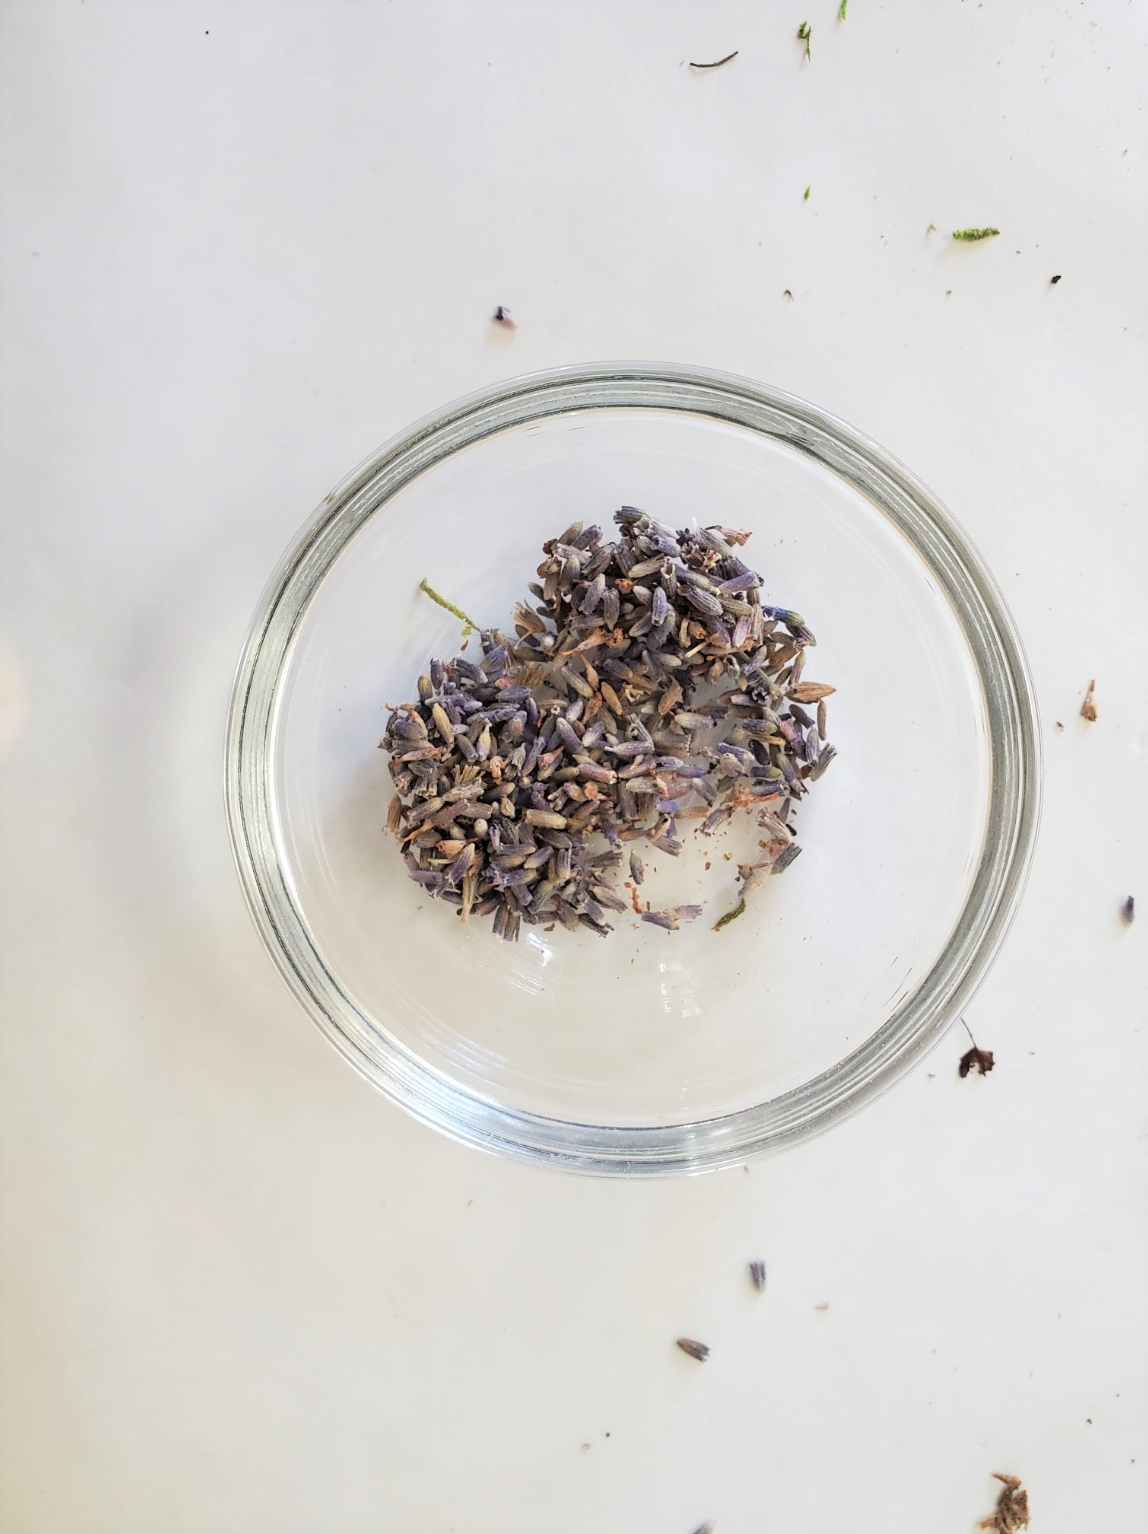
Dried Lavender Buds Added to the Nest
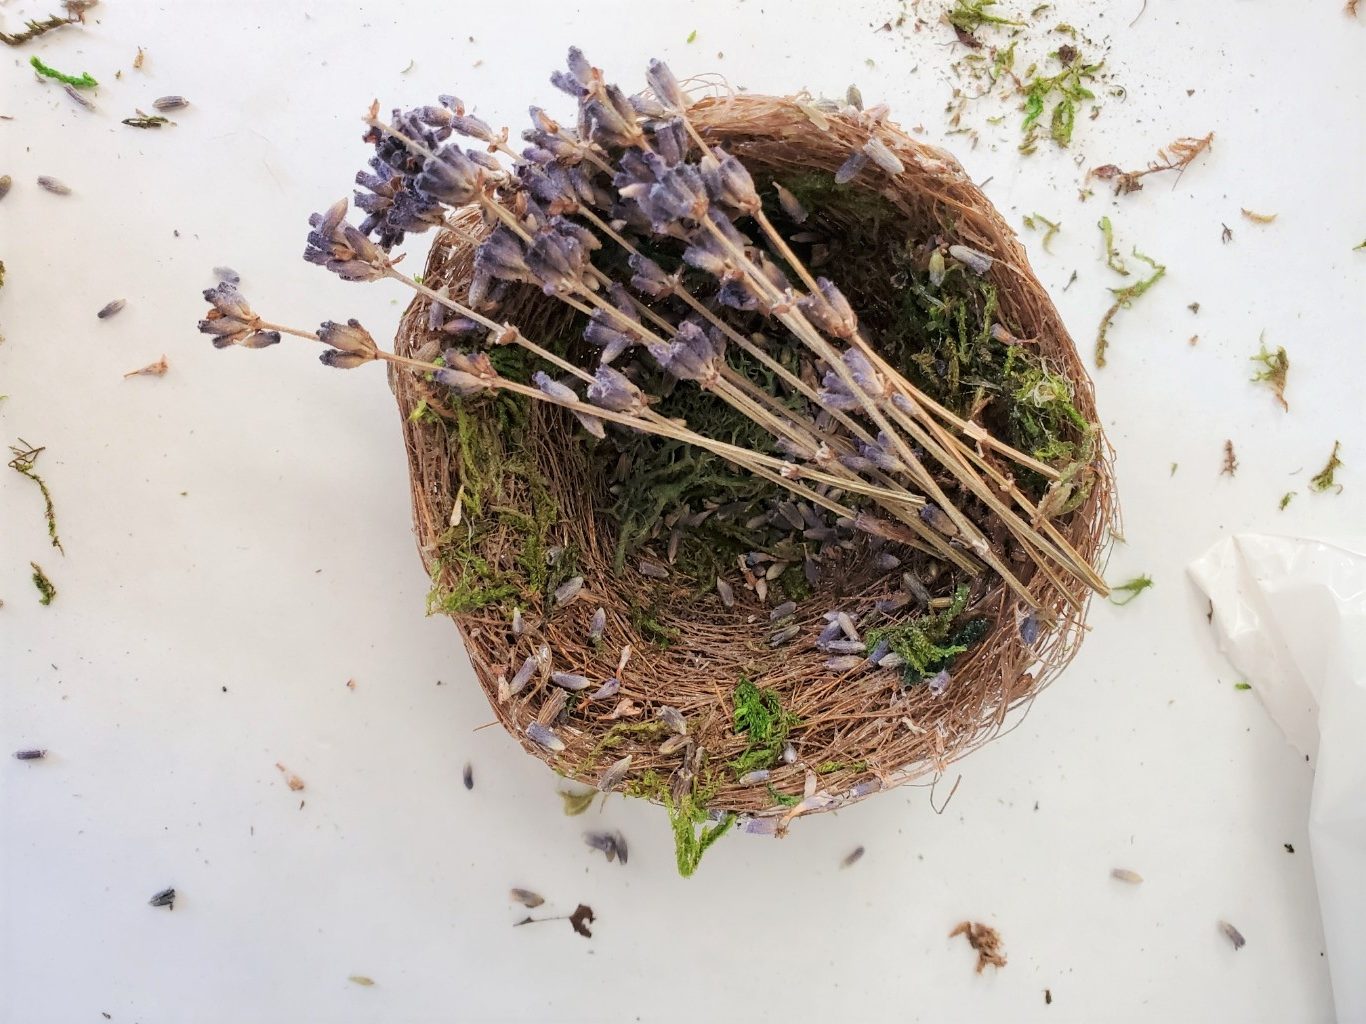
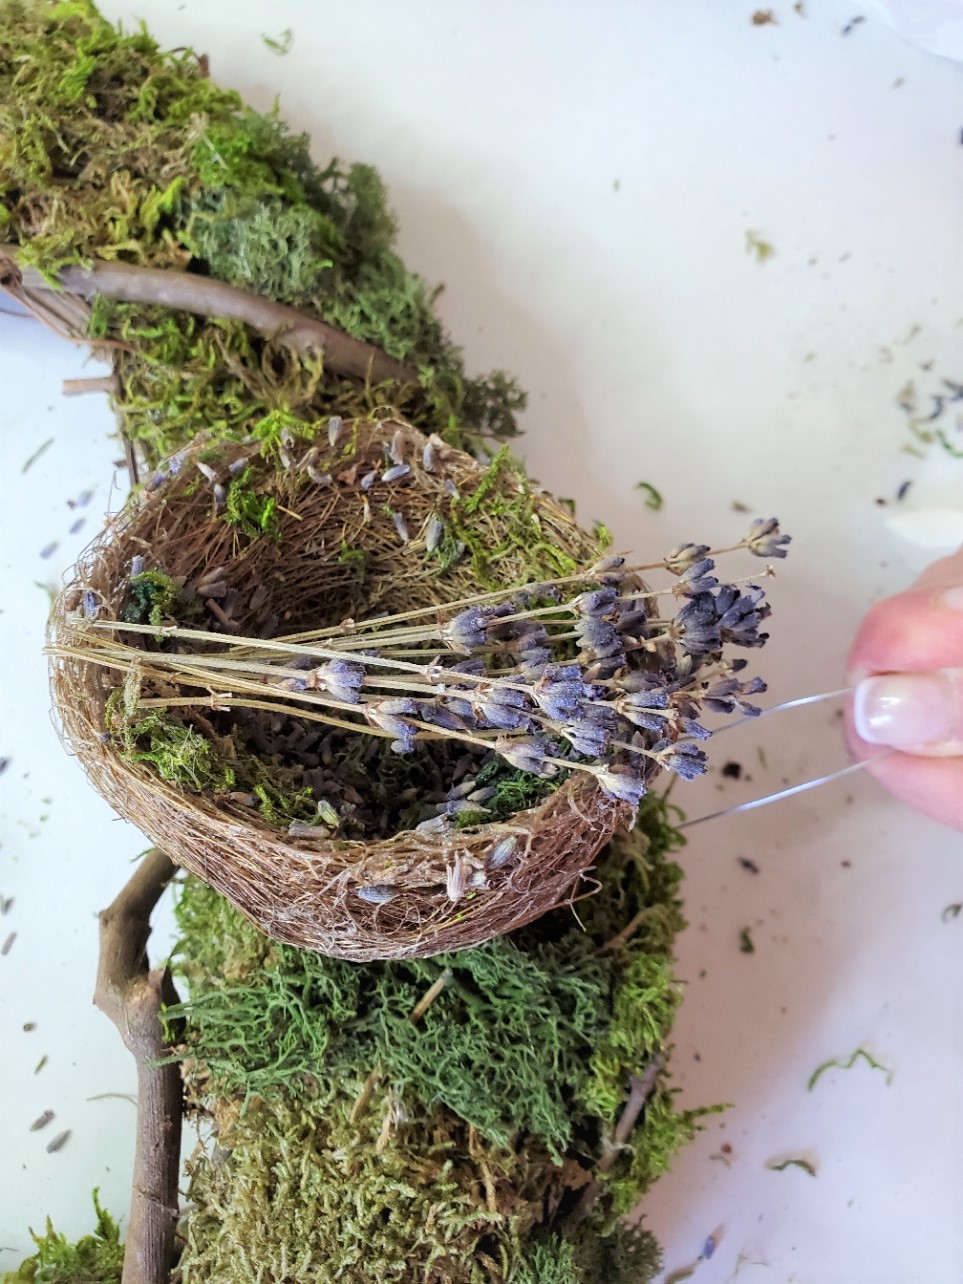
I also added a few short lavender wands I had in my craft room.
Again, I added a small amount of spray adhesive to the top of the nest as well as the stems.
This is the perfect way to keep them together. Allow this to dry for five minutes so it isn't sticky when attaching the nest when hanging the wreath.
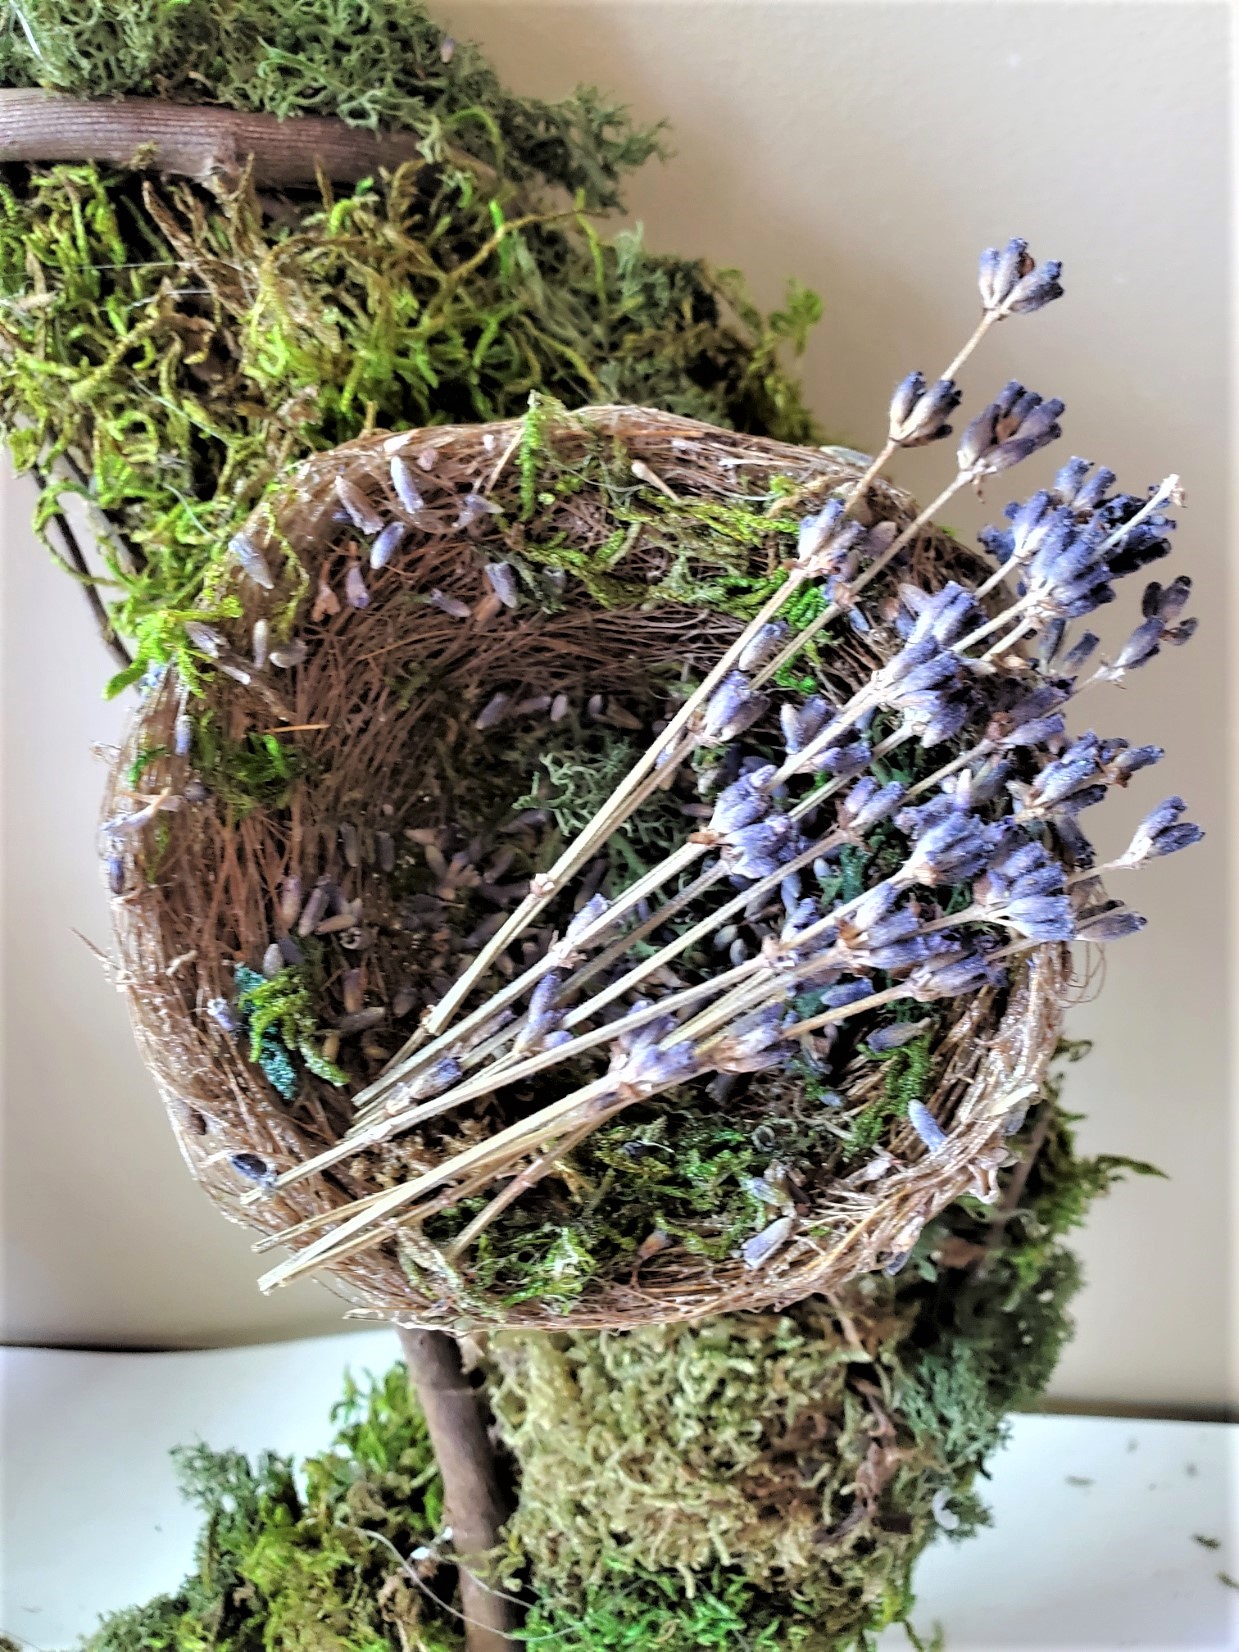
To attach the nest to the wreath use two U-shaped florist pins.
I added them through the center of the nest. A needle and green thread will do the trick too!