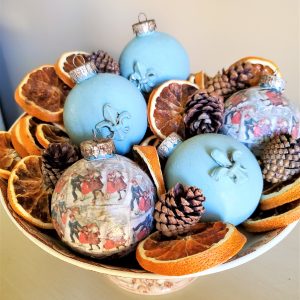
Crafting your own ornaments is not only a way to personalize your holiday decor but also a chance to infuse a touch of vintage charm into your beautiful ornaments.
Step: 1 DIY Project Christmas BallsEasy DIY Christmas ornaments, I'm using a plain glass ball I purchased at Michaels. These are usually available in large tubs at Hobby Lobby and Michaels craft stores. If glass balls are unavailable a Styrofoam ball in the size of your choice is a great idea.Think about the image for my decoupage ornaments.
Step 2: Cutting And Printing ImagesCut the small pieces of paper out. This is the longest part of these homemade ornaments. It took time to cut, but it is a great excuse to listen to Christmas music or watch your favorite holiday movie. Using a sharp pair of scissors helps when cutting the images for these Christmas ornaments.
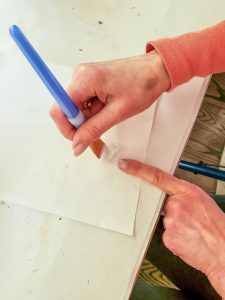
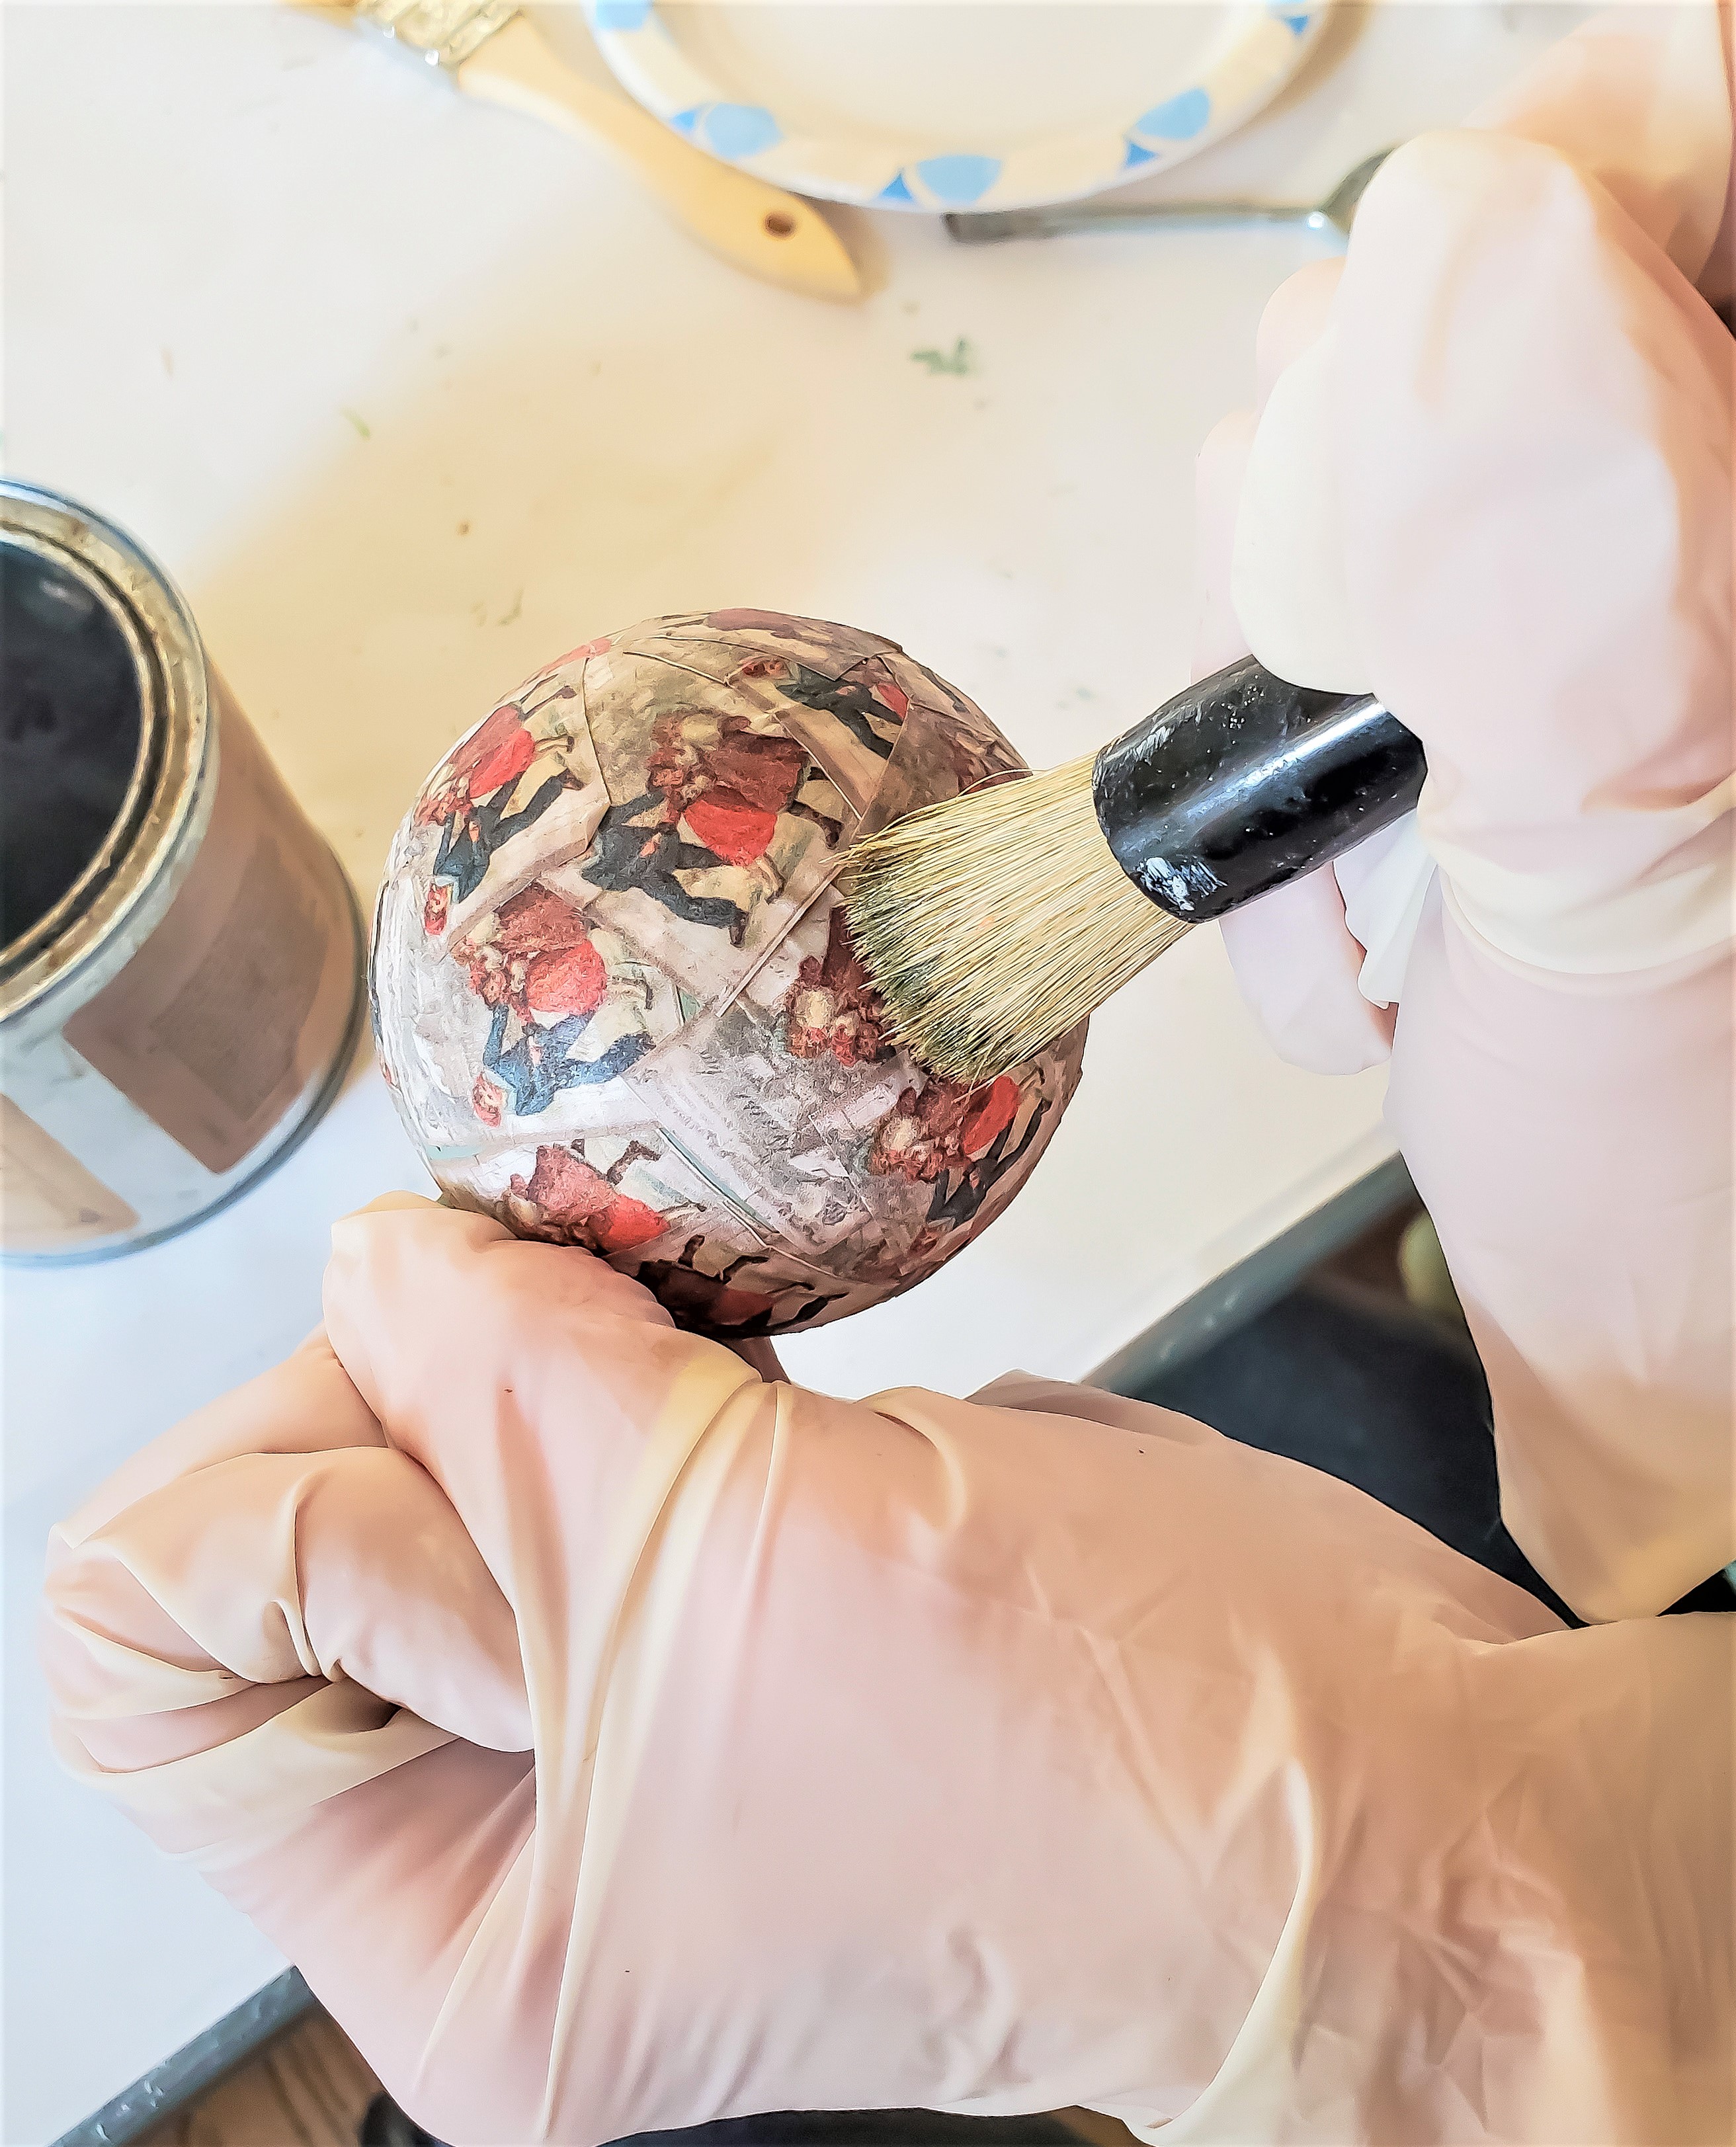
Step 3: Adding Images with Craft GlueAdd a layer of Mod Podge in a small area at a time. When adding the Mod Podge, there is no need to worry about wrinkles because the images are small pieces.The perfect way to avoid wrinkles for larger projects is plastic wrap. Tear a piece of plastic wrap and smooth the wrinkles with your hand. This works perfectly every time. Overlap the images beginning at the top of the ornament and work your way around covering the entire glass ball.Let these dry overnight.
Step 4: Rustic LookWanting a vintage look for the homemade ornaments, I added a coat of light brown wax. Remember to rub the wax well with a lint-free rag to avoid the wax becoming sticky. Dry brushing lightly with brown craft paint will also add a rustic look. Let these dry overnight.I added raw umber paint to the ornament caps, which adds a rustic look to my Christmas decorations.A dry brush technique is the perfect way to add more age. This step is optional but is a great way to give these handmade ornaments a vintage look.Add a second coat of Mod Podge on top of the paper for a protective coating for these DIY ornaments.To add even more of a rustic look to my handmade ornaments I added raw umber paint to the ornament caps. I also use a dry brush technique to add more age. This is also optional; however, this step is a great way to give these Christmas ornaments a genuine vintage look.
Notes
EASY DECOUPAGE CHRISTMAS ORNAMENTS EASY DIY
Step: 1 Easy Christmas Craft Idea
For these easy DIY Christmas ornaments, I'm using a plain glass ball I purchased at Michaels.These are usually available in large tubs at Hobby Lobby and Michaels craft stores.If these are unavailable a Styrofoam ball in the size of your choice is a great idea.Next, I began to think about the image for my decoupage ornaments. Supplies List for These Decoupage Ornaments:
clear glass balls or plastic Christmas balls
decoupage medium such as Mod Podge
small paint brush or foam brush
paper plate
scrapbook paper (optional)
fabric squares (optional)
paper music sheets (optional)
wrapping paper (optional)
tissue paper (optional)
Christmas napkins or a holiday napkin (optional)
Step 2: Cutting And Printing Images
After purchasing my image, I printed it in thumbnail size. Next, cut the small pieces of paper out. This is the longest part of these homemade ornaments. It took time to cut, but it is a great excuse to listen to Christmas music or watch your favorite holiday movie. Using a sharp pair of scissors helps when cutting the images for these Christmas ornaments.
Step 3: Adding Images With Craft Glue
Add a layer of Mod Podge in a small area at a time. When adding the Mod Podge, there is no need to worry about wrinkles because the images are small pieces.The perfect way to avoid wrinkles for larger projects is plastic wrap.
Tear a piece of plastic wrap and smooth the wrinkles with your hand. This works perfectly every time.
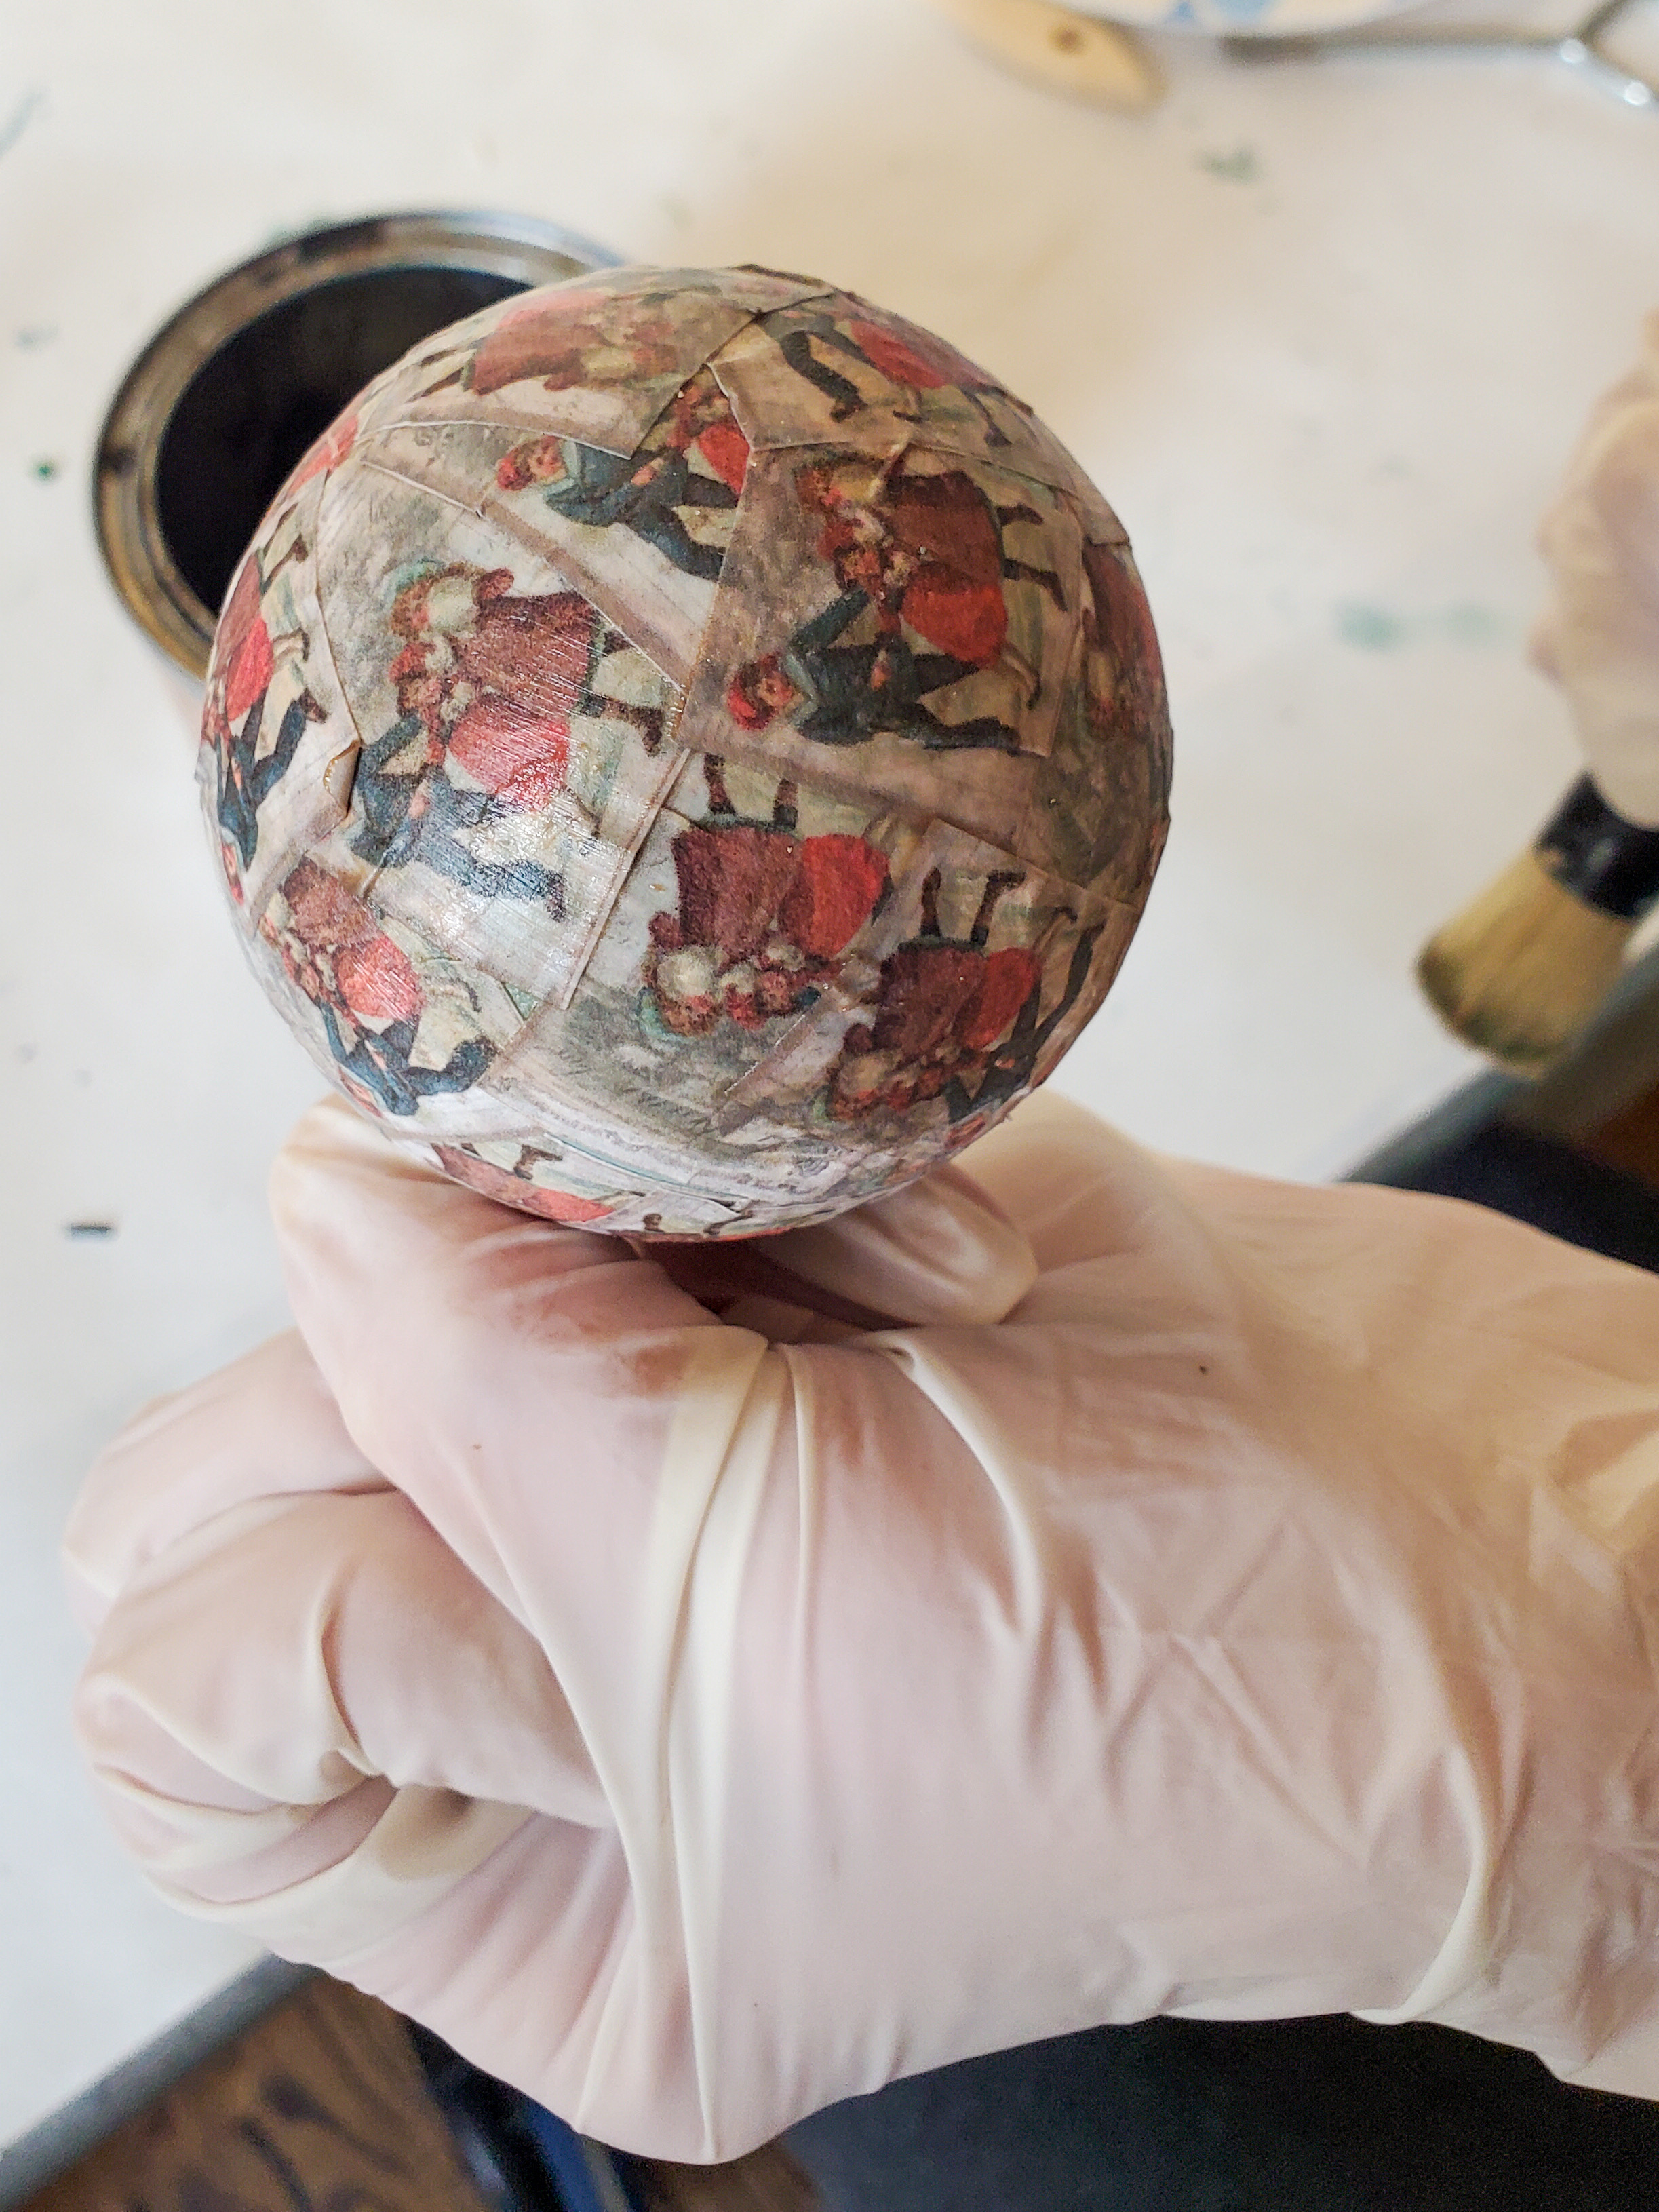
Overlap the images beginning at the top of the ornament and work your way around covering the entire glass ball.Let these dry overnight. adding-glue first-image-added
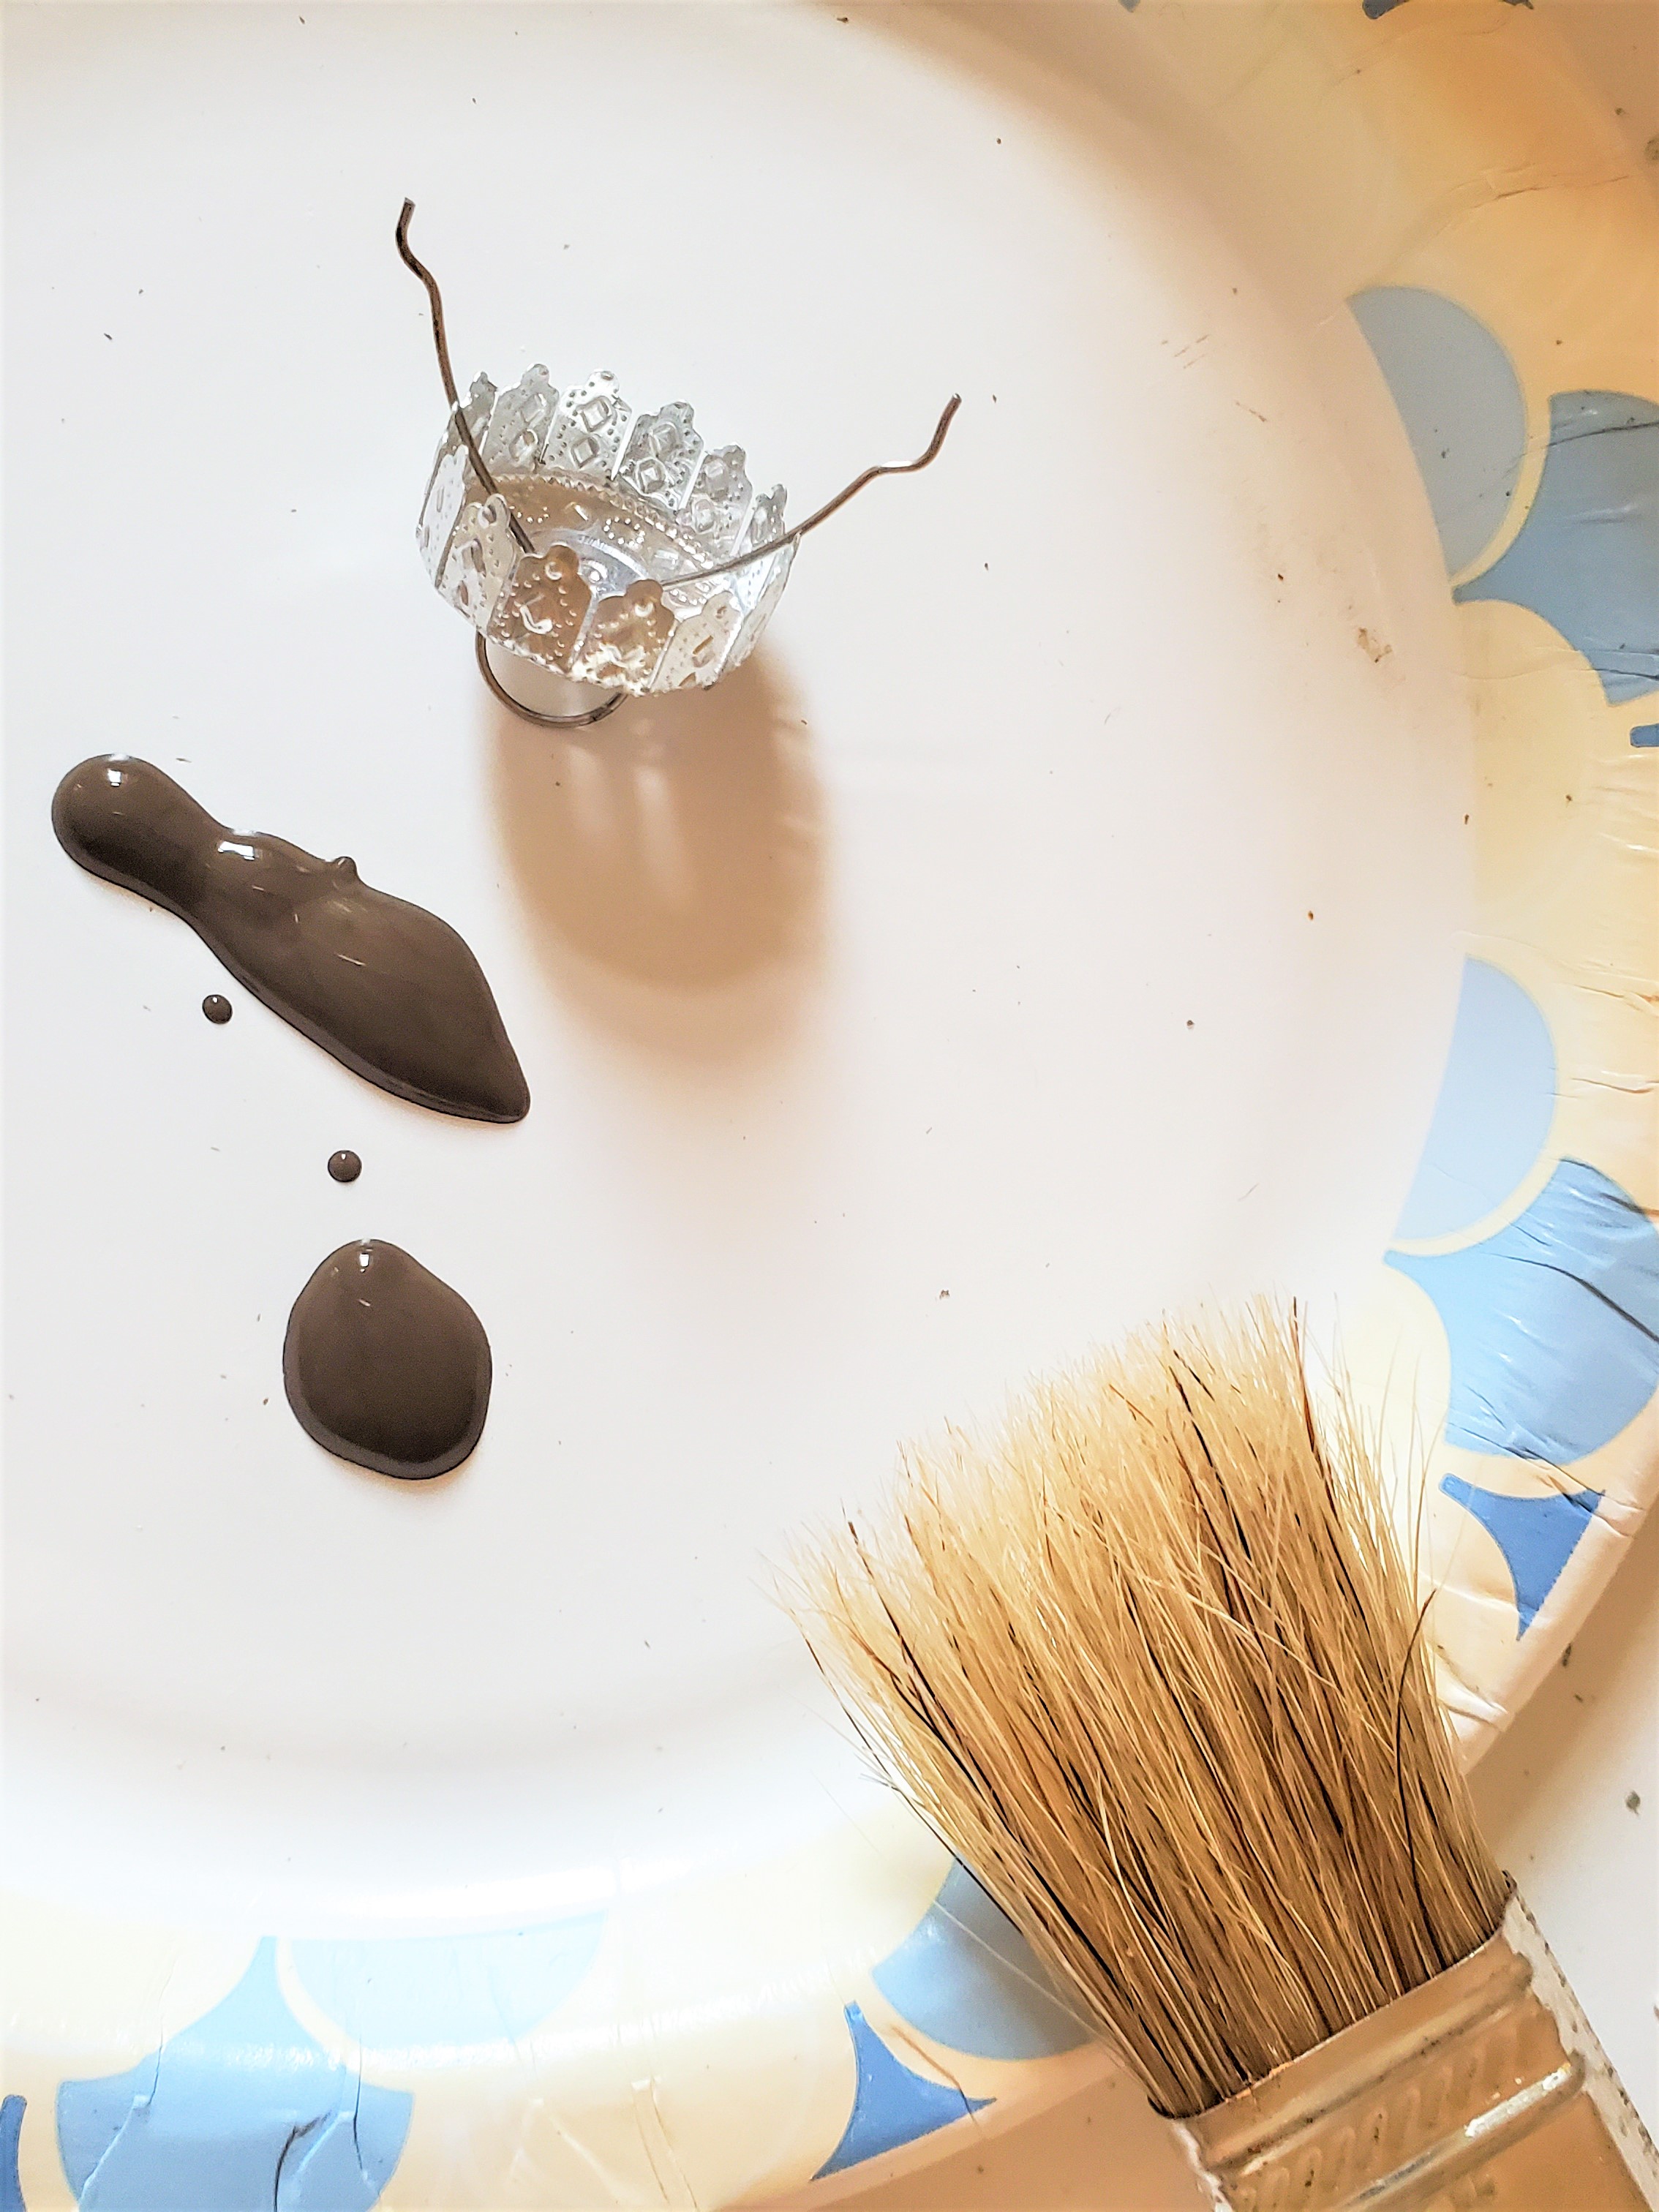
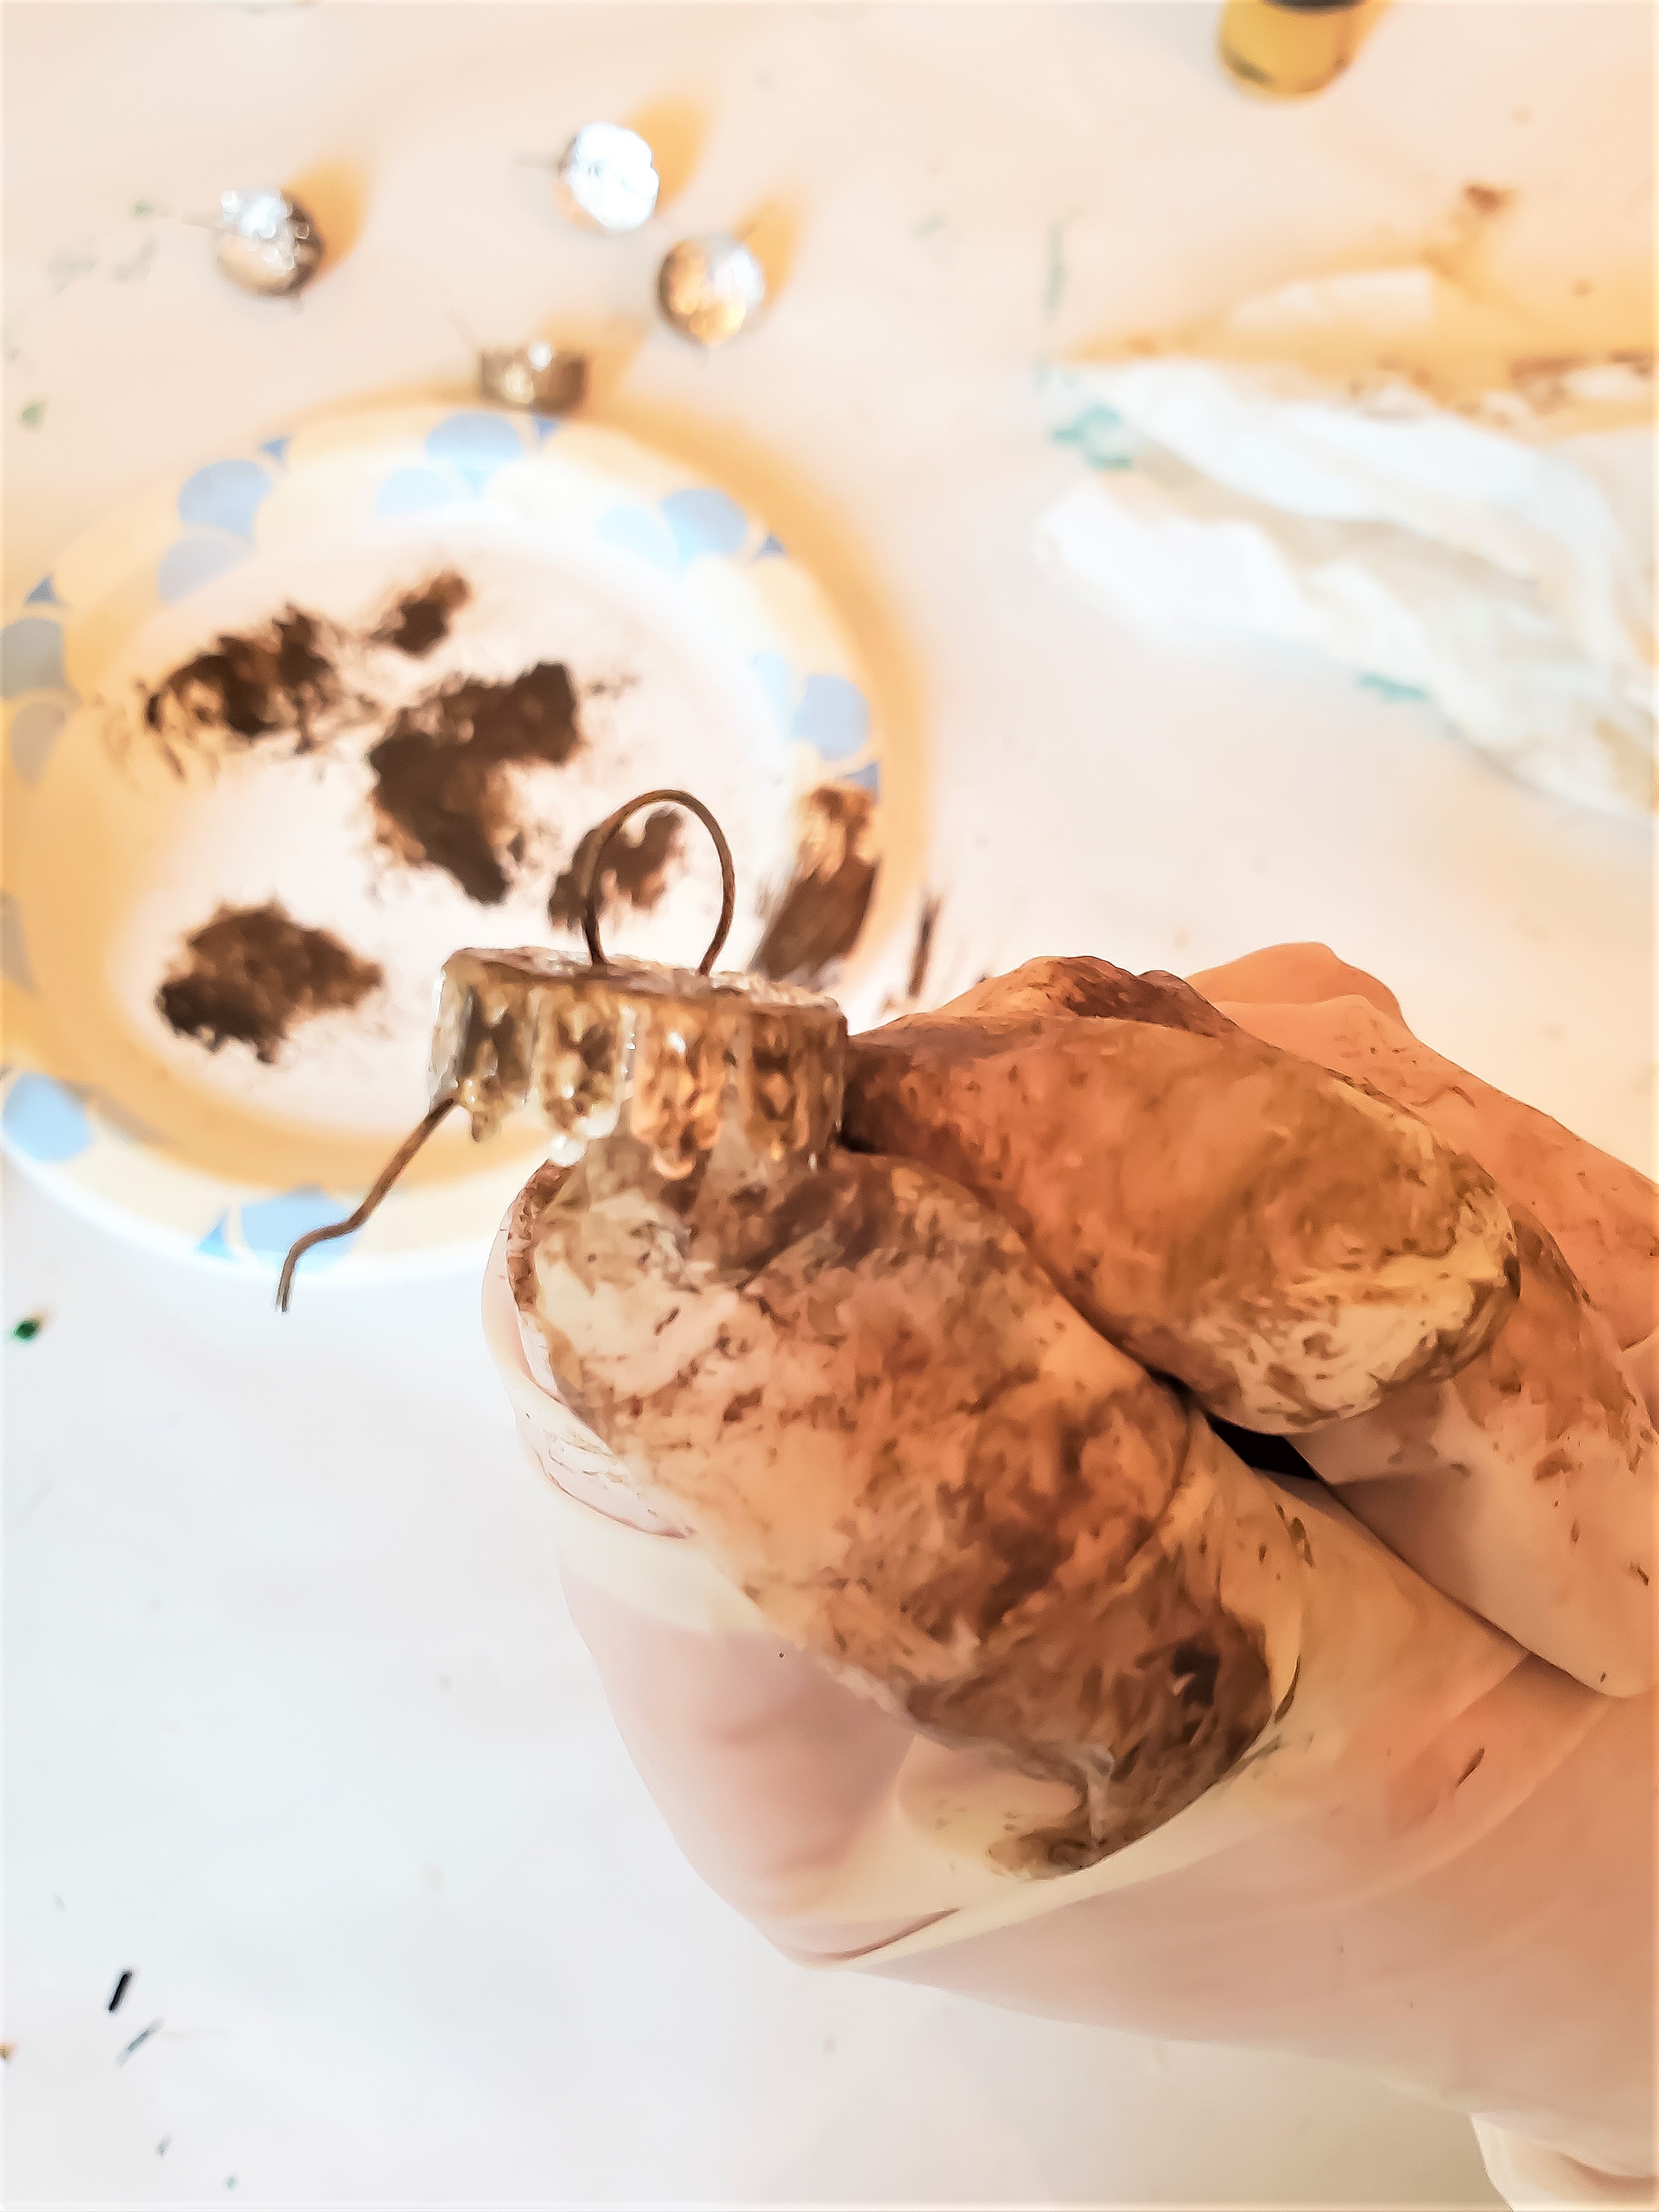
Step 4: A Rustic Look
Wanting a vintage look for the homemade ornaments, I added a coat of light brown wax. Remember to rub the wax well with a lint-free rag to avoid the wax becoming sticky. Dry brushing lightly with brown craft paint will also add a rustic look. Let these dry overnight.I added raw umber paint to the ornament caps, which adds a rustic look to my Christmas decorations.A dry brush technique is the perfect way to add more age. This step is optional but is a great way to give these handmade ornaments a vintage look.Add a second coat of Mod Podge on top of the paper for a protective coating for these DIY ornaments.To add even more of a rustic look to my handmade ornaments I added raw umber paint to the ornament caps.I also use a dry brush technique to add more age.This is also optional; however, this step is a great way to give these Christmas ornaments a genuine vintage look.adding-dark-wax showing-details brush-and-raw-umber adding-raw-umber cap-getting-aged displayed
Keyword craft glue, decoupage medium, decoupage ornaments, glass balls, handmade gifts, mod podge, paper napkin, scrapbbok paper, tissue paper