DRIED ORANGE GARLAND: NATURAL CHRISTMAS DECORATION
Are you a fan of using oranges as part of your Christmas decor? Today, we want to share one of our favorite ways to add natural elements to your home during the Christmas season: a dried orange garland: a natural Christmas decoration.
Yield: 1 garland
Cost: 20
Equipment
- 1 a drill with a thin drill bit
- 1 sharp knife
- 3 sheets of parchment paper optional
- 1 large baking sheet
- 1 roll of clear fishing line
- cooling rack
- 1 Piece of paper towel
Materials
- 1 bag navel oranges
- 1 bag green apples optional
- 1 bag red apples optional
- 1 bag faux chestnuts optional
Instructions
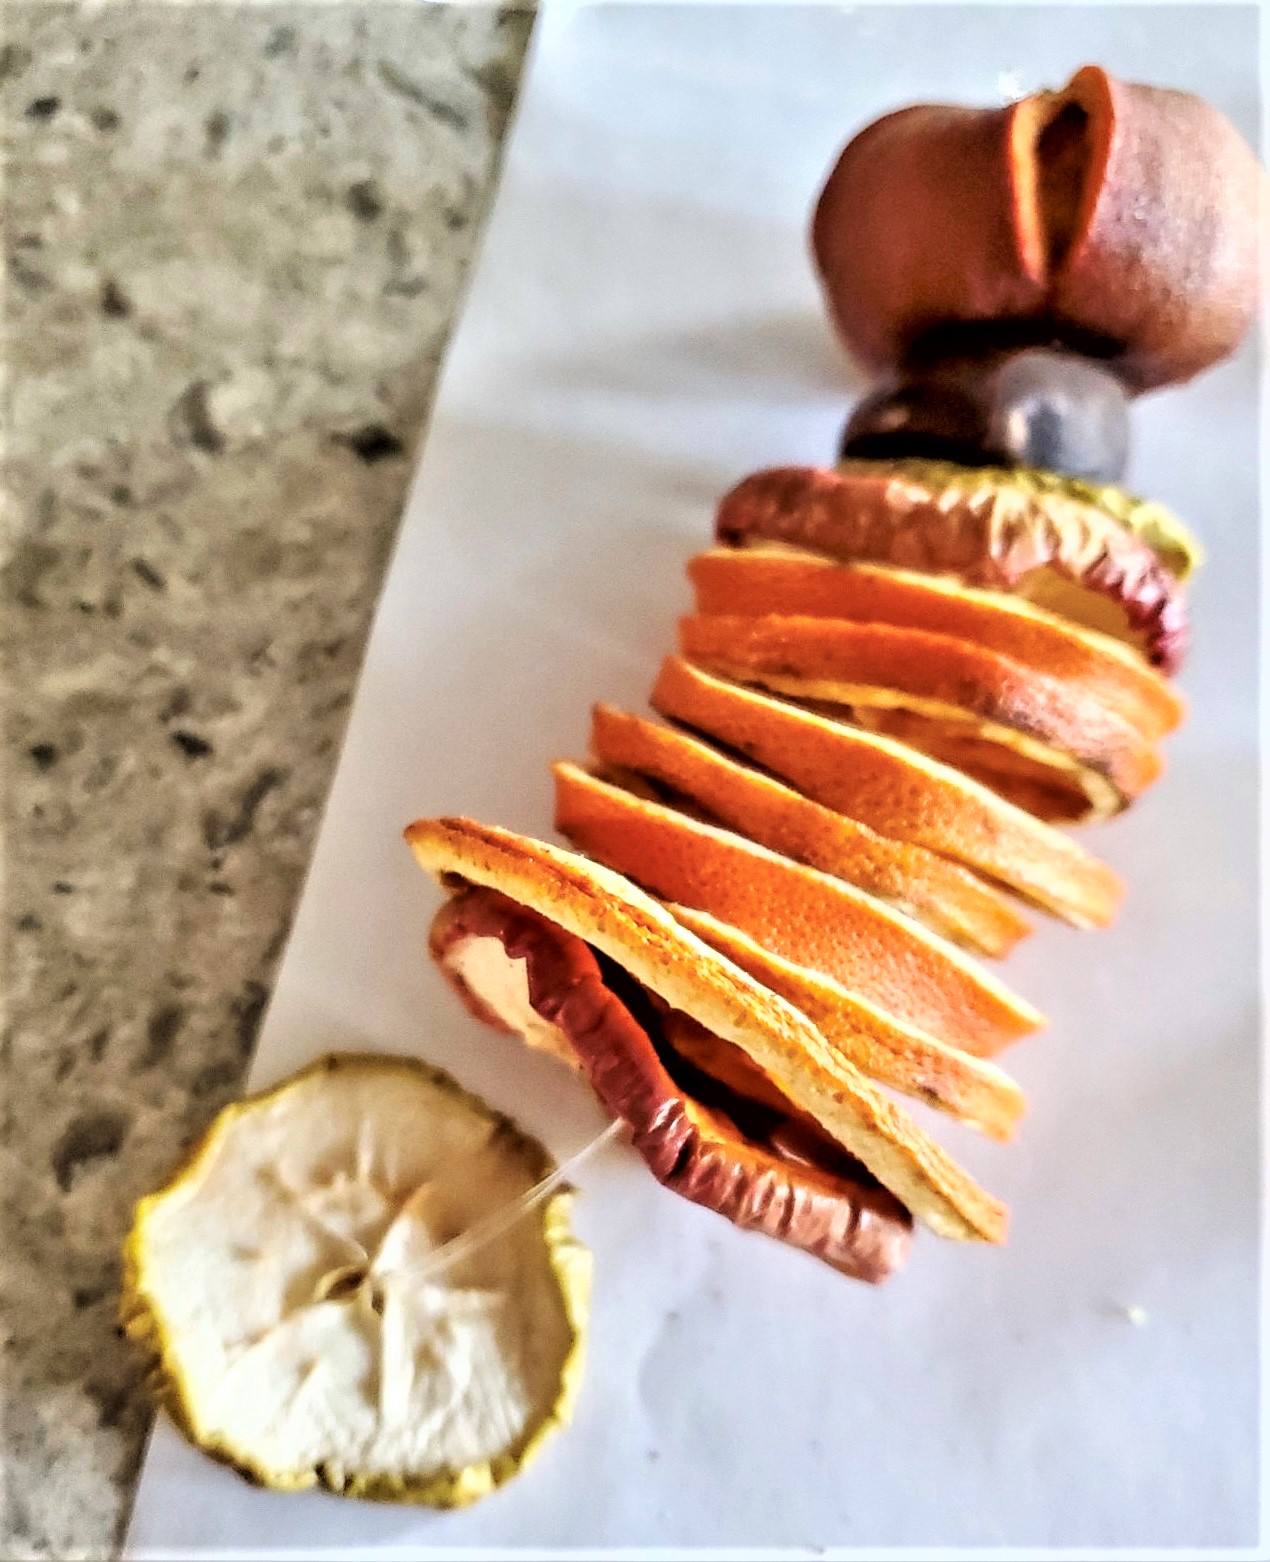
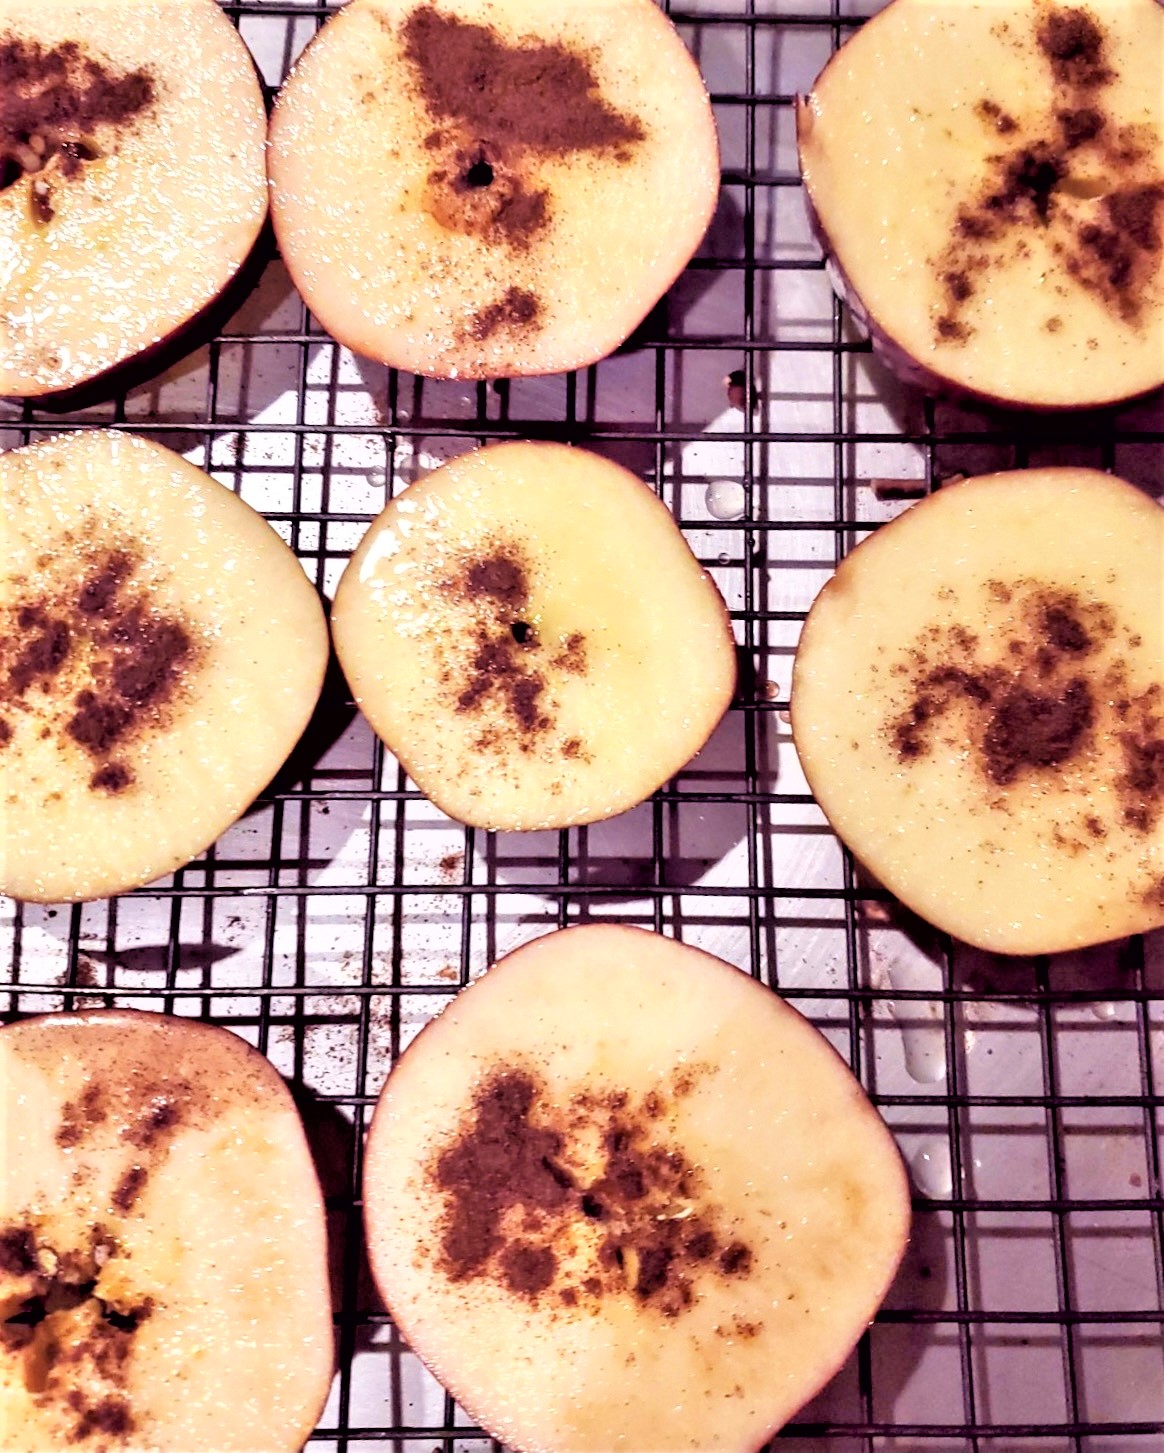
- Step 1: Adding Natural Elements Faux ChestnutsUsing faux chestnuts is an easy way to introduce a rustic element to your orange garland.Drill a small hole through the center of the chestnut and string with a clear fishing line.Dry red and green apple slices using the same process as the citrus slices. Red apples are beautiful for their deep red color, which adds a lovely red accent to this Christmas craft. To dry the apples, follow the same instructions for drying the oranges.Use large baking sheets lined with parchment paper and set the oven to low heat.
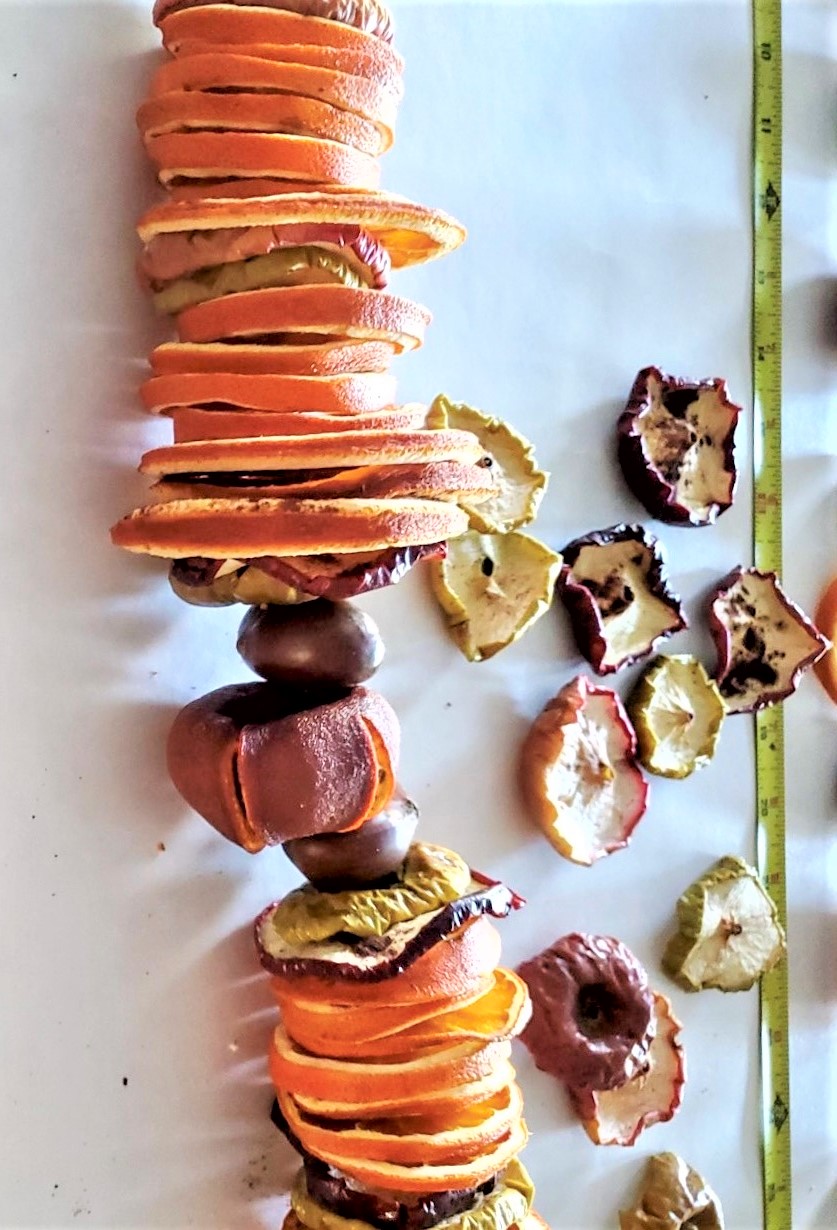
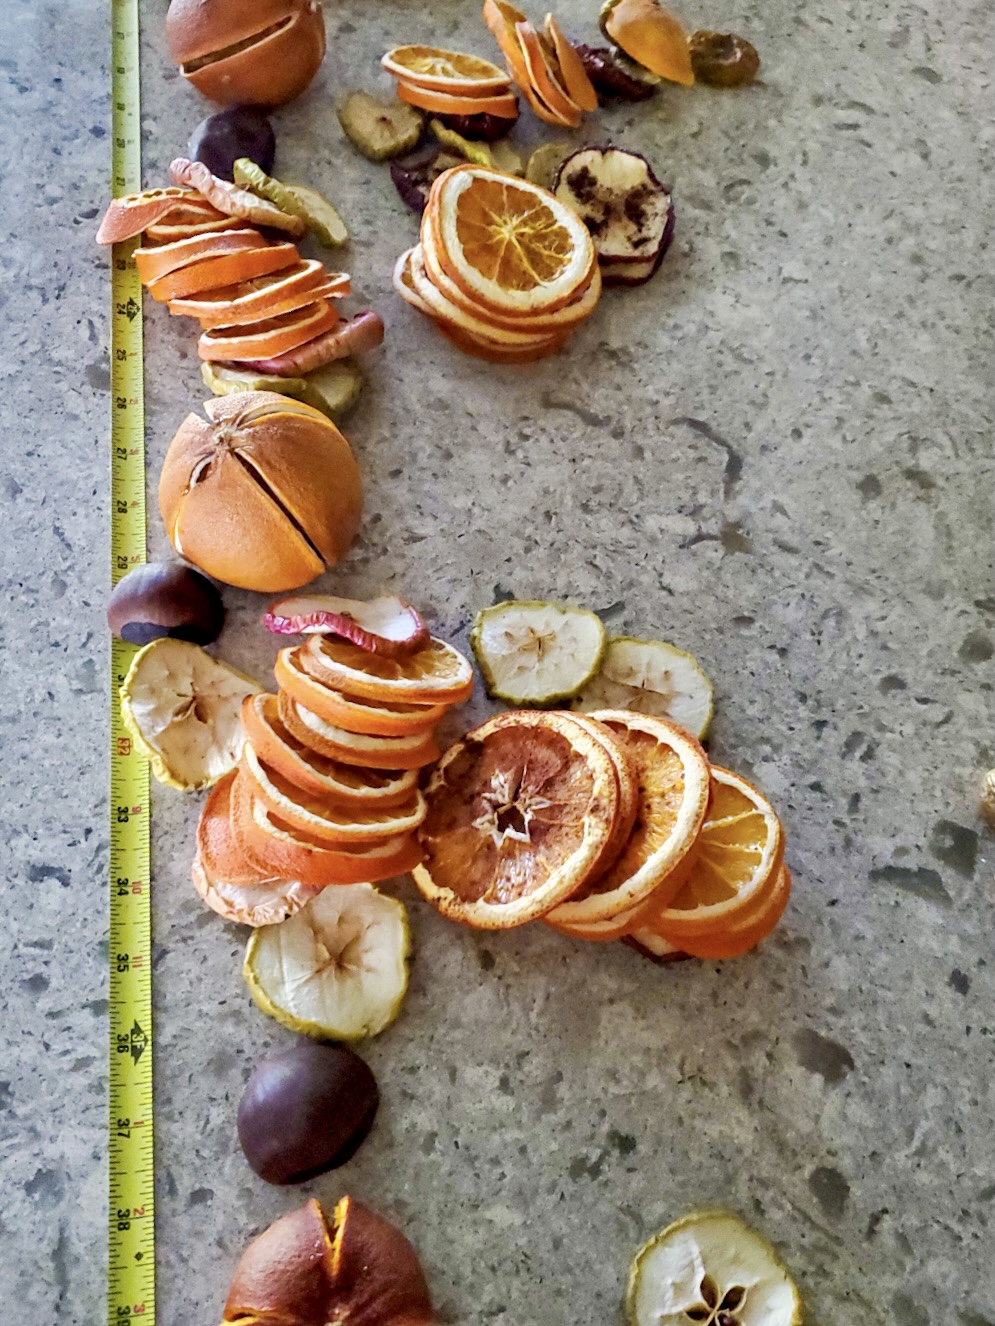
- Step 2: Putting The Dried Fruit Garland TogetherAfter drying all your fruit, do a dry run to ensure the size of the dried orange garland is correct. This will also help you determine if you need to adjust the spacing between the dried fruit slices. Organize your orange and fruit slices and create stacks with the number of orange and fruit slices in each section. This will help ensure a snug fit.
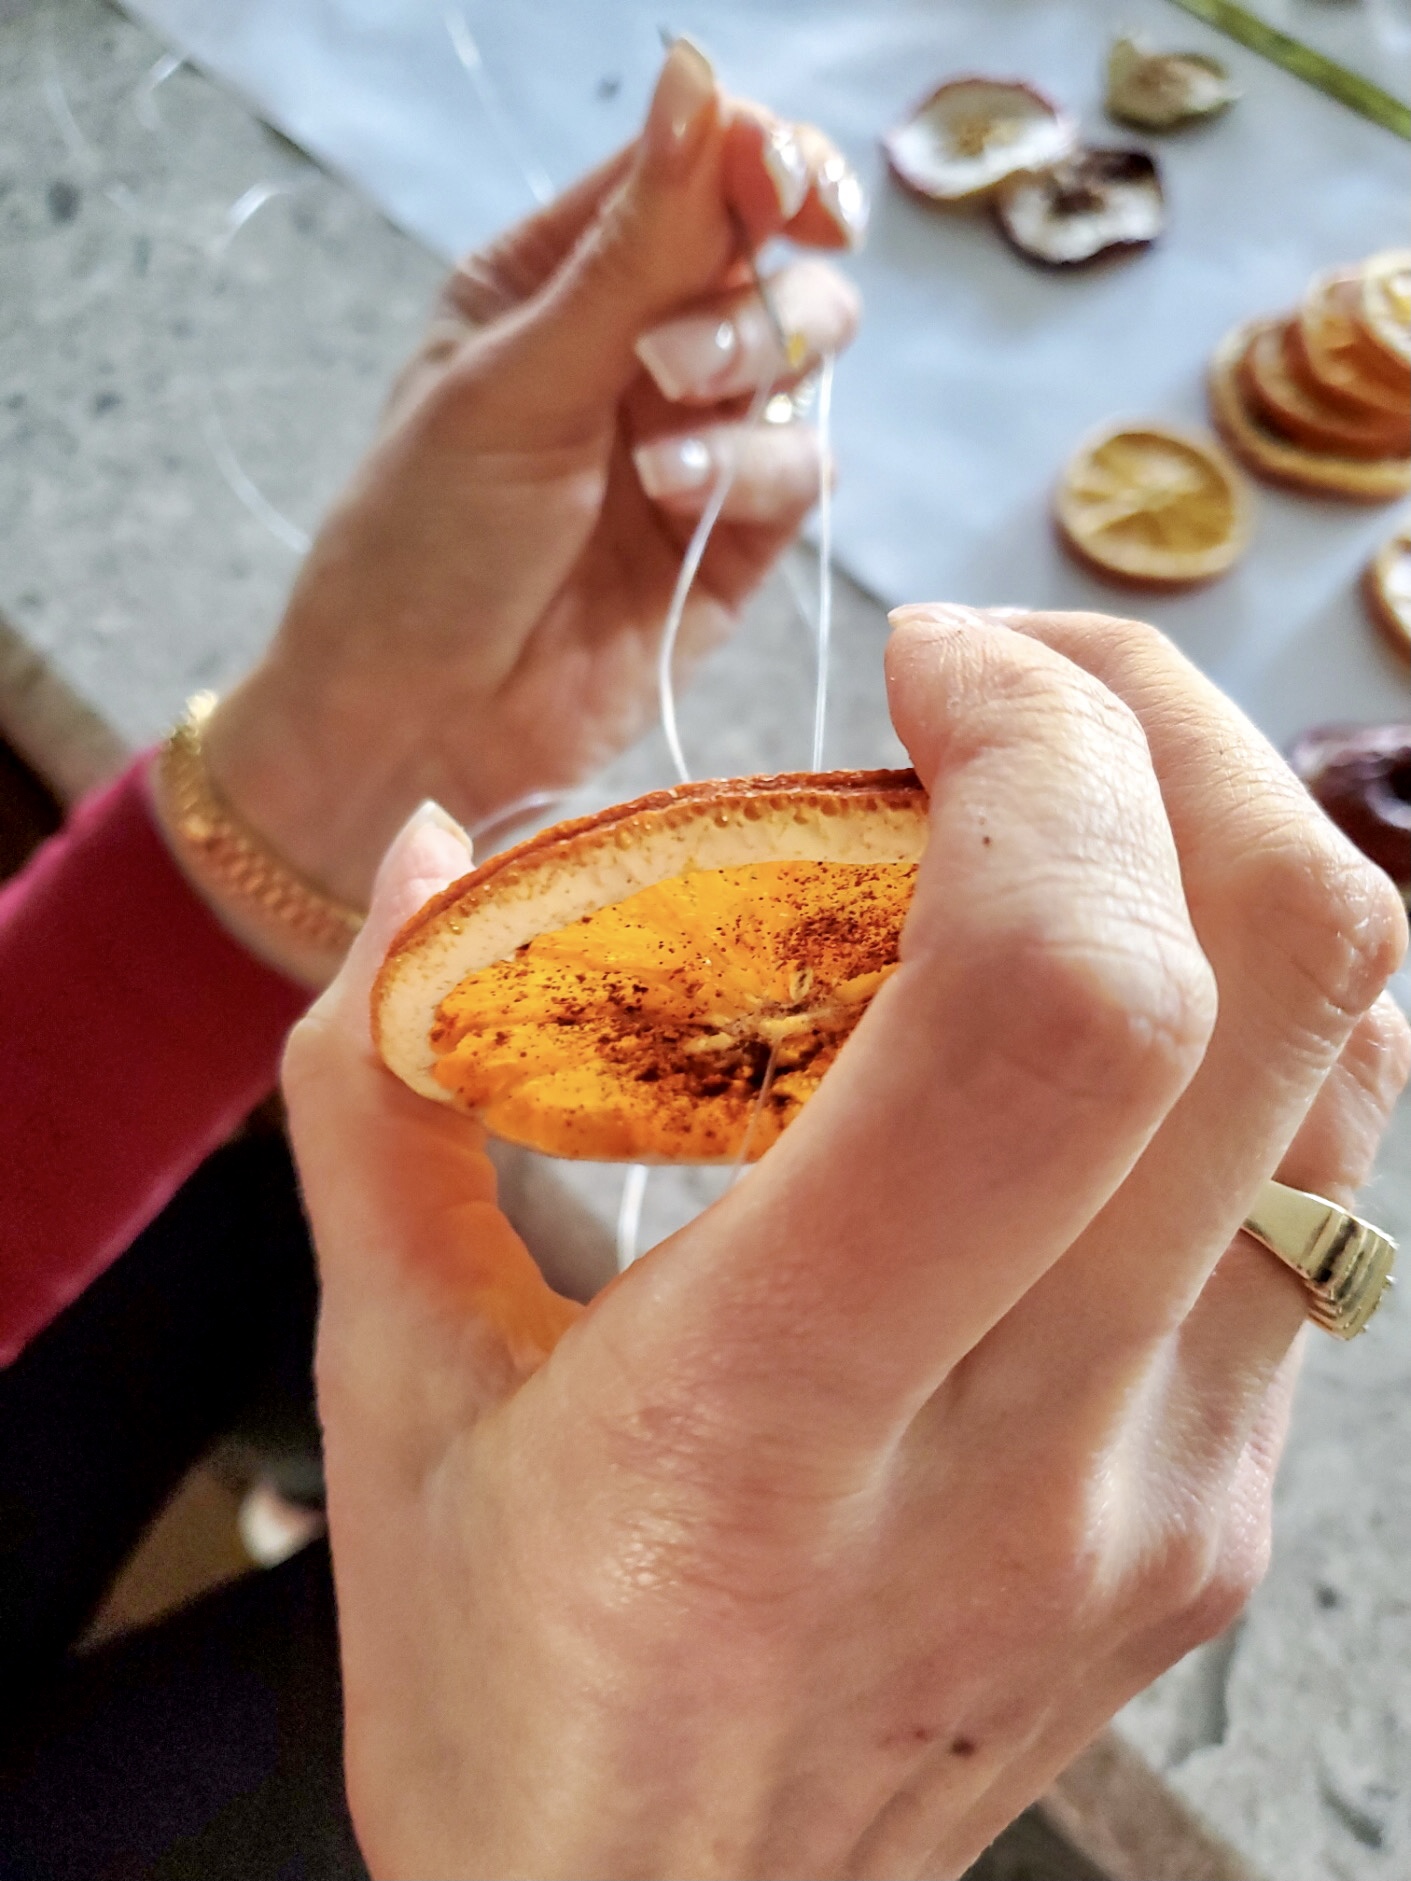
- Step 3: Stringing The Christmas Garland Together To assemble the garland, thread a large needle with a clear fishing line. Begin stringing the dried orange slices, apple slices, and chestnuts. This process doesn't take a long time.Once finished, tie a knot and hang your garland to enjoy throughout the entire Christmas season.
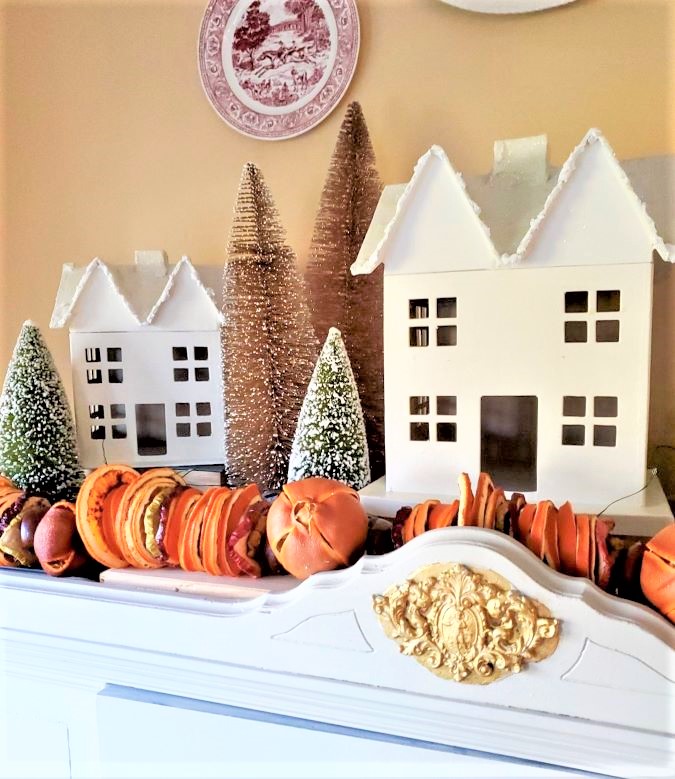
- Step 4: Displaying The Simple Dried Citrus GarlandFinally, displaying your finished garland.
Notes
DRY ORANGE GARLAND
Step 1: Adding Natural Elements Faux Chestnuts
Using faux chestnuts is an easy way to introduce a rustic element to your dried orange slice garland.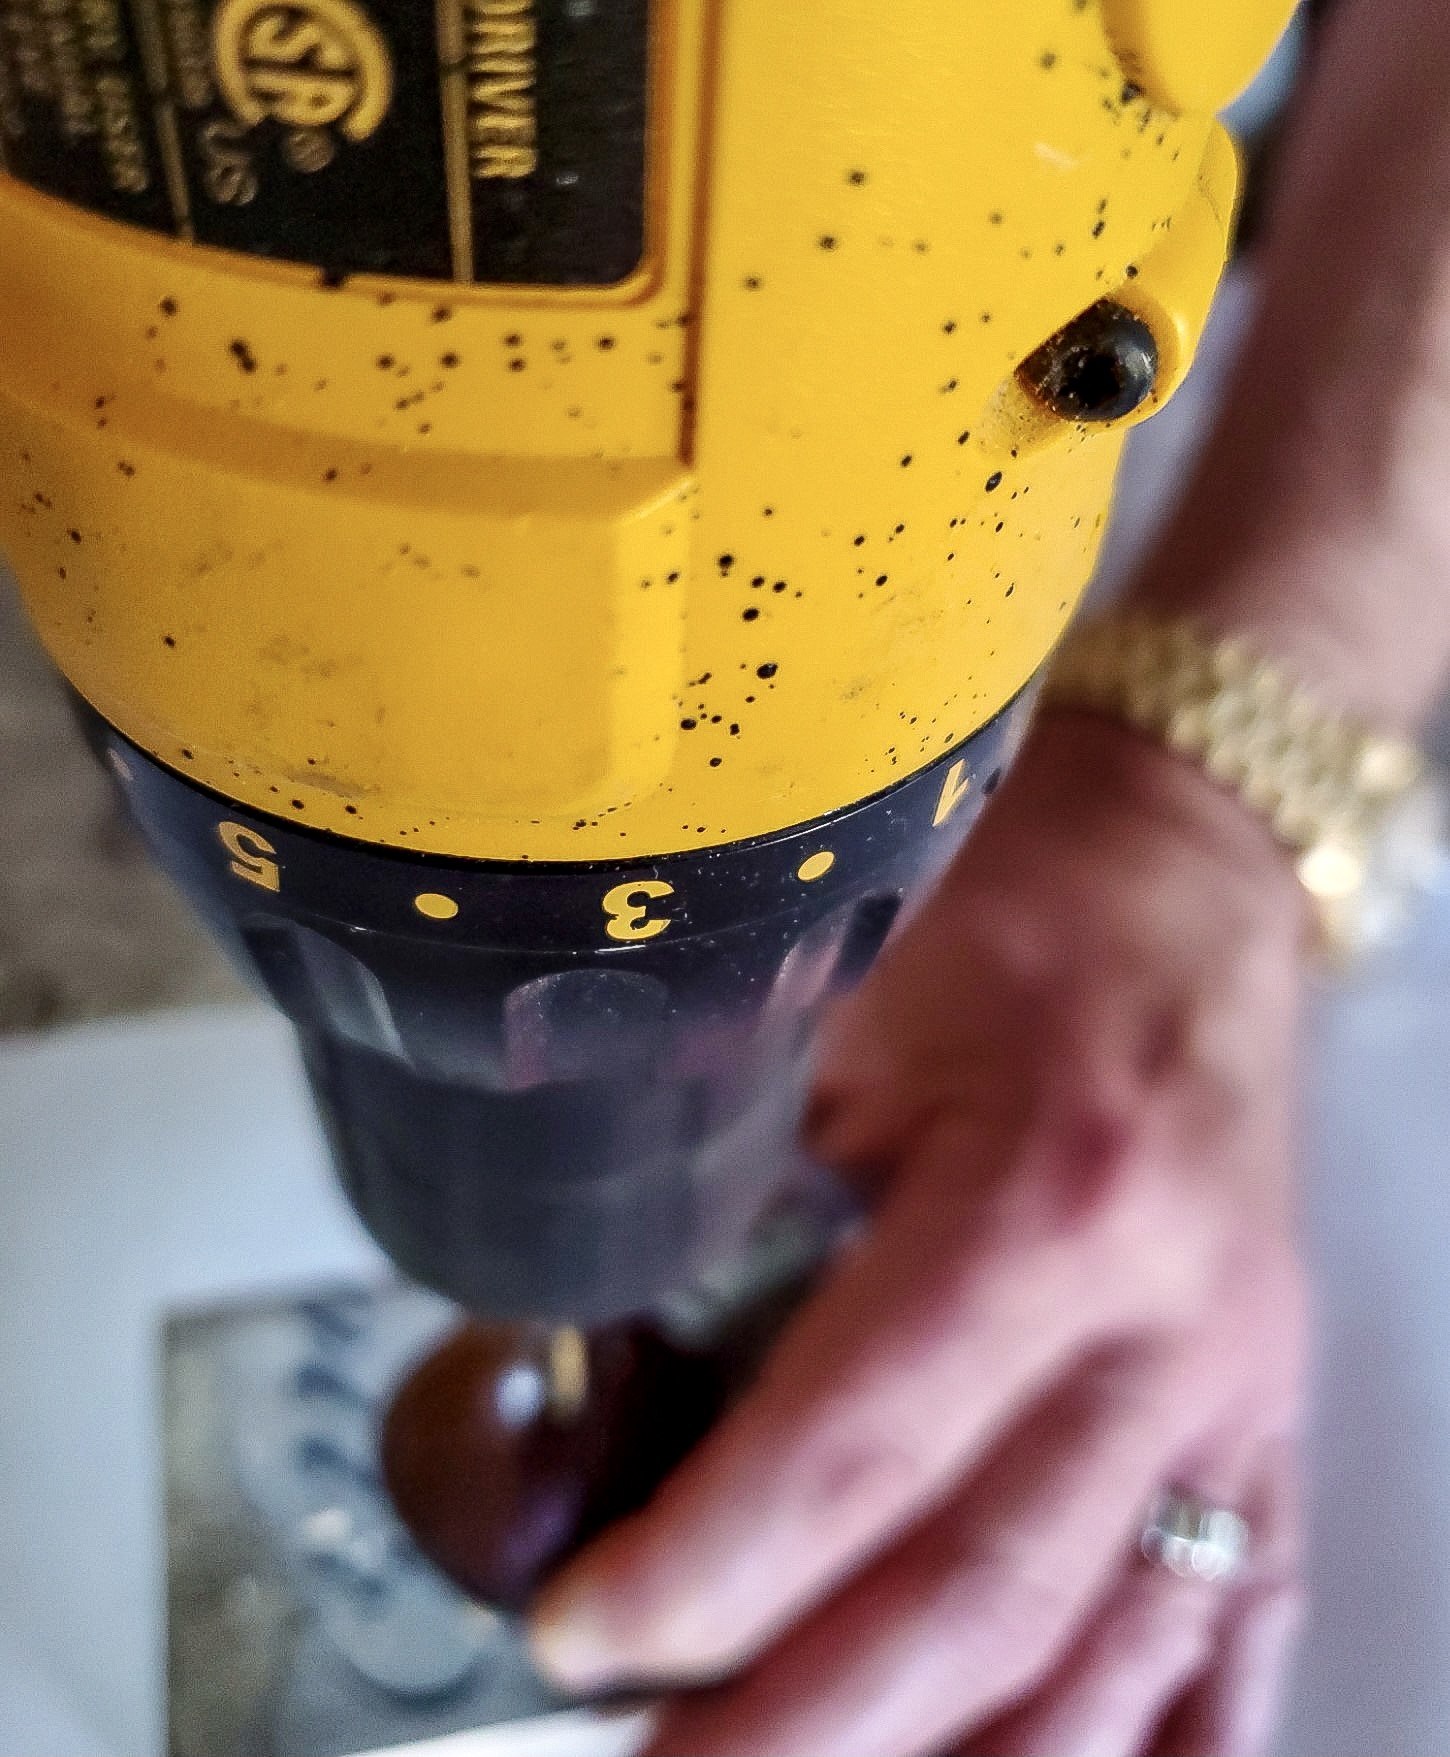
Step 2: Putting The Dried Fruit Garland Together
After drying all your fruit, do a dry run to ensure the size and spacing of the dried orange slices are correct to display the garland. This will also help you determine if you need to adjust the spacing between the dried fruit slices. Organize your orange and citrus slices and create stacks with the desired number of dried orange slices in each section. This will help maintain uniformity and ensure a snug fit.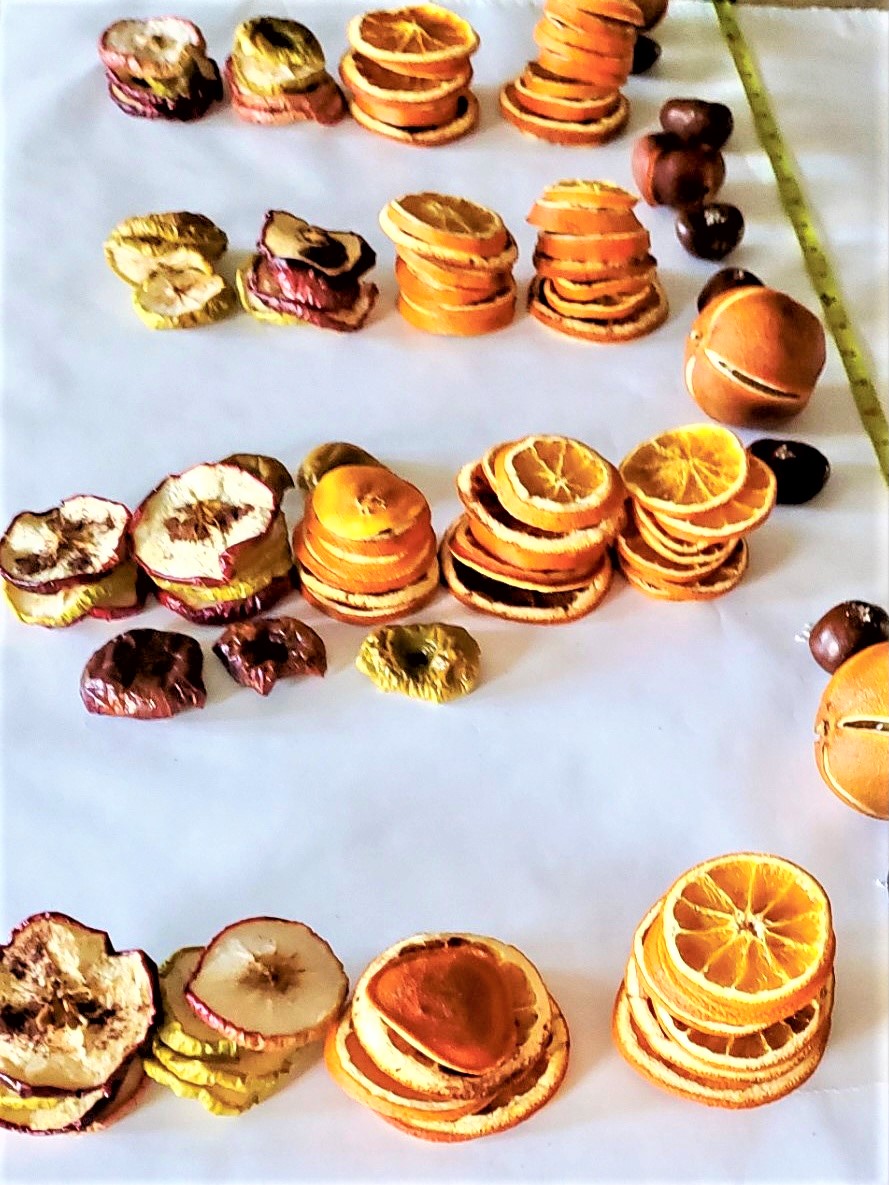
Step 3: Stringing Your Dried Fruit Garland
To assemble the dried fruit garland, thread a large needle with a clear fishing line. Begin stringing the dried orange slices, apple slices, and chestnuts. This process doesn't take a long time.