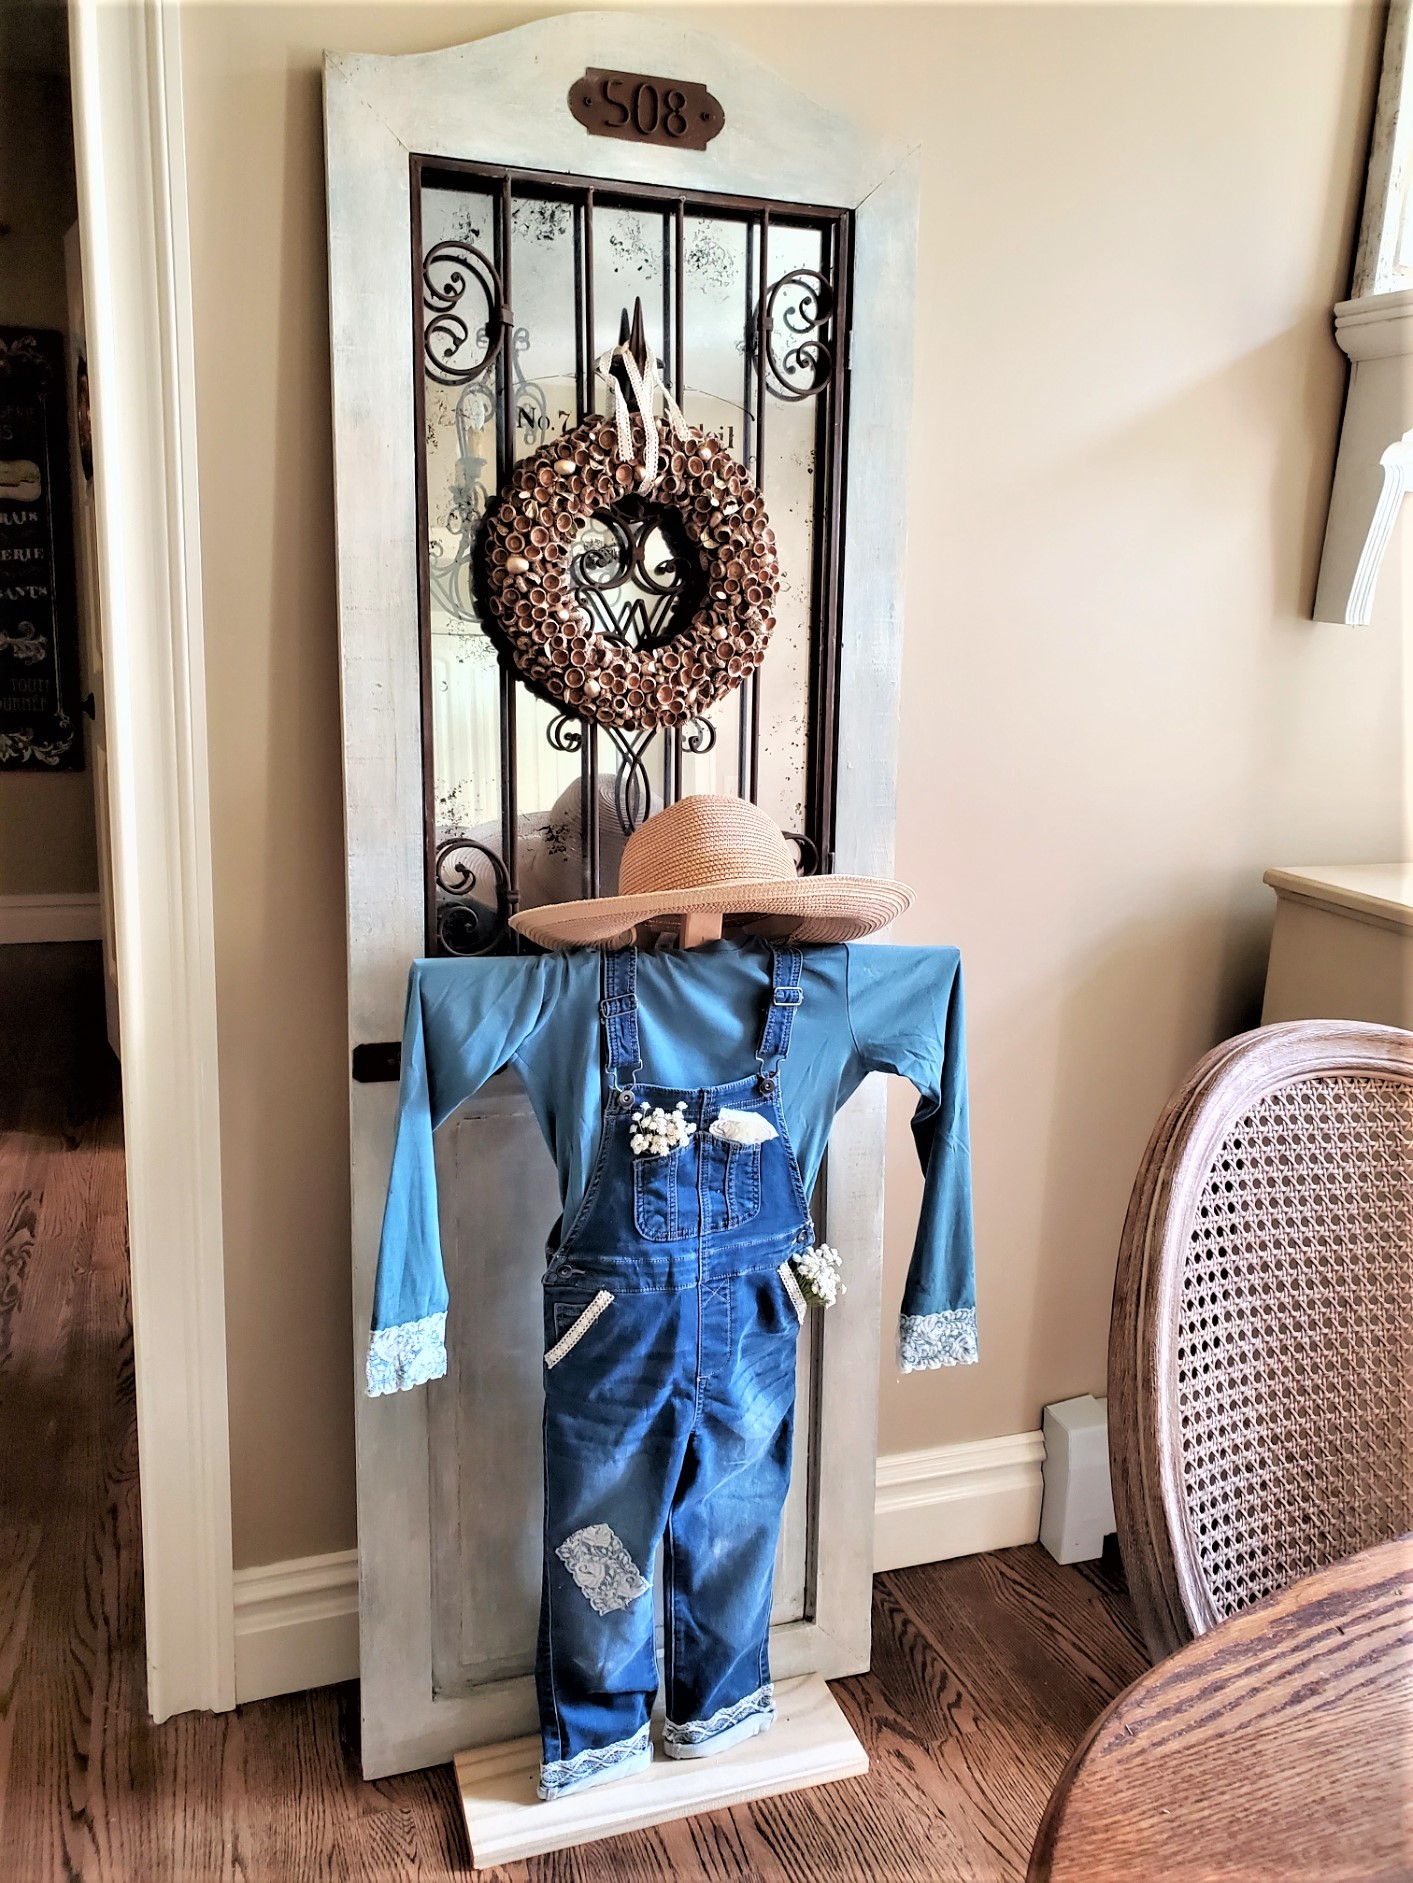
DIY Scarecrow For Fall Decororating
Get ready for the cool weather and add a touch of creativity to your front porch with this DIY scarecrow for a fall decorating project. This step-by-step guide will walk you through the process of creating a one-of-a-kind scarecrow that captures the essence of autumn charm. With a clever use of lace, rustic elements, and a sprinkle of personal style, your festive fall decor on the front porch will have a warm welcome for the fall season.
Yield: 1 scarecrow
Cost: $13
Equipment
- 1 large piece of scrap wood
- 1 Drill
- 1 small drill bit
- 1 package of wood screws
- 1 hot glue gun
Materials
- 1 long sleeve shirt, old clothes, thrift store shirt
- 1 pair child size overalls
- 1 bottle of outdoor Mod Podge
- 1 roll of wide lace ribbon
- 1 roll of 1-inch lace ribbon
- 1 hat straw hat
Notes
DIY Scarecrow for Fall Decorating
Supplies List:
- scrap wood
- child size overalls — 5T is used for this cute idea
- T-shirt (old clothes or a thrift store)
- 3-inch lace ribbon, 1-inch lace ribbon, burlap ribbon, or ready-made rags
- Outdoor Mod Podge
- Hot glue gun & glue sticks
- Old straw hat
- Silk flowers for pockets (optional)
Step 1: Add Lace: For Whimsy
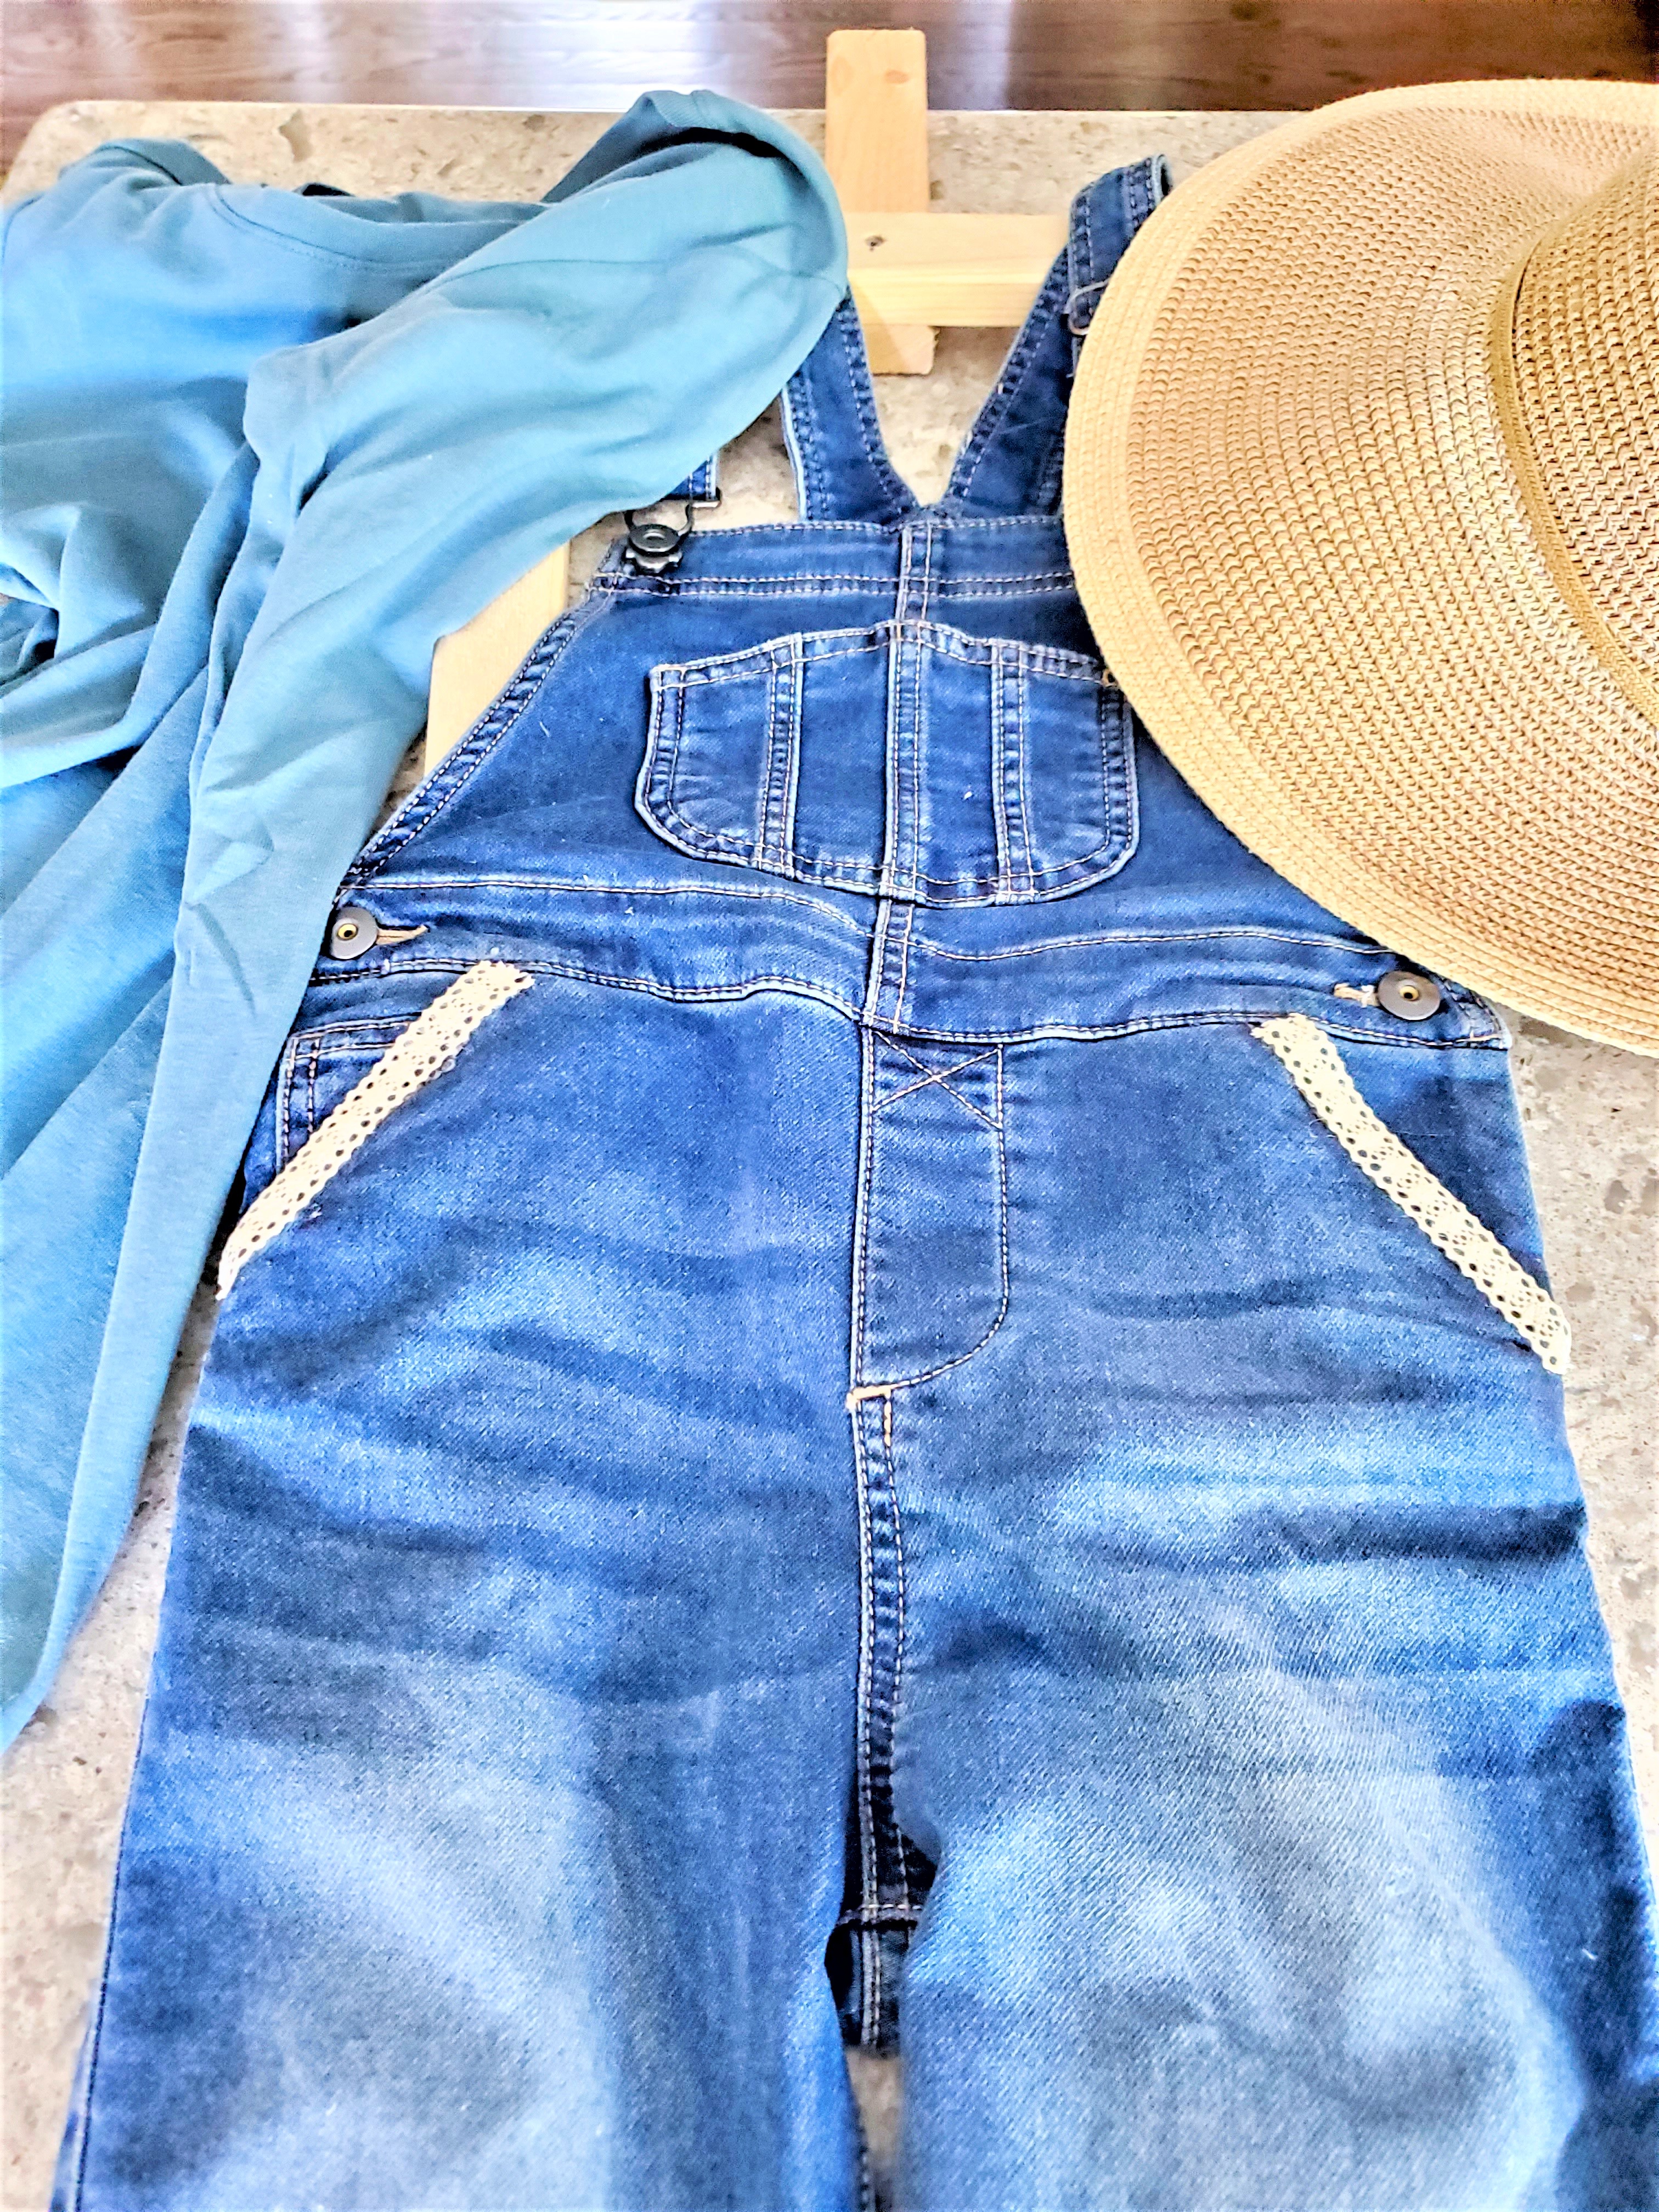
So, what am I looking for as my design for my basic scarecrow? After thinking about my plan I decided to purchase an inexpensive pair of overalls for my cute little scarecrow. The lace becomes an accent on the overalls for this basic scarecrow is perfect for our French country decor. In fact, adding lace to this easy scarecrow makes it well-suited for our French Country home. Besides, who will not enjoy seeing a scarecrow on the front step?Step 2: Gather Supplies: Adorable Scarecrow
Gather your supplies, the overalls, wide and medium lace ribbon, and glue gun needed for my easy do-it-yourself scarecrow. While the glue was heating, I began to get the size of my first ribbon. Always use caution when working with a hot glue gun.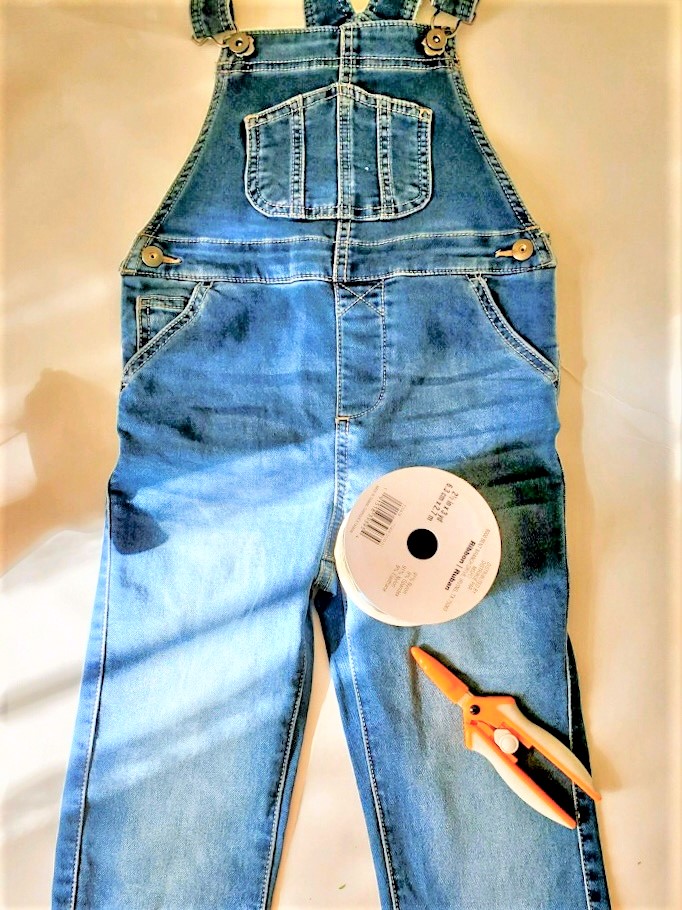
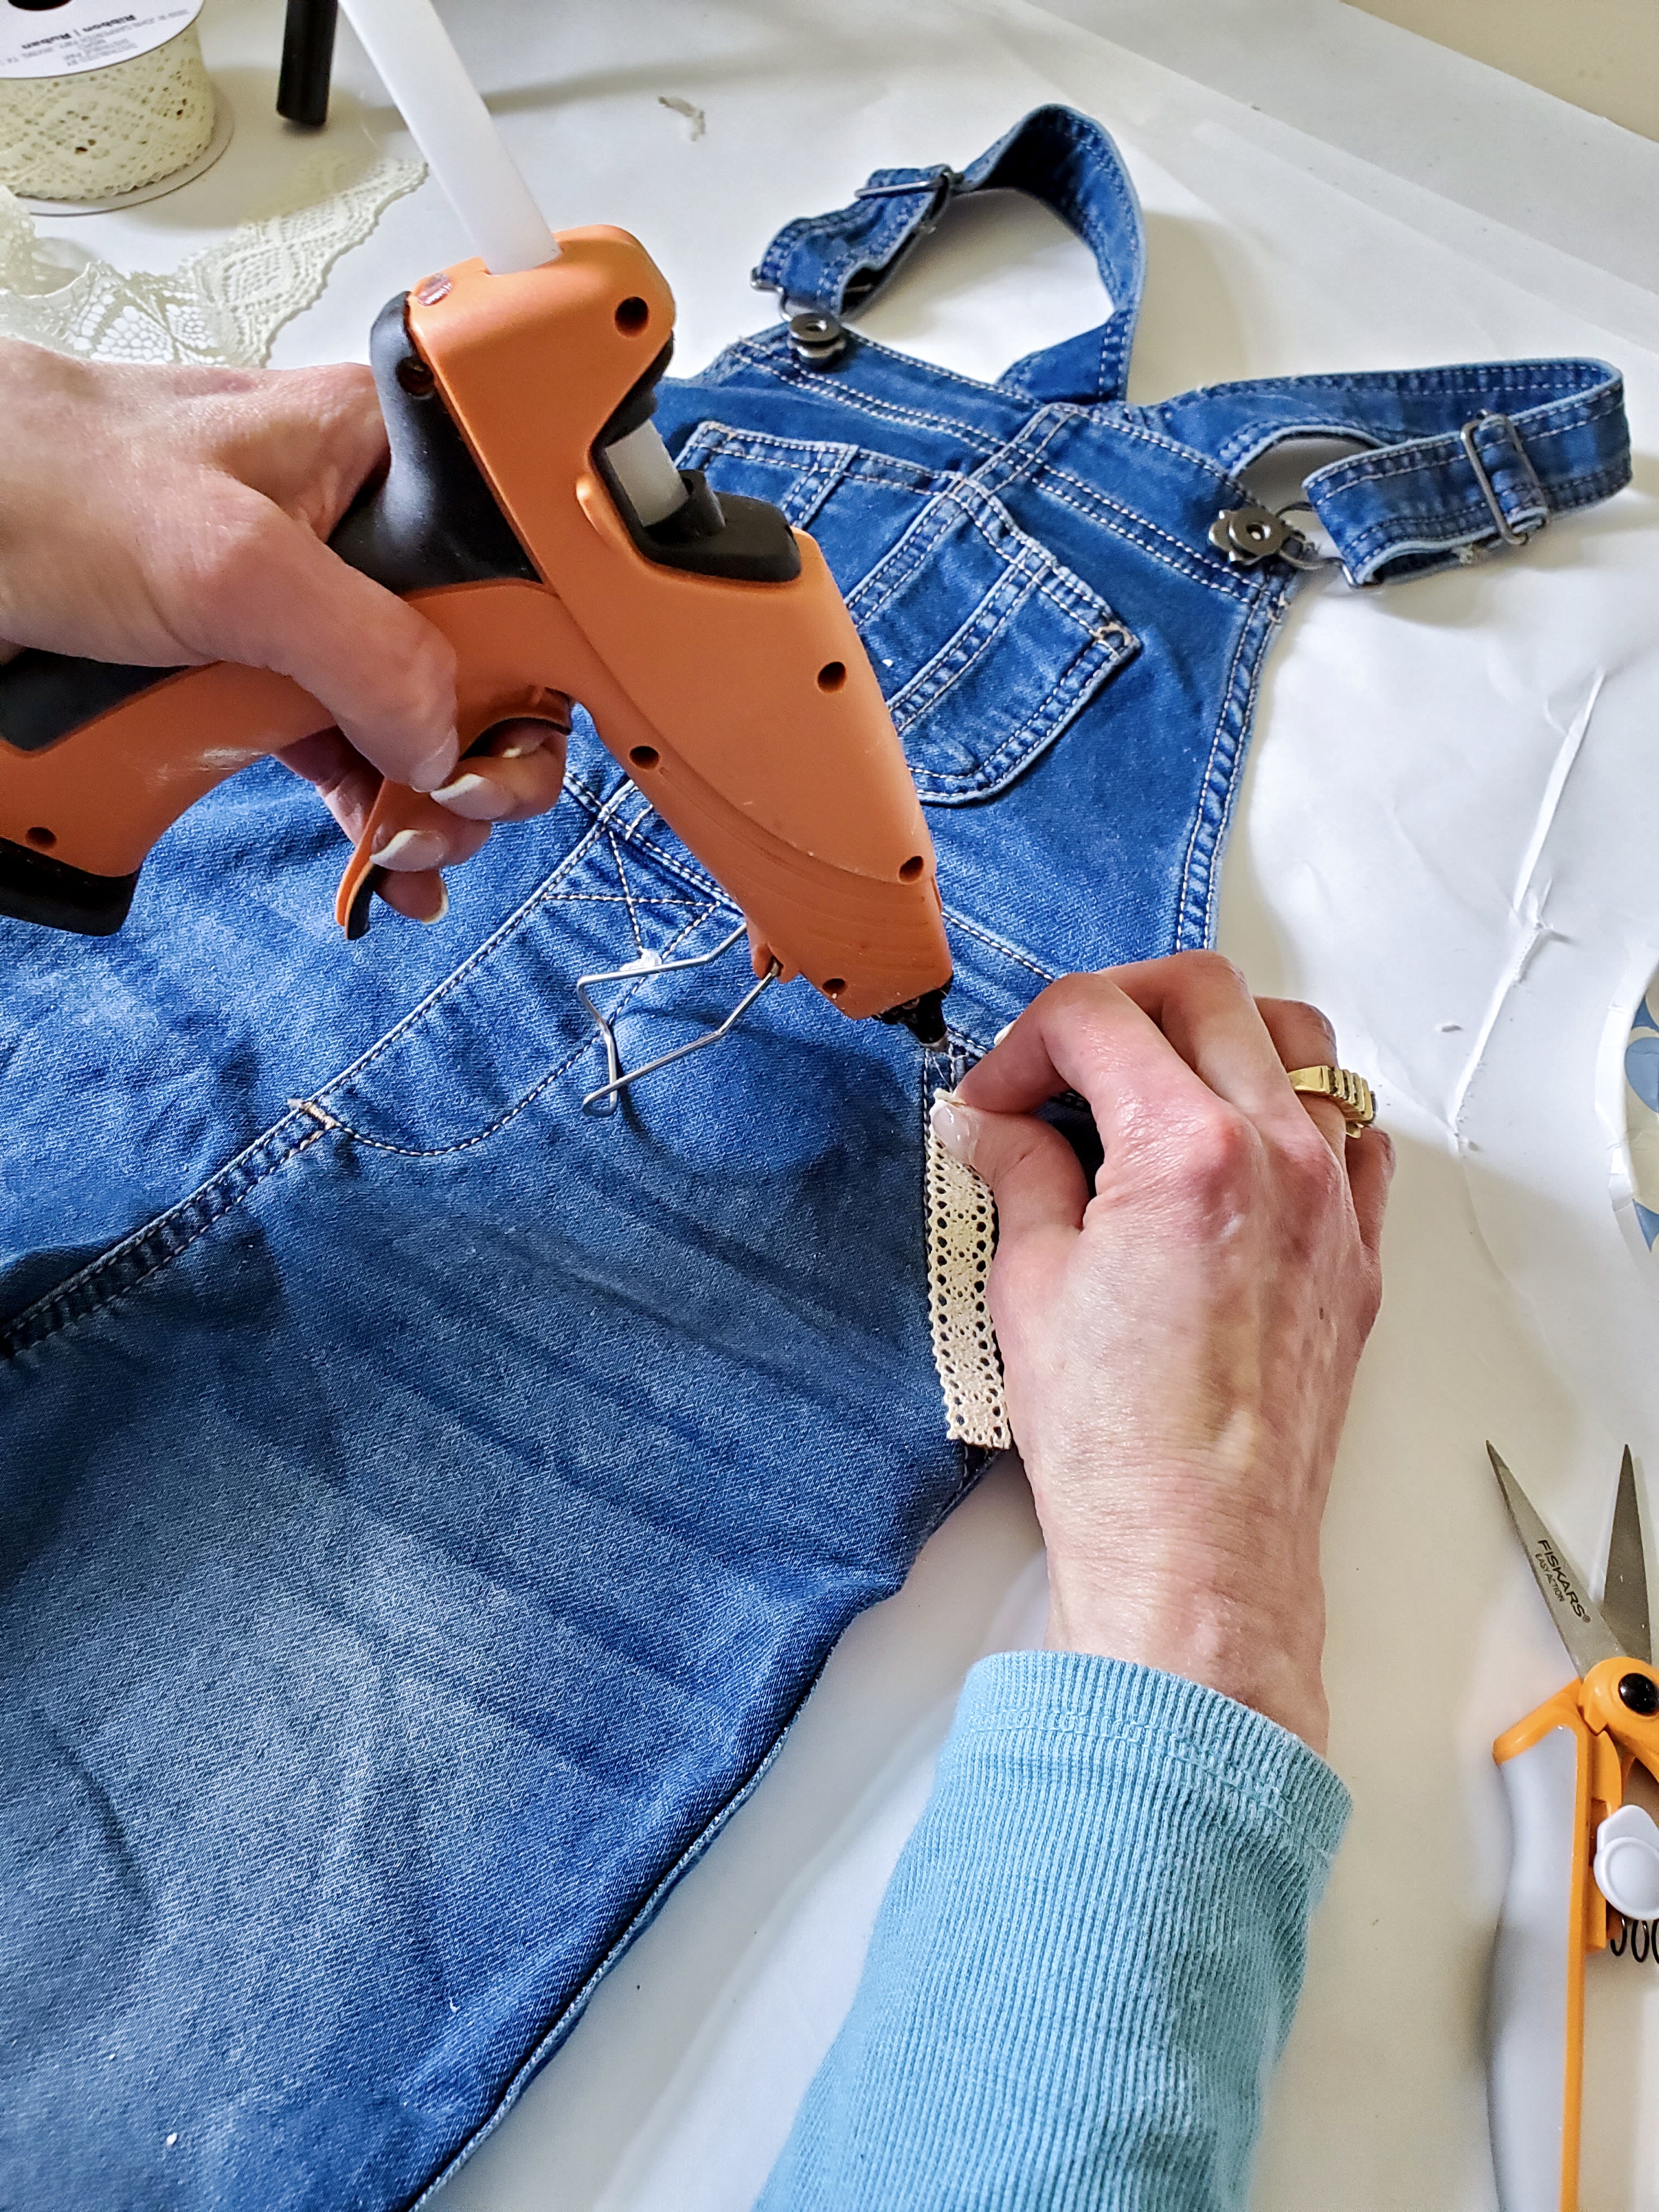
Step 3: Lace Ribbon
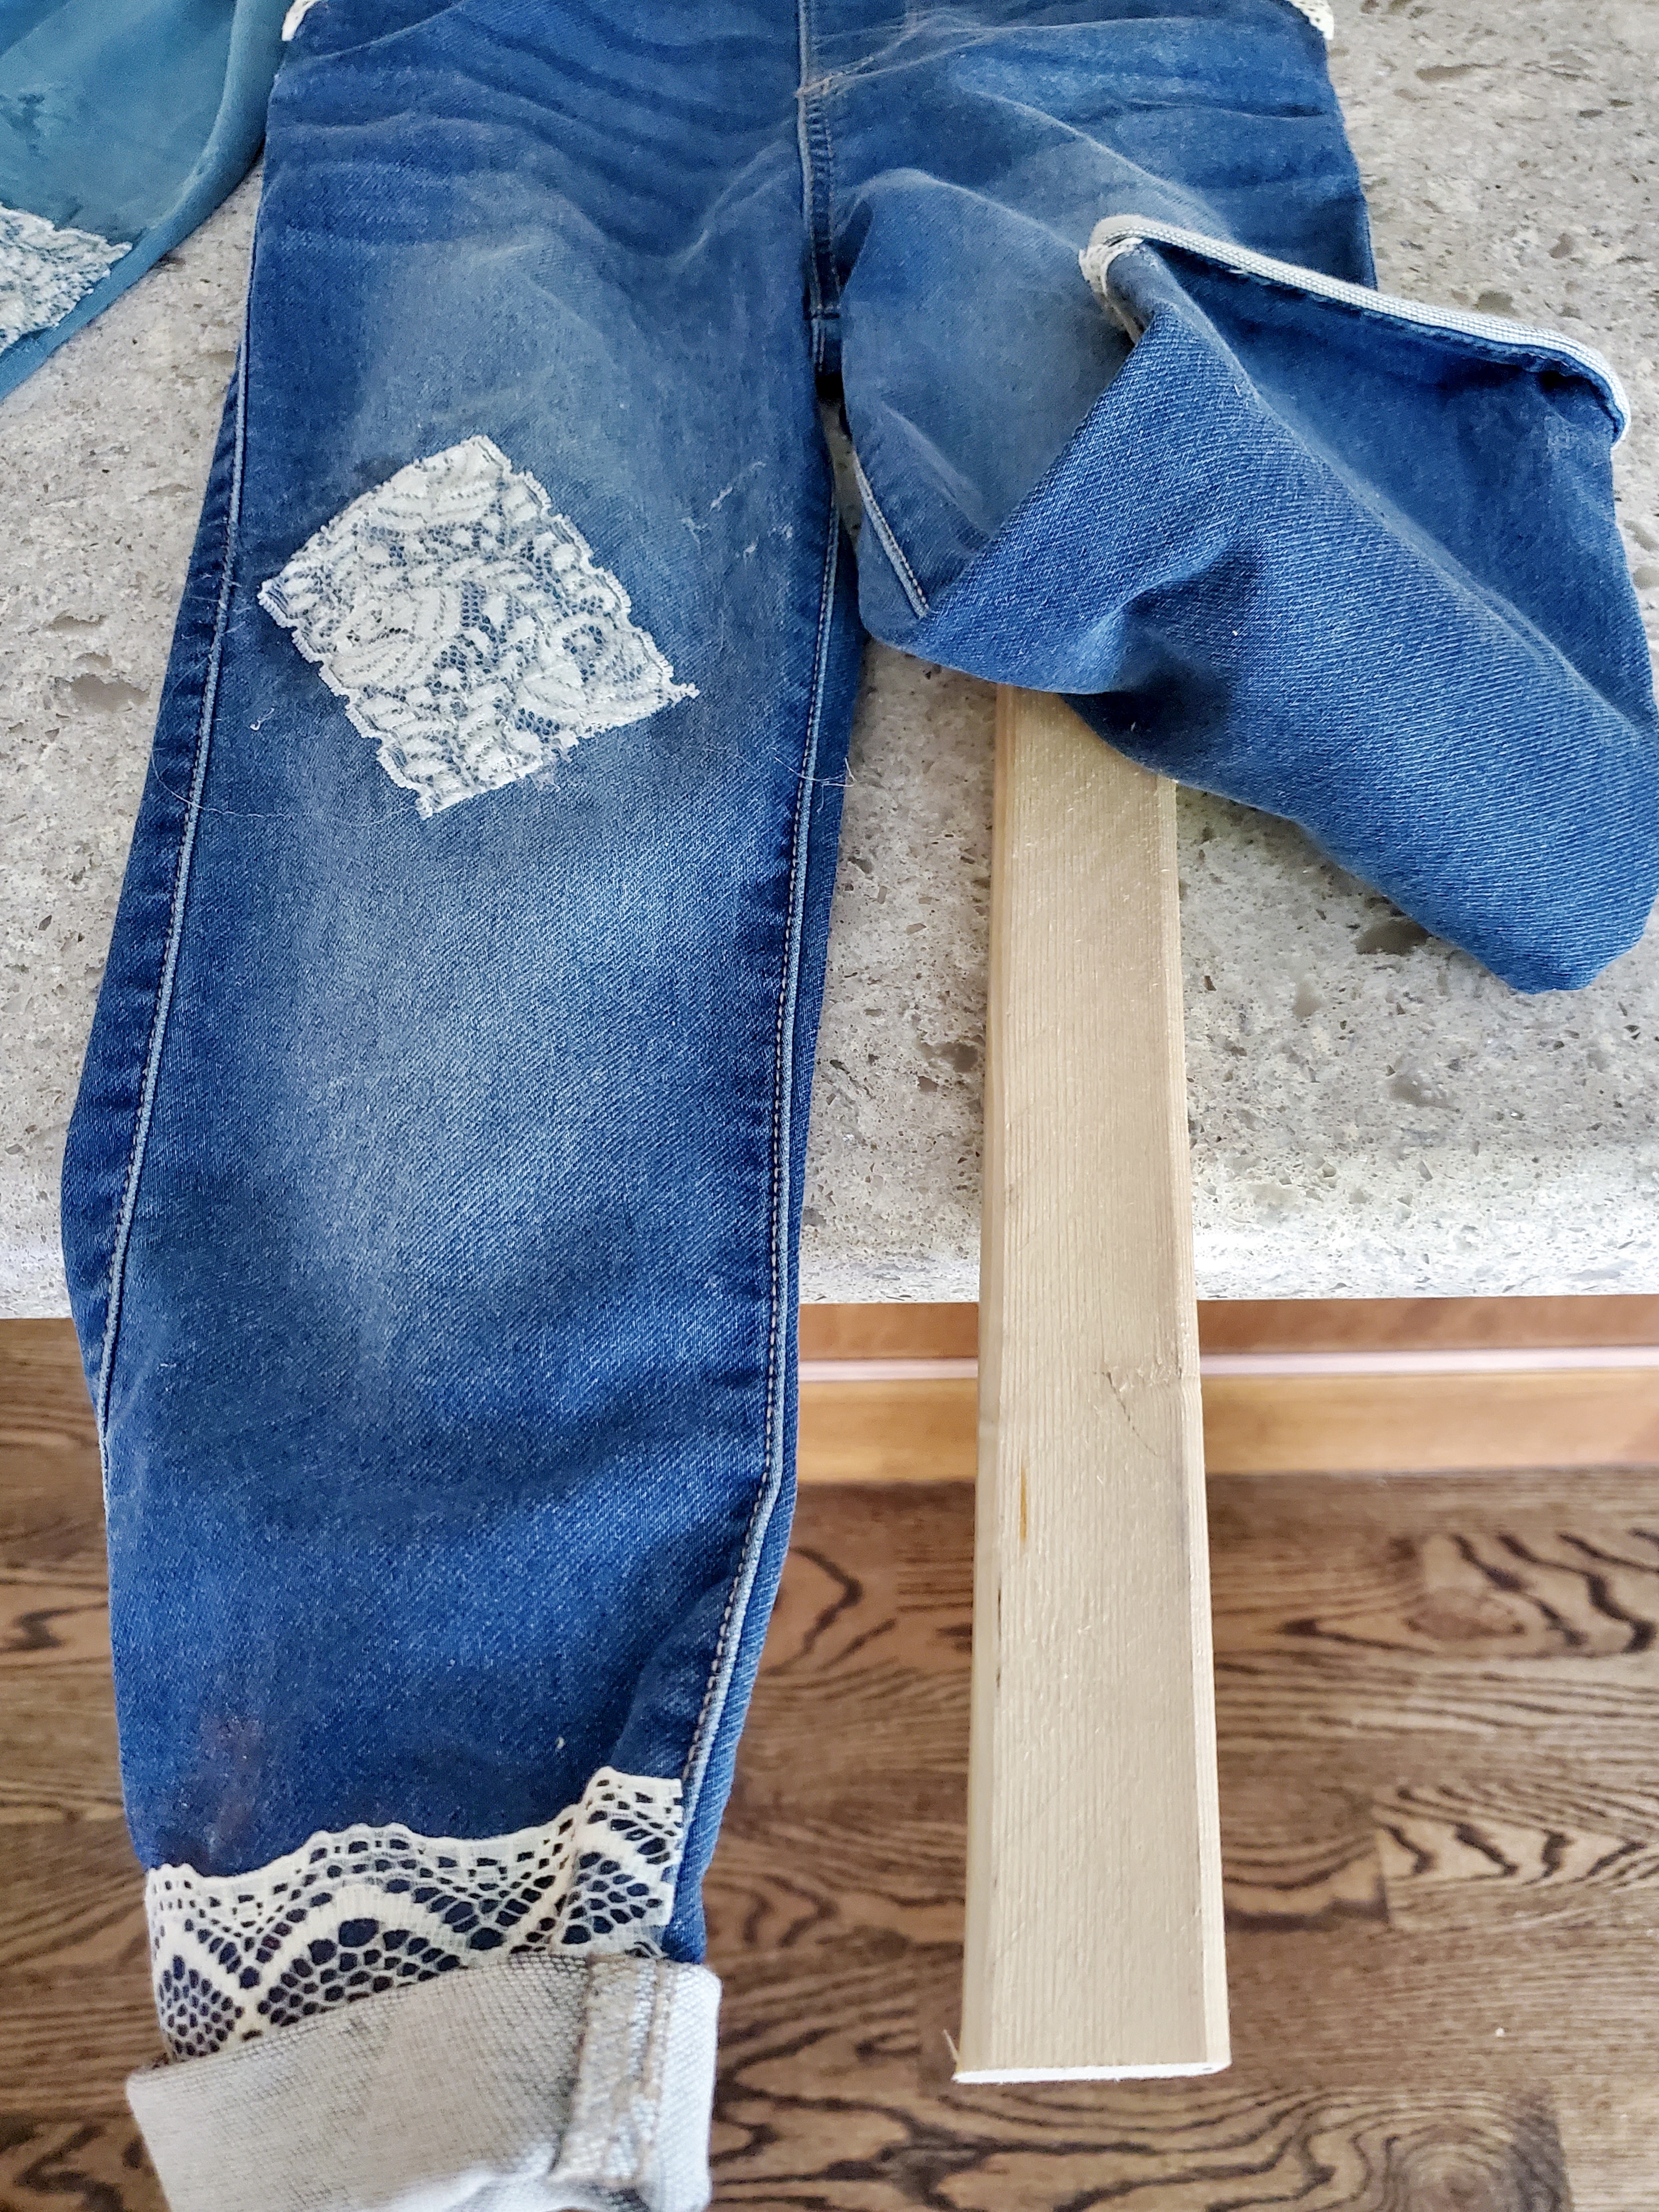
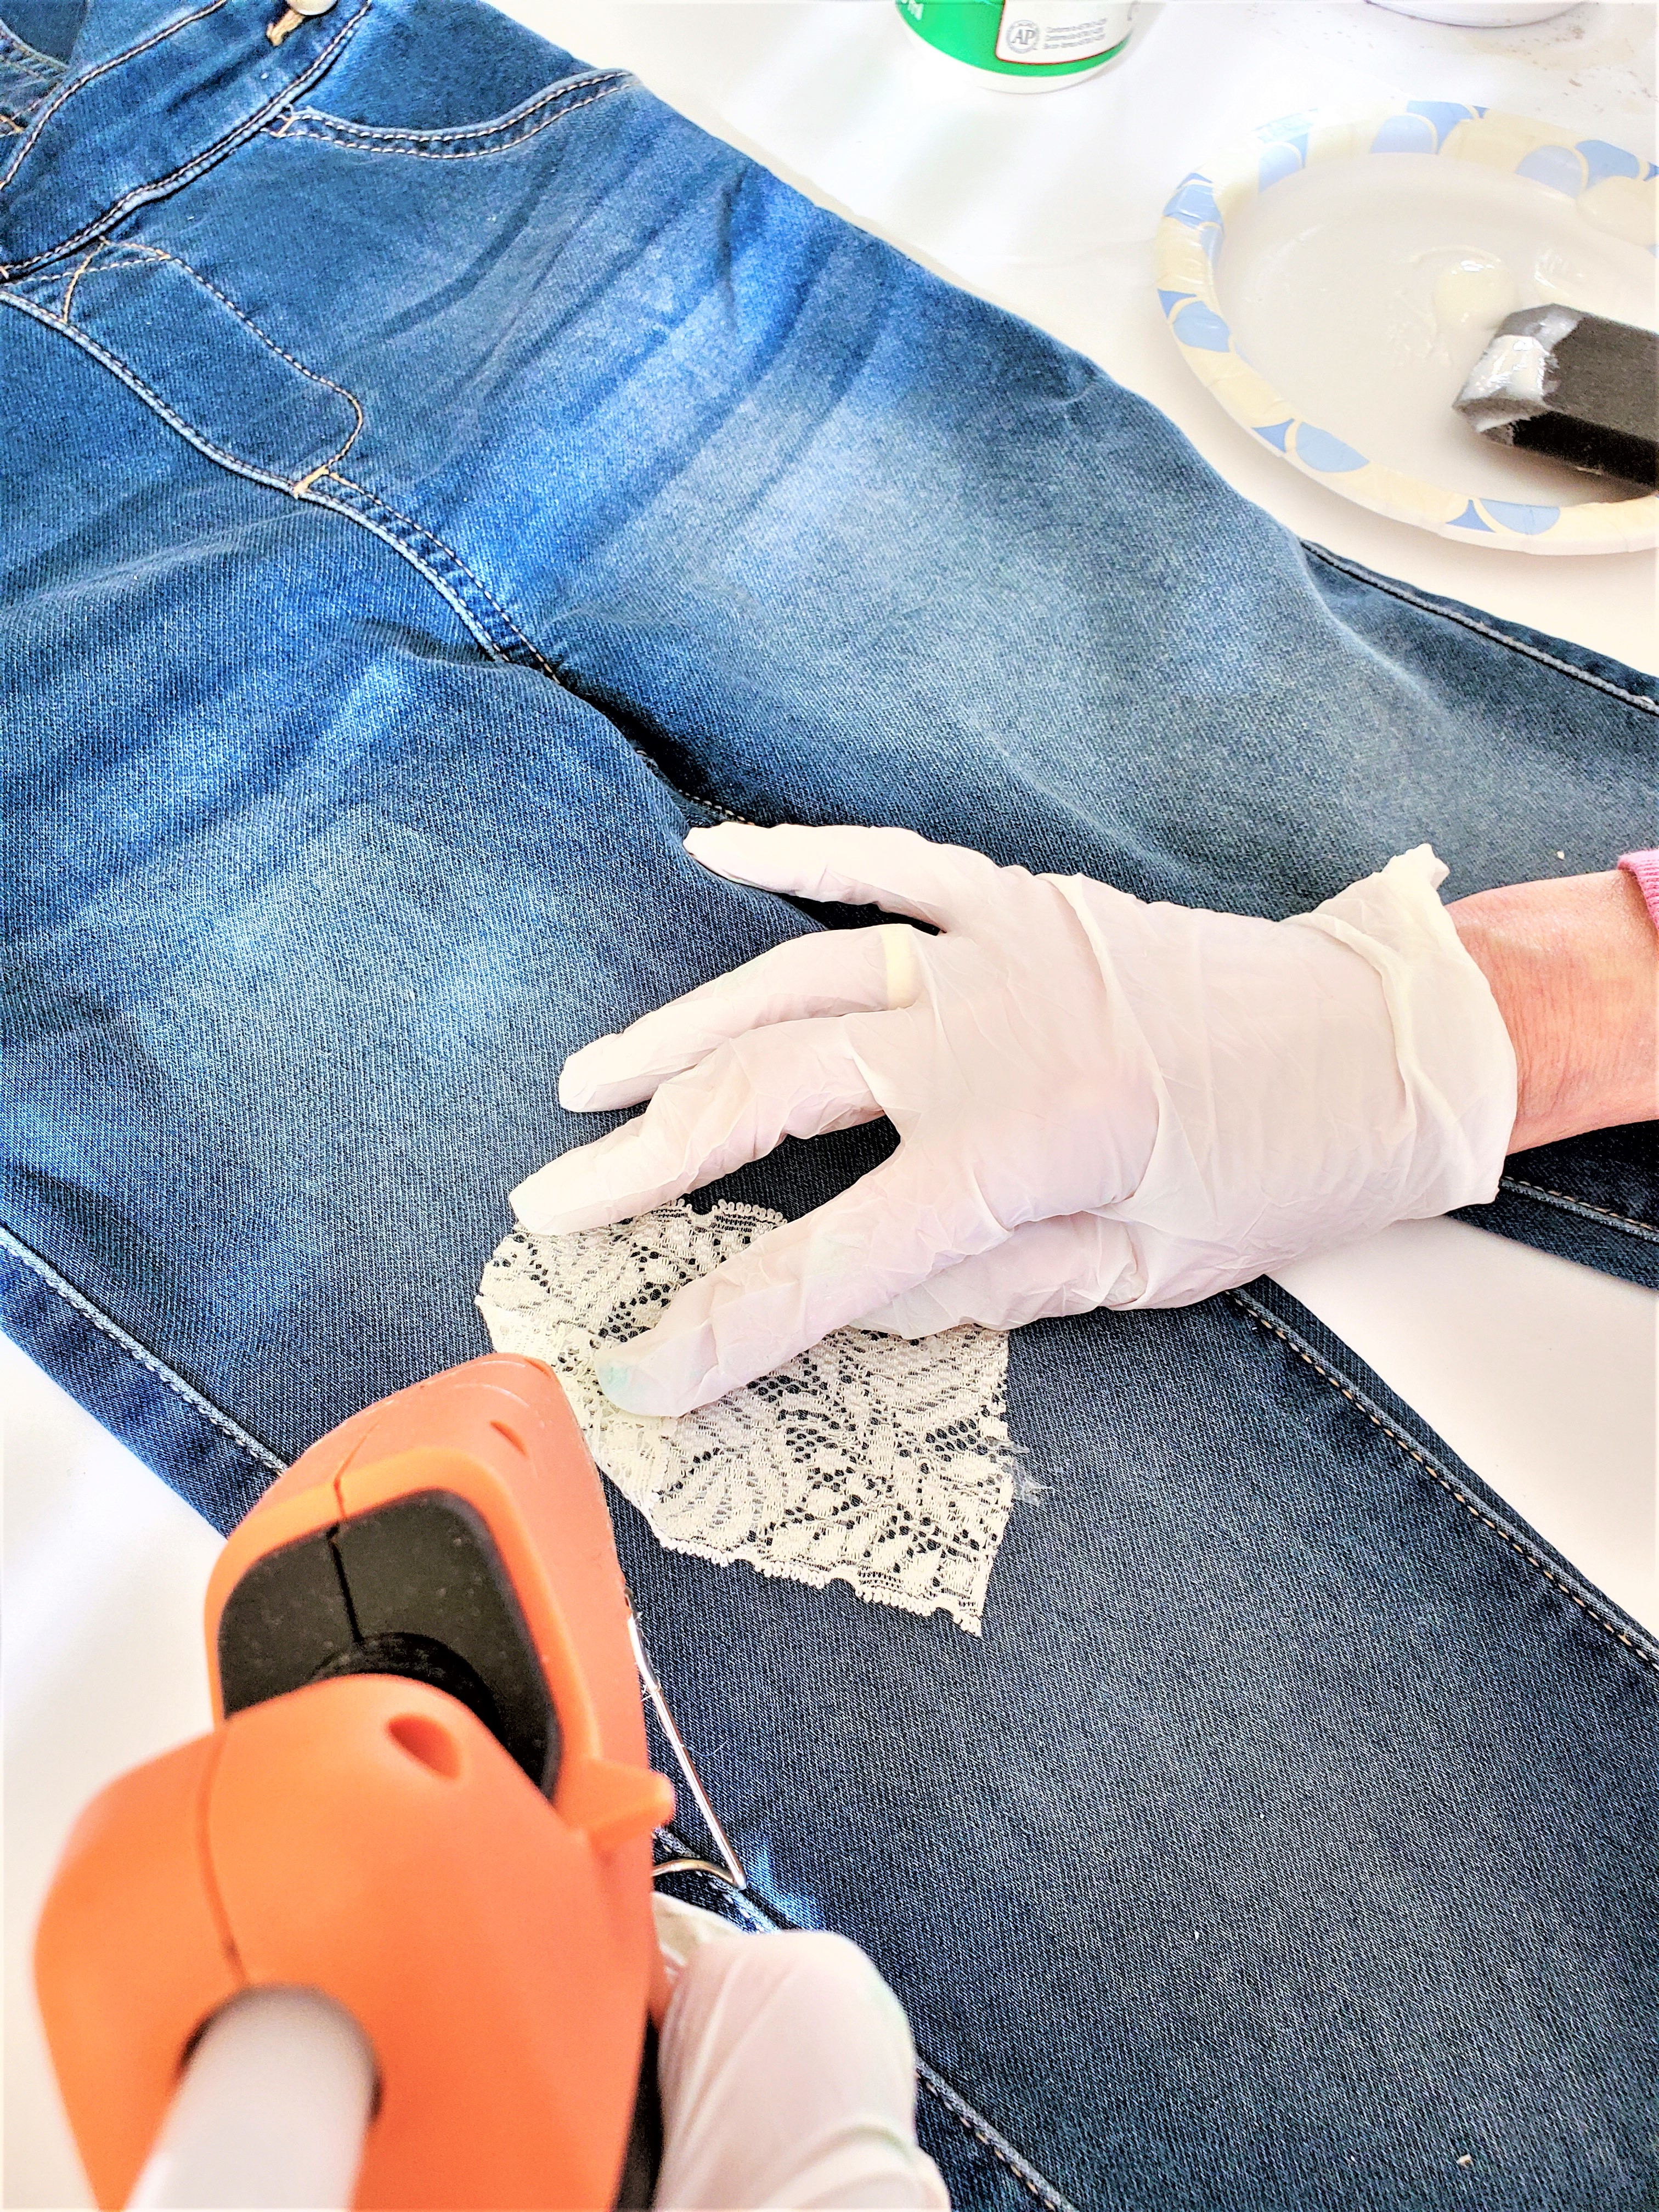
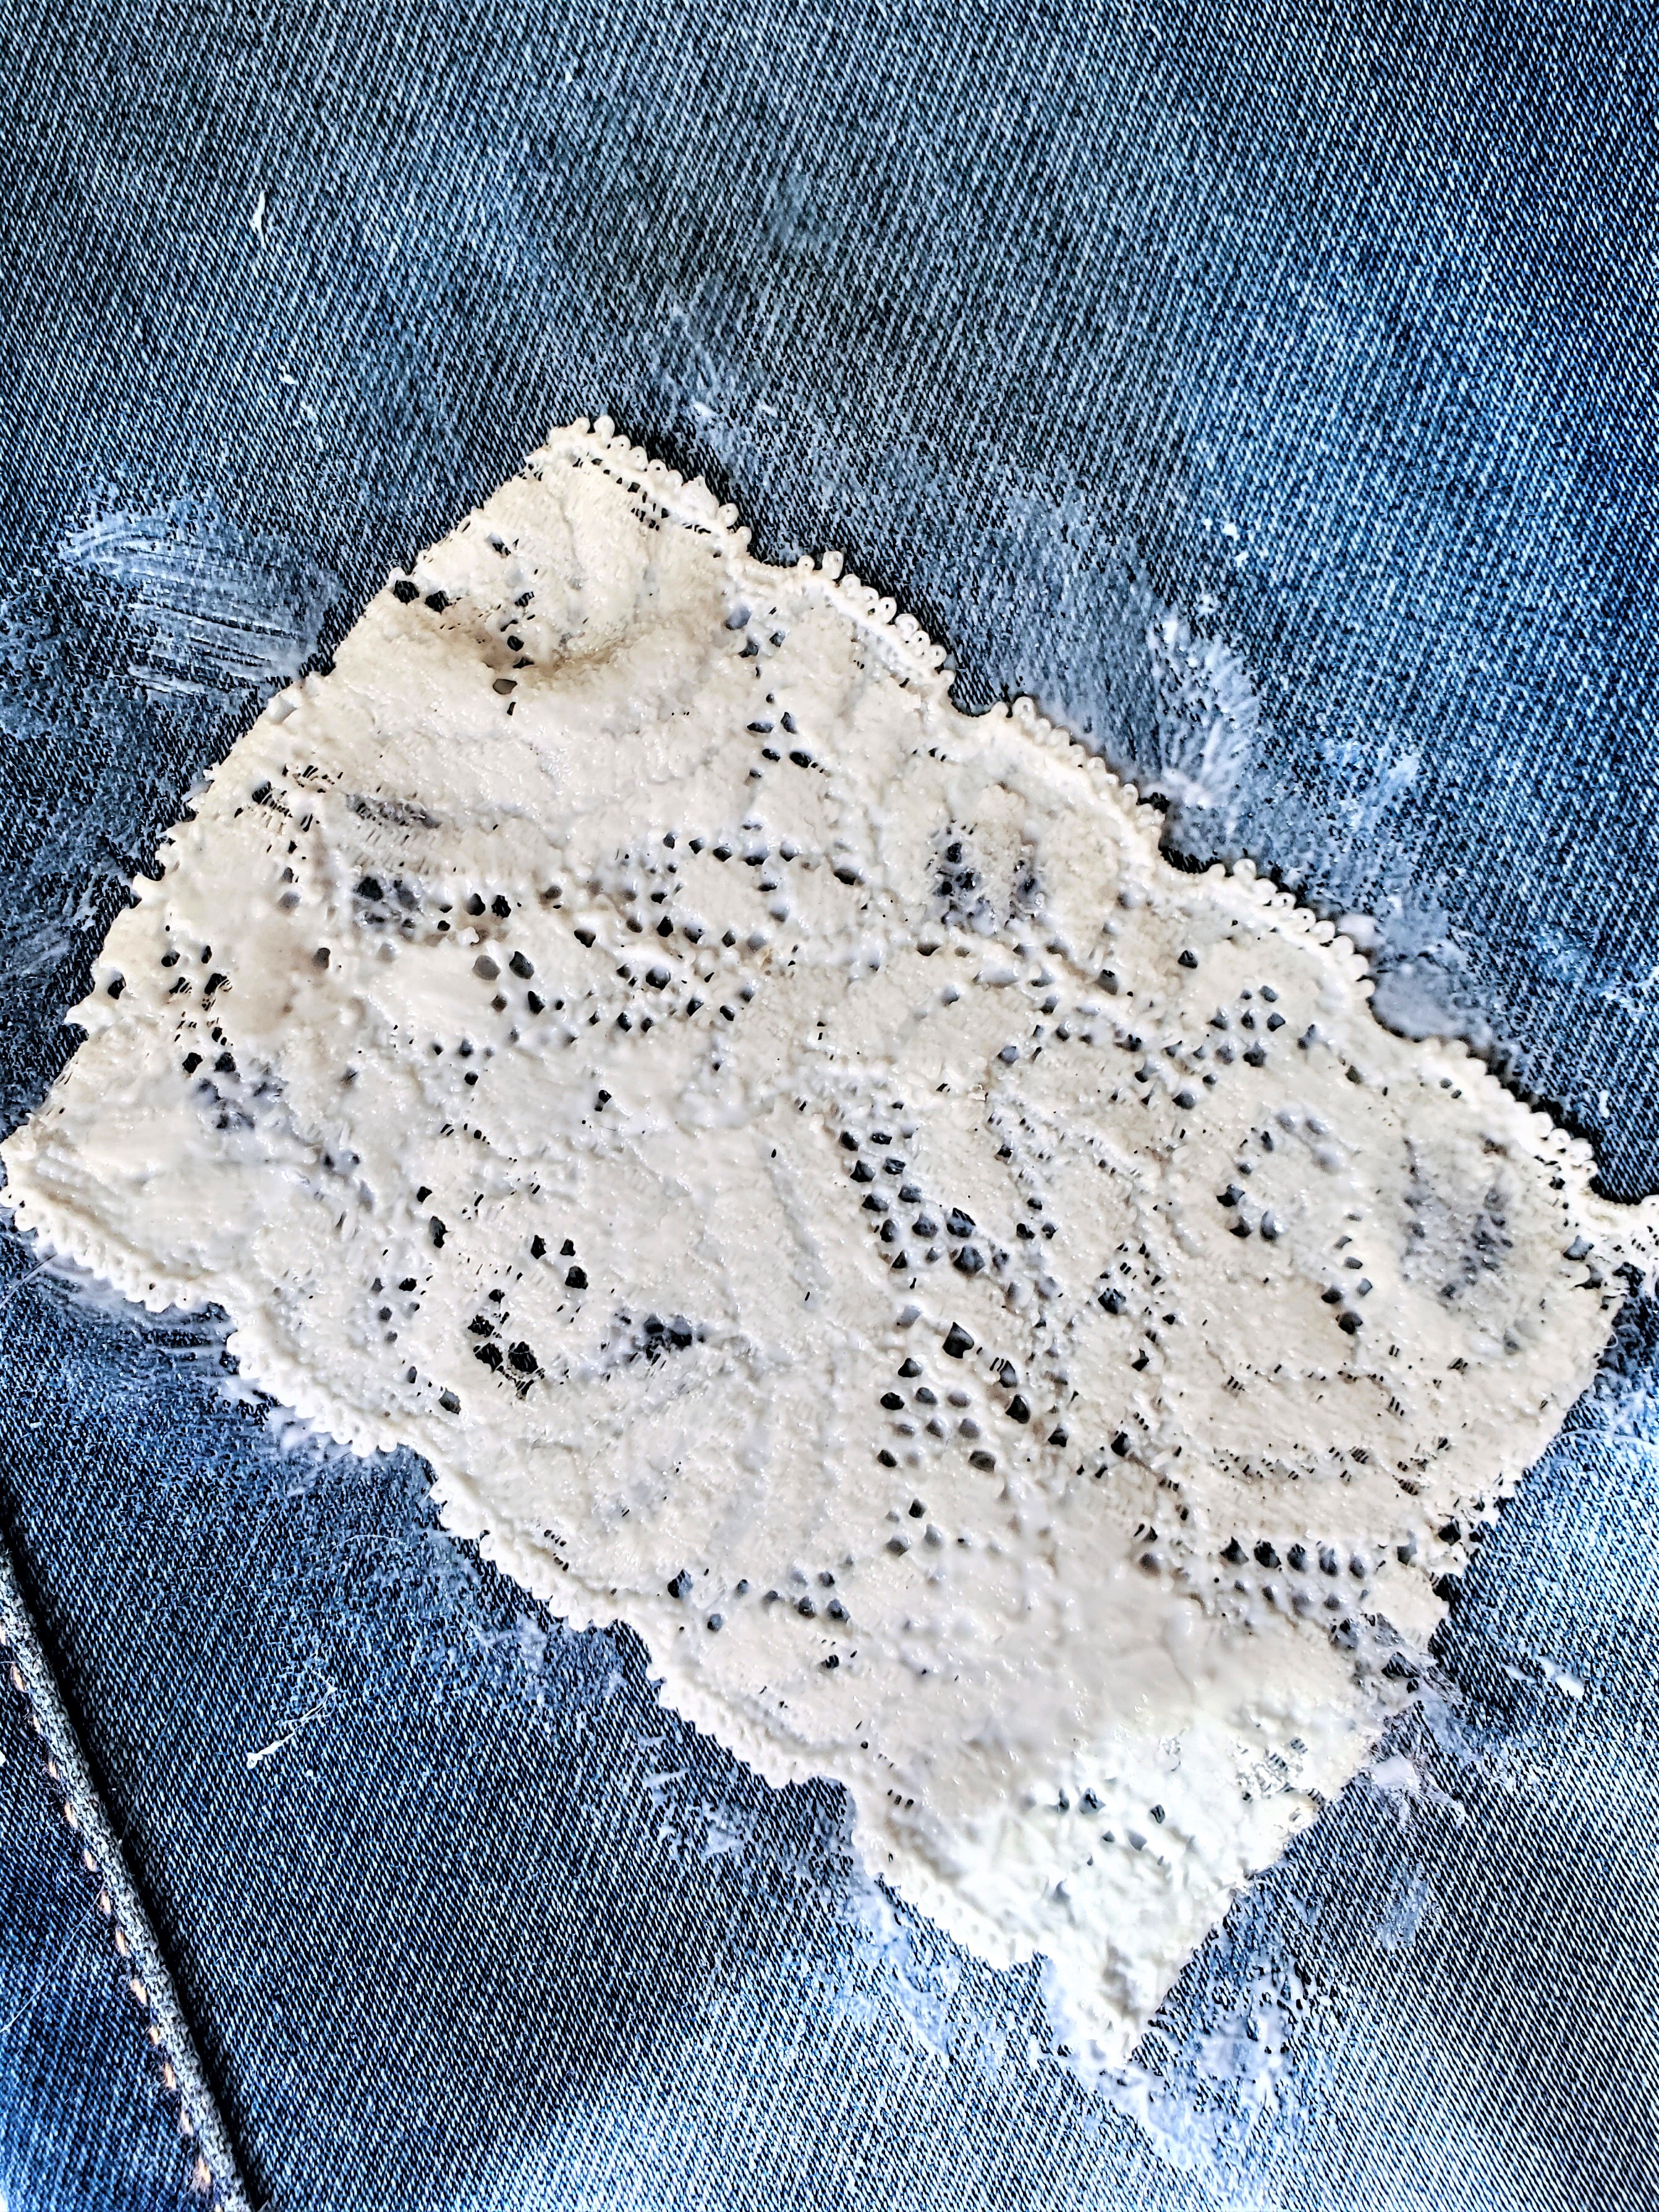
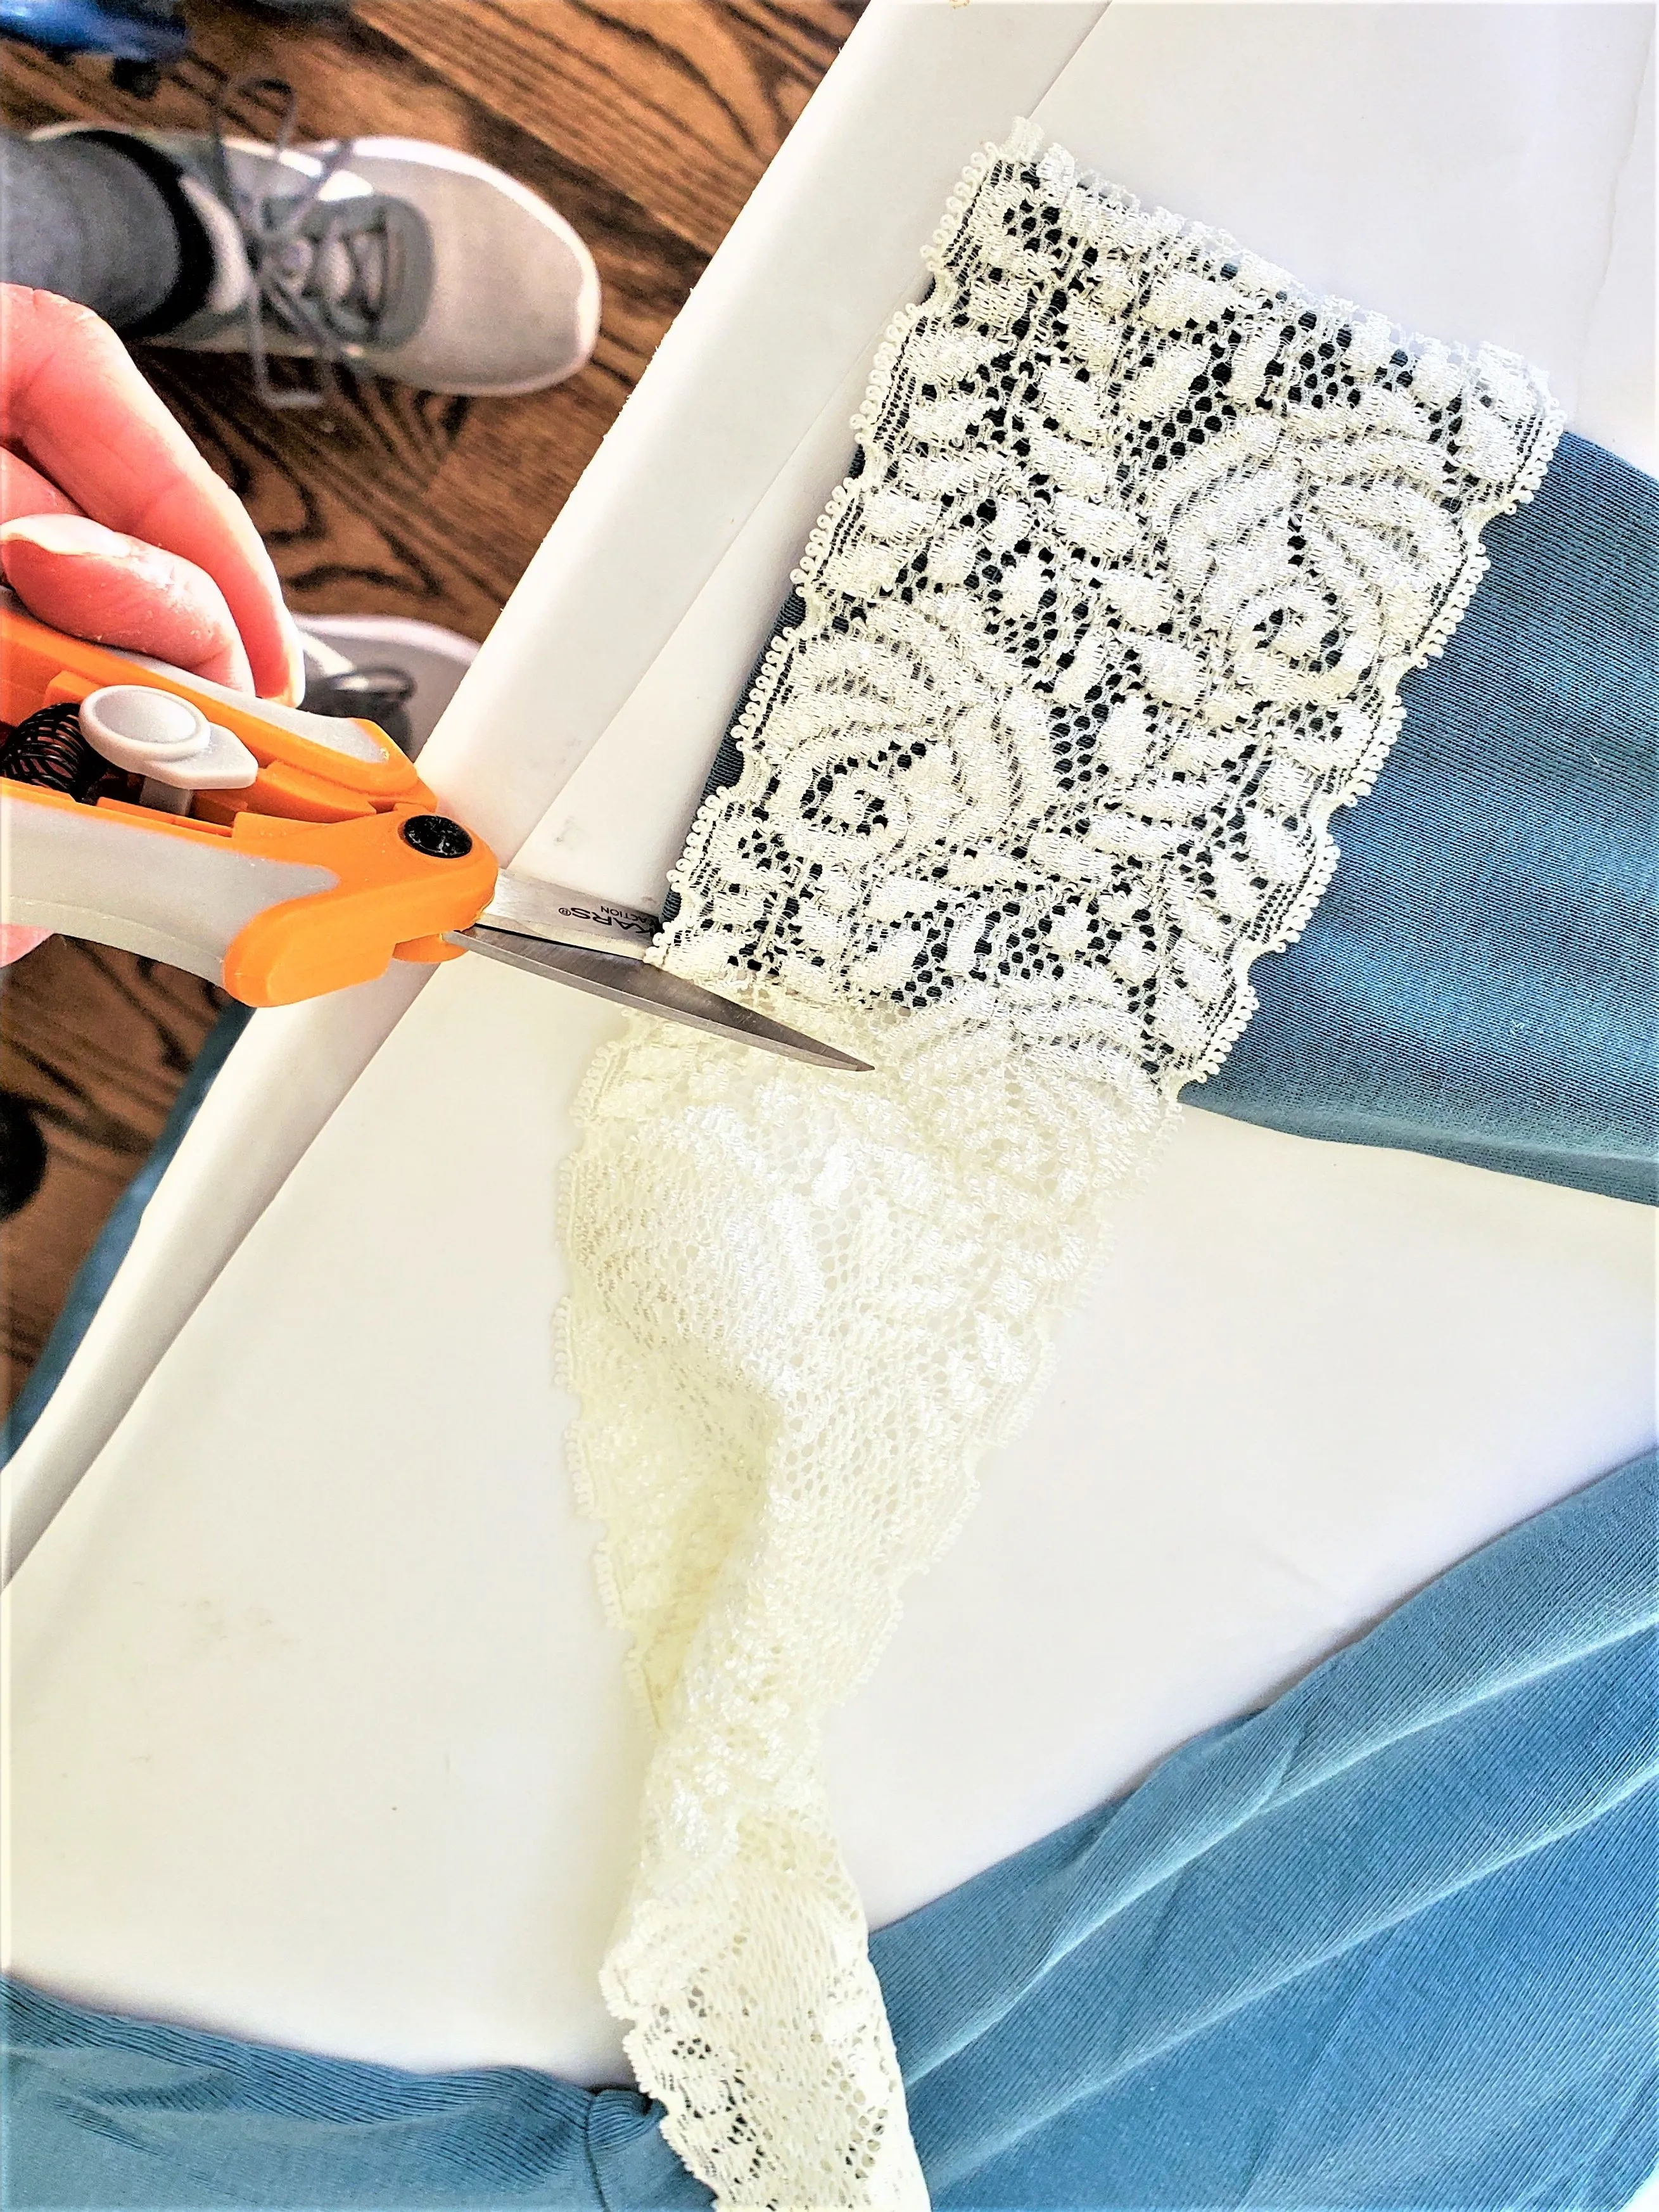
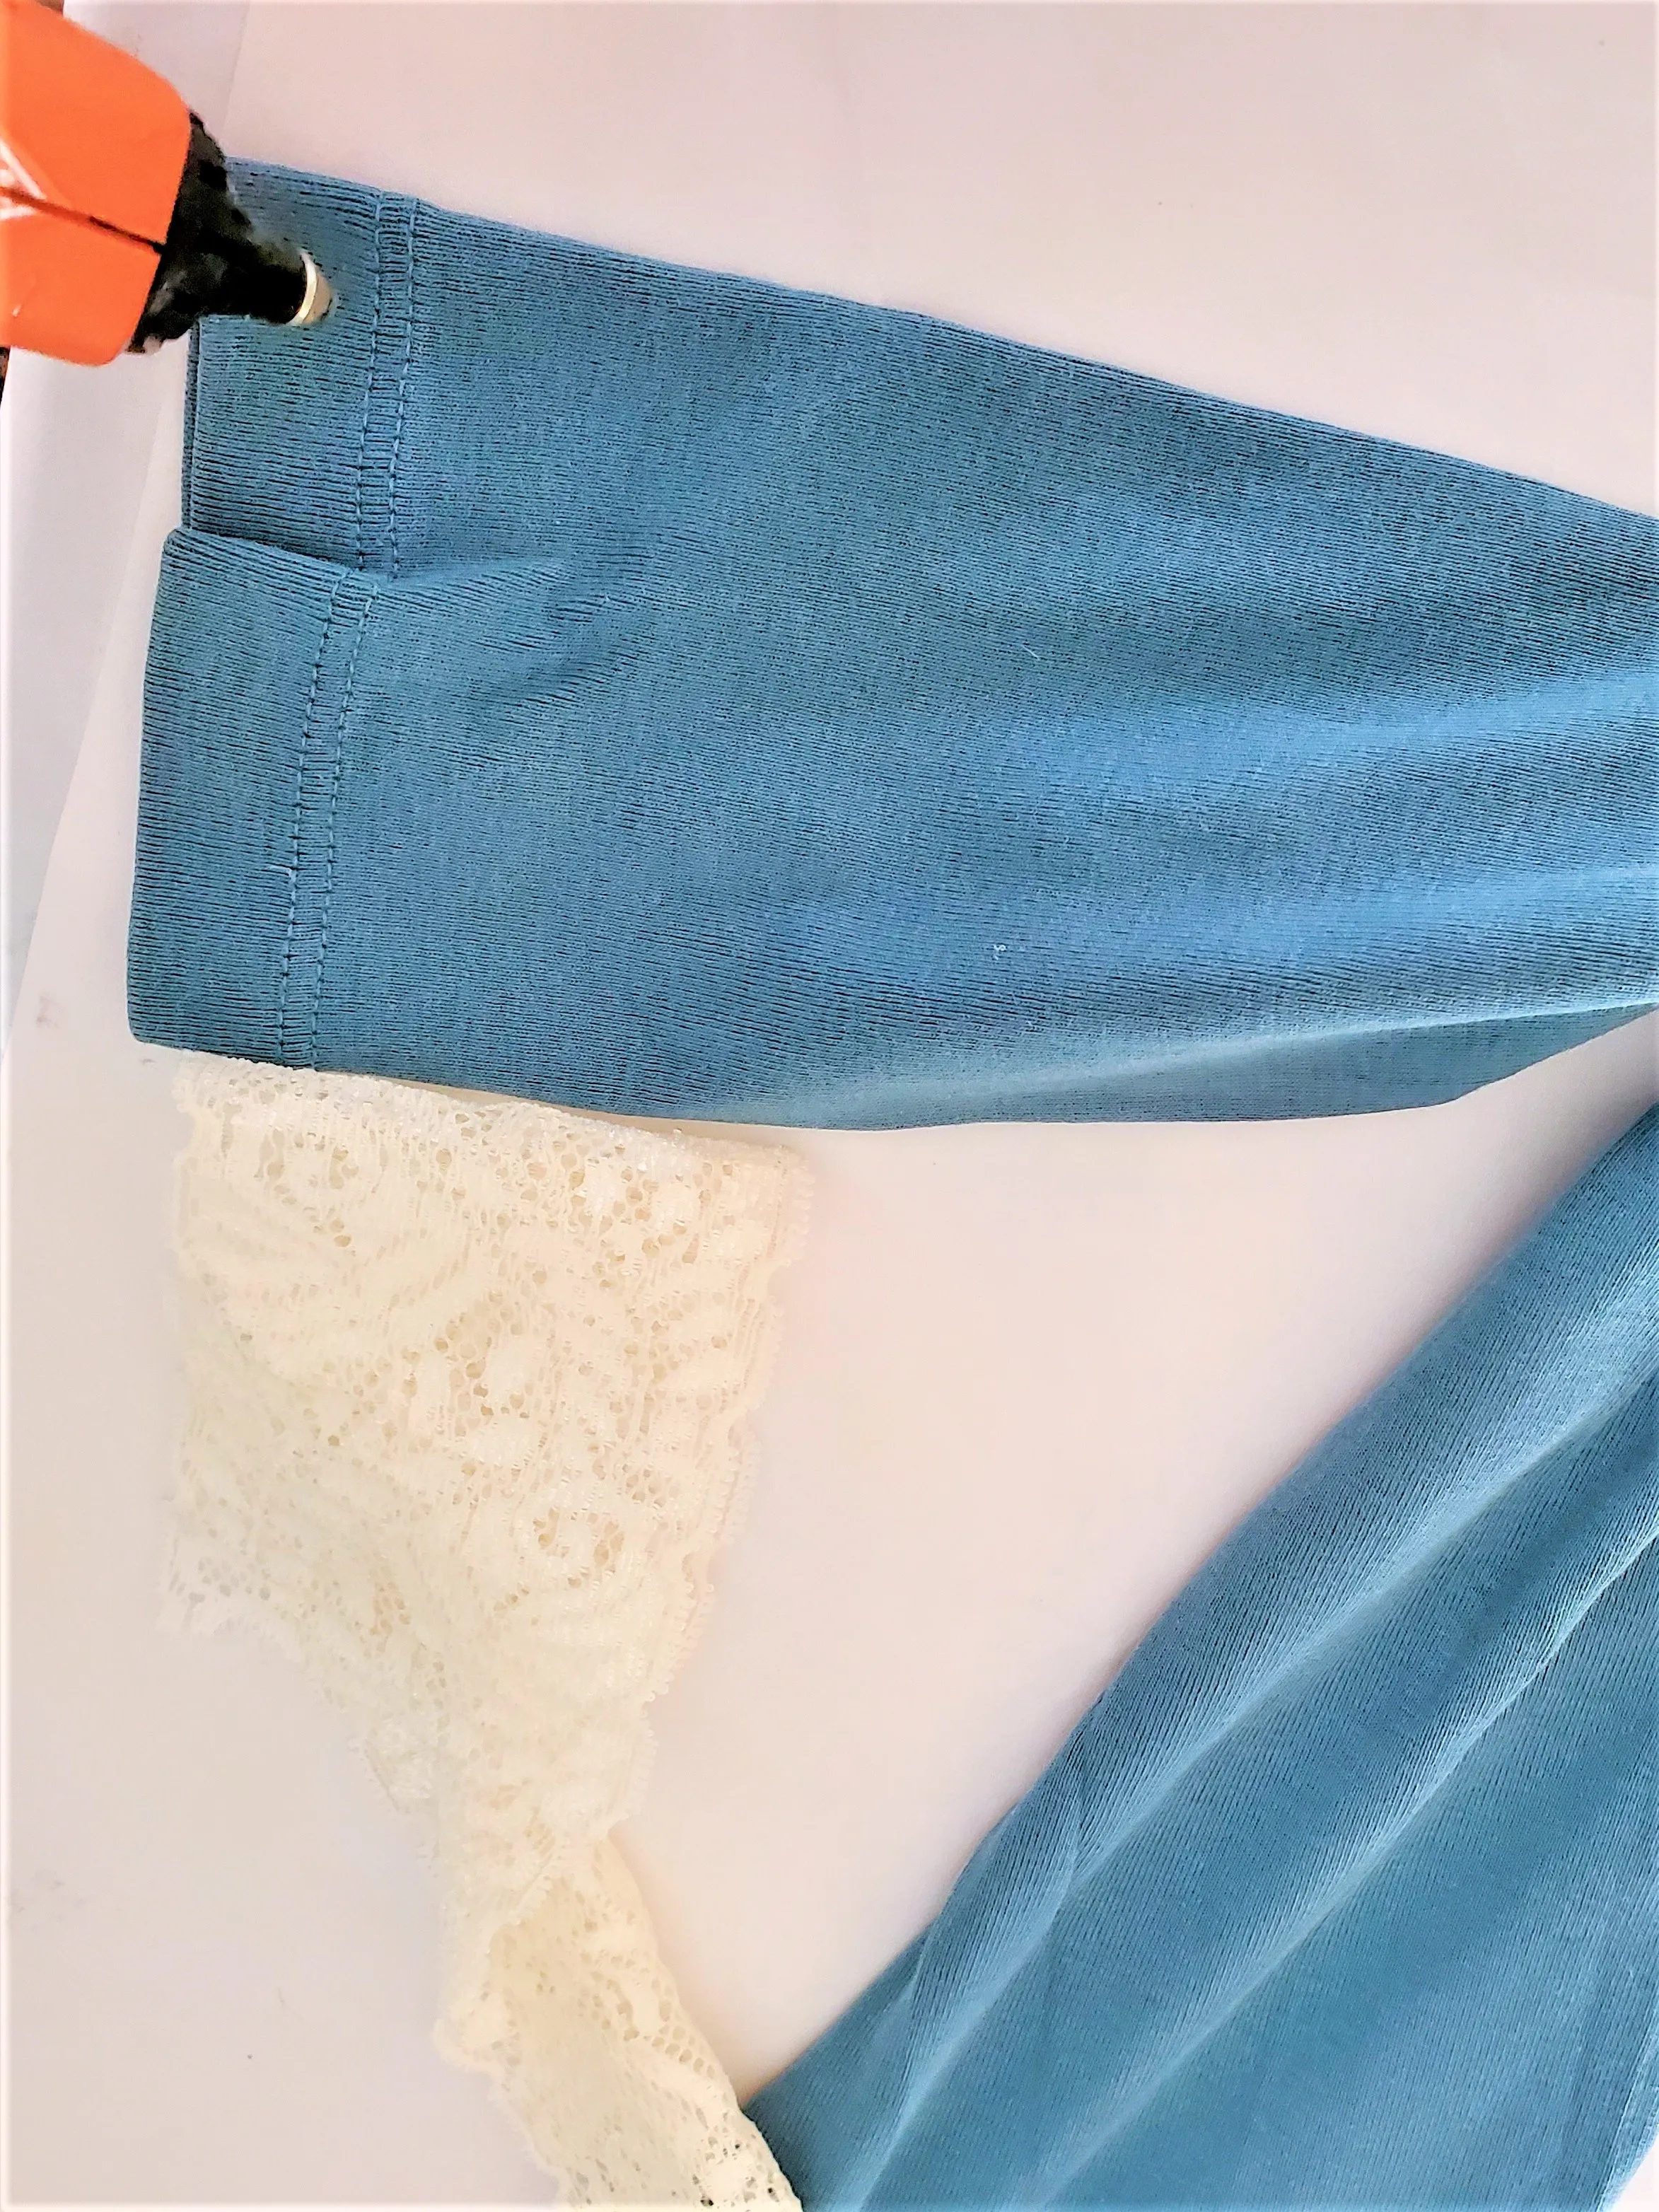
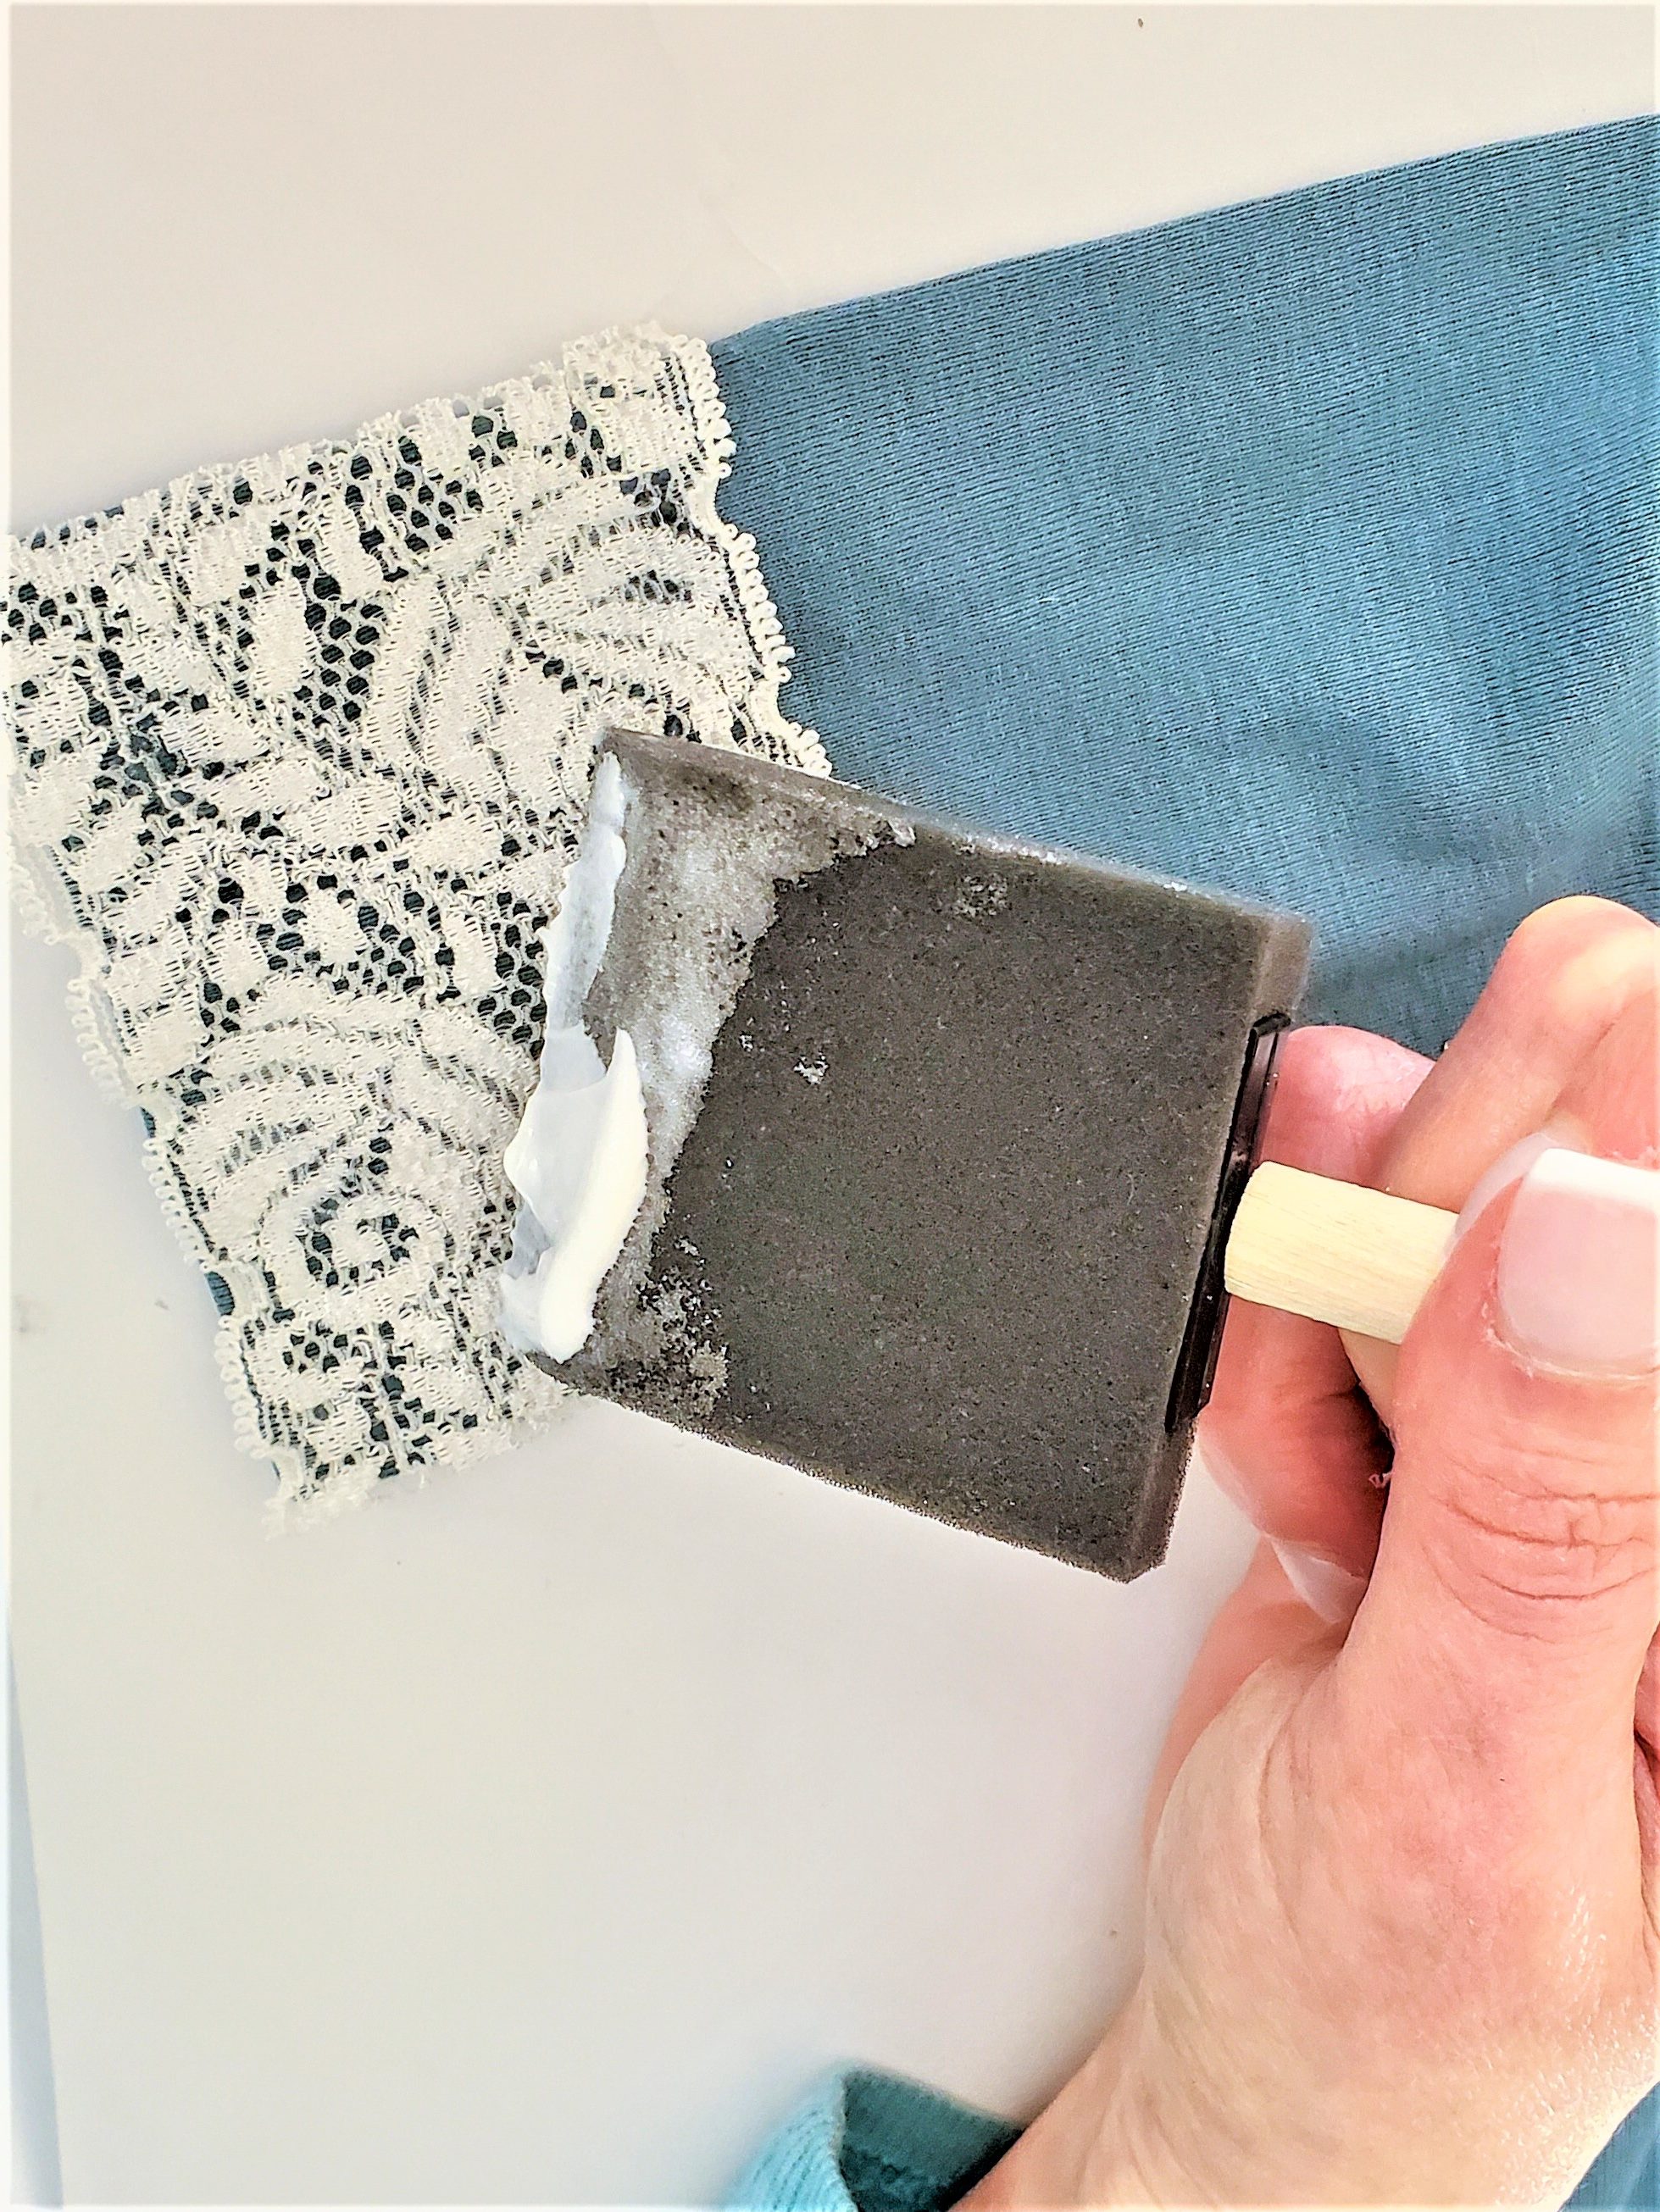
Add lace ribbon to the bottom of the legs, this is a great way to make quick updates. The overalls came with the legs rolled up, so I left them and thought the lace was a whimsical touch to my scarecrow. I like the contrast with the denim and lace. After snipping my ribbon for my craft project, I added a thin line of hot glue for this scarecrow. Since we are working with lace, make sure to wear a rubber glove or rubber fingertips for safety. This easy scarecrow craft will be outdoors, using a foam brush, add a coat of outdoor Mod Podge for protection from the natural elements. Let this dry for 2 hours. In addition to the ribbon on the legs, we added a piece of wider ribbon to resemble a patch. Add thinner ribbon to the edge of the side pockets for this unique repurposed craft. This step was easy and fast to achieve.
Step 4: Old Clothes: Unique Repurposed Craft
After adding the lace to the overalls, I began looking for a shirt. For the top of this simple DIY scarecrow, I am using a long-sleeved T-shirt that was too big. Because the T-shirt is plain, I added wider lace to the ends of the sleeves. This ties in with the overalls. As a rule, every woman likes to be styled and to coordinate. So, my simple scarecrow wanted the same, to coordinate.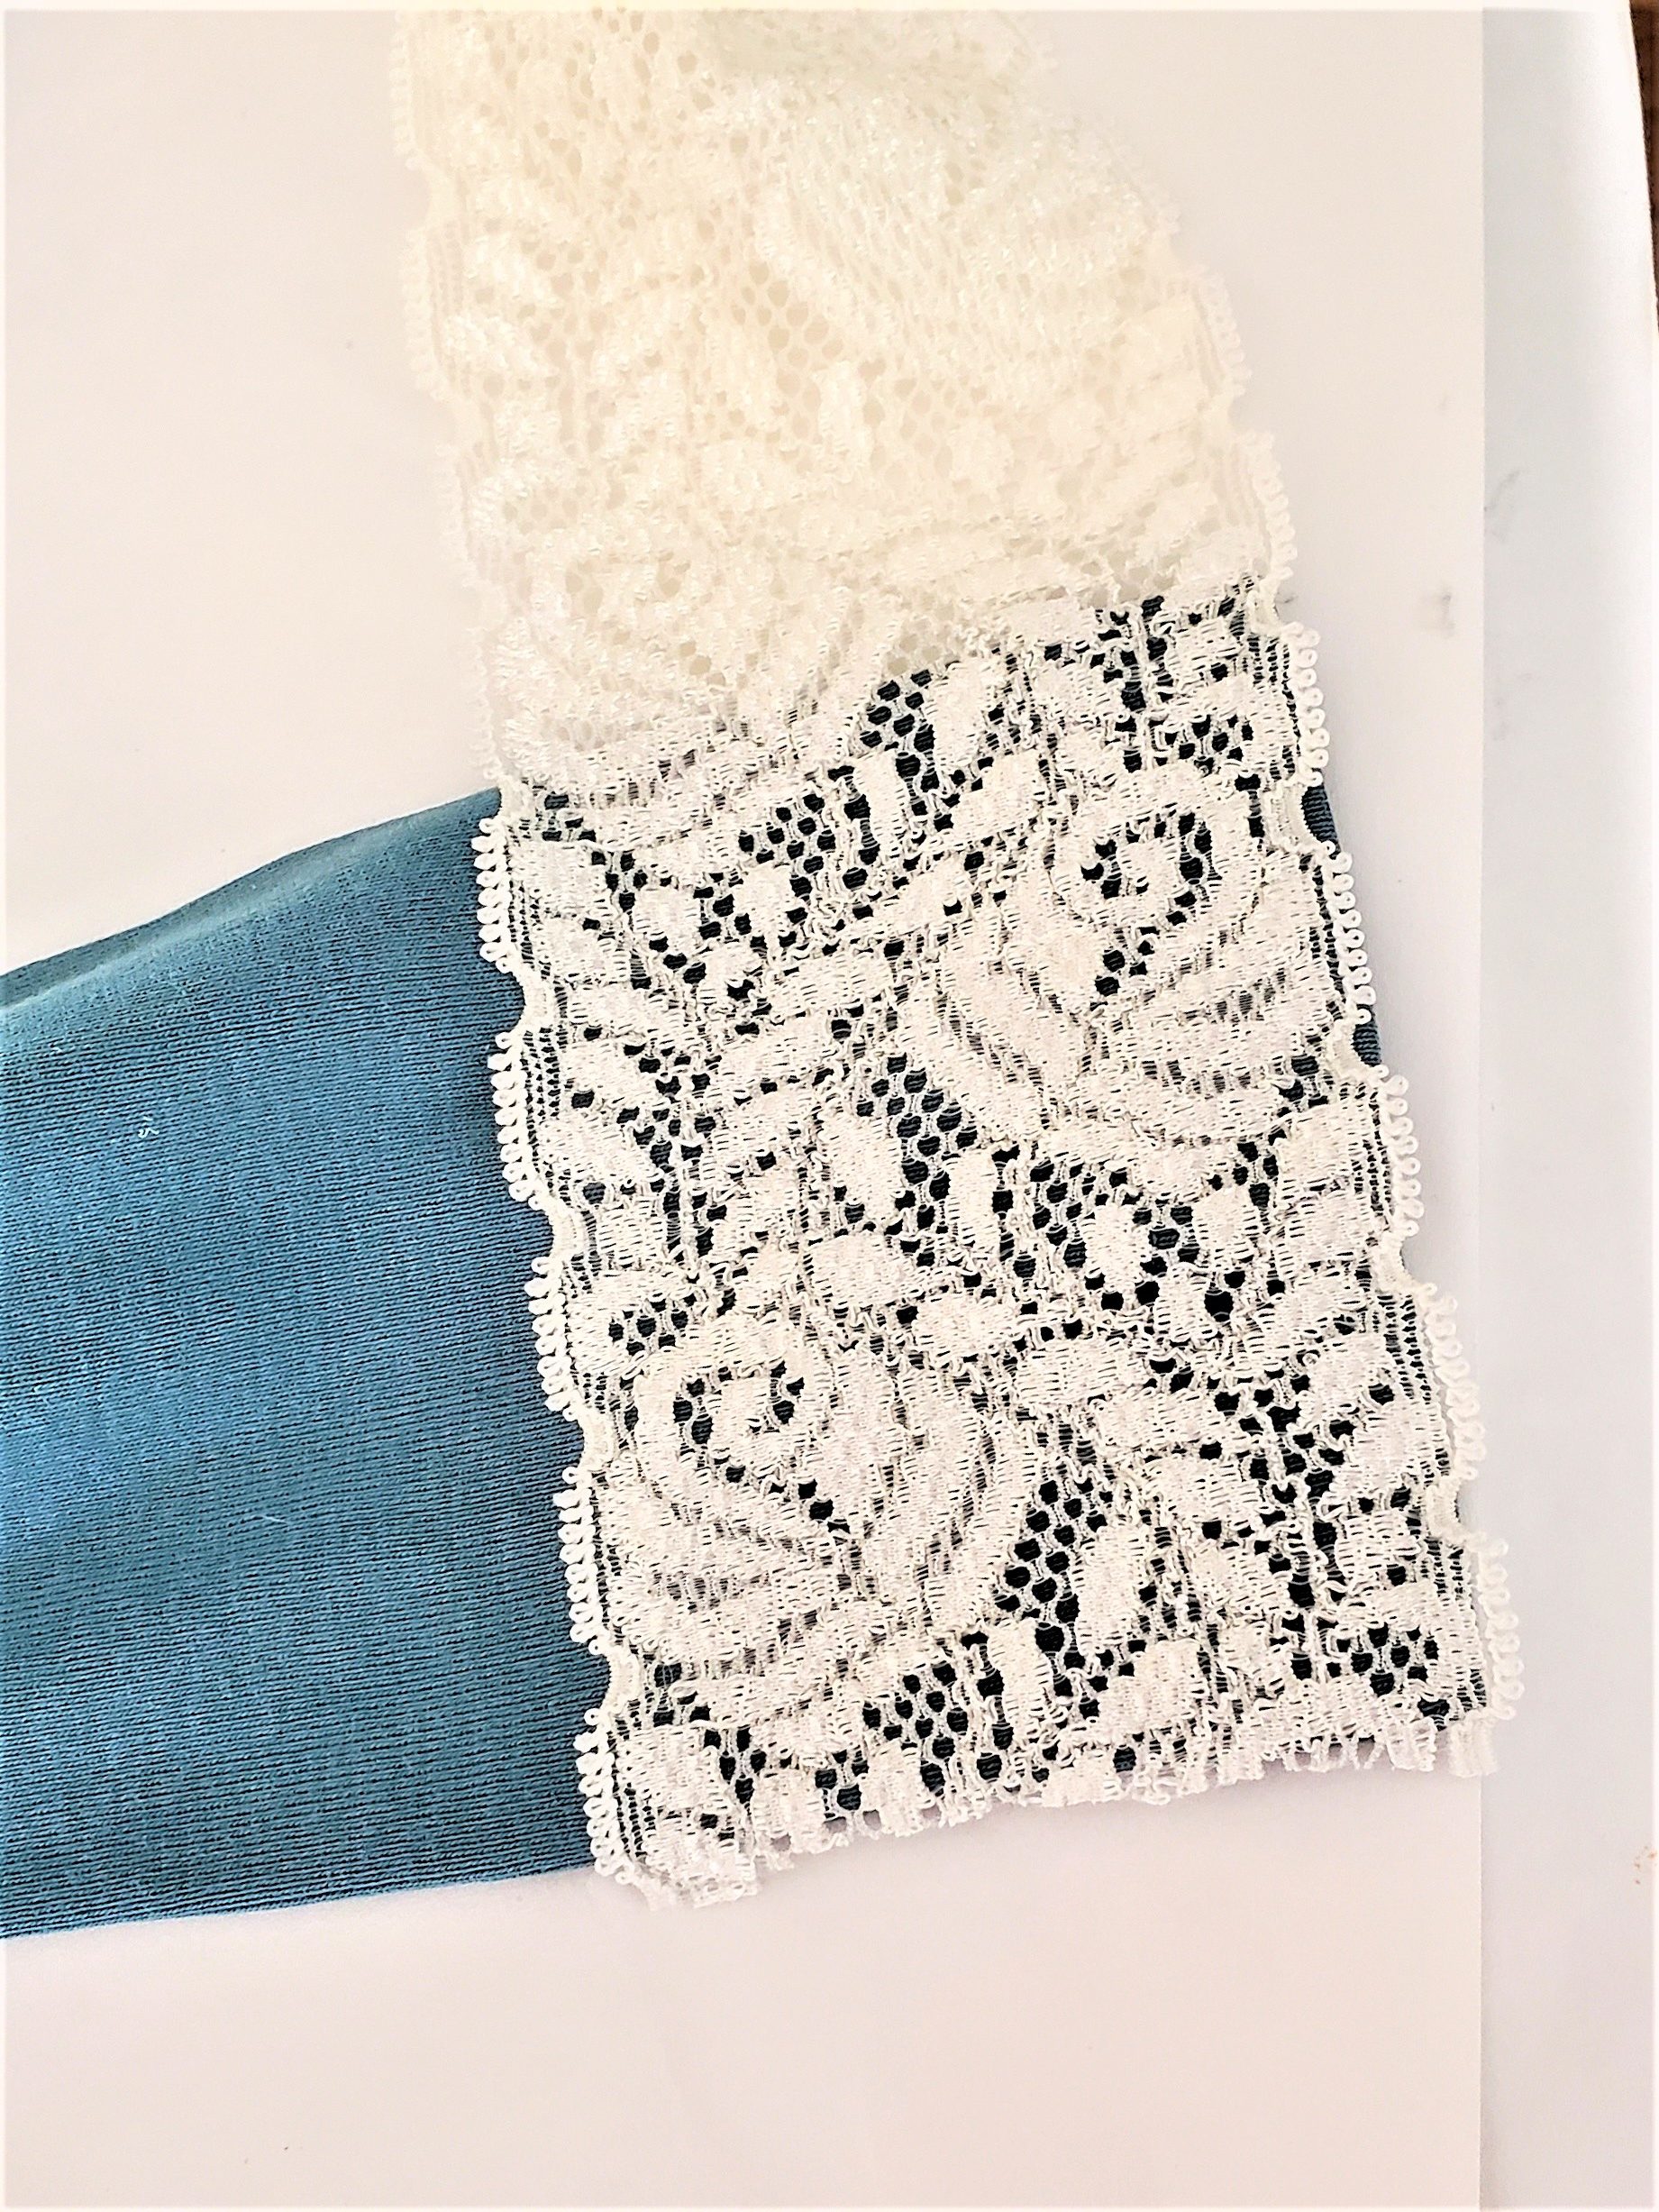
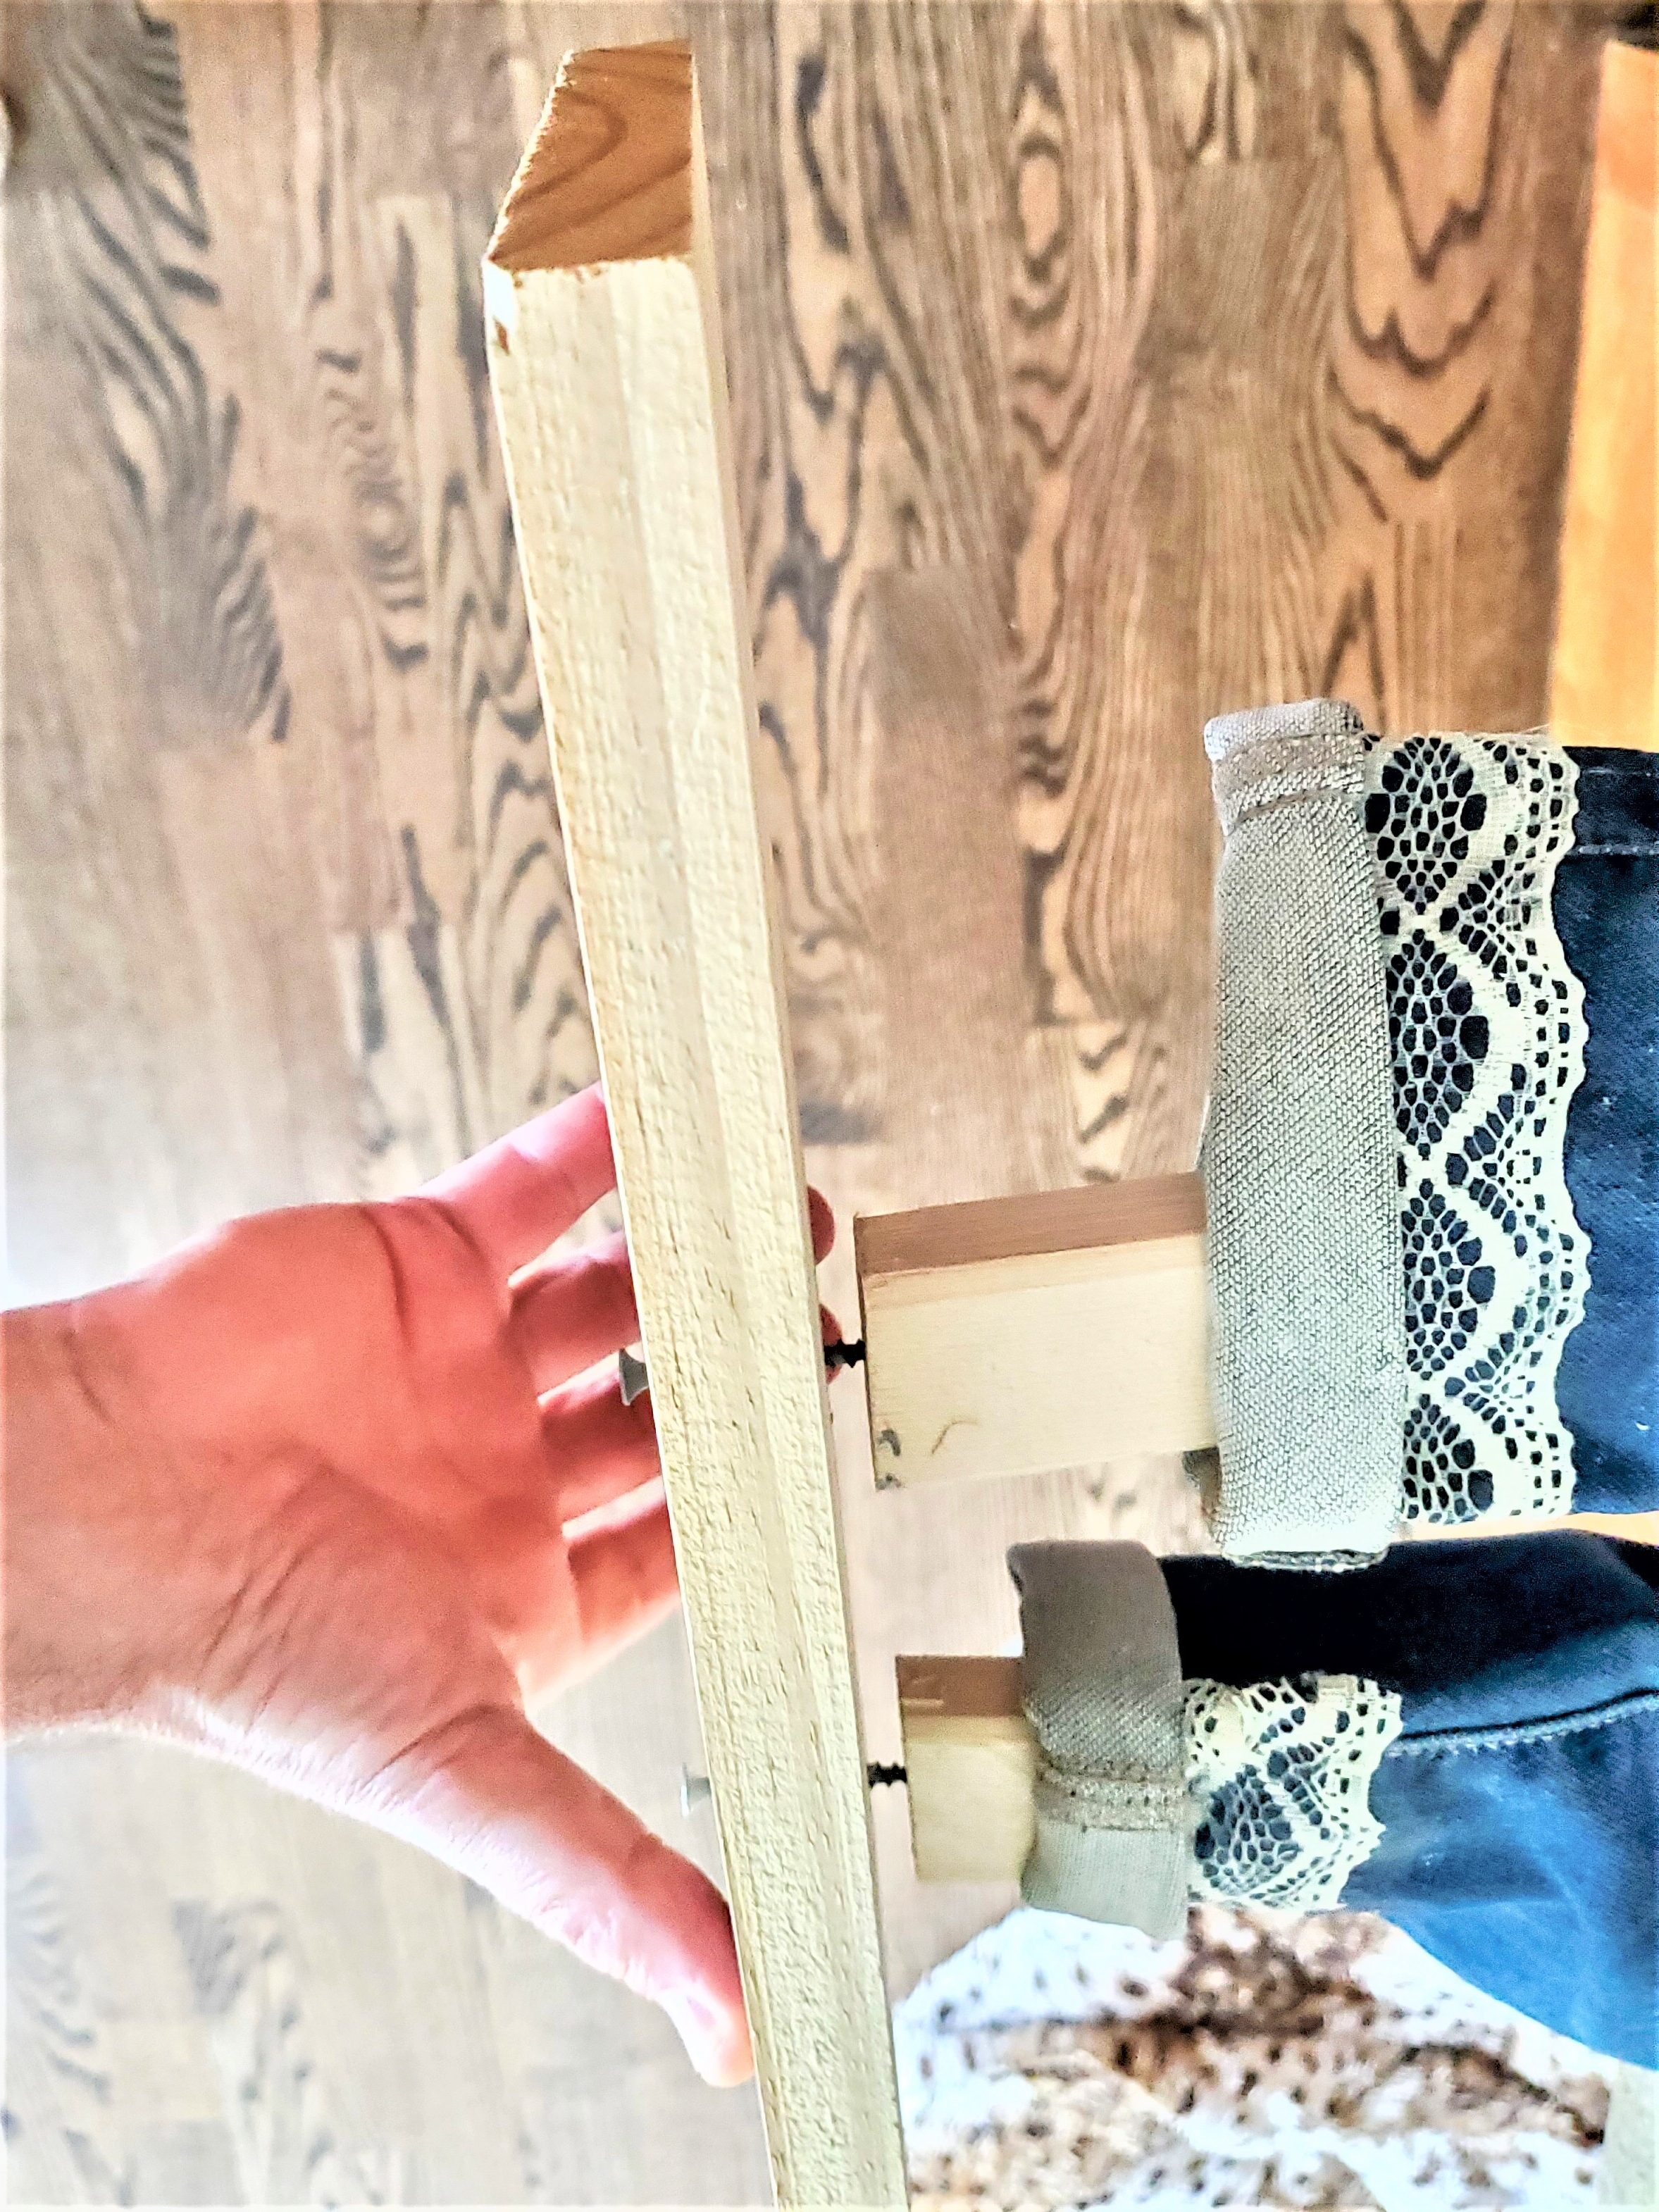
Step 5: Measuring Wood
Now it's time to construct the base of my easy craft idea. Incidentally, my husband John, is the construction man in my life. I immediately knew I was not going to stuff this scarecrow with straw or hay. Using some scrap wood left from another project we put the pieces together. First, we measured the length and width of the overalls. Next, we measured the width of the shirt as well for my simple idea.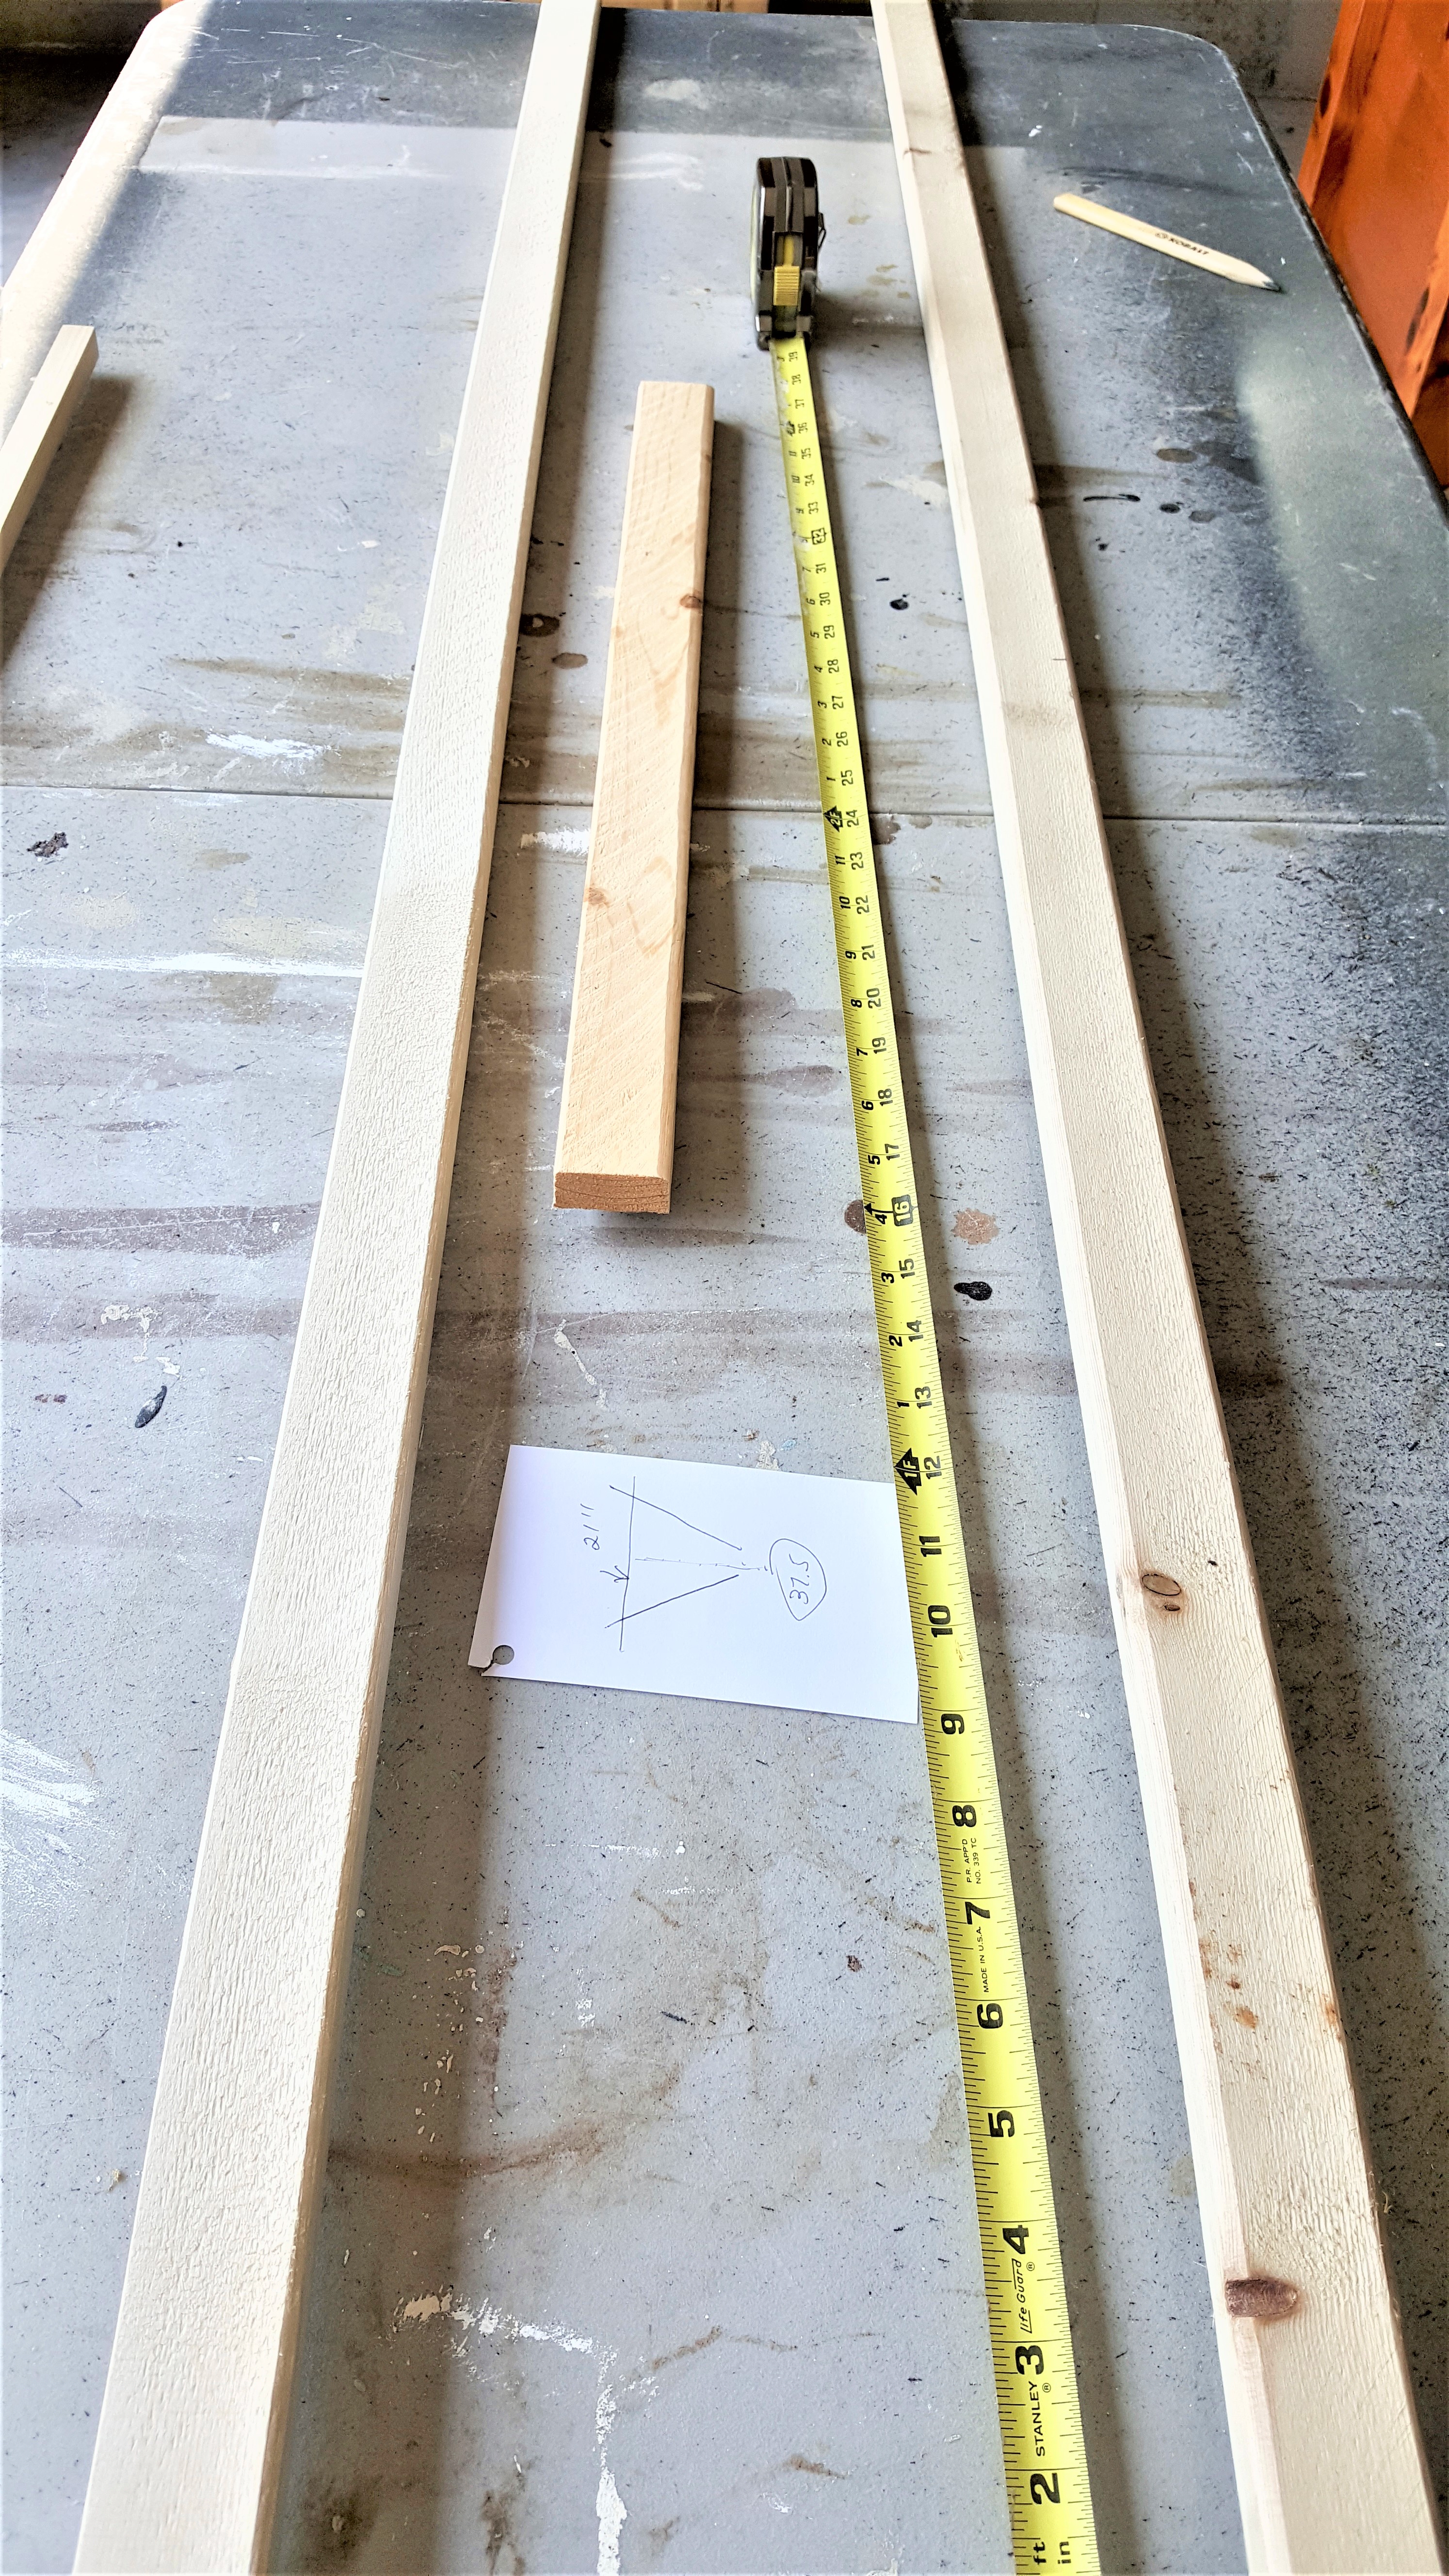

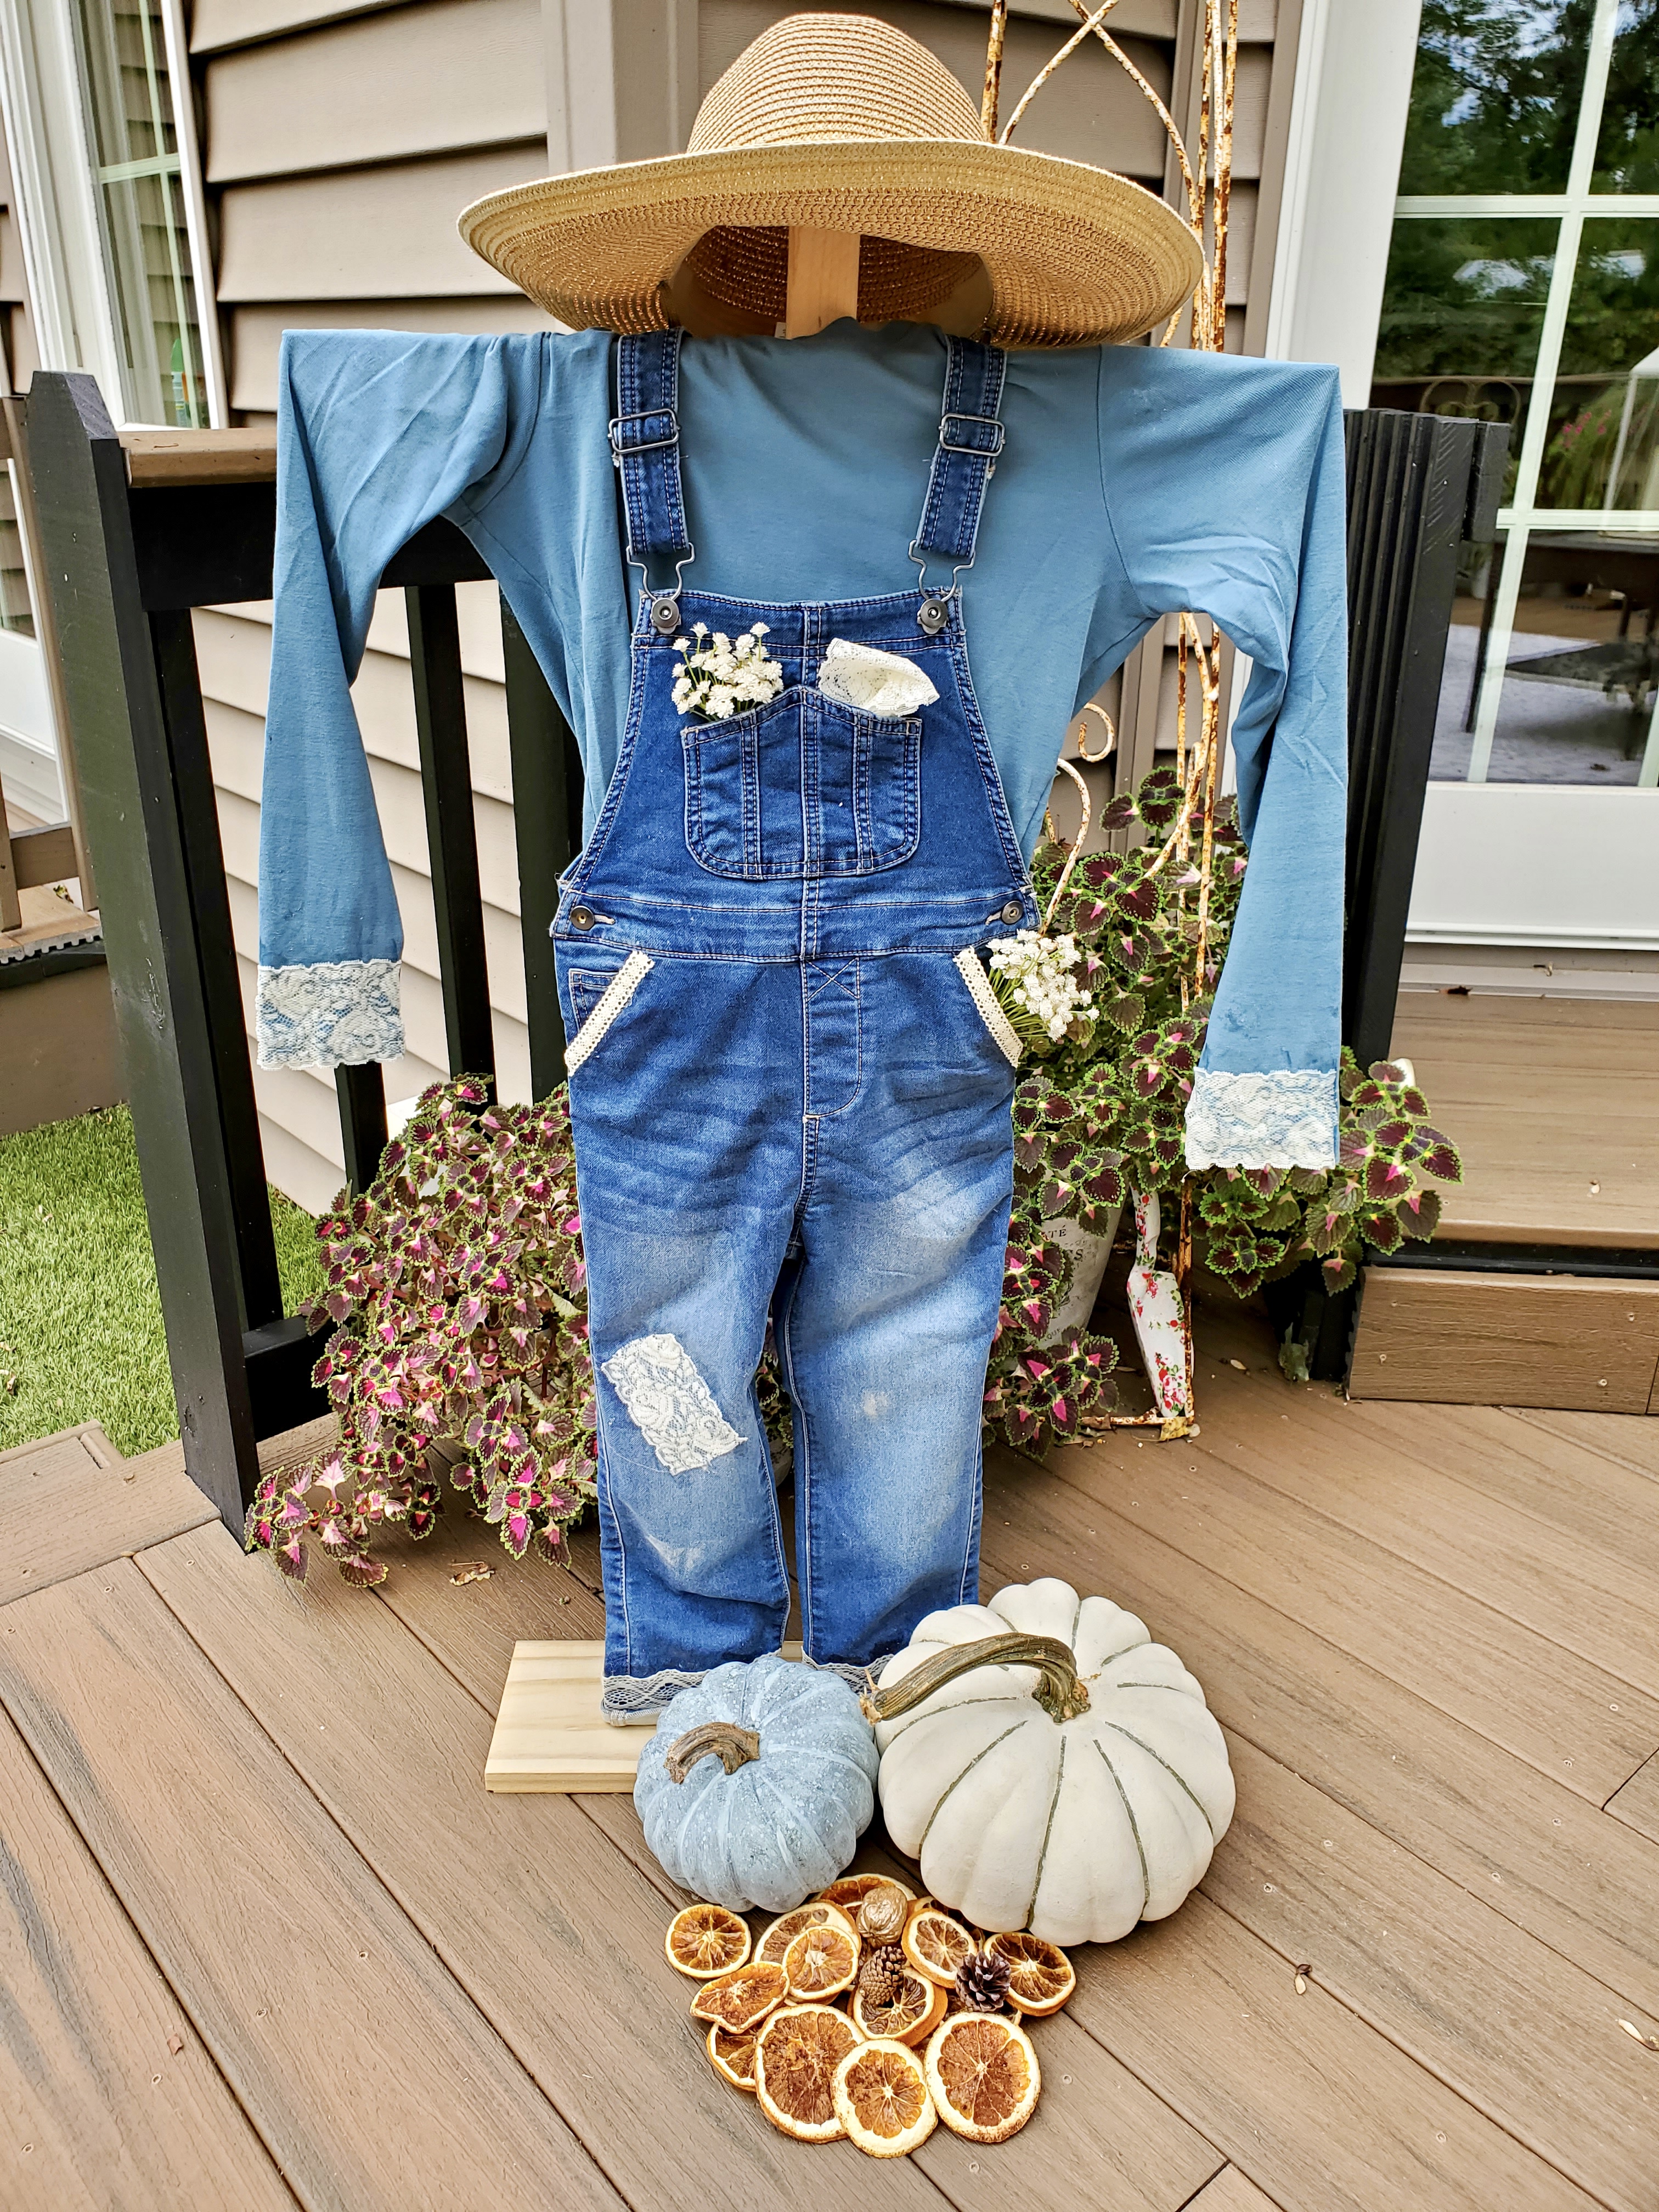
Step 7: Seasonal Decor: Easy Project
Now I began adding the finishing touches styling my scarecrow with outdoor fall decorations.- real pumpkins
- natural elements such as dried orange slices
- a small fall wreath would look pretty hanging from the arm of this scarecrow.