DIY Moss Vase
This easy craft uses an empty coffee can, a tea can, plastic coffee containers, or any empty cans to create beautiful home decor using SuperMoss self-stick moss.
Yield: 1 vase
Cost: $10
Notes
Moss Vase
Craft Supplies:
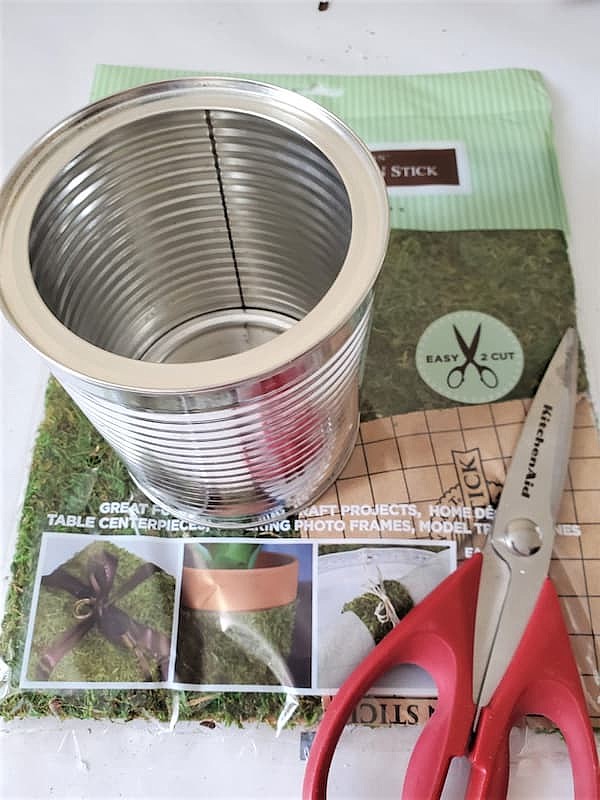
- Supermoss sticky moss, peel and stick moss, or sheet moss
- scissors
- Empty cans, coffee can, tea can, plastic coffee containers
- Card stock (Michaels stores, or Amazon)
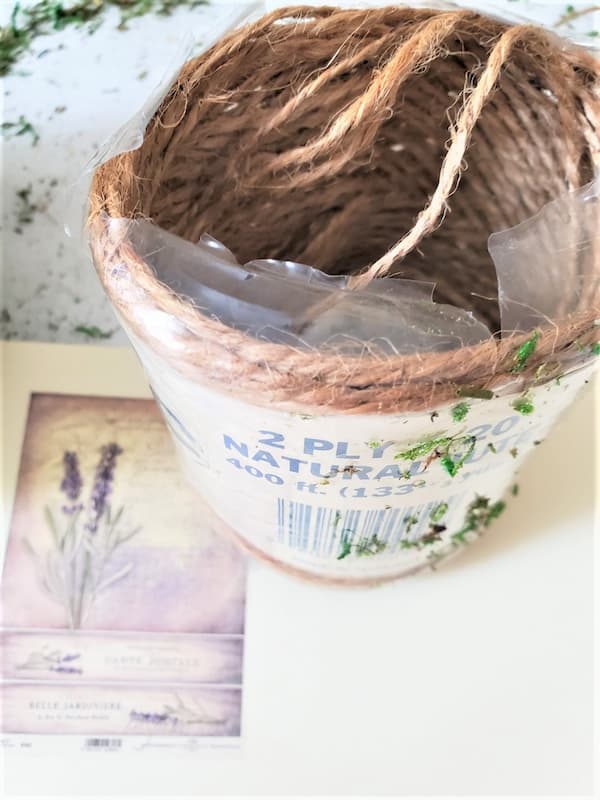
- jute or twine
- hot glue gun and hot glue sticks (optional)
- Mod Podge (optional)
Step 1: Remove the Label From an Empty Metal Can
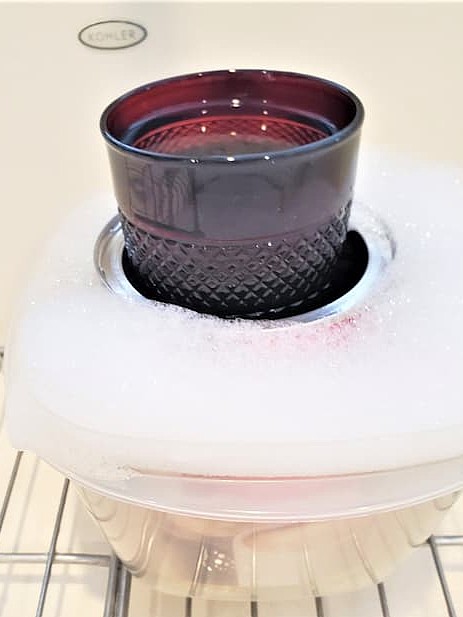
Soak the metal can in warm soapy water to remove the label.
Step 2: Apply SuperMoss Self-Stick Moss
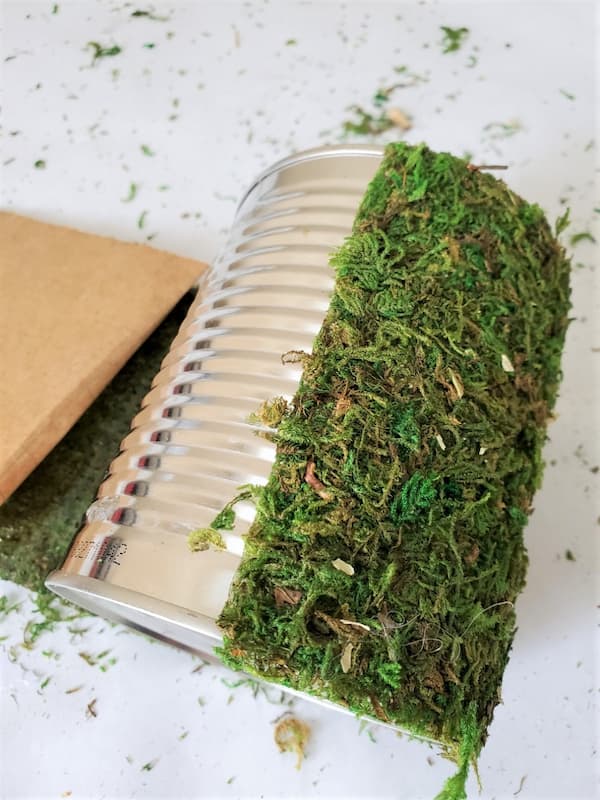
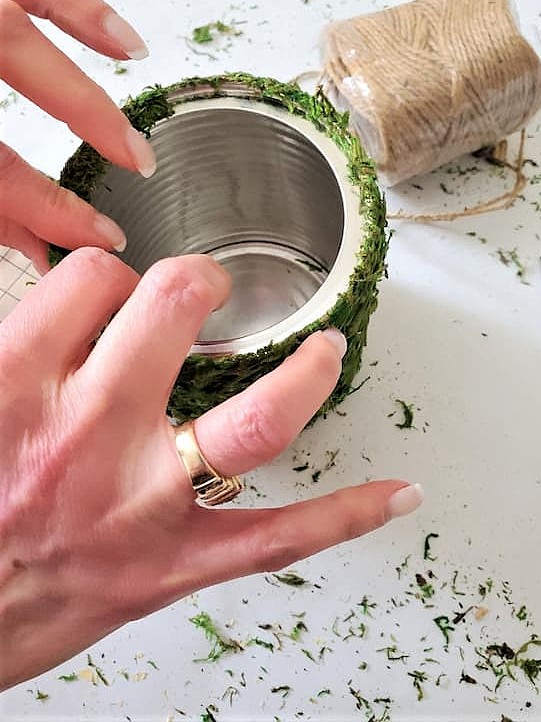
Next, measure the length of the coffee can or tea can and cut a piece of peel and stick moss long enough to wrap around the entire empty metal can or plastic coffee container. Pro Tip: Repurpose coffee cans, tea cans, plastic coffee containers, and other empty cans instead of sending them to the compost heap. It’s an easy way to reduce waste while creating gorgeous decor for a dining table or coffee table. Remove the paper backing from the sticky moss, and line it up with the metal can, making sure the sheet moss is straight before pressing it into place. I didn’t use hot glue on my DIY moss-covered can because the sticky moss adhered on its own. However, if needed, add a dot of hot glue to the ends or any loose areas. Continue pressing the sticky moss around the empty can until the entire outside is covered with moss. Since the top edge of my empty coffee can was showing, I used leftover pieces of sticky moss. I cut thin strips of the preserved moss and pressed them along the top edge of my old can. This is the perfect way to give your moss-covered vase a finished, professional look.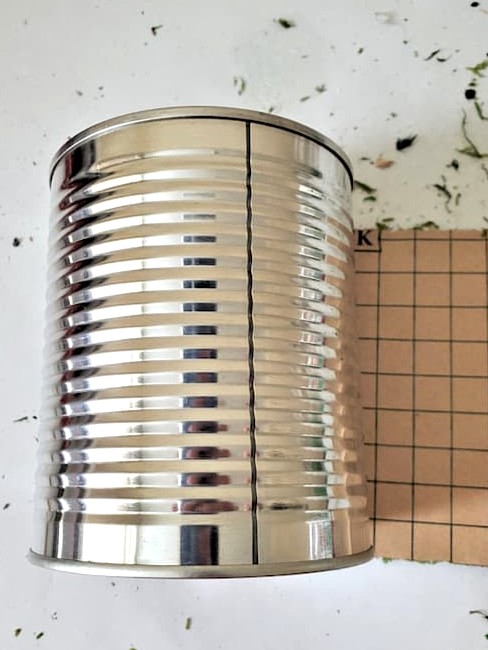
Step 3: Personalize Your Moss Vase
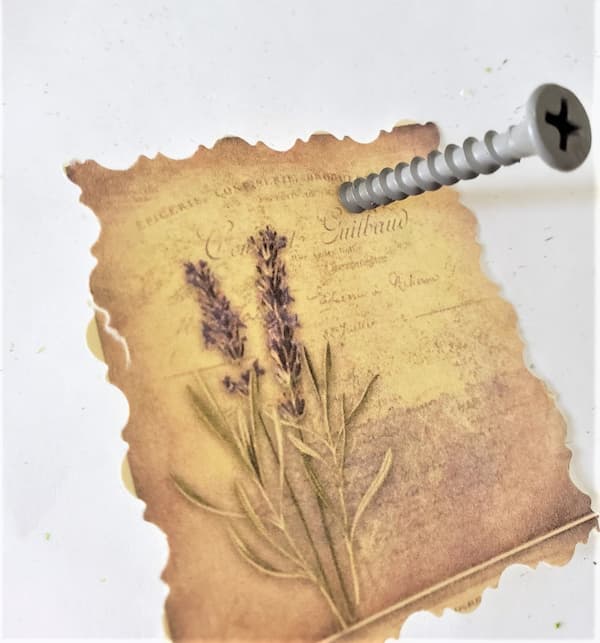
Let’s add a personal touch to the easy DIY moss vase with a cardstock tag. Pro Tip: Visit my Pinterest Transfers Board or Graphics Fairy for free printable images to use on card stock and other easy craft projects. After printing your favorite image, cut around the edges with these scissors (HERE) to create decorative edges. It’s the perfect way to add vintage charm and extra detail to this DIY. Next, create two small holes near the top of the cardstock using a screw. I like using a screw because it makes the perfect-sized hole for threading the jute or twine onto the DIY moss-covered vase.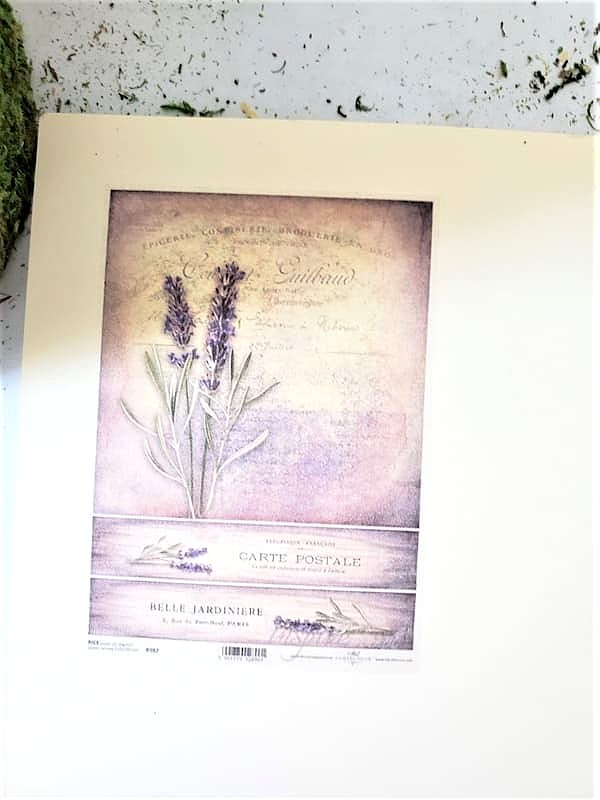
Step 4: Attach the Tag With Jute
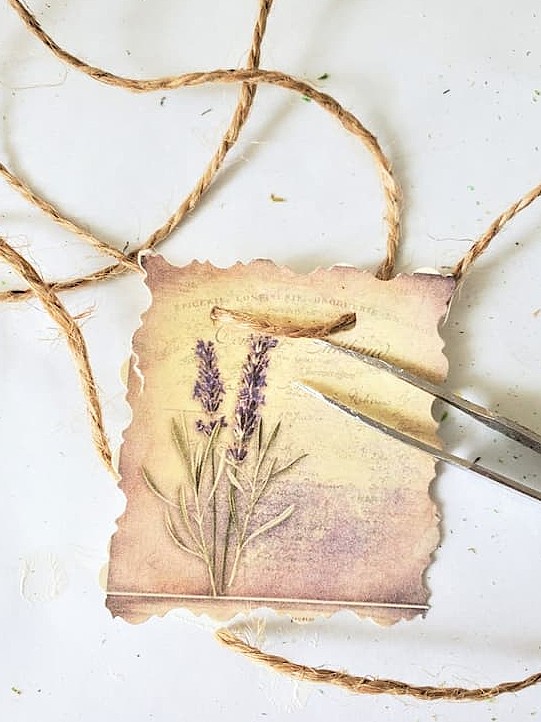
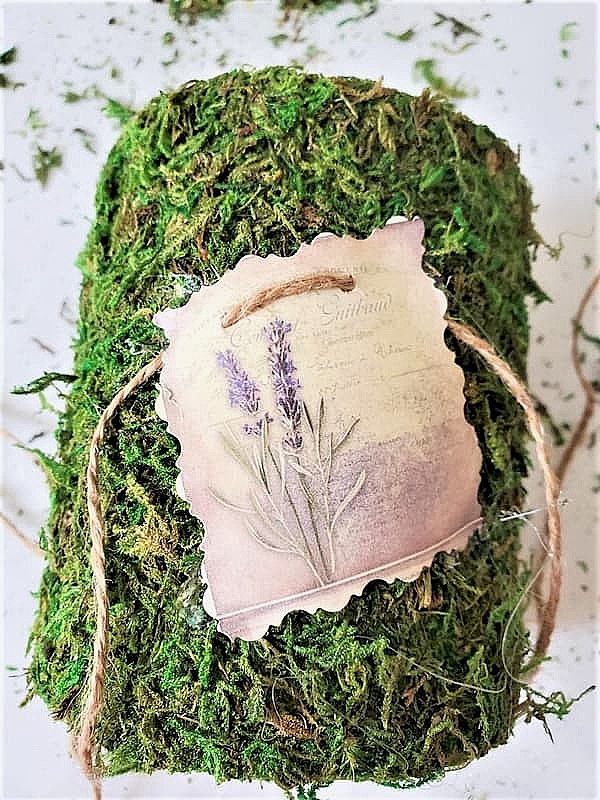
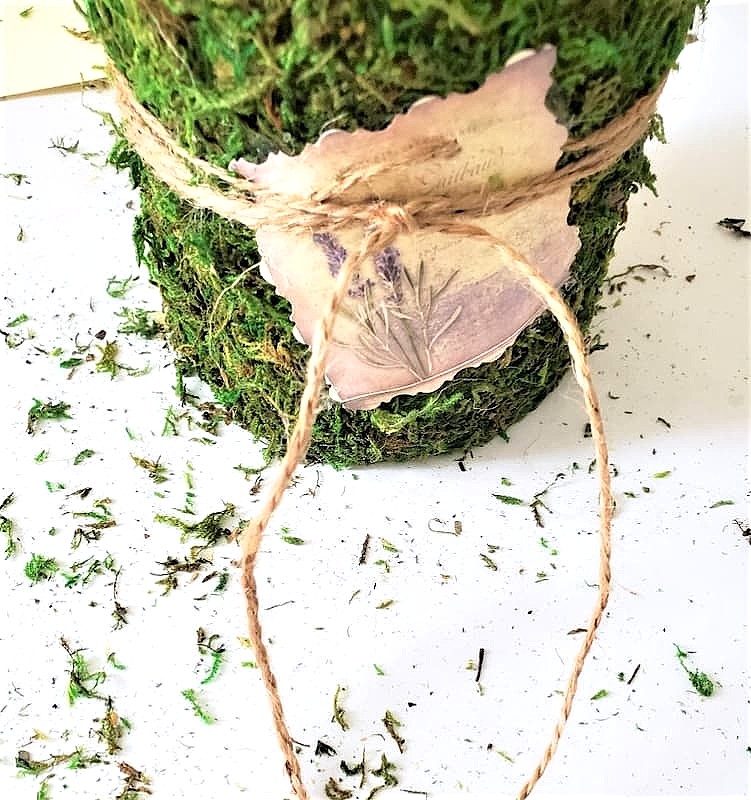
Next, thread the jute or twine through the small holes in the card stock tag and place it at an angle on the moss-covered vase.
Meanwhile, heat your hot glue gun. Add a little bit or a dot of glue to each corner of the image, and one dot of glue in the center. Press the cardstock firmly until it is secure.
Wrap the jute around the can, working on one side at a time. Repeat this step on the opposite side, wrapping the jute in the opposite direction before tying a knot to secure it. This simple finishing touch adds texture and vintage charm to your DIY moss covered vase.
Step 5: Seal the Preserved Moss (Optional)
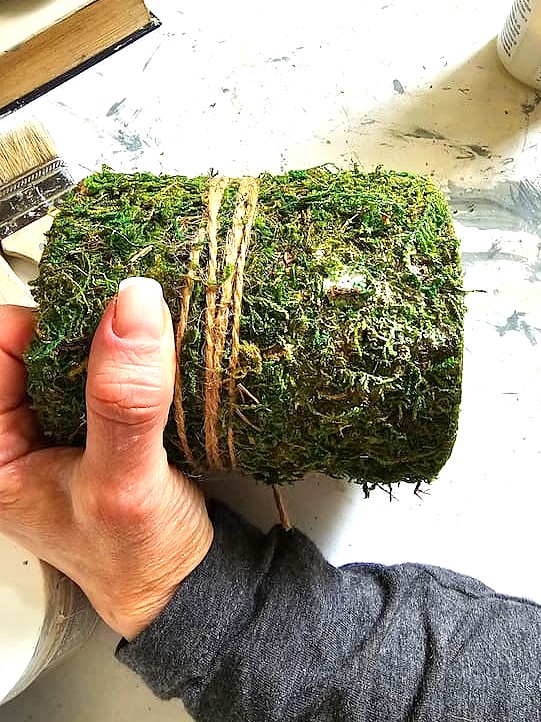
One of the most common concerns about decorating with moss is shedding. Over the years, I have used both a thin coat of Mod Podge and a coat of clear matte sealer to keep the moss in place and reduce fading. I prefer applying Mod Podge with a foam brush. Rather than brushing it on, I stipple the Mod Podge using a gentle stabbing motion. Brushing may remove some of the preserved moss, while stippling keeps it in place. Dip the brush into the Mod Podge, stipple the entire surface, and allow to dry completely. From my experience, both methods help preserve the natural look of the moss. This way, I can enjoy my vase and other DIY Moss projects for years.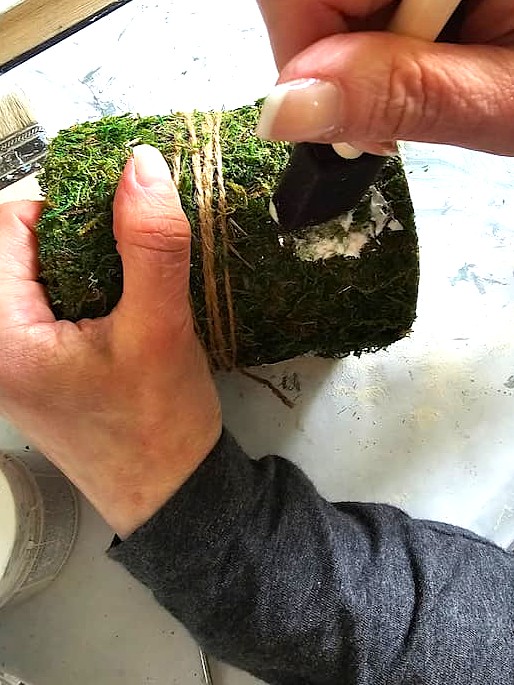
Step 6: Style With Real or Fake Flowers
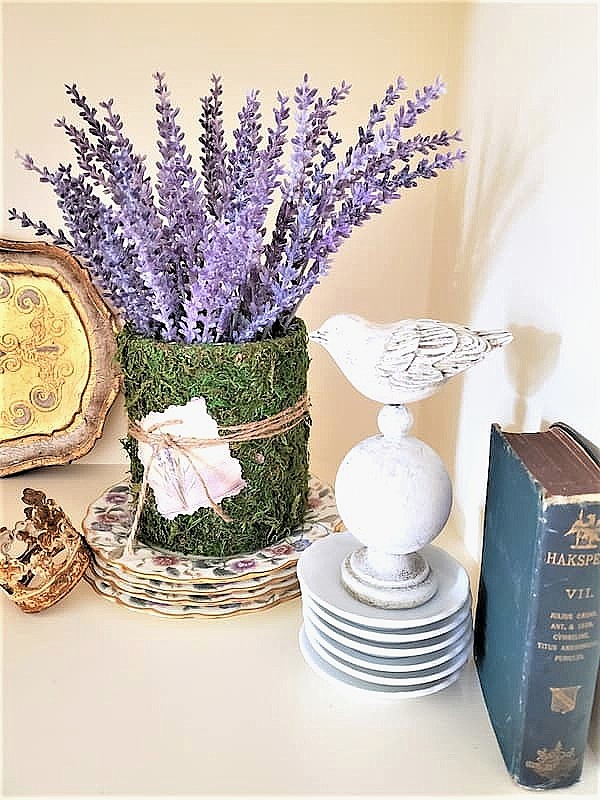
My easy moss vase is displayed on our bookcase with dried lavender. I love the combination of the purple blooms against the natural green of the sheet moss, making it a timeless home decor.
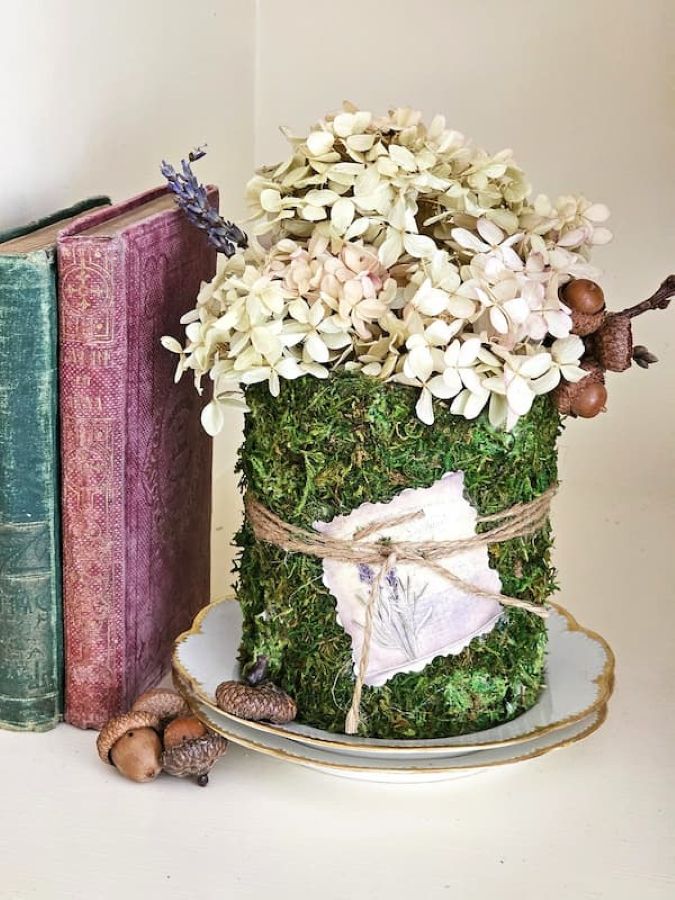
This preserved moss covered metal can is a creative way to style with natural elements throughout the year. Fill it with real flowers from your garden, Trader Joe, or the grocery store, or other seasonal natural elements to give your DIY moss project a fresh new look without creating a whole new project.