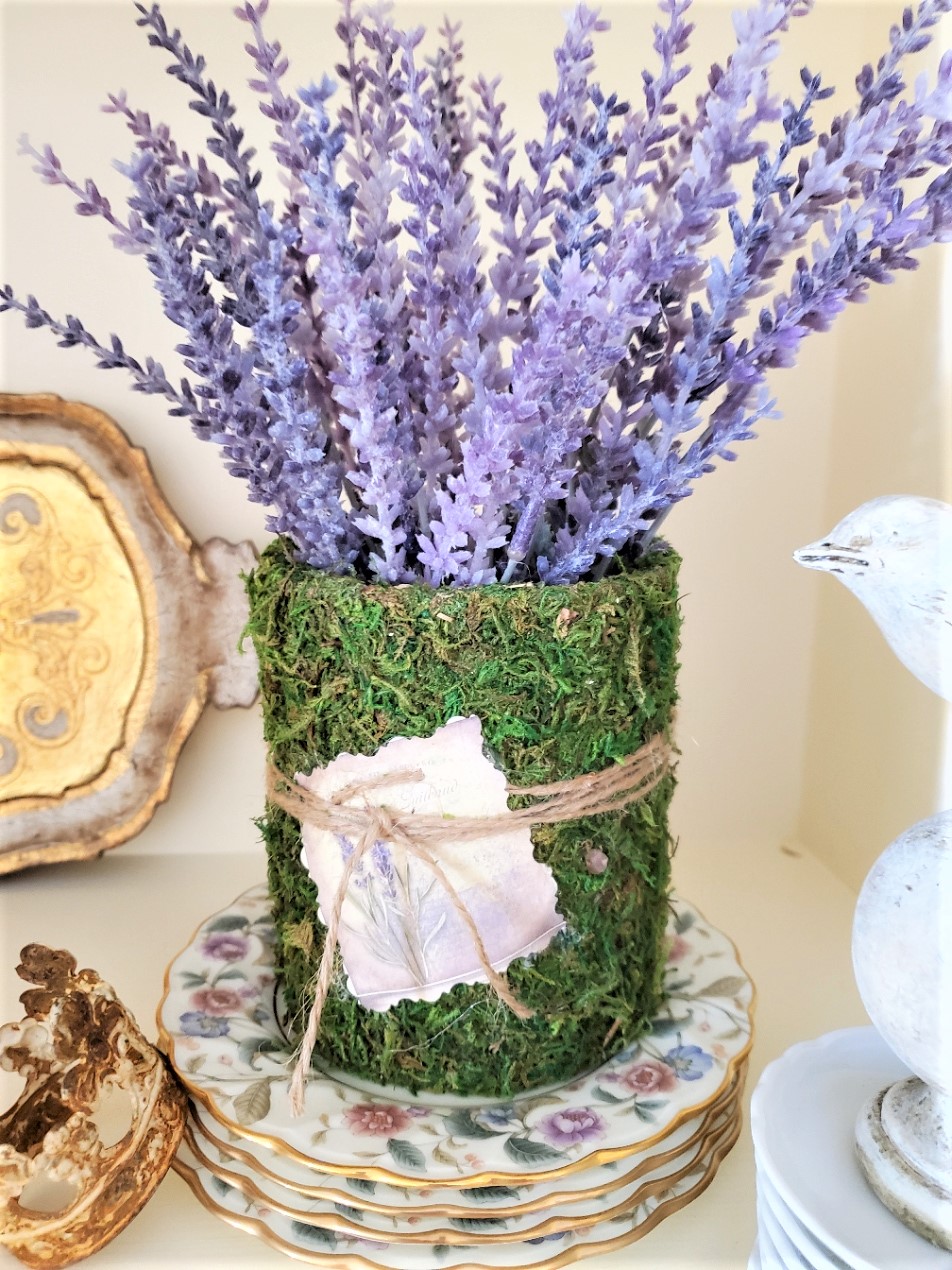
DIY Coffee Can Moss Vase
We are crafting a charming easy DIY coffee can moss vase covered using a metal can. This easy vase project is cost-effective and transforms empty cans headed to the compost heap into decor with the magic of self sticking moss.
Yield: 1 coffee can moss vase
Cost: $8
Notes
Easy DIY Coffee Can Moss Vase
Craft Supplies List:
- Supermoss sticky moss, peel and stick moss, or sheet moss
- scissors
- Coffee can, tea can, plastic coffee container
- card stock: Michaels stores, or Amazon
- jute or twine
- hot glue gun and hot glue sticks (optional)
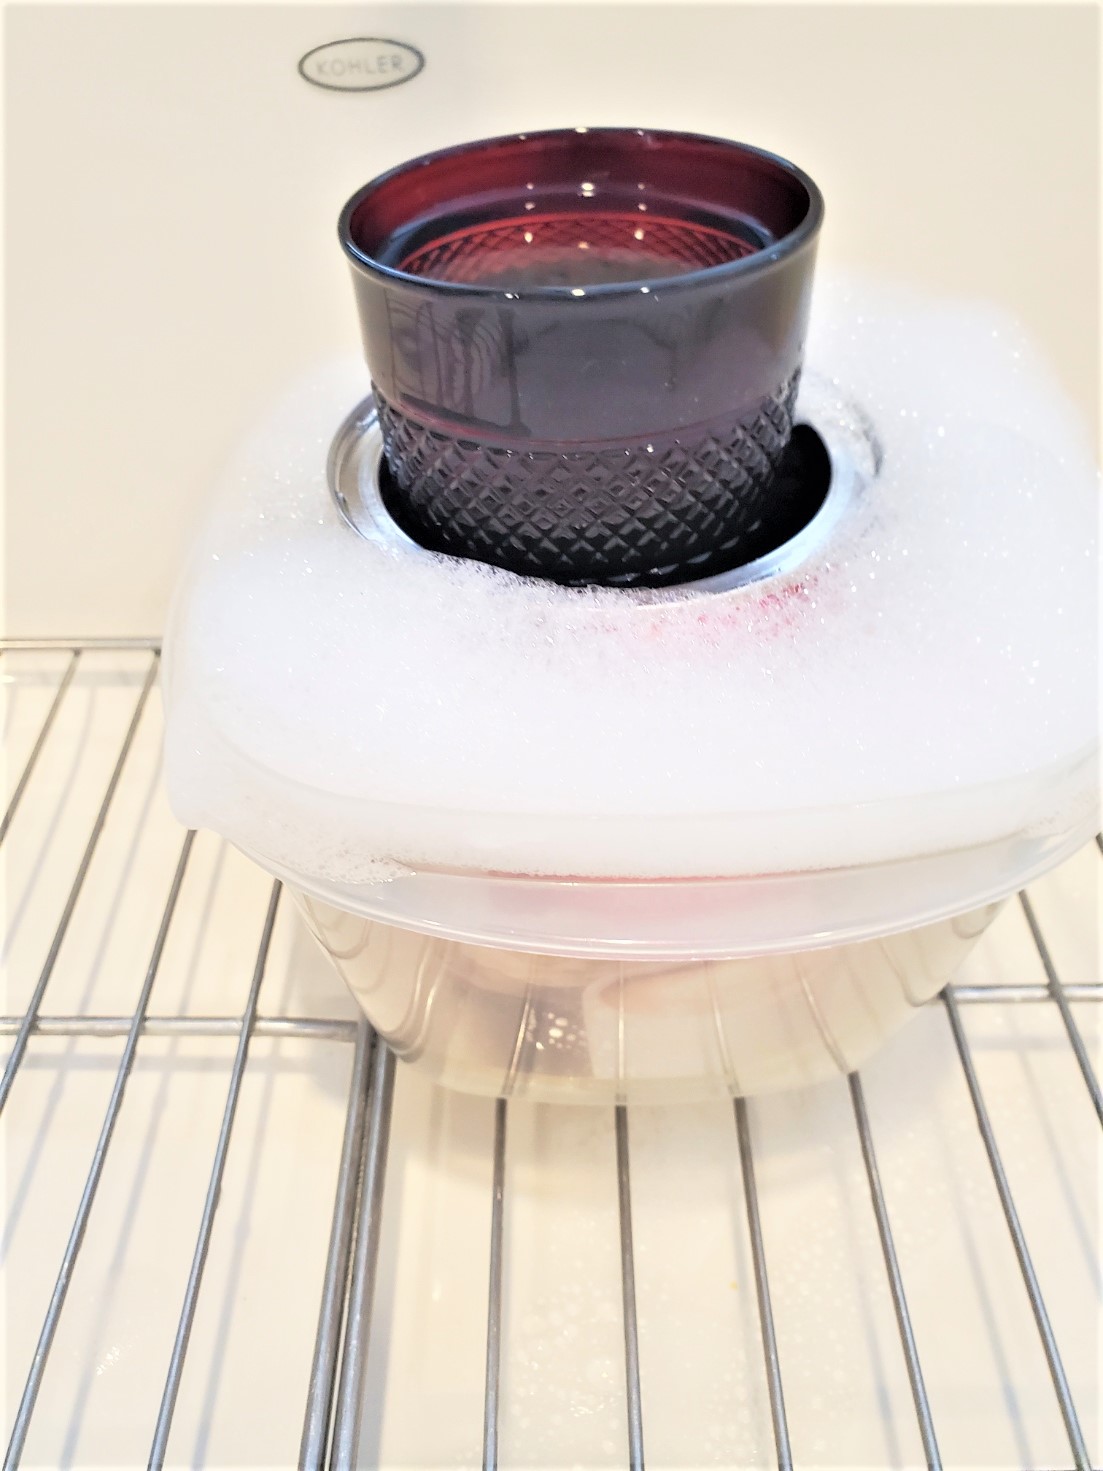
Step 1: Soak Or Peel The Label Off The Empty Metal Cans
Soak the metal can in warm soapy water to remove the label.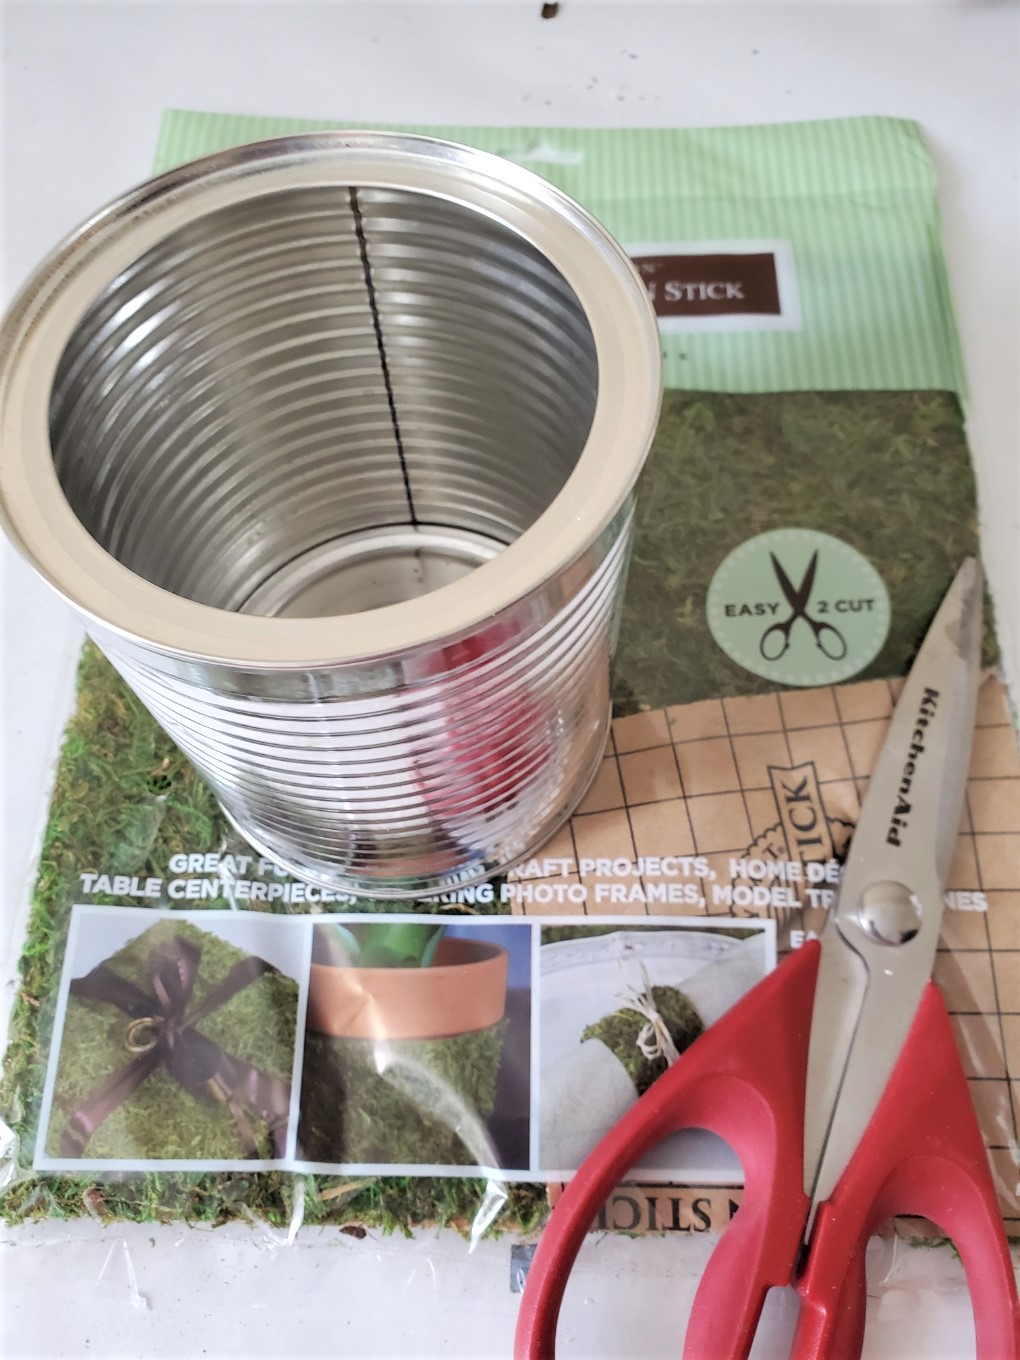
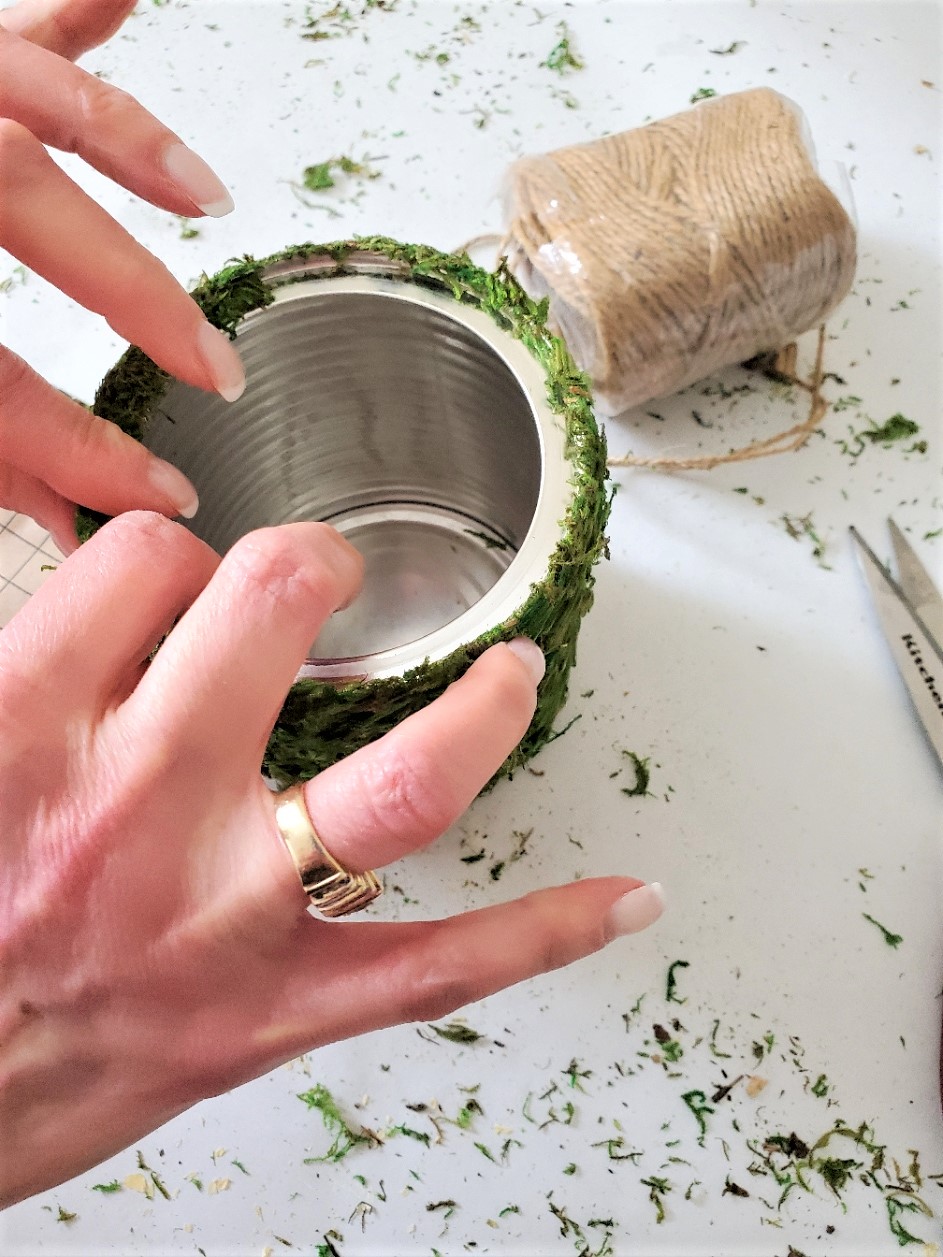
Step 2: Cut"‚And Stick Super Moss To An Old Can
Next, measure the length of the coffee can or tea can and cut a piece of peel and stick moss long enough to wrap around the entire empty metal can or a plastic coffee container. Speaking of cans, see how to keep pieces from the compost heap and add beauty to your home. Remove the paper backing from the sticky moss, and begin lining up the can making sure the sheet moss is straight. Press the sticky moss on the metal can. I didn't use hot glue on my covered moss can but feel free to add a dot of hot glue. Continue to hold the empty can straight until the entire outside of the empty can is covered with the preserved moss. Since the top edge of my empty can was showing, I made sure to cover the edge of the can with leftover pieces of sticky moss. Here I cut thin strips of the preserved moss to cover the top edge of my old can. This perfect way to give the DIY moss covered vase a clean look. Remove the paper backing from the sticky moss, and begin lining up the can making sure the sheet moss is straight. Press the sticky moss on the metal can. I didn't use hot glue on my covered moss can but feel free to add a dot of hot glue. Continue to hold the empty can straight until the entire outside of the empty can is covered with the preserved moss. Since the top edge of my empty can was showing, I made sure to cover the edge of the can with leftover pieces of sticky moss. Here I cut thin strips of the preserved moss to cover the top edge of my old can. This perfect way to give the DIY moss covered vase a clean look.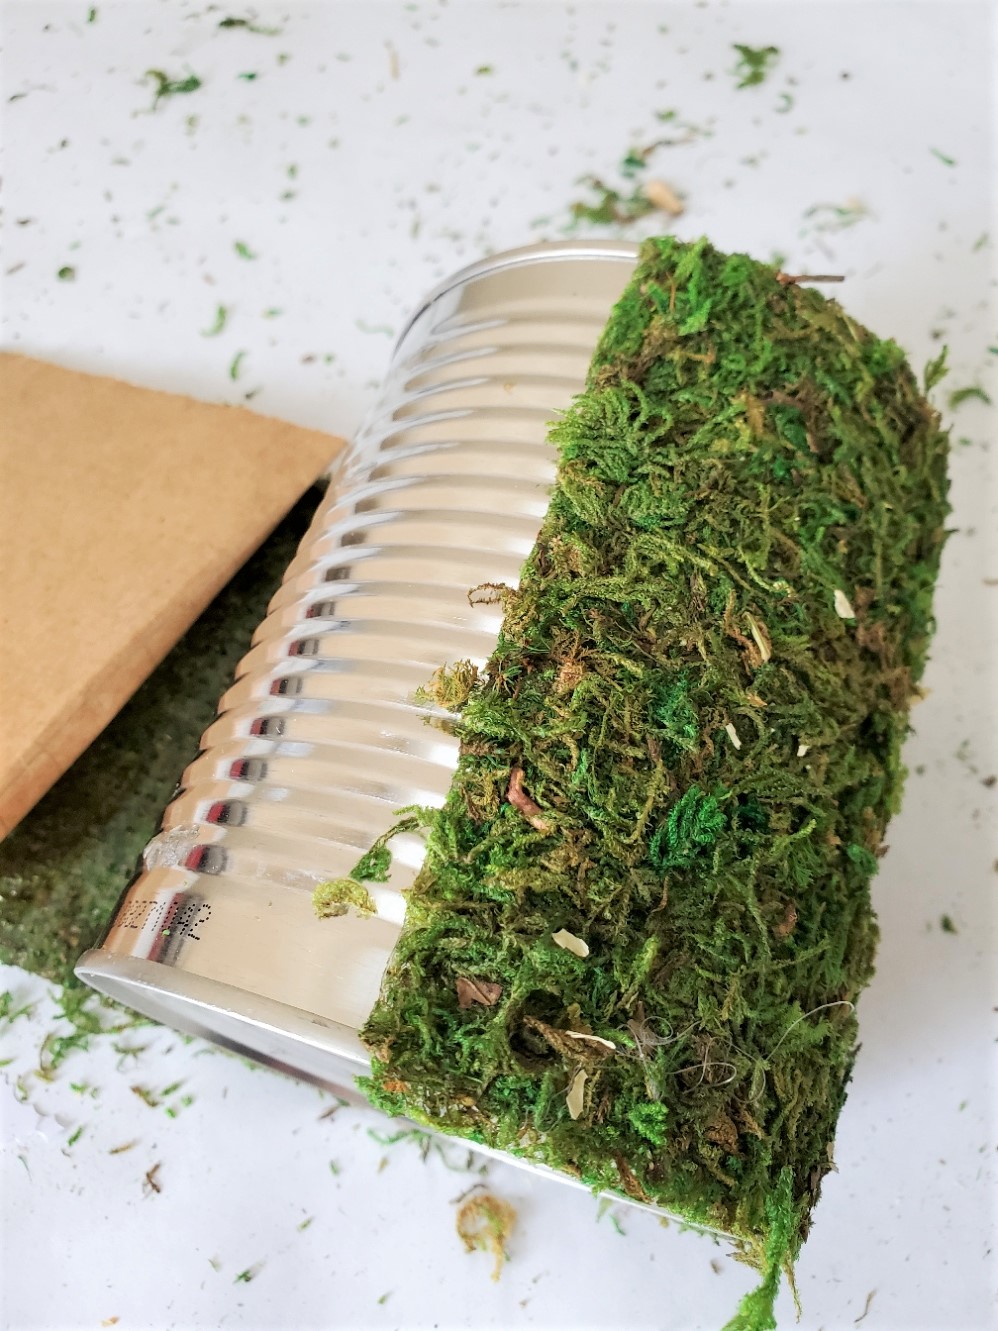
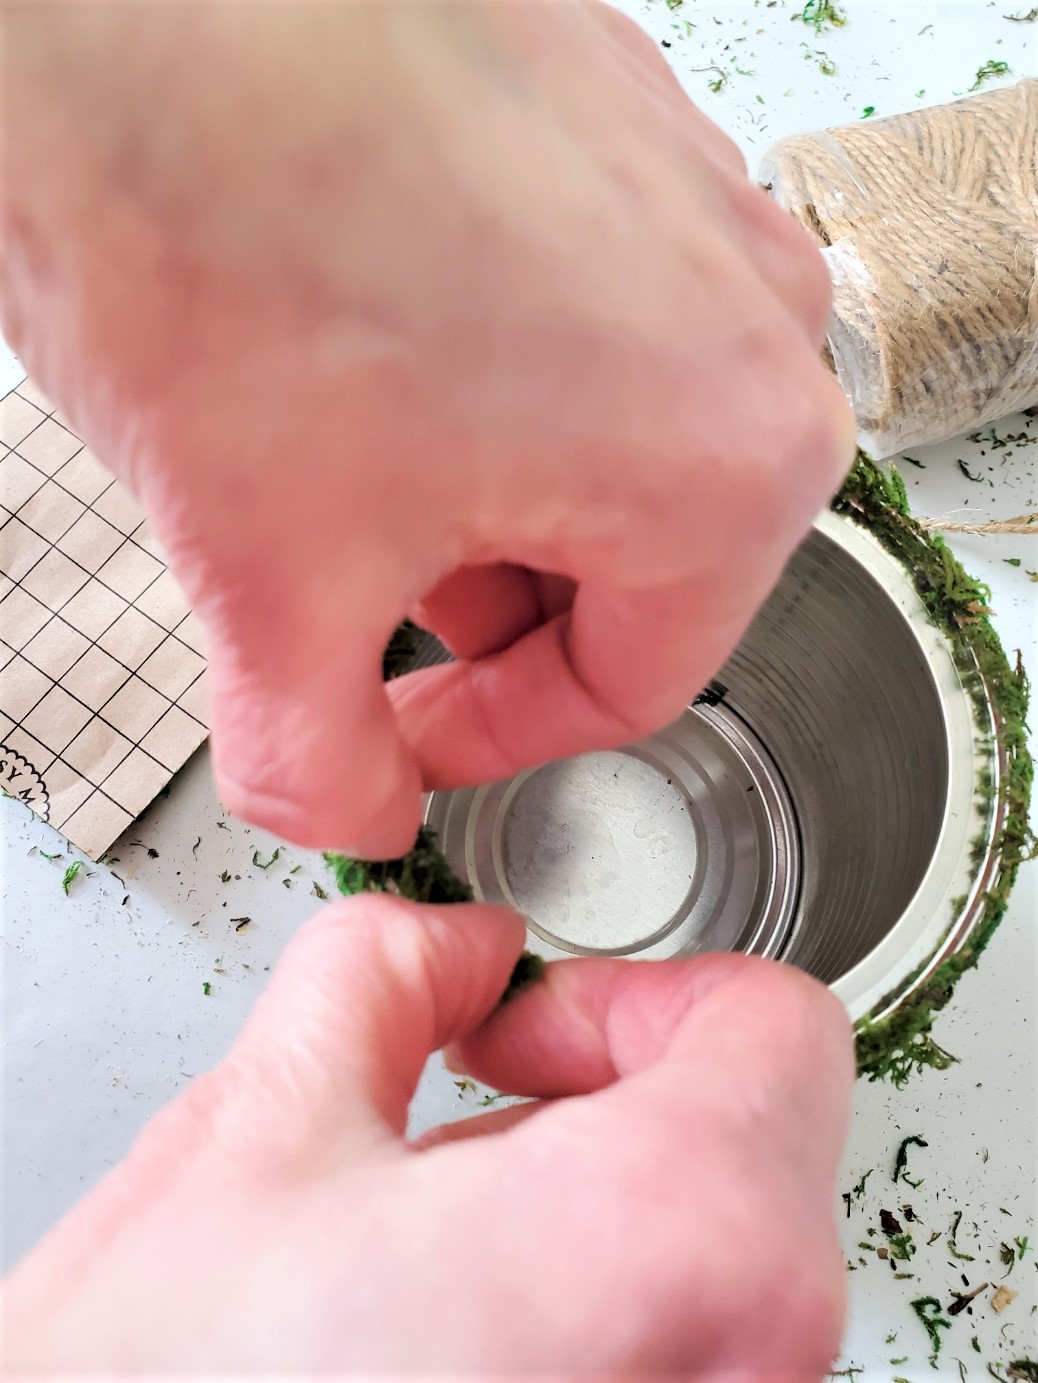
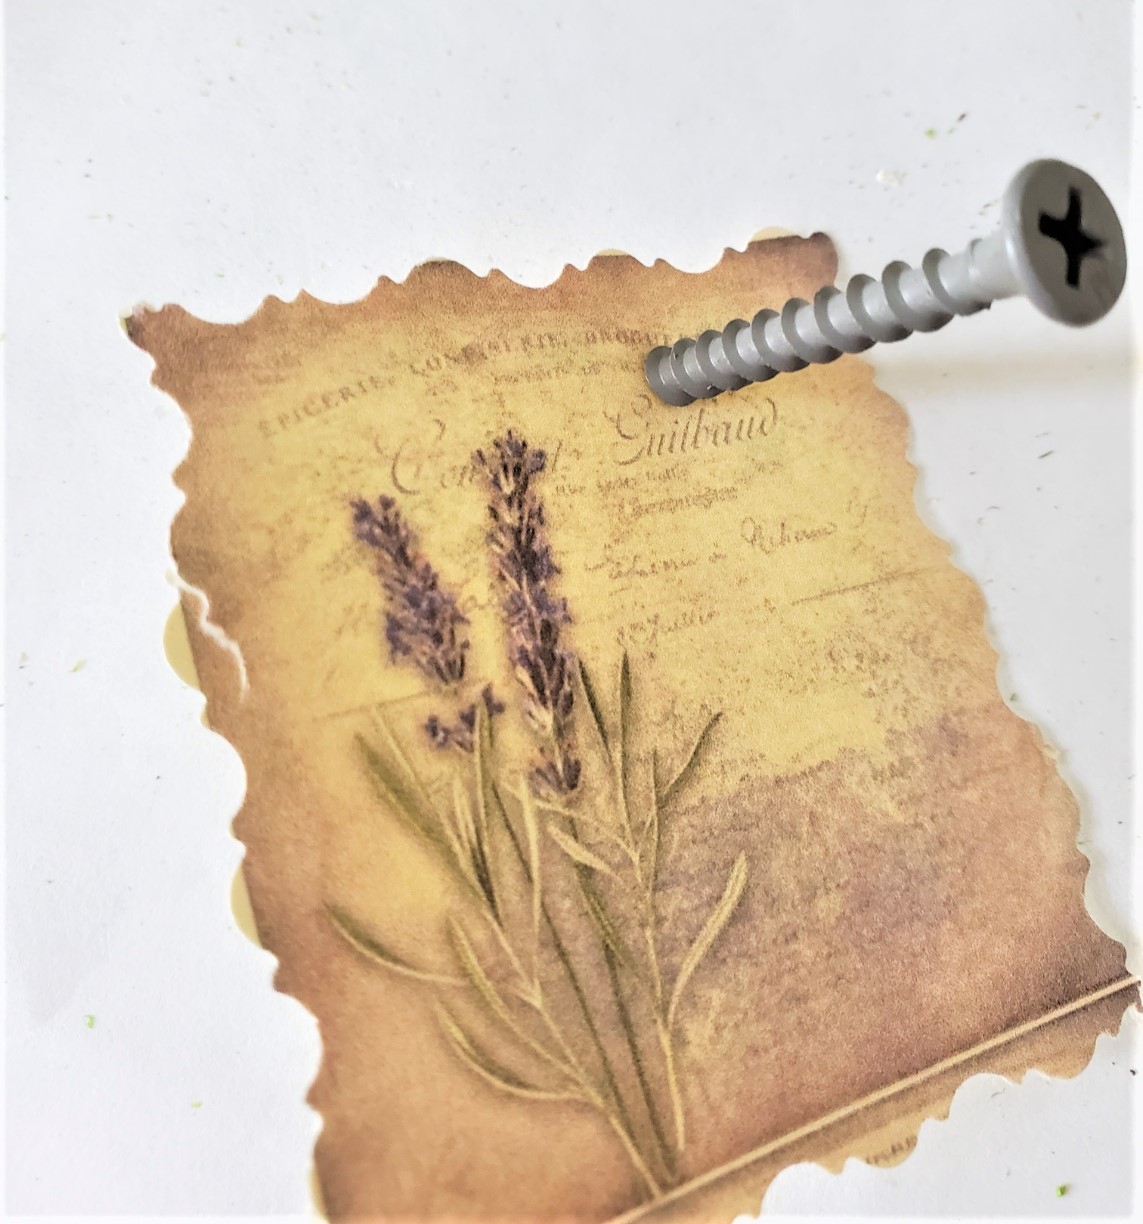
Step 3: Adding A Tag To The Moss-Covered Vase
Let's add interest to the DIY moss covered vase using cardstock. Next, add a hole using a screw to the cut cardstock. Using the screw gives me the correct size hole for the jute to add to the DIY.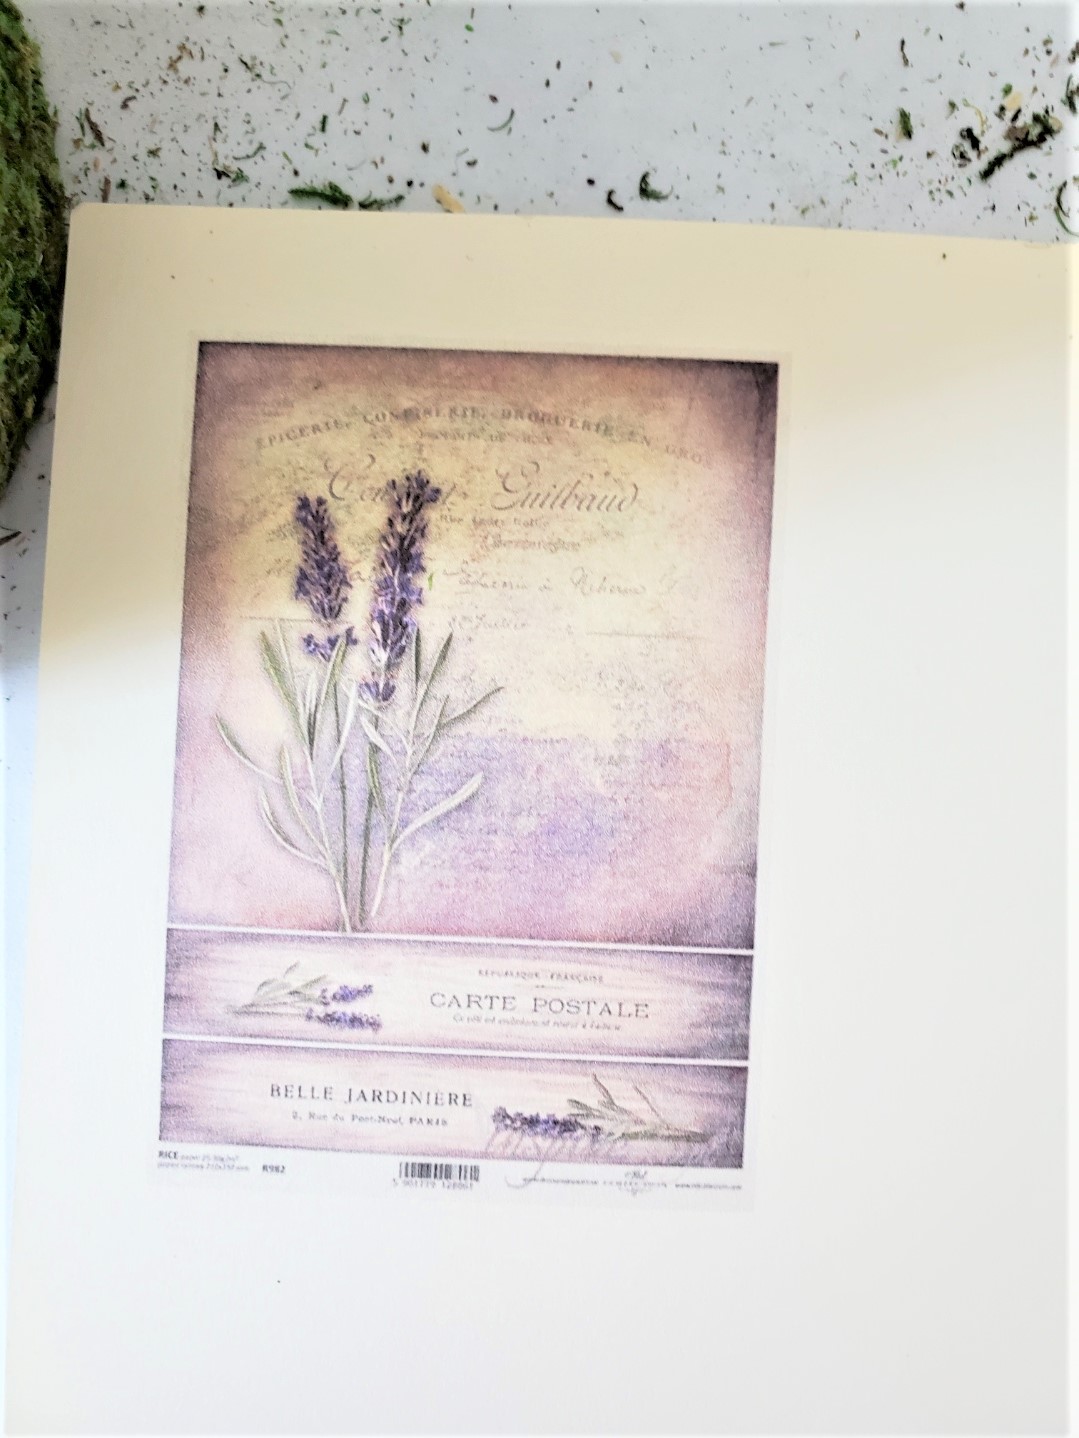
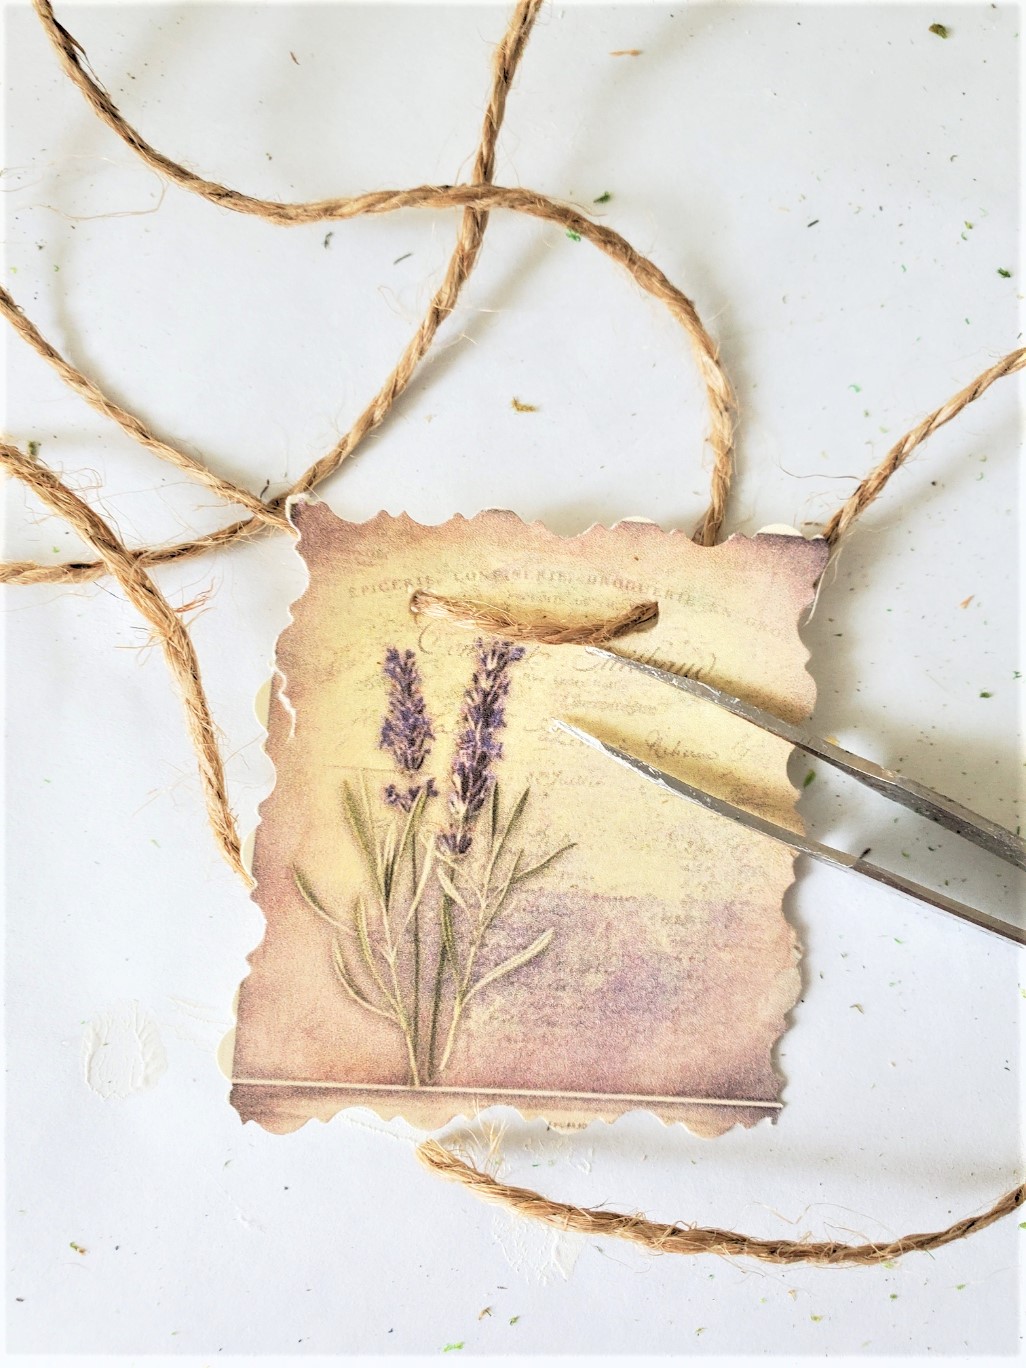
Step 4: Adding An Image With Jute To DIY Moss Covered Vase
Next, add the jute or twine through both holes of the cardstock placing it on an angle to the moss-covered vase. Meanwhile, heat a hot glue gun and add the image. Add a little bit or a dot of hot glue to all four corners and the center of the image. and a dot of glue in the center. Finally, wrap jute around the can wrapping one side at a time. Also, make sure you wrap your jute in opposite directions and tie a knot.
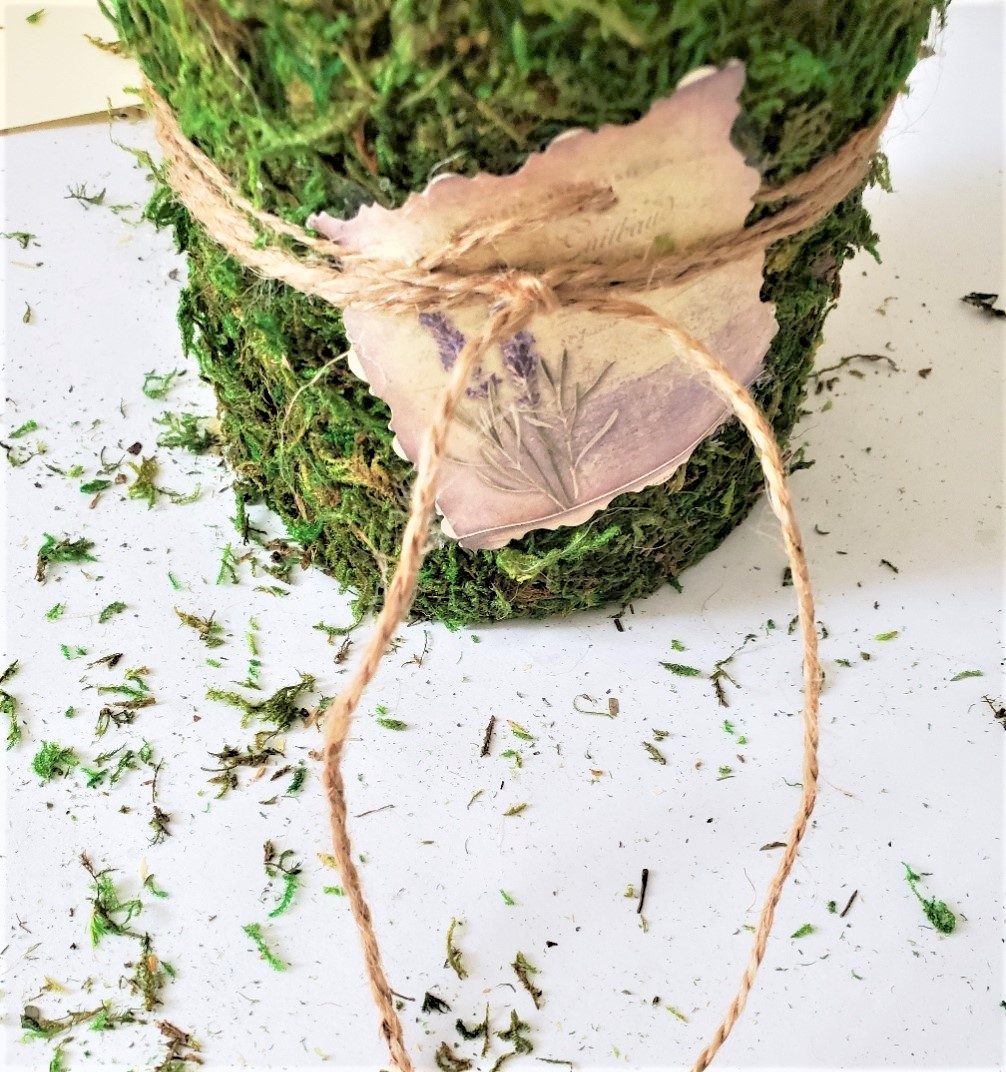
Step 5: Styling Your Vase With Real Flowers or Fake Flowers
The easy DIY moss vase is on our bookcase filled with fake flowers of lavender. Adding lavender seems perfect and I love green and purple together. This can also be filled with fresh flowers from the garden, Trader Joe, or the grocery store.