DIY Bird Nests In Minutes
Gather materials you can find at the pet store or Amazon with minimal craft supplies spray adhesive gloves, and follow these easy steps to add a bird nest in different ways to your home.
Yield: 3 brds nest
Cost: $15
Notes
BIRD'S NEST IN MINUTES
Craft Supplies:
-
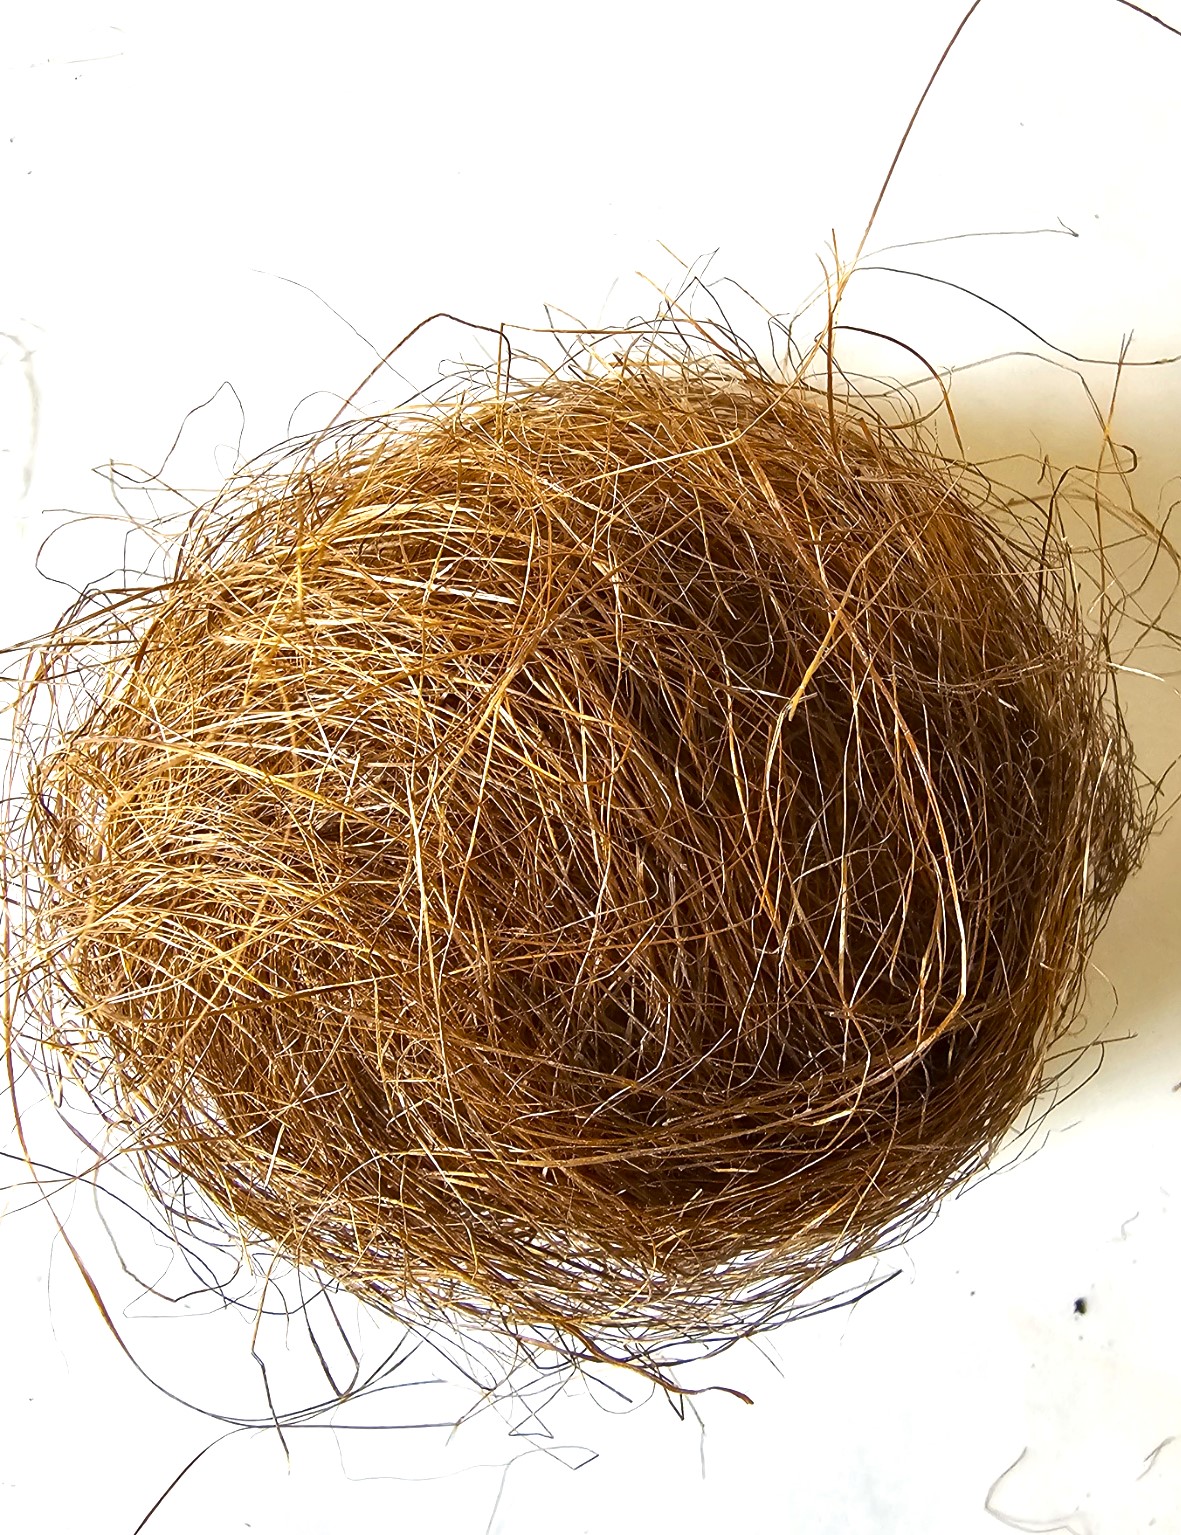
- Natural Bird Nest Material, Spanish moss, or dried grass
- Gather sticks from your yard
- Green moss or reindeer moss
- Spray adhesive
- Plastic Easter eggs
- Leaves from the backyard (optional)
- Hot glue gun
- Craft paper or newspaper
- Rubber gloves
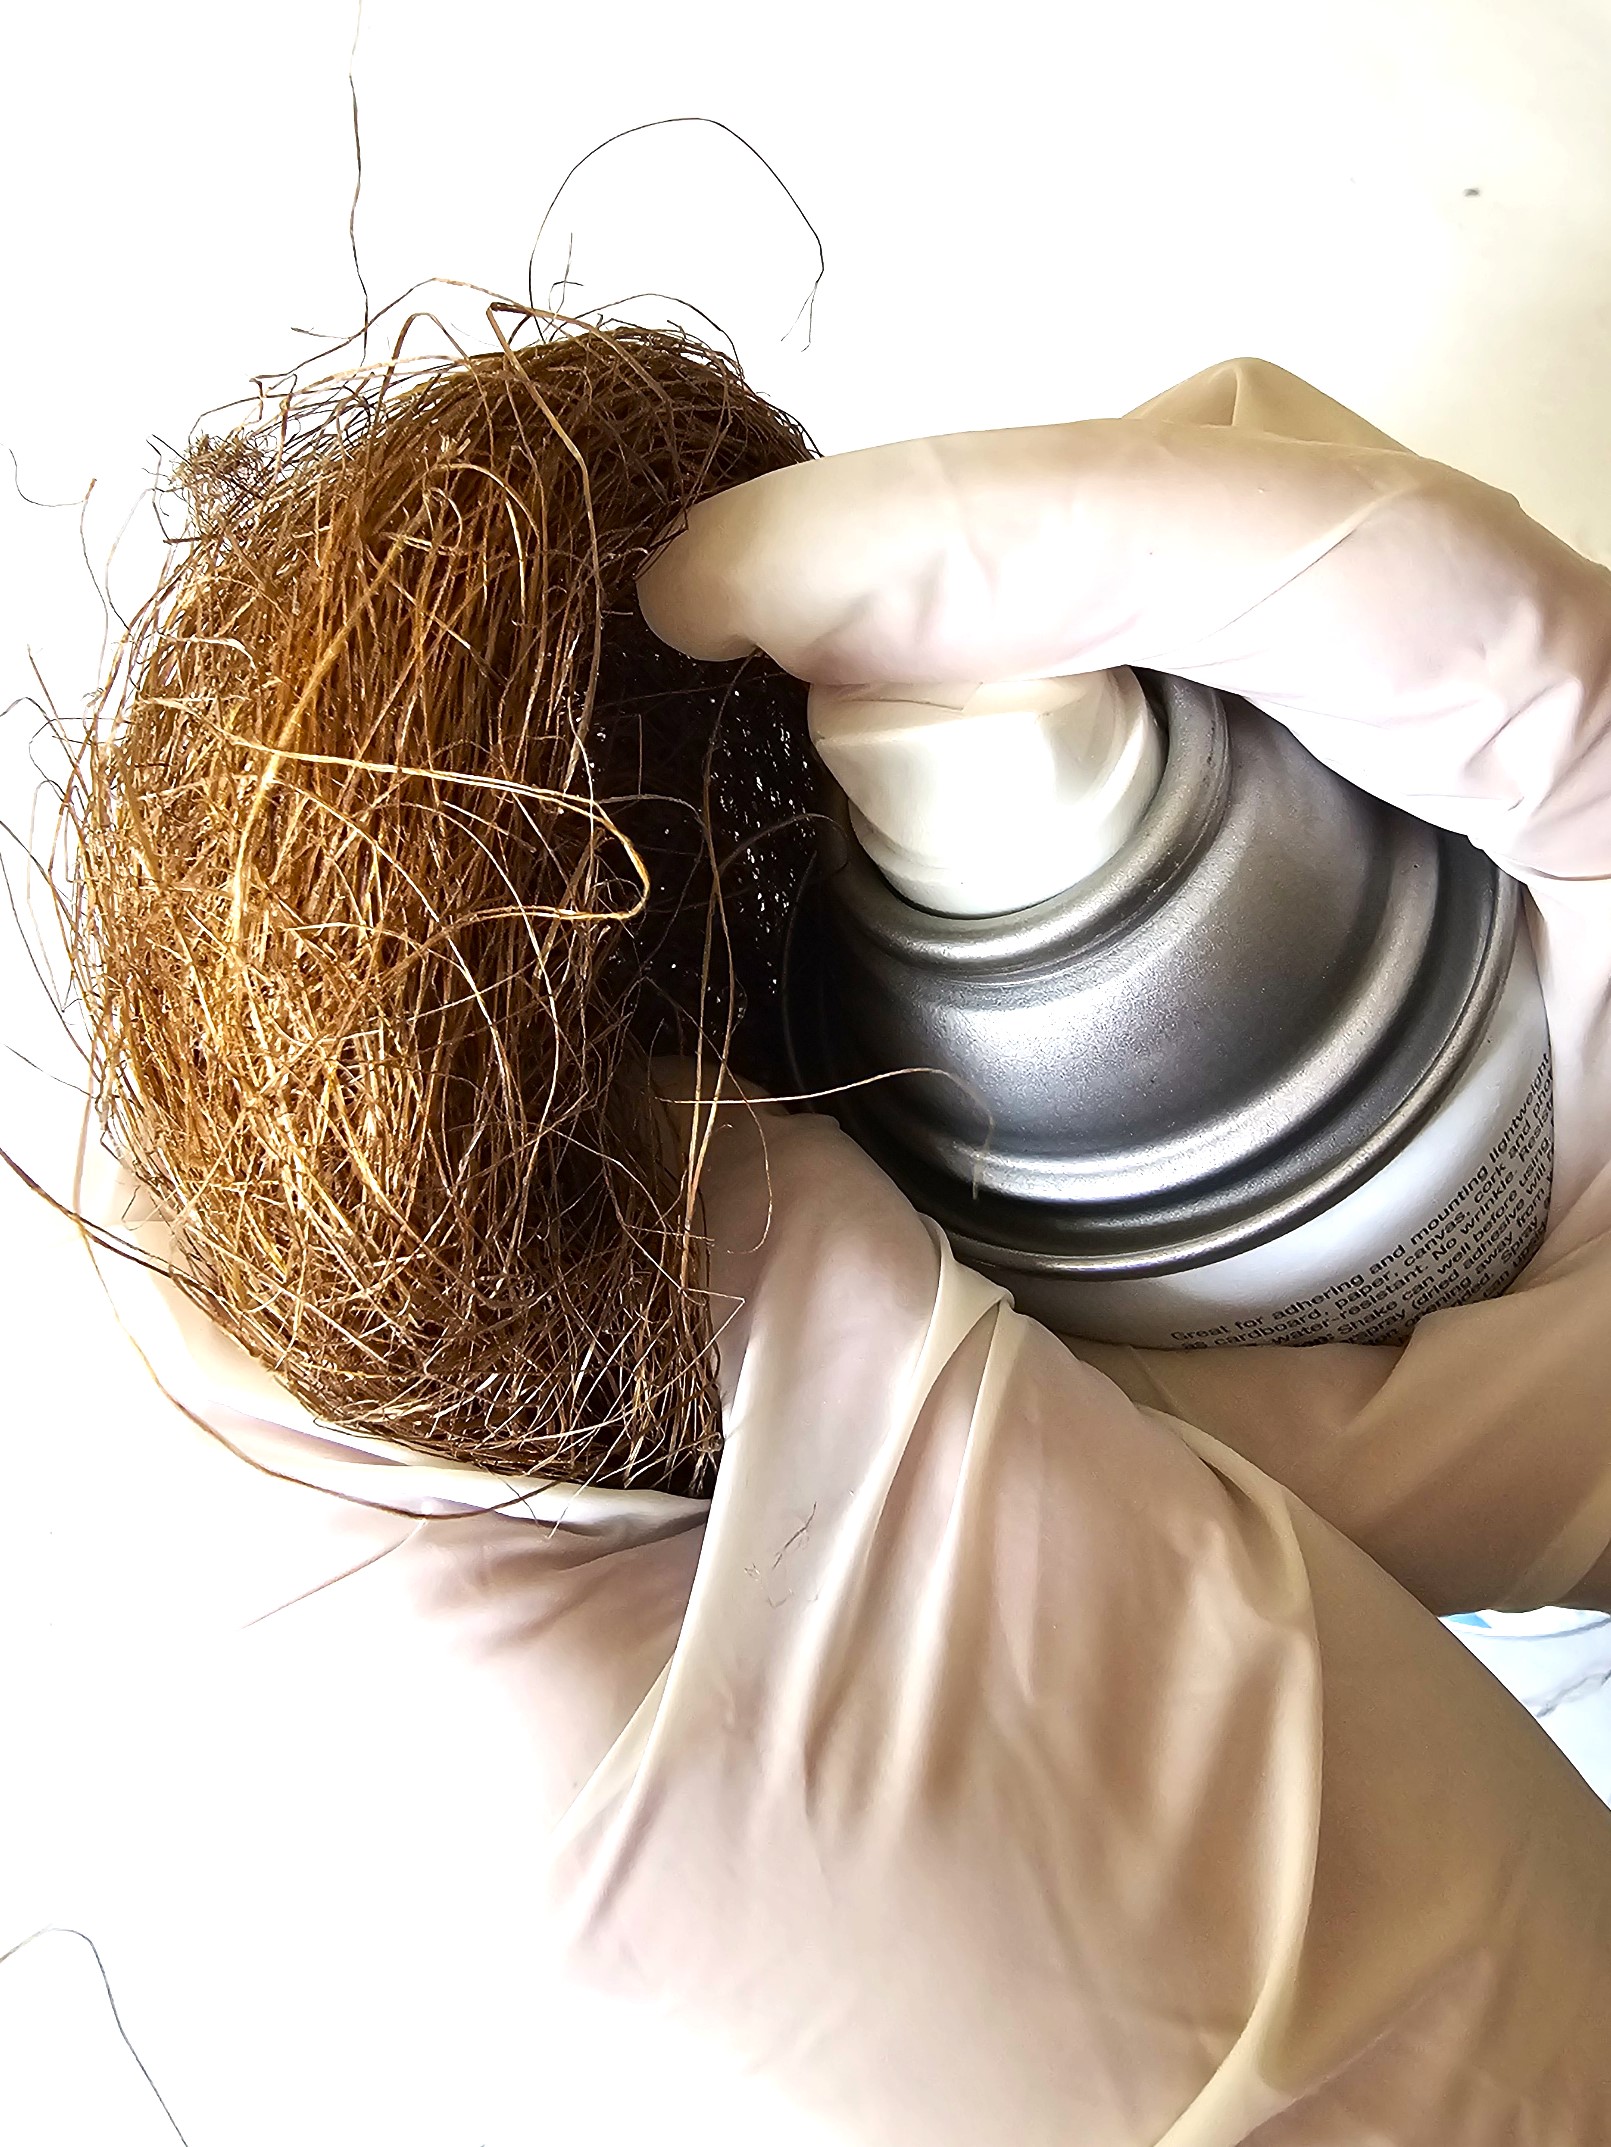
Step 1: Cover Workspace For Protection - Don't Forget Rubber Gloves
Gather materials and cover your surface with craft paper or newspaper. Spray adhesive is VERY sticky. Covering any surface will prevent any sticky residue left behind on your work surface. This is why I HIGHLY advise wearing rubber gloves to avoid the green moss, Bird Nest Material above Spanish moss, leaves from sticking to your hands.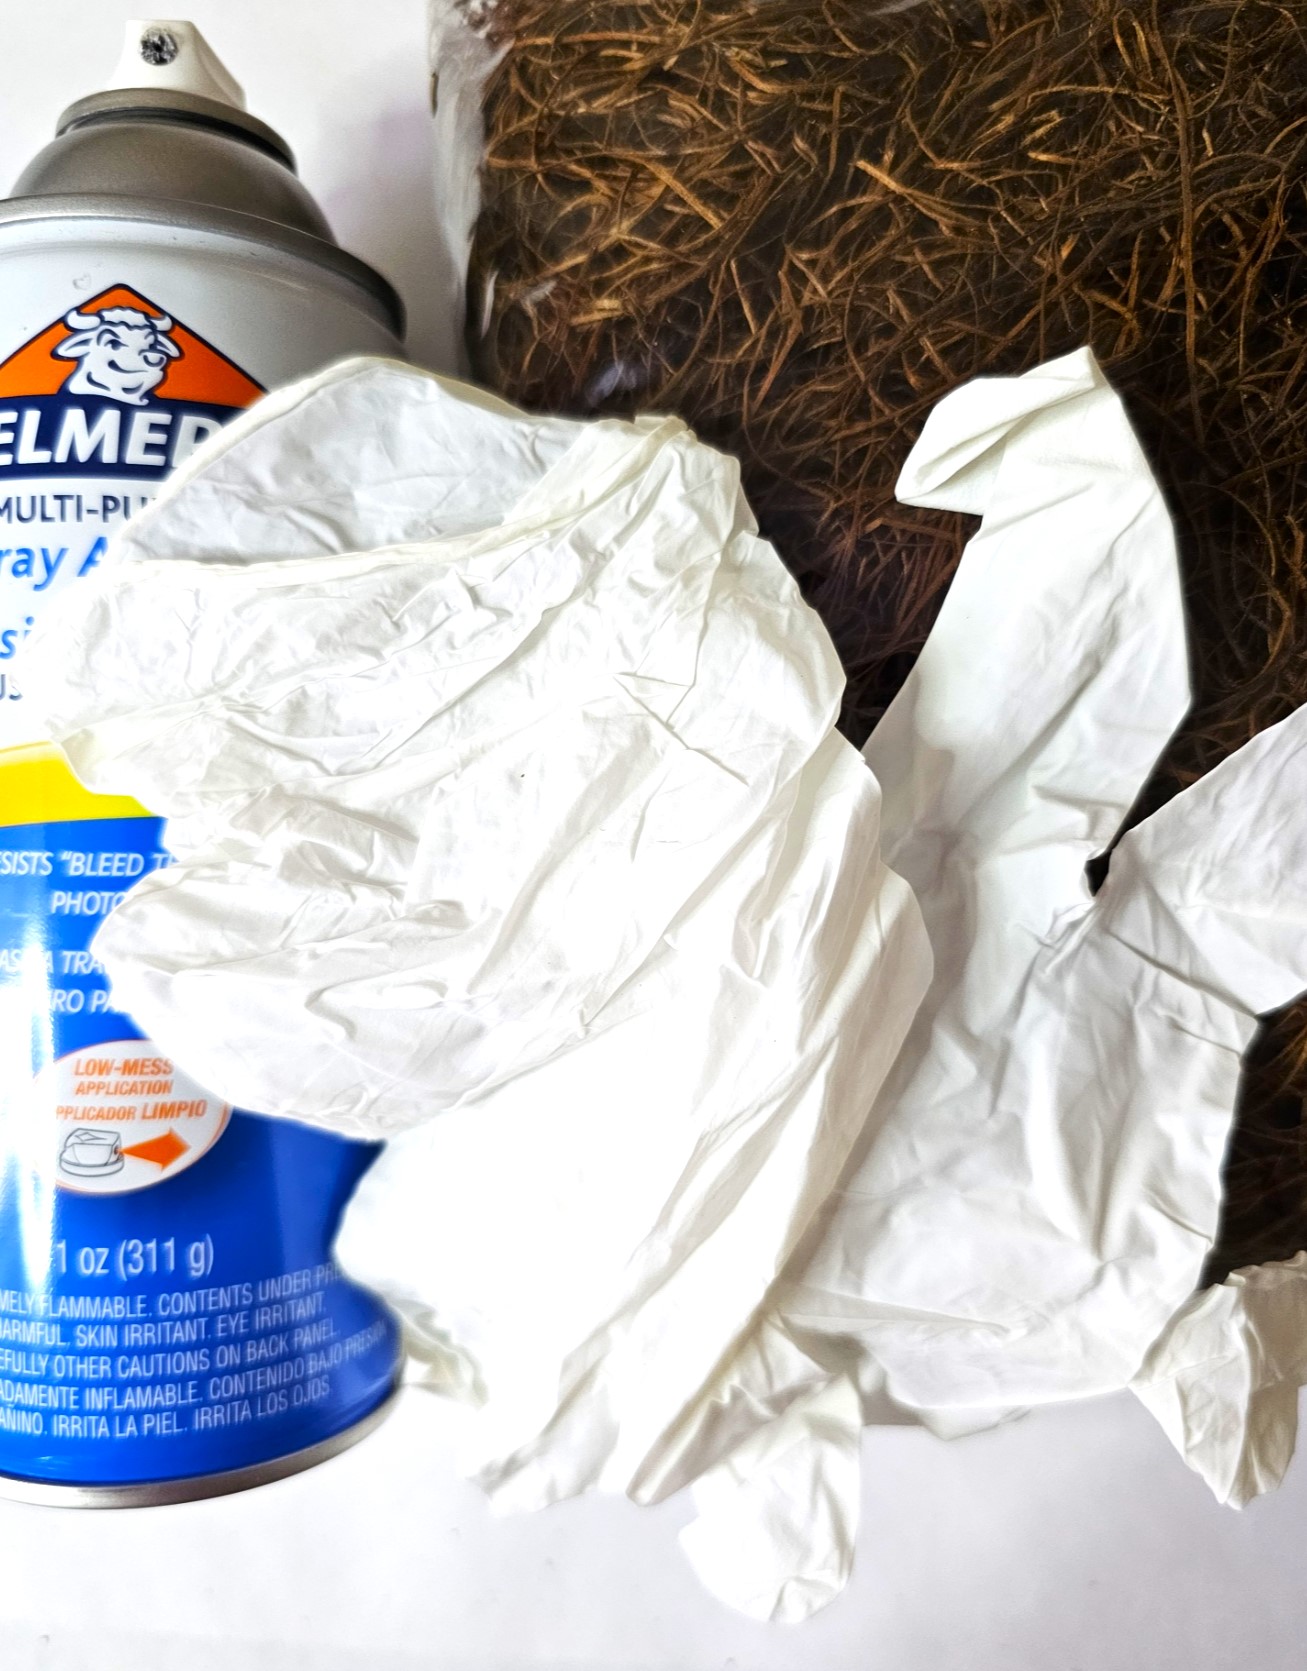
Step 2: Easy Steps To Shape Your Bird Nests
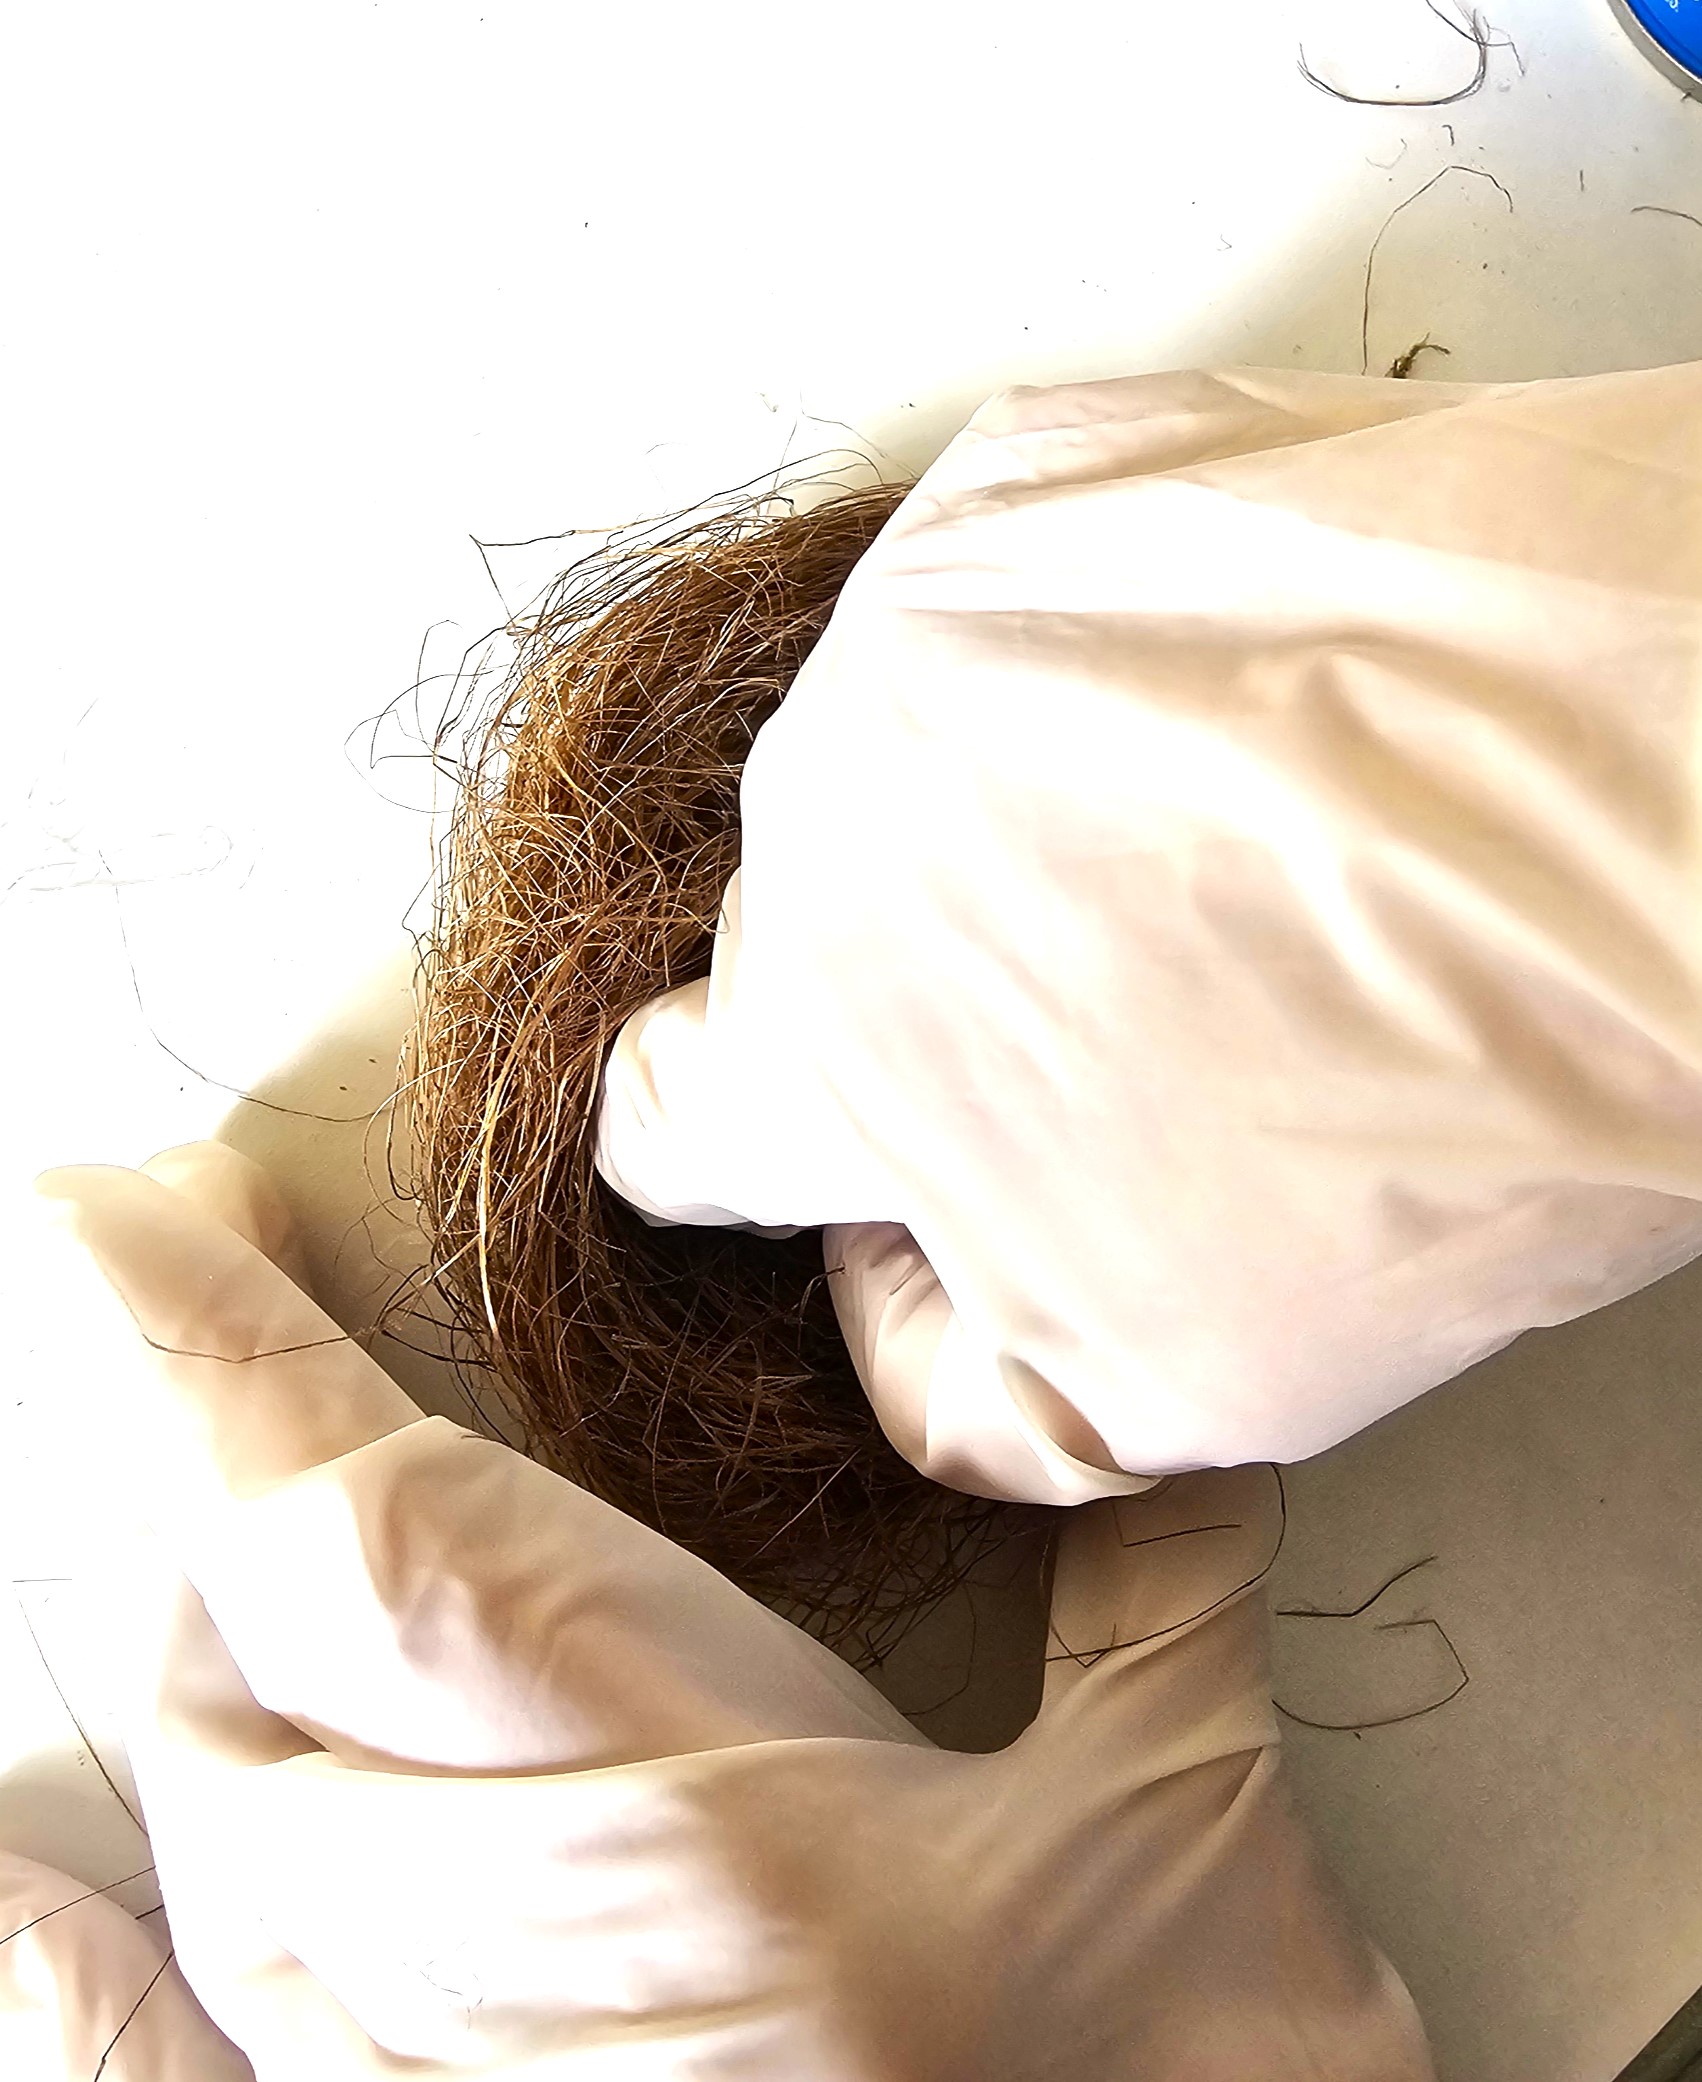
Next, put rubber gloves on and decide the size of your bird nest. Pull or cut a section of the nesting material or the Spanish moss. Before gathering handfuls of either product, decide what size you want your bird's nest and how you plan to use them. If you want to add your nests under a cloche, be sure it's the correct size. It will be a disappointment if this is the plan, and it's too large.
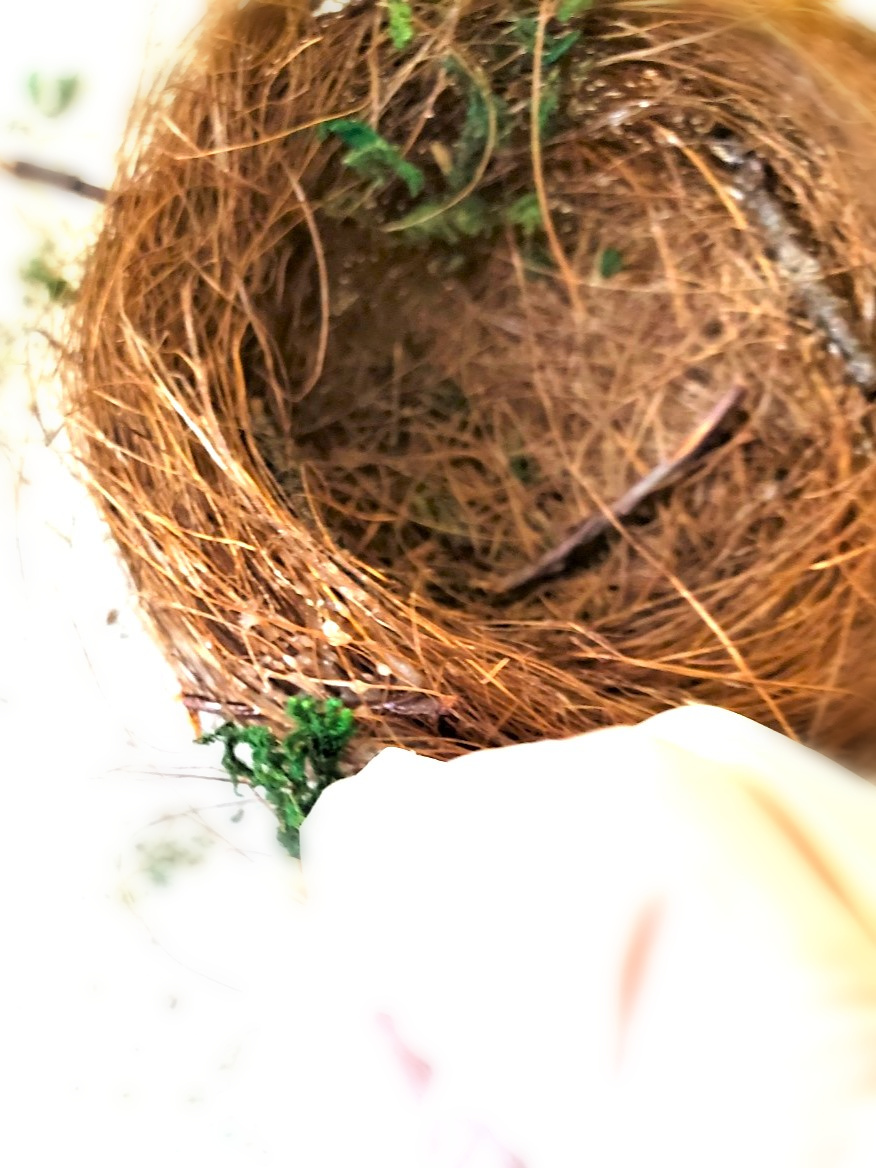
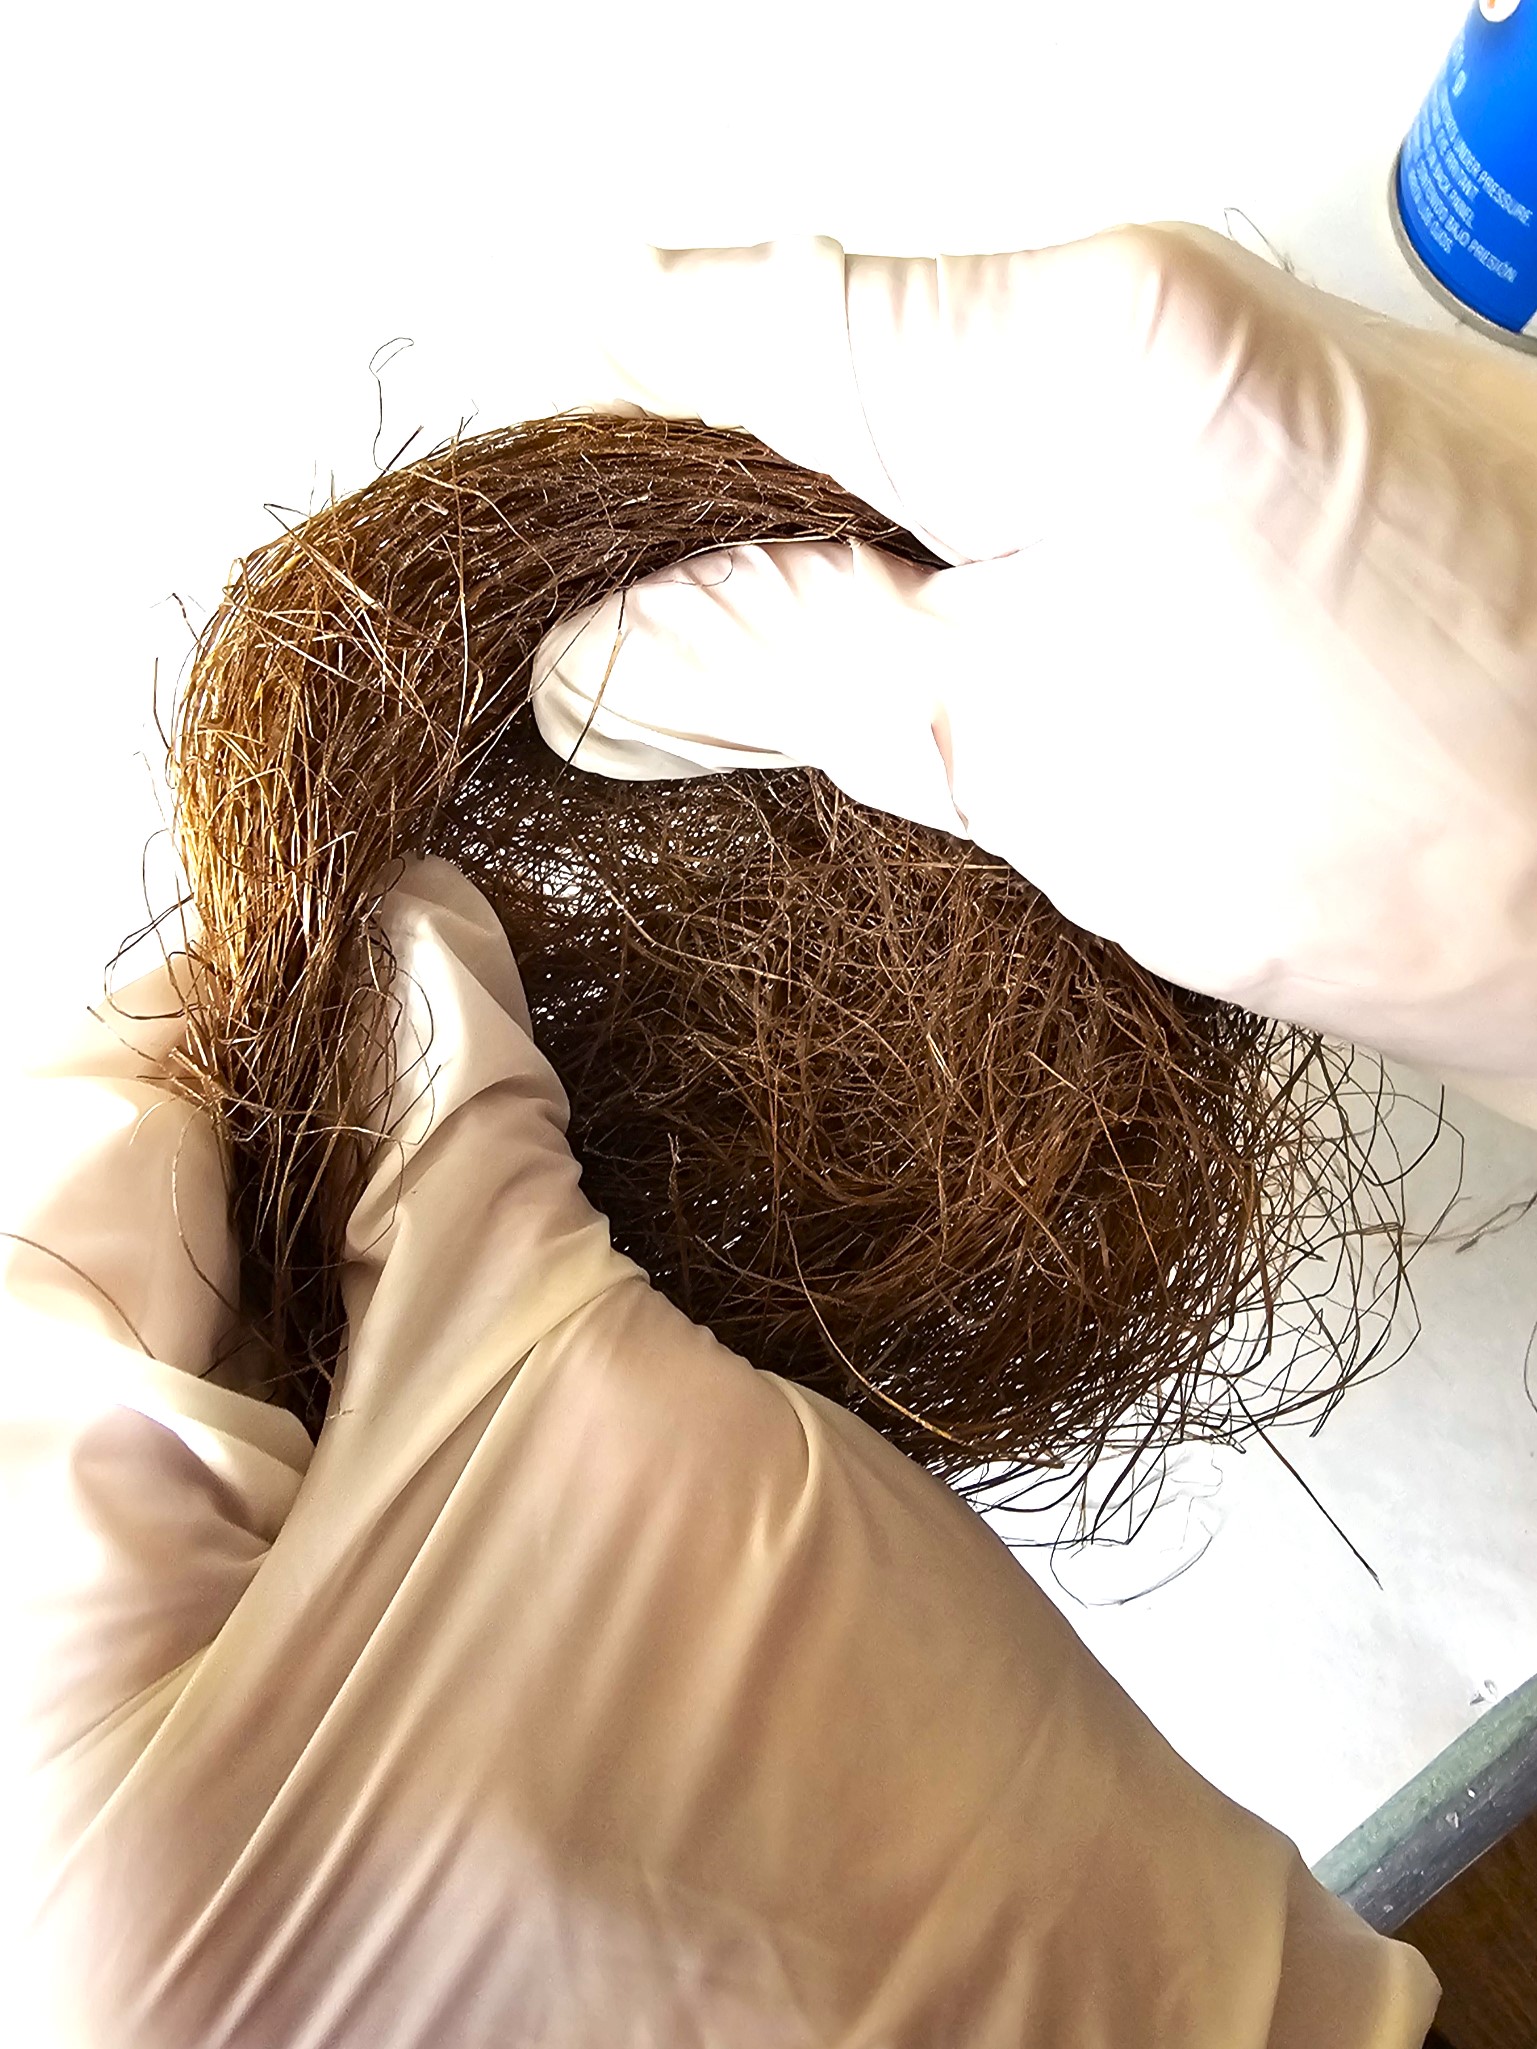
Spray liberally with spray adhesive and begin forming a nest shape. Make a fist and push the center to form the bottom of the nest. Shape the outer edge of the nest with your fingers. This trick is the best way to achieve the perfect shape nest.
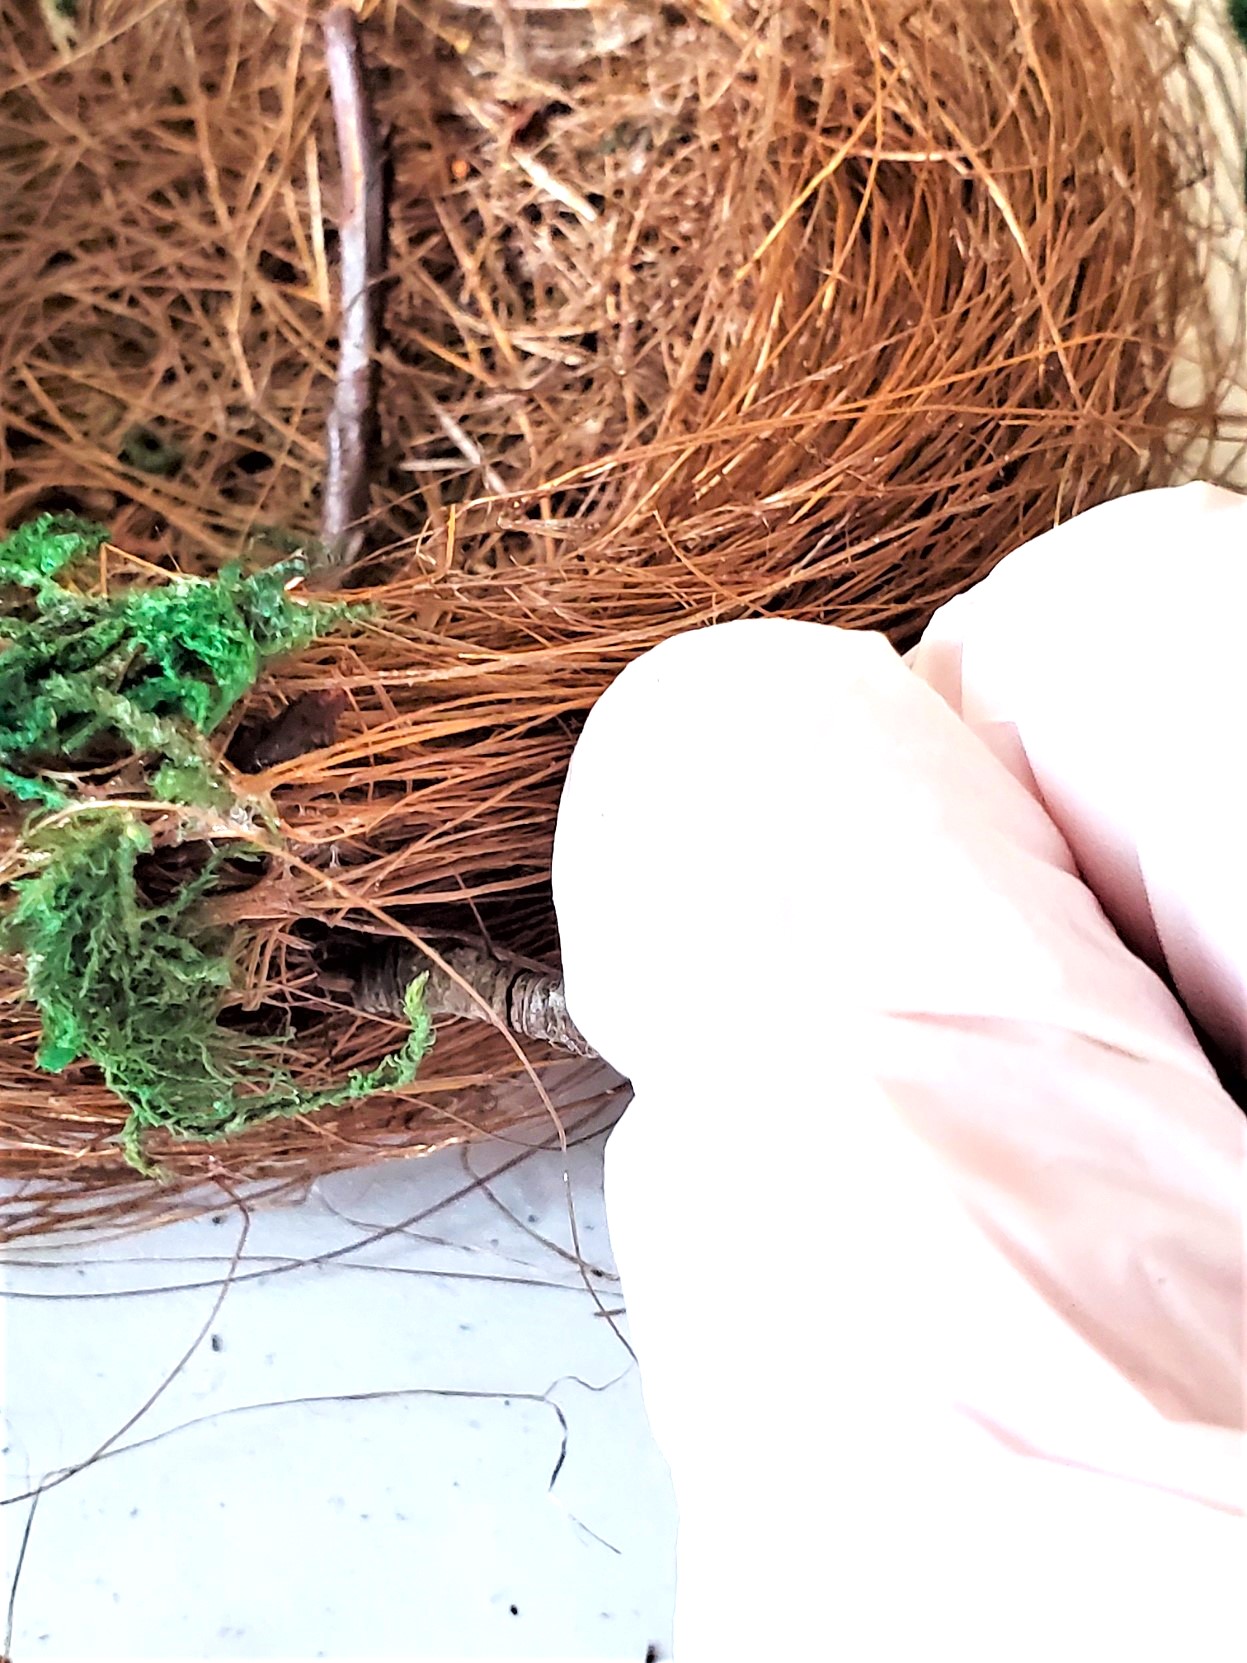
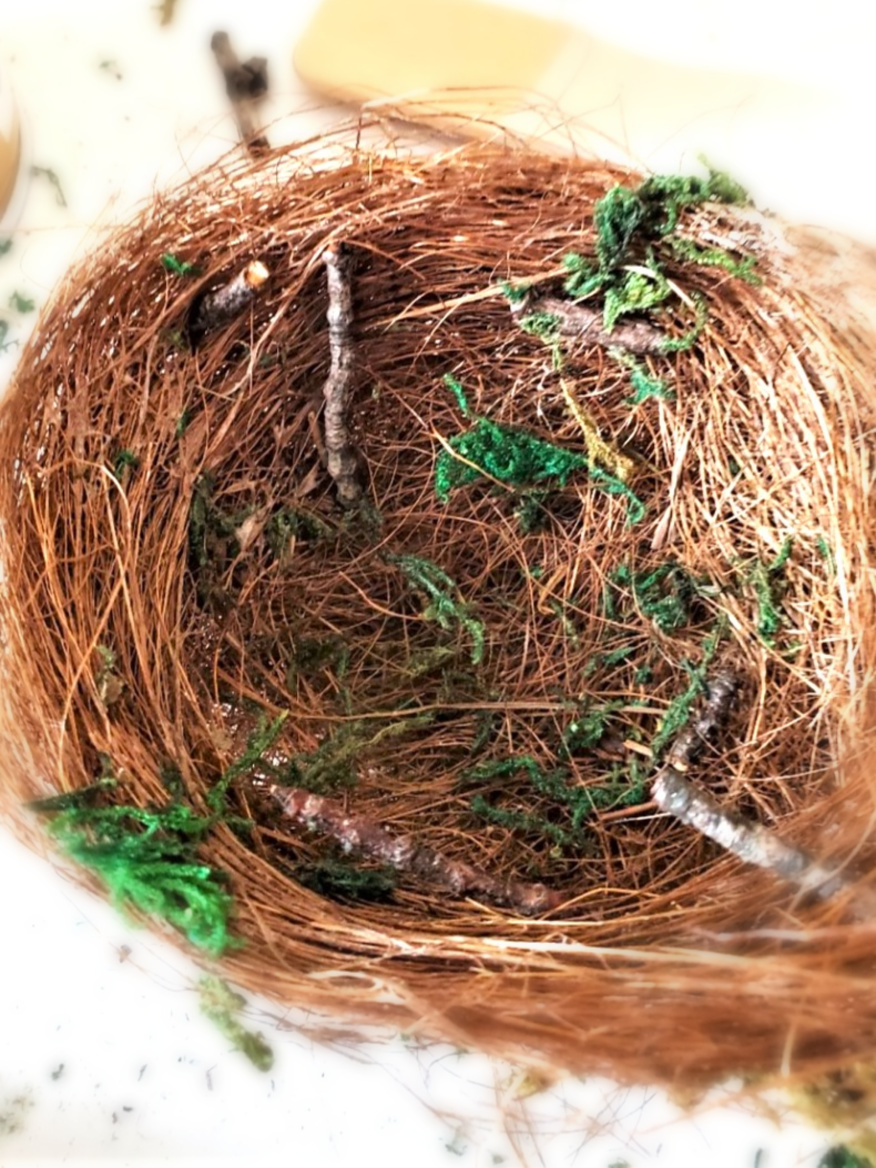
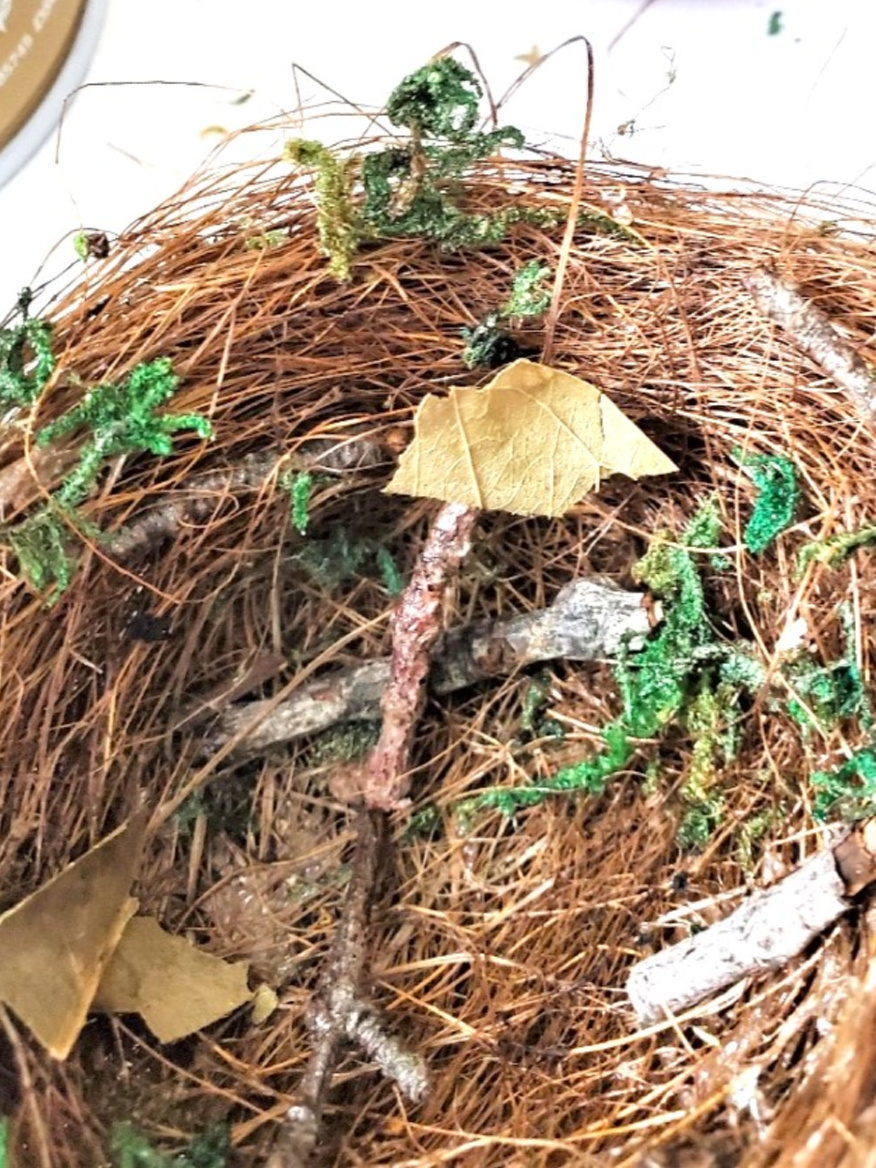
Step 3: Add Sticks, Leaves, And Moss With Spray Adhesive
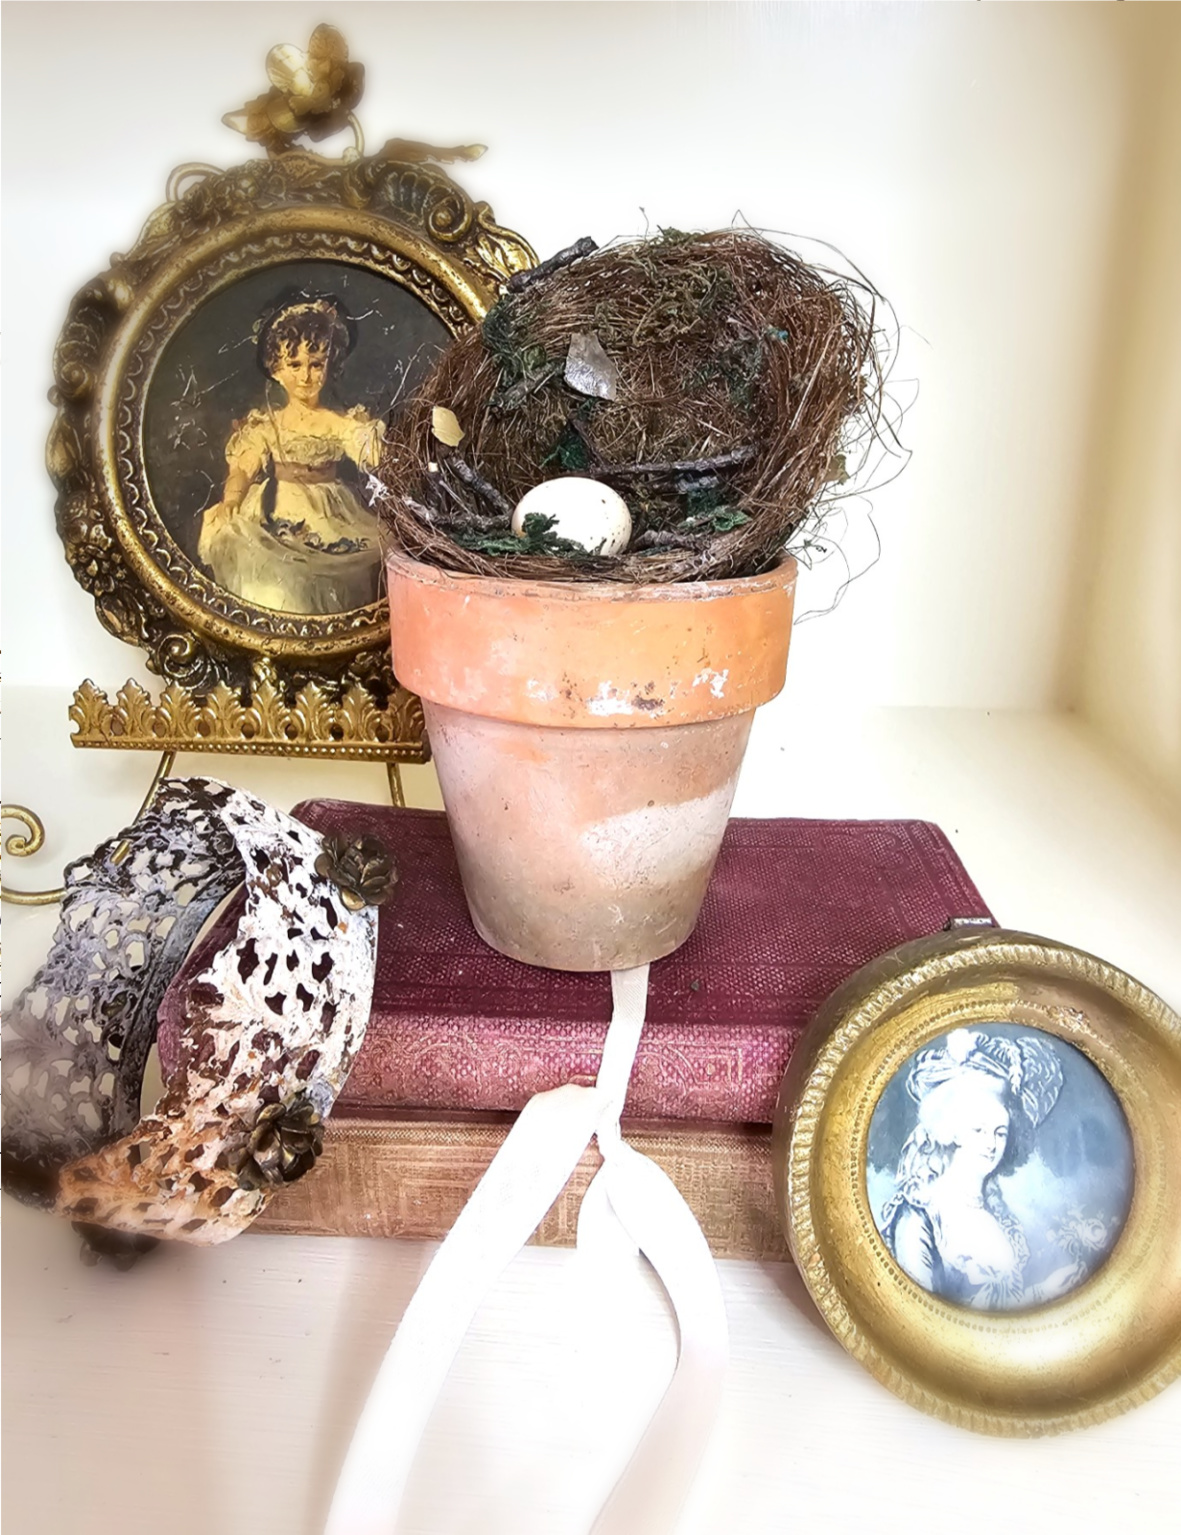
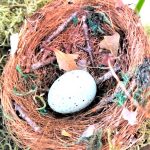
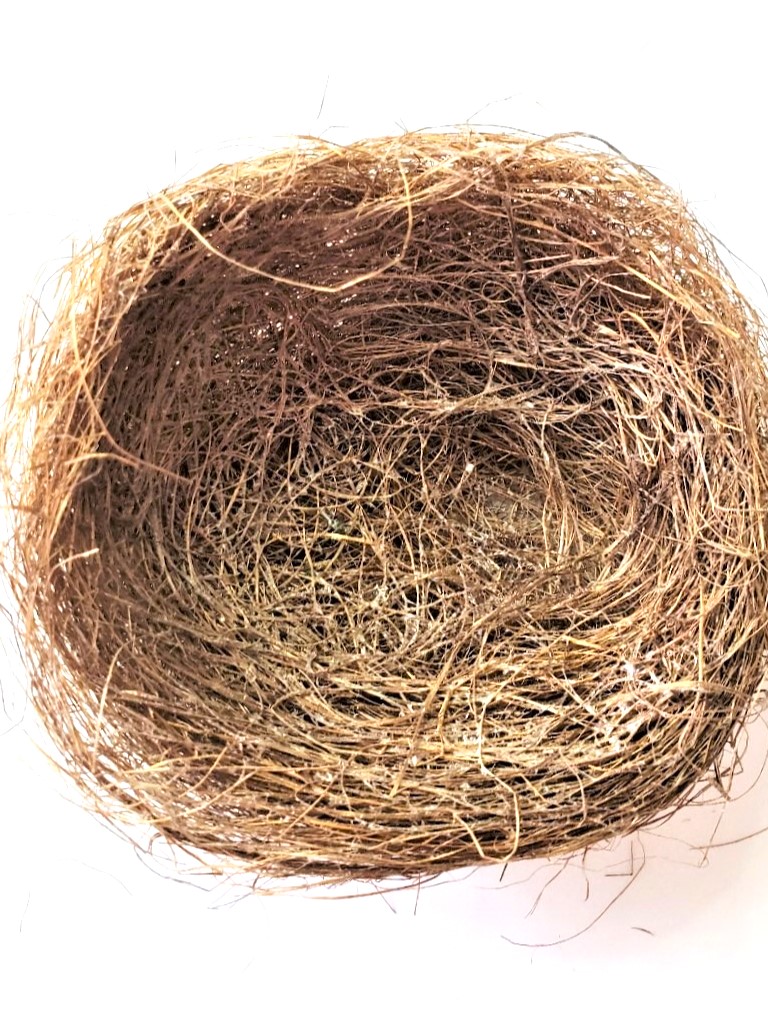
After achieving the nest shape, the bird's nest is still wet from the adhesive. Push small pieces of sticks through the sides of the nest. Be sure to add sticks to the bottom of the nest and the top of the nest. This is the best way to give DIY bird nests the look of real birds creating a home. Add small pieces of green moss and small pieces of leaves to the bottom of the nest, the sides of the nest, and the top of the nest. What's the best part of making nests out of natural materials? Each bird's nest looks as if real birds gather materials from nature. Use a hot glue gun and a little hot glue, and add plastic Easter eggs to the bottom of the nest. This is perfect for early spring, with daffodils, tulips, and other seasonal fake or fresh flowers. Add it to create the perfect centerpiece on a dining table or coffee table. Add birds' nests to a cloche with books as a pedestal, a finial, or a moss ball. *Check my tips and decorating ideas above in my blog post!*