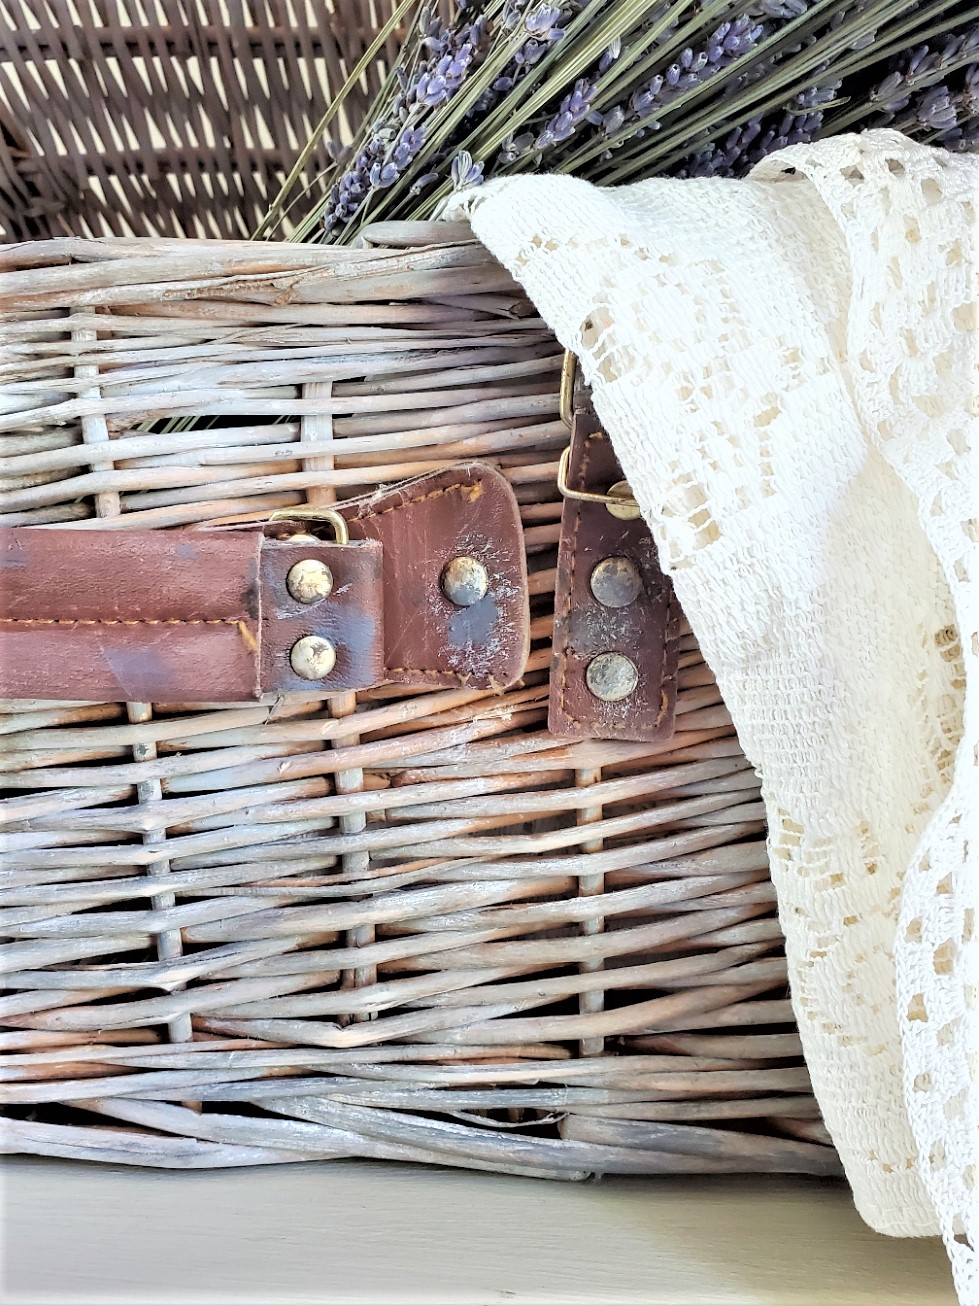
Aging A Picnic Basket Dry Brushing
Have a basket that can use and update? How about seeing these easy-to-follow steps to make it new again?
Yield: 1 basket
Cost: 15
Notes
AGING A PICNIC BASKET WITH A DRY BRUSH
Craft Supplies Needed For This DIY:
- inexpensive new picnic basket
- wicker baskets
- chip paint brushes
- paper towel or rag — if needed to remove excess paint
- paint brushes
- acrylic paint or chalk paint
- medium color gray paint
- white paint
- dark gray paint
- dark wax — optional
- paper plates or plastic container
- paint stick
- distilled water
- light grit sanding sponge or sandpaper
Dry Brushing Step by Step
Dry Brush Tutorial
Step 1: Preparation
Clean your picnic basket. For best results, sand rough spots and use wood fillers if necessary. Black Dog Salvage paint is a good choice because you don't have to worry about working in a well-ventilated area or sanding.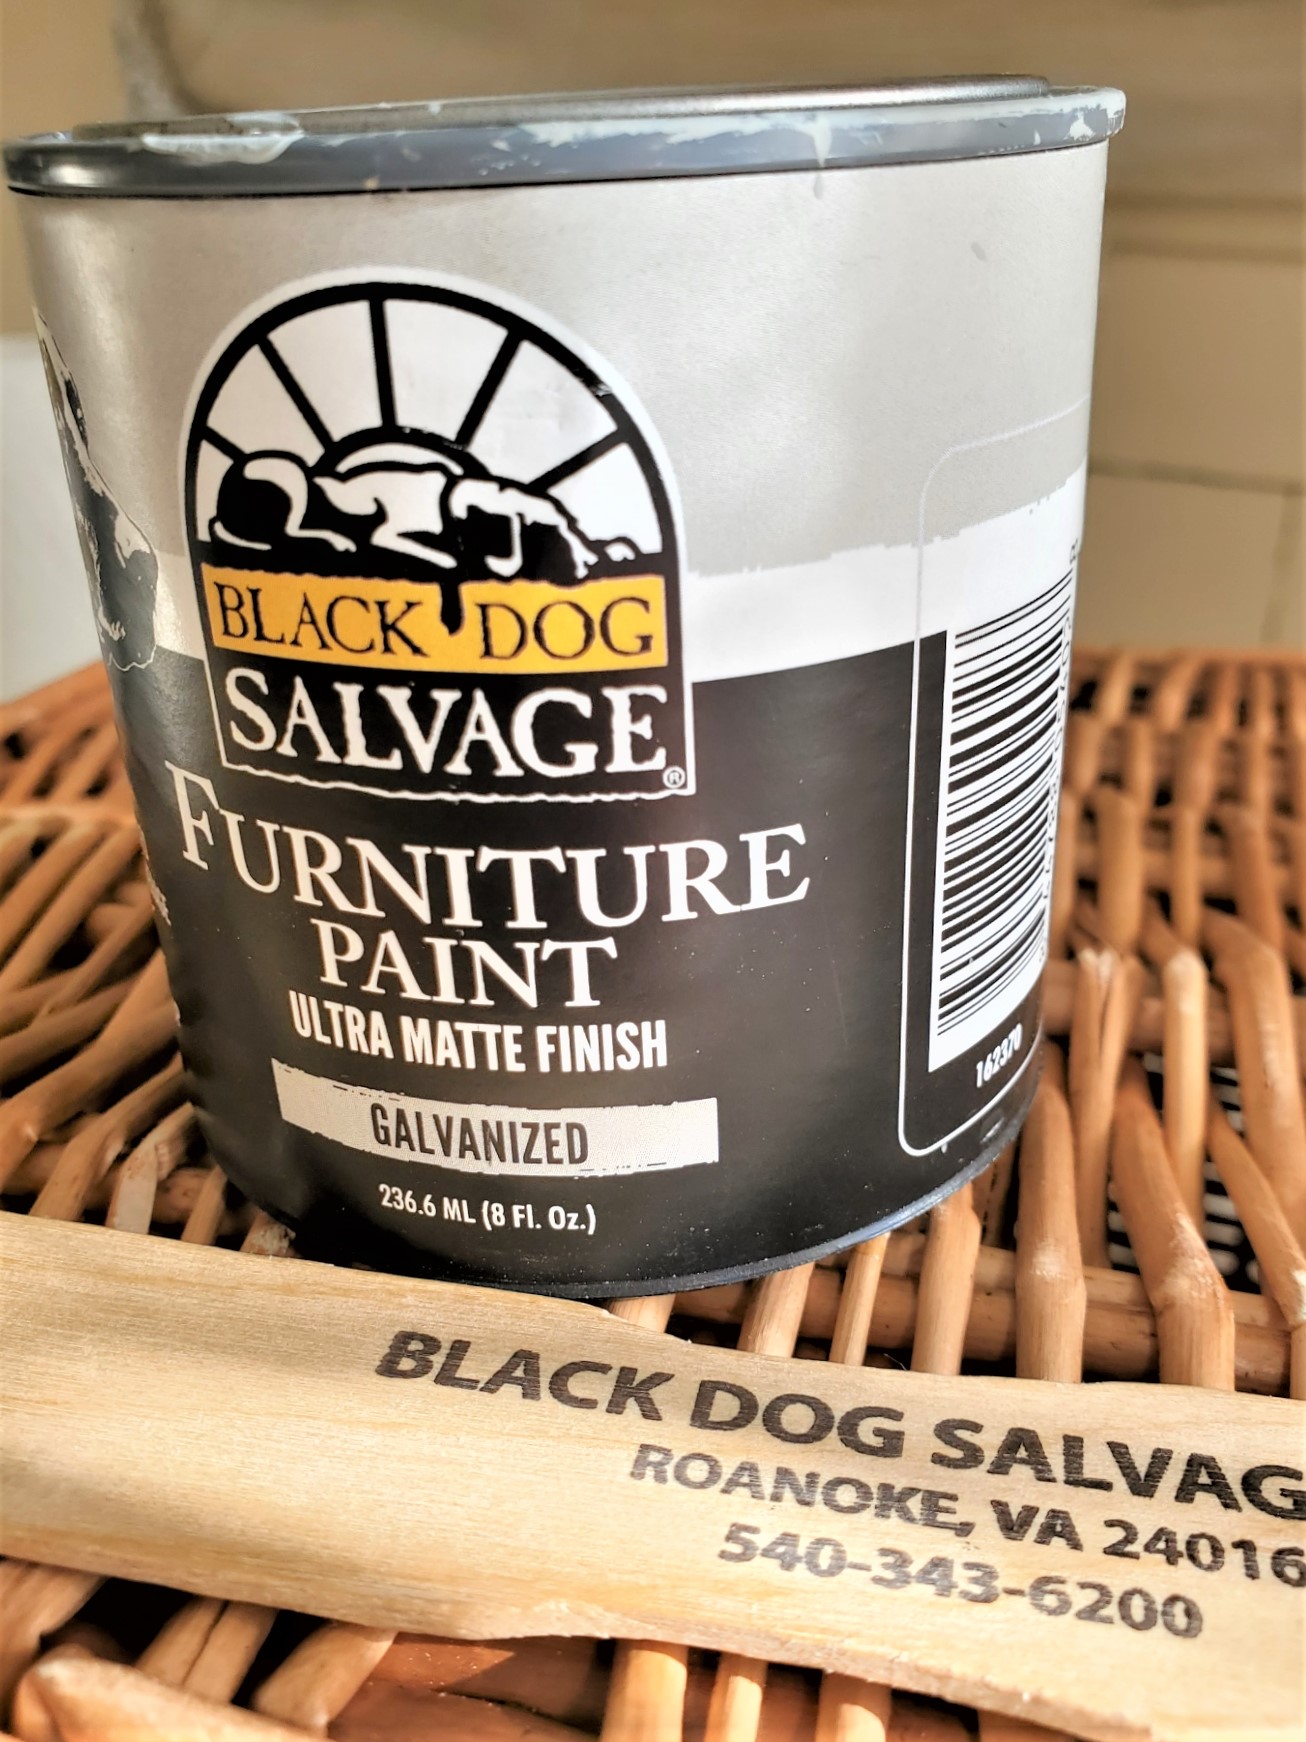
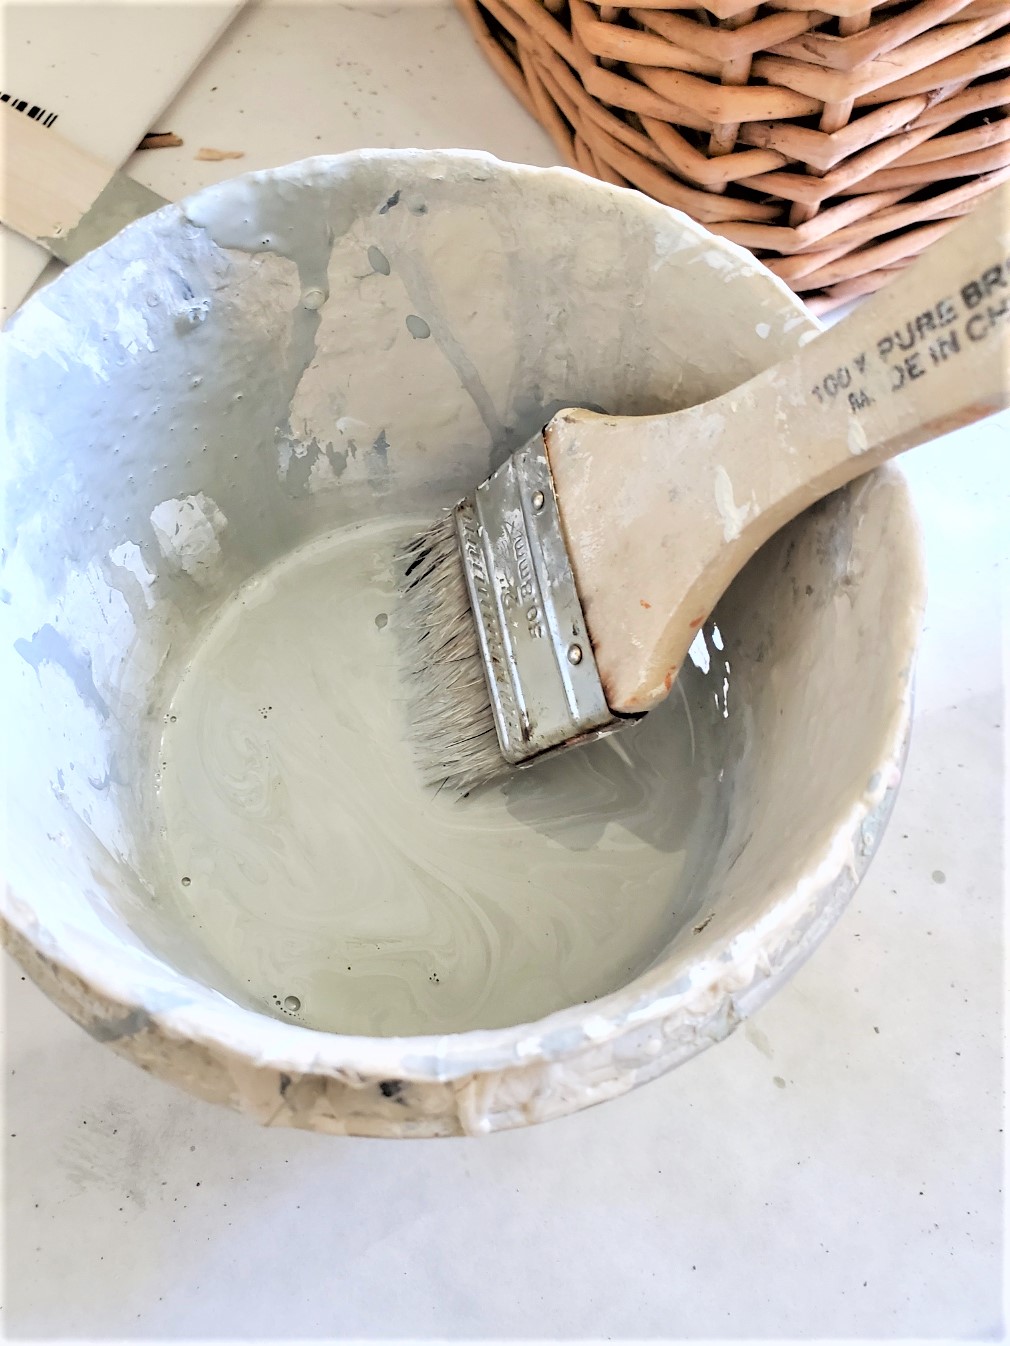
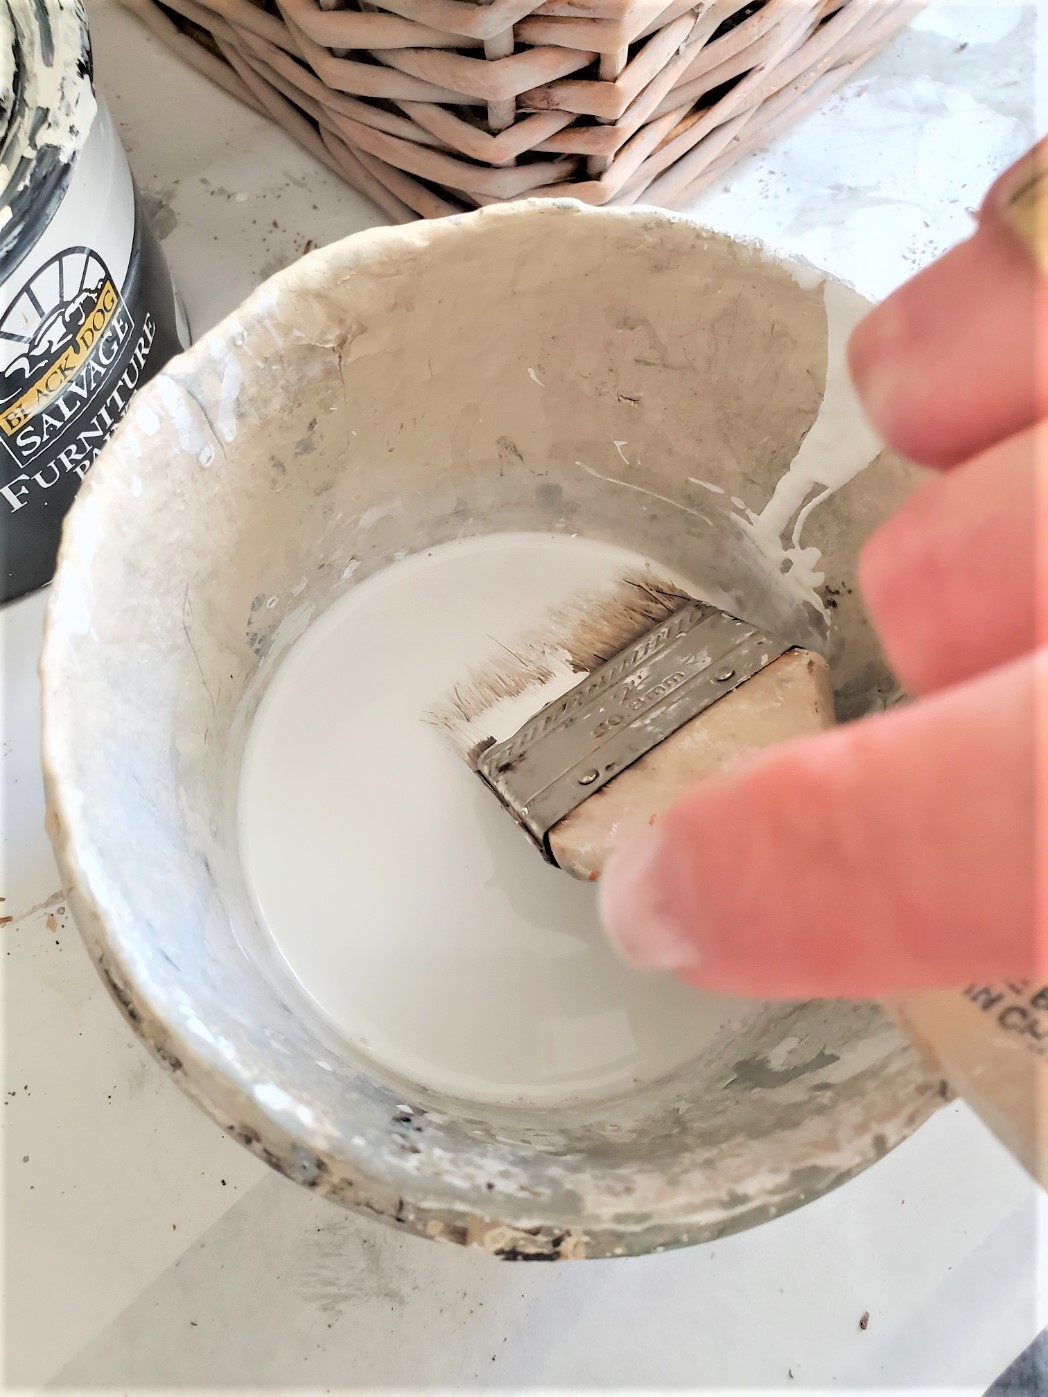
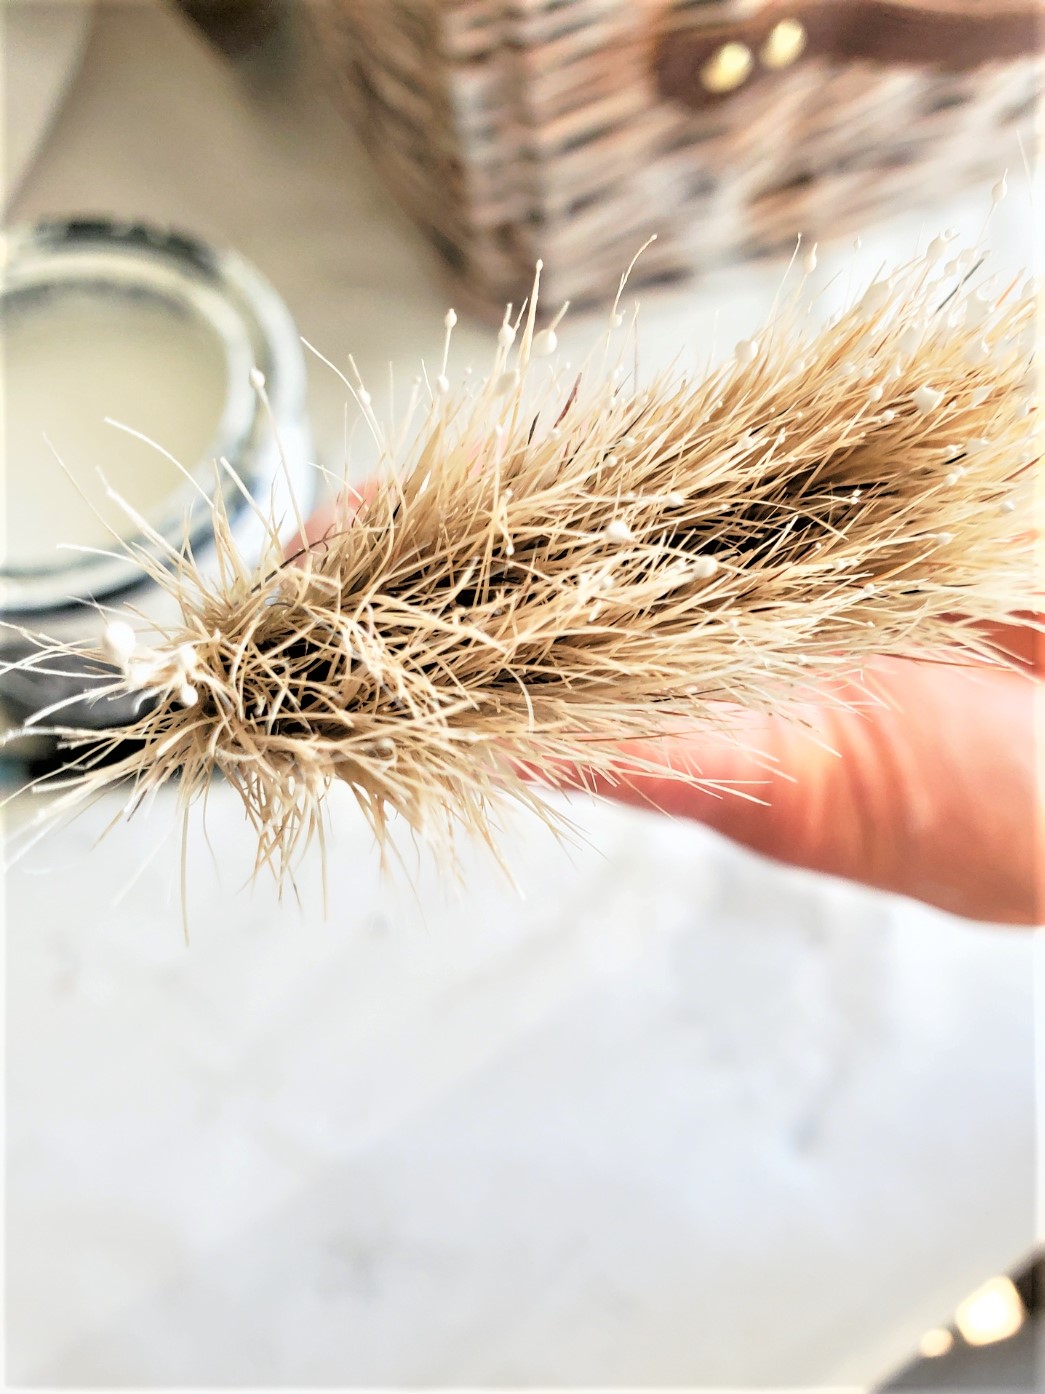
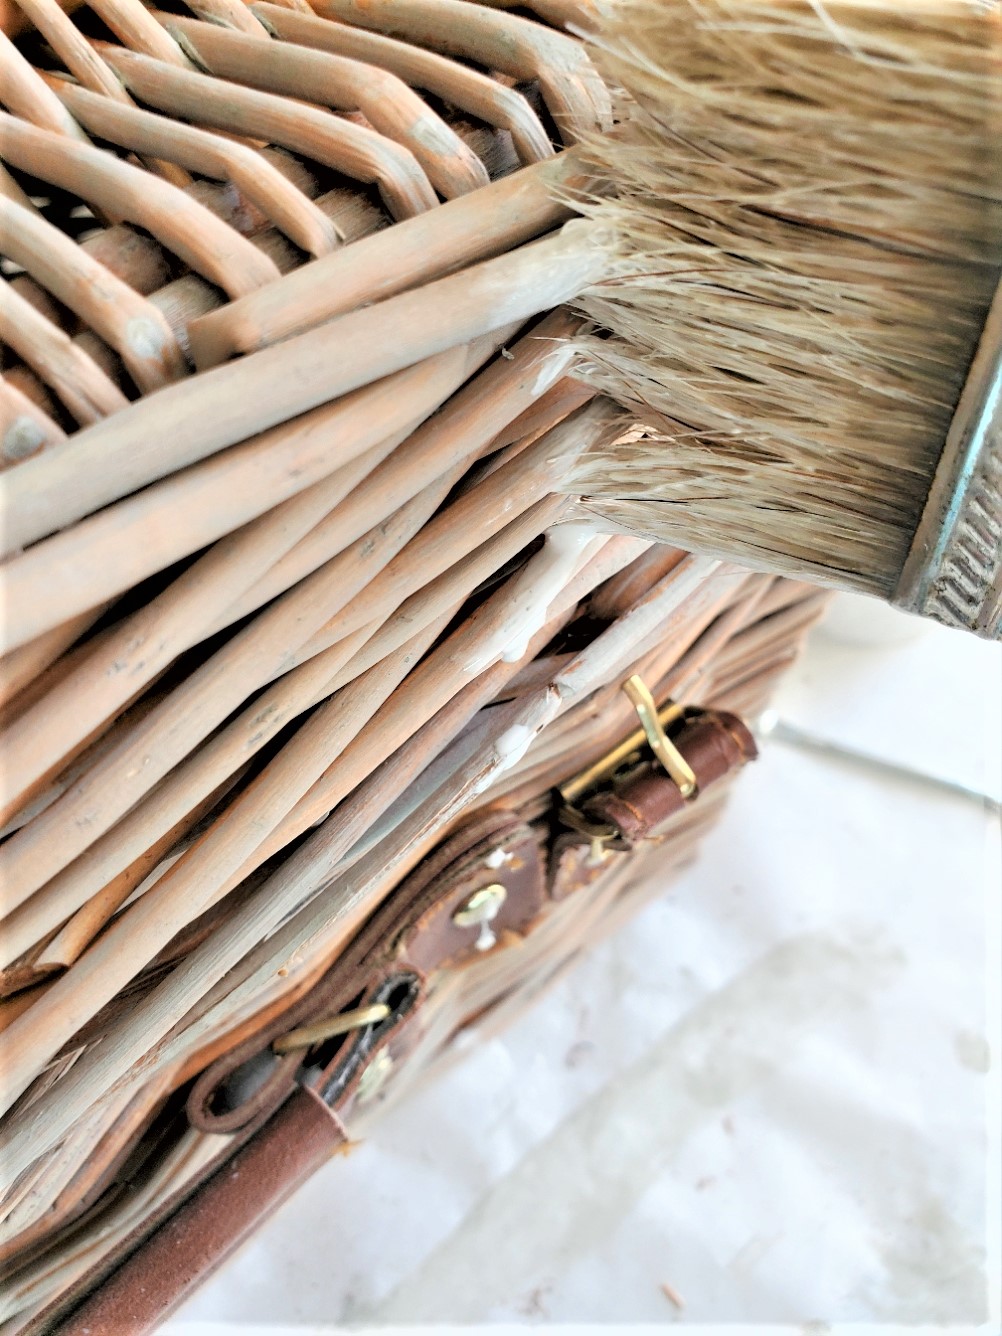
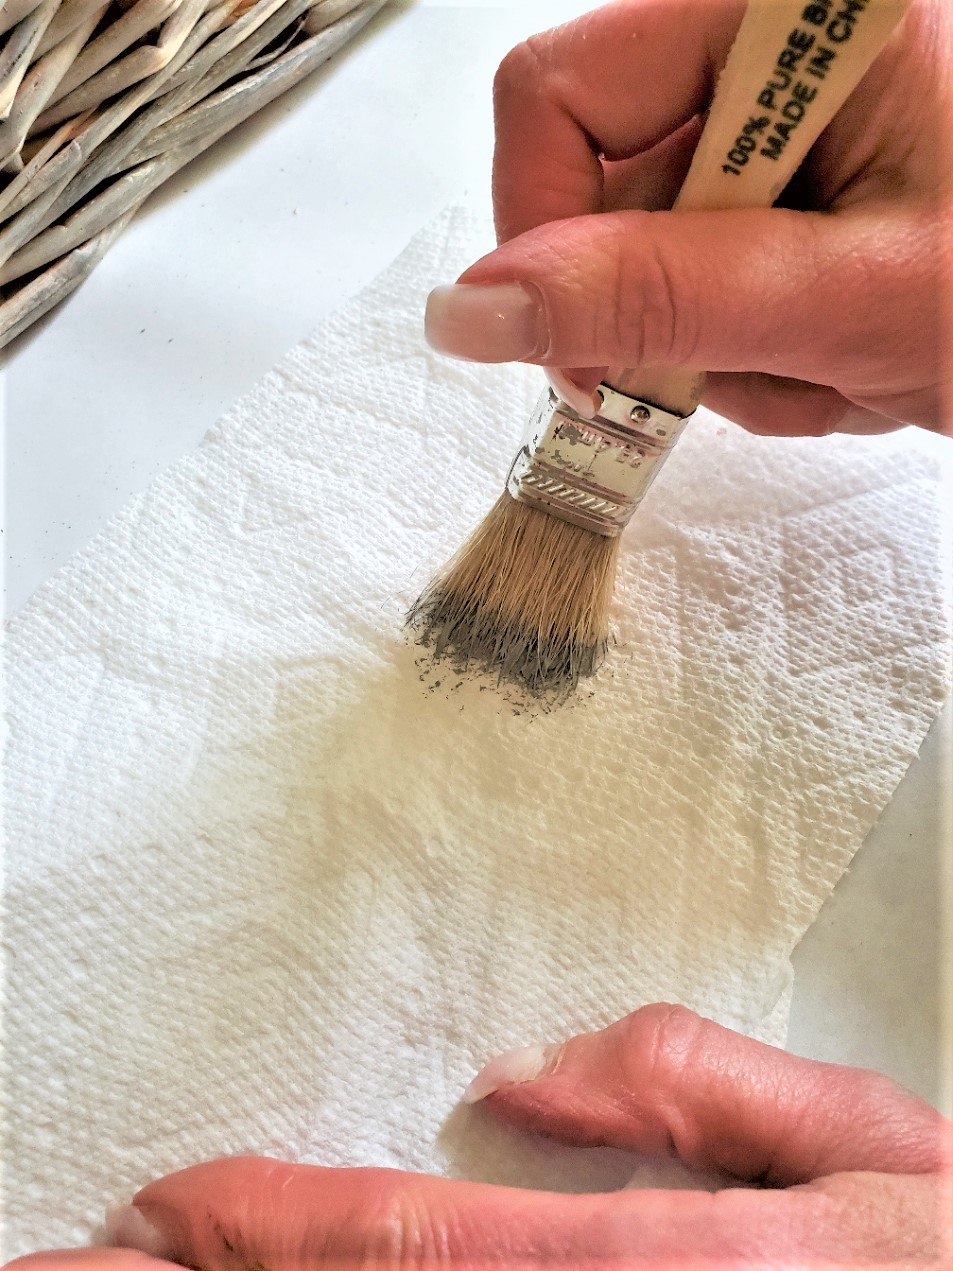
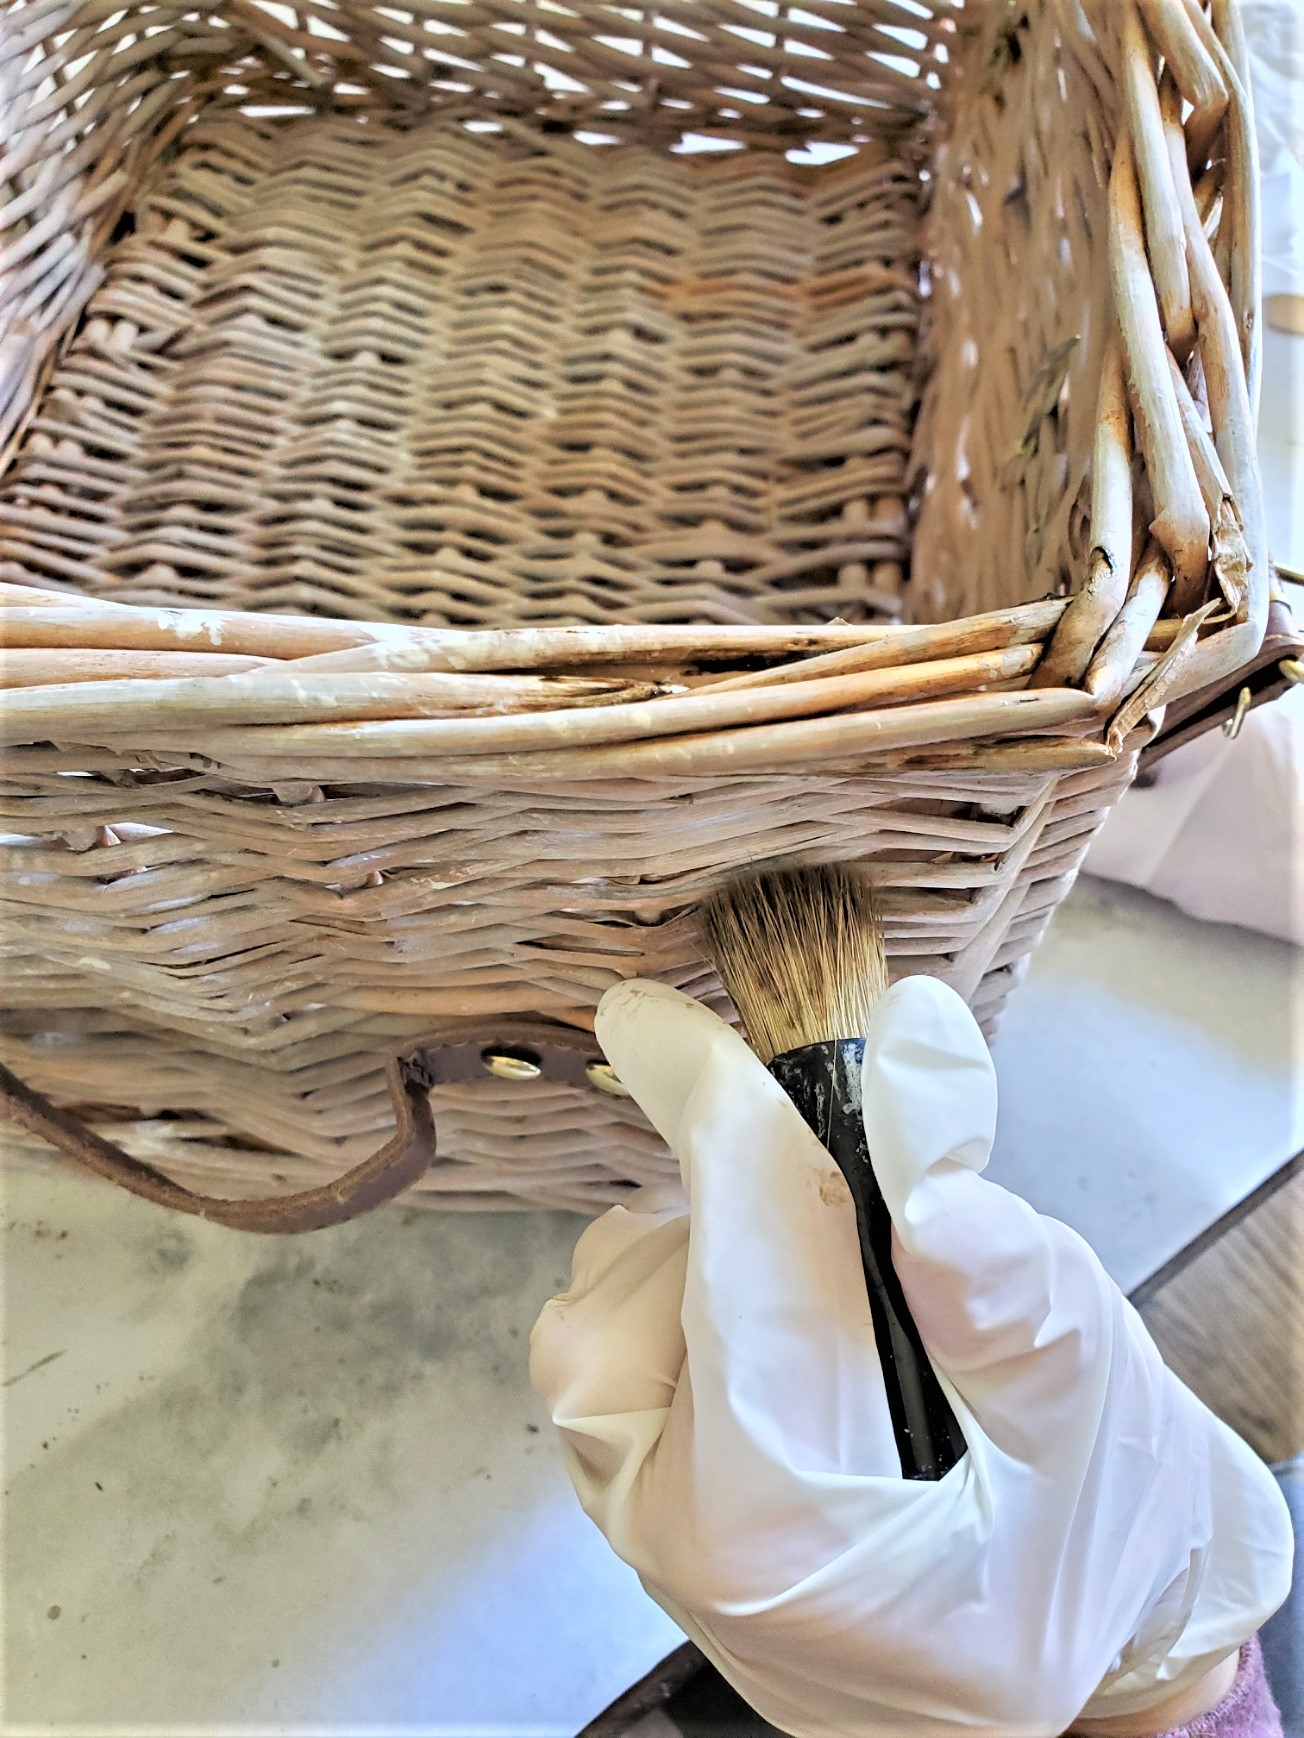
Step 2: Add The First Coat With Gray Paint
Add a bit of Galvanized gray with a bit of distilled water. When using water with Salvage Dog paint it's important to use distilled water. Using a chip brush, apply to add a light coat of gray paint. Here use a washing technique. Add a bit of distilled water to paint, and paint the entire surface using a dry paintbrush on your picnic basket. This will create a base layer for the next step when the next color of paint is added with a dry brush technique.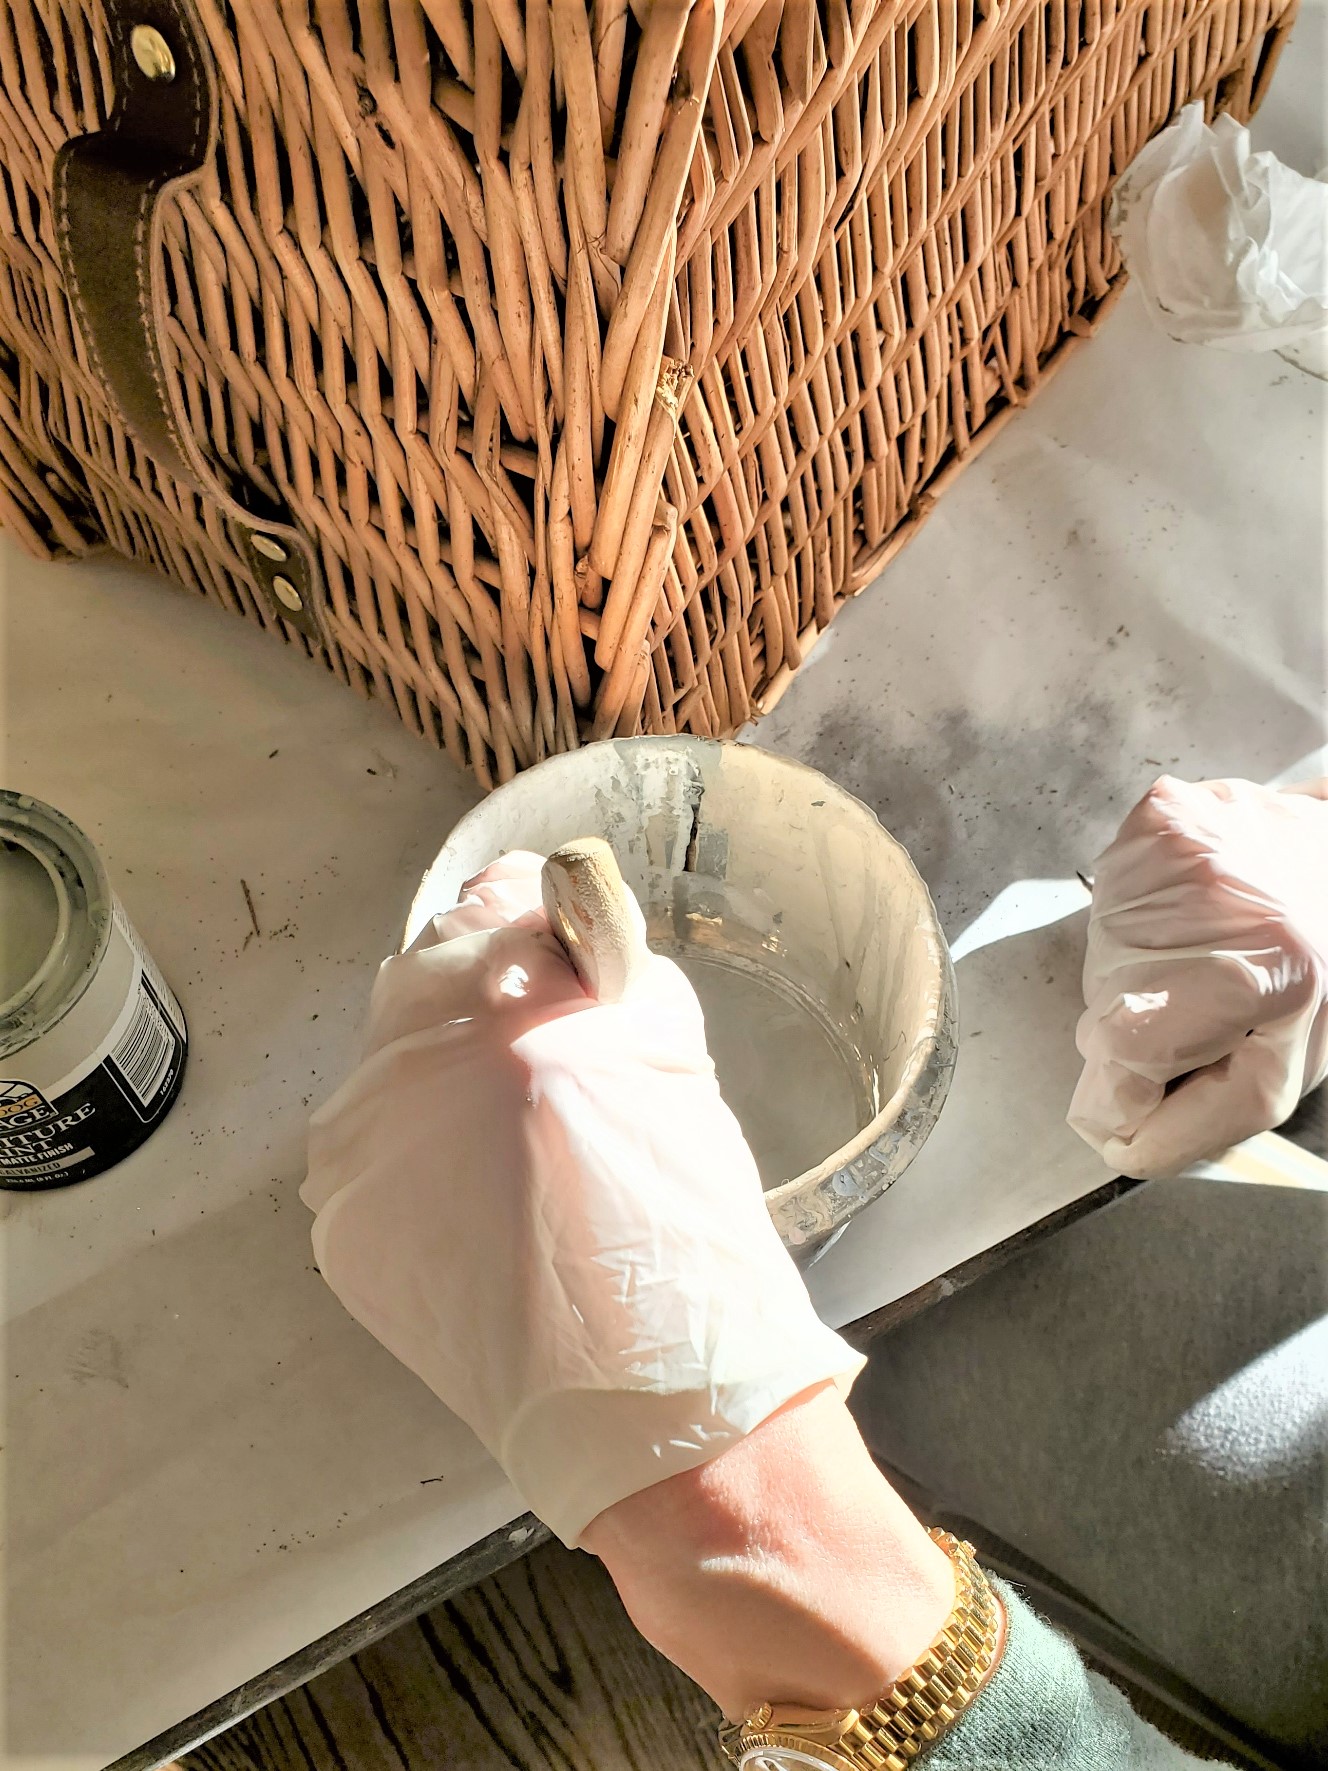
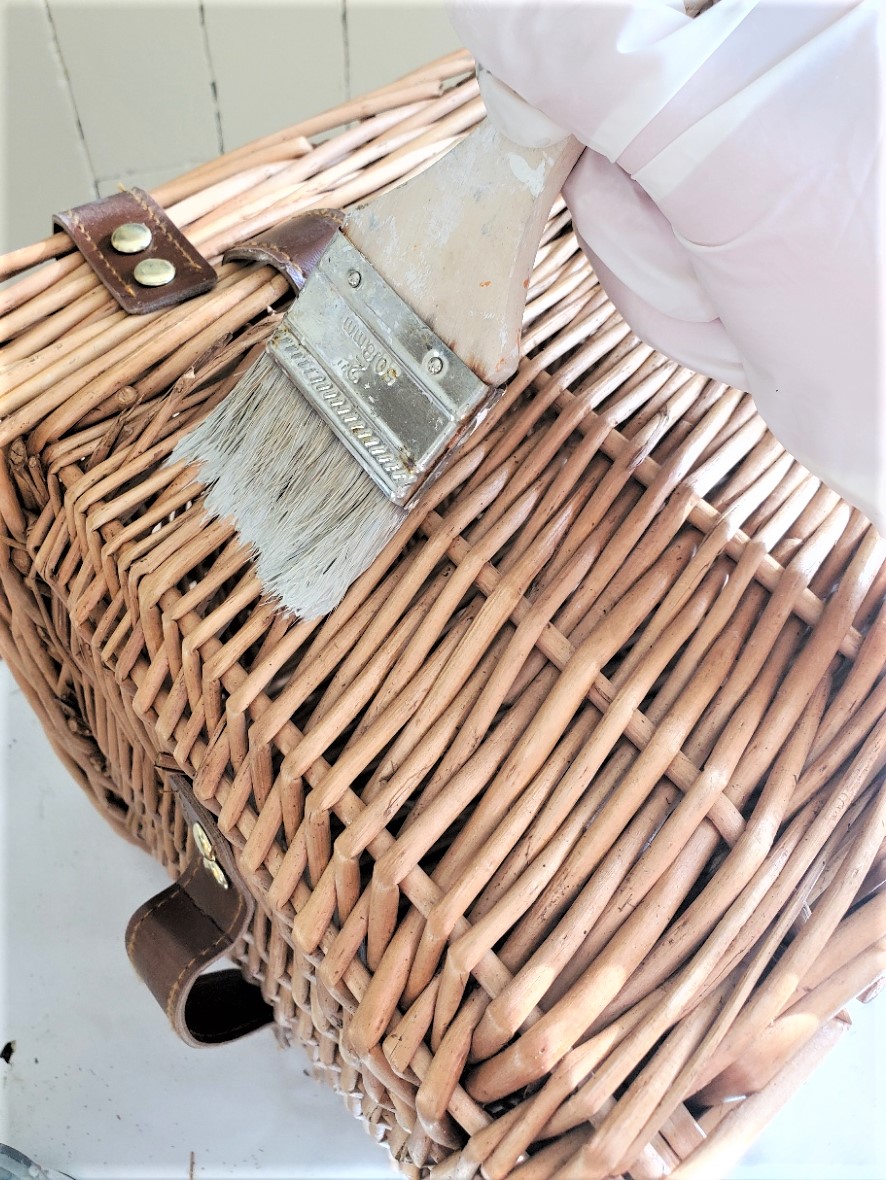
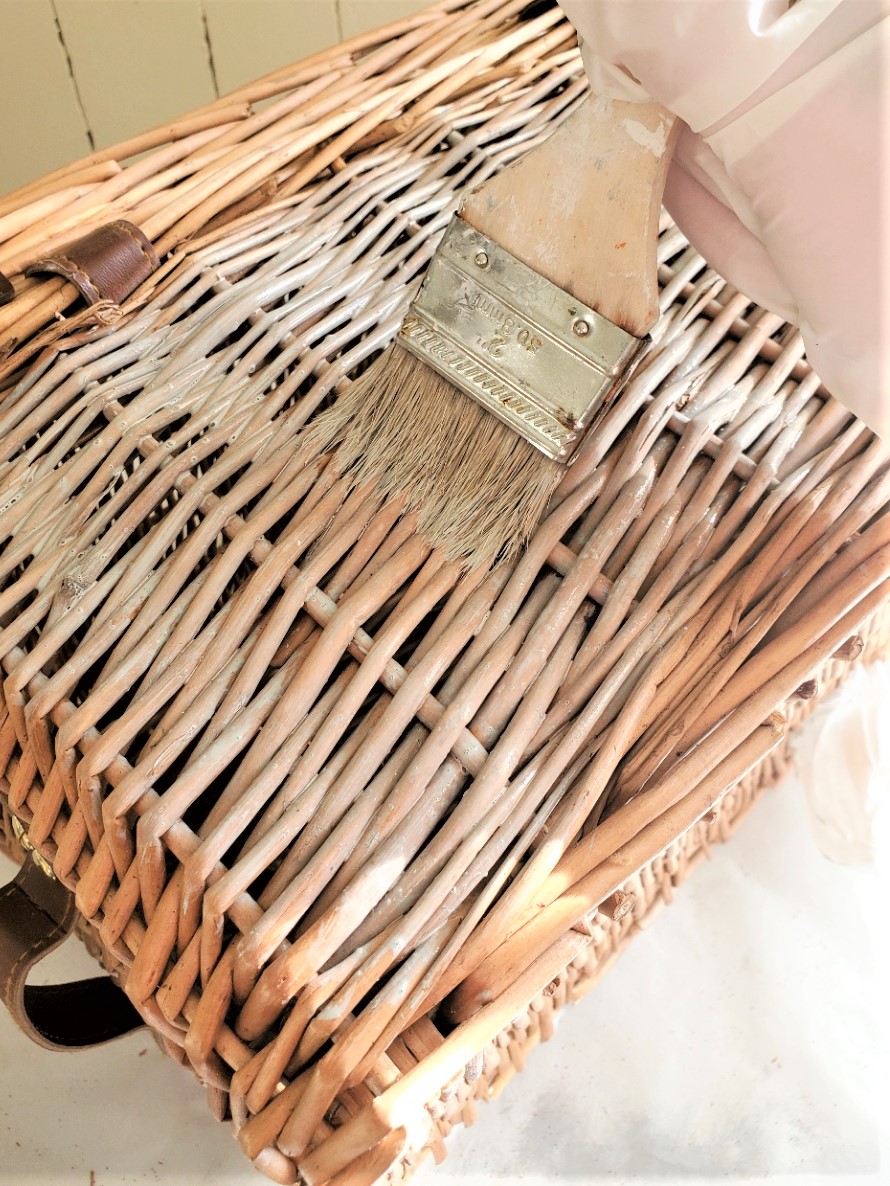
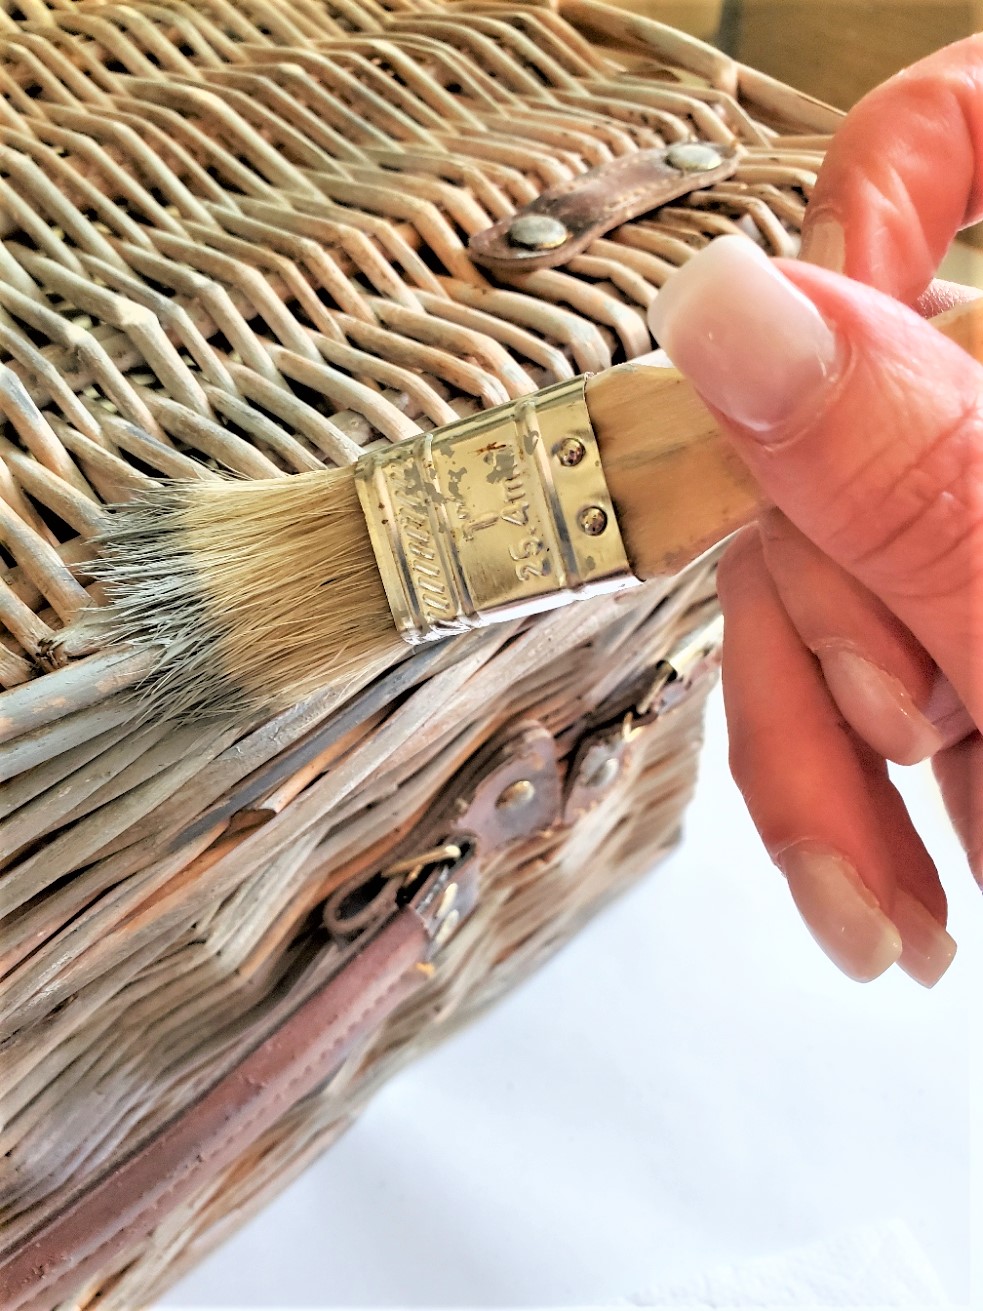
Step 5: Top Tip To Add A Little More Depth To The Color
To add a little more depth to the color, you can use a darker color of paint and dry brush it over the first layer. This is a great time to add random spots of the darker gray paint to the DIY.
Step 6: Dark Wax For More Depth And A Smooth Finish
Apply dark wax to the basket and make sure to rub the wax well to avoid it from becoming sticky. This also protects the paint from scratches and wear, however, if you plan to use the basket for a picnic add a thin coat of top coat to the entire surface. This protects the basket from any water.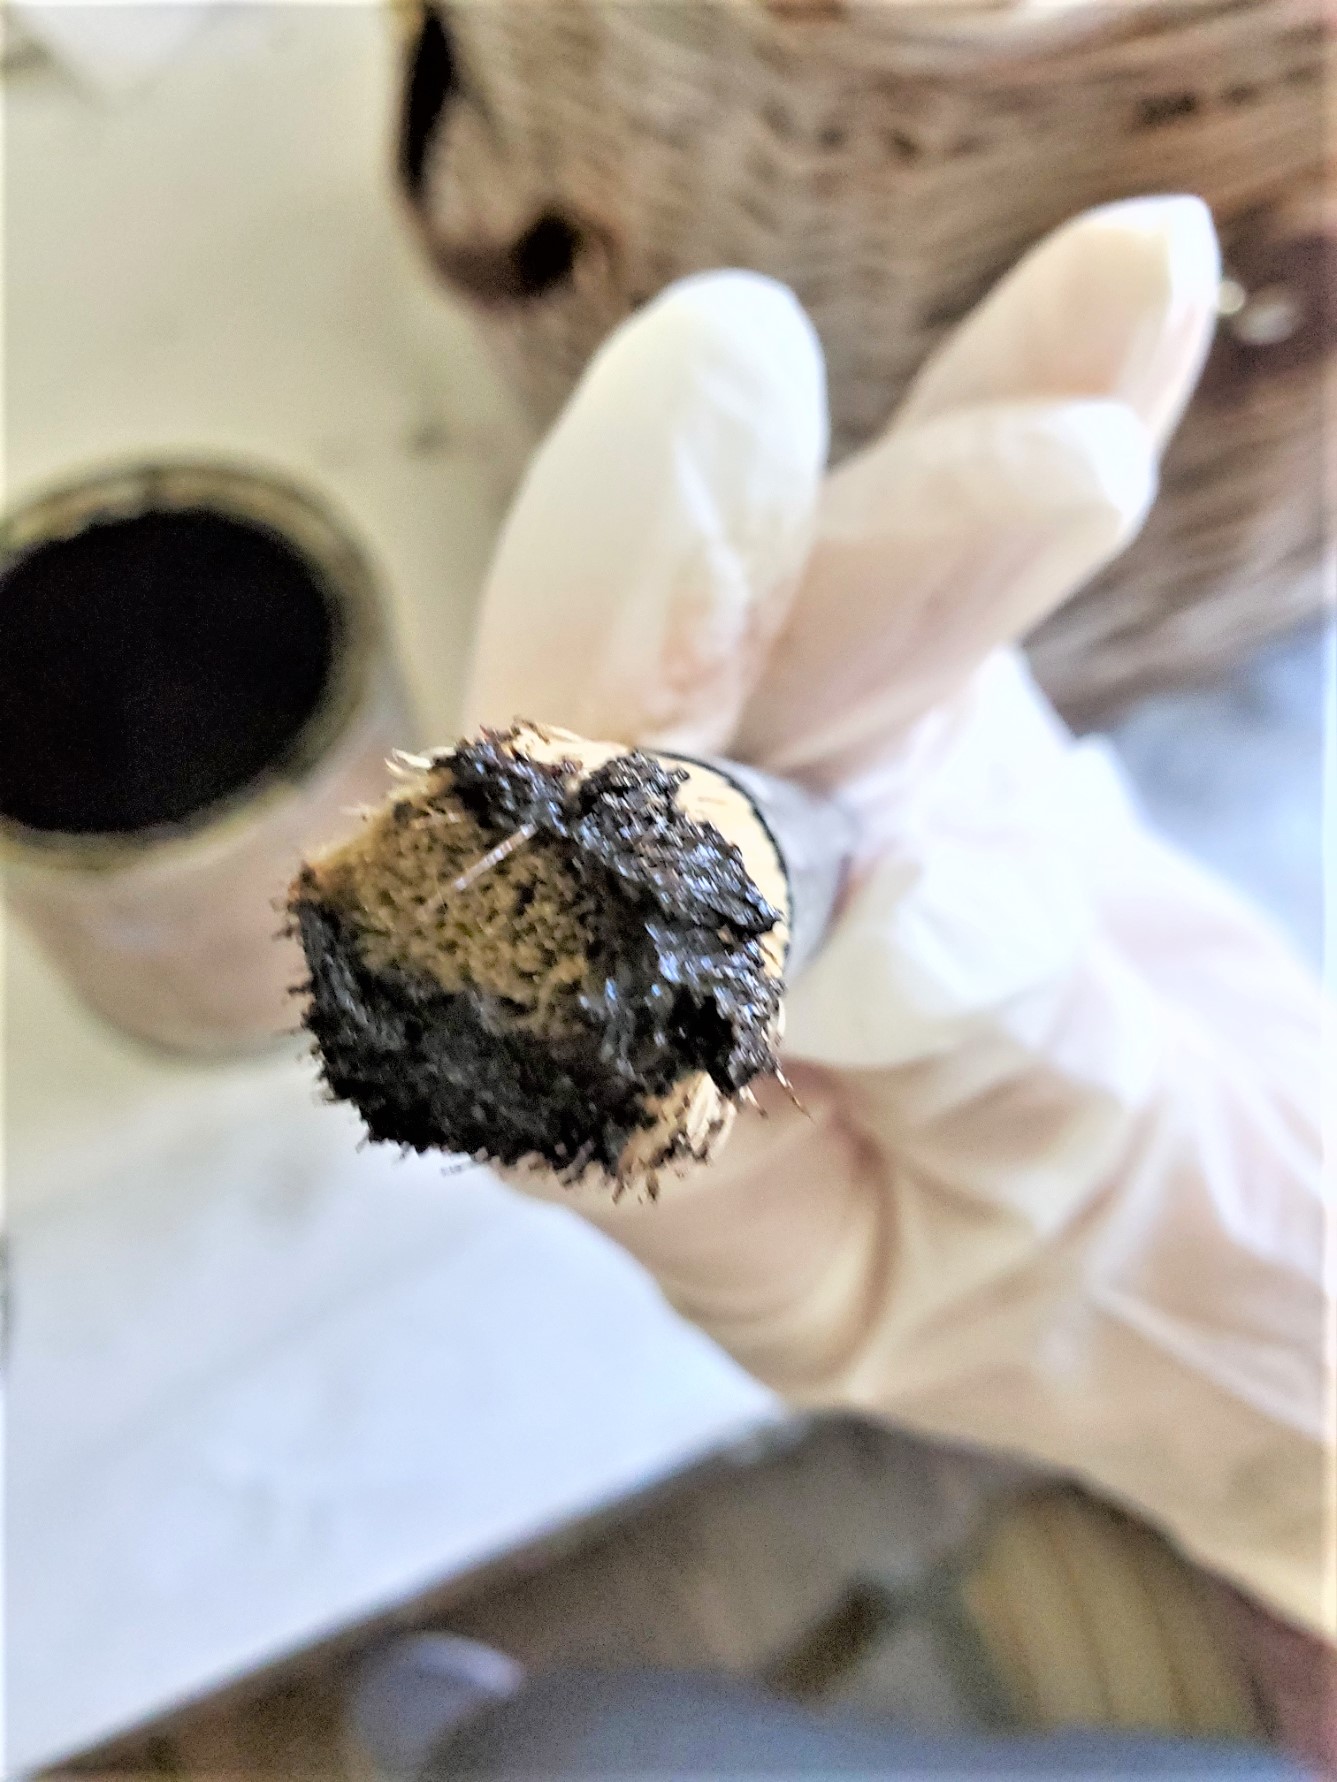
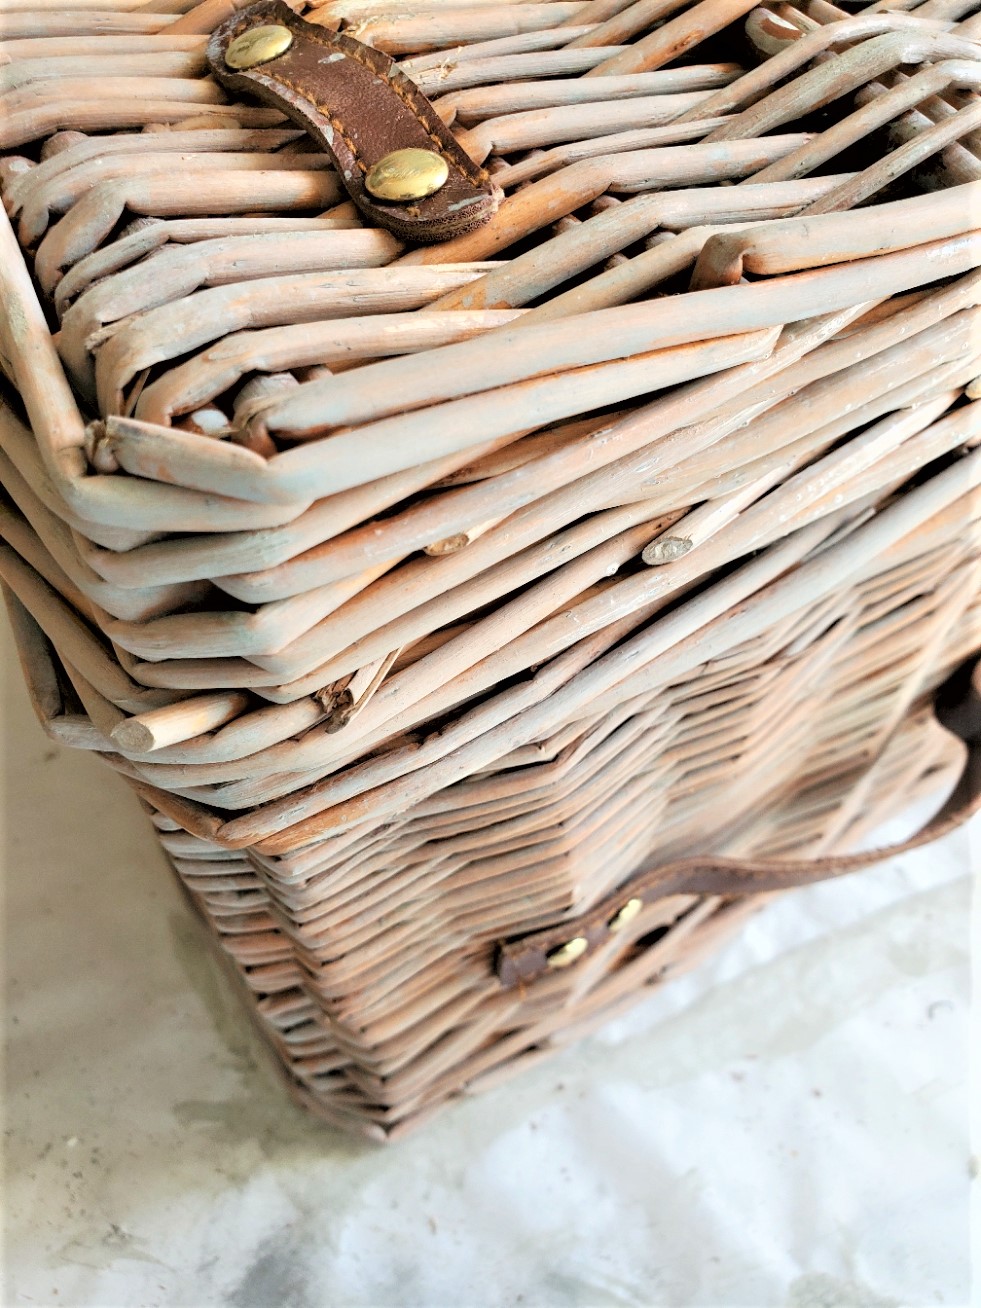
Step 7: Finished Look After The Basket Dries Completely
The picnic basket usually needs about 24 hours to dry, and then step back and admire your finished look! You can also add some flowers, craft supplies, or store rolls of ribbon to your basket. Dry brushing your picnic basket is a great idea for outdoor living spaces or indoor home decor. You can also use this technique on other items, such as furniture pieces, flower planters, or a wooden picnic table. It's a great way to give new life to things we already own and cherish.An Additional Way To Age The Picnic Basket
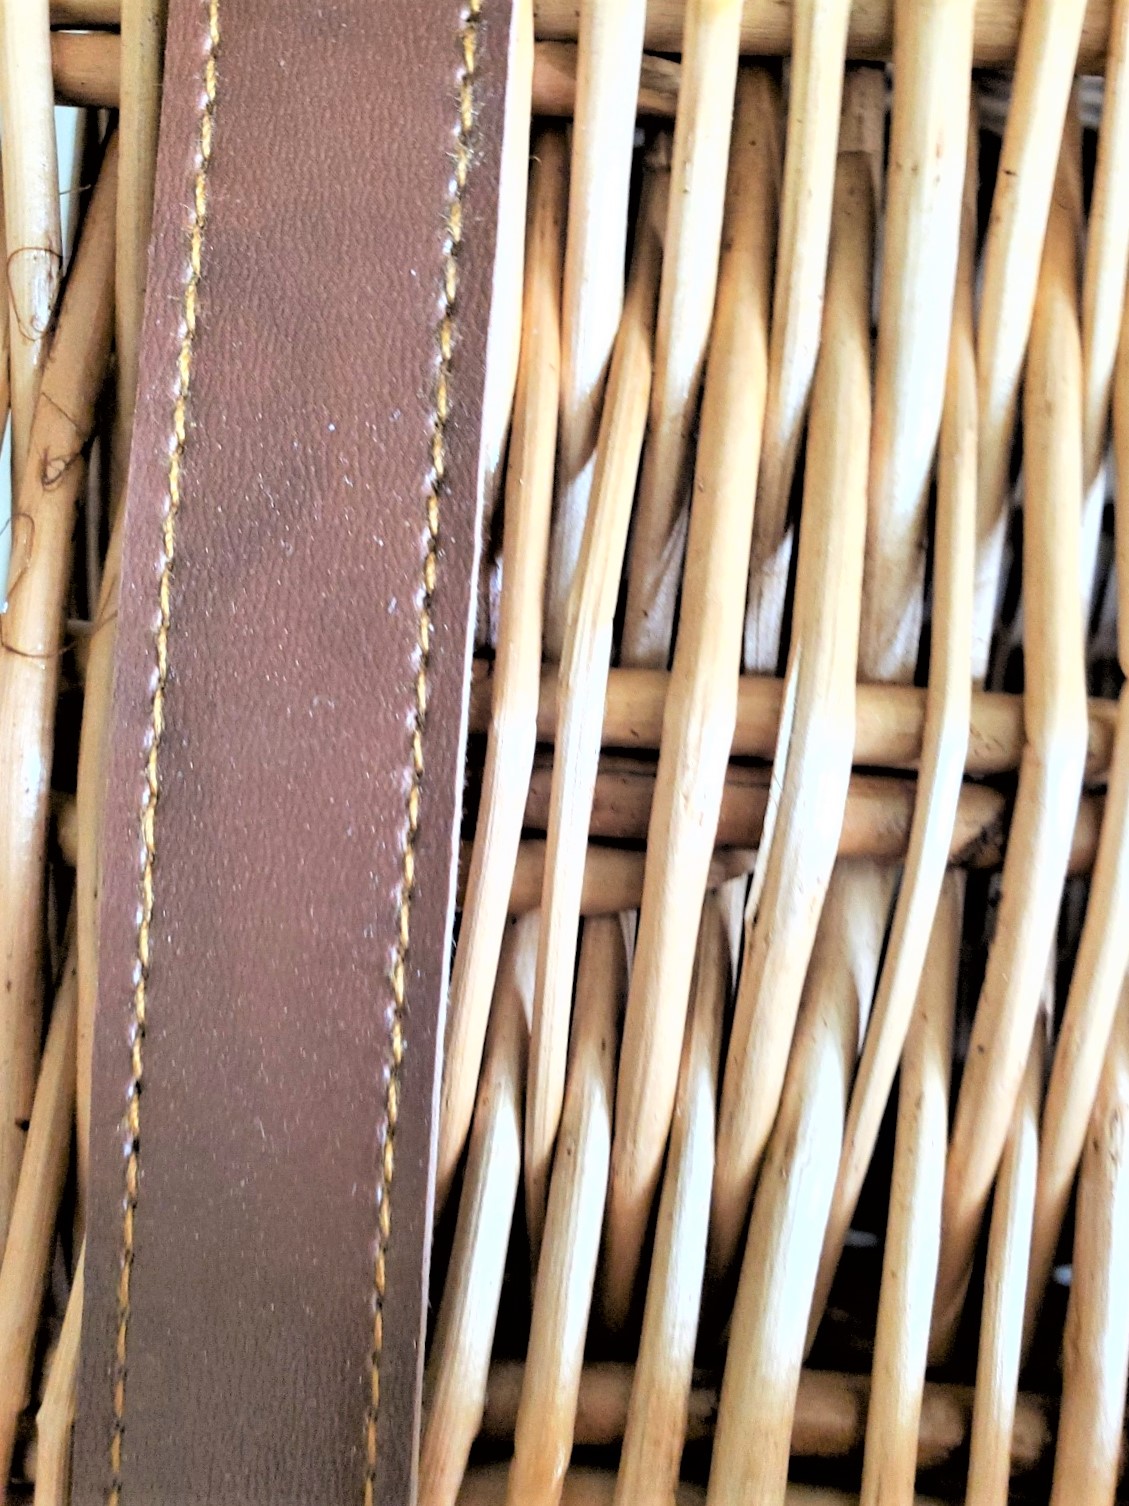
Aging Imitation Leather
Have you ever bought baskets with faux leather? The shiny fake leather straps or shiny faux leather handles on baskets? So, let's learn how to make fake leather have a distressed look like genuine leather.How To Do You Dull Fake Leather?
Get Rid Of The Plasticky Shine
Distressing fake leather is a great way to get rid of the shine. There are ways to get synthetic leather or pleather to look like real worn leather. You can use numerous things to dull fake leather. Nail polish remover, and rubbing alcohol with a microfiber cloth work. But be careful not to soak the fake leather pieces. You just want it damp so use a spray bottle with half water and half alcohol or an alcohol pad. Supplies Needed:- rubbing alcohol or alcohol pad
- medium grit sanding sponge or sandpaper
- old serrated knife
- add creases for age
How To Age Imitation Leather On The Picnic Basket
Distressing Fake Leather Straps And Handles
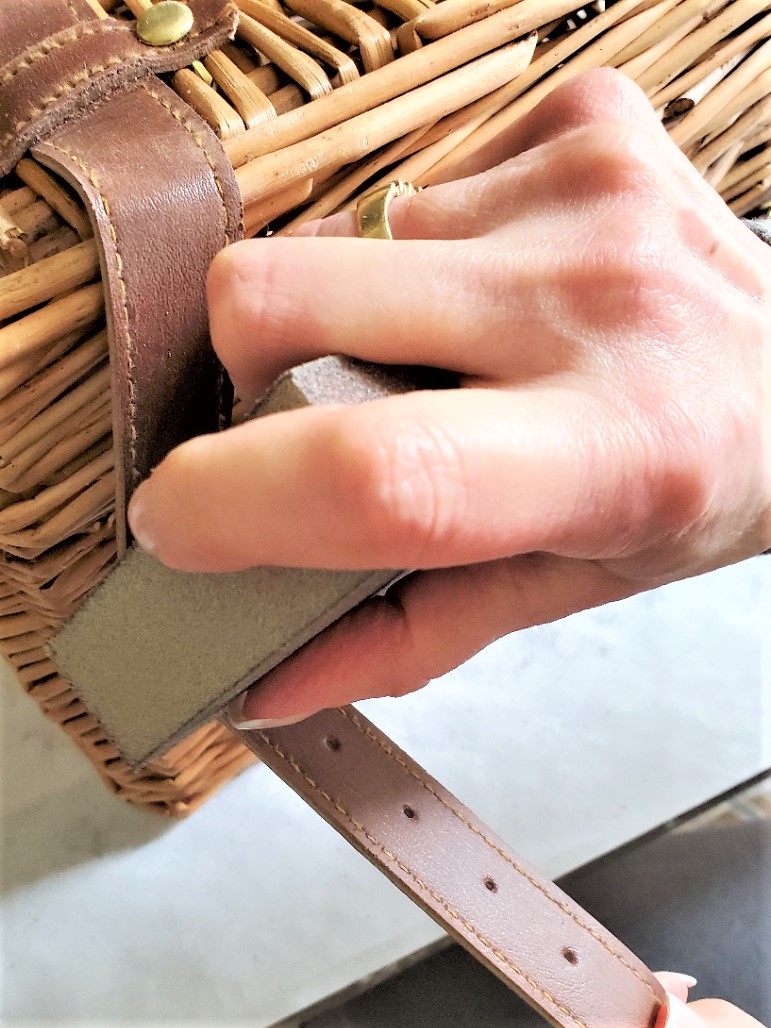
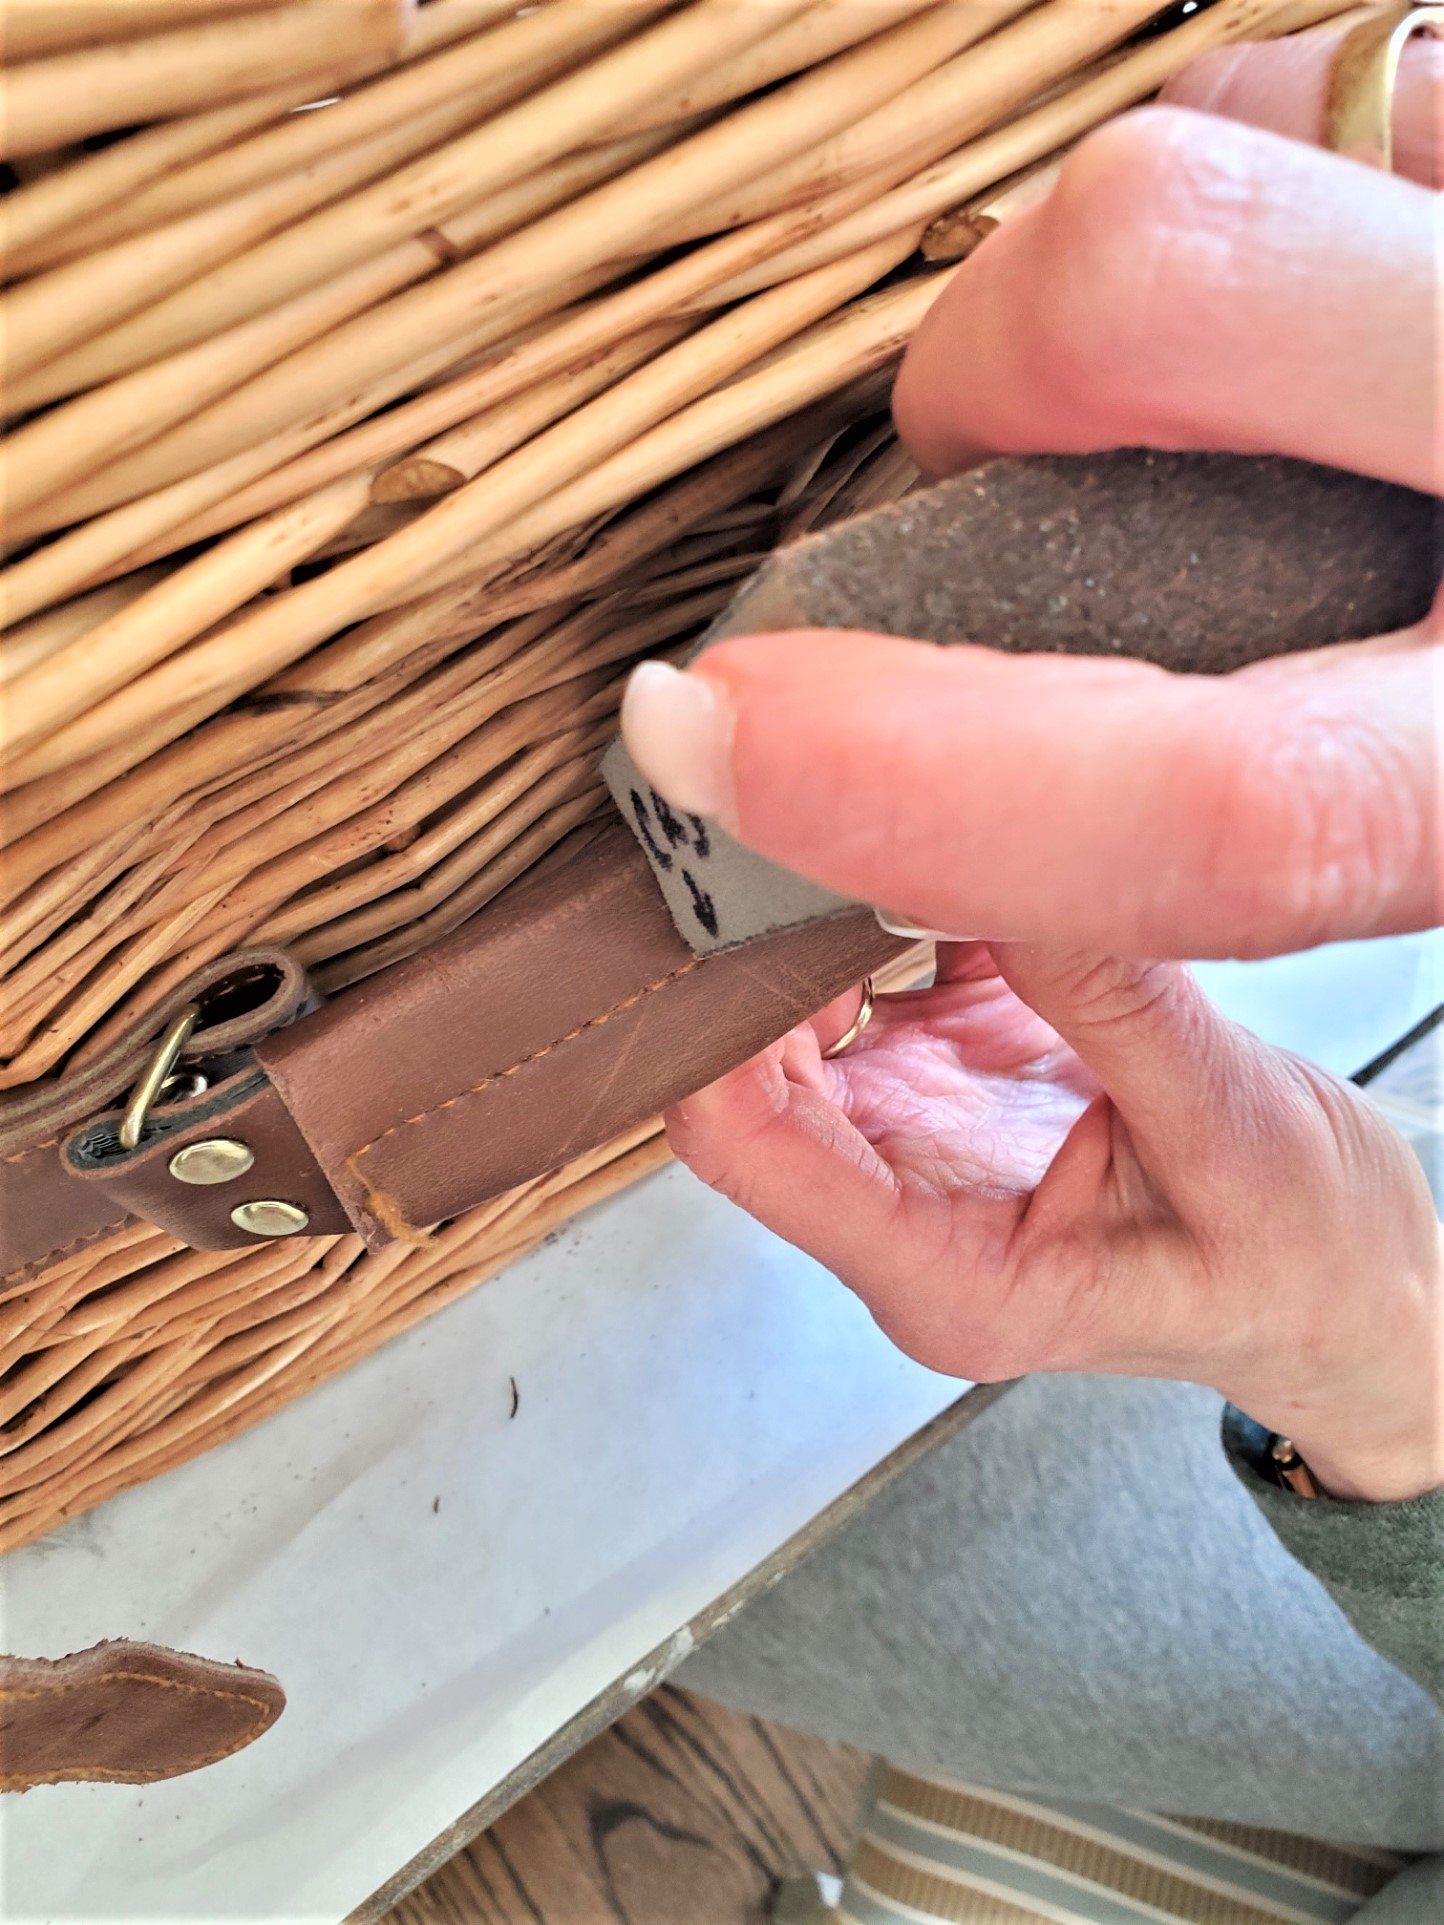
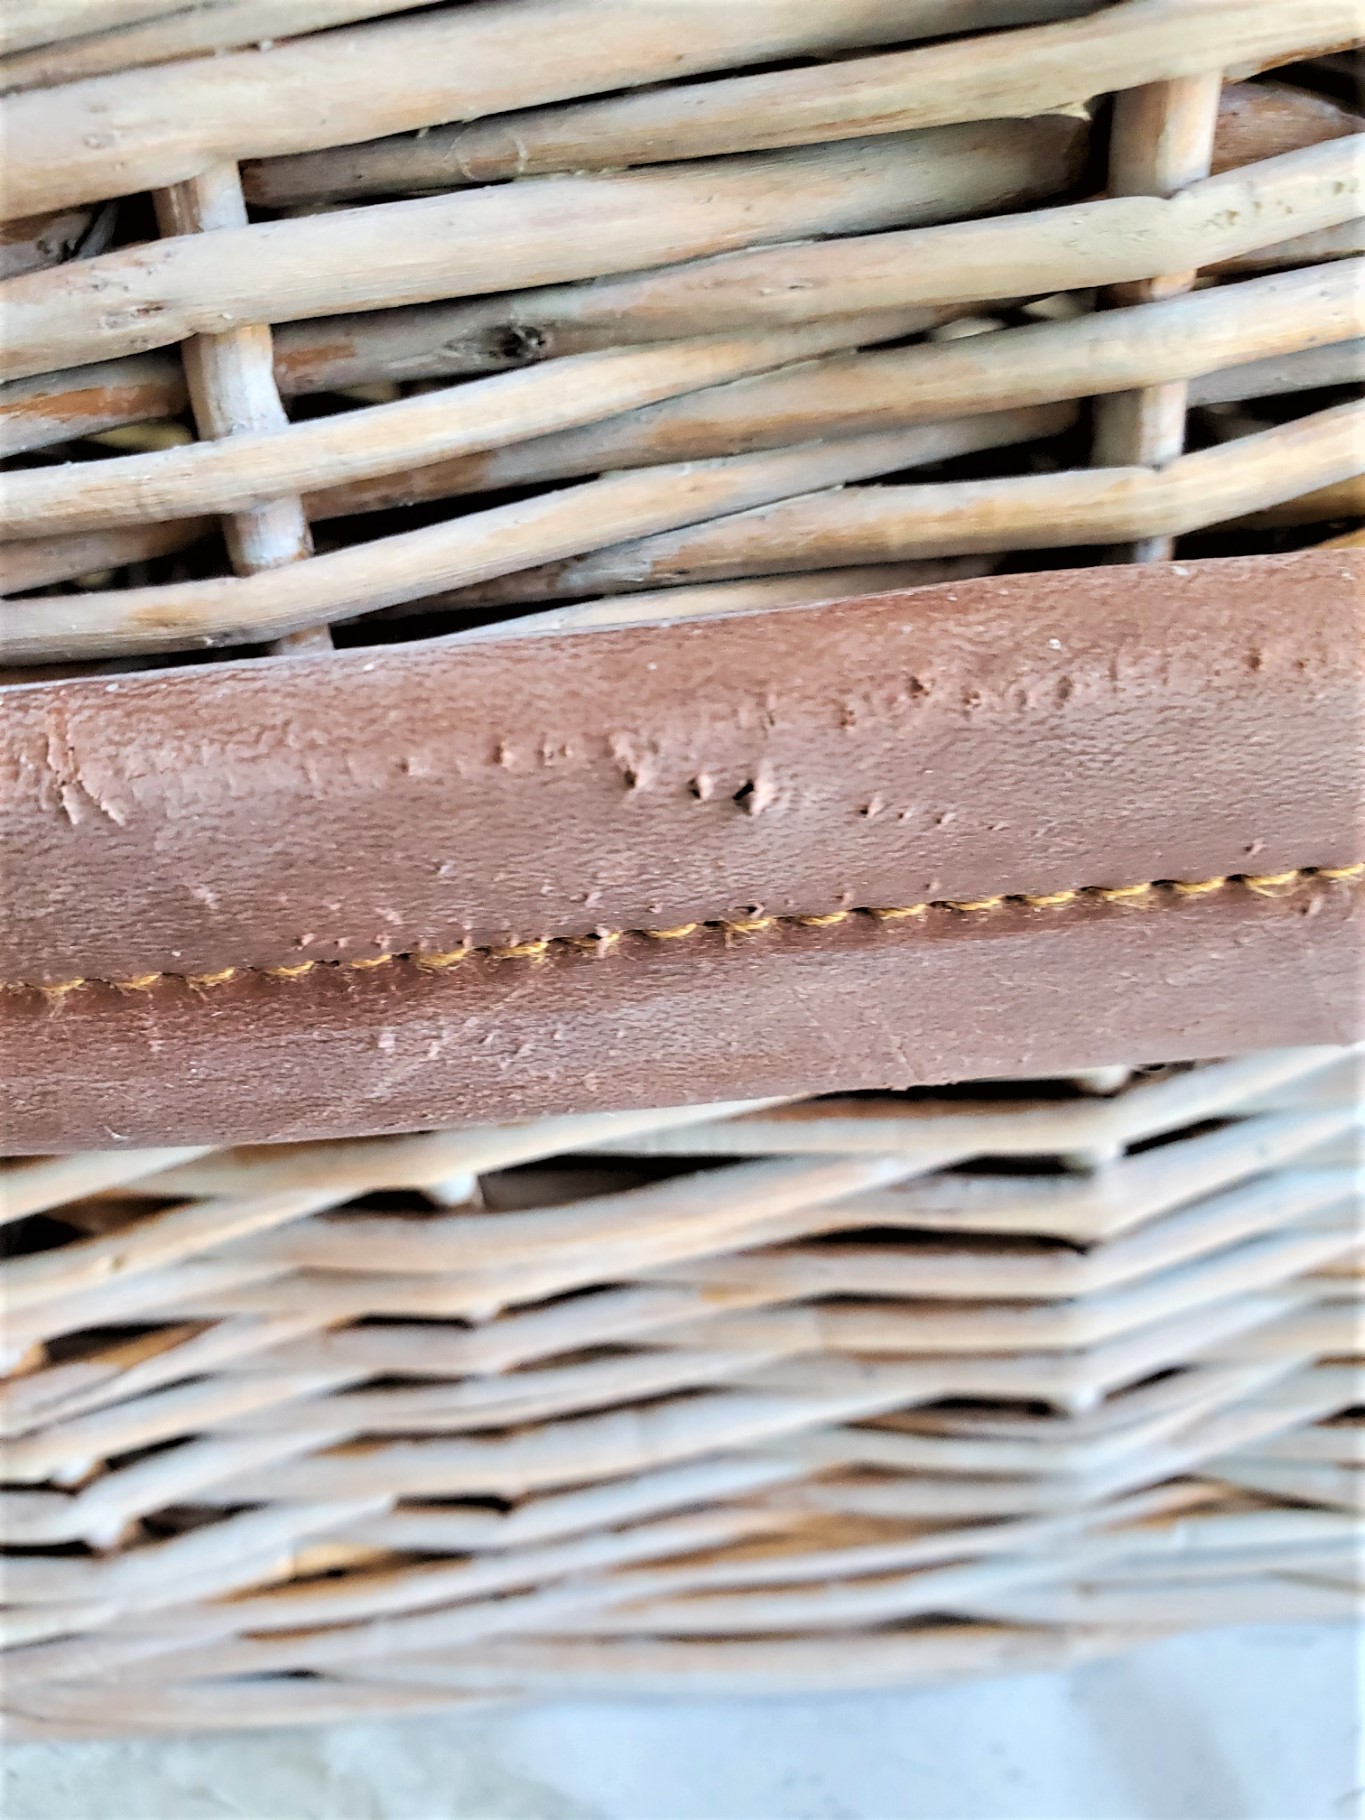
Step 1: Sand The Synthetic Leather
Use a medium grit sanding sponge or sandpaper and begin going back ad forth with pressure. This removes the shine and adds to the distressed look of real leather.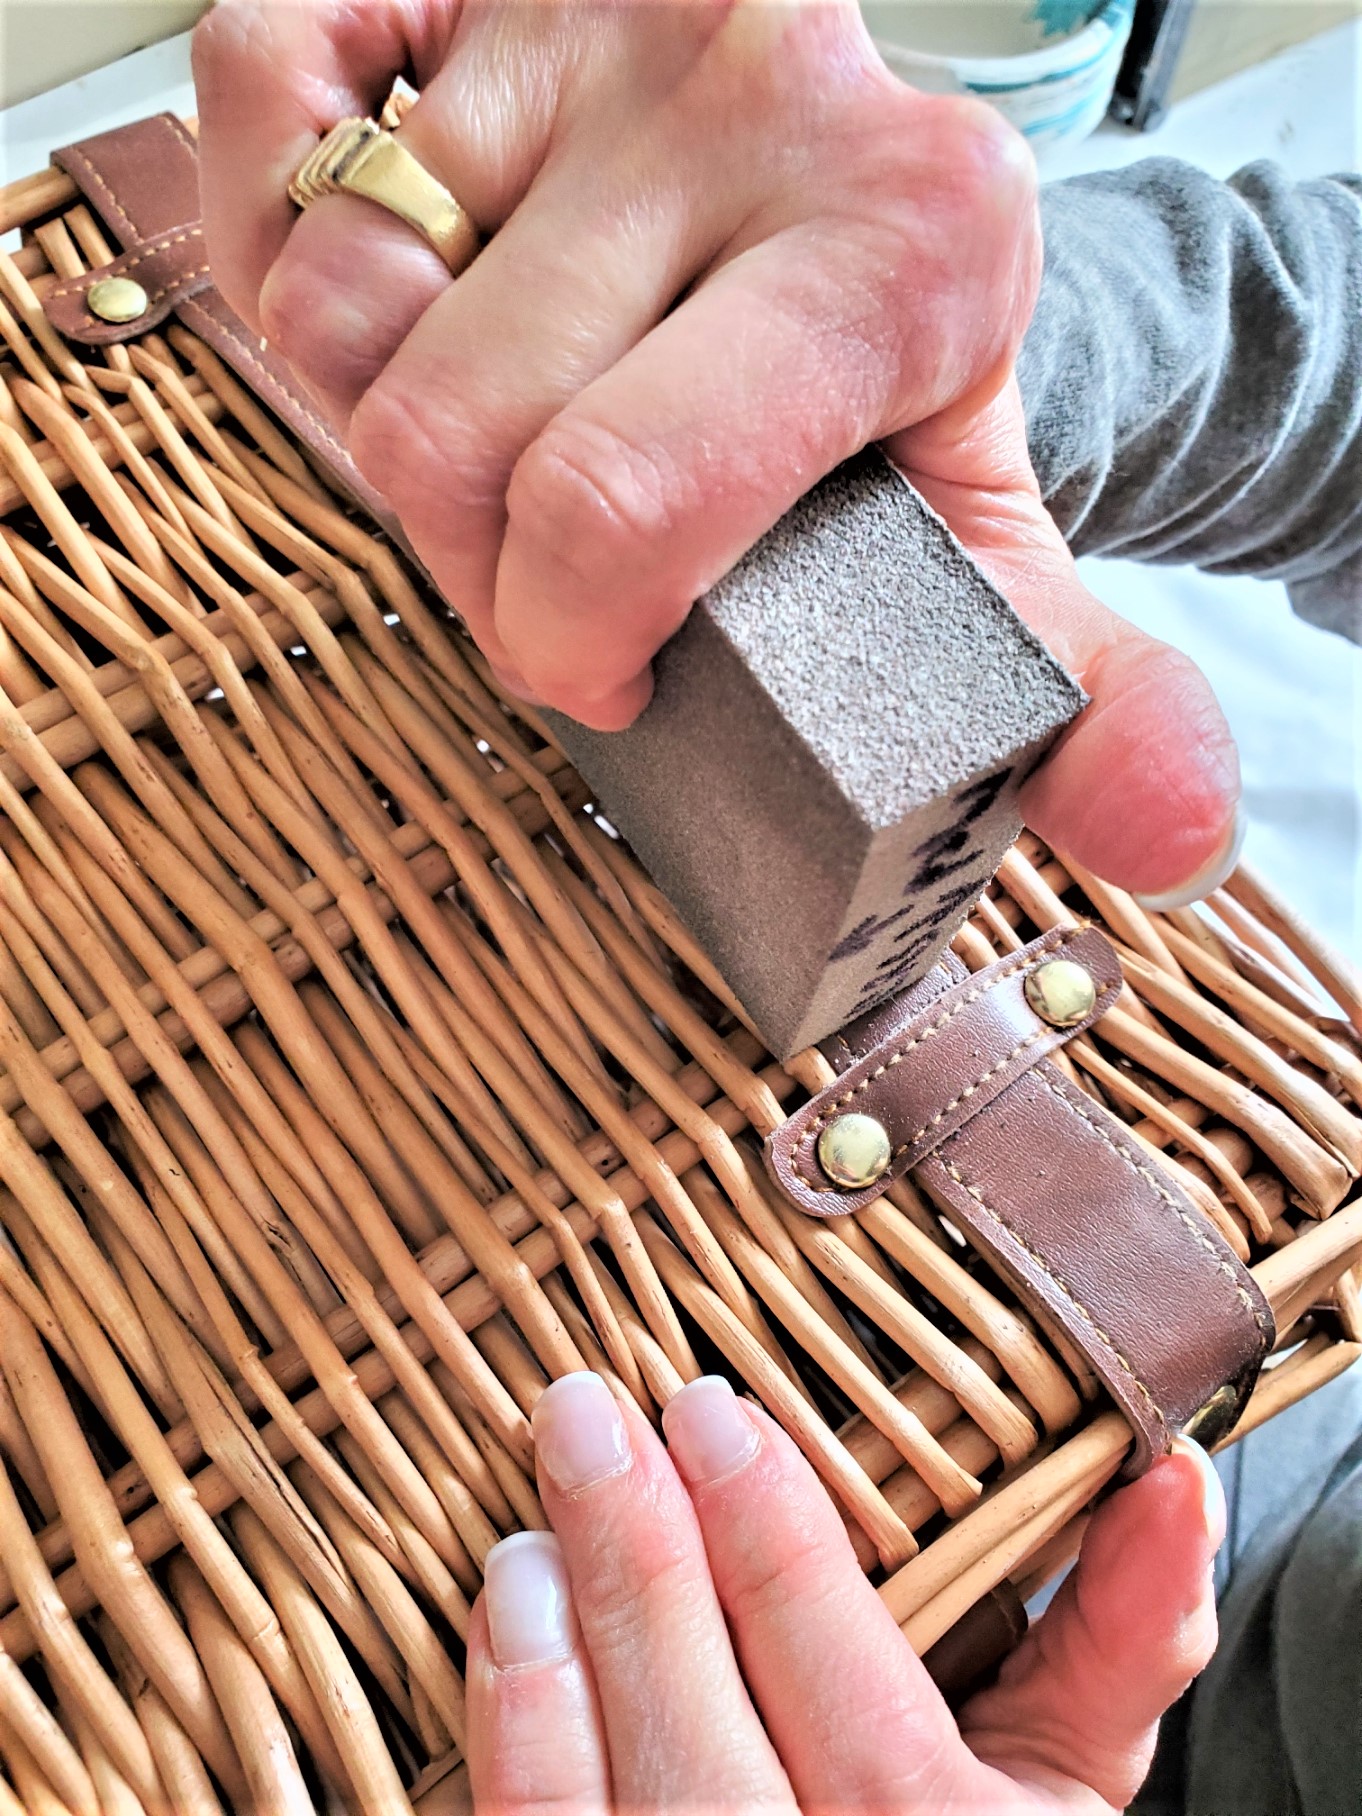
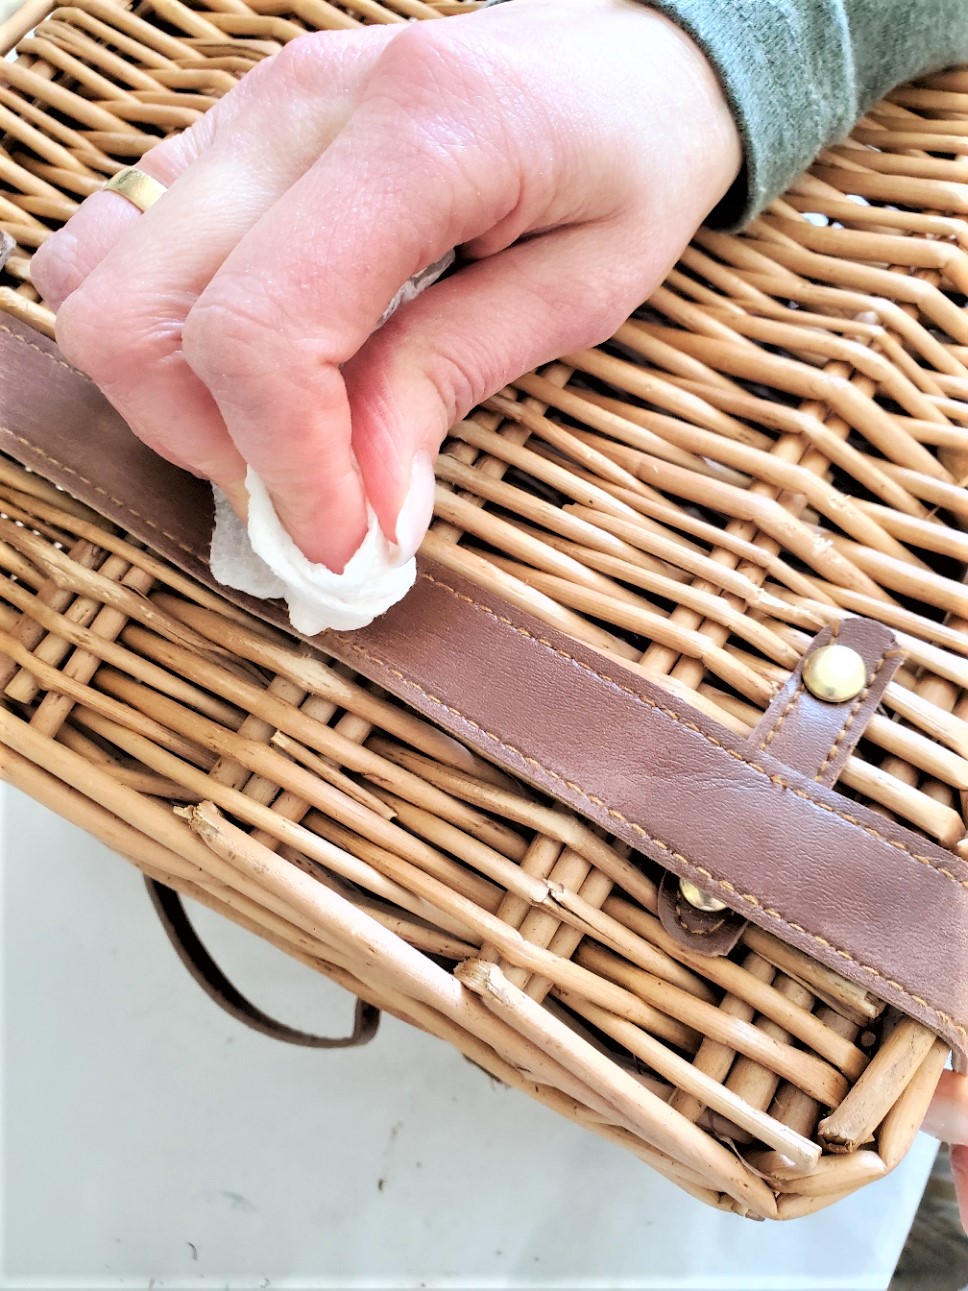
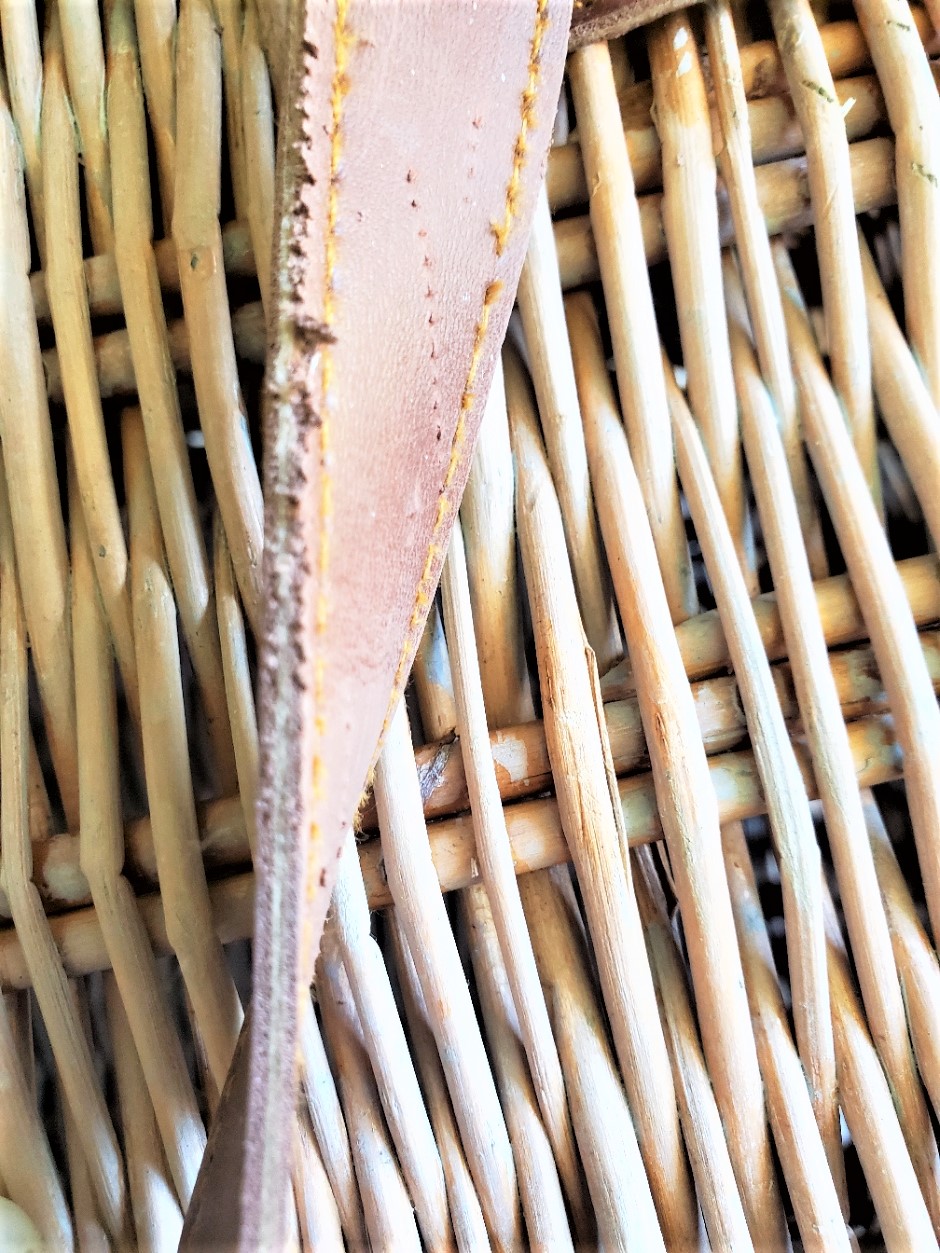
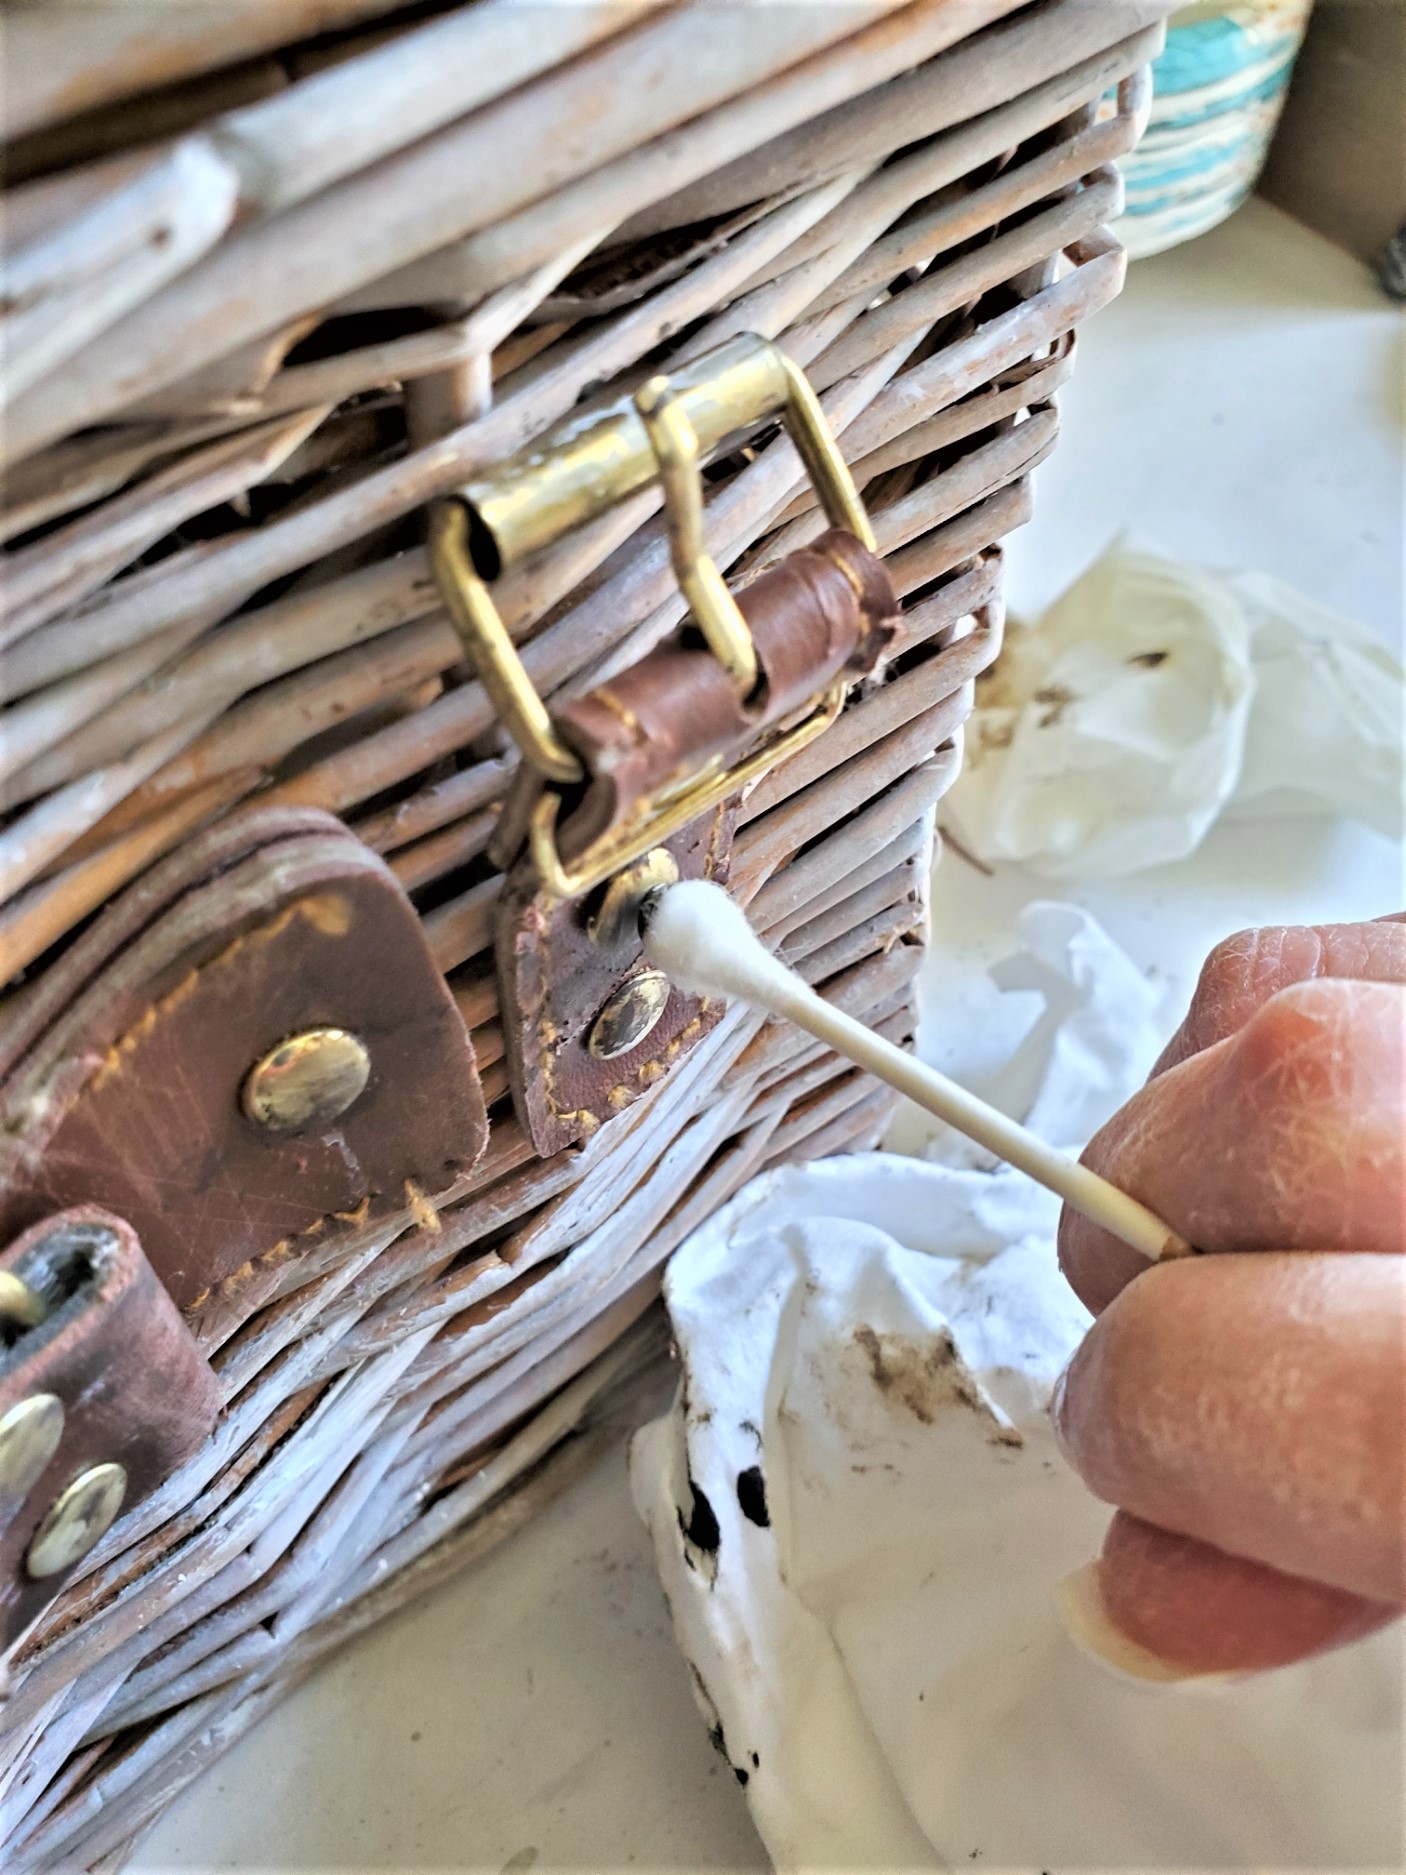
Step 2: Rubbing Alcohol
Add rubbing alcohol with a spray bottle filled with half water and half alcohol. Or use an alcohol pad and rub small sections at a time to age. Let this dry.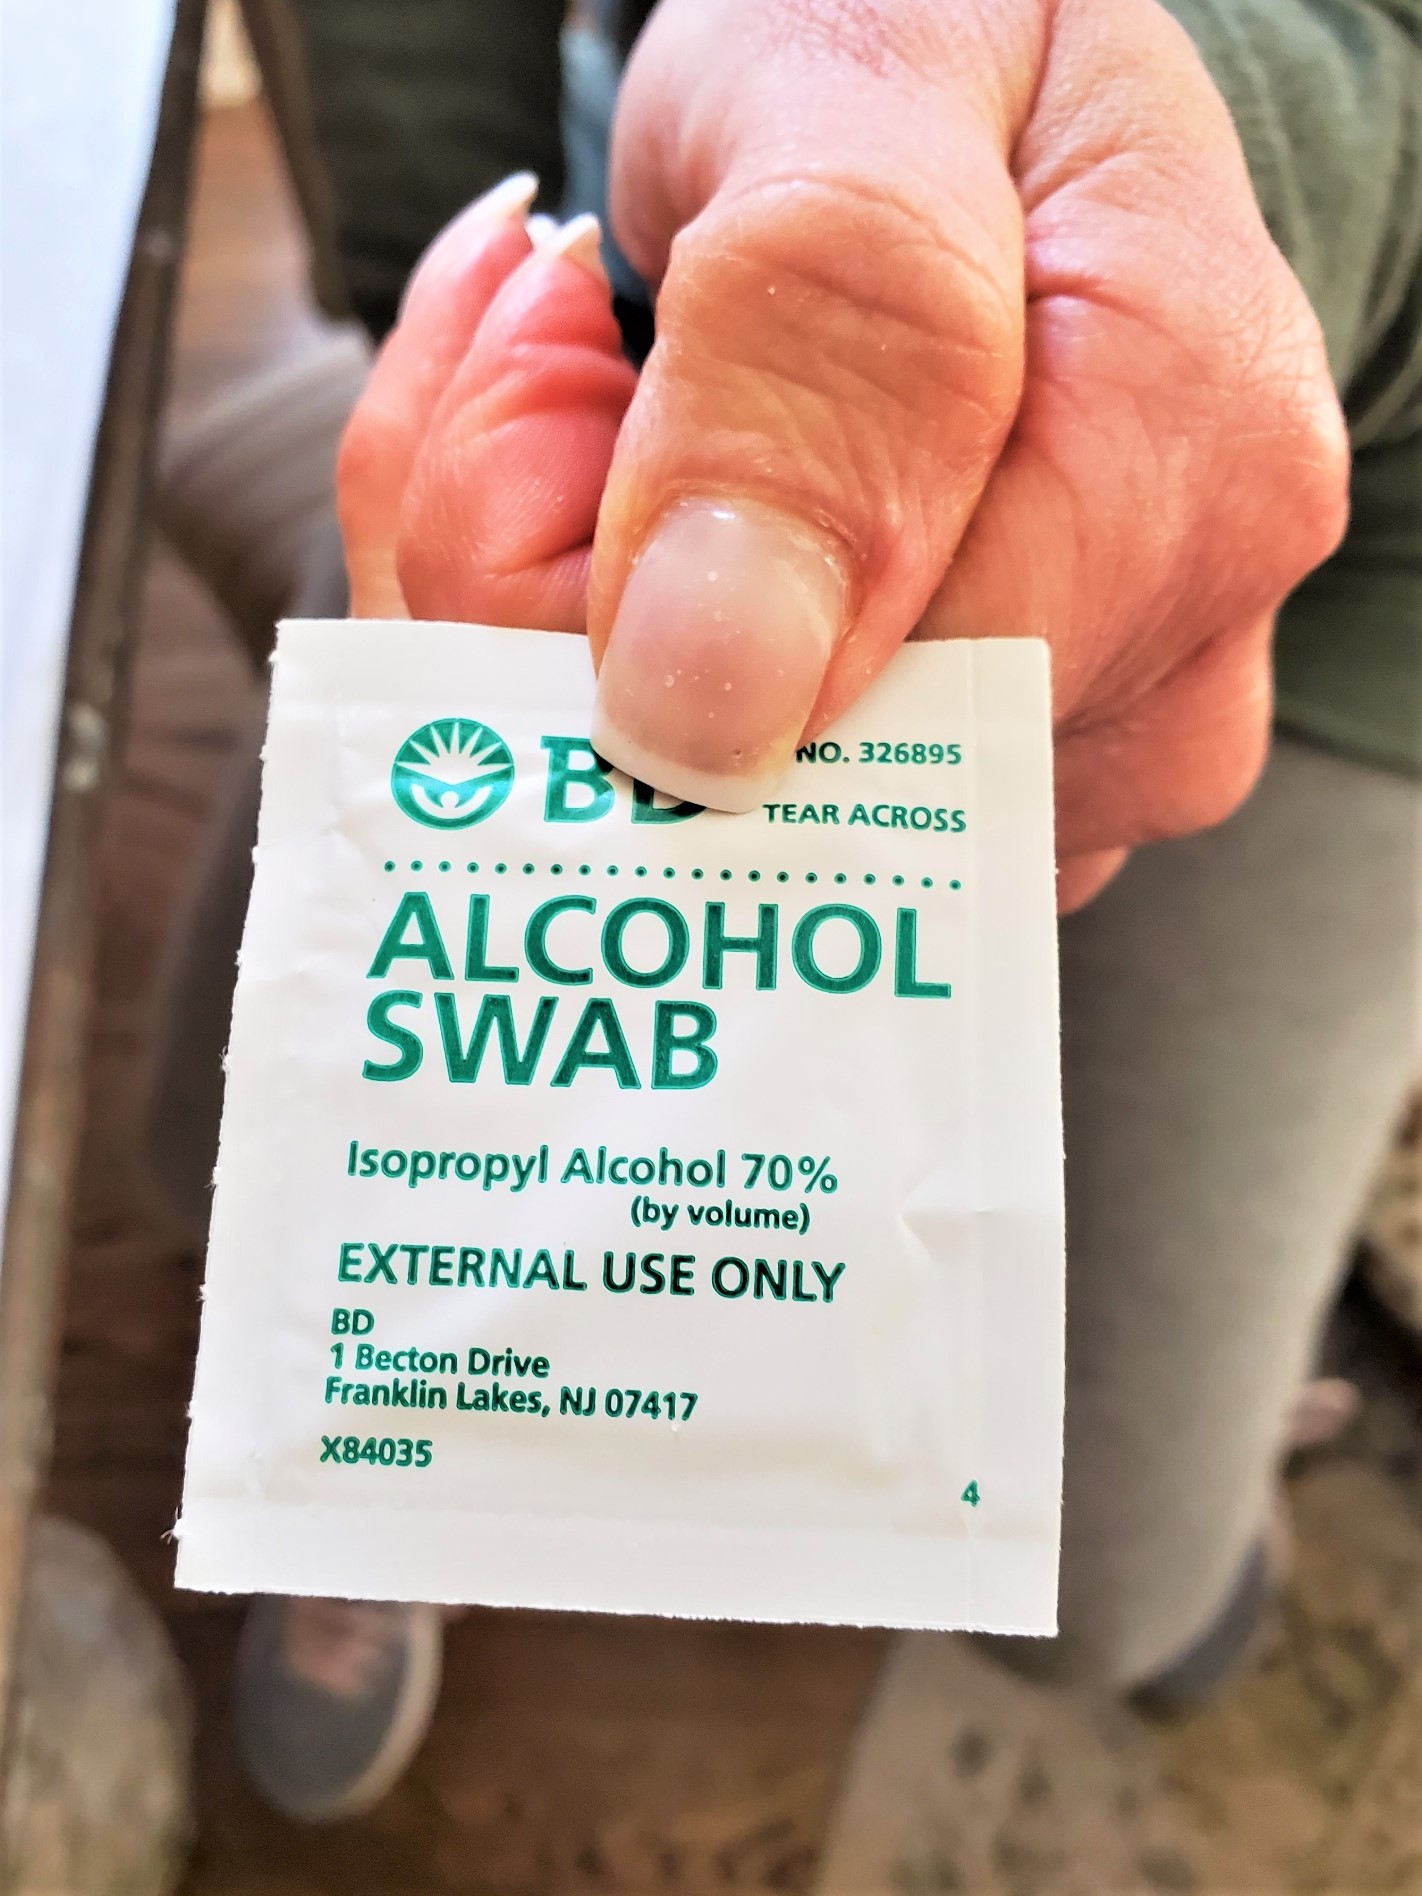
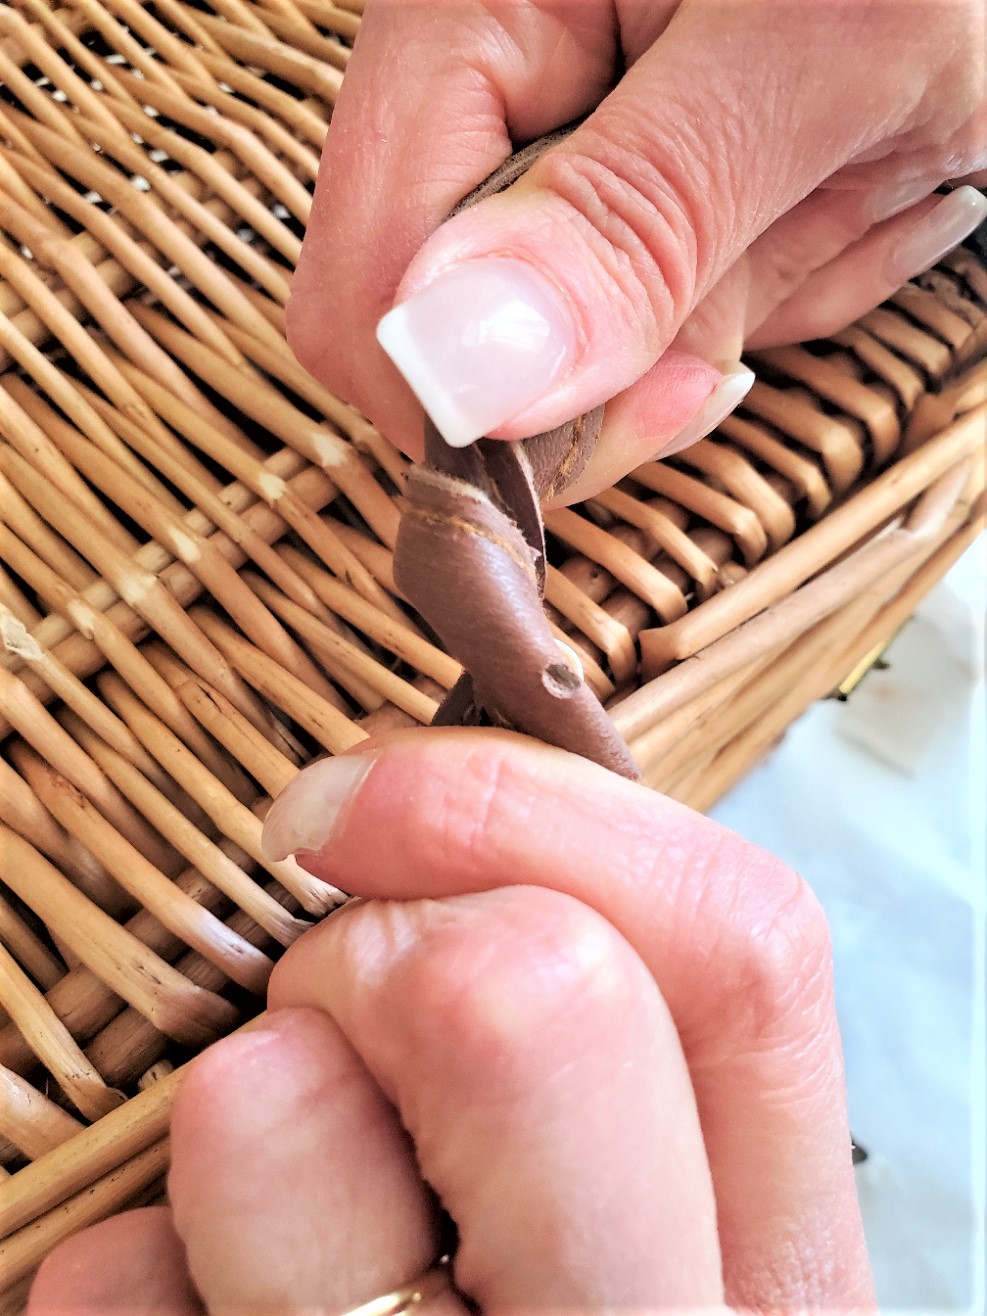
Step 3: Age Pleather For A Real Leather Look
When true leather is old and worn it has scratches, creases, and worn edges. To add this type of age carefully scrape the serrated knife along the edges of each piece of fake leather on the basket. Also, it's a good idea to do this in different directions to make it look like old real leather. Now this is when the leather begins to truly look like real genuine leather.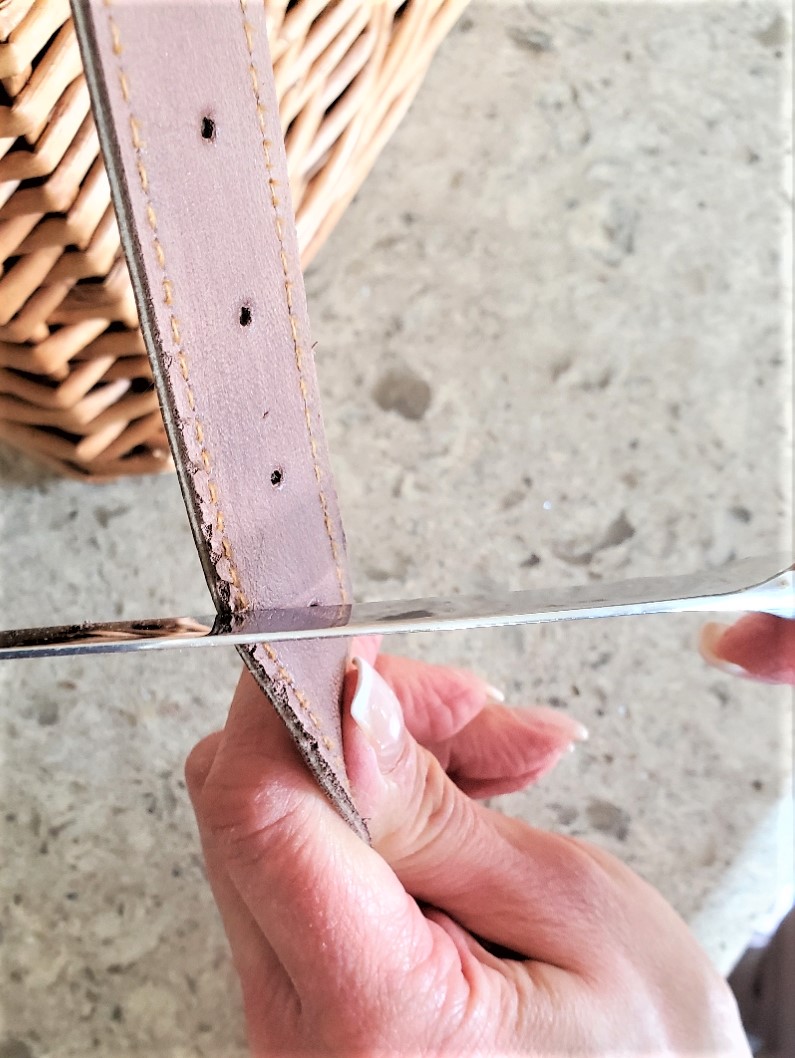
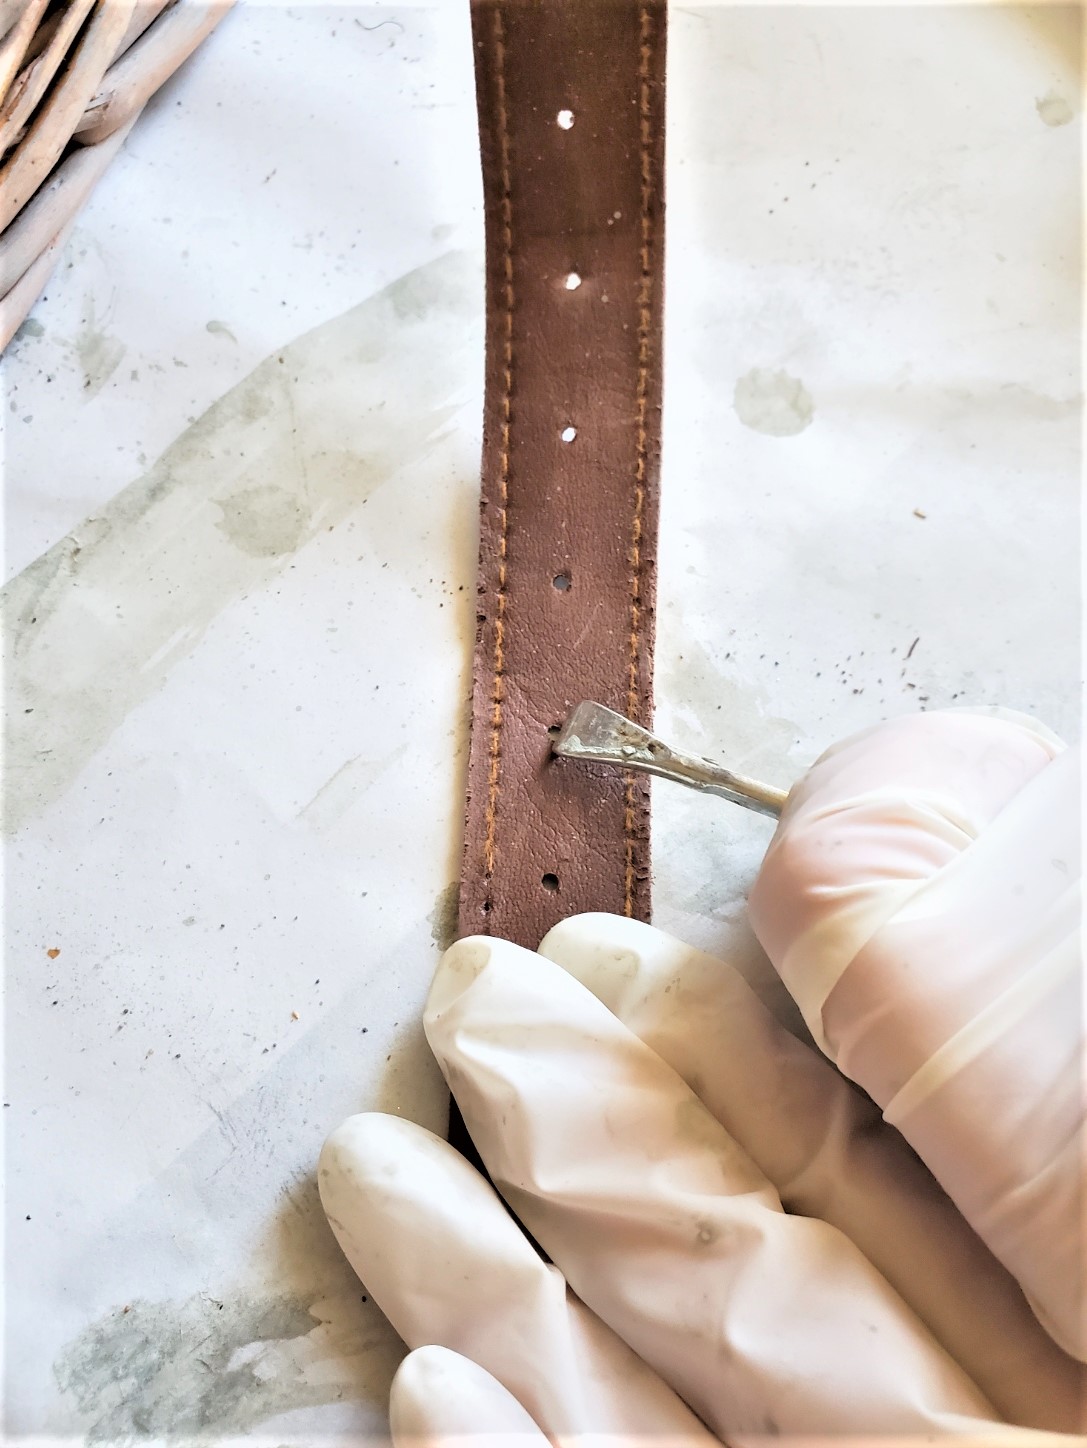

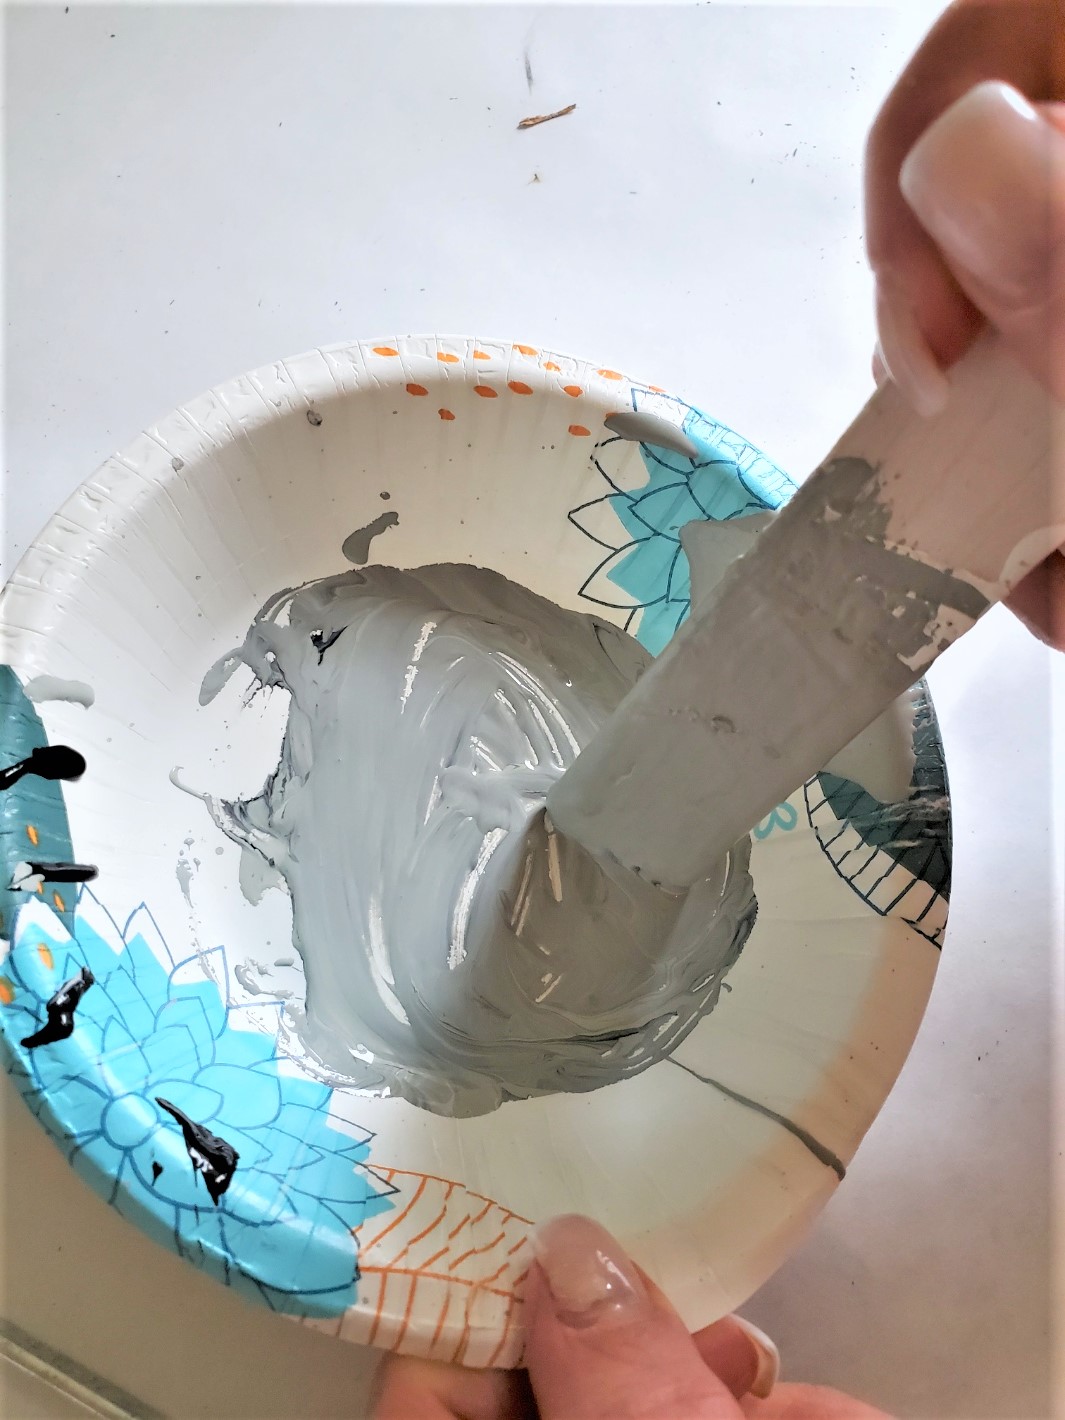
Step 4: Add Paint For More Age
Another of my favorite ways, add a little bit of gray paint, black paint, white paint, and dark brown paint in a small section at a time.
Giving This Project A Try:
- If you're looking for a fun and easy DIY project that can transform an old or boring picnic basket into a unique and stylish piece, then aging it with a dry brush technique is definitely worth trying!
- Not only is this project a great way to give a new look to an old item, but it's also an opportunity to unleash your creativity and put your own personal touch on your home decor. Plus, dry brushing is a relatively simple technique that anyone can learn and master with a little bit of practice.
- So don't hesitate to give it a try! You might be surprised at how much you enjoy the process and the end result. It's a great way to spend a little bit of time being crafty and creating something beautiful. And who knows, you may even discover a new favorite hobby in the process!