Acorn Napkin Rings Easy Fall Craft to Make Today!
These lovely napkins are a great way to add rustic charm to any fall season table setting. So, let's take a look at this blog post and an easy step-by-step tutorial to make acorn napkin rings easy fall craft to make today!
Yield: 6 napkin rings
Cost: $10 if you have acorns
Notes
Acorn Napkin Rings Easy Fall Craft to Make Today!
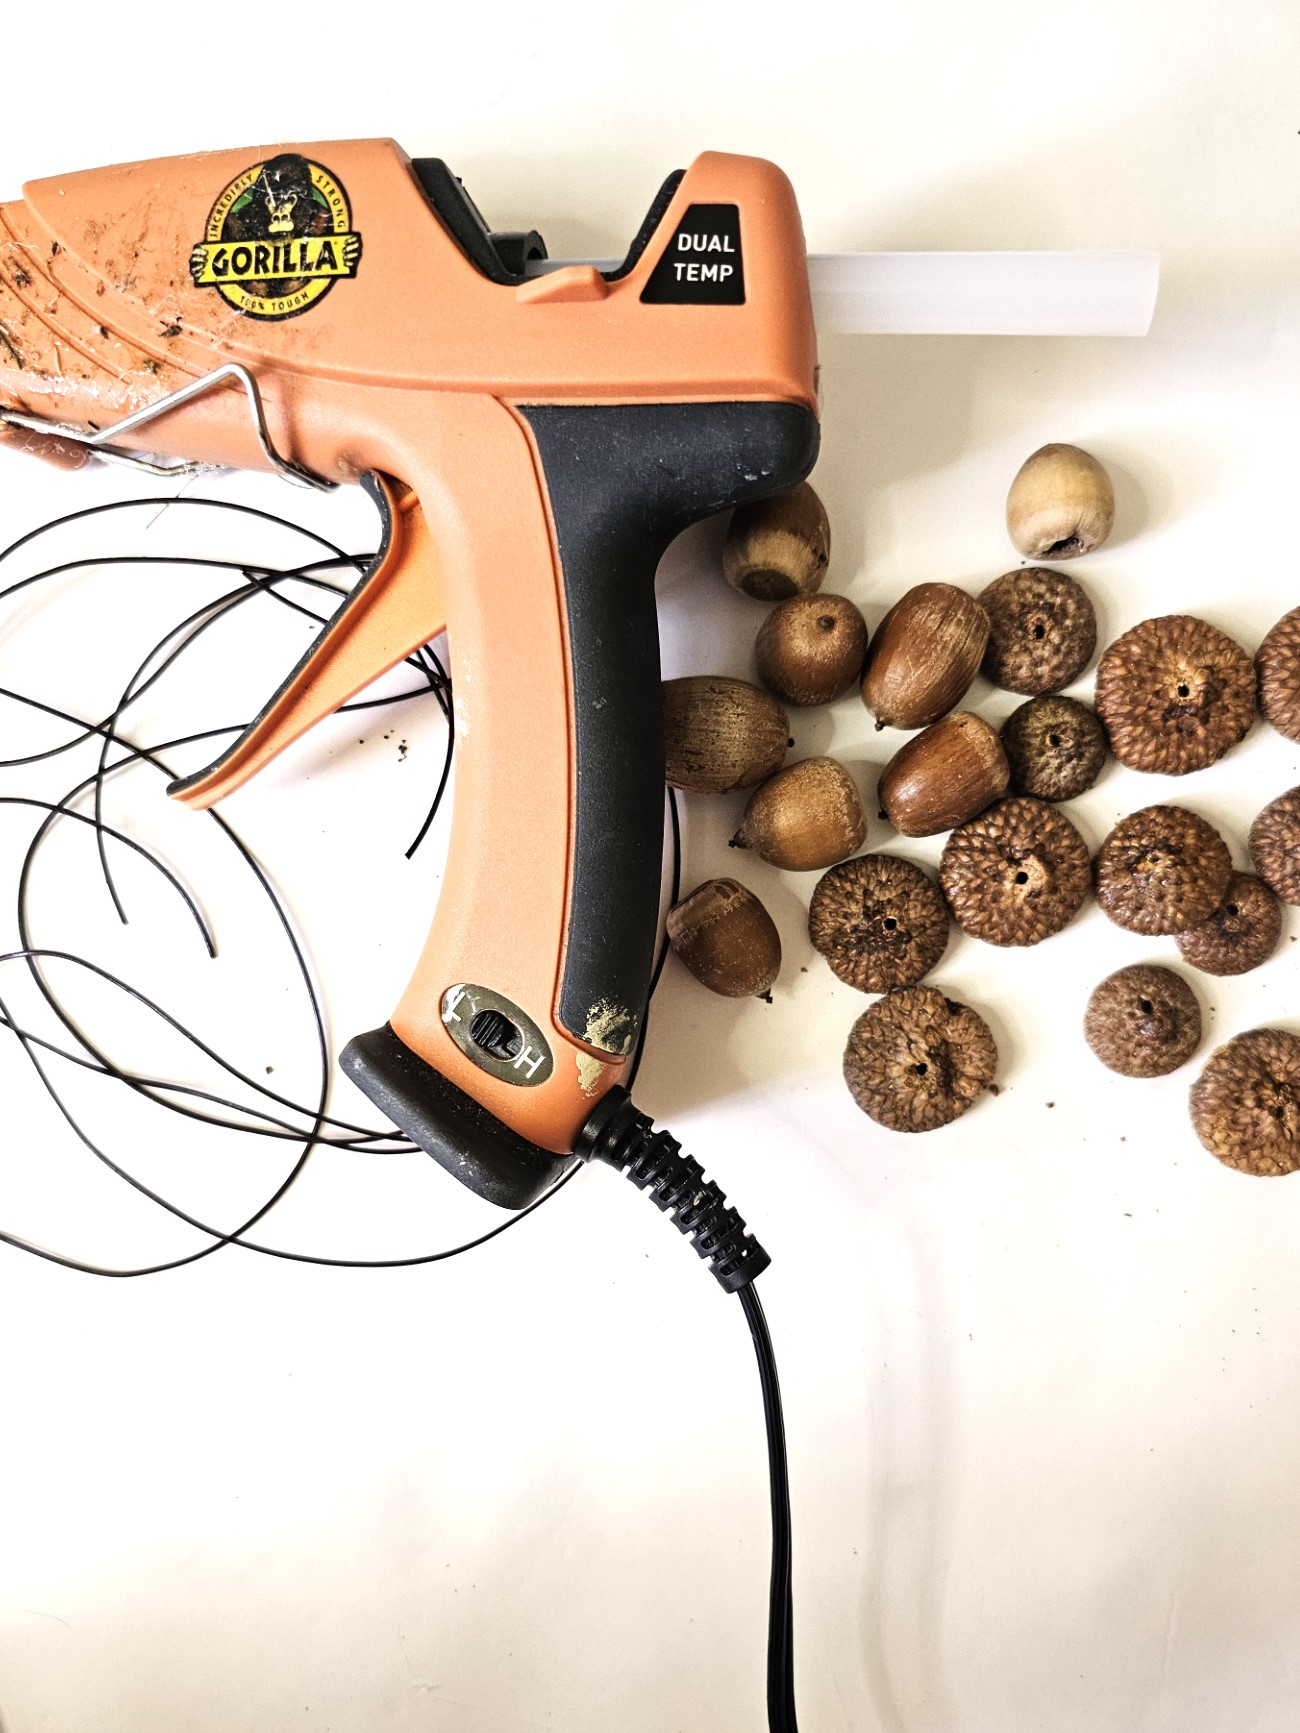
Craft Supplies:
-
- 12 real acorns or 12 acorn caps
-
- Hot Glue Gun
-
- Tweezers
-
- Pliers
-
- Coated floral wire
-
- Wire cutters or scissors
-
- Drill
-
- 1/8 drill bit
Step 1: Clean and Preserve Acorns
The first step is necessary if you plan to keep the acorn oak napkin ring for a long time. If you are going to use these for special occasions for the fall season or your Thanksgiving table a damp cloth with dish soap will clean these to add to each place setting. However, if you want to save time I will share a great way to use acorn caps in this step-by-step tutorial. Cindy's Acorn Tip: Go through the easy steps I share in this blog post to clean and preserve acorns for crafts and decor. It takes a little bit of time and these natural elements will last a long time. This step-by-step tutorial will remove bugs and dirt. This is a fun way to enjoy nature in your home and fall decor for a long time.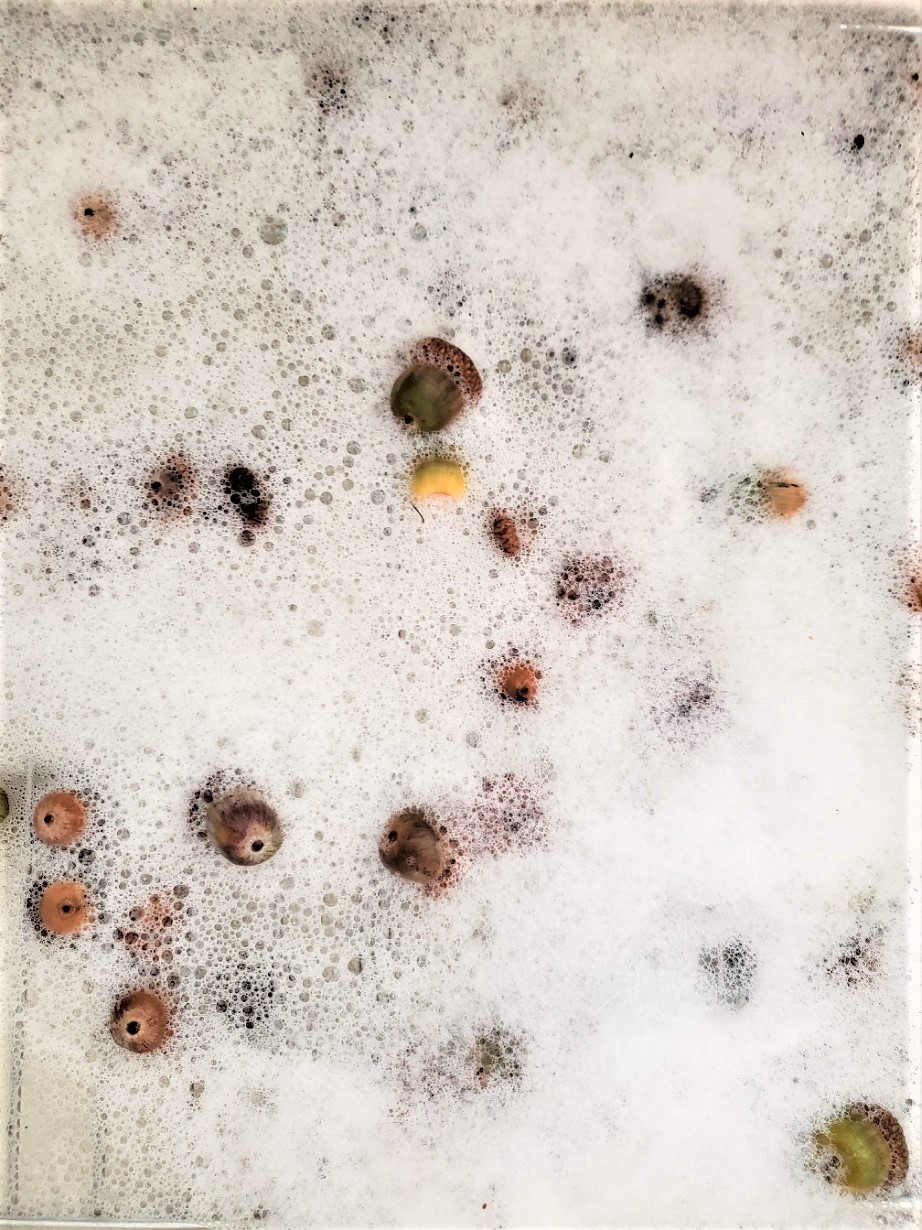
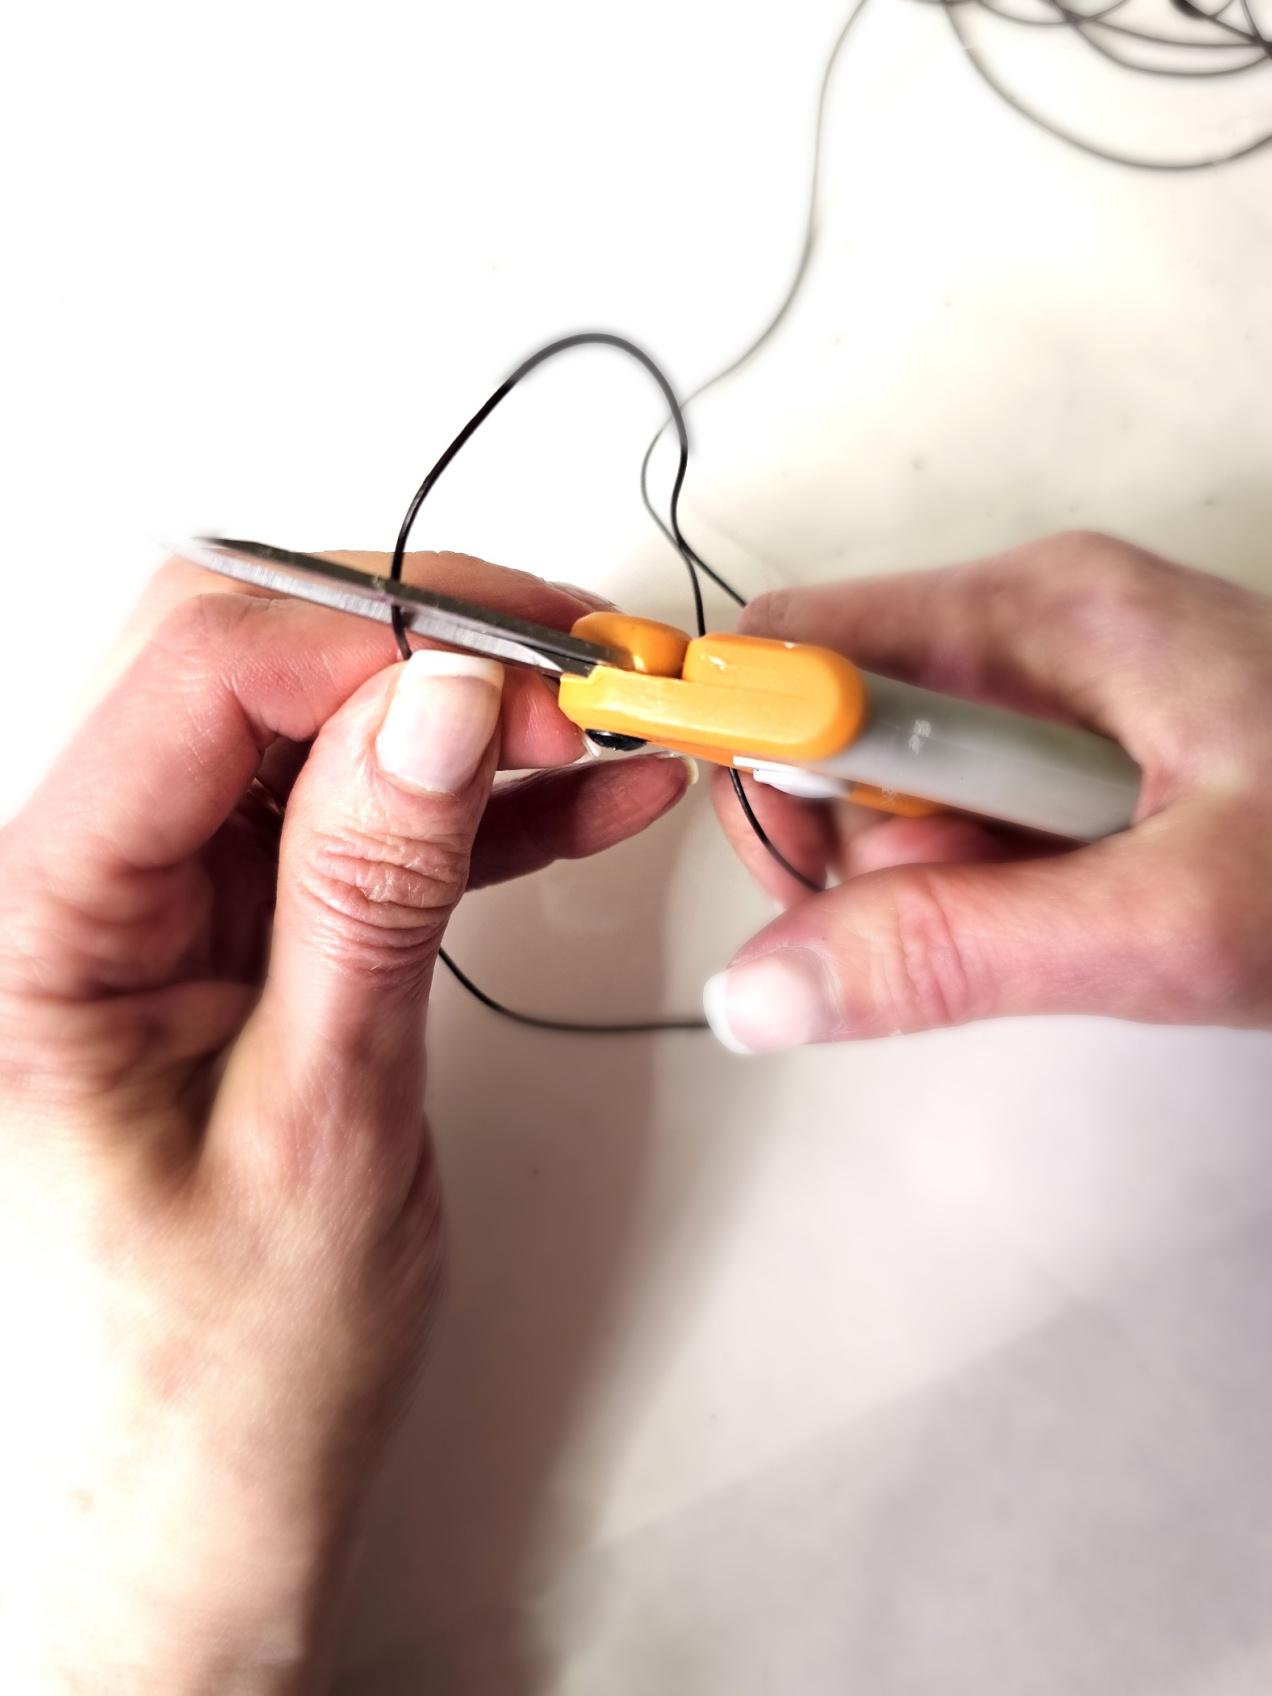
Step 2: Measure Wire
Next measure the coated floral wire 18 inches long and cut it with wire cutters or scissors.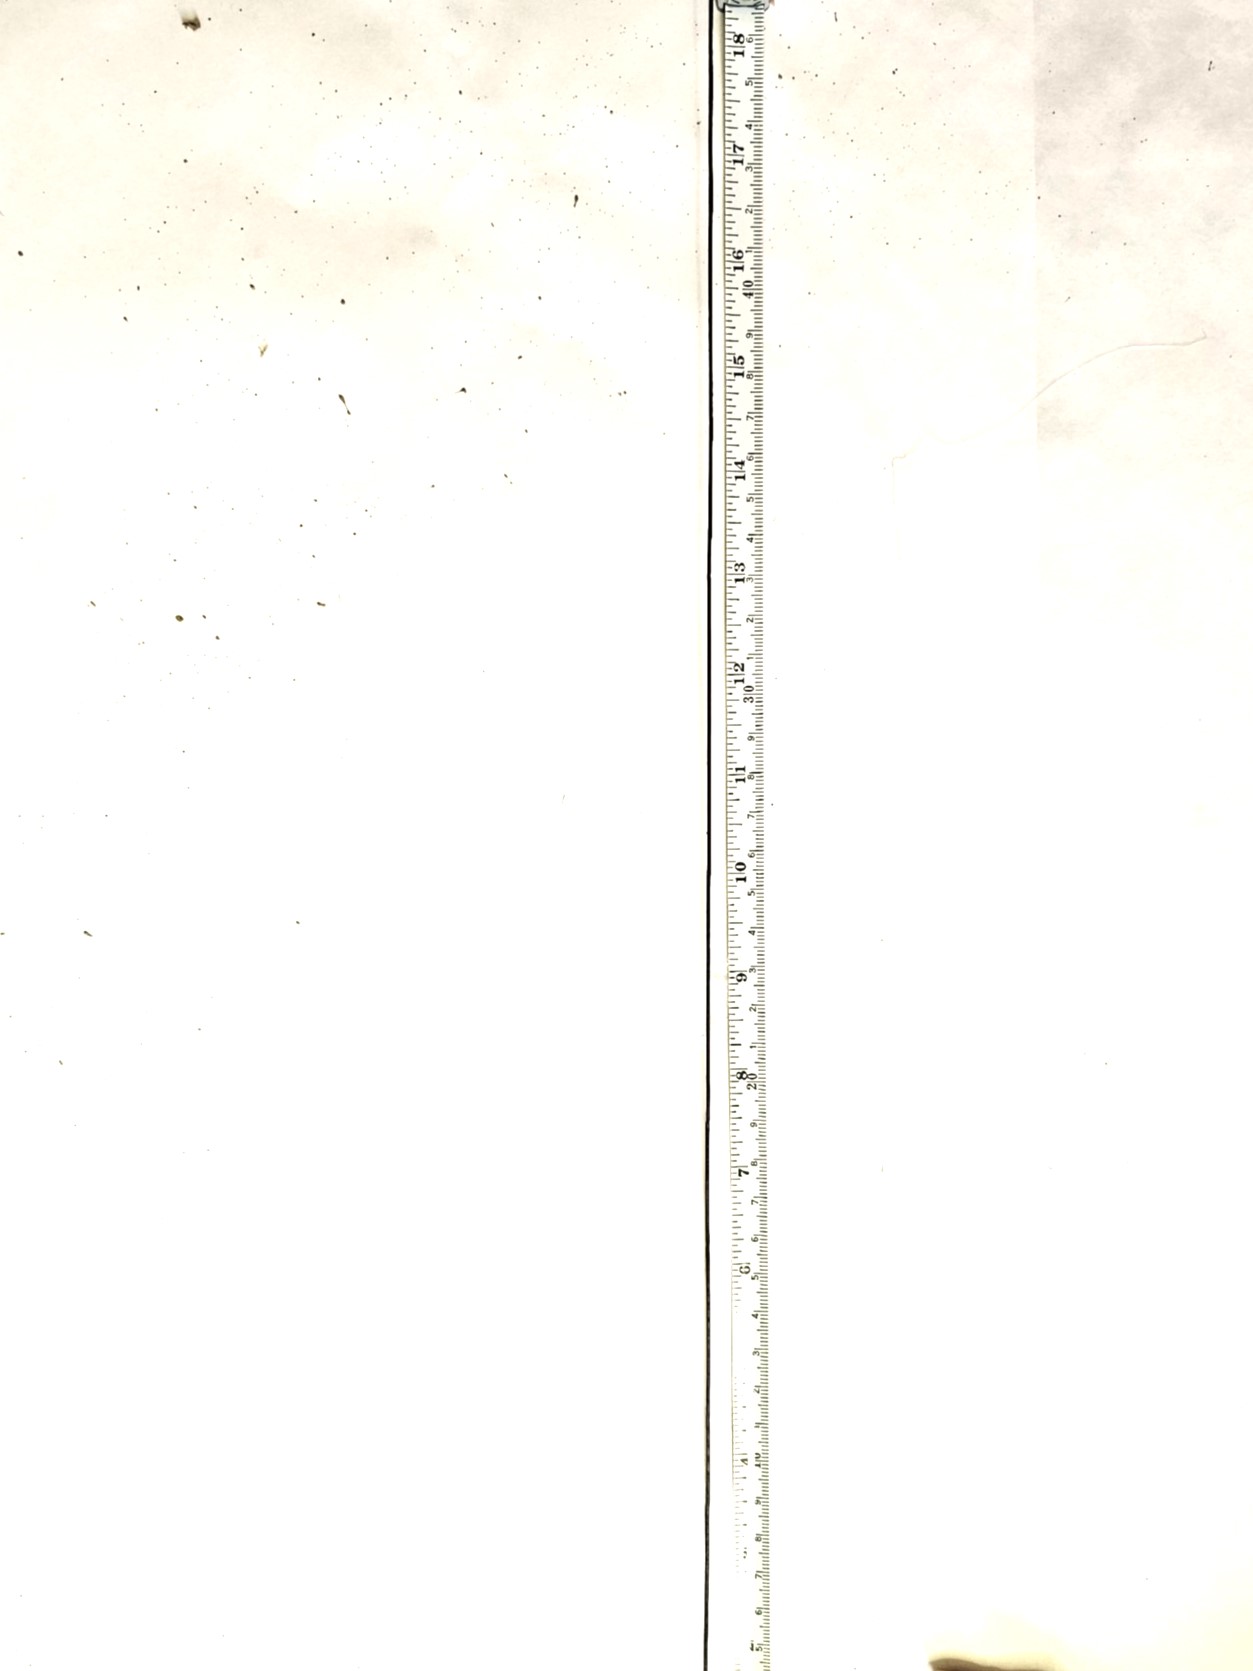
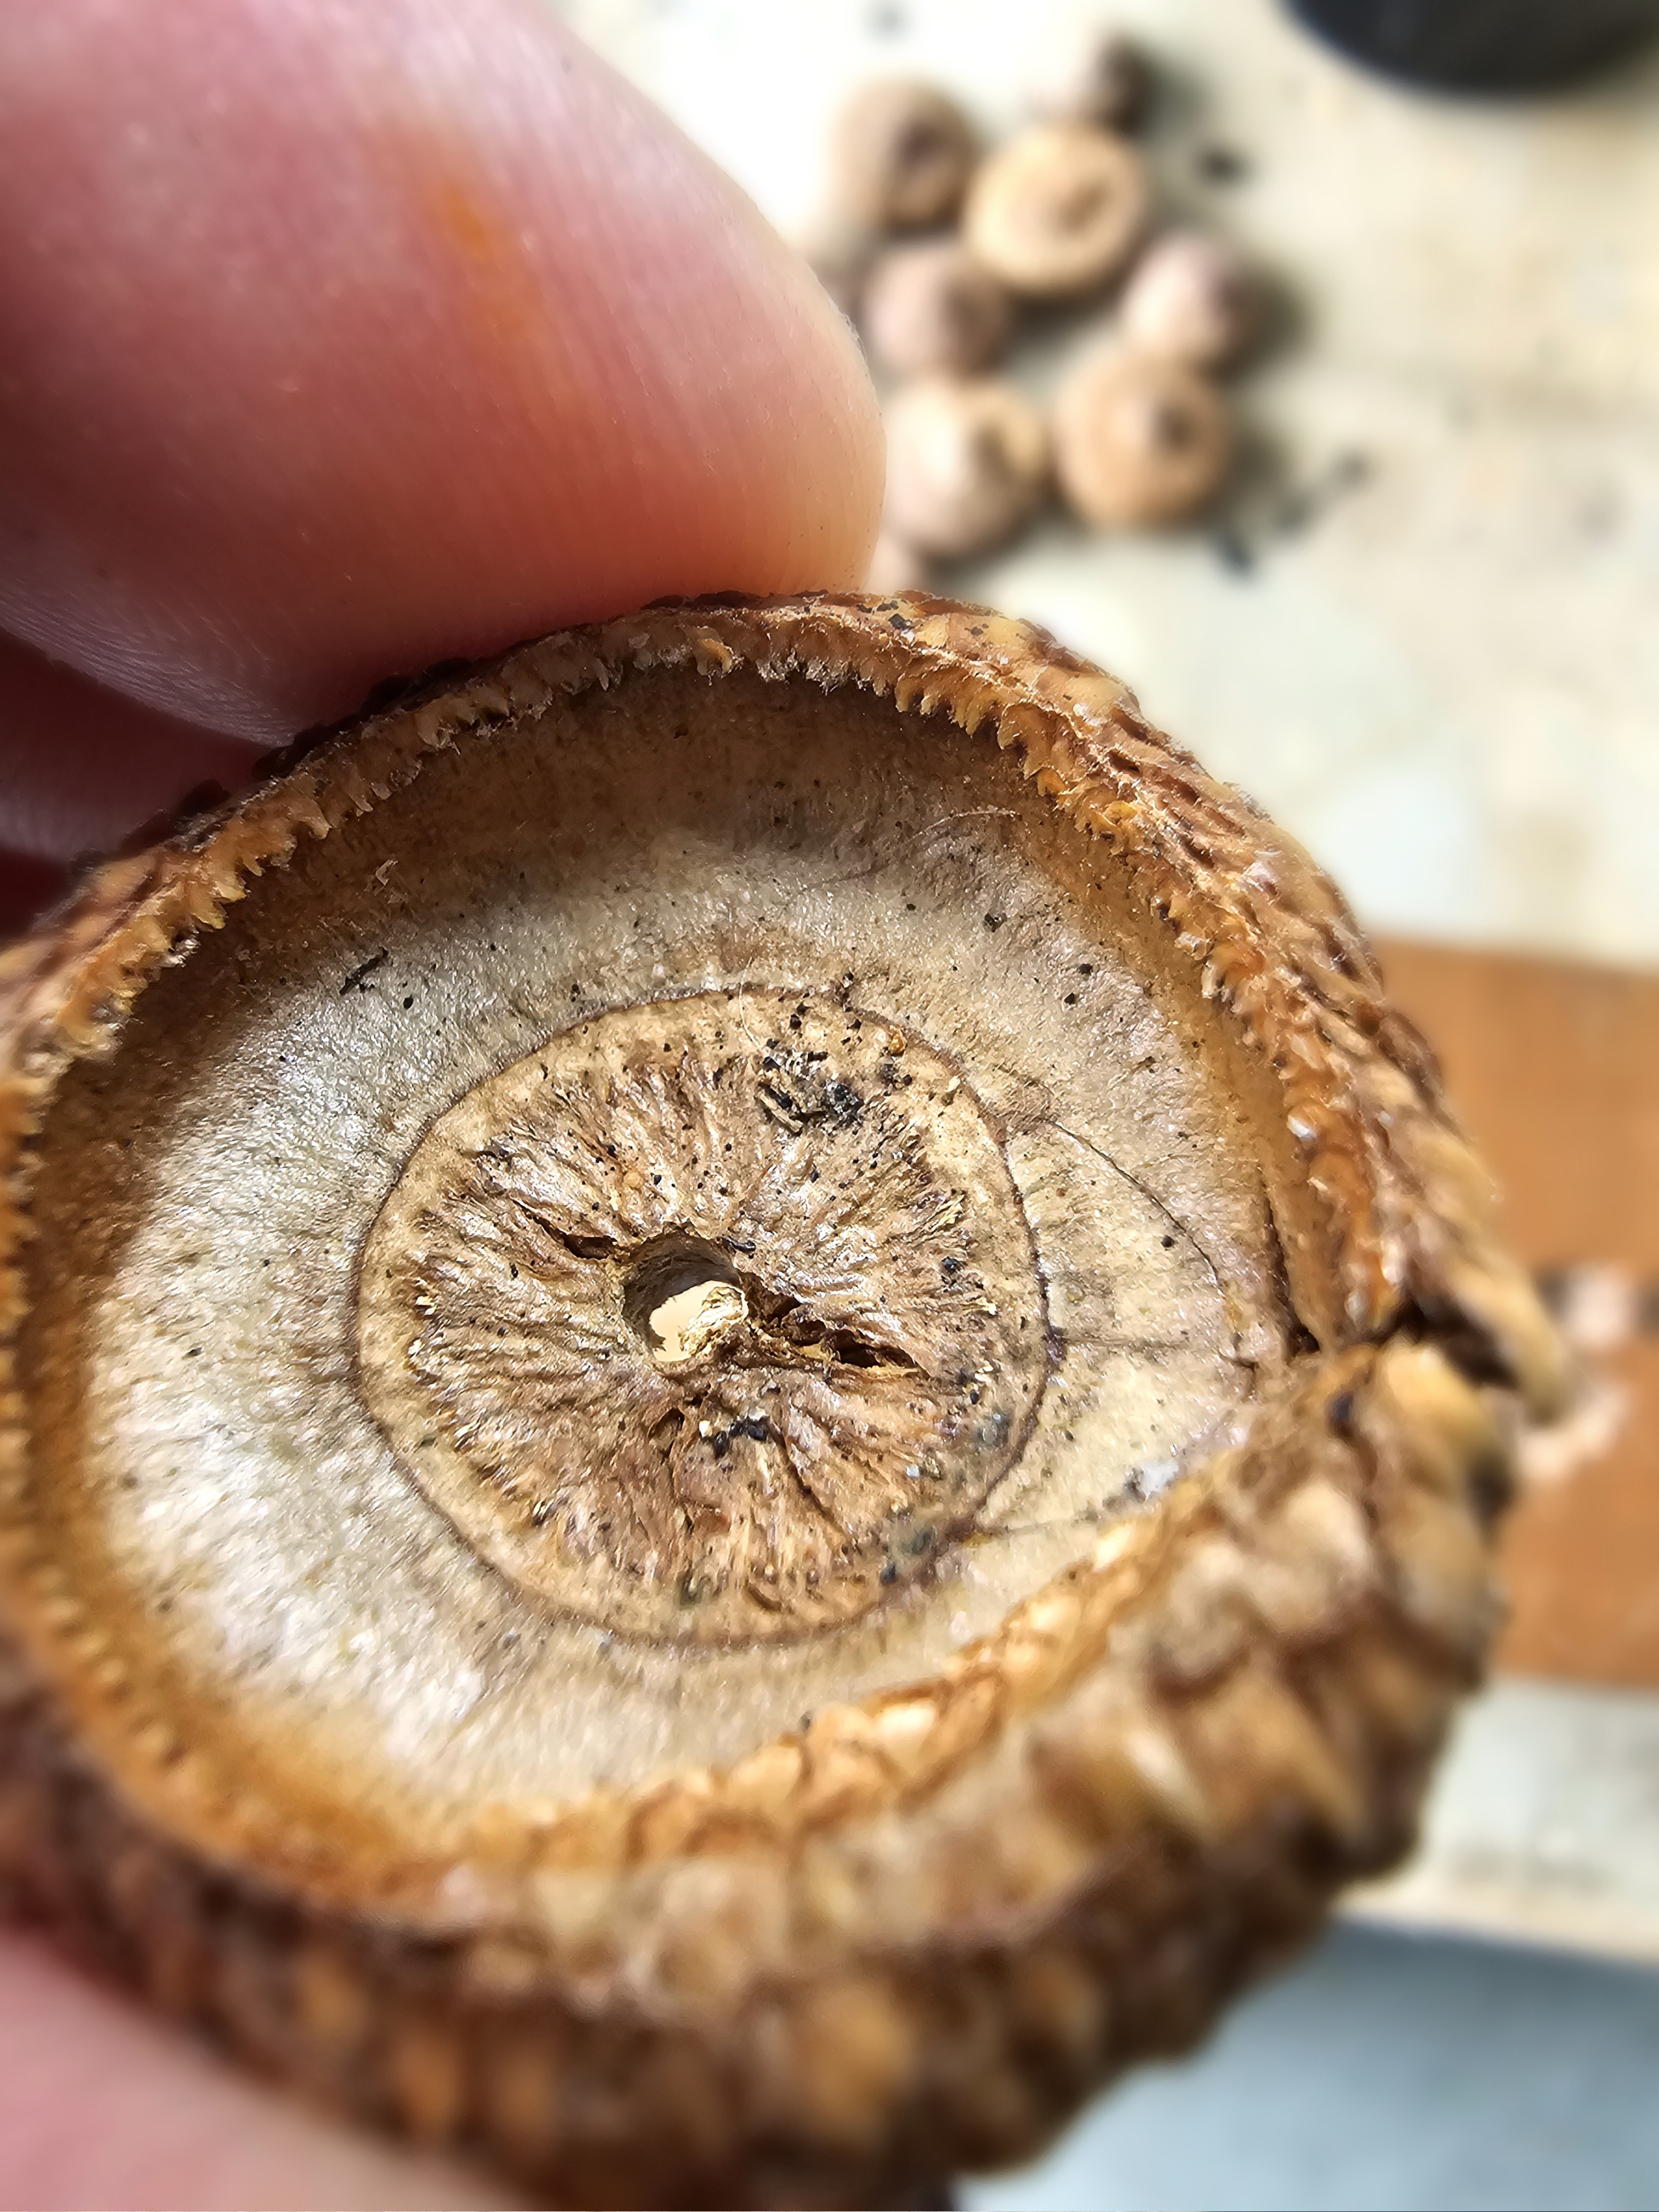
Step 3: Remove the Cap
Carefully remove each acorn cap. When removing the cap from real acorns they should come off easily. If caps aren't coming off here's an easy way to remove them. Use the point of the tweezers and place it under the cap and it should pop off. Next using pliers remove the stem from each cap. Place the cap next to each acorn so that when you are ready to add the caps with your hot glue gun, you remember which cap attaches to the acorn.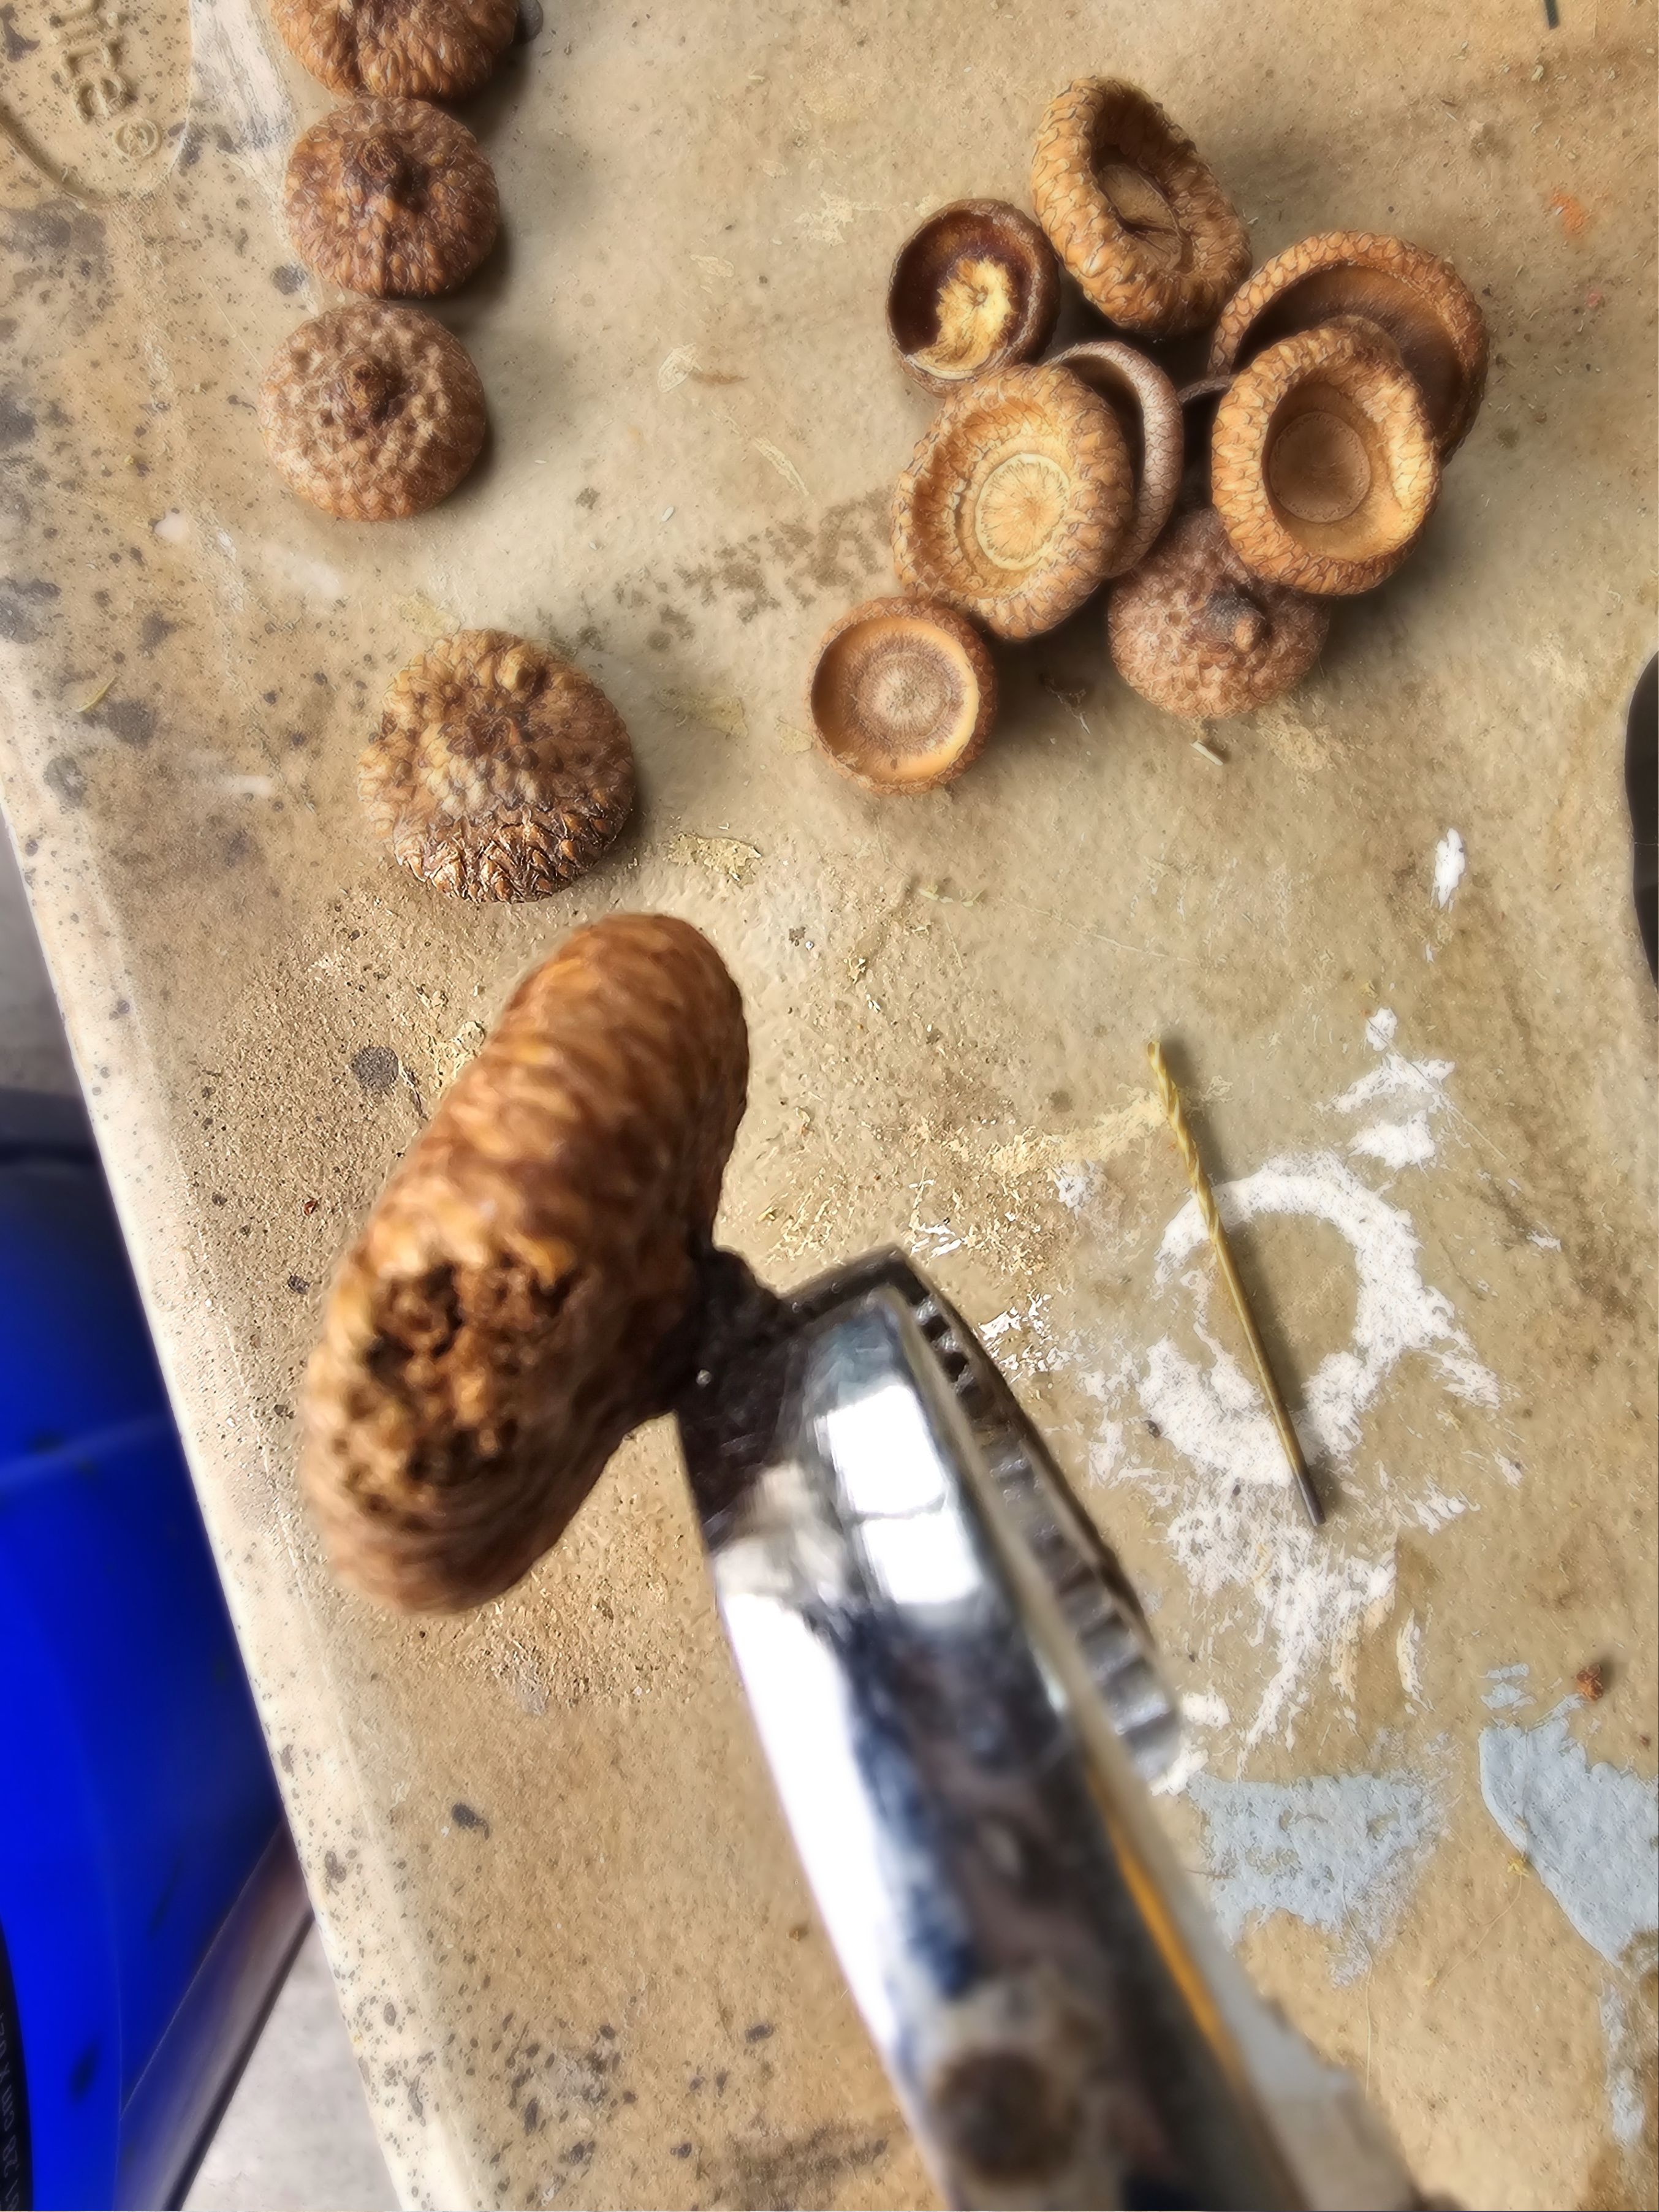
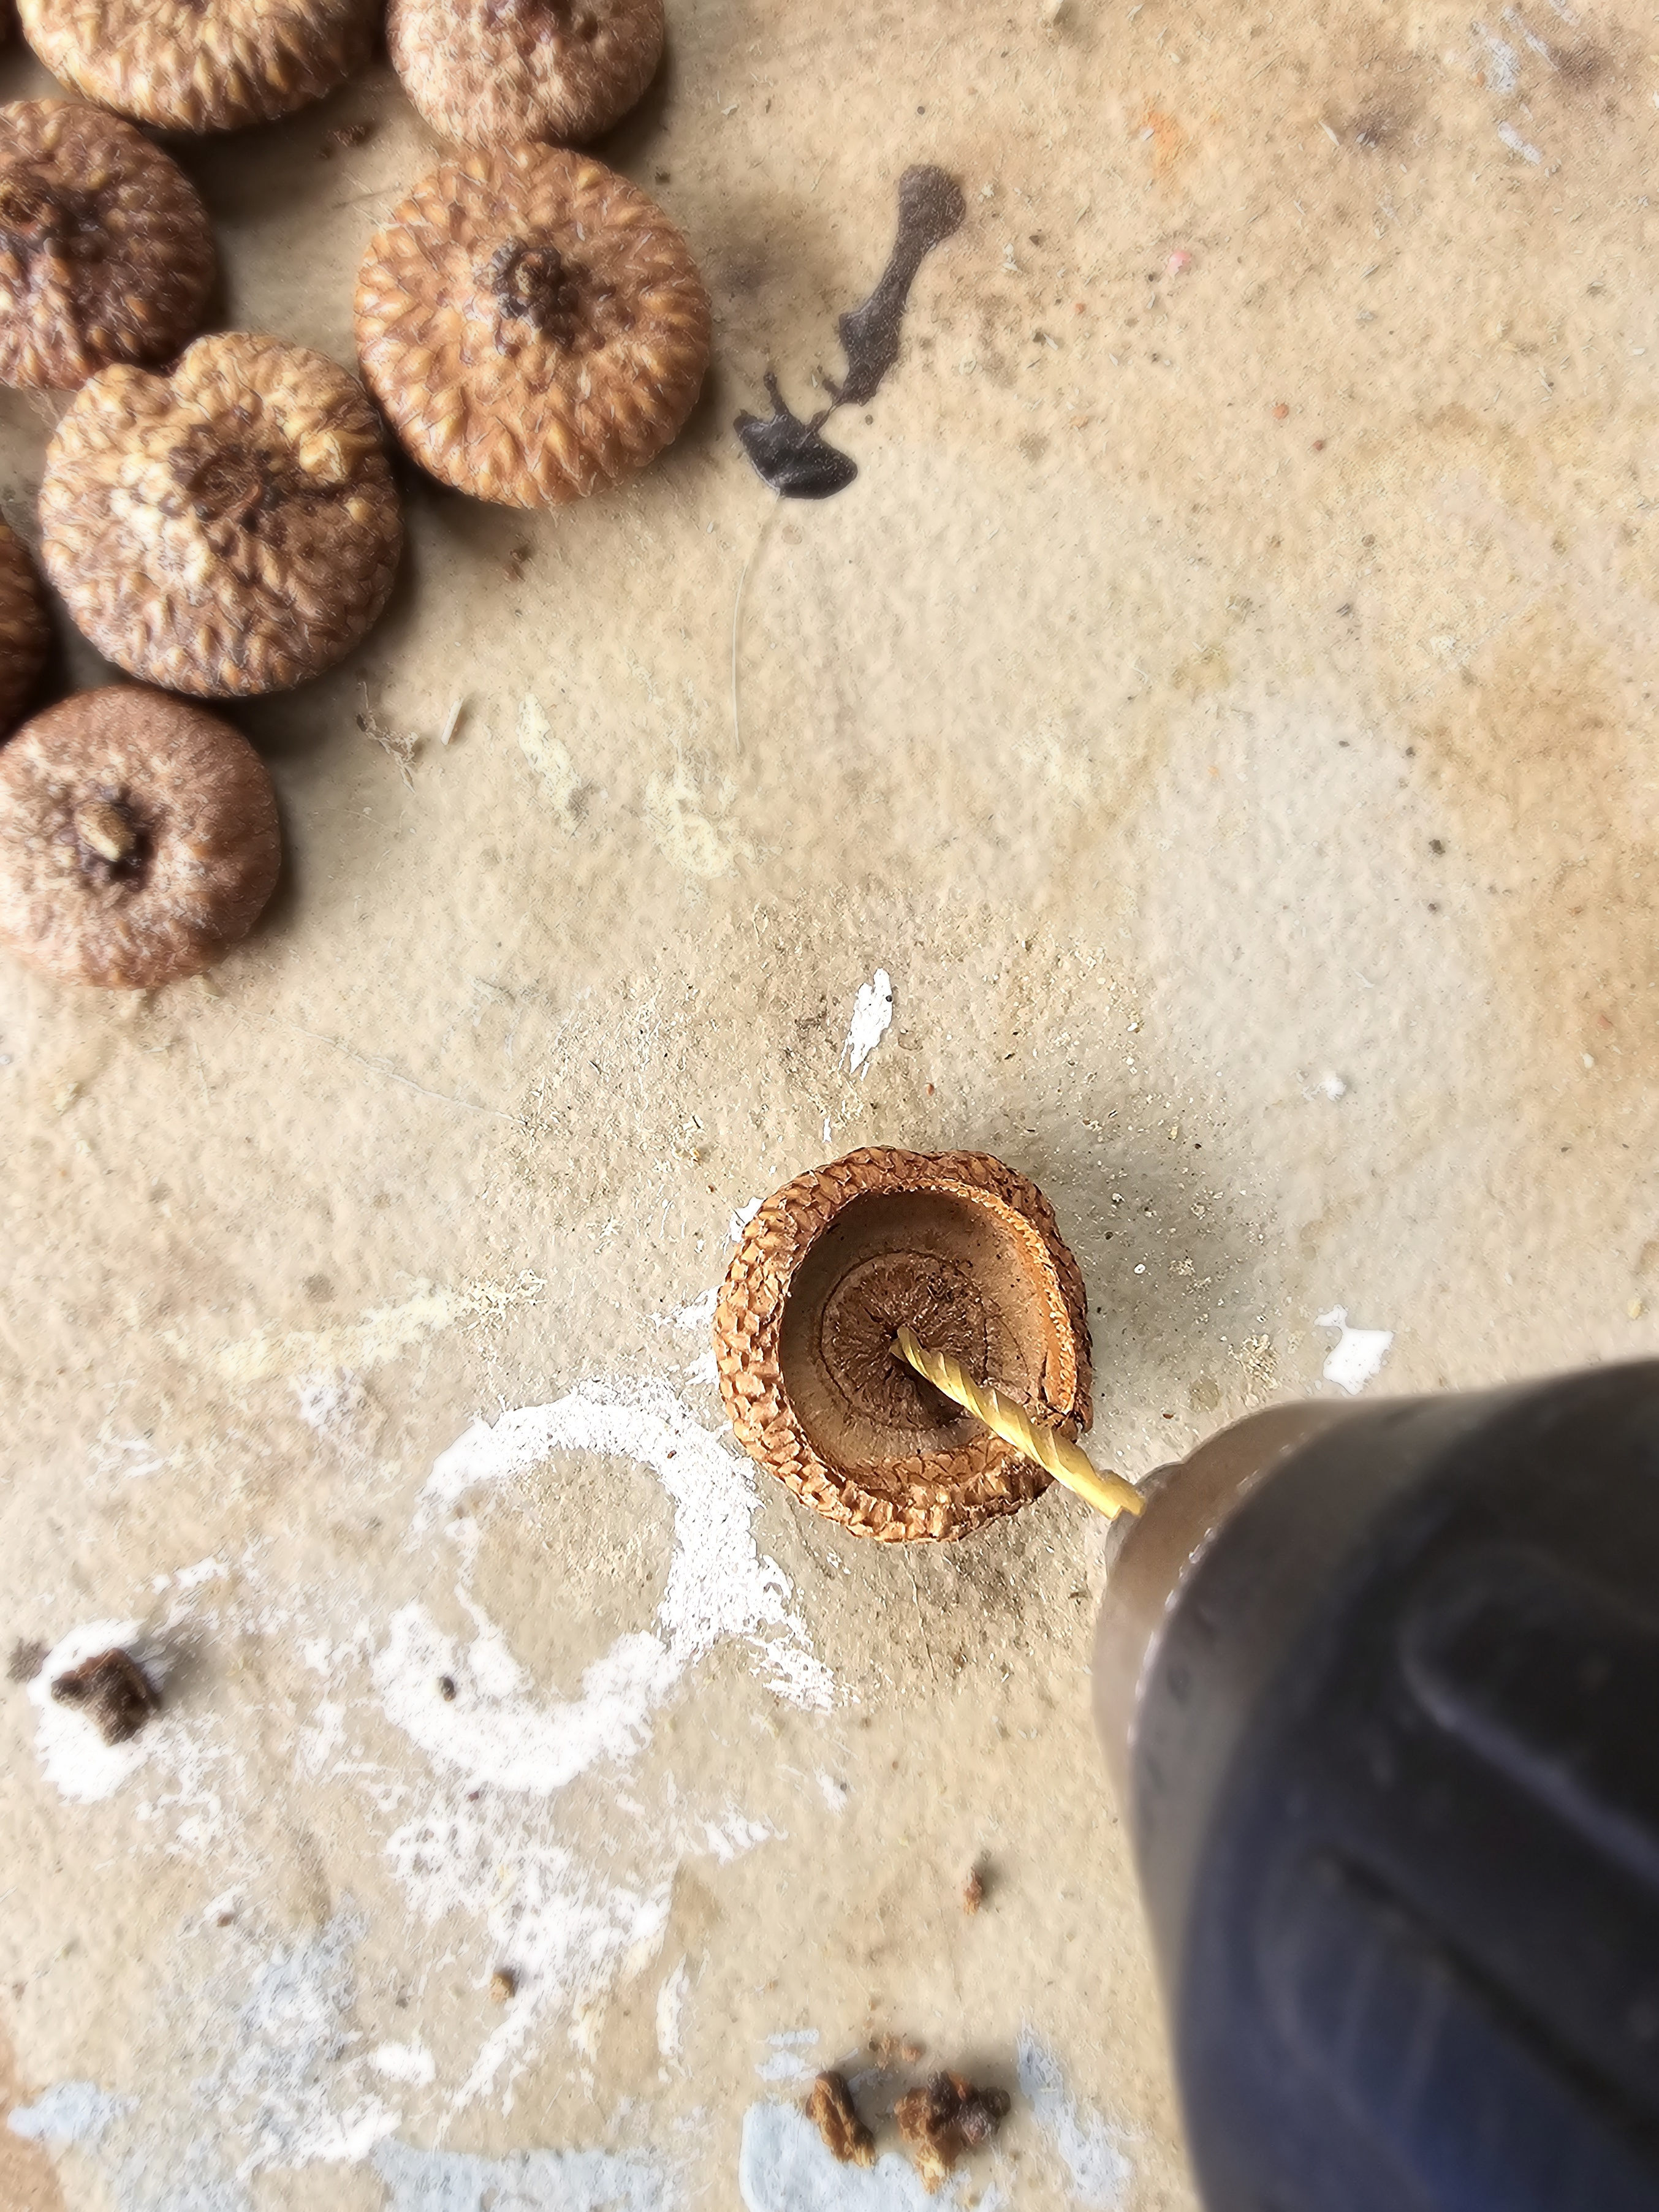
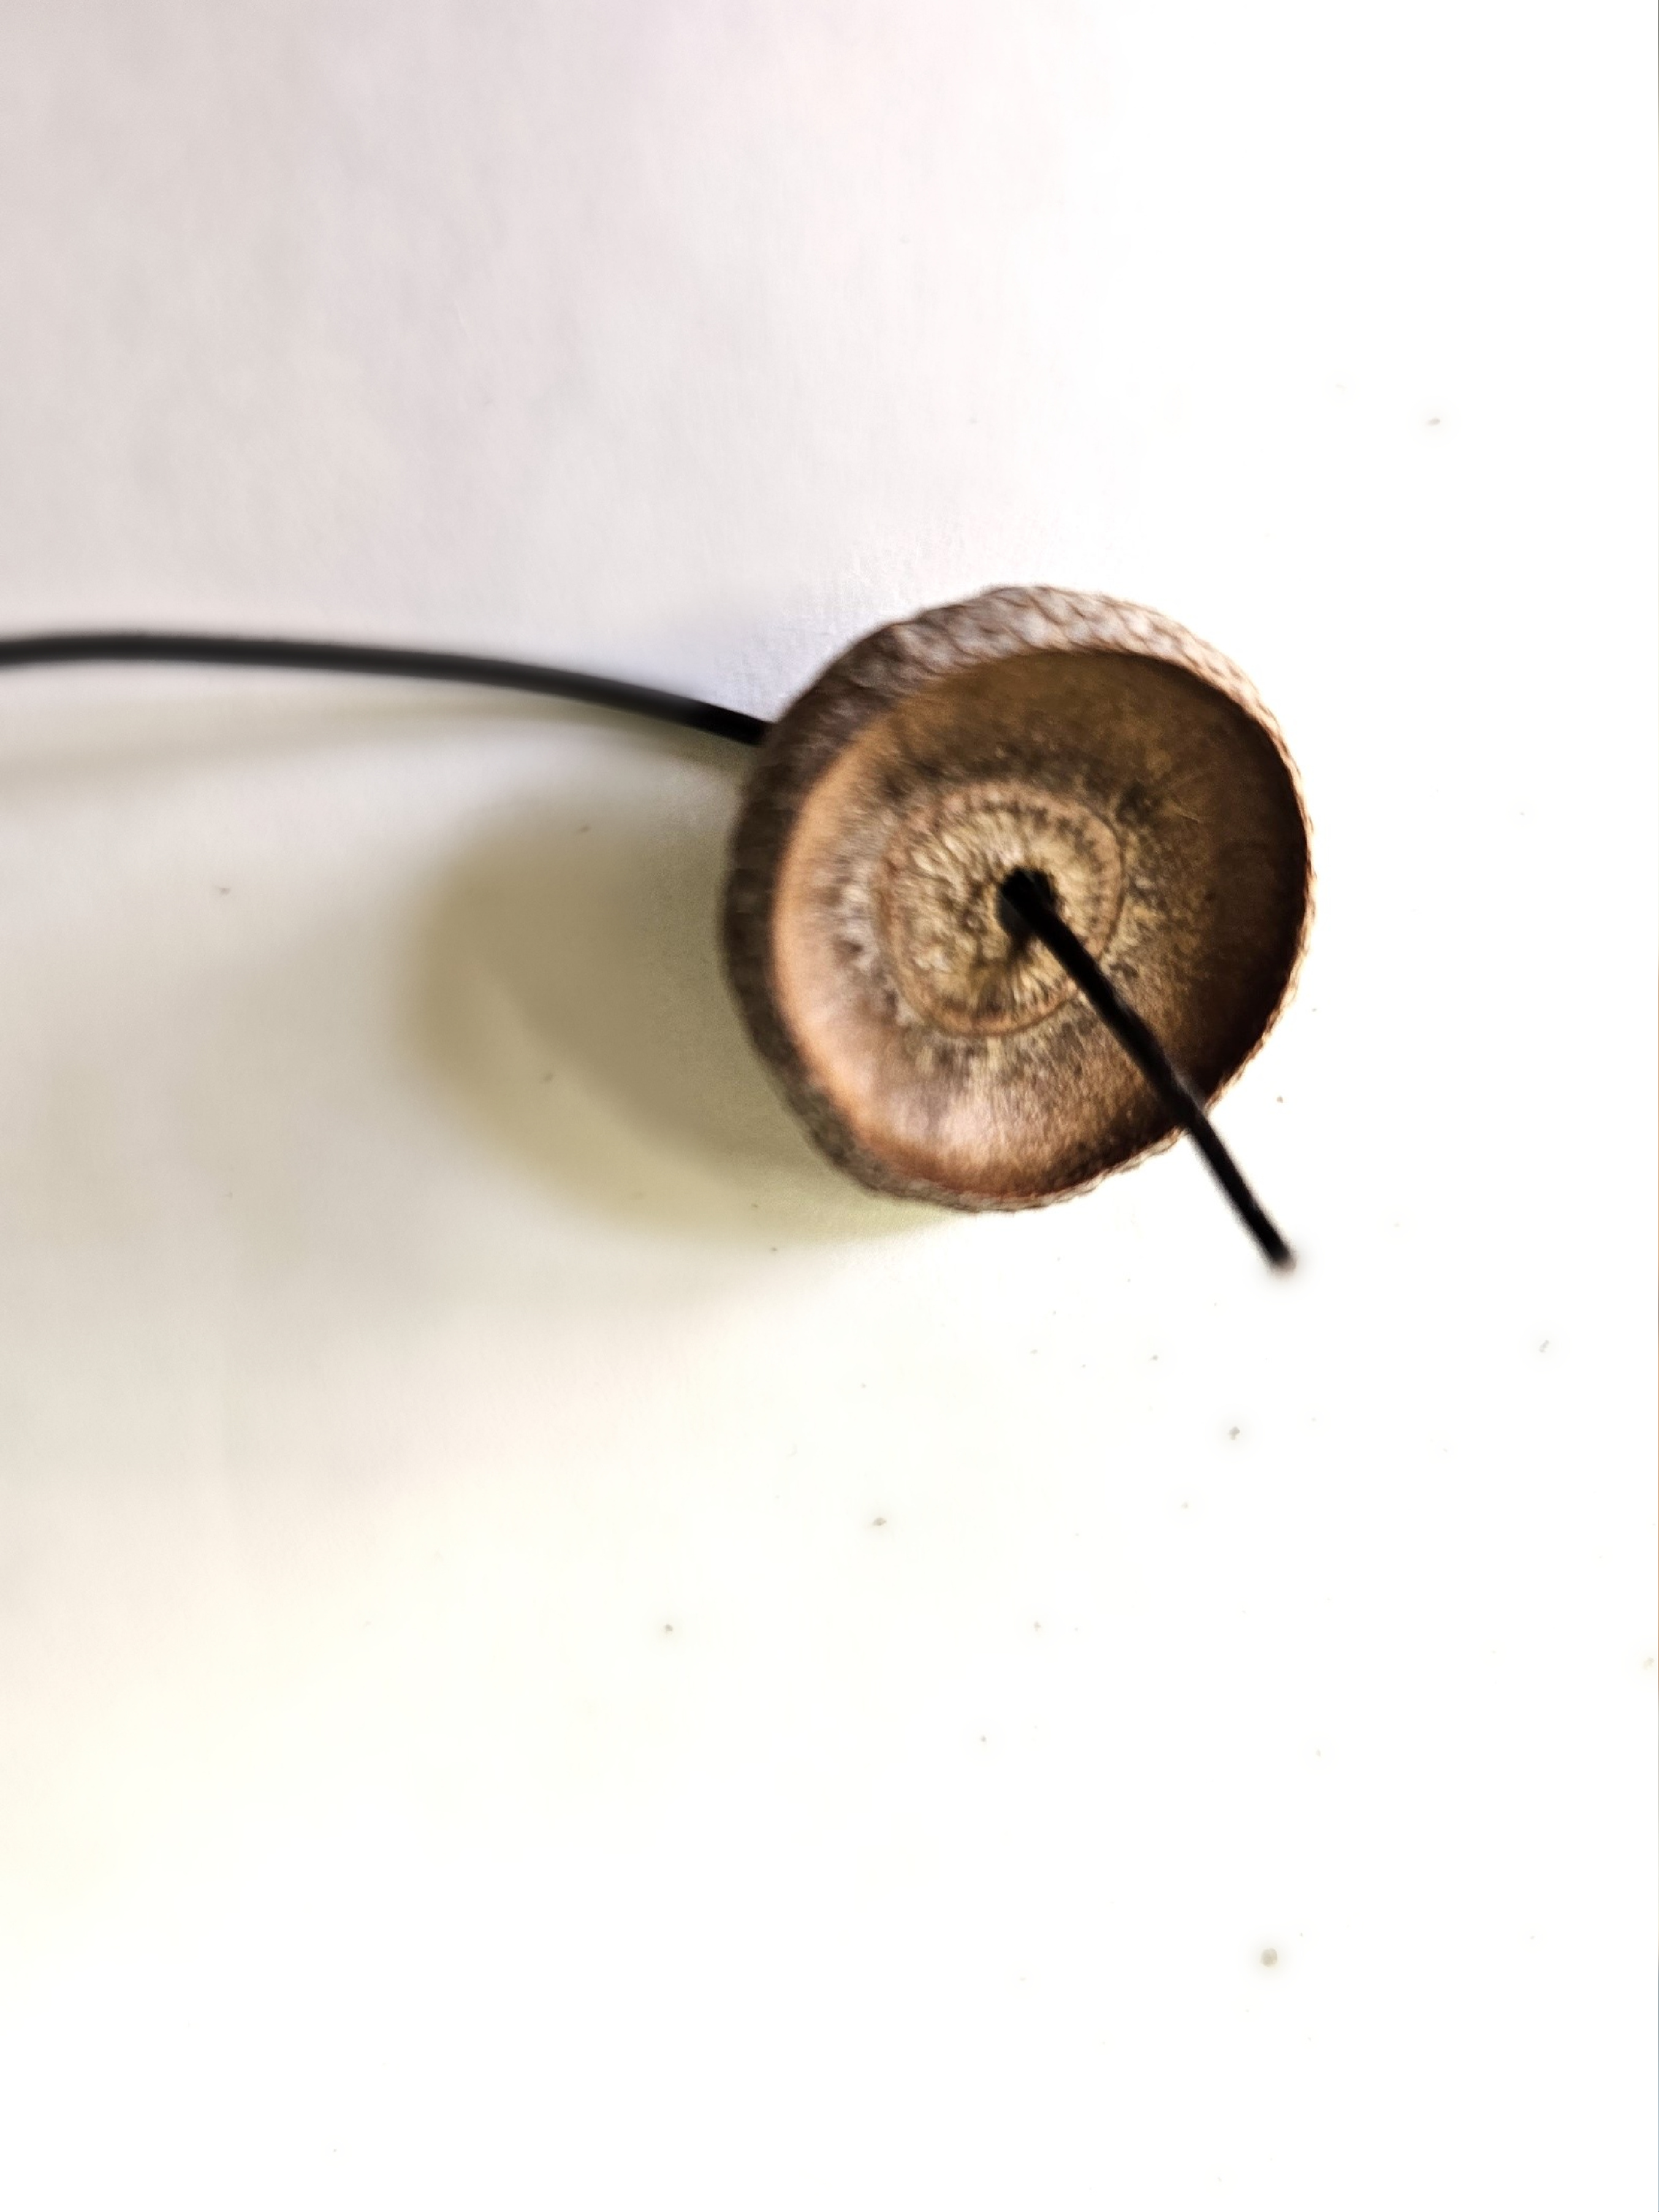
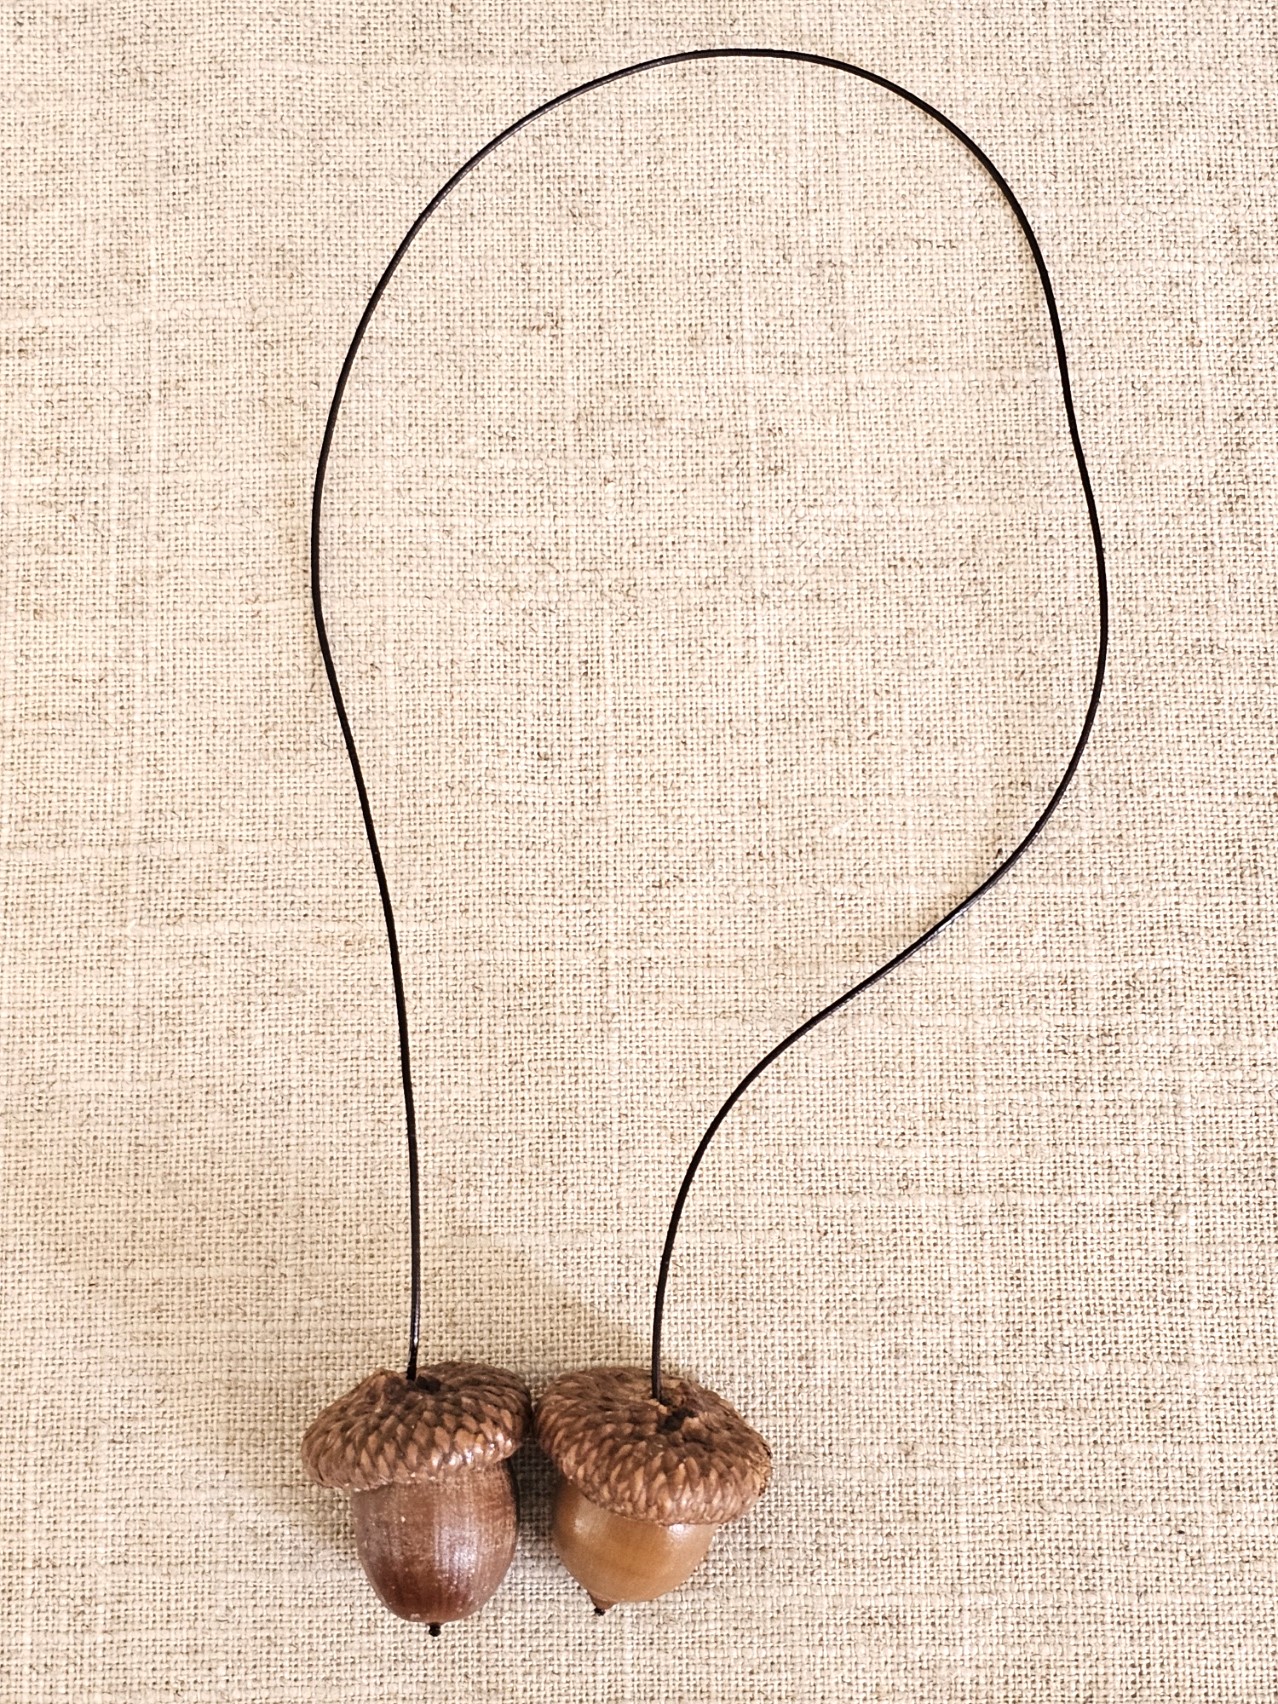
Step 4: Drill Holes
Next step, drill a hole in each acorn cap. Thread the ends of the wire through the hole on each cap. Plug in your hot glue gun to heat up so it's ready to add to each acorn cap. If you don't have easy access to acorns, this is an easy way to create these and add cozy vibes to your place settings.
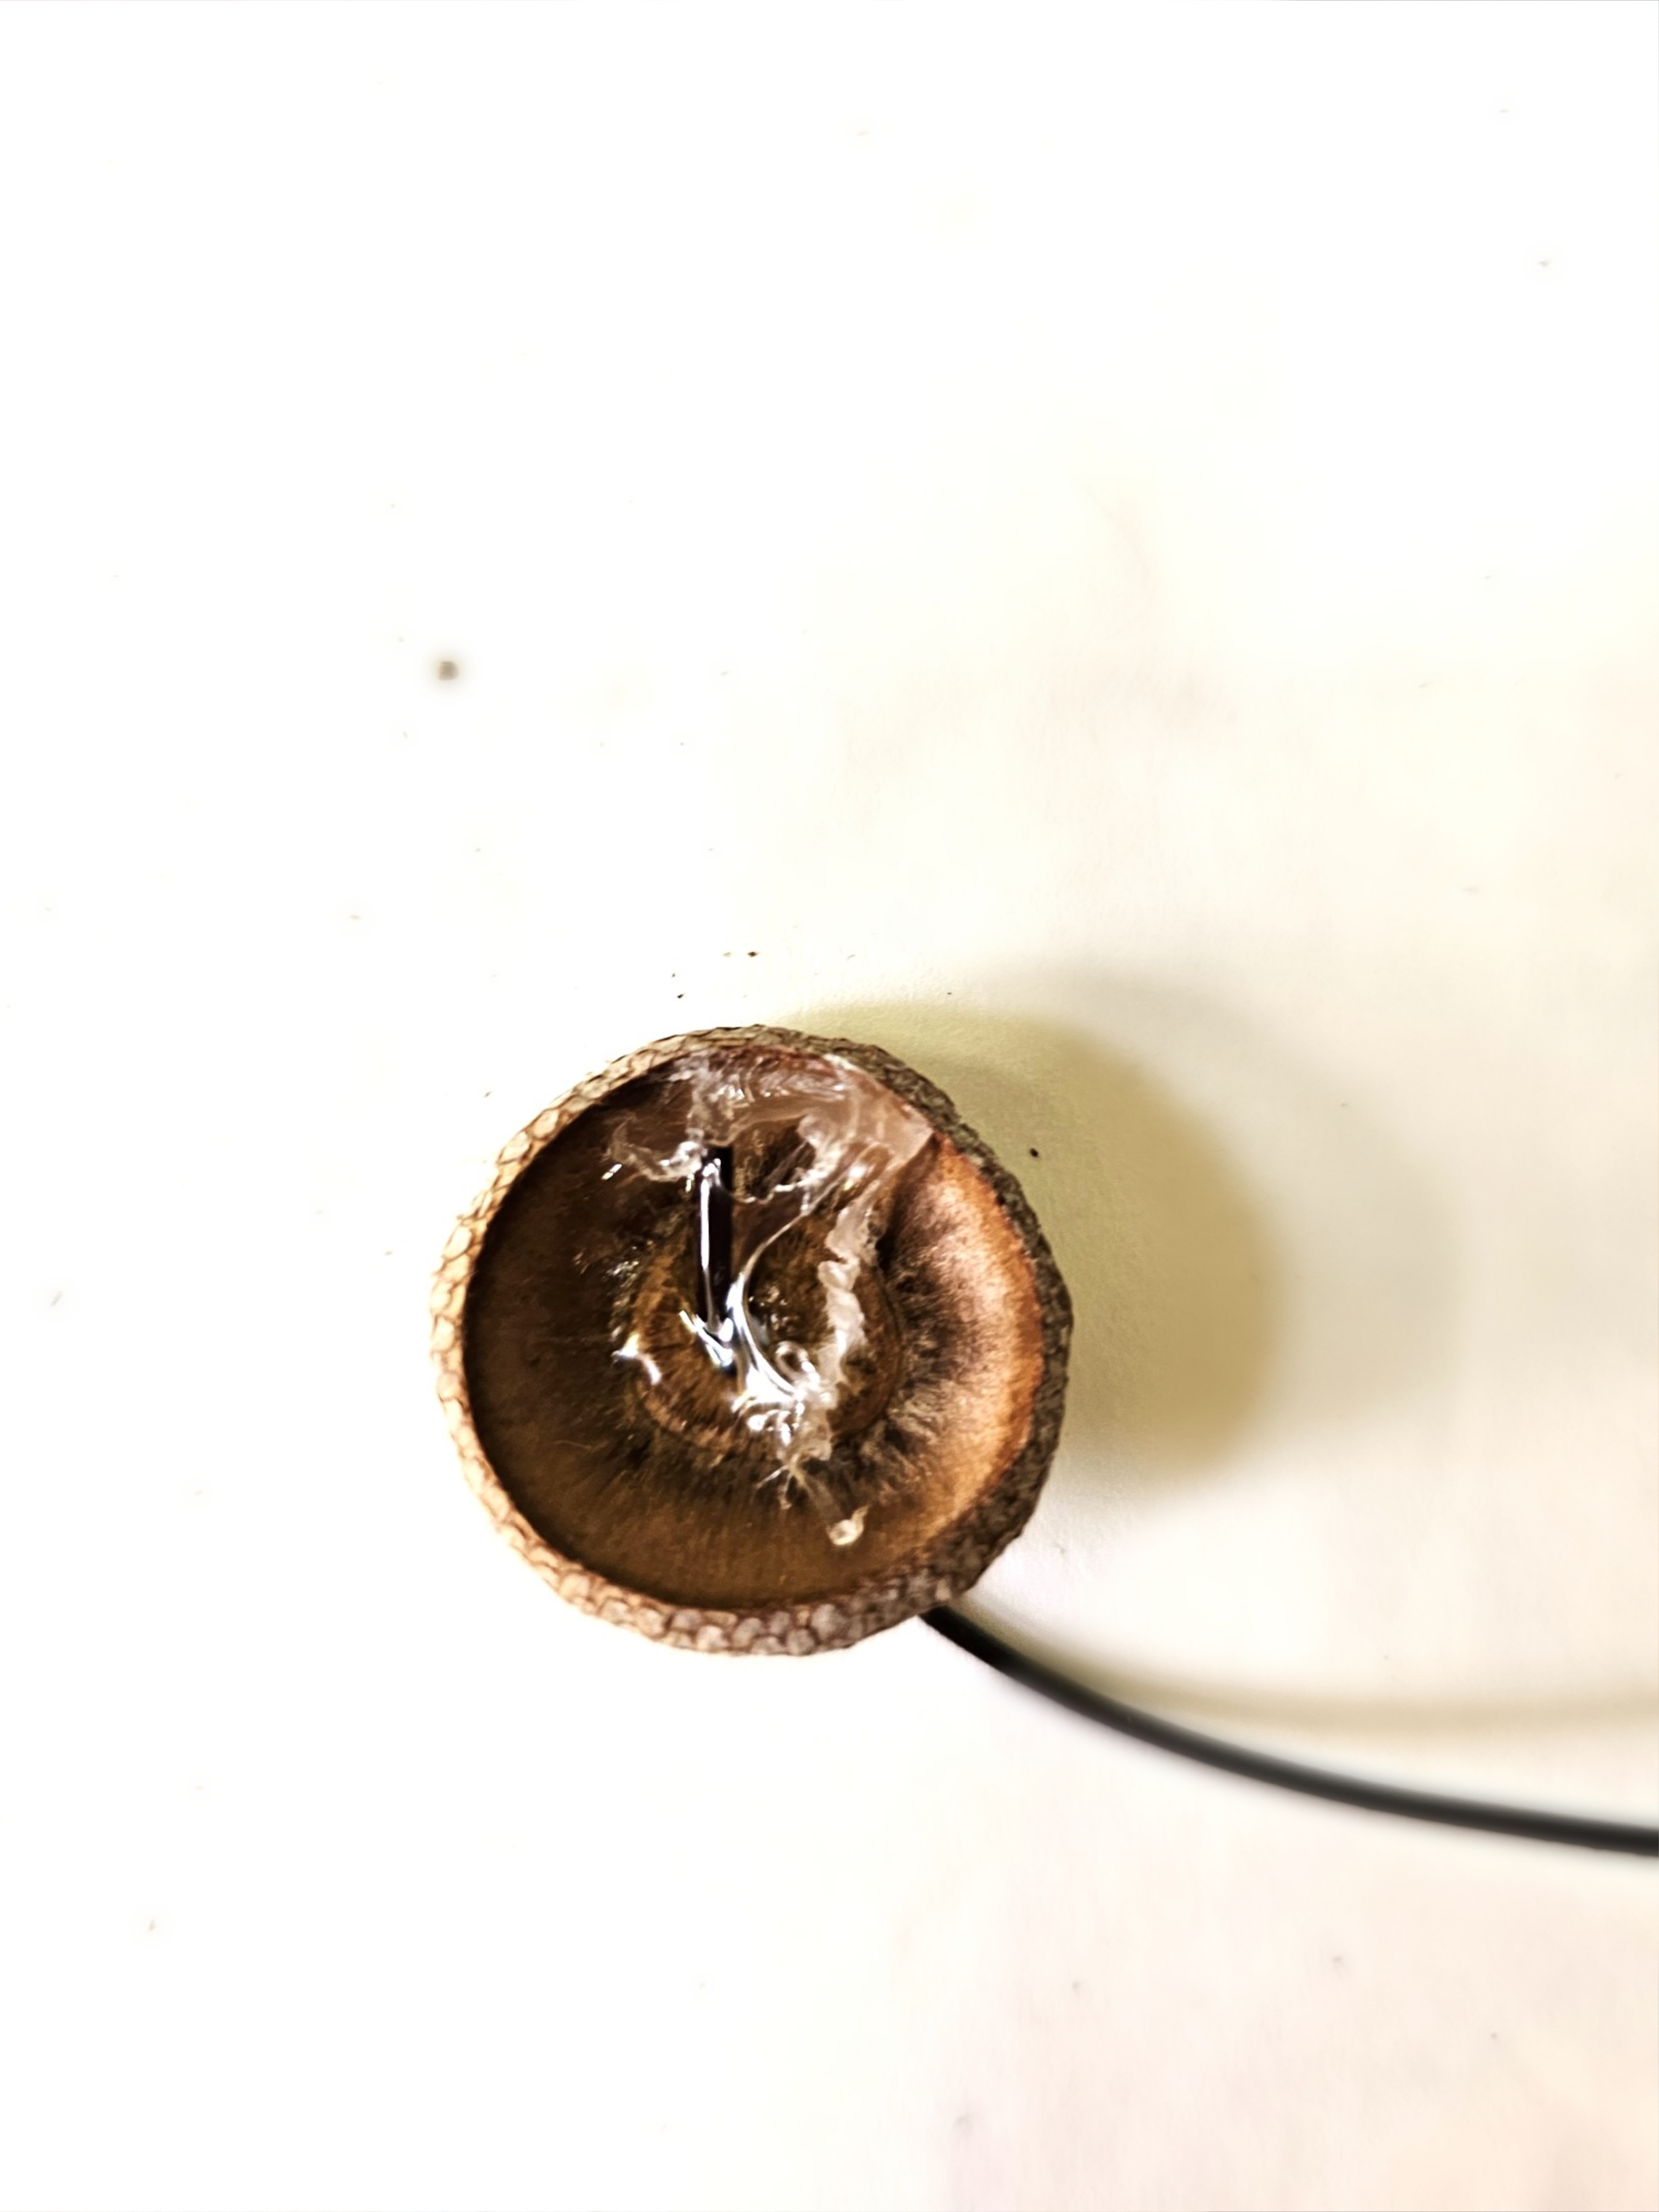
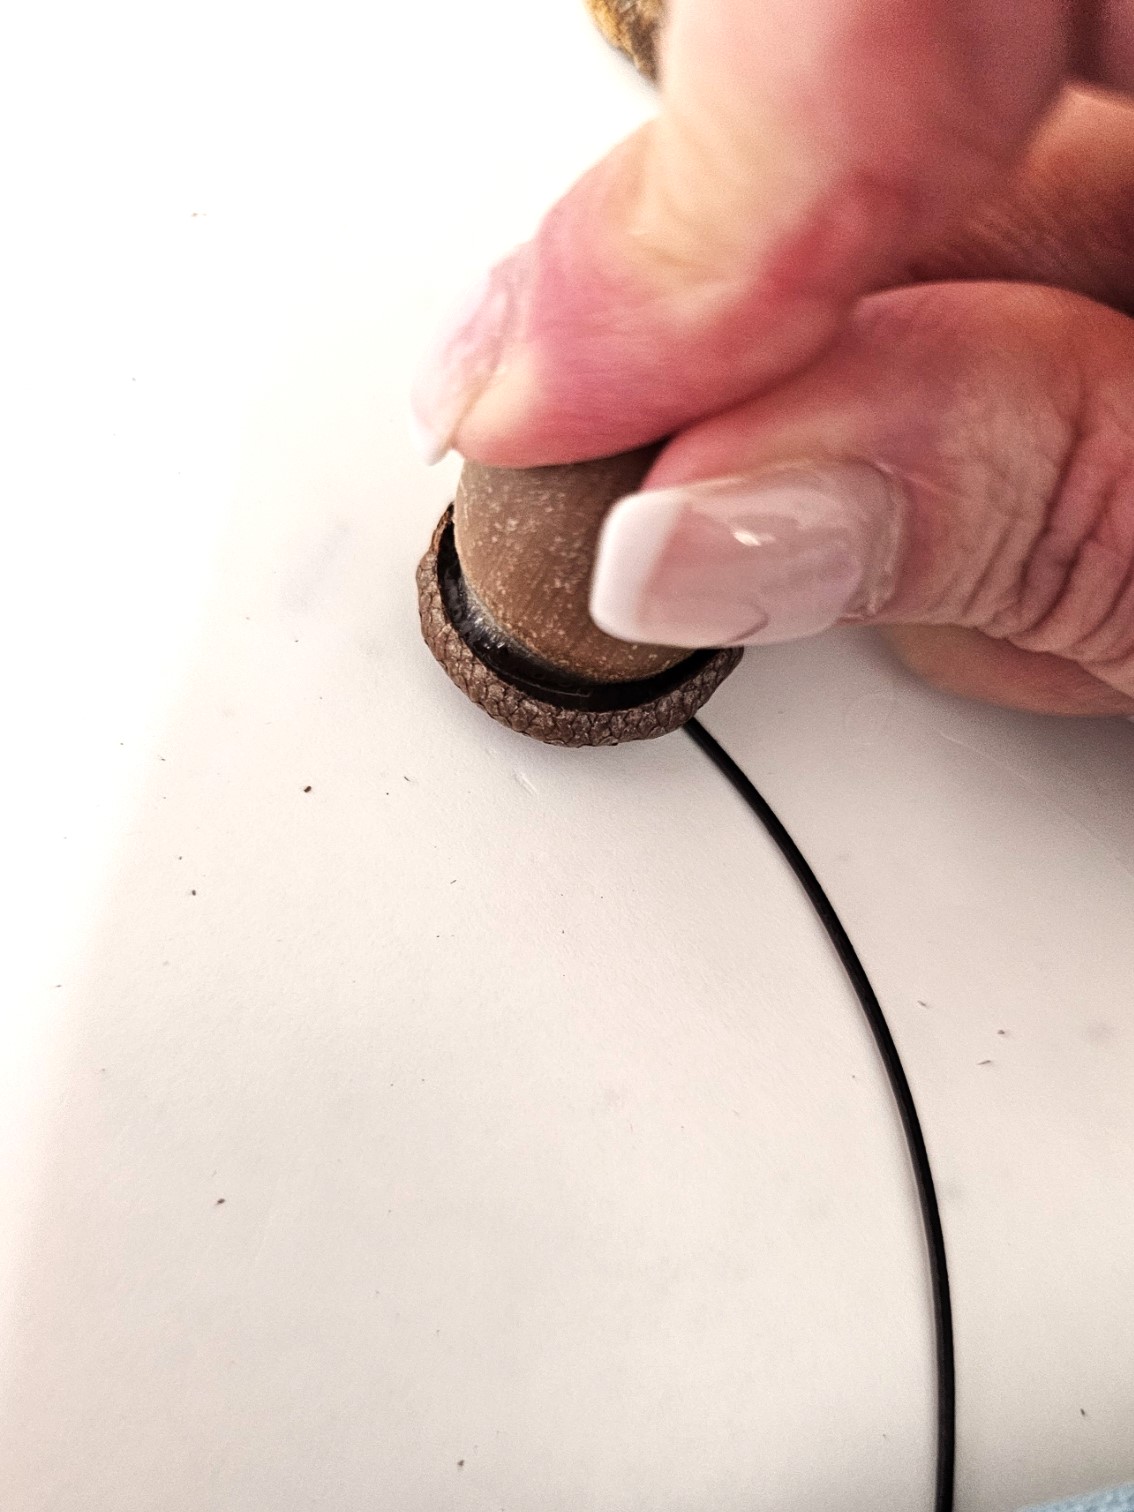
Step 5: Glue
At first, using my hot glue gun, I added a bit of hot glue to the ends of the wire and held it to set. I found a great way to make this fun fall craft faster! Ready? Adding a bit of hot glue inside the acorn cap! After adding the hot glue to the inside of the acorn cap place the cap on the acorn and hold it to set. That's it! The speed of this project is what makes it a fun fall craft this time of year when we are looking to get items and crafts checked off our to-do list.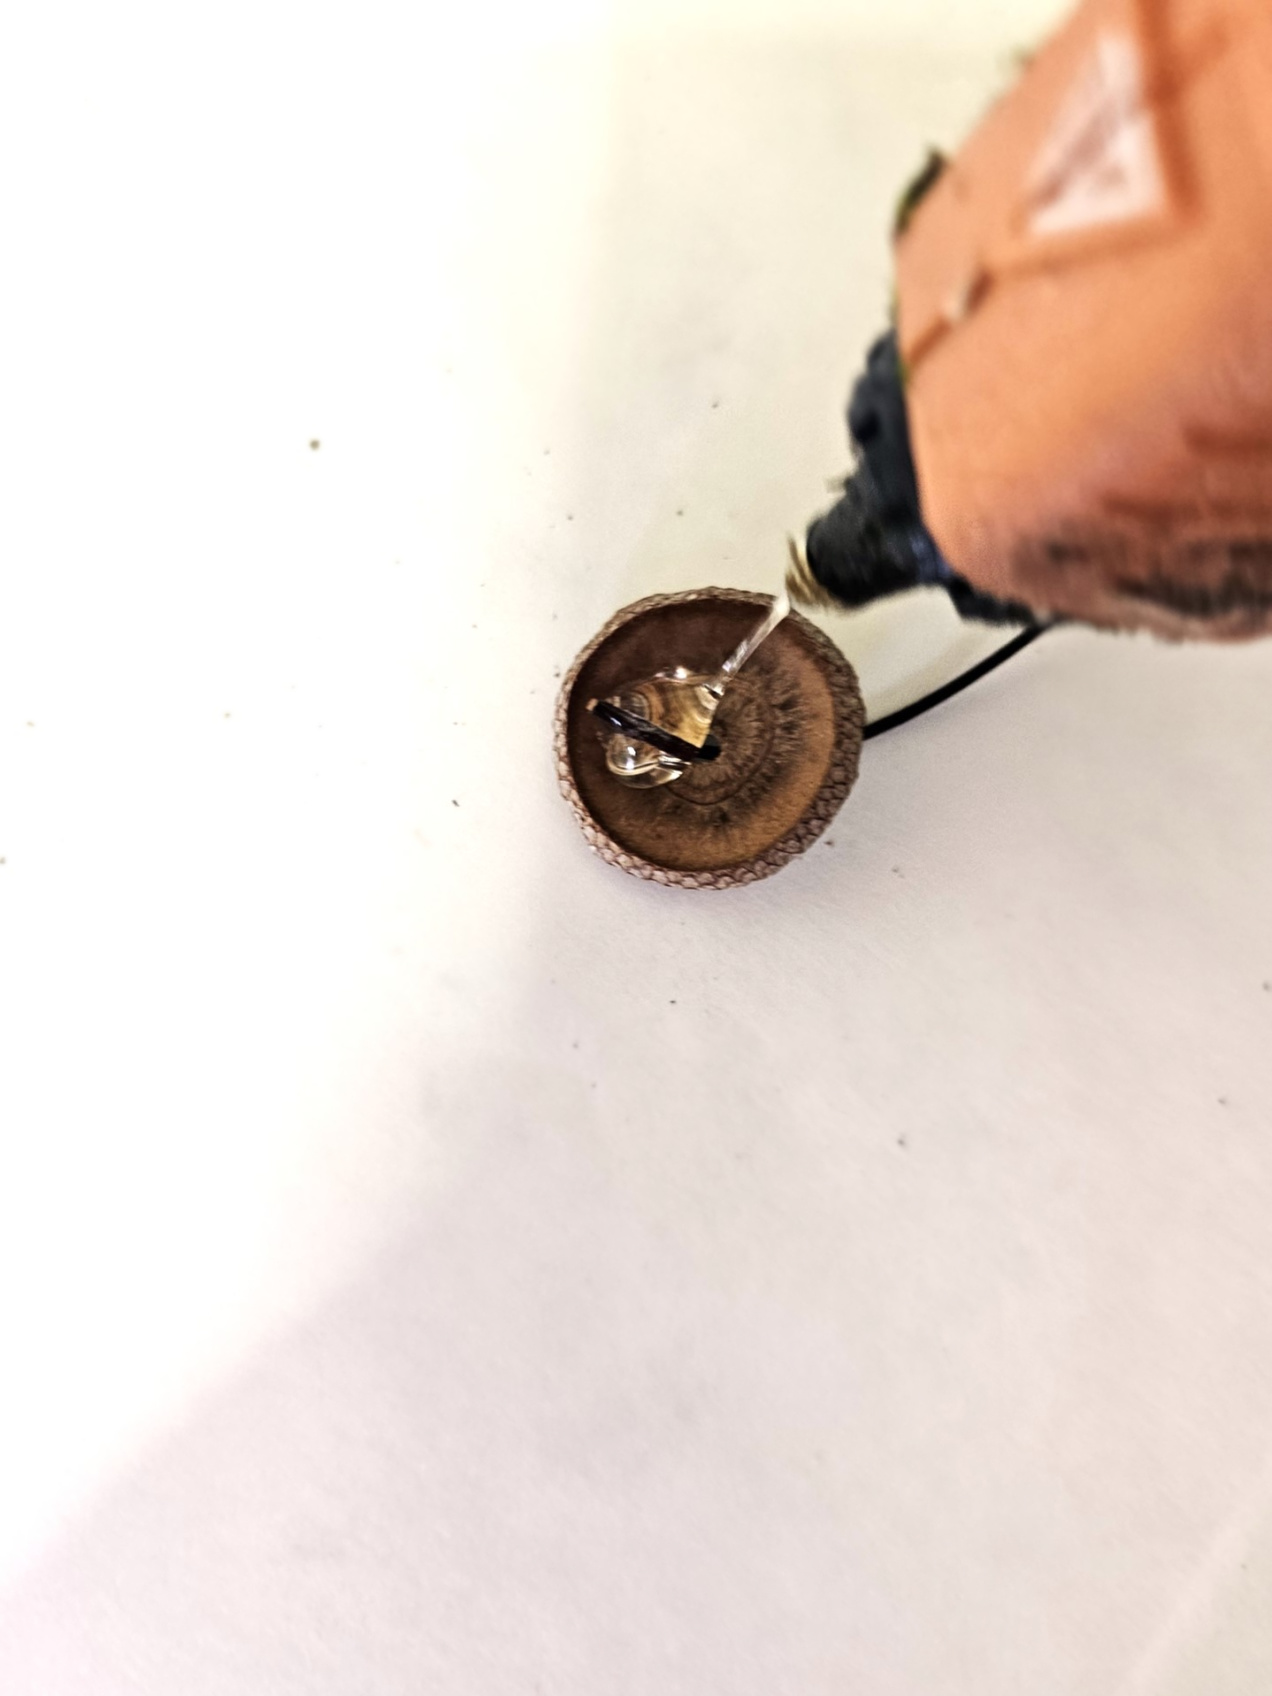
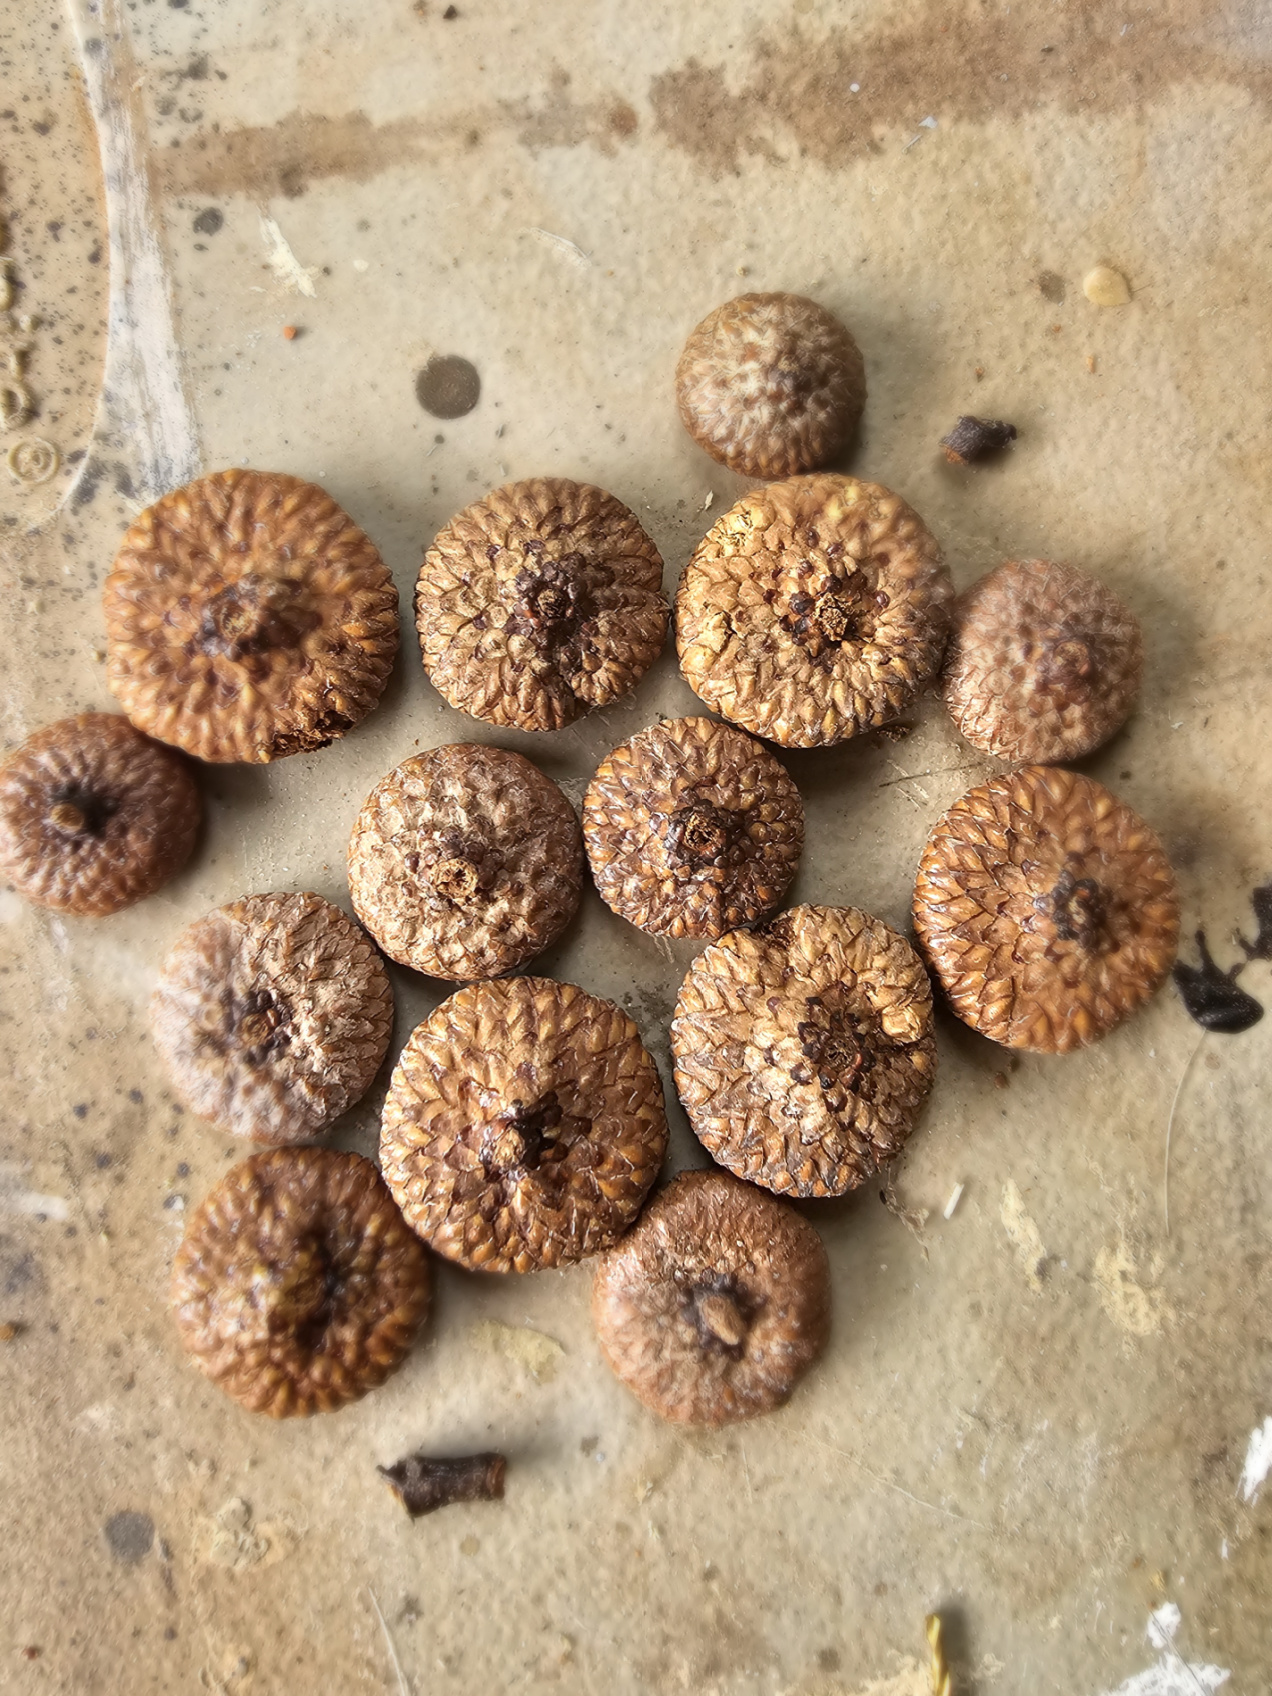
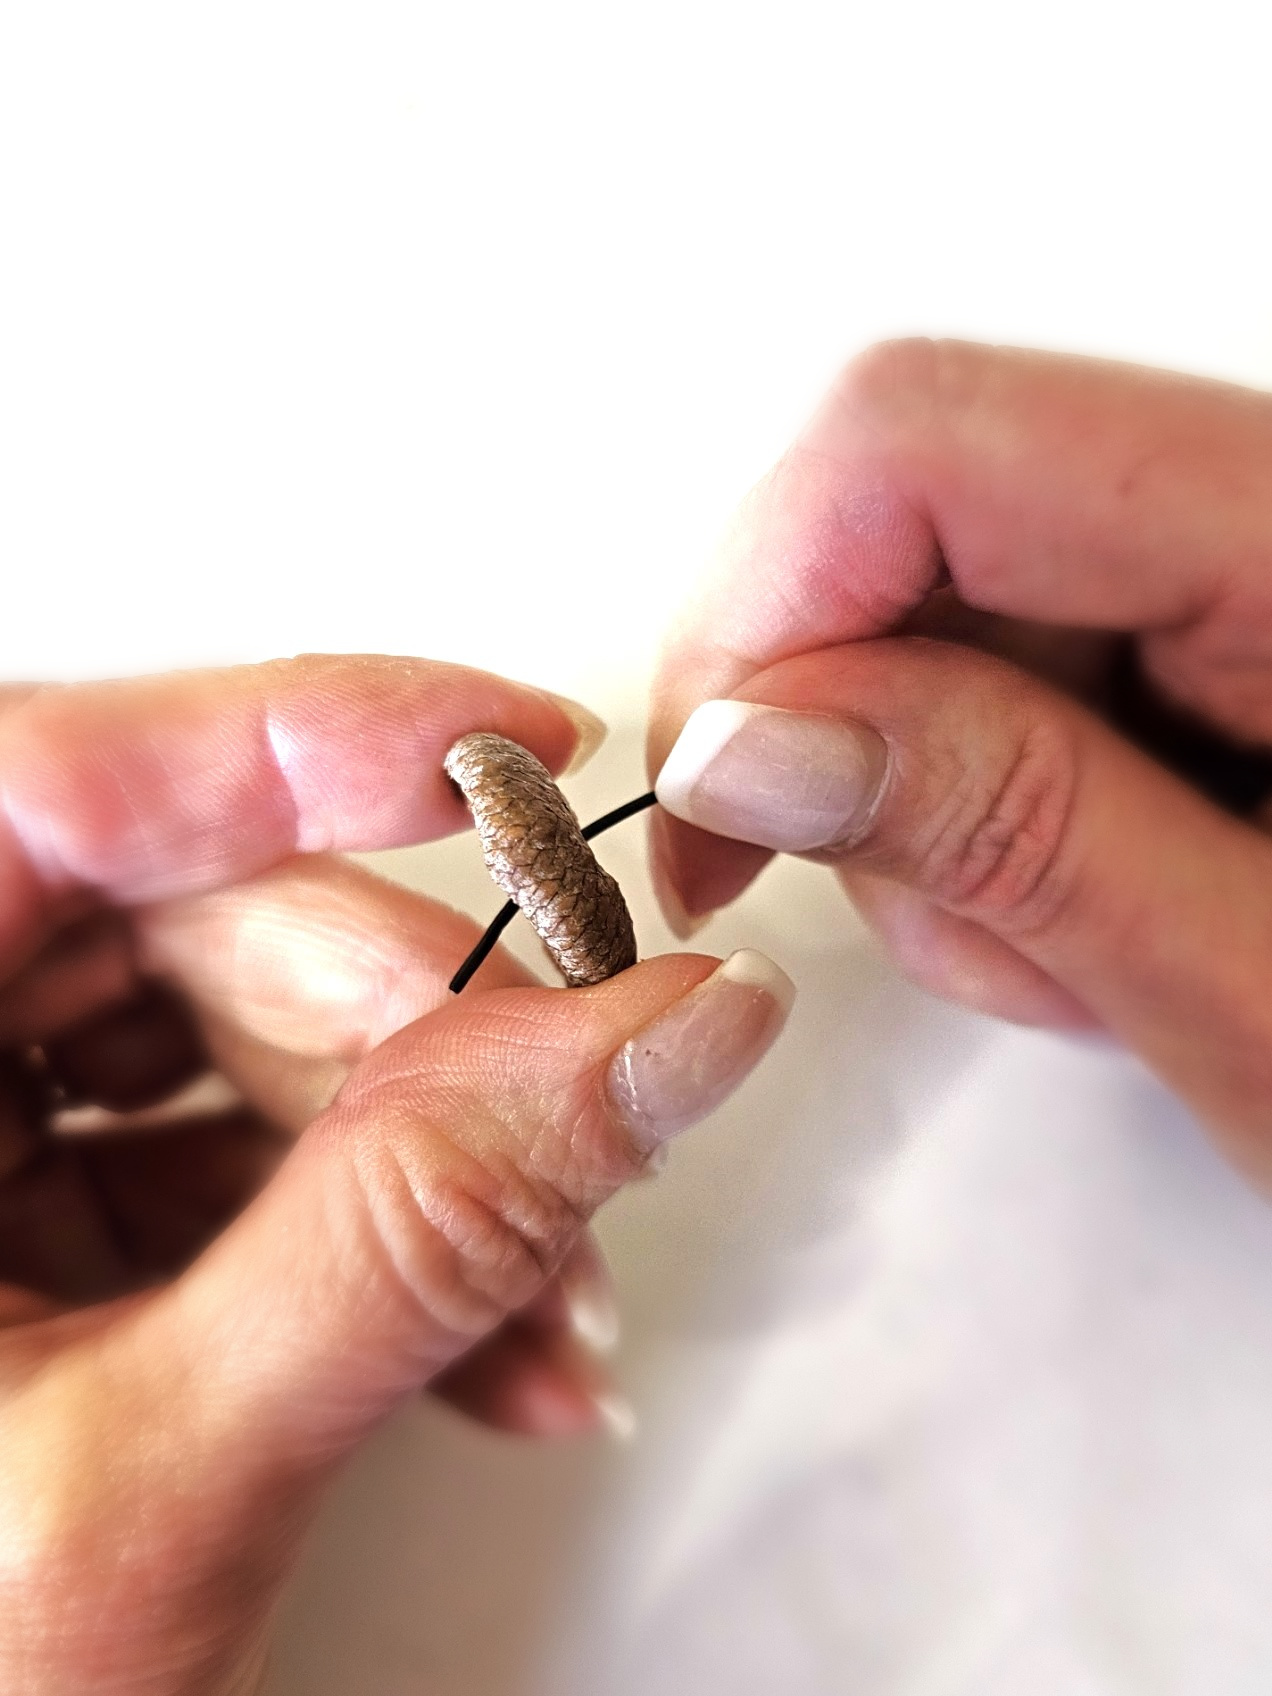
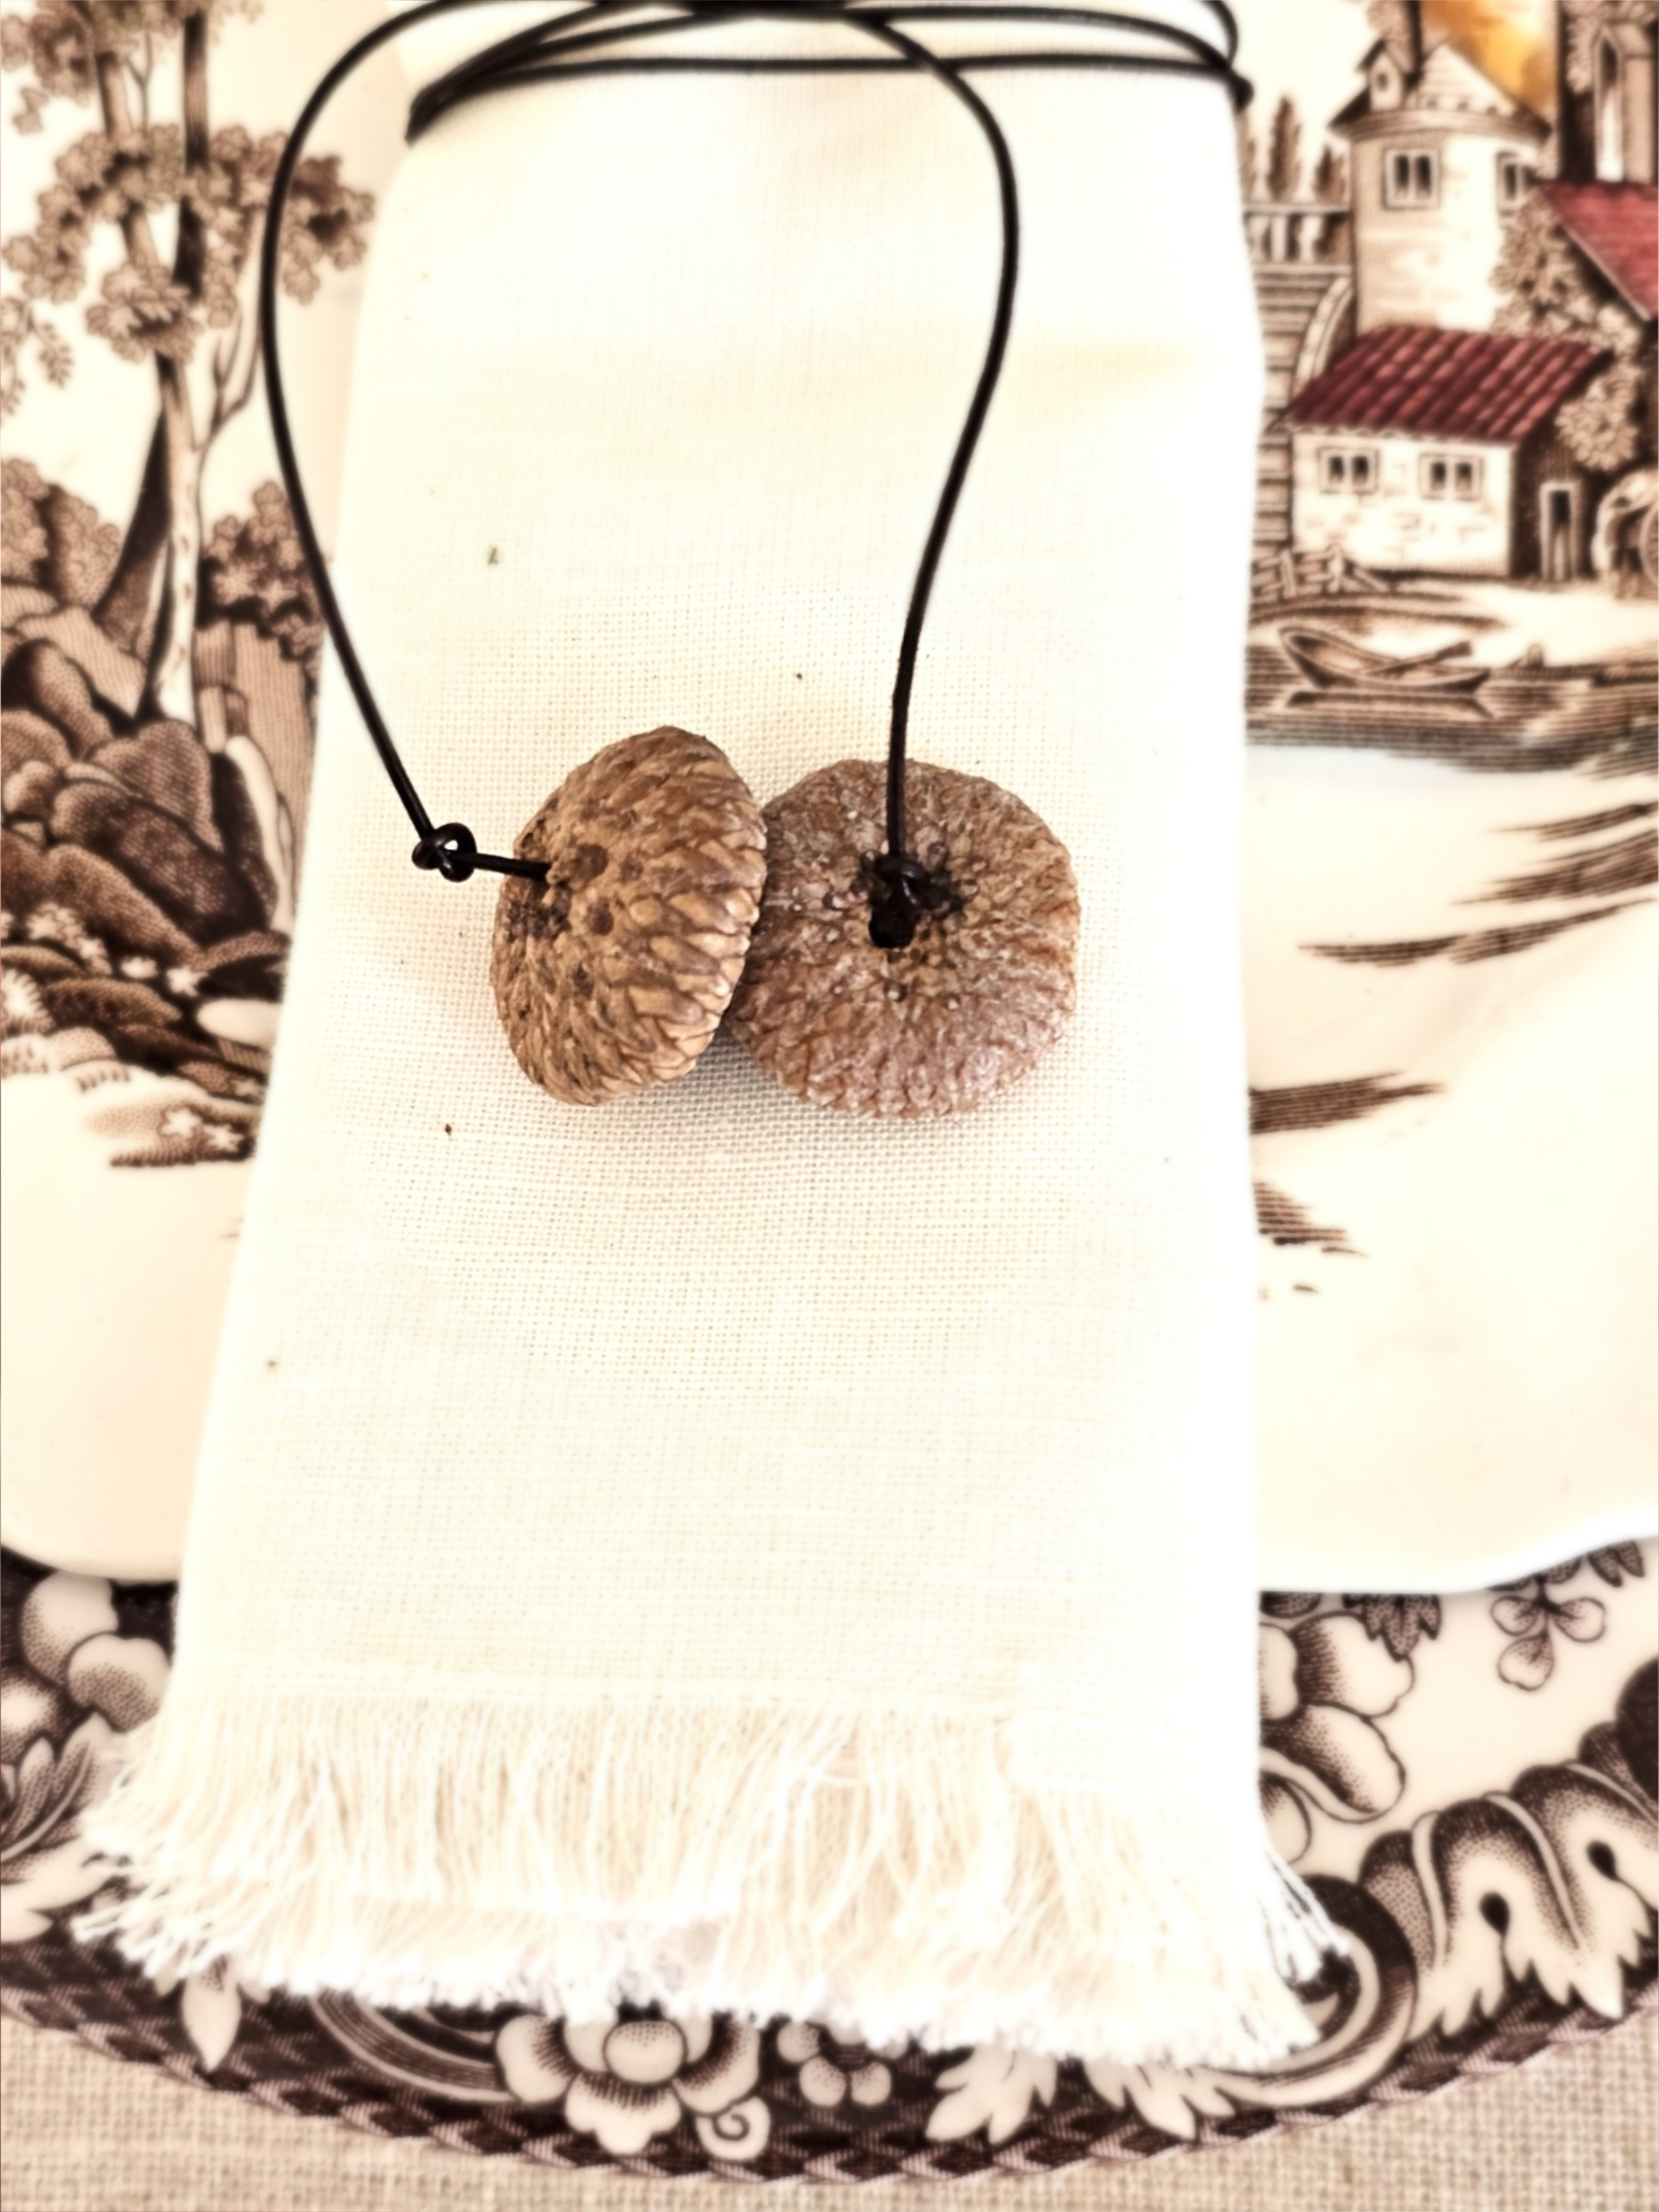
Preparing Caps Only for Napkin Rings
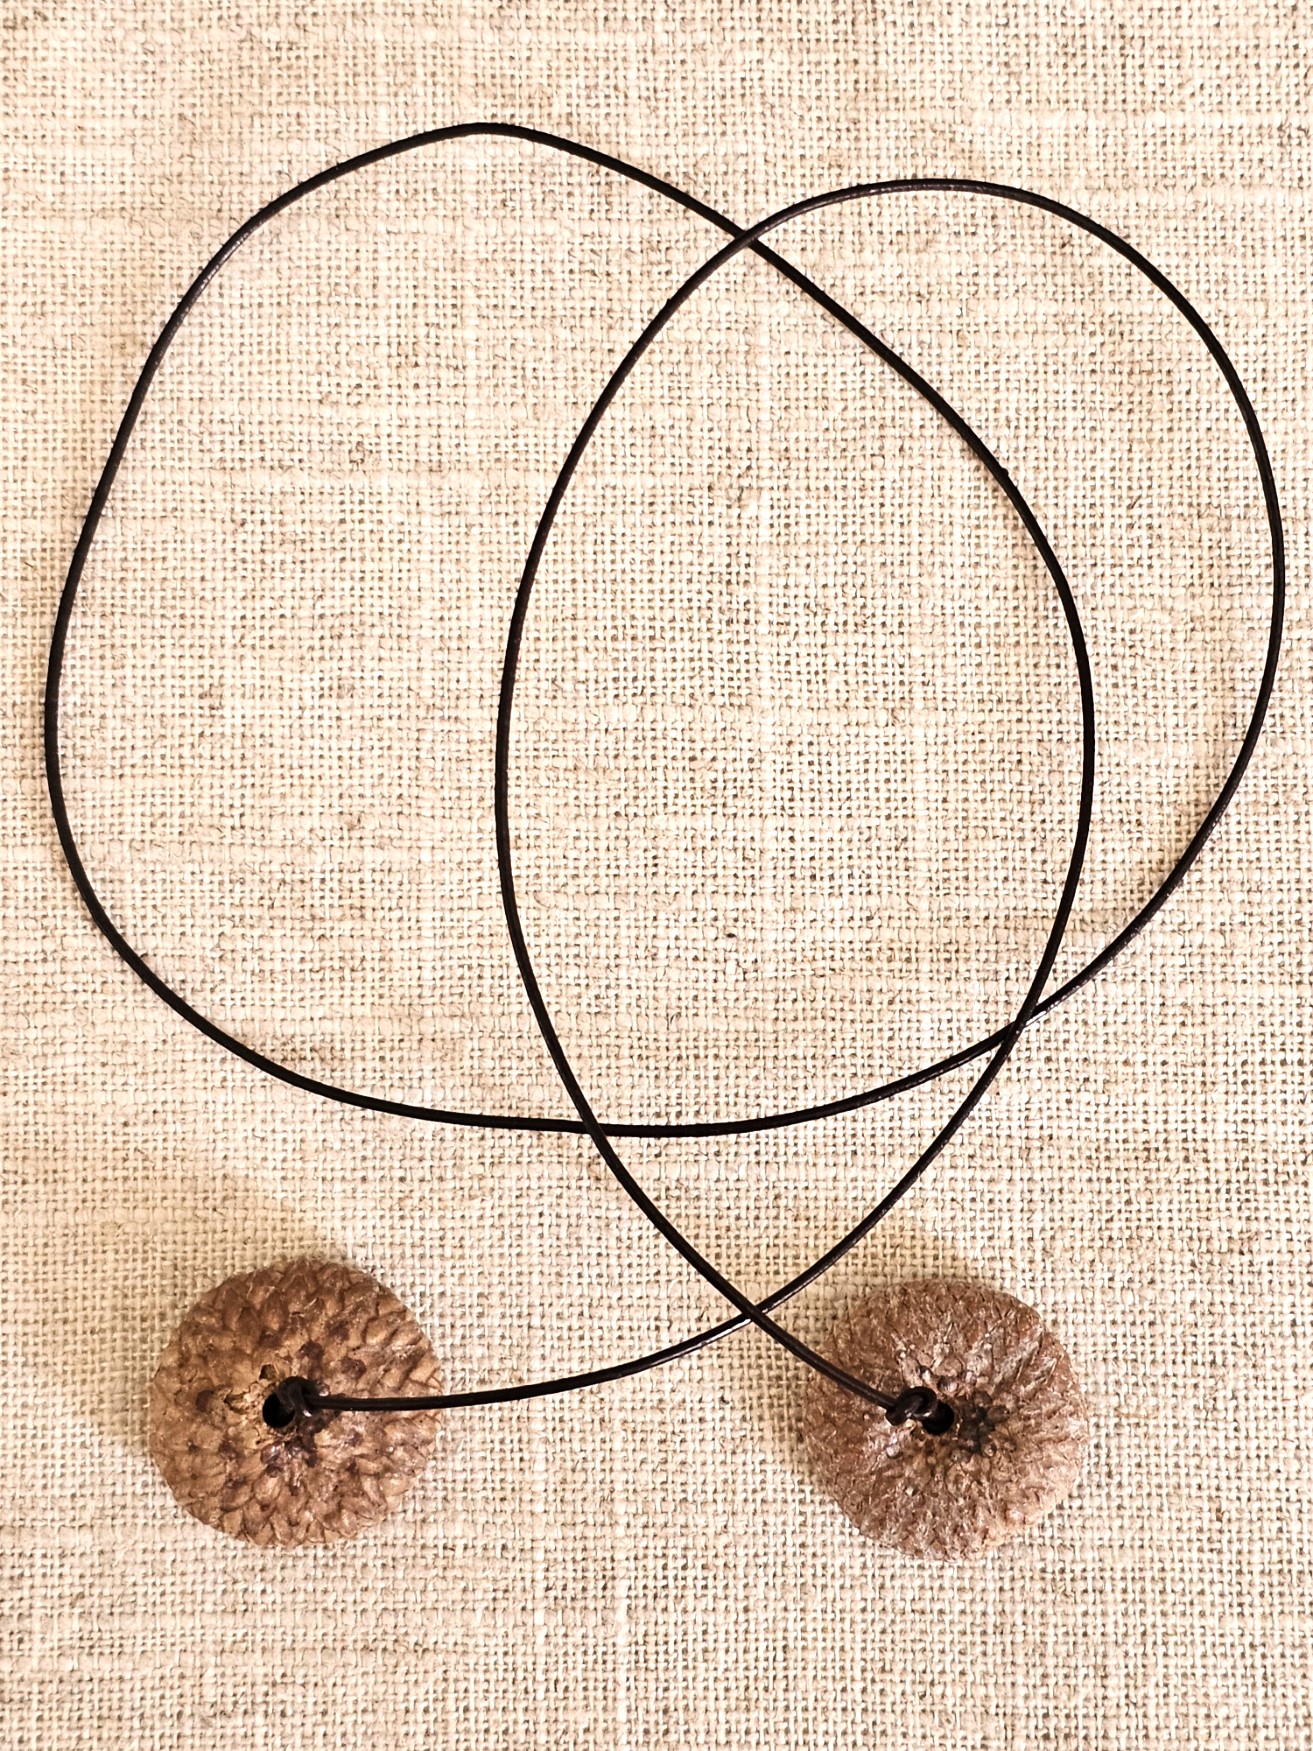
Last week, I made acorn napkin rings with acorn caps. I wanted to give you an alternative. As I mentioned not everyone has easy access to real acorns. I always think of you when I share my creative side and easy craft projects.
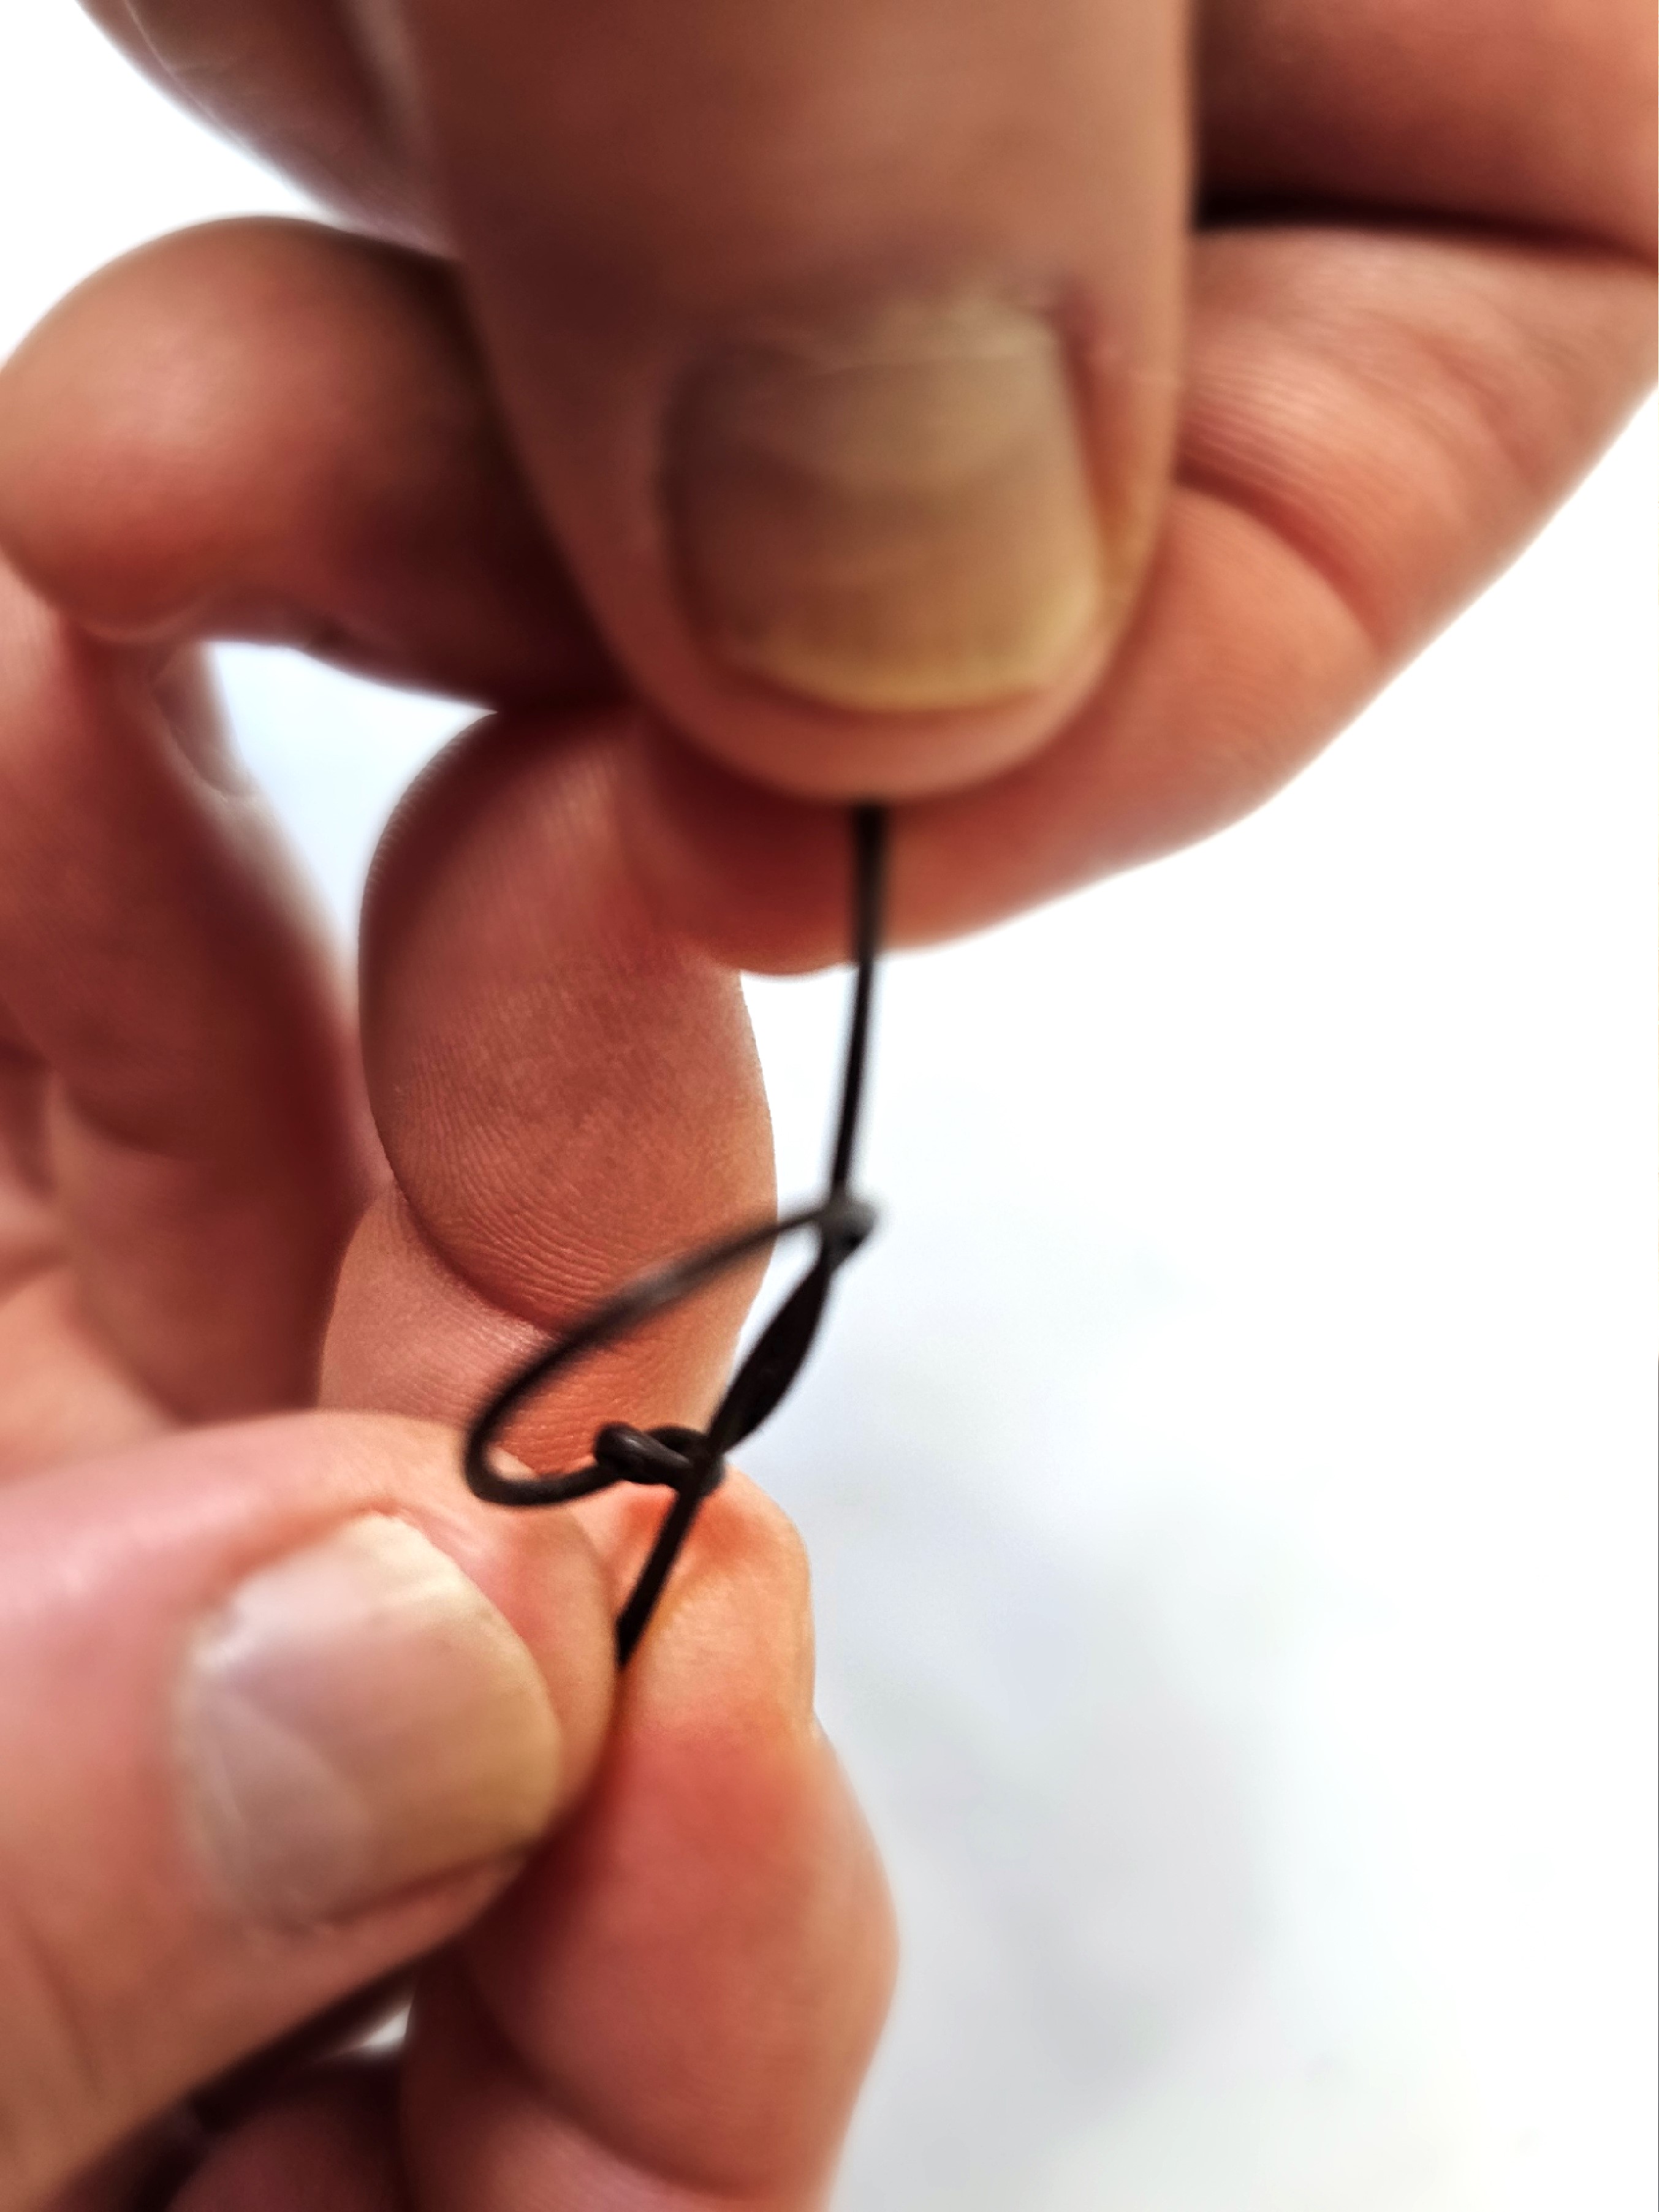
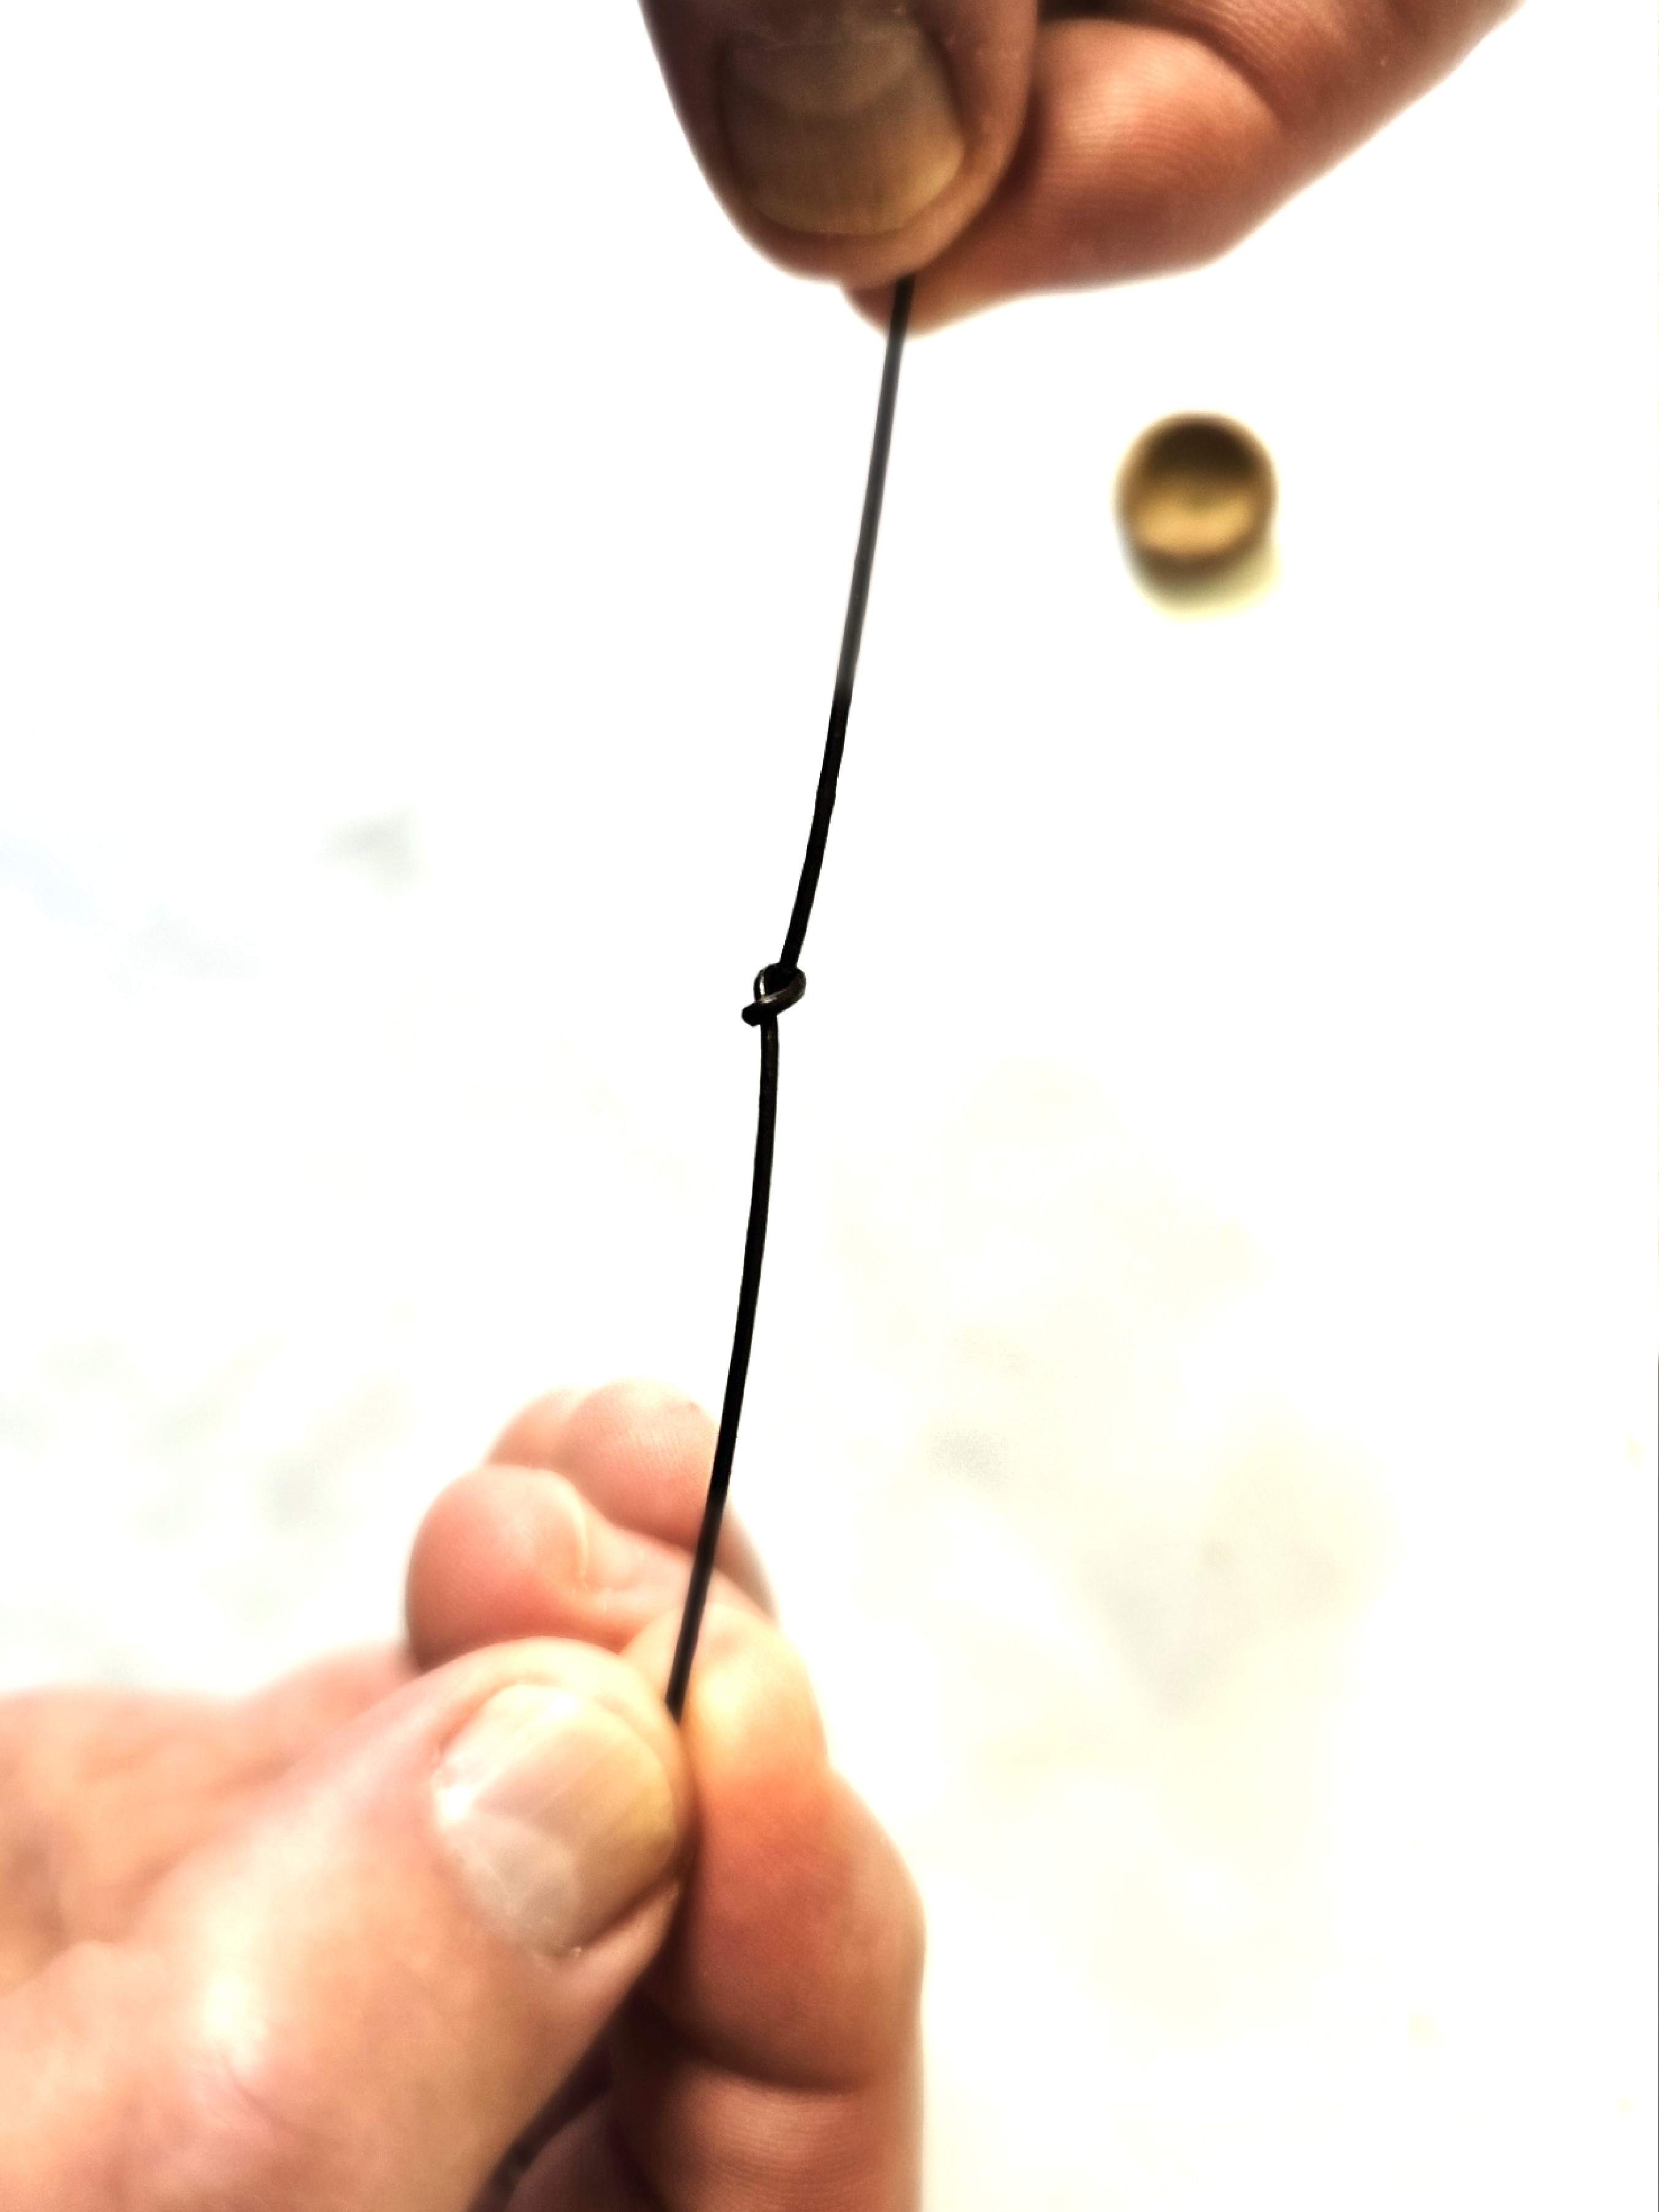
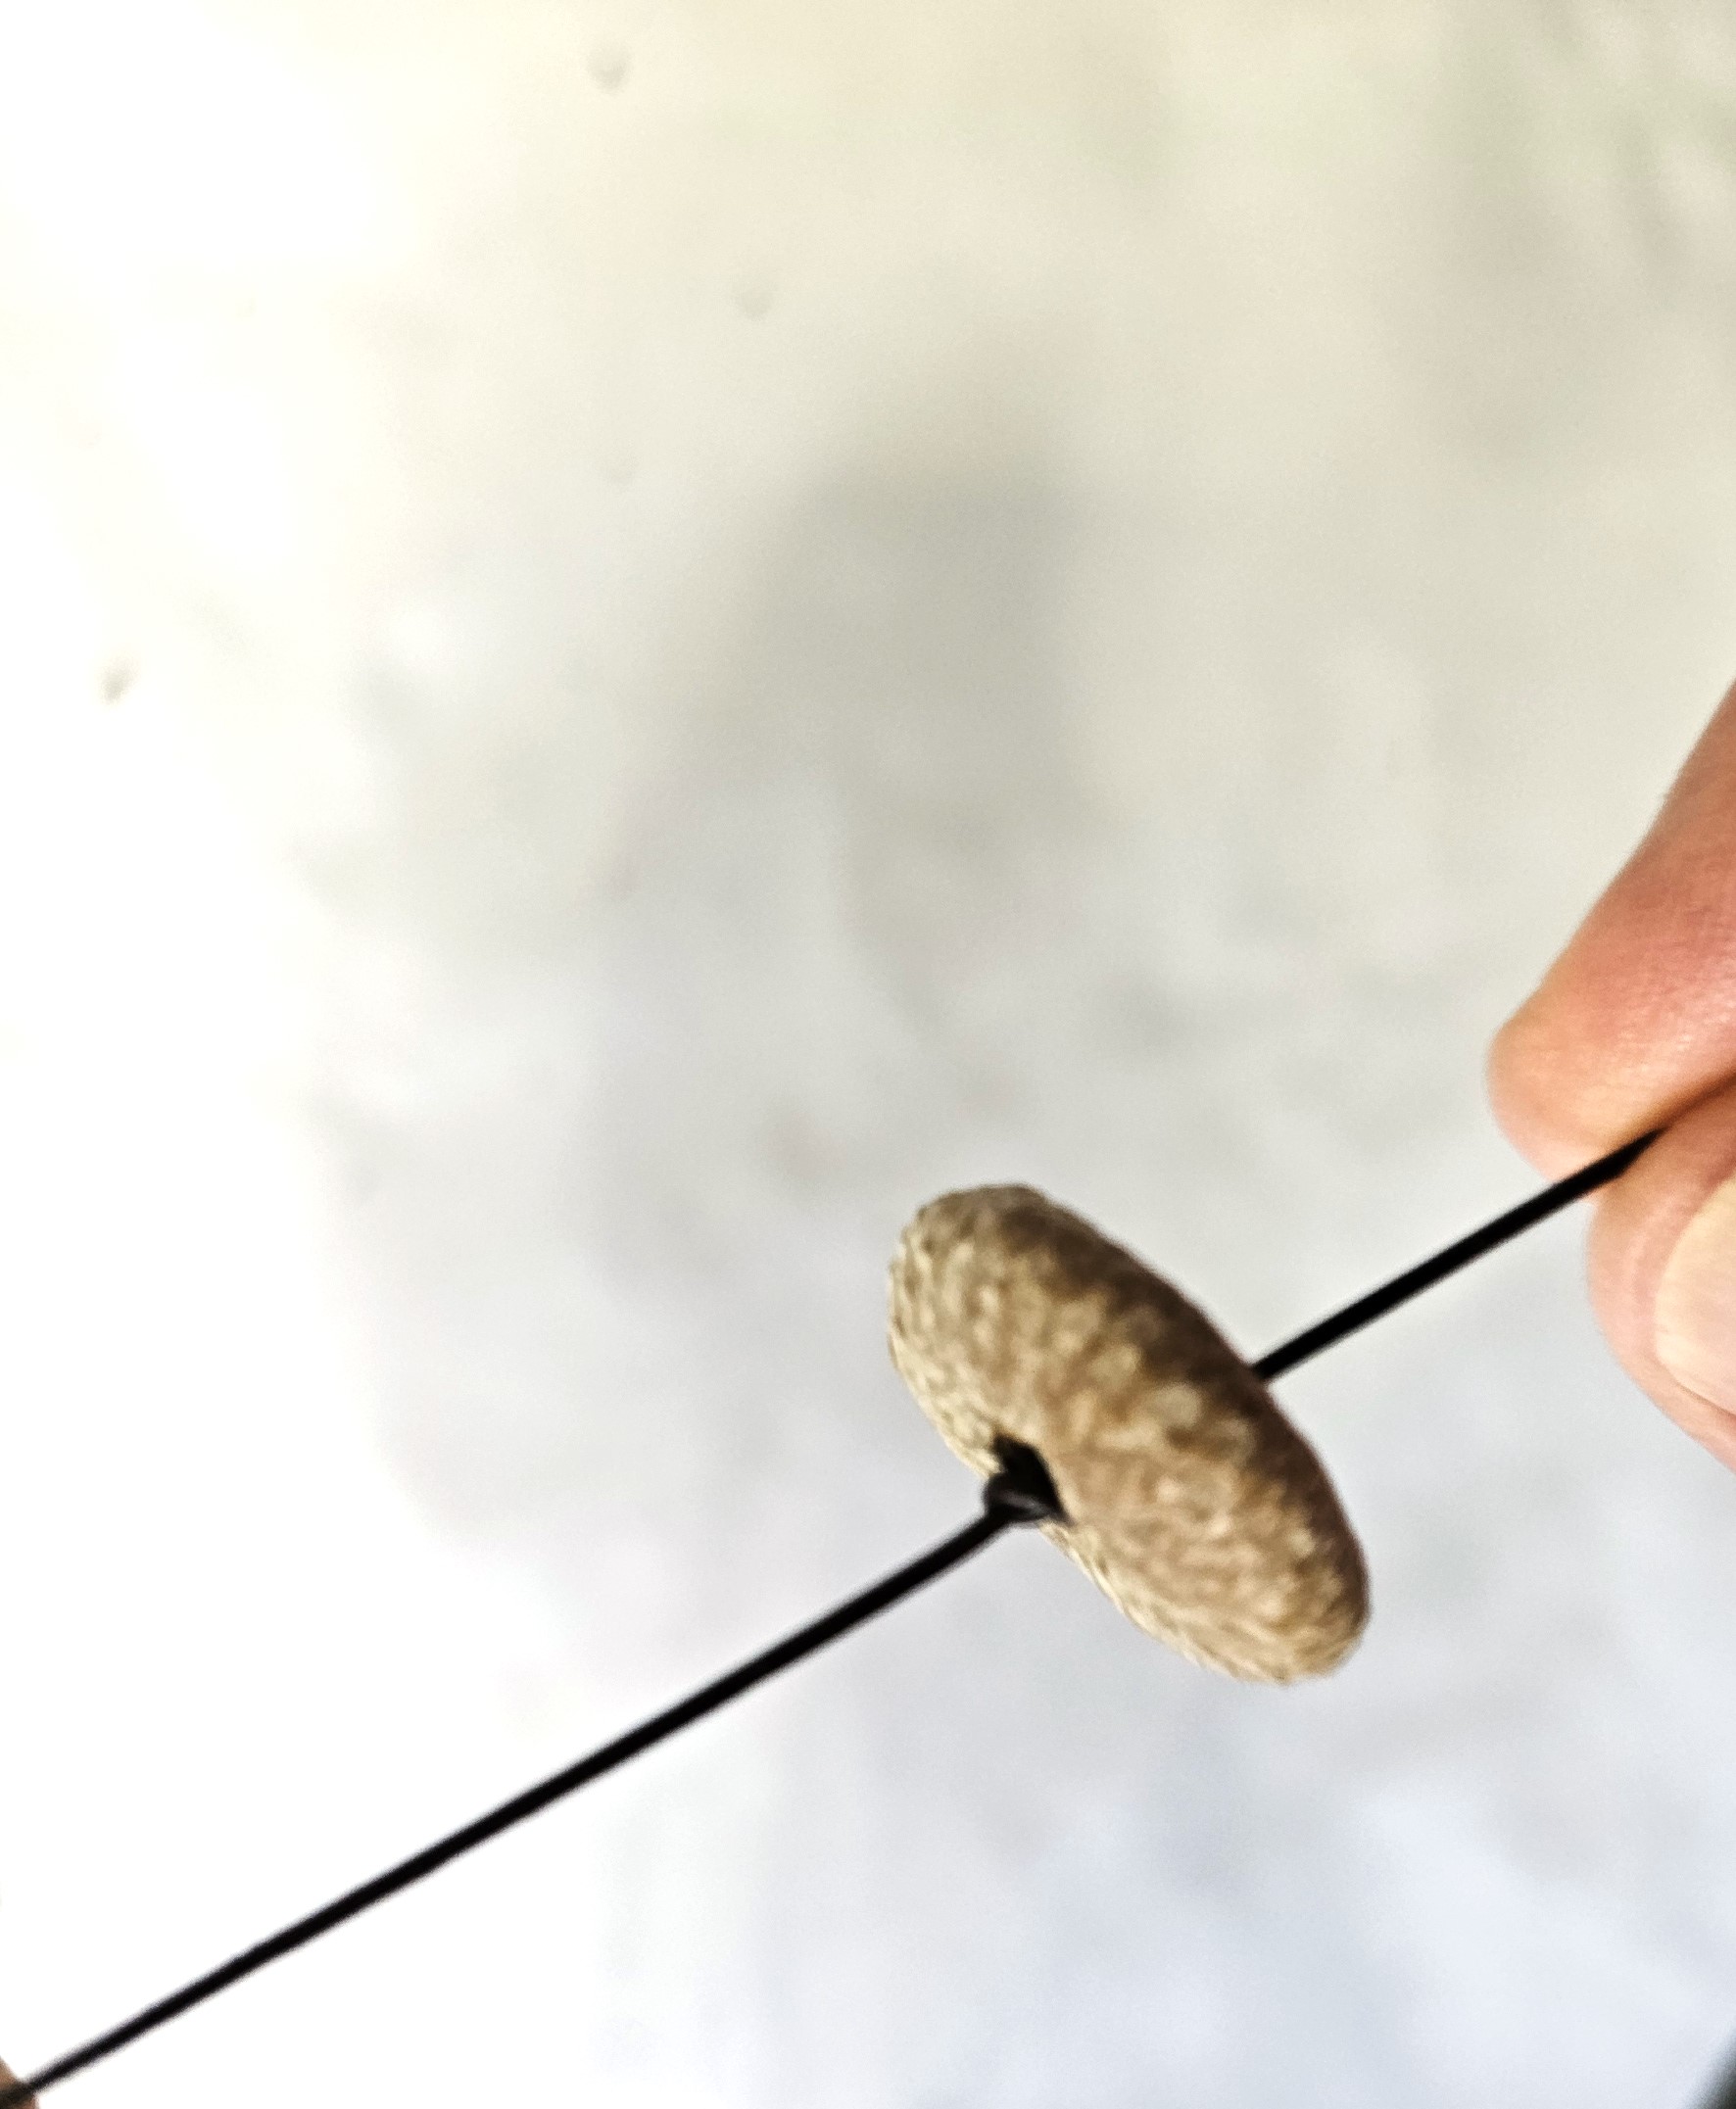
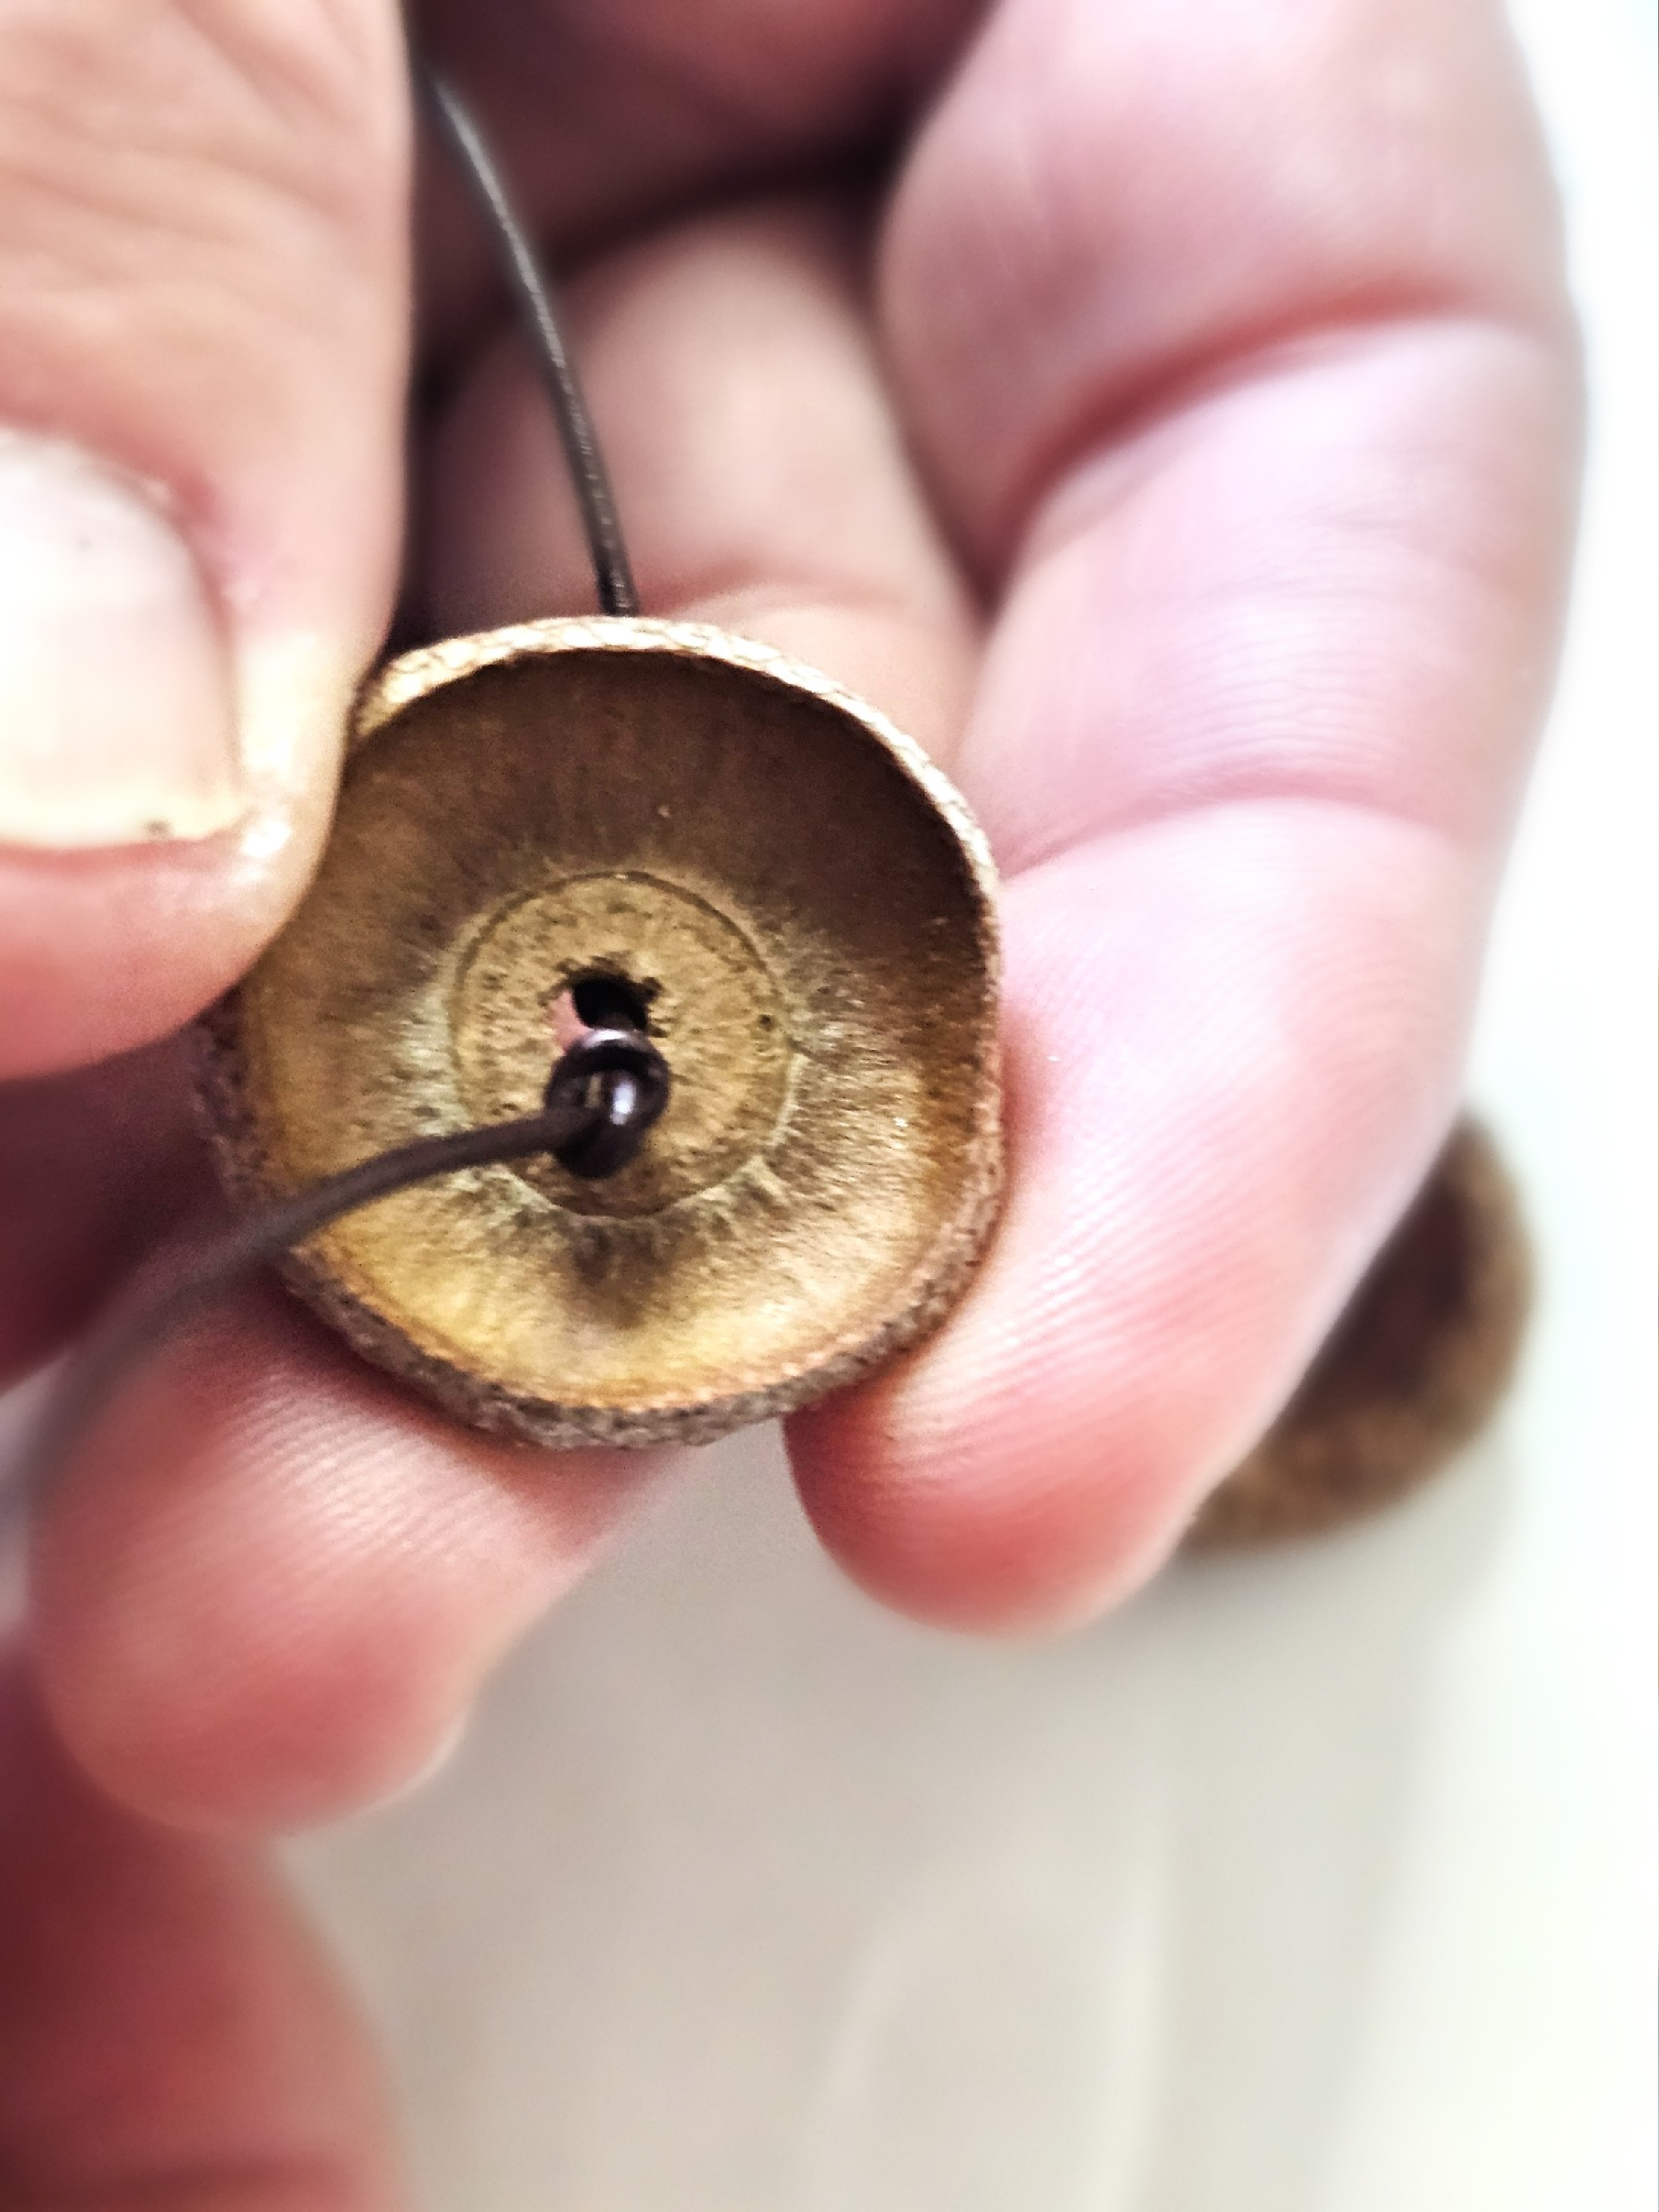
When using just caps using a pair of pliers remove the stem. Next, drill the holes add coated floral wire, and tie a knot on the outside of the cap. Tie a knot for the inside of each cap. If you are concerned, add a bit of hot glue. Let it set. (We tugged the wire a few times and the knot was fine.) Never leave a hot glue gun unattended. To avoid injuries, be sure children and animals can't get tangled in the wire.
Don't forget to check the link in the blog post to purchase acorn caps!
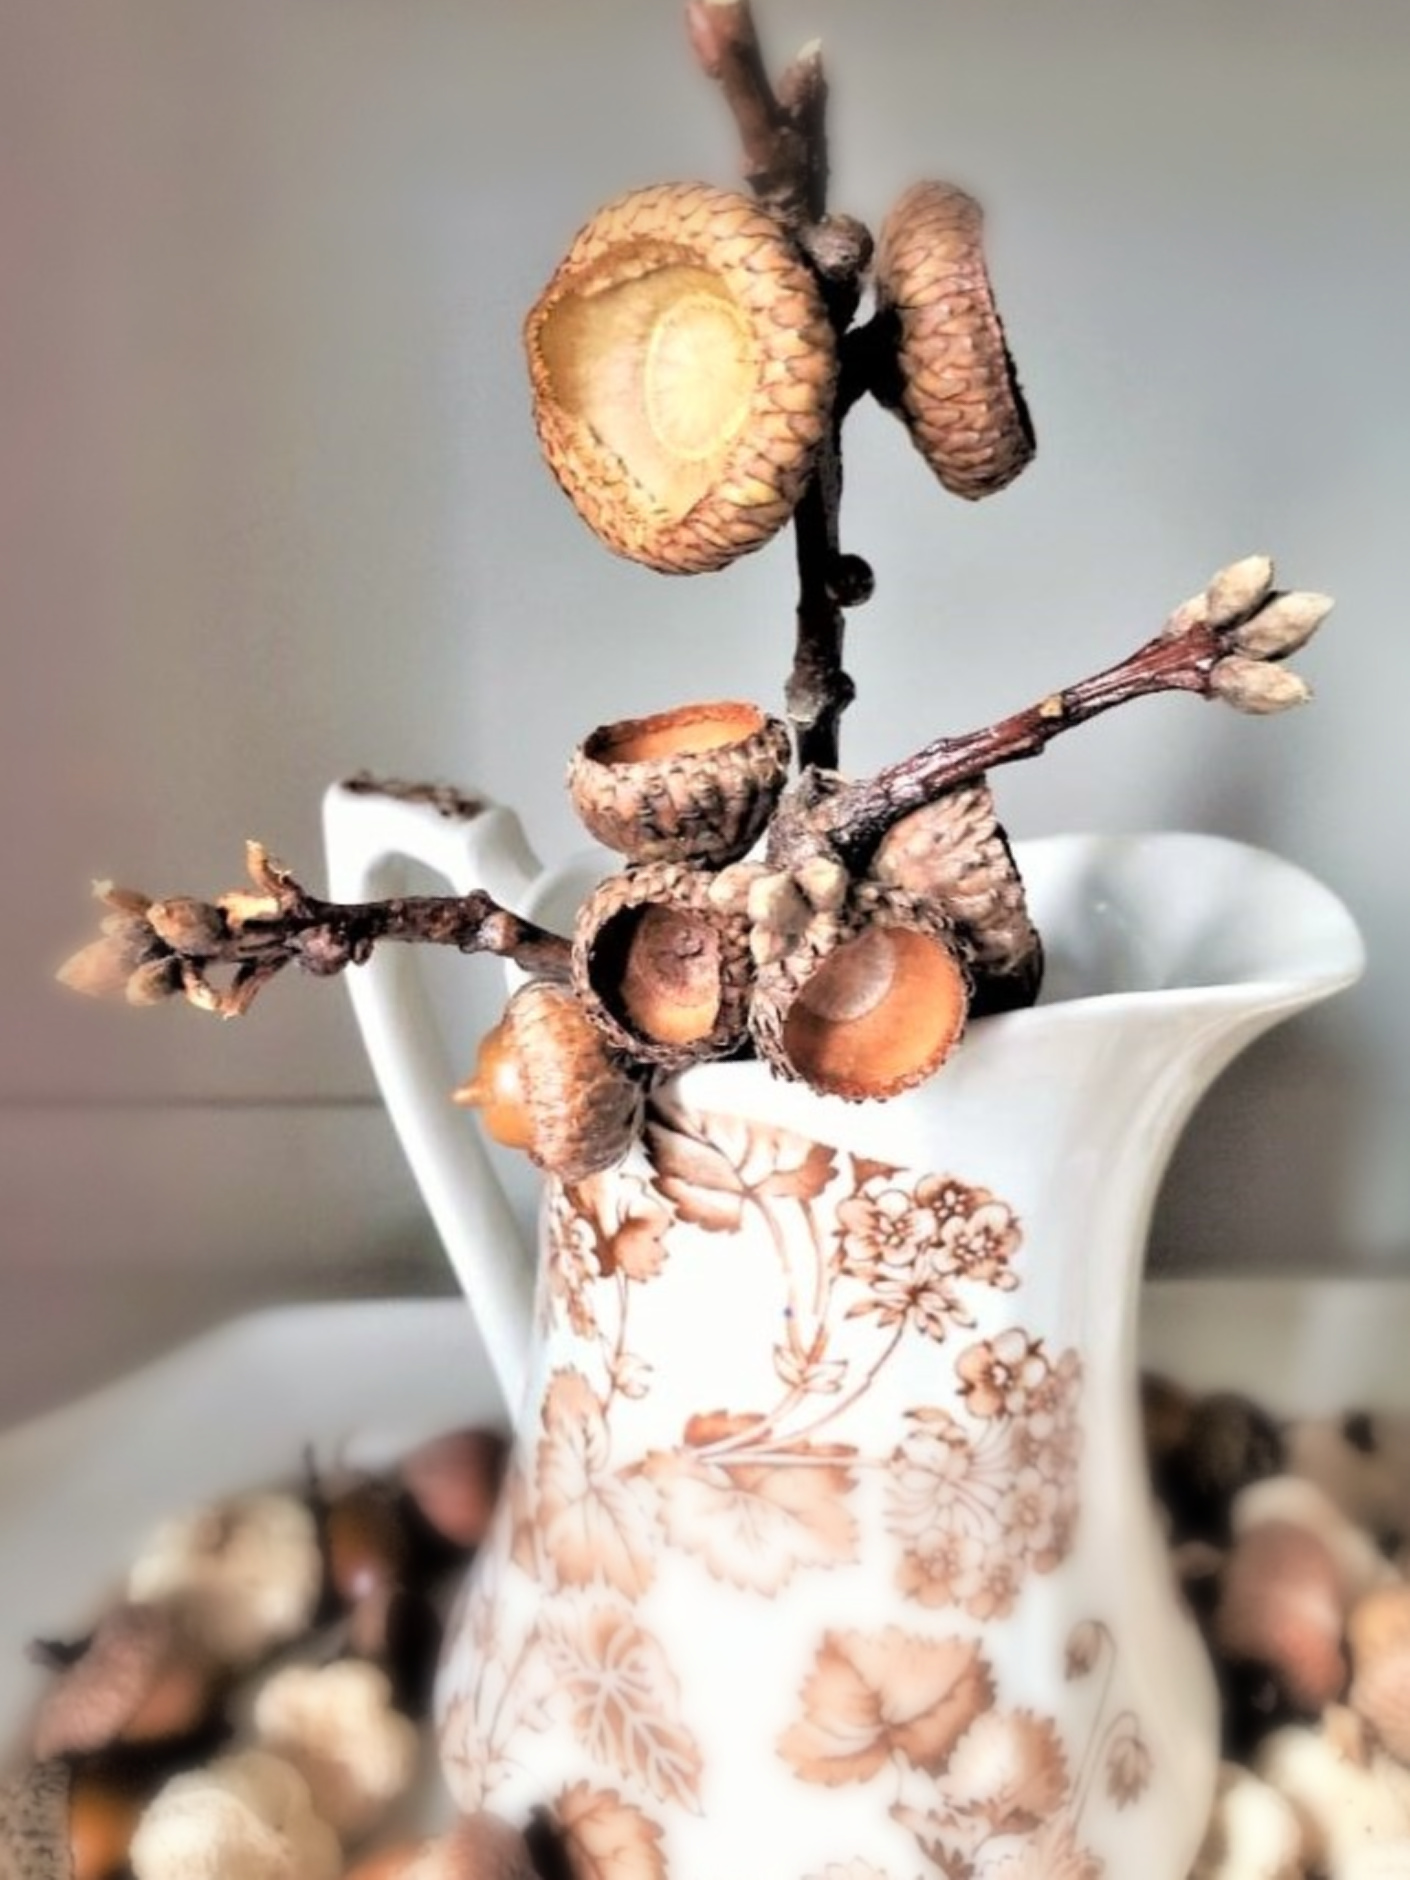
Transform Your Table: Create Lovely Napkin Rings in Just Minutes!
Thank you for joining me today to create these lovely napkin rings! They're an easy, fun way to bring the beauty of the fall season to any table setting. Whether hosting a casual dinner or special occasions these napkin rings, combined with other natural elements, will add a warm, rustic touch to your fall table. So, gather your craft supplies, unleash your creative side, and enjoy crafting these for your table décor. Happy crafting and enjoy these acorn napkin rings easy fall craft to make today! Share your table setting with us and tag me @clochesandlavender so we can see the great way you used your napkin rings in your home! I look forward to sharing my next project or home decor idea with you. So sign up to receive six free simmer pot recipes and never miss a blog post!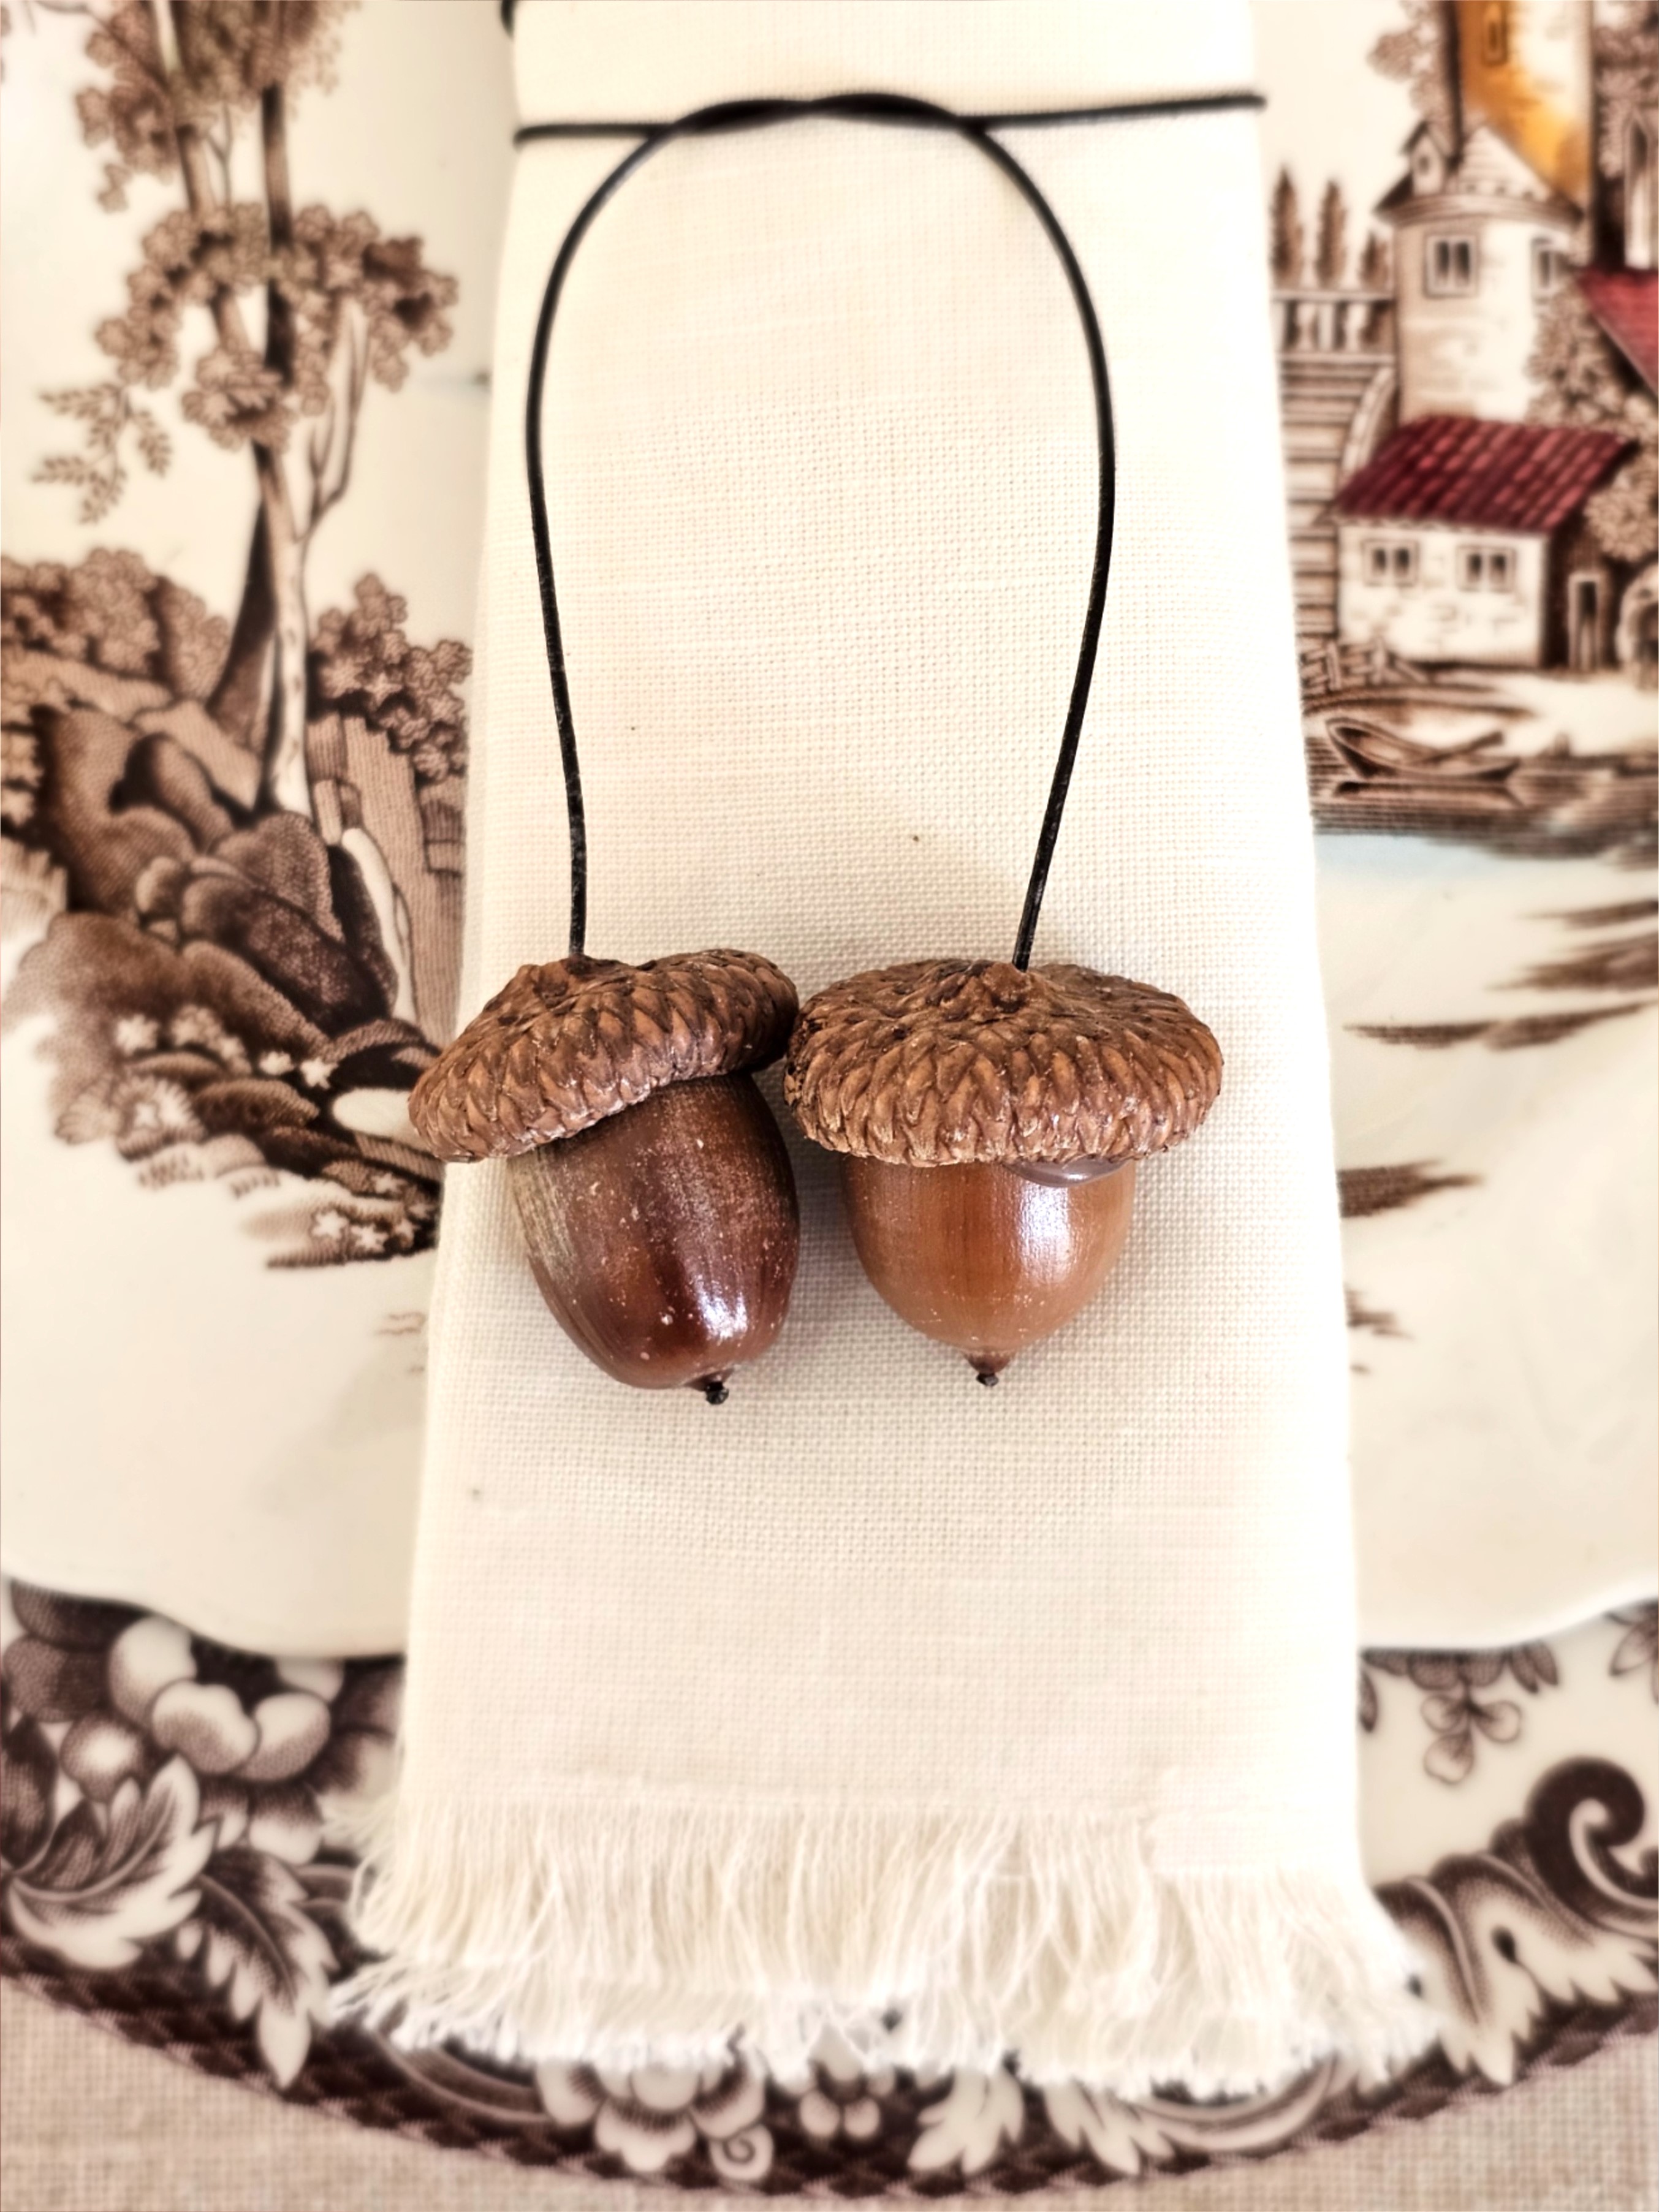
 Happy crafting!