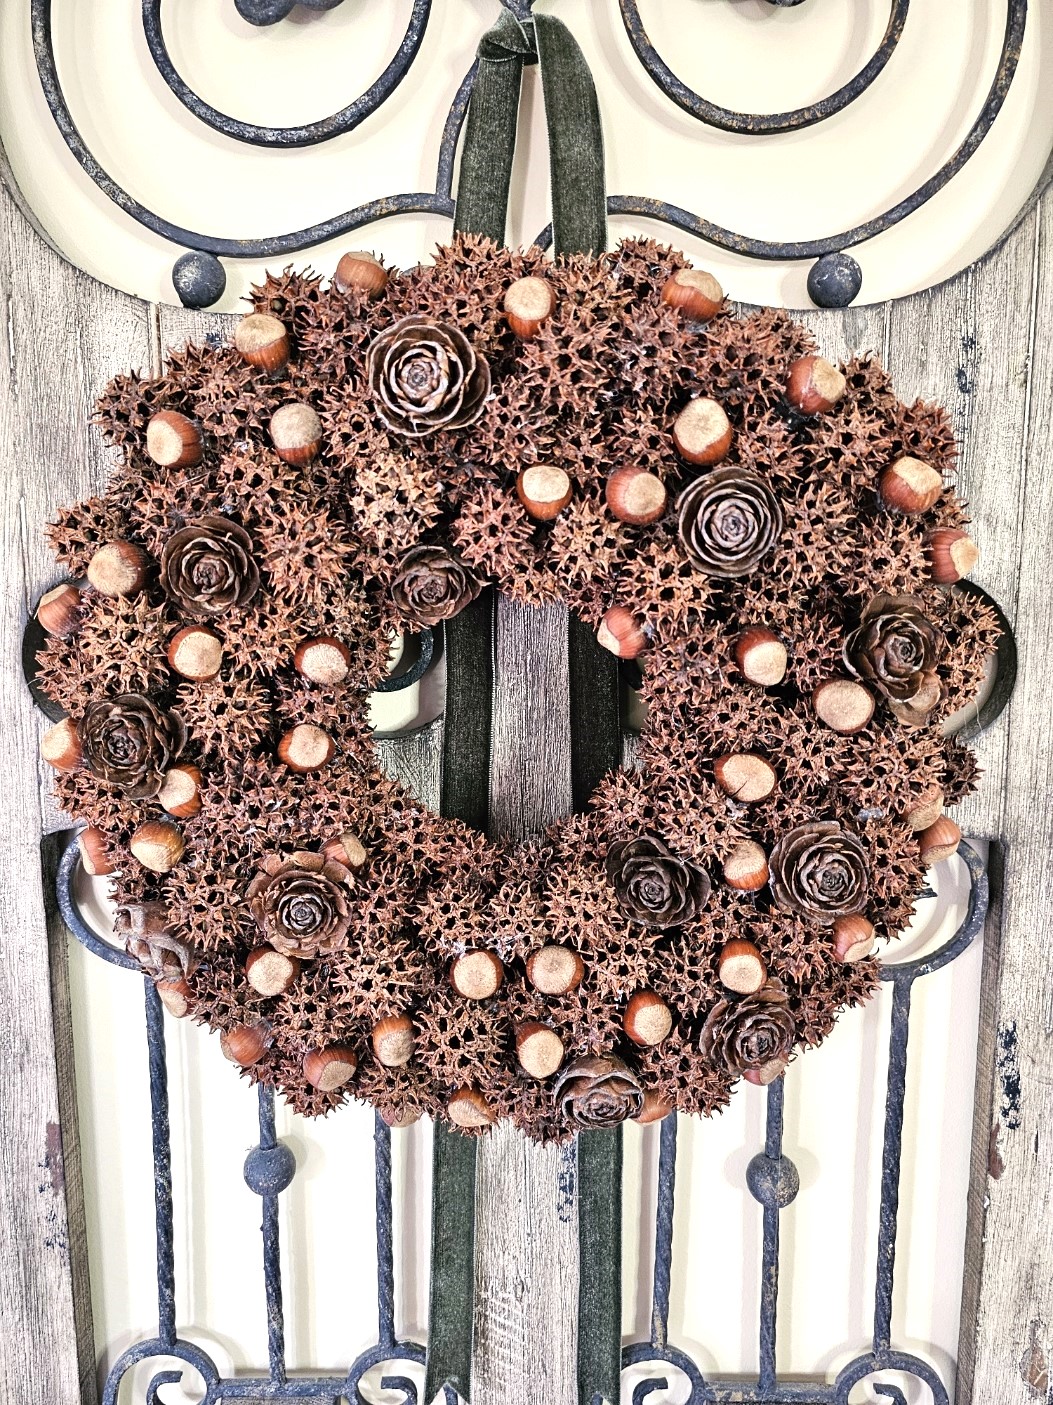
Sweet Gum Ball Wreath Transform Your Decor Today!
I can hear it now about these spiky balls. No, I don't have sweetgum trees in my front yard. However, I love working with items that Mother Nature provides. Hey, they are free and when your neighbor offers you these empty seed pods, you take them. So my husband went with a plastic bag. After realizing how many were lying on the ground from our neighbor's sweet gum tree, he returned and got two buckets. As I mentioned the pieces Mother Nature offers are free! This sweet gum ball wreath transform your decor today!
Yield: 1 wreath
Cost: $5
Notes
Sweet Gum Ball Wreath Transform Your Decor Today!
Craft Supplies:
-
- 8 inch or 10 inch straw wreath form or a grapevine wreath
-
- 150 sweet gum balls
-
- 12 pinecone flowers (optional)
-
- Hazelnuts (optional)
-
- Hot glue gun and glue sticks
-
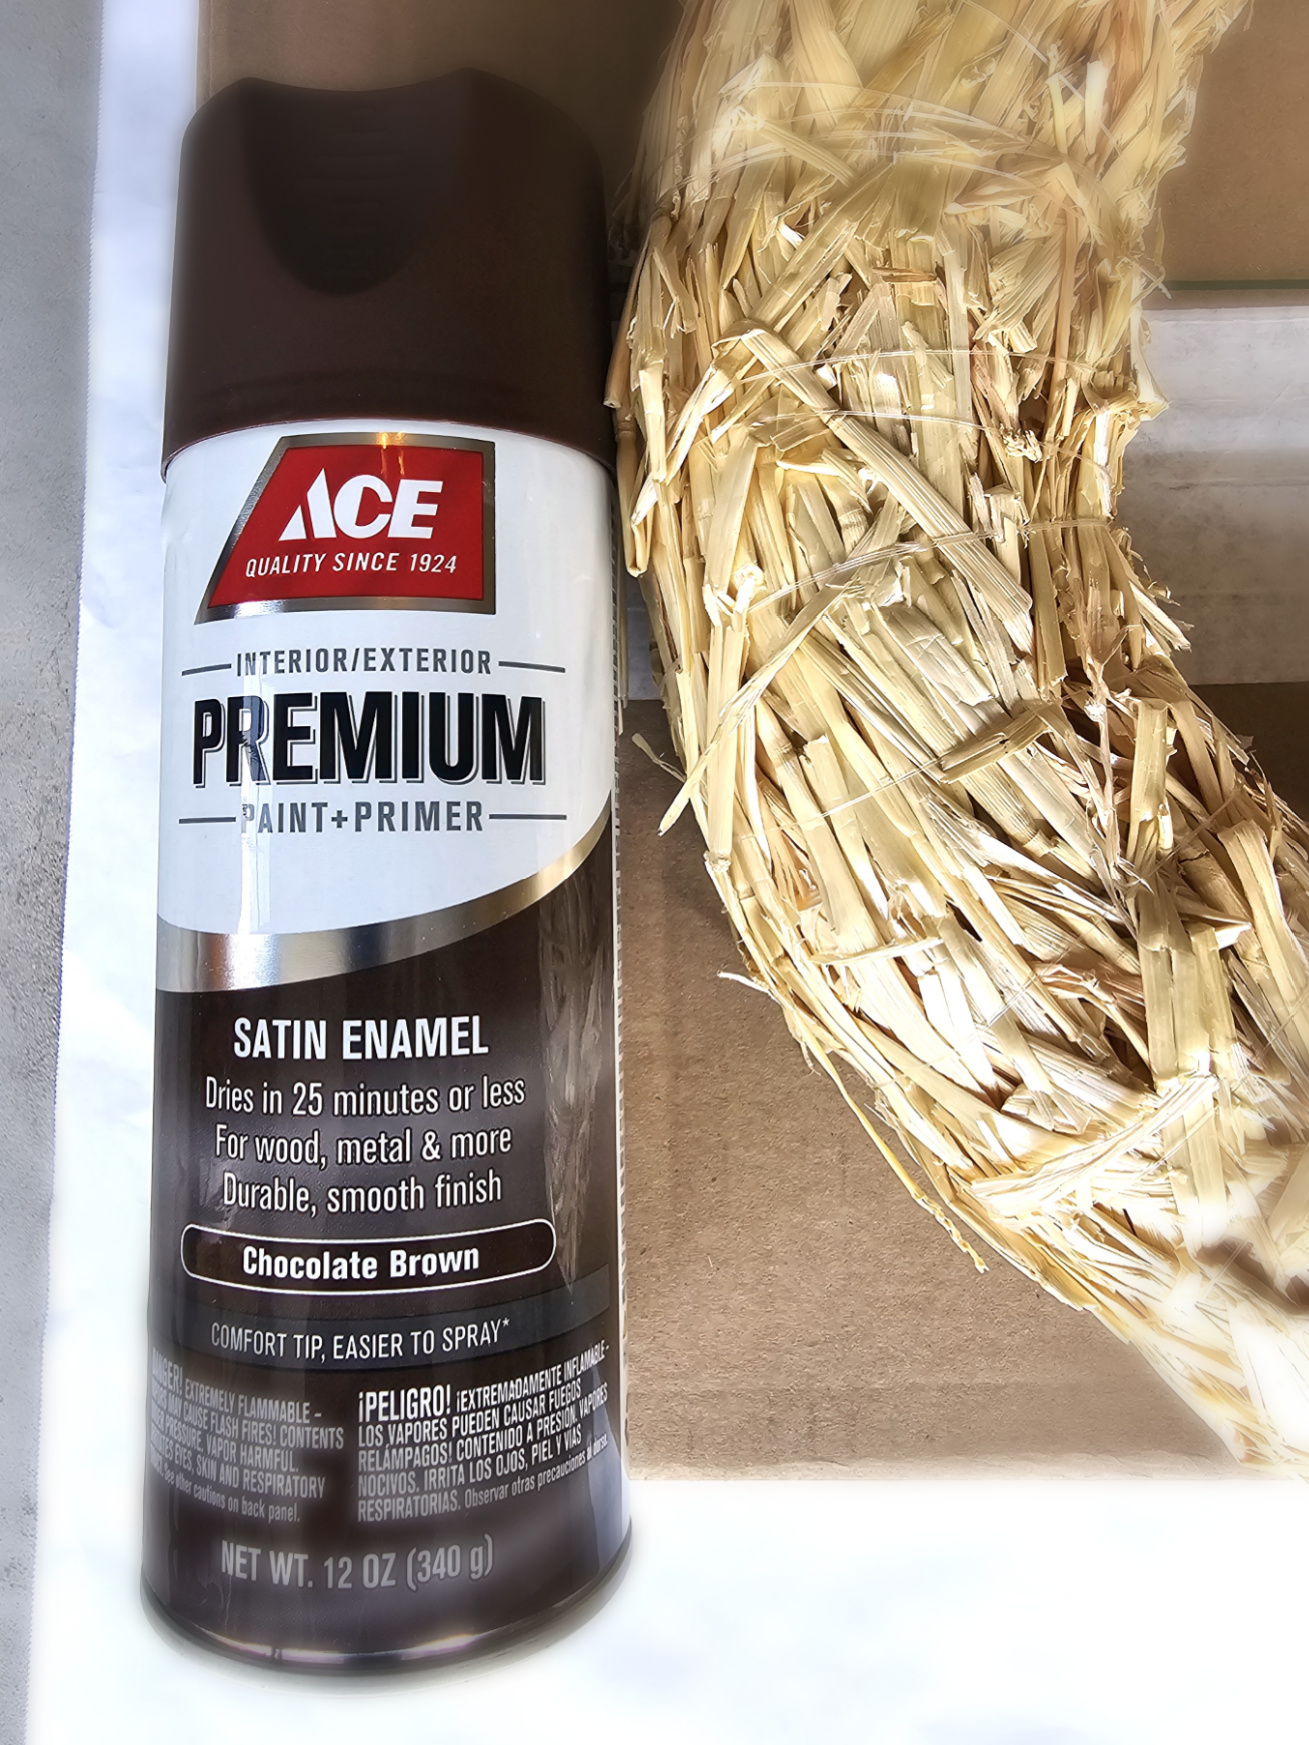
- Matte brown spray paint
-
- Cookie Sheet
-
- Plastic bag or bucket
-
- Tweezers: to remove glue strings
-
- Matte Sealer (optional)
Step 1: Bake
Prep Sweet Gum Balls
Preheat your oven to a low temperature of 250 degrees. Add the pods to a large baking sheet or cookie sheet. Bake these for 15 minutes. Cool completely on a wire rack before using them on your sweet gum ball wreath. This will ensure there are no bugs, and they are germ-free and will ensure these last a long time. Cindy's Sweet Gum Tip: Because these fell off sweet gum trees and have been in your front yard, animals may have nibbled on the sweet gum seeds. I recommend baking the seed pods. Apologies, I forget to photograph this step.Step 2: Paint the Wreath Base
Matte Brown Spray Paint
Spray your straw wreath form with matte brown spray paint. The straw wreath form will blend with the sweet gum balls if any gaps exist. Let dry.
Cindy's Sweet Gum Tip: If you have brown acrylic paint, you can use it. However, if you use acrylic paint, it will take longer to apply and much longer to dry so spraying the wreath base is my suggestion.
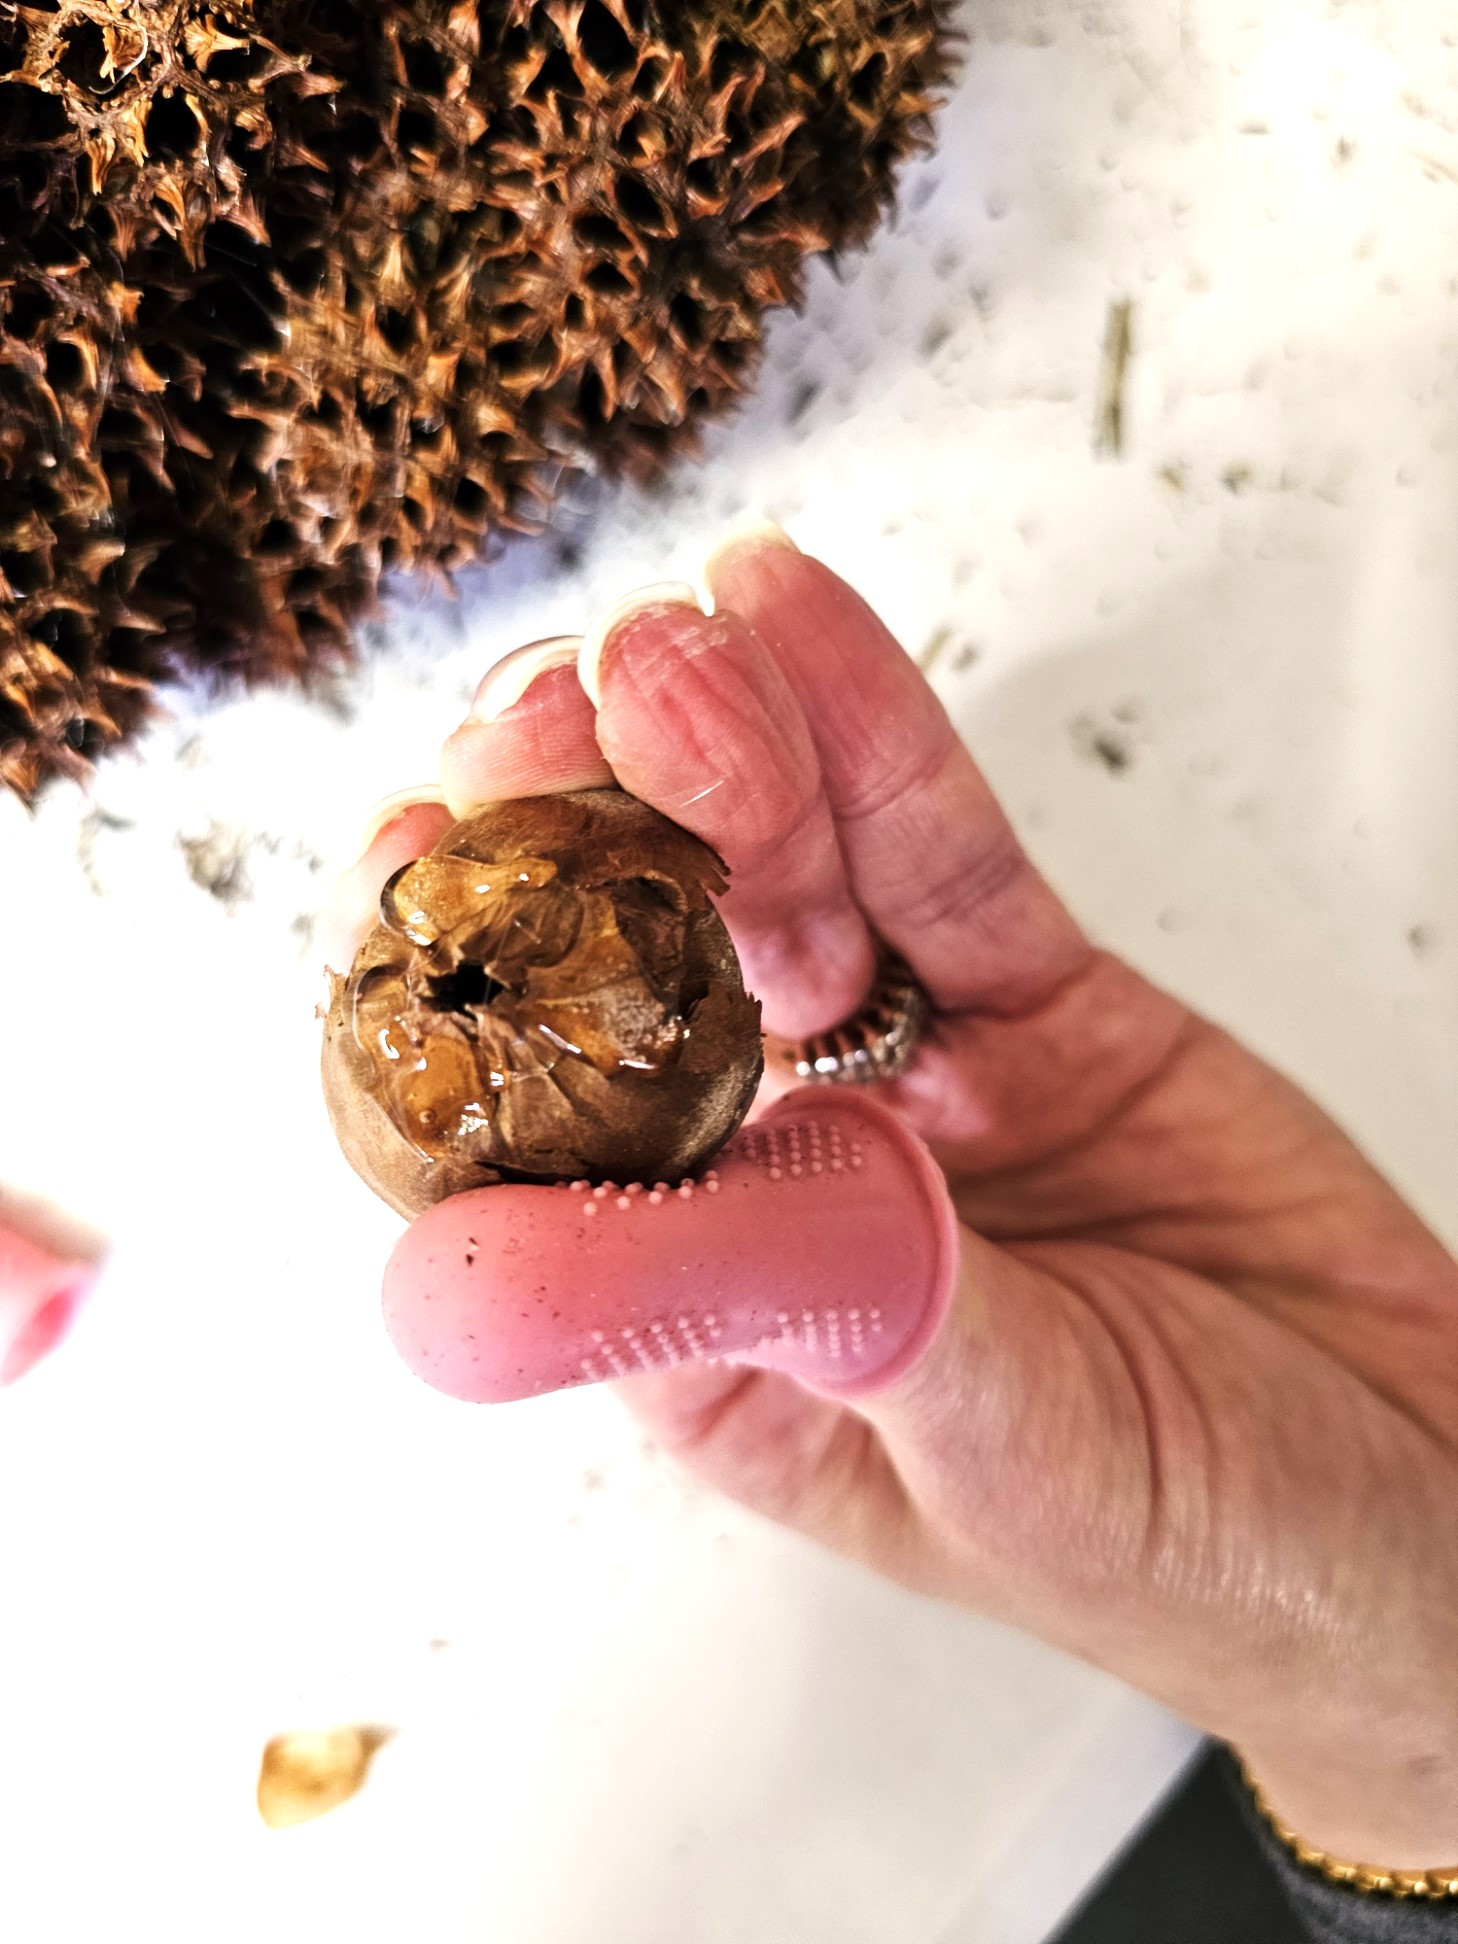
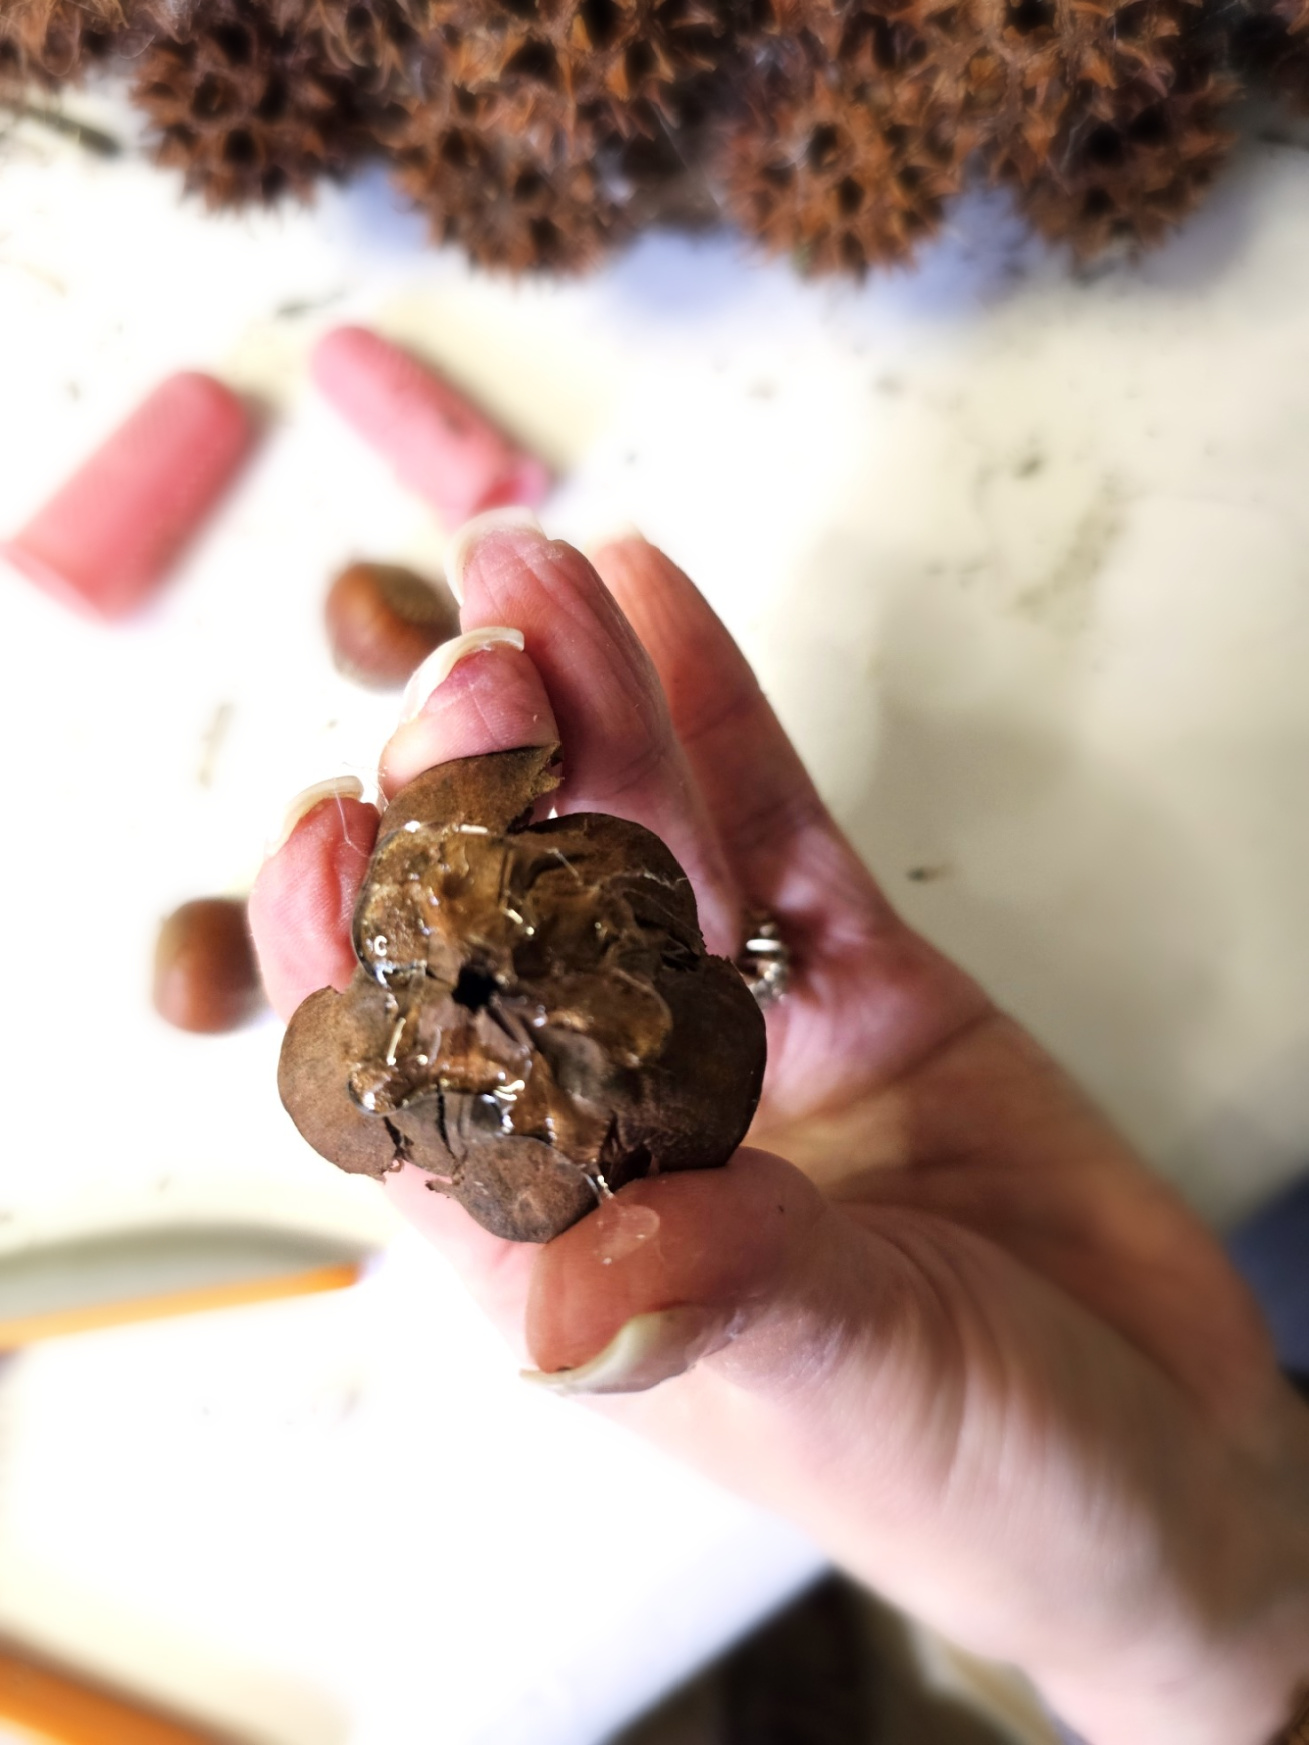
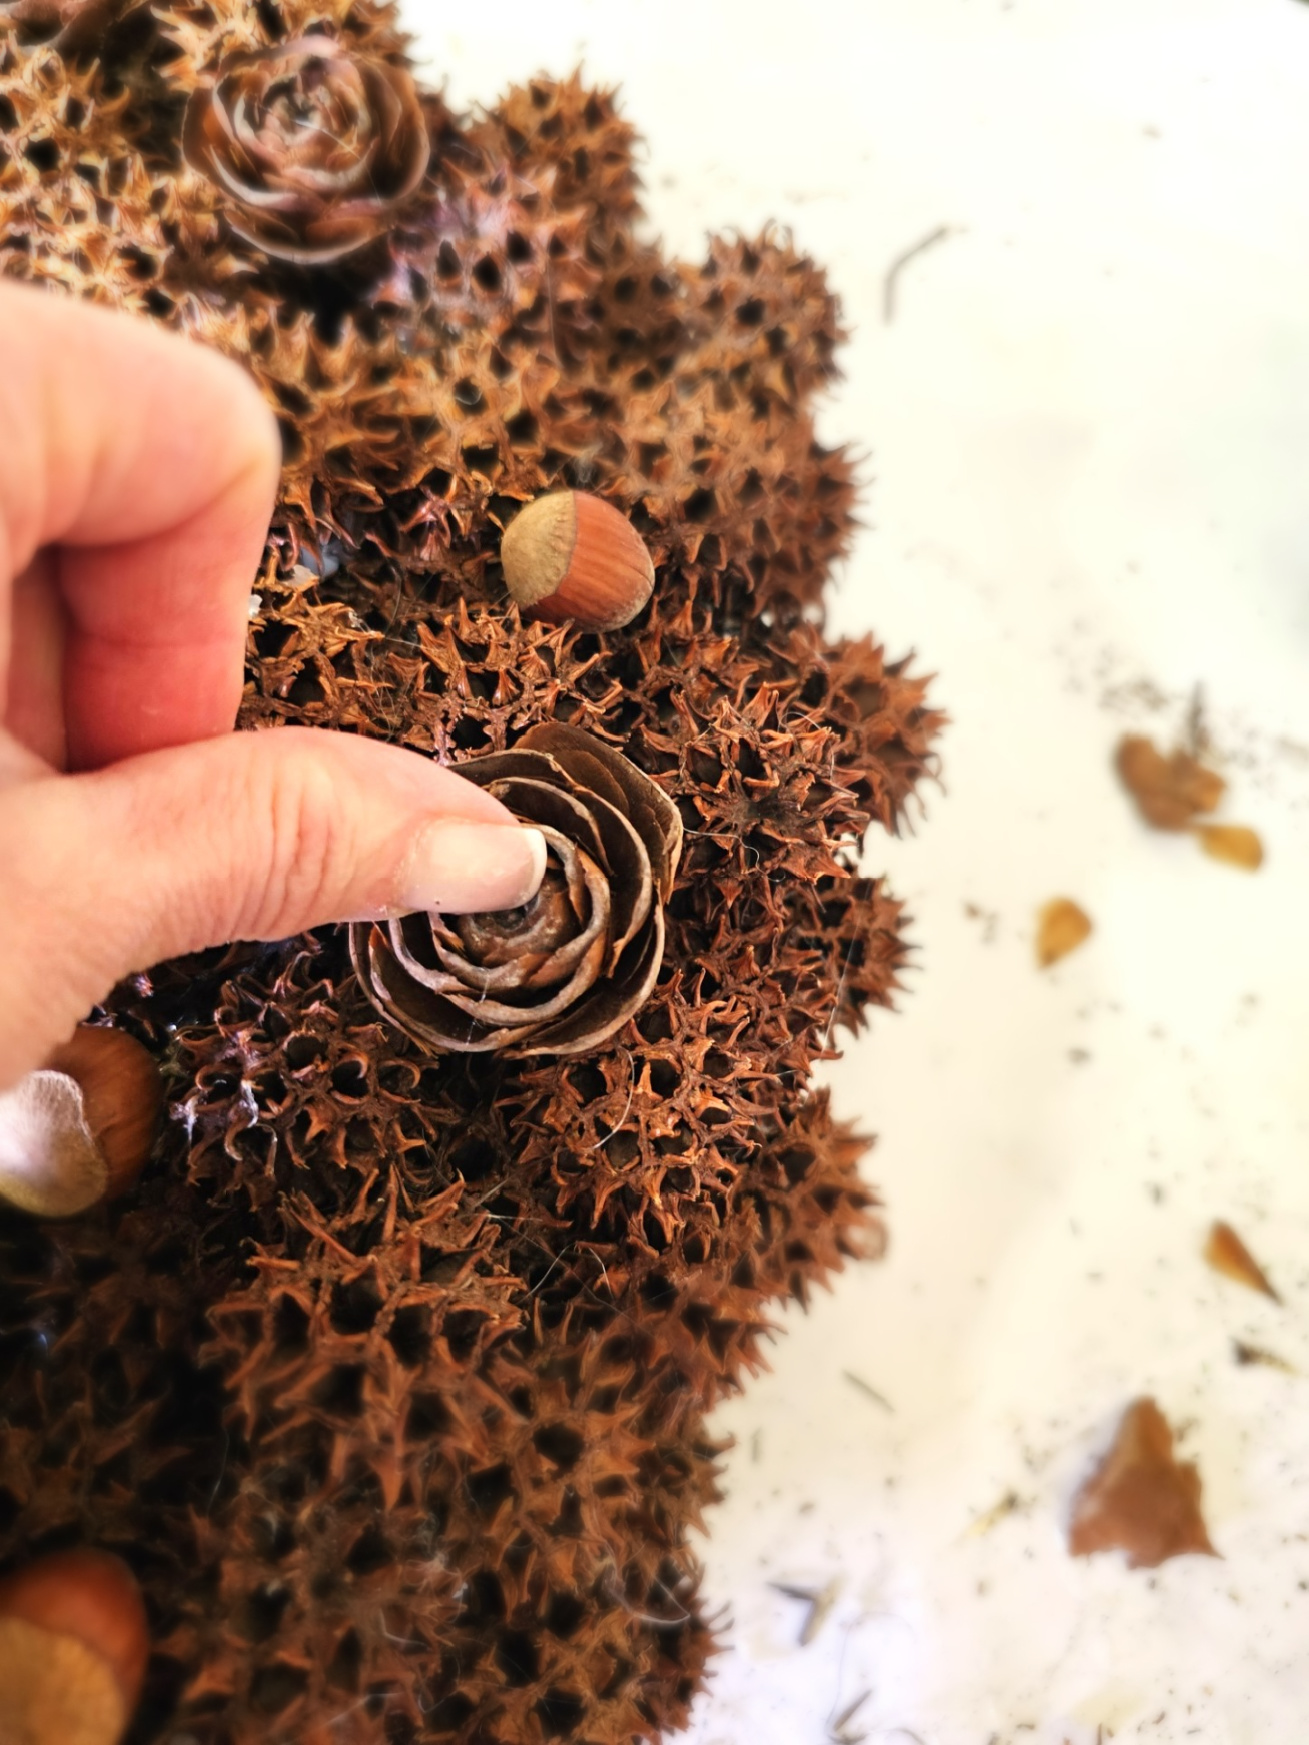
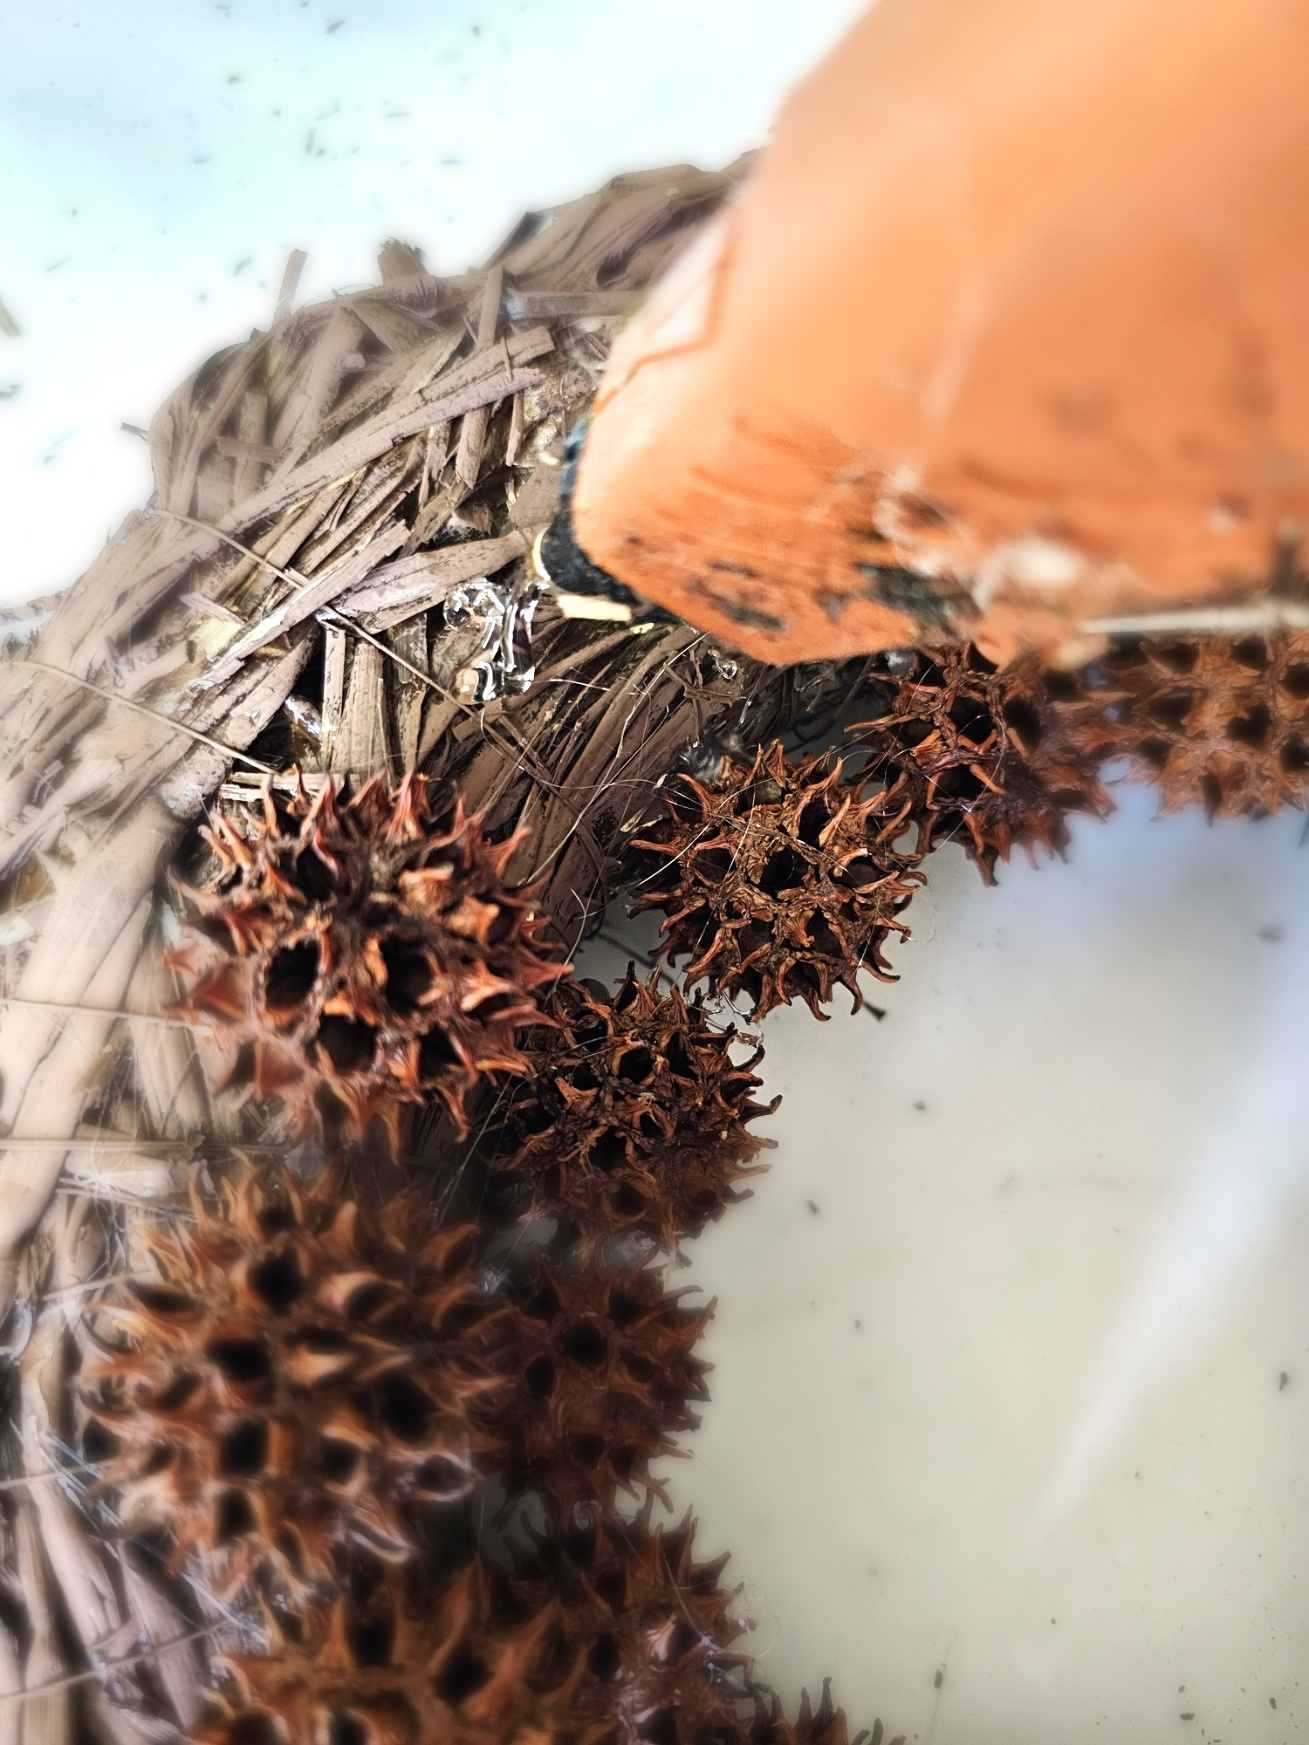
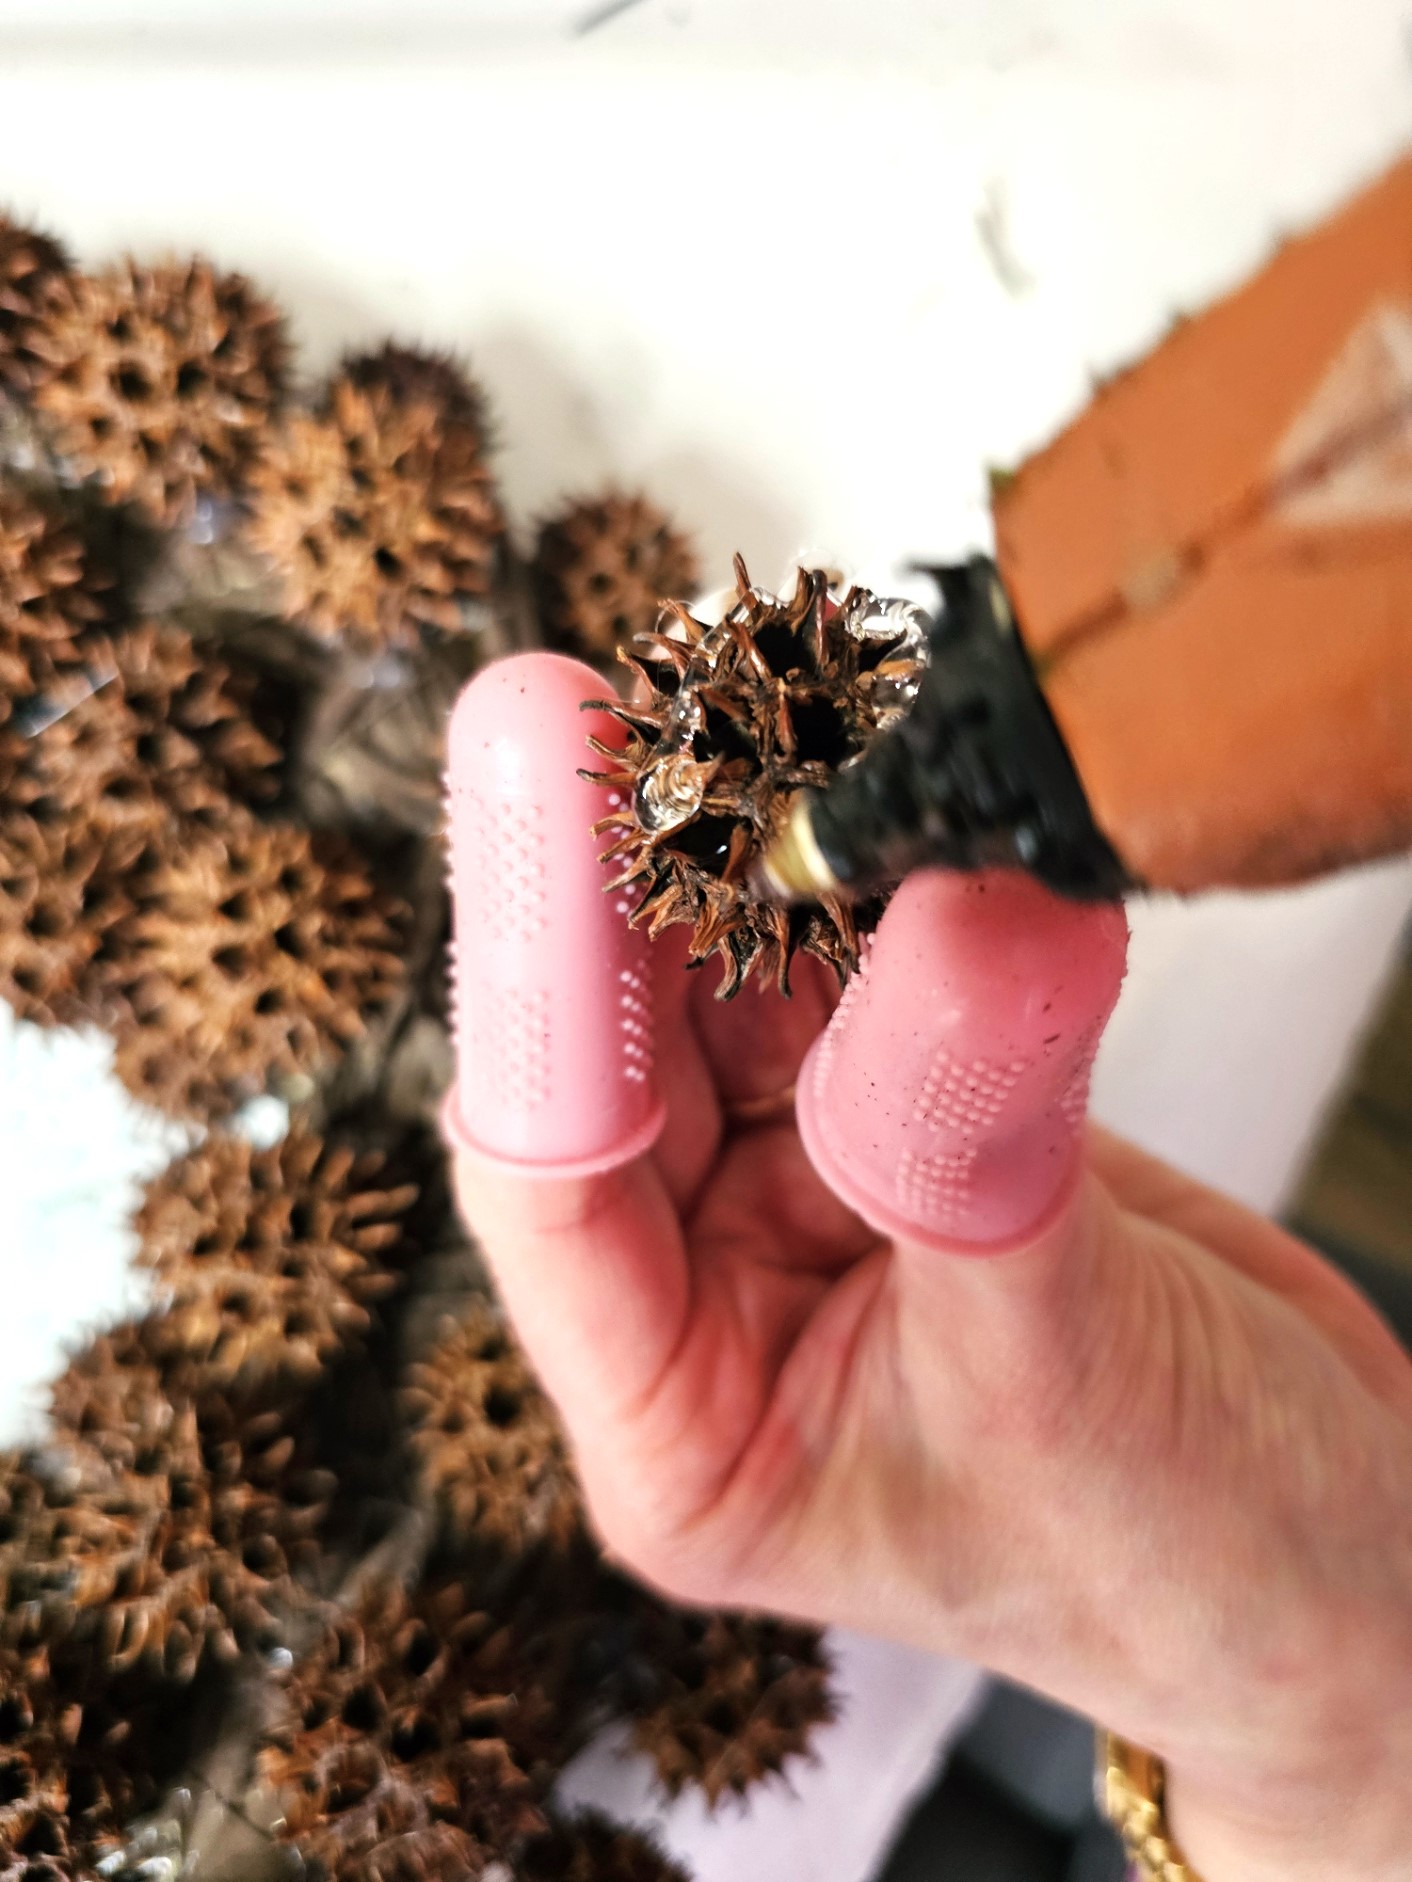
Step 3: Snip the Sweetgum Balls Stems
Quick and Easy: Snip Seed Pods Stem
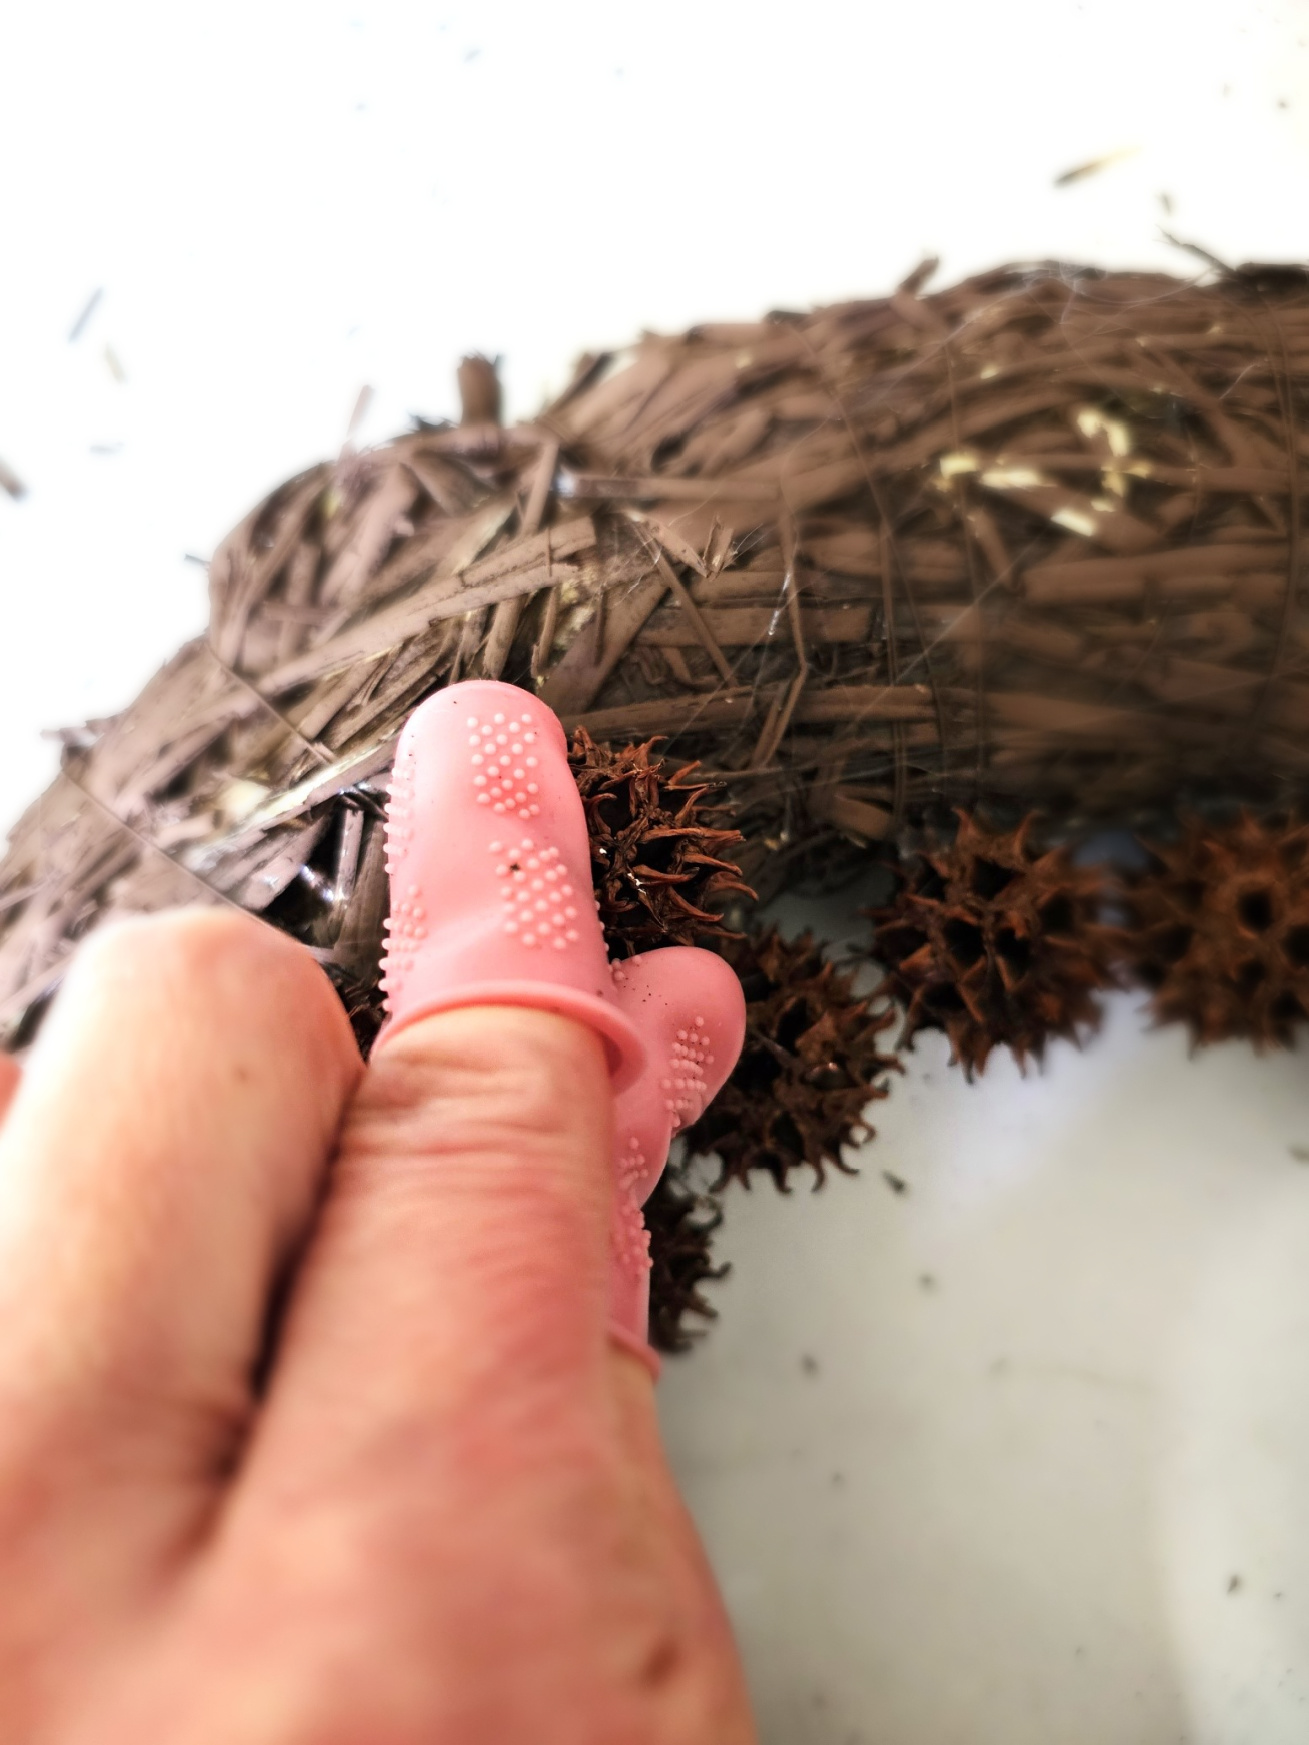
Plug in your hot glue gun and grab your protective rubber fingers. I started my glue gun on the high setting. Once it was heated, I switched it to the low temperature setting. This did a great job of heating the glue faster. Add a lot of glue to spiky balls and hold it to set. You may need to hold it to set for about a minute. Continue adding the seed pods to the inner ring of the wreath. Cindy's Protective Rubber Fingers: It has taken me since last year to find protective fingers that finally fit. I have skinny fingers, and every set fell off. I'm still getting used to wearing them. Some pictures, I'm not. Notice in some pictures I'm adding glue to the wreath. My arms were getting tired. I have MS so I have to change positions at times. Never let a disability define you!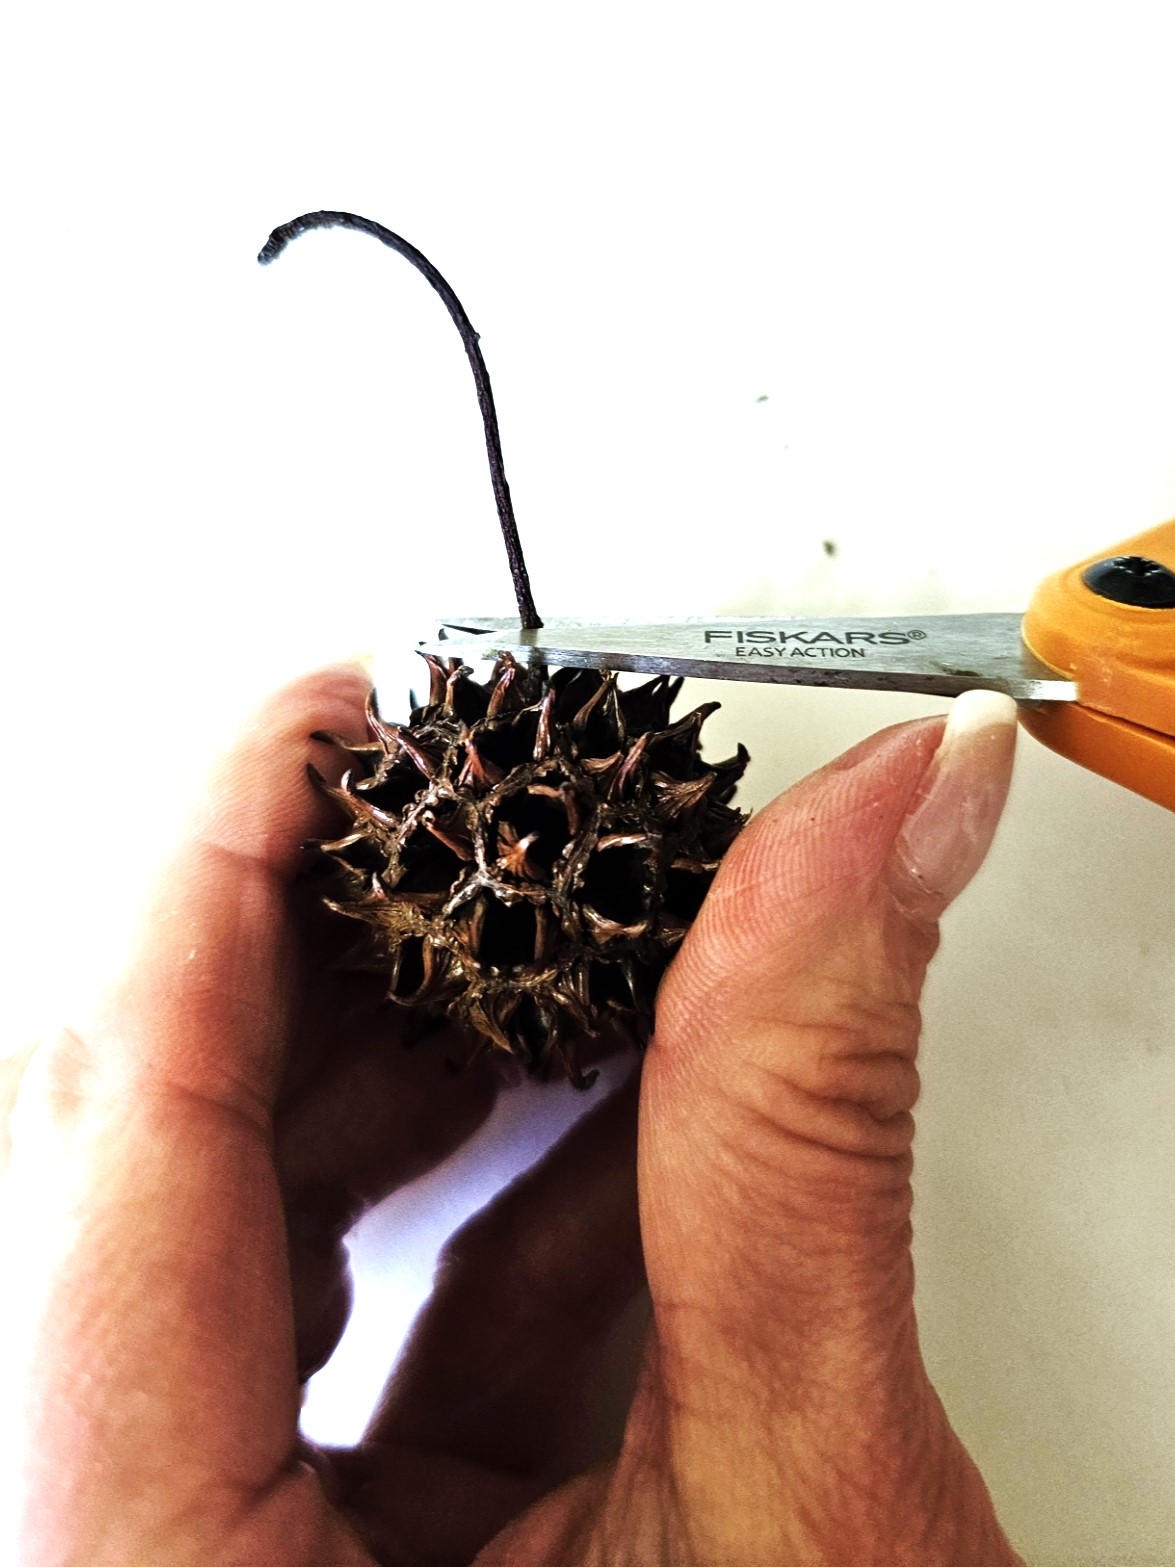

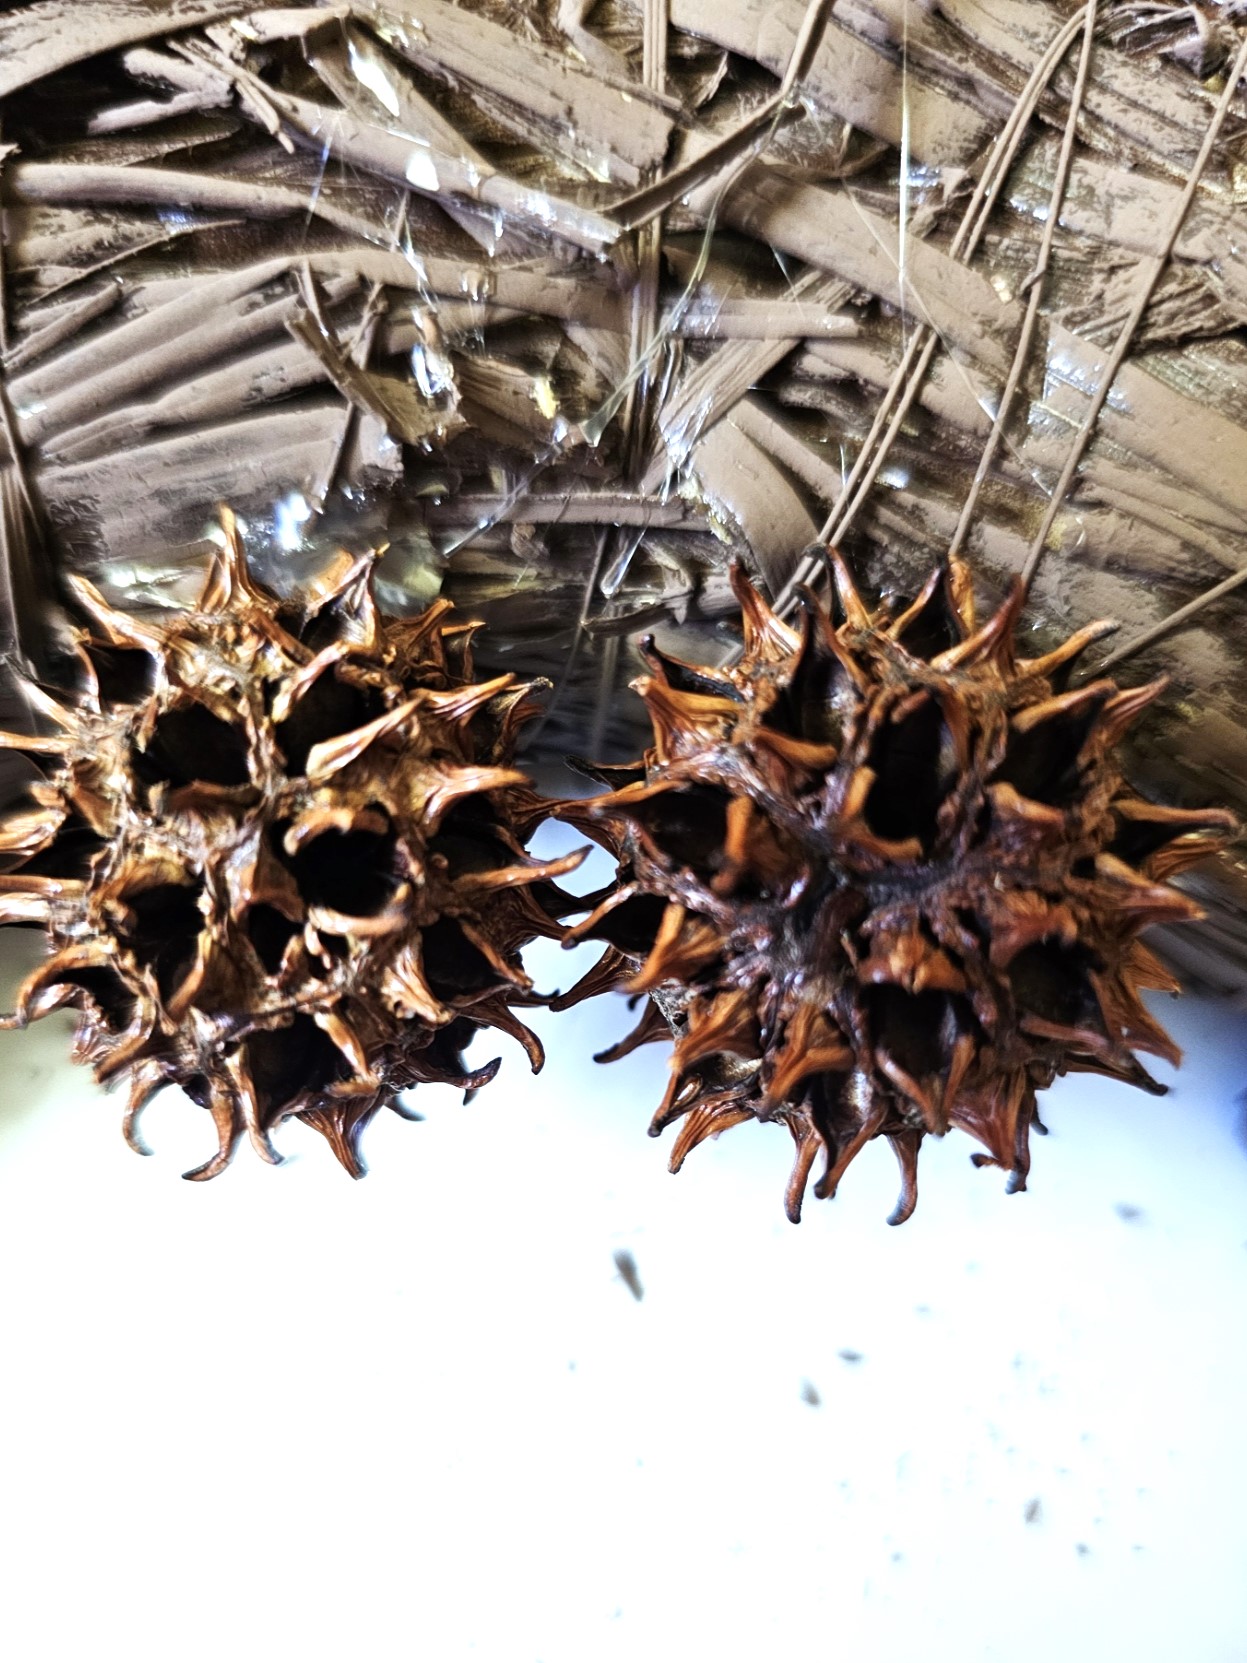

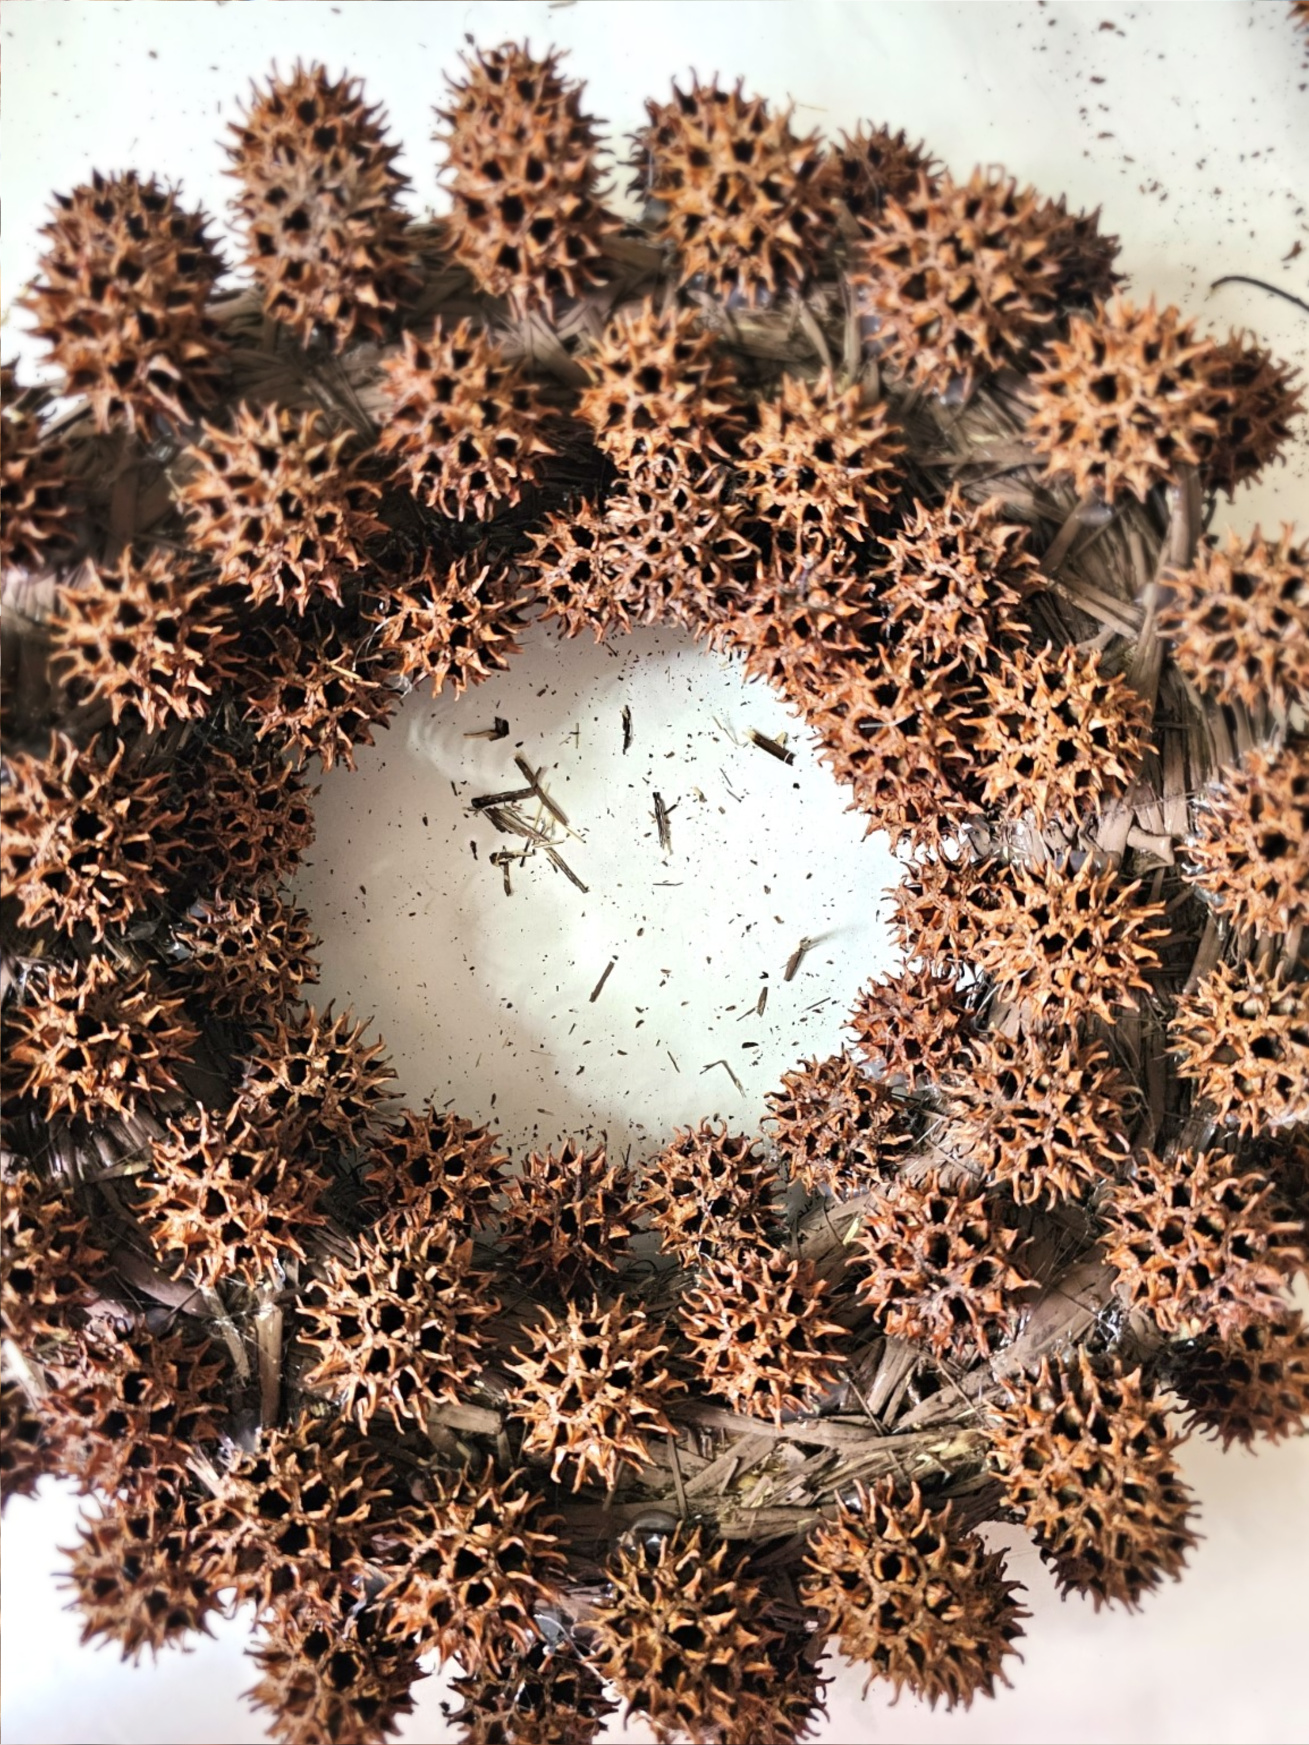
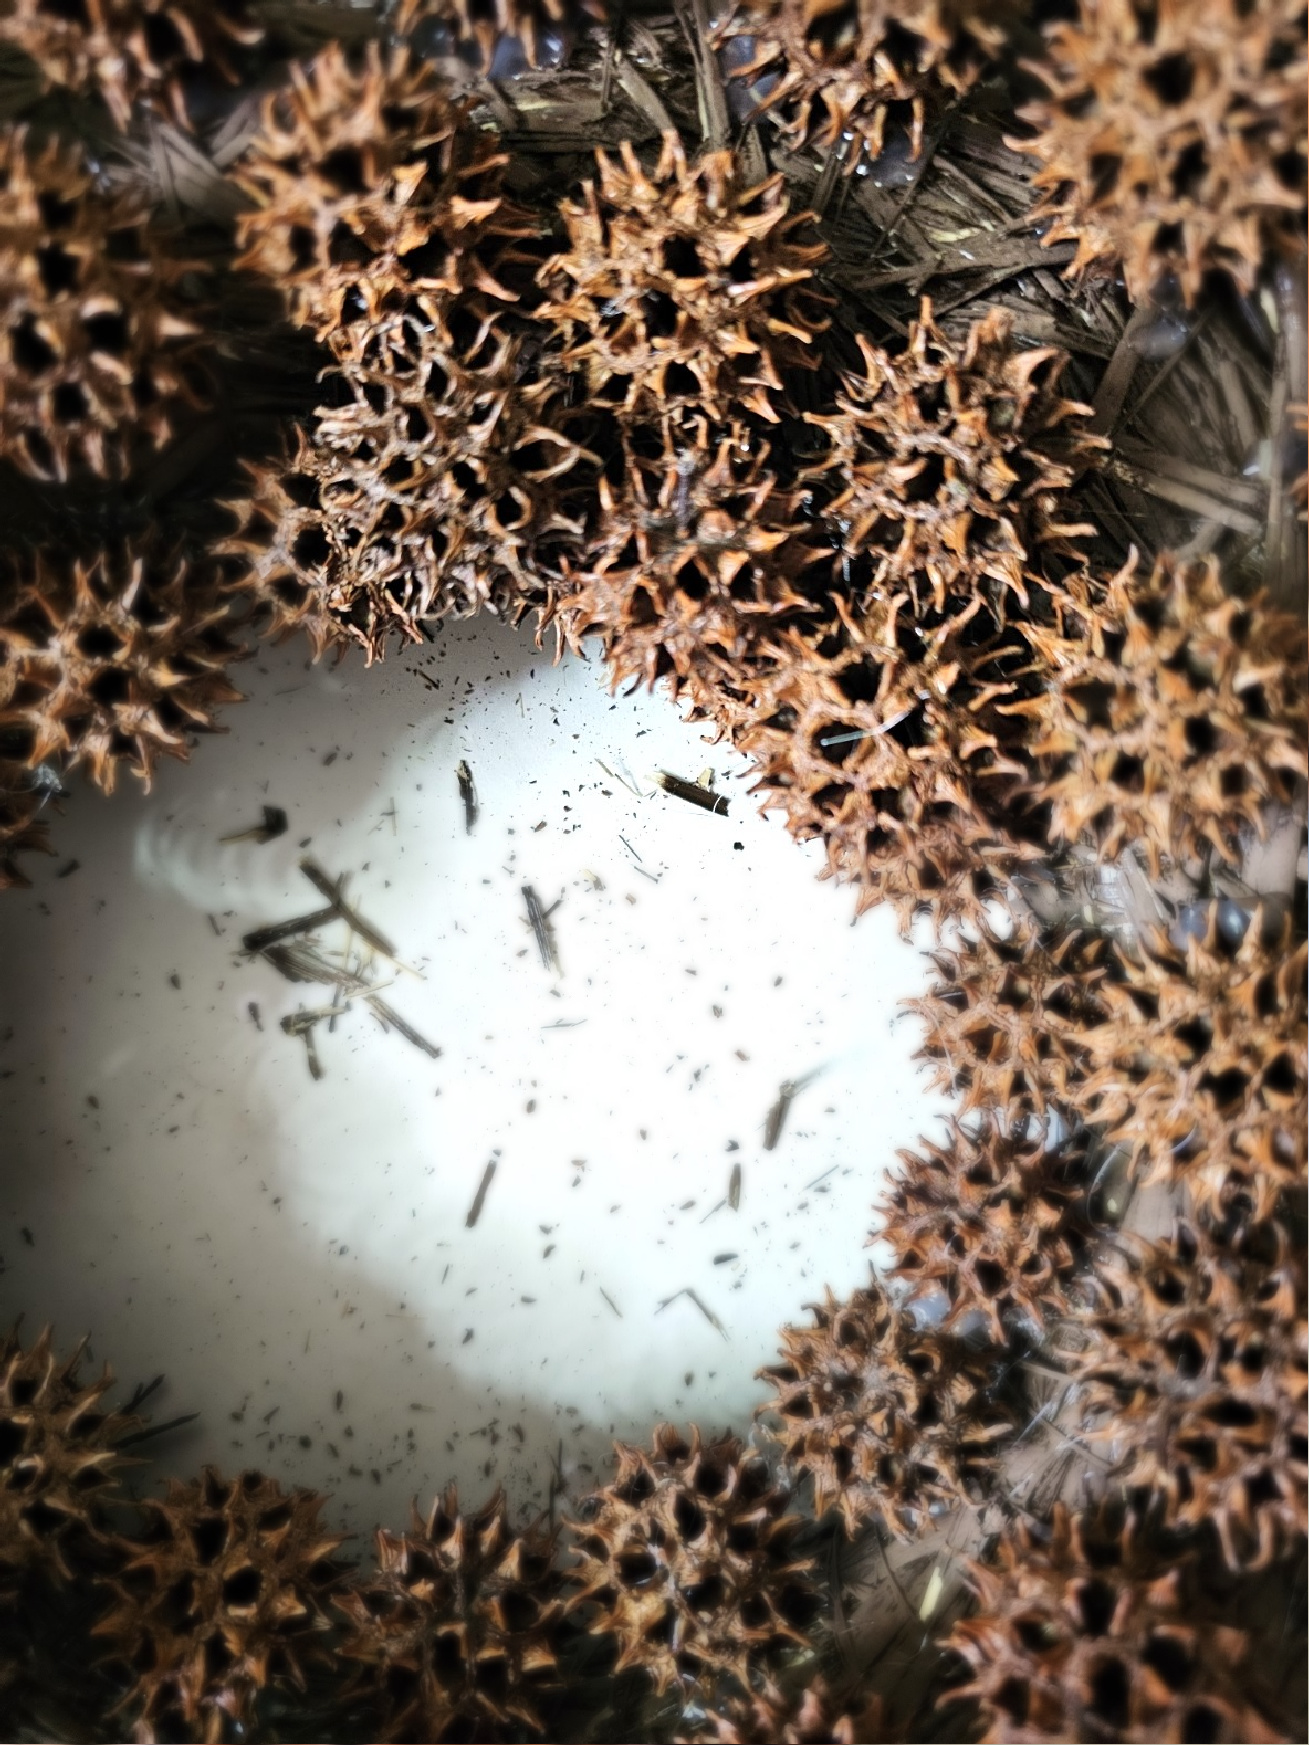
Step 4: Filling in Your Wreath
Gaps Between the Seed Pods Creates a Flawless Wreath: Learn From My Mistake
In my pictures, I have a small gap between the seed pods. I did this for two reasons:-
- Pieces from Mother Nature aren't always the same size. Leaving a small space between the sweet gum balls prevents you from getting to the end of a row and not having room to add your last seed pod.
-
- How do I know this? It happened to me, and I needed to begin my wreath over. Continue hot gluing your spiky balls until you are happy, and the entire wreath is covered.
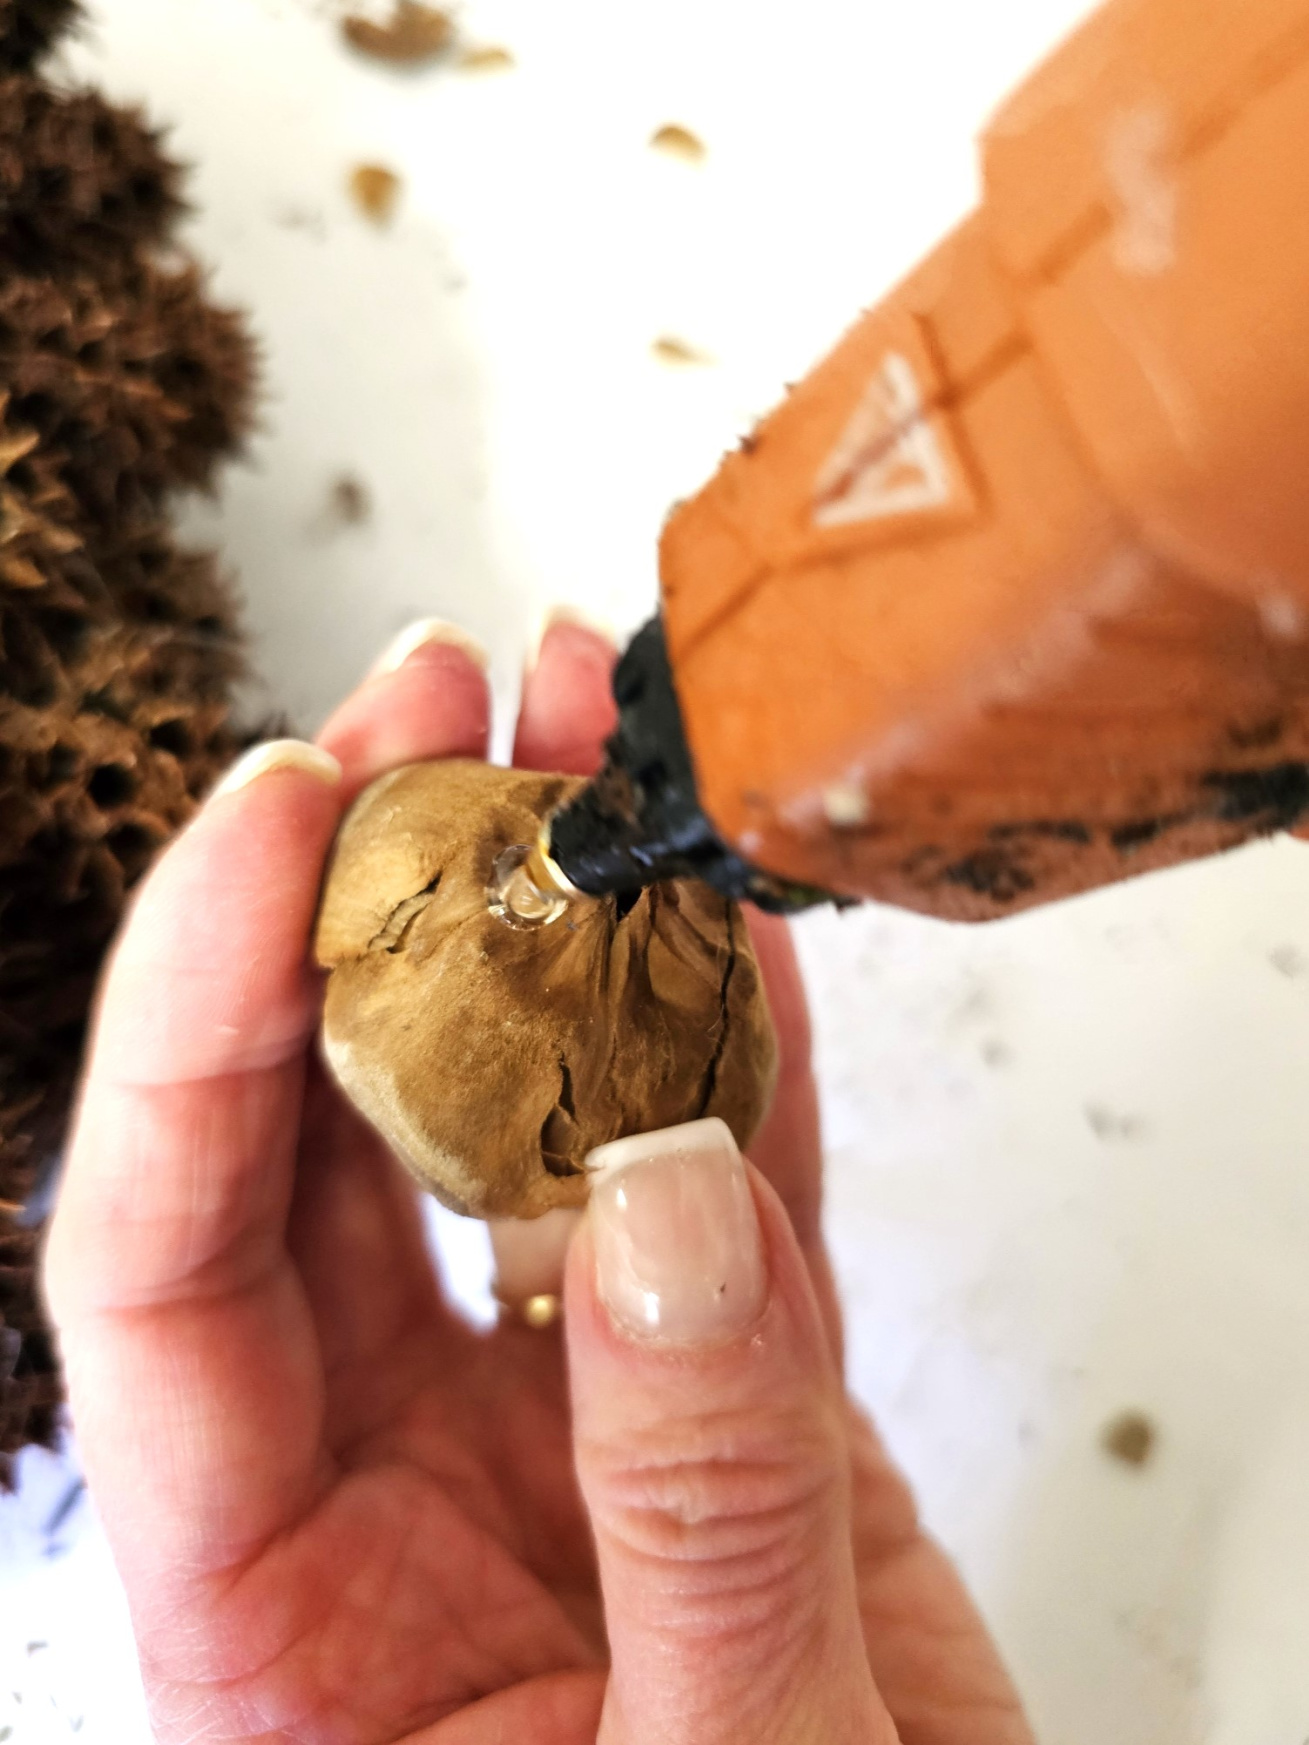
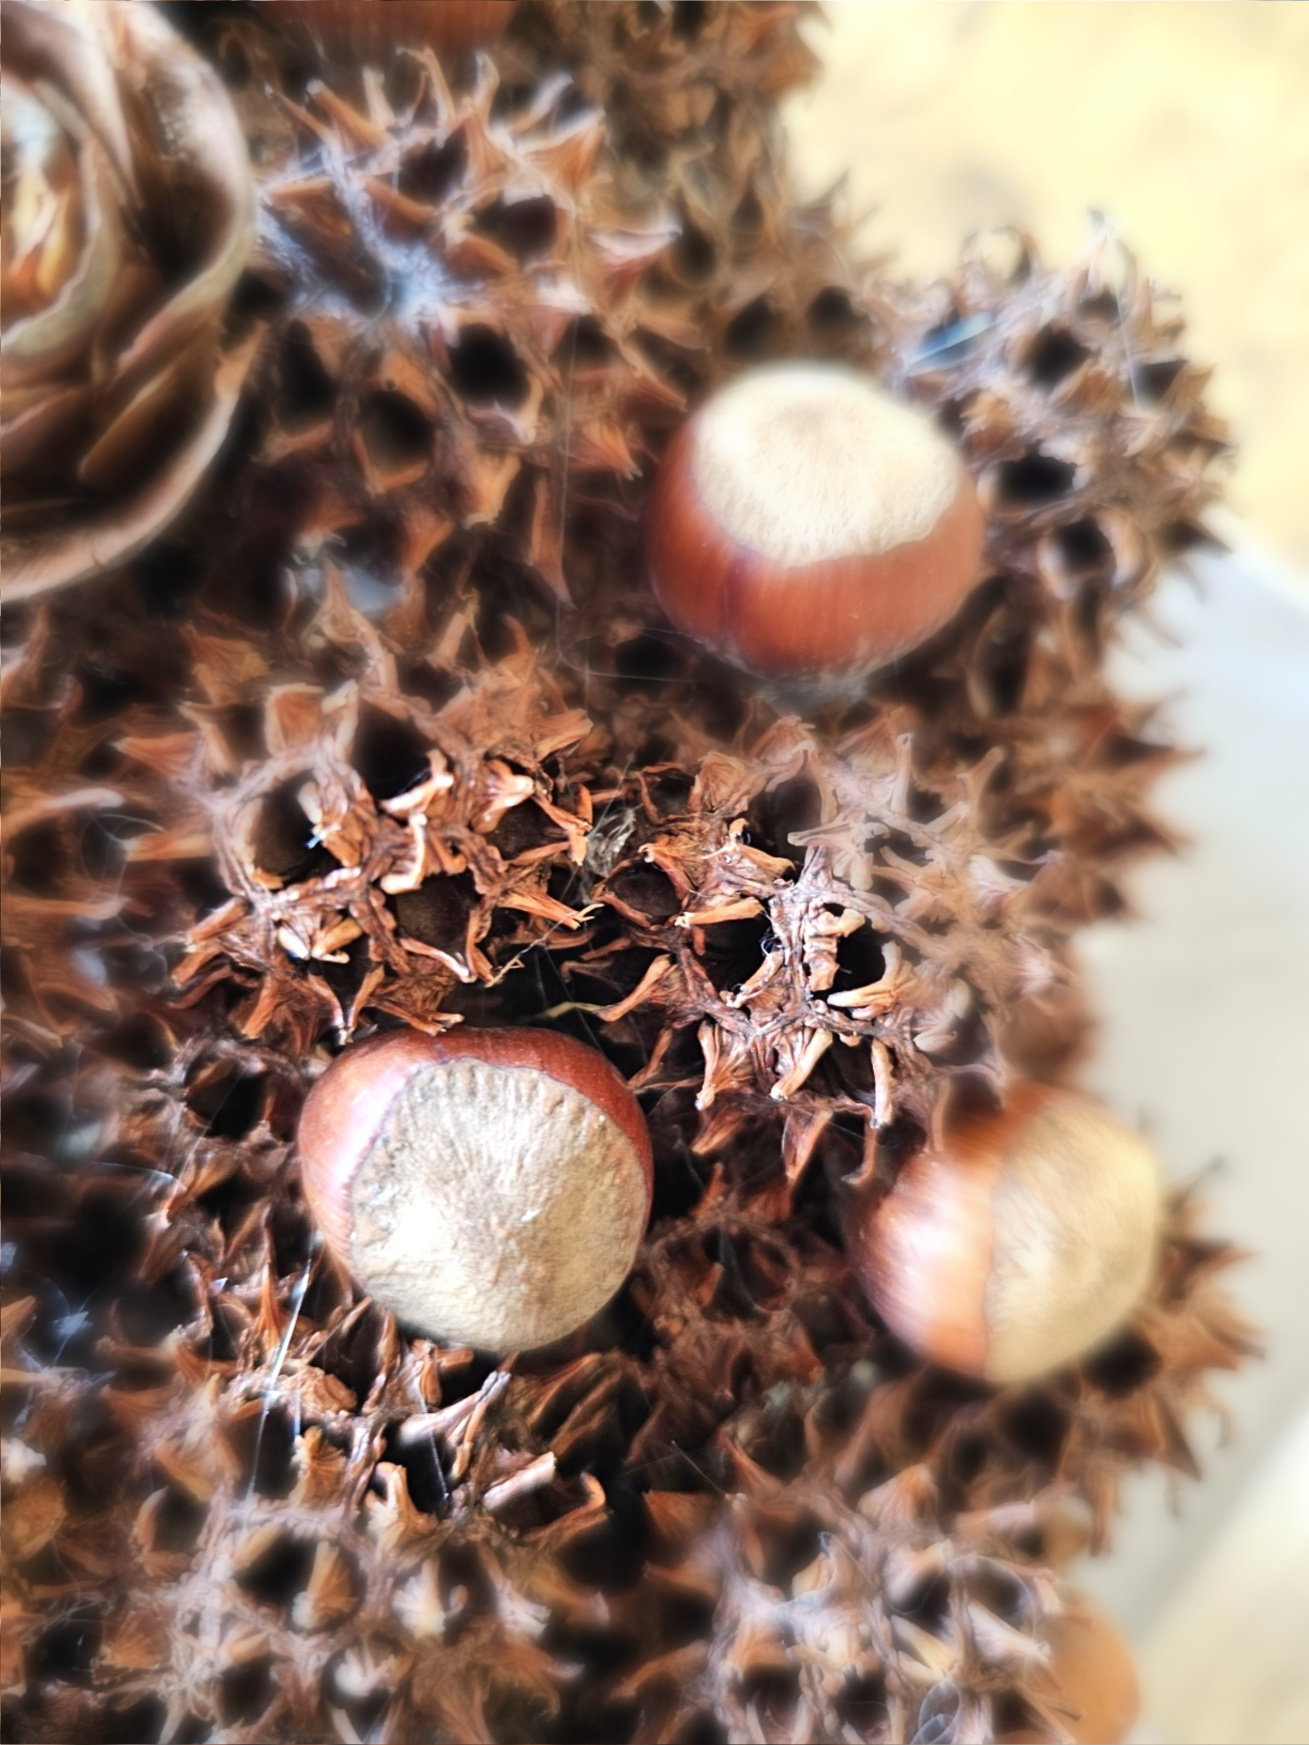
Step 5: Hazelnuts and Pine cones
Elevate Your Sweet Gum Wreath: Adding and Pine cones
Next for more natural elements and texture, I add hazelnuts and pinecone flowers. I added a dab of glue to the bottoms and filled in some gaps. Hold them to set. These pieces did a great job of adding something extra to the craft idea and I love what they added to this sweet gum ball wreath. You will notice glue strings in the process pictures. This is why I recommend a tweezer. The glue strings need to be removed. A tweezer works best. Hang your wreath. Remember, wreaths don't always have to be hung. Use them as a centerpiece with battery operated candles in the center. It's beautiful. Let me know what you think of this idea. Cindy's Sweet Gum Tip: This step is optional and up to you. This is your wreath. However, it adds so much to this wreath. If you would like to try something different, dry brush the sweet gum balls with silver or gold acrylic paint. This does a good job of mixing a rustic and elegant look and is a favorite! I added two thin coats of matte acrylic sealer. This is optional, however, it will protect this wreath from fading and will last a long time.