Easily Age Terracotta Pots Using Lime
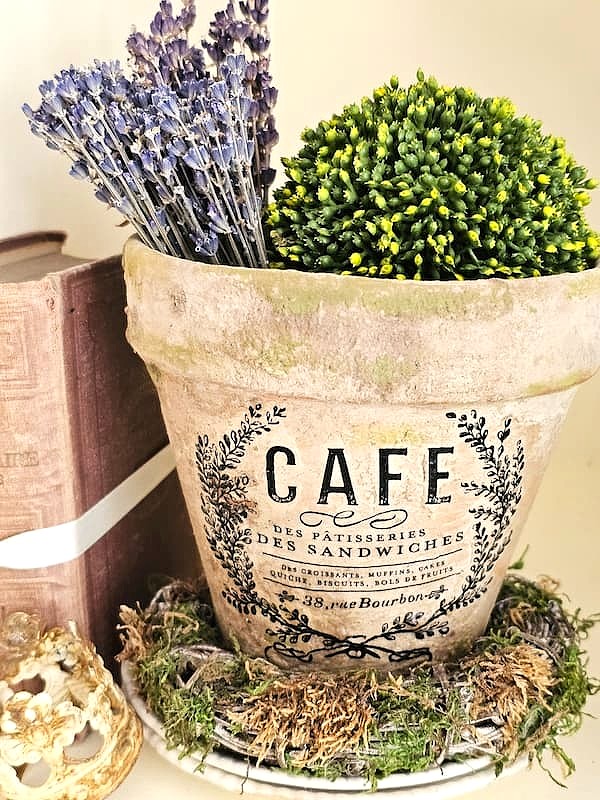
Today, I'm sharing one of my favorite DIY projects and showing you how to easily age terracotta pots using lime. These have a timeworn finish, I love.
Yield: 8 pots
Cost: $20
Notes
Easily Age Terracotta Pots Using Lime
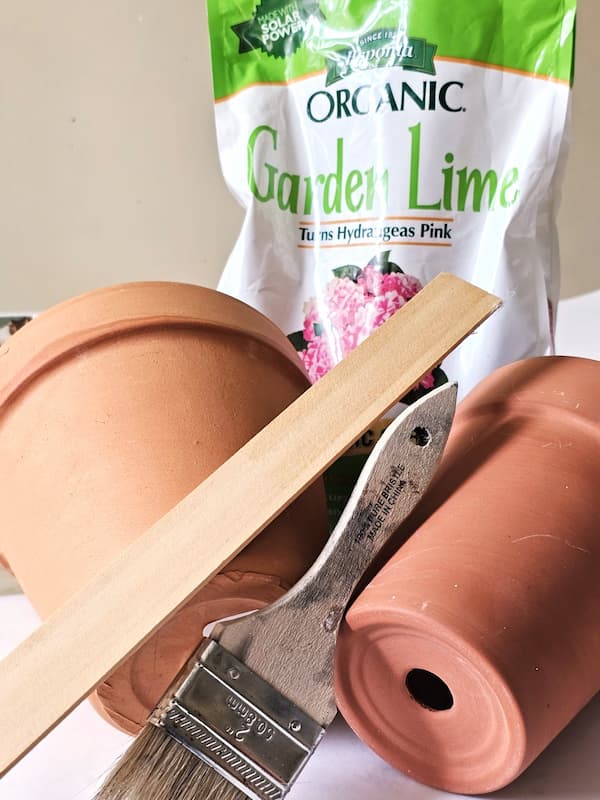
Supplies List:
- Cup of garden lime - garden center, Home Depot, Amazon, or Walmart
- New terra cotta pots - Home Depot, garden center, or Dollar Tree
- Cheap brush, sea sponge, or sponge brush - Home Depot, Dollar Tree, or craft store (HERE)
- Plastic container
- 120-grit sanding sponge or sandpaper
- Little water
- Avocado or moss craft paint or moss growth
- Matte Sealer
 Join me as we try the fun and easy process of using lime to give clay pots an aged appearance.
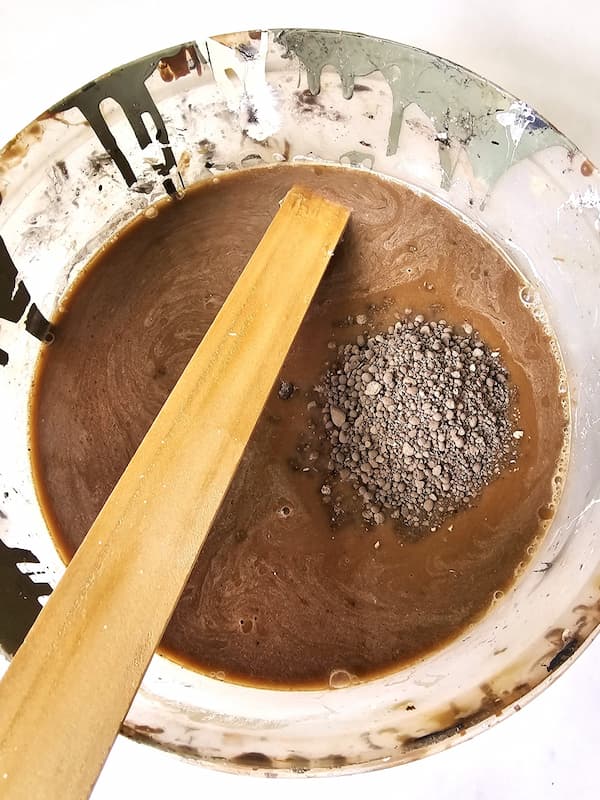
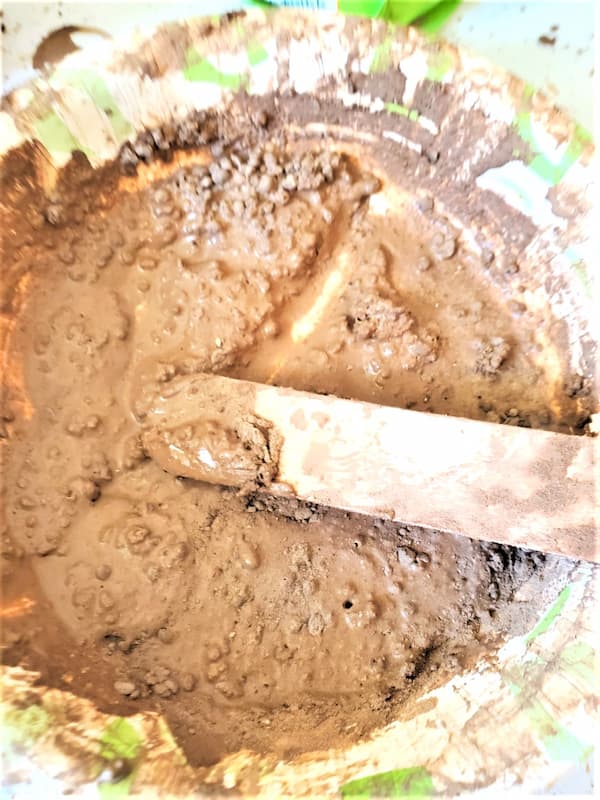
Step 1: Age Pots: Easy Lime Technique
The first thing I did was cover your work surface with craft paper to begin the aging process. If it's a nice day, you can even make your garden-lime-aged pots outdoors. The next step is to add chalky lime to a plastic bowl and add a little water. The mixture should have the consistency of pudding, which helps createthe look of naturally aged terra cotta pots. I used a cup of garden lime and added a little water at a time until I reached the right consistency for my flower pots. Normally, the measurement is 2 cups of water to 1 cup of garden lime. For the lime technique, I'm working on four small pots and a few even smaller pots to create aged terracotta pots with a natural look. Cindy's Tip: I have the butcher paper roller attached to my craft tables and swear by it. This paper works with it, and the best part is that it's waterproof!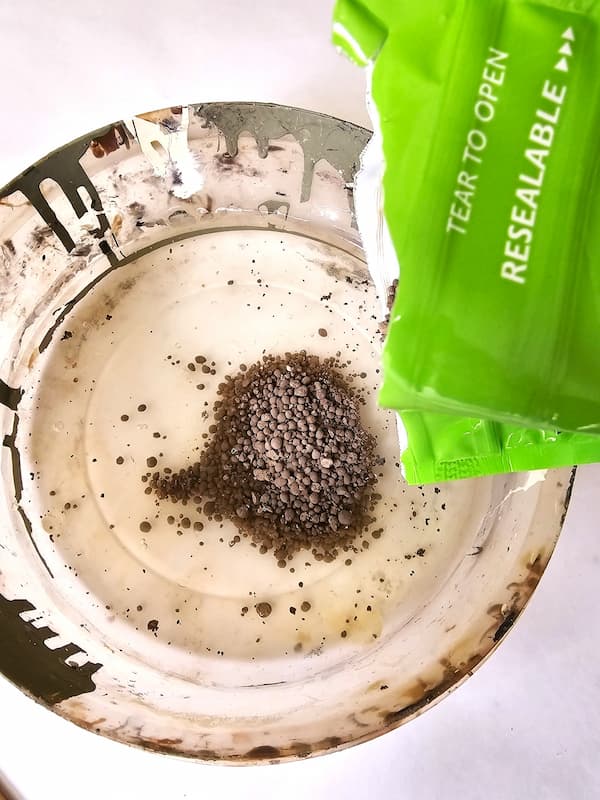
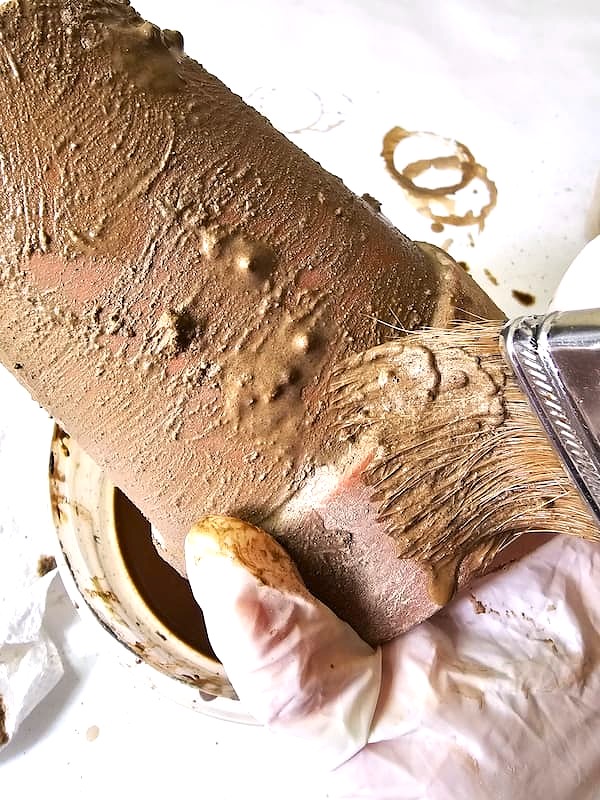
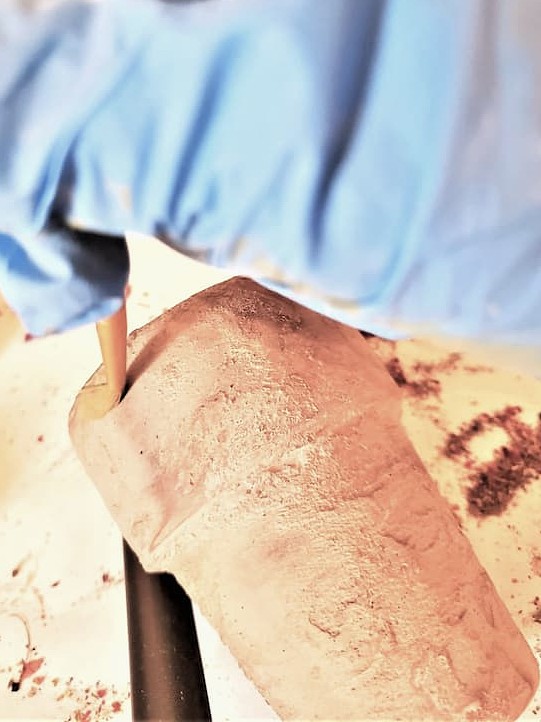
Step 2: Simple Steps to Apply Your Aged Pot Finish
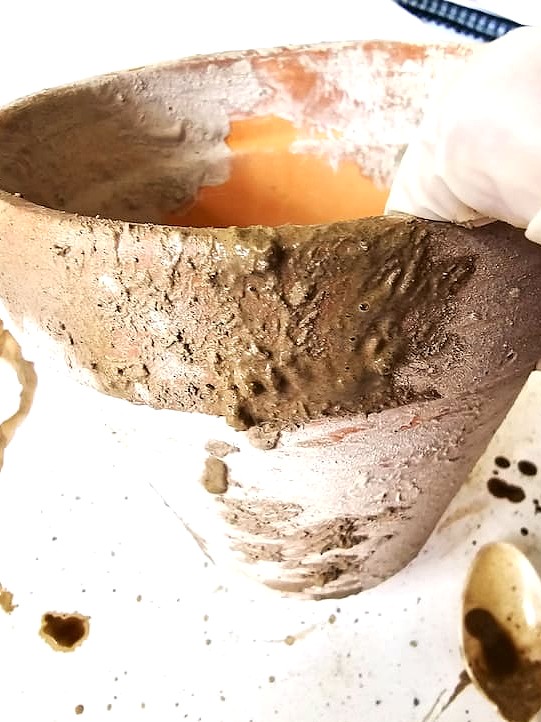
Begin applying the lime wash to the outside of the pot using a paintbrush. To age new terracotta pots with lime, brush the mixture of garden lime over the outside of the flower pots. Once the outside dries, add the lime wash to the inside of the pot as well. Let the pots dry. The pots will dry in a matter of minutes, and lime will form a white, soft film on the surface of the pot. This is what gives terra cotta pots a beautiful aged look and instant gratification, no waiting for pots to age naturally. Cindy's Tip: Lime can be caustic, so it's important to wear gloves when working with it. I also like leaving spots heavier with the lime. When pots age naturally outdoors, they develop uneven areas. This helps the aged terracotta pots look more authentic.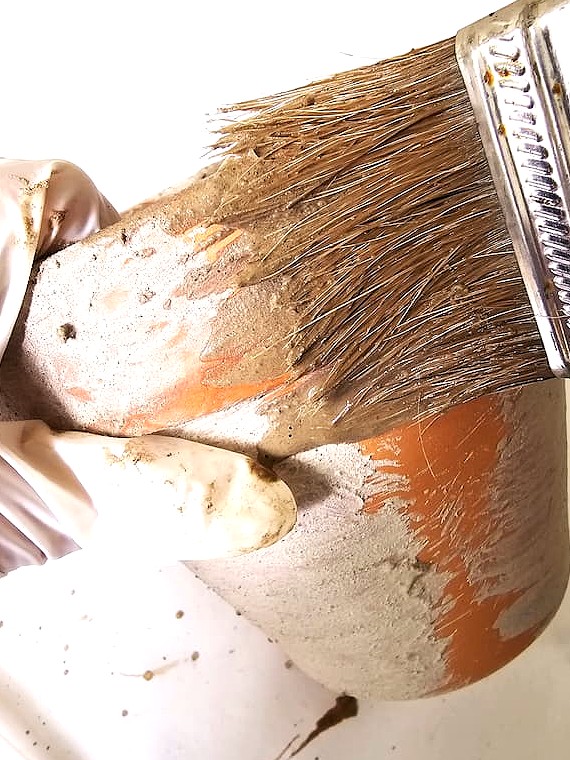
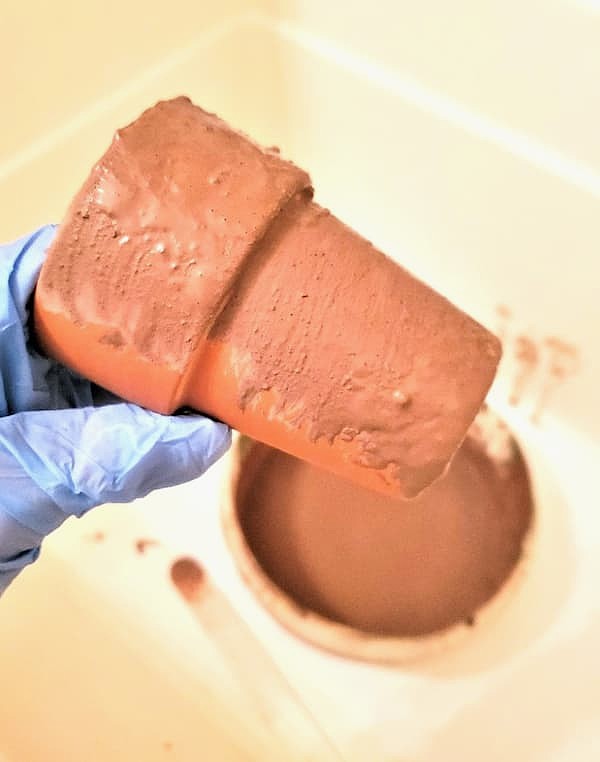
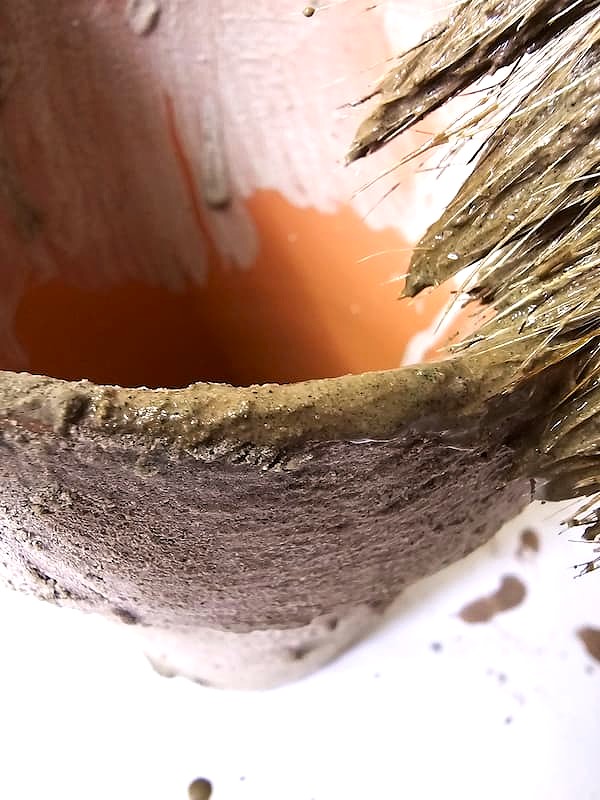
Step 3: Clay Pots Add a Clear Coat and Sand
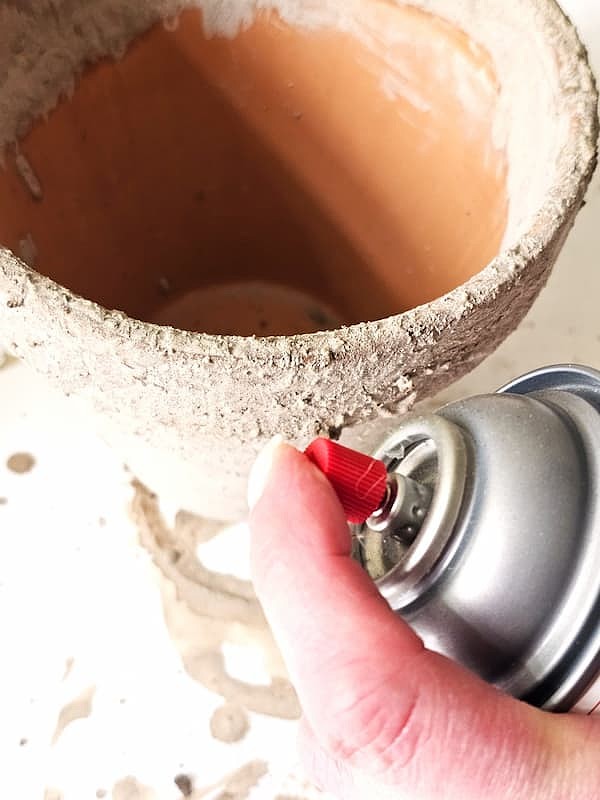
After the flower pots dry, spray them with a light coat of matte sealer. Being an organic product, lime may come off the pots; this is normal. Again, let the terra cotta pots dry completely. Next, use a 120-grit sanding sponge or 120-grit sandpaper. Lightly sand small sections of lime from the pots. This helps create different variations in the aged look and keeps it natural. Sand small pieces so the orange color ot the pots shows. Do this until you achieve your desired look.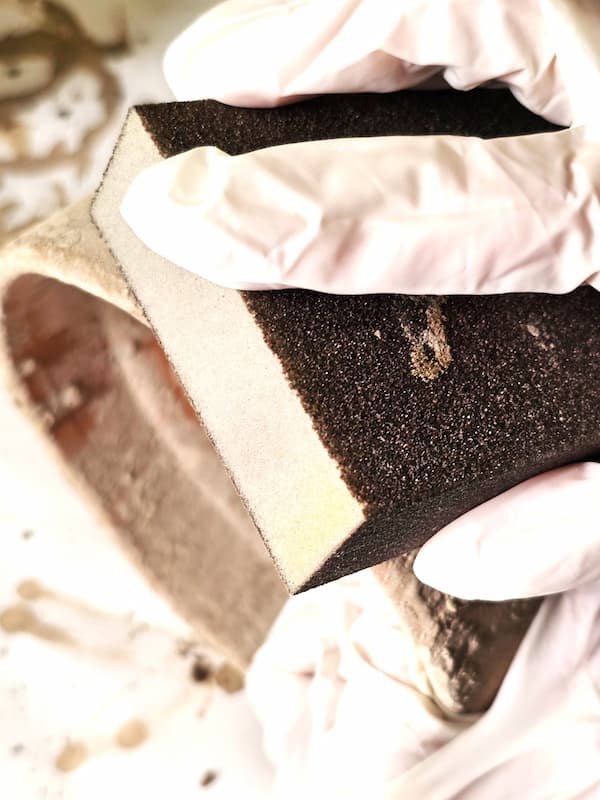
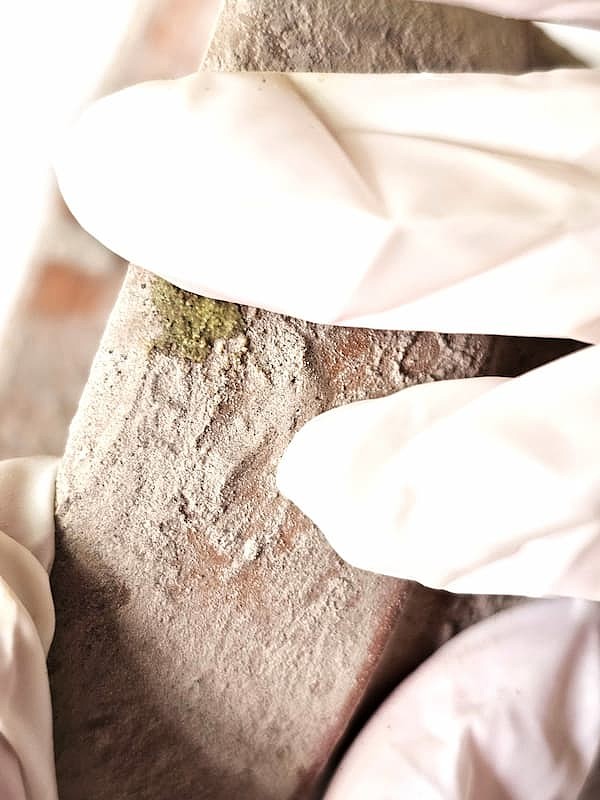
Step 4: Adding Moss
Add a little water to the green paint and mix. After adding a bit of green paint to the rim with a small paintbrush, lightly smooth it to blend. This adds the look of moss growth. The part I really enjoy about garden-lime-aged pots is leaving variations of the lime. This is a creative way to give new terra cotta pots different looks with chalky lime. Cindy's Note: As I began adding avocado to different areas of the small pots, creating my own moss gave these the most natural-looking patinas.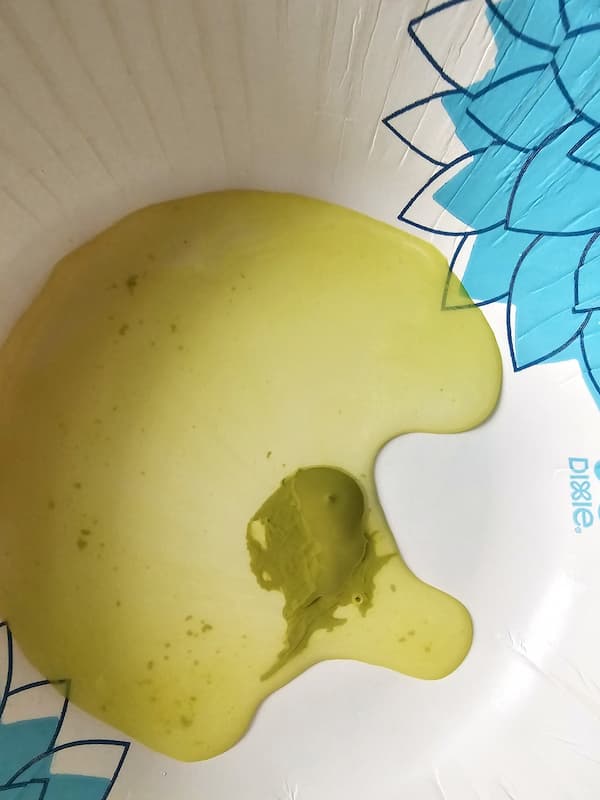

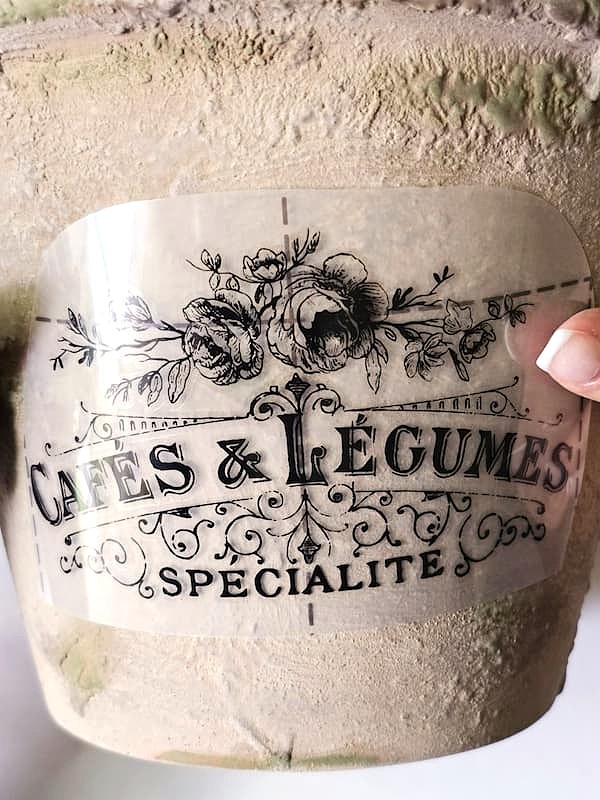
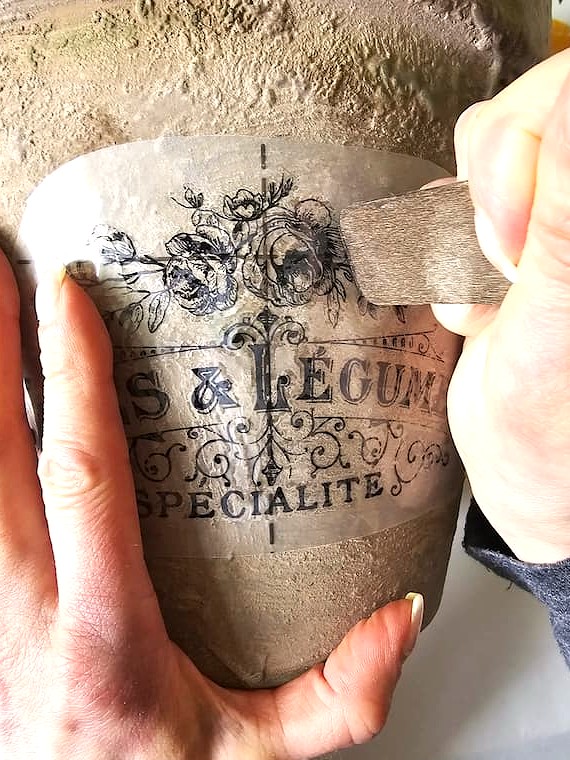
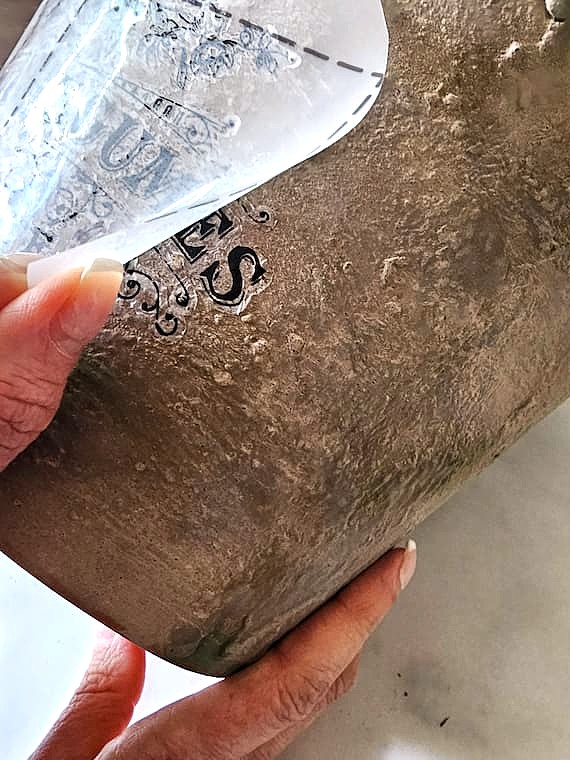
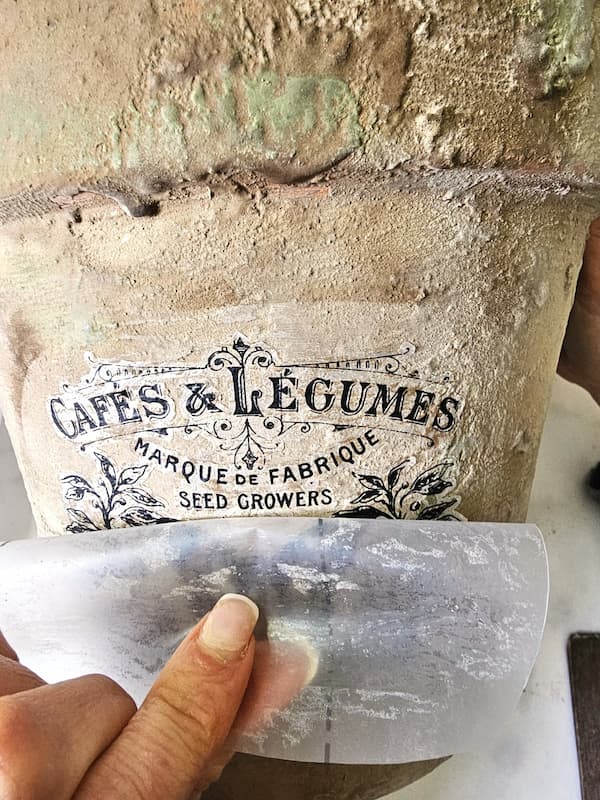
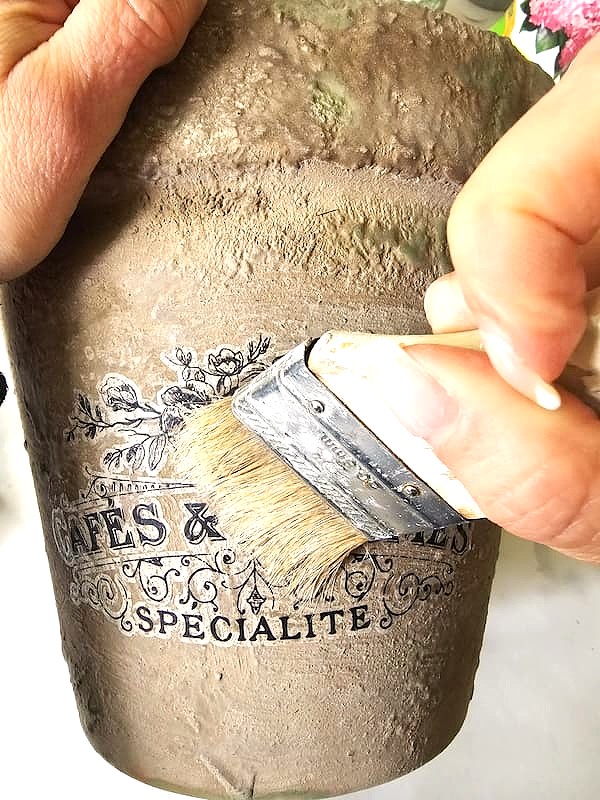
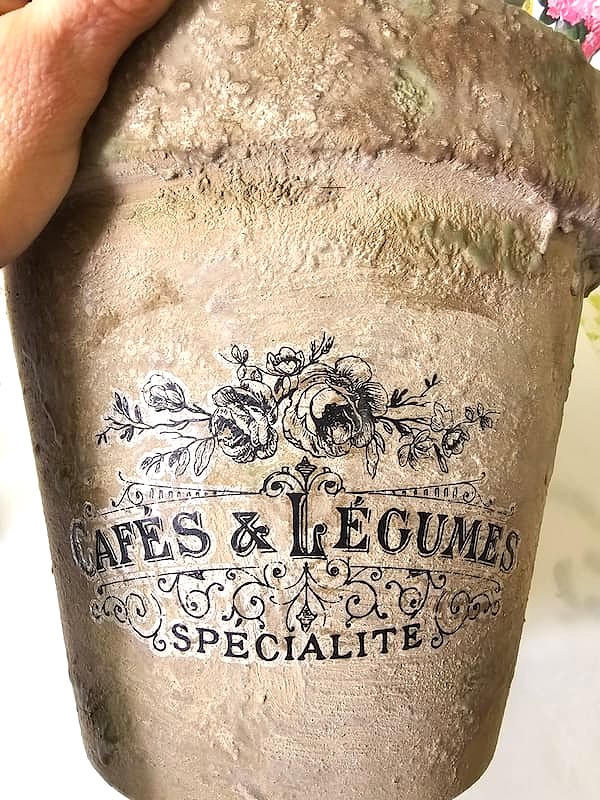
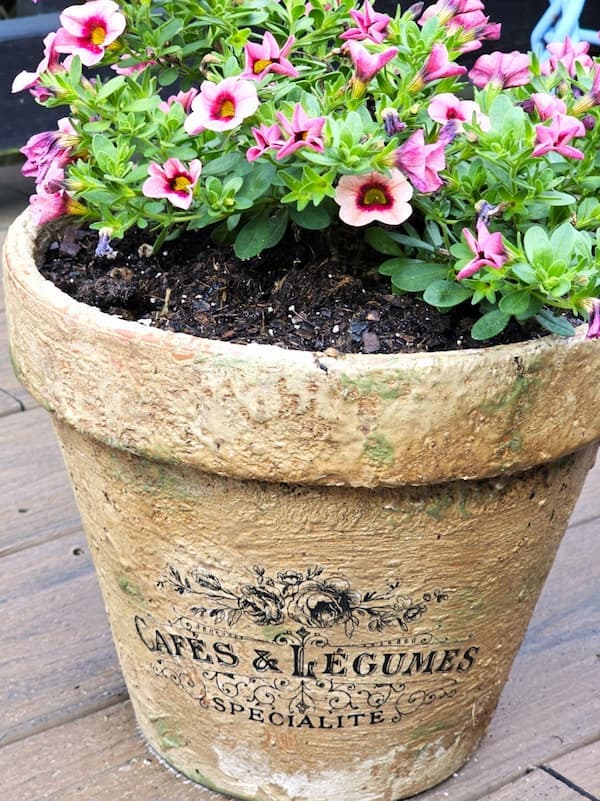
Step 5: DIY Lime Pots with Rub-on Transfers
I added this chalky lime technique to some larger pots Ipicked up from Home Depot. One bigger pot is on our deck, and the other is on our front porch. Since each pot will have a real plant and soil, it's a good idea to add a clear coat of outdoor sealer to the outside and the inside of the pot before adding the lime. When adding lime to pots that will have a transfer added, leave the lime smoother. If the lime is too bumpy, the transfer may not stick well. After adding the transfer, I used a clean brush to smooth the transfer. I brushed away from the edges. This is an easy way to ensure no pieces of the transfer come off the pot. Then I did steps one through three until I got the look I wanted with the lime. I also added a rub-on transfer for a little bit of charm. After adding the rub on transfers, I finished with three coats of outdoor protective sealer. This clear coat outdoor sealer has UV protection and is water-safe. So far, they have held up great; however, the one on our porch held up a bit better. We have high humidity, rain, and hot sun in NJ. Cindy's Note: Rub-on transfers are a creative way to update any easy project in a matter of minutes. The transfers I used are no longer available. I found these that are similar.