DIY Moss Topiary — Get Started Right Now!
DIY moss topiary - get started right now! The best part is that I share a step-by-step tutorial that makes these topiaries in flower pots a charming display.
Yield: 2 topiary
Cost: $20
Notes
DIY Moss Topiary — Get Started Right Now!
Craft Supplies: DIY Topiary
-
- Topiary forms, a large foam ball, a large moss ball, or a wire frame
-
- Wooden dowel or sticks from the yard
- Spray Adhesive or hot glue gun
-
- Rubber finger protectors (if you use hot glue)
-
- Reindeer moss or lumpy moss mat with a brown back
-
- Bag or newspaper
-
- White acrylic paint or gesso
-
- 6"³ clay pot
-
- Avocado acrylic paint
-
- Brown umber acrylic paint
-
- Foam brush
-
- Flat paint brush
-
- Paper towel or rag
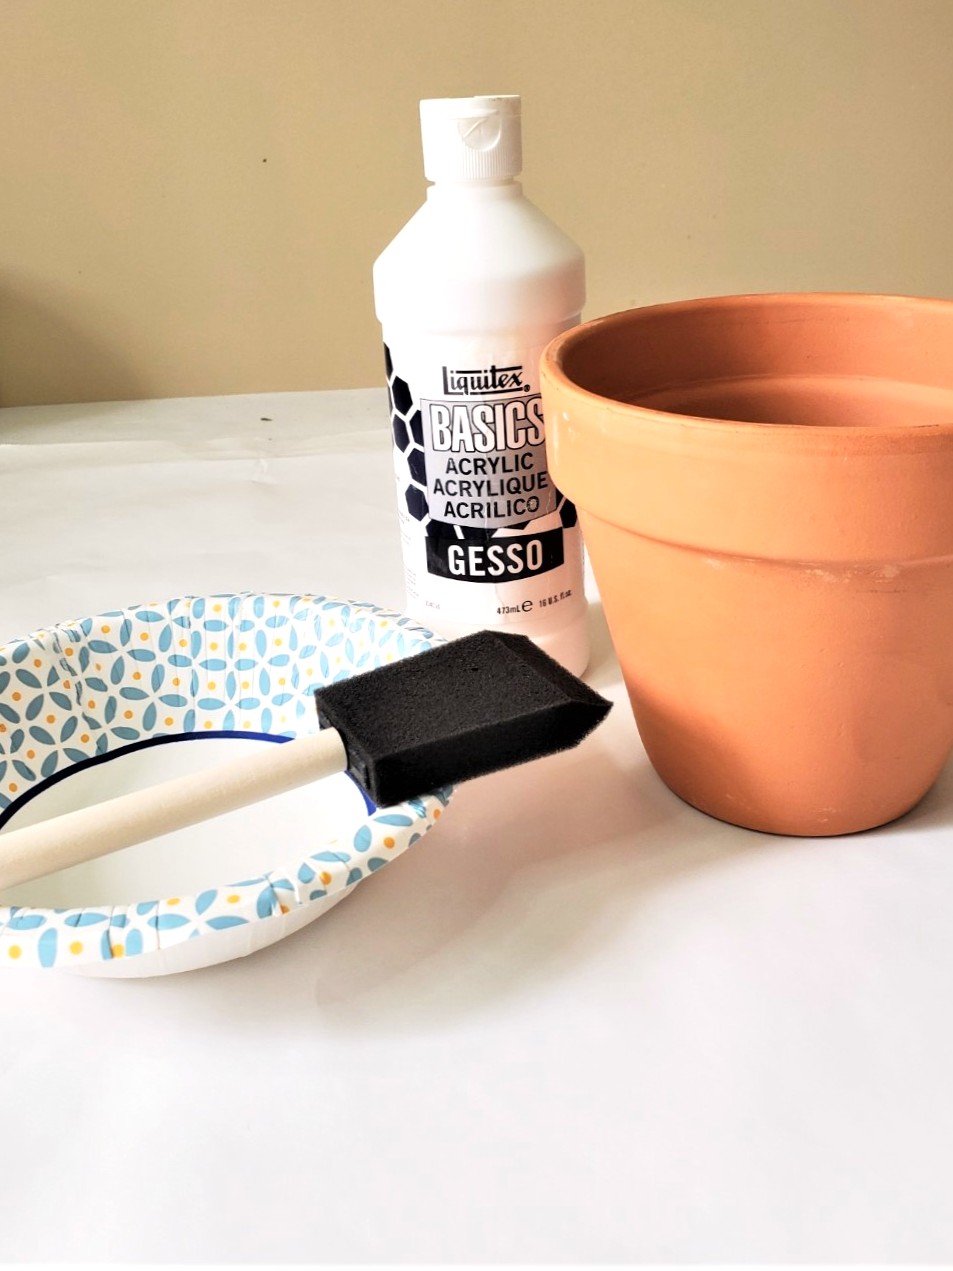
Step 1: Prep Flower Pots for Painting
Gather your craft supplies and cover your work surface with paper or plastic. Paint the flower pots with white acrylic paint or gesso, I used gesso for my clay pot.
Cindy's Crafting Tip: I like using gesso more than craft paint for my flower pots; however, white acrylic paint works. I will share how to add texture and create an aged look to a clay pot. The decorative topiary pot measures 6 inches.
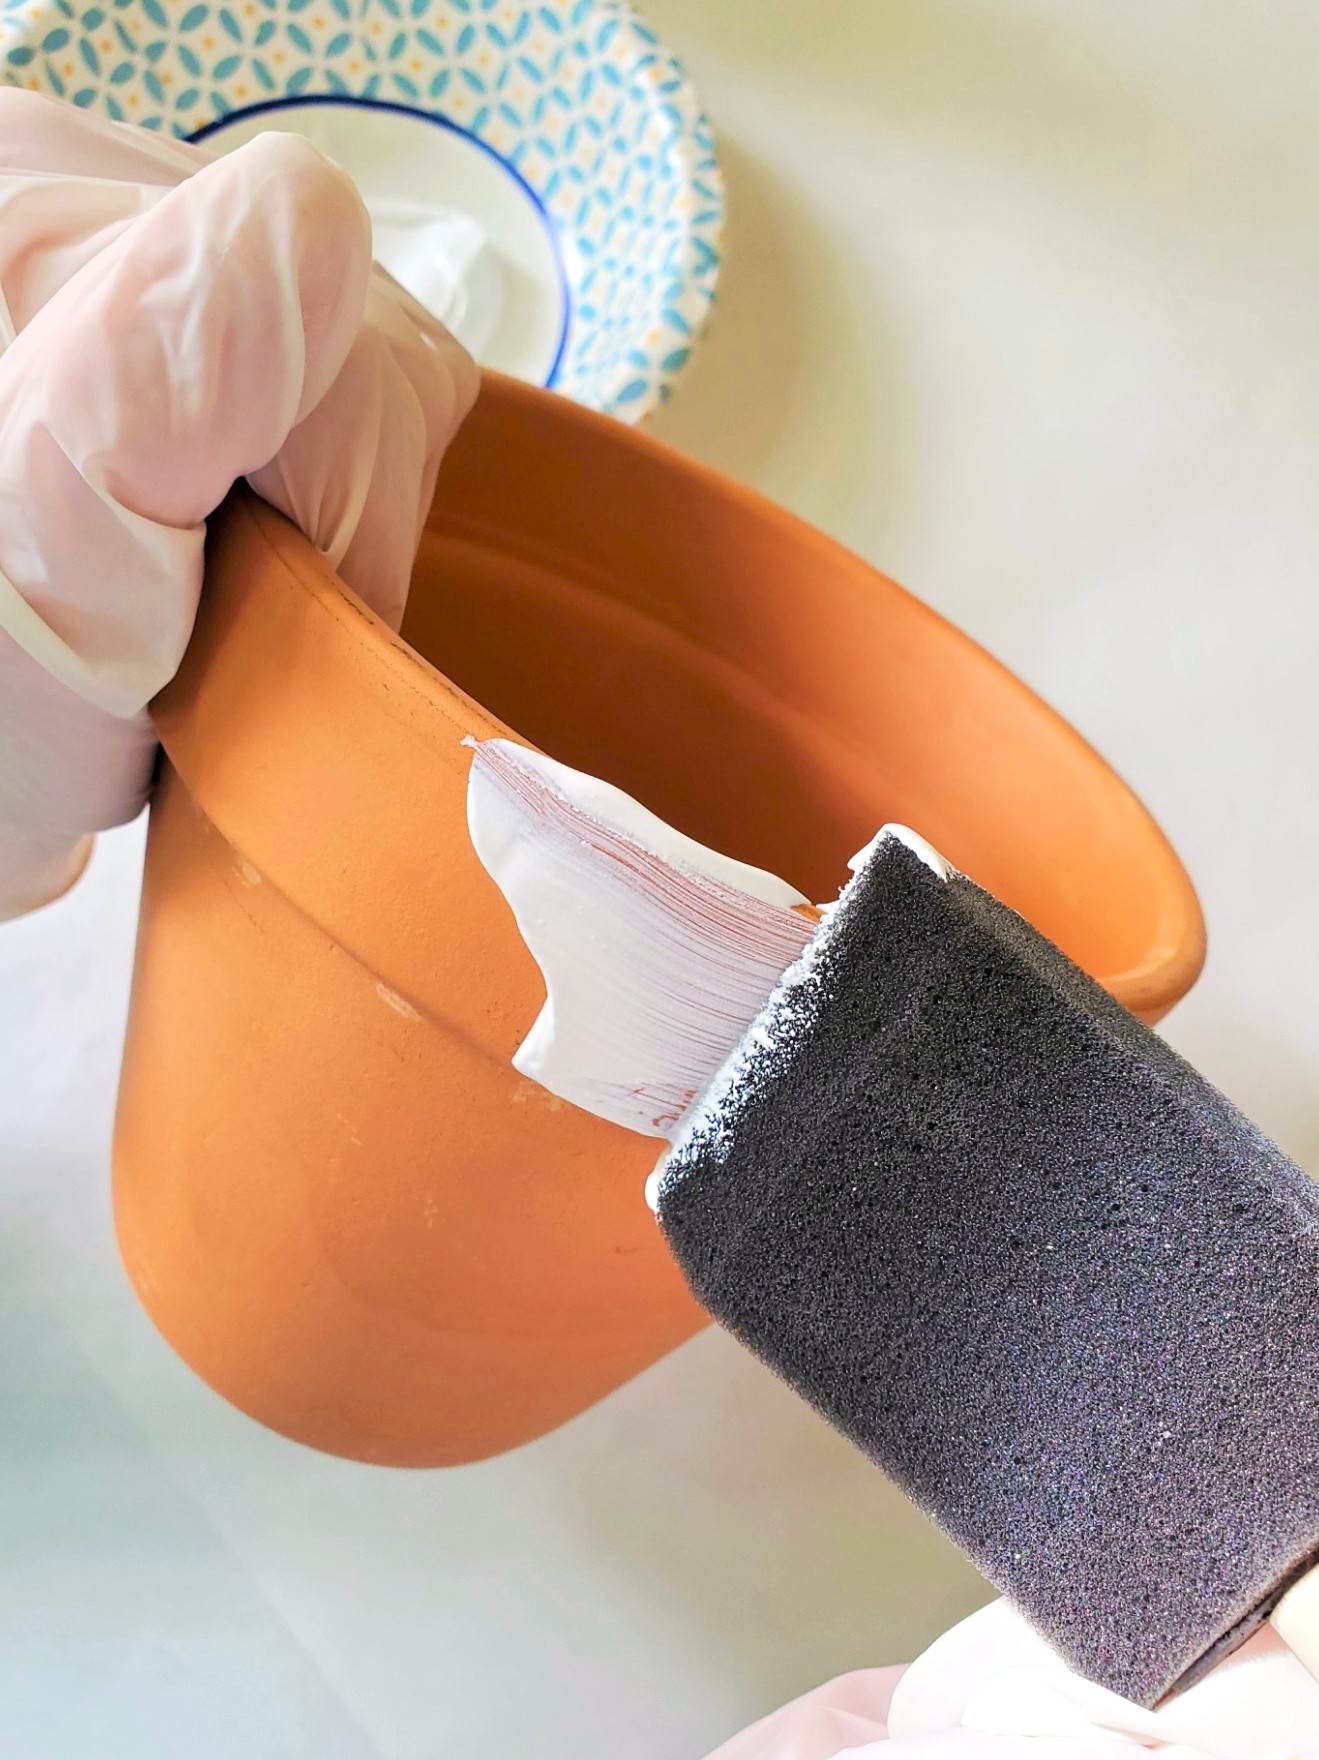
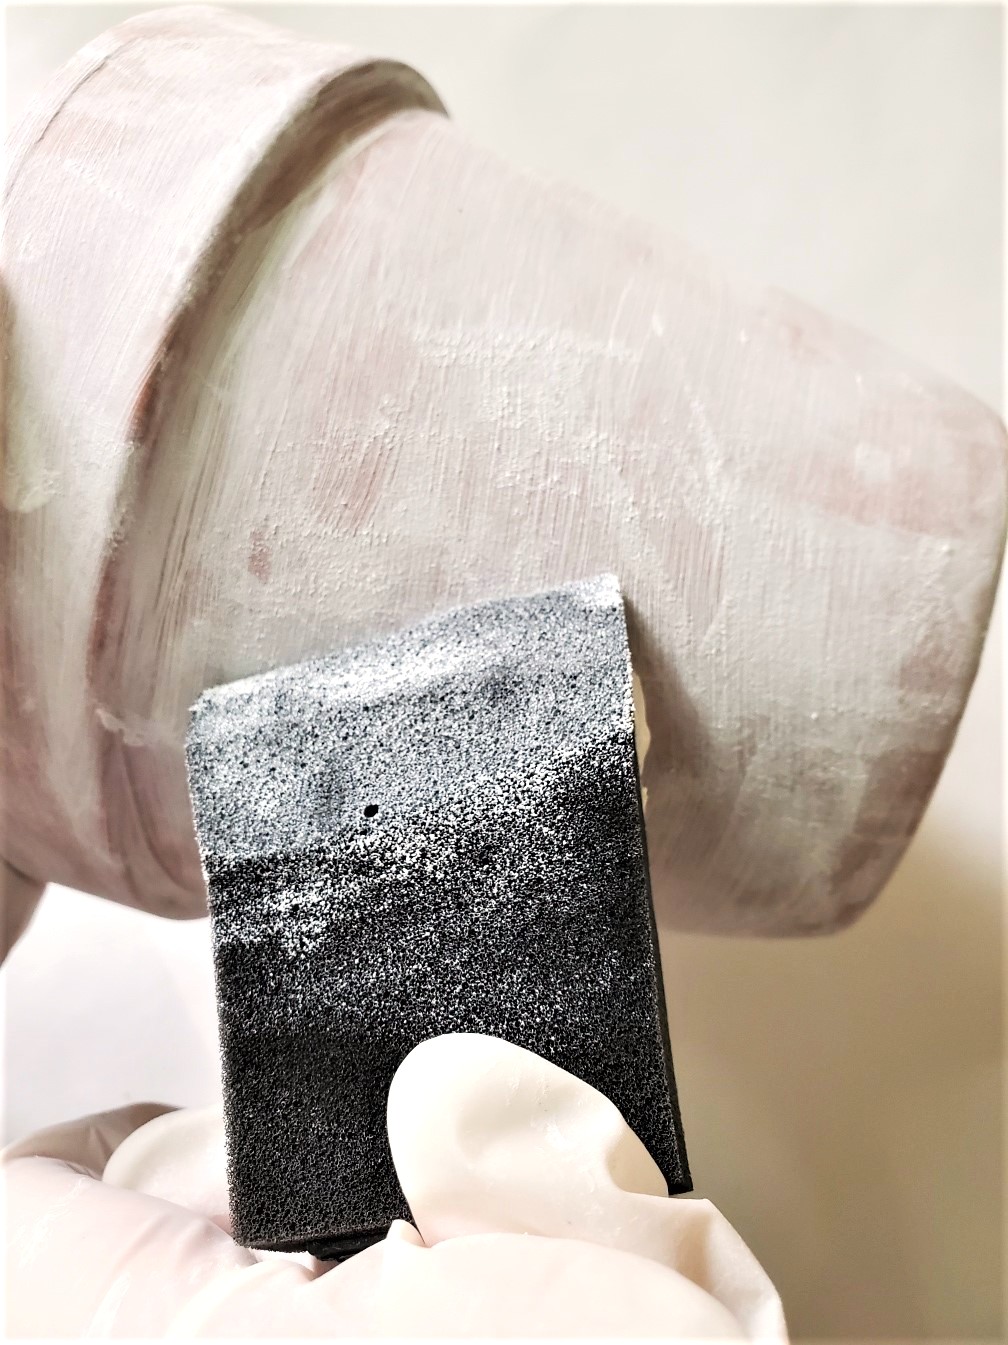
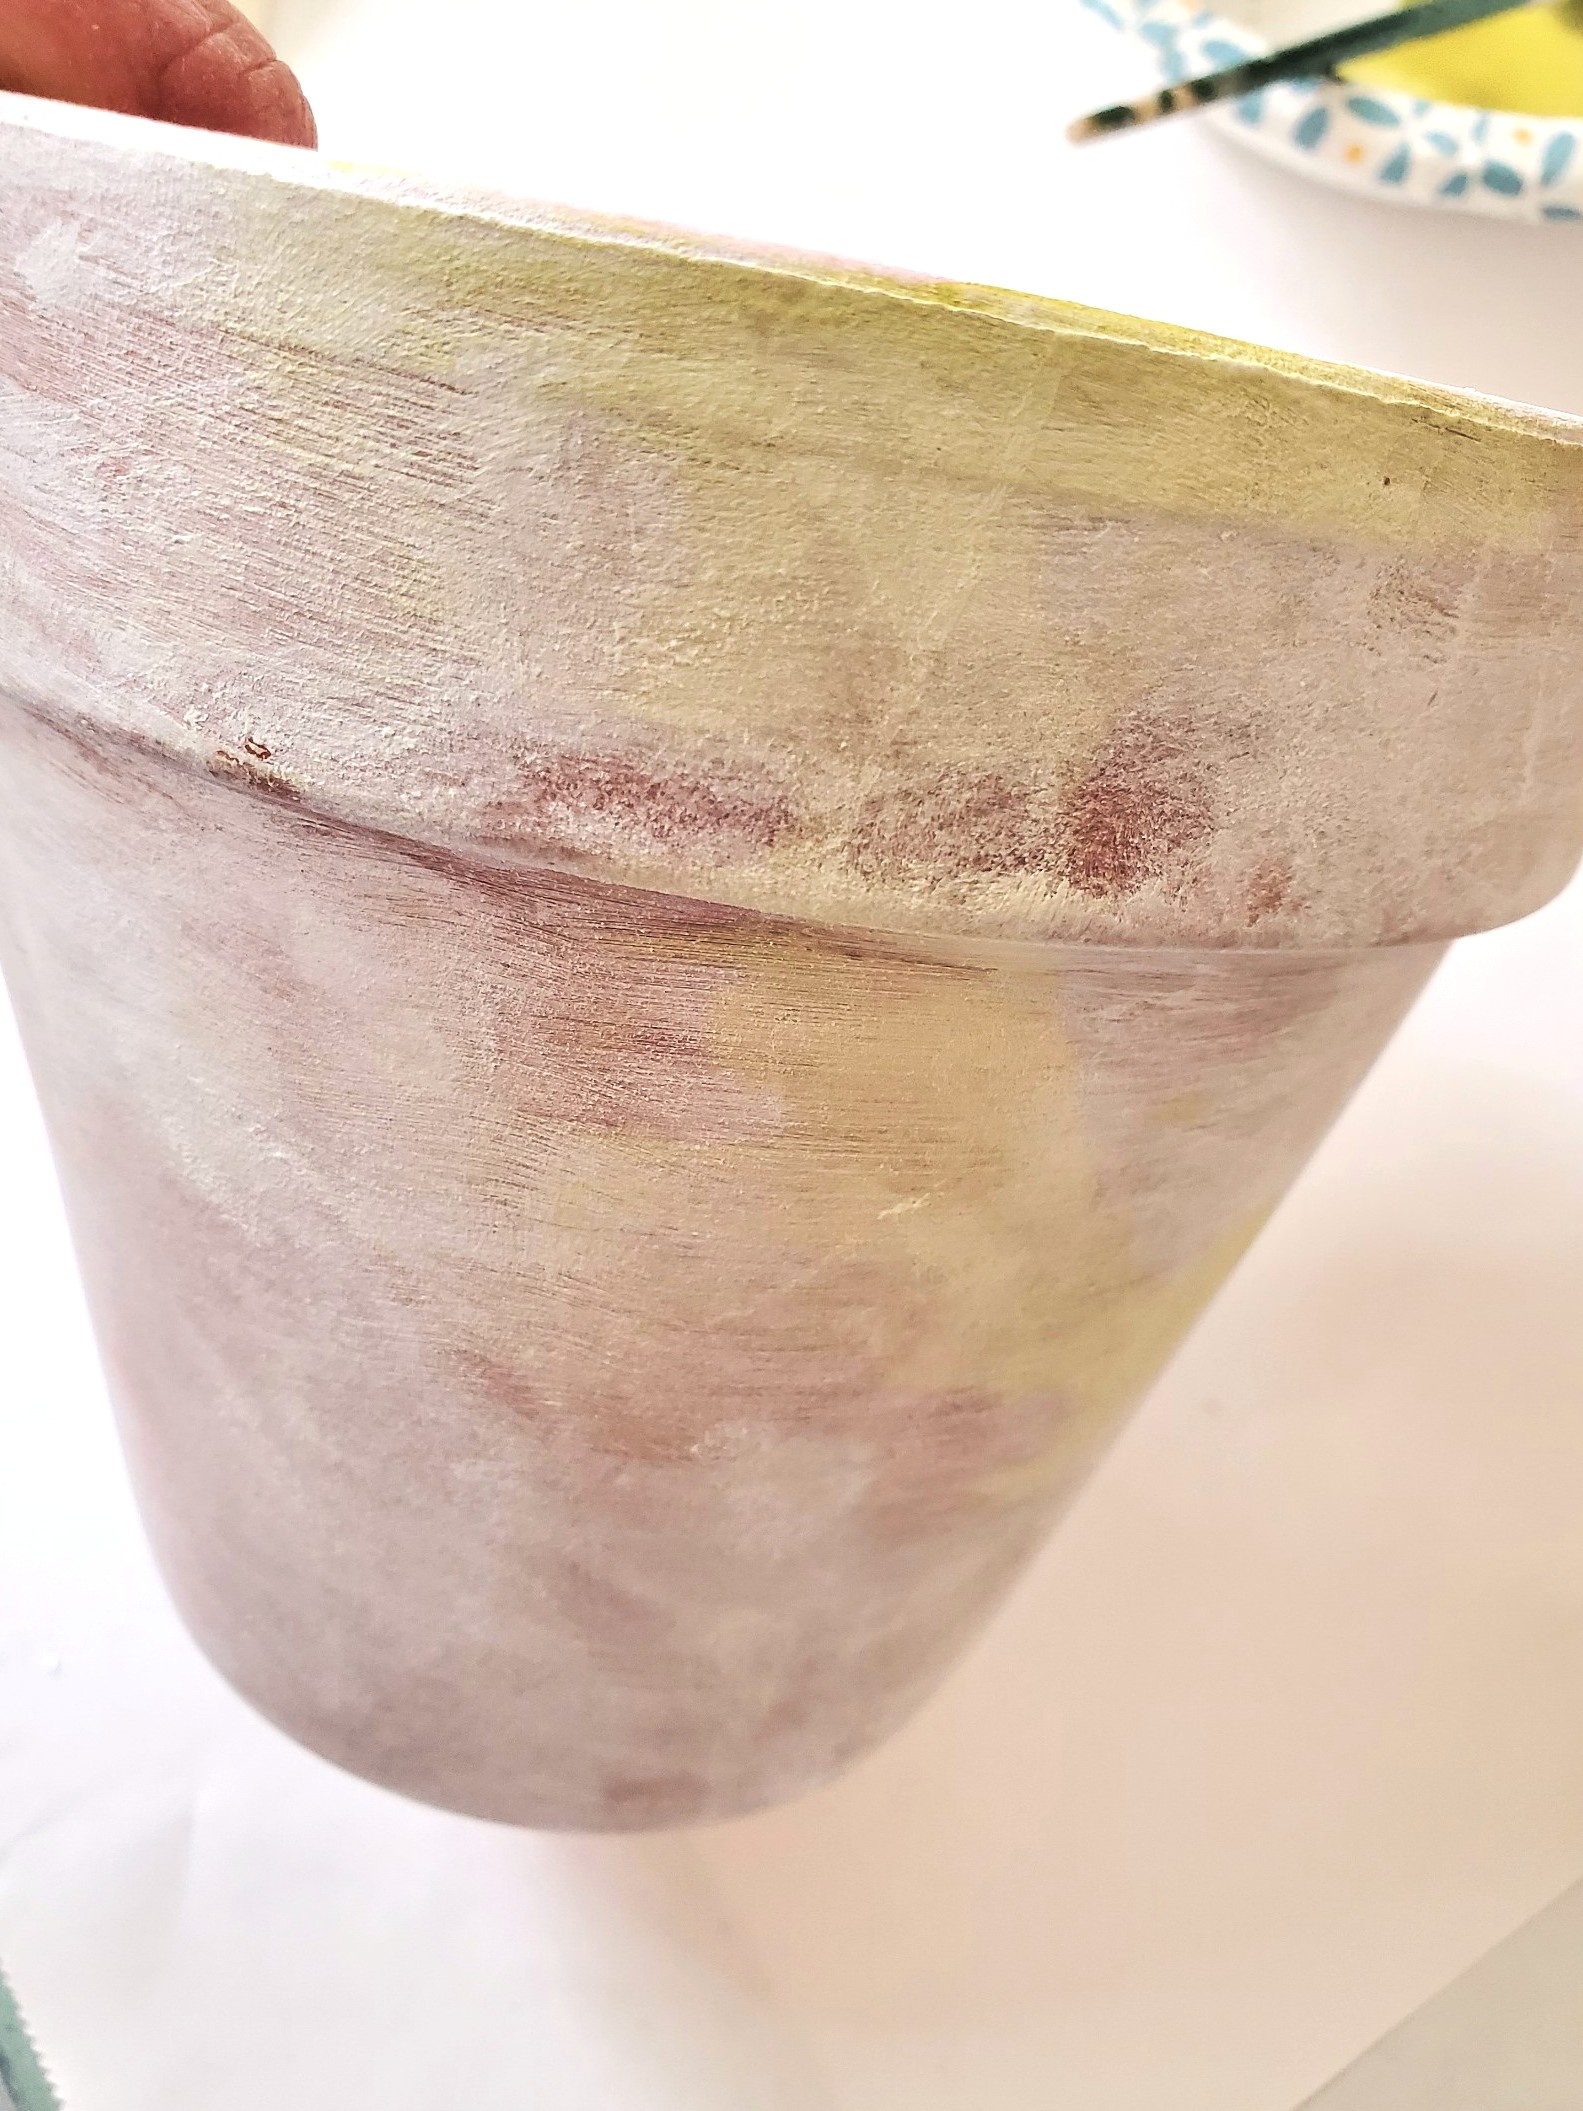
Step 2: Add Texture to Your Clay Pot
Once the gesso dries, I apply another layer using a dry brush technique. This time, I used a foam brush, but if you're new to this, a cheap brush works well. The dry brush technique adds texture to the flower pots, giving each topiary tree a unique, custom design. Let them dry completely.
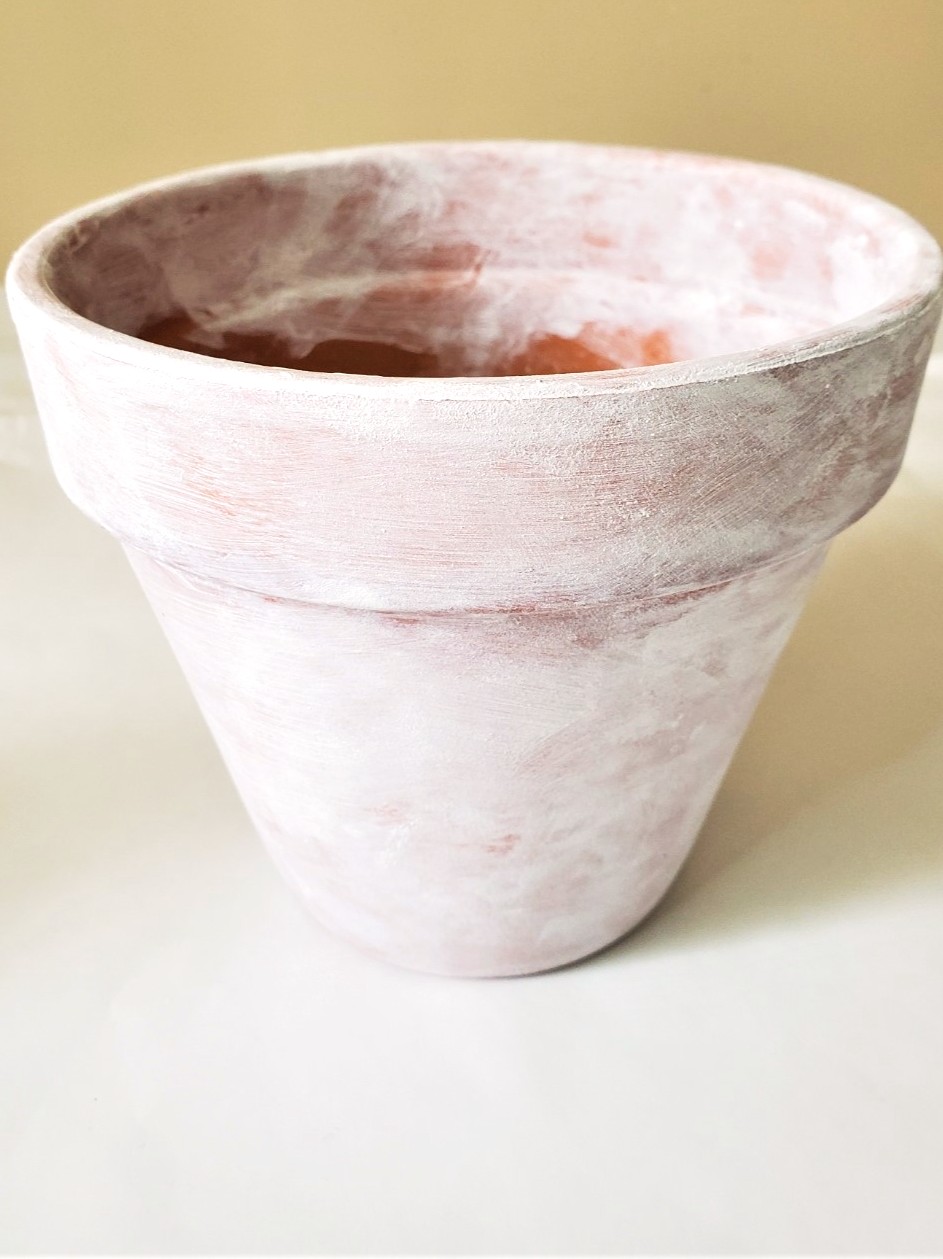
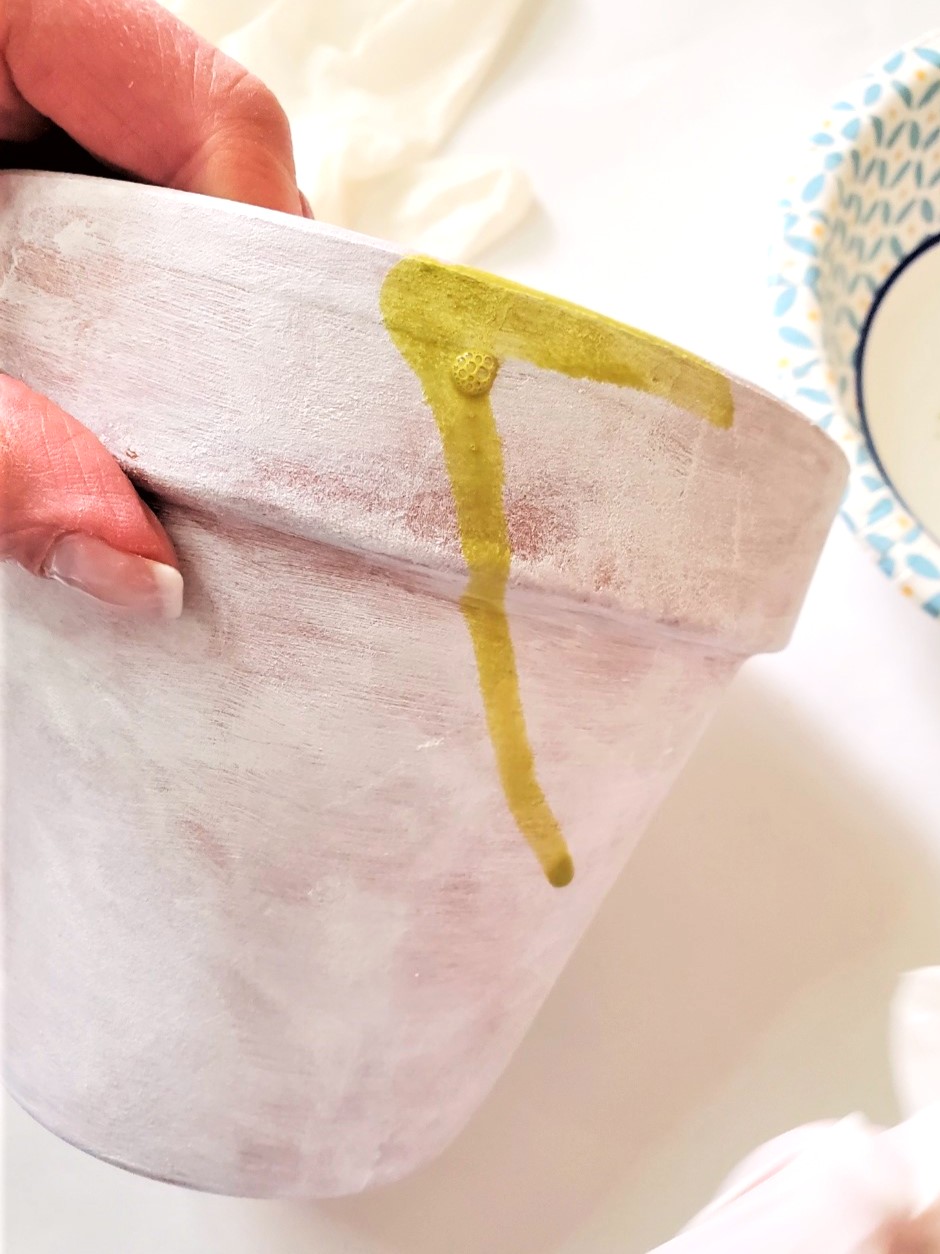
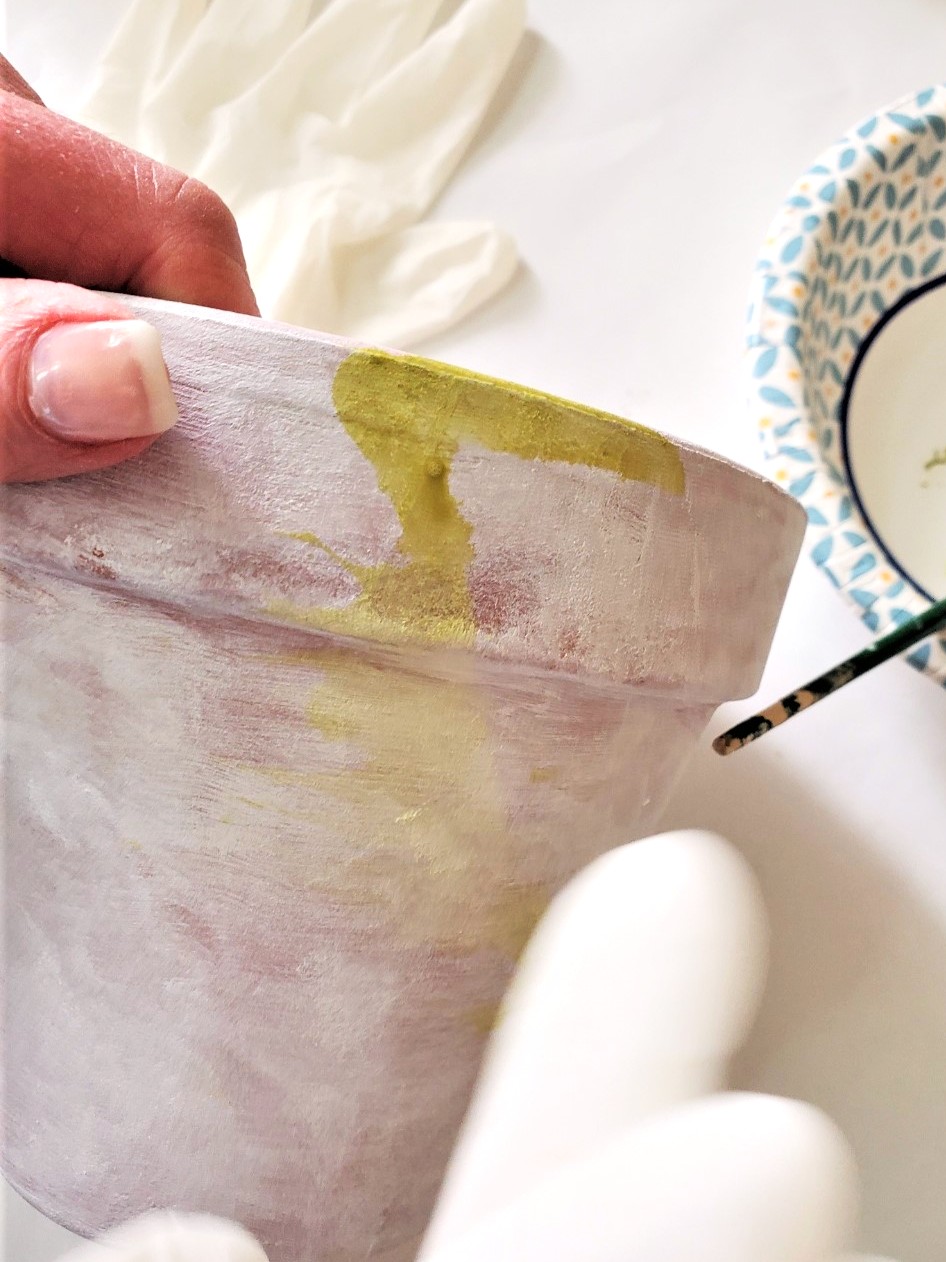
Step 3: Create an Aged Look with Easy Paint Techniques
Mix a bit of water with avocado or moss acrylic paint on a paper plate or bowl. Lightly dip the tip of your paint brush into the paint, then wipe off the excess on a paper towel. Randomly apply the paint to the top of the pot, blending with your finger or a dry paint brush for a natural moss effect. Add a few touches to the body and bottom of the pot as well, letting the paint run slightly before blending with your finger to achieve an aged look.
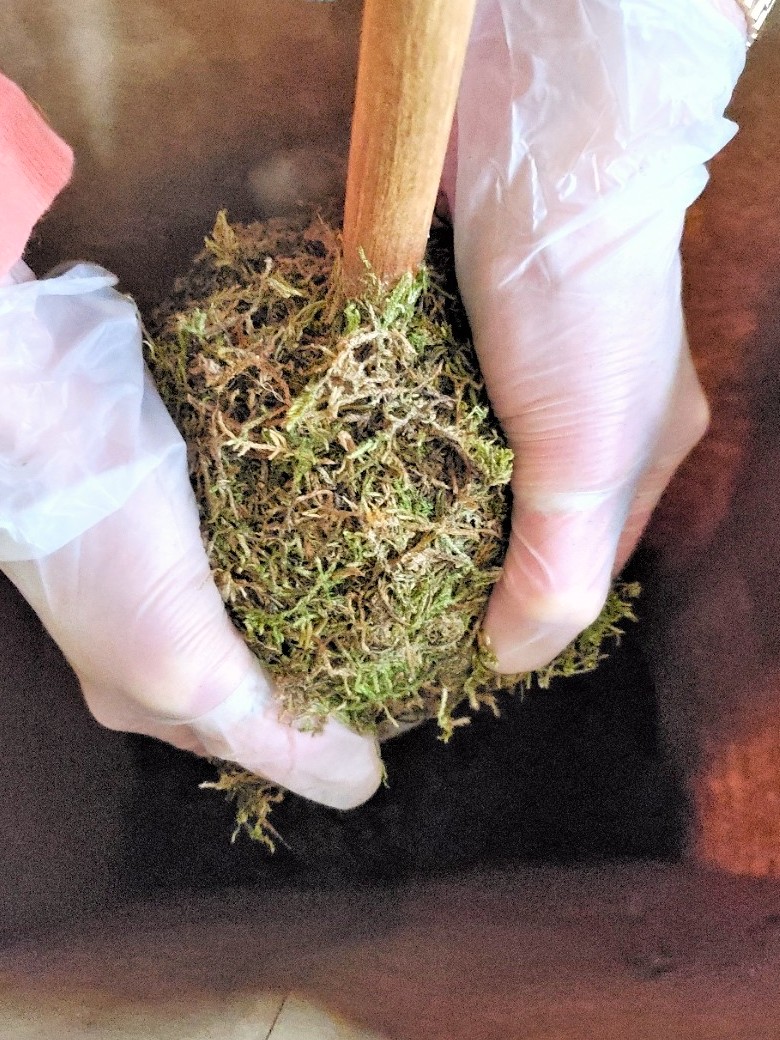
Step 4: Covering with Moss After Applying Spray Adhesive
Begin adding reindeer moss to the top of the topiary forms, this part can get messy! Place the foam ball inside a brown bag, a large plastic bag, or on newspaper to contain the mess. Since I'm using spray adhesive, I recommend doing this step in a well-ventilated area, like an open garage or outside. Spray the foam ball with spray adhesive and let it sit until it gets tacky. Then, press handfuls of reindeer moss onto the surface of the foam ball. If you notice bare spots, lightly spray more adhesive spray and repeat until the topiary forms are covered in moss.
Cindy's Crafting Tip: I recommend wearing rubber gloves during this step because it's sticky from the adhesive spray. If you don't want to add adesive spray, add bits of moss at a time and use your glue gun. Wear silicone finger protectors to avoid burns.

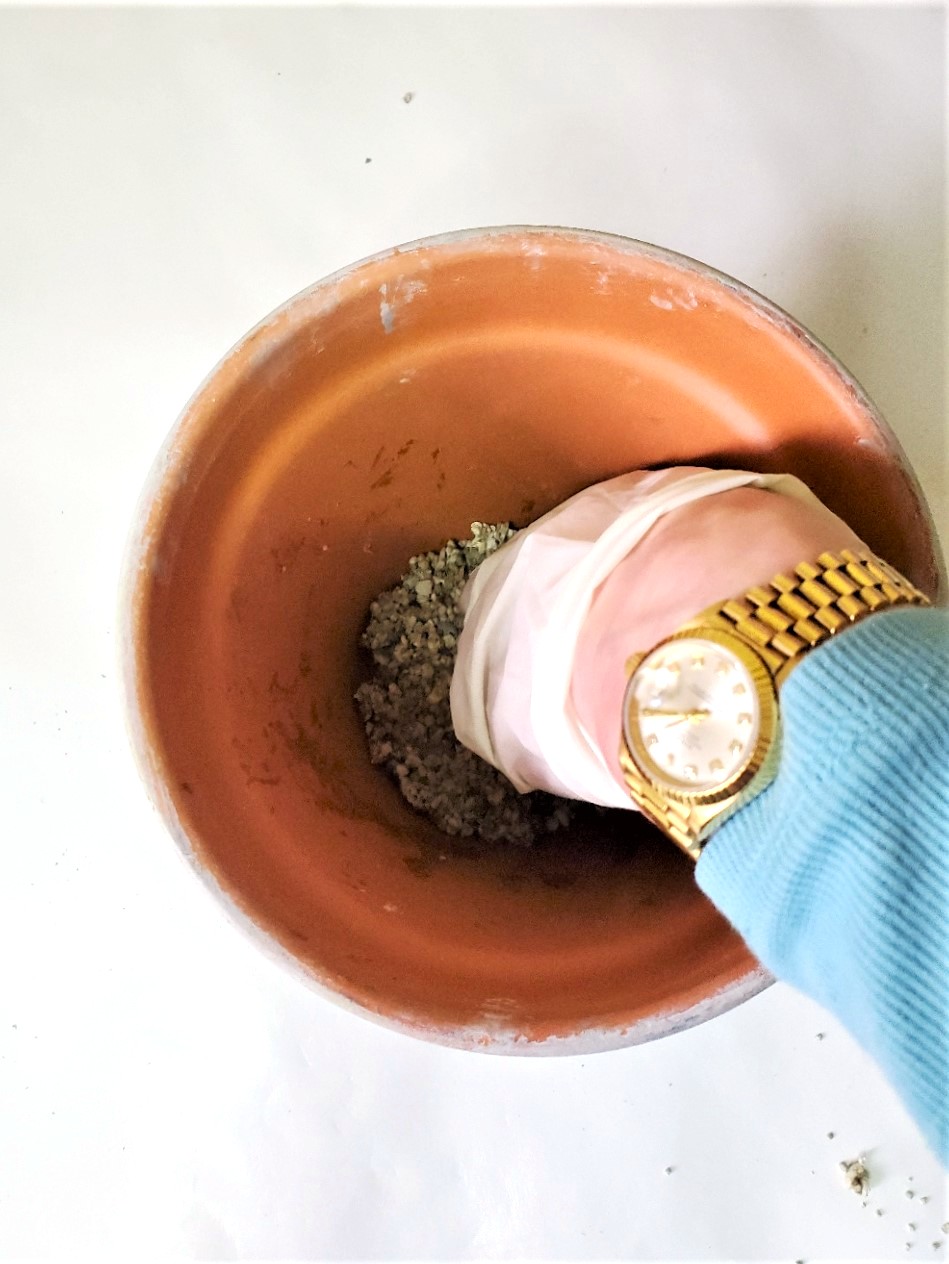
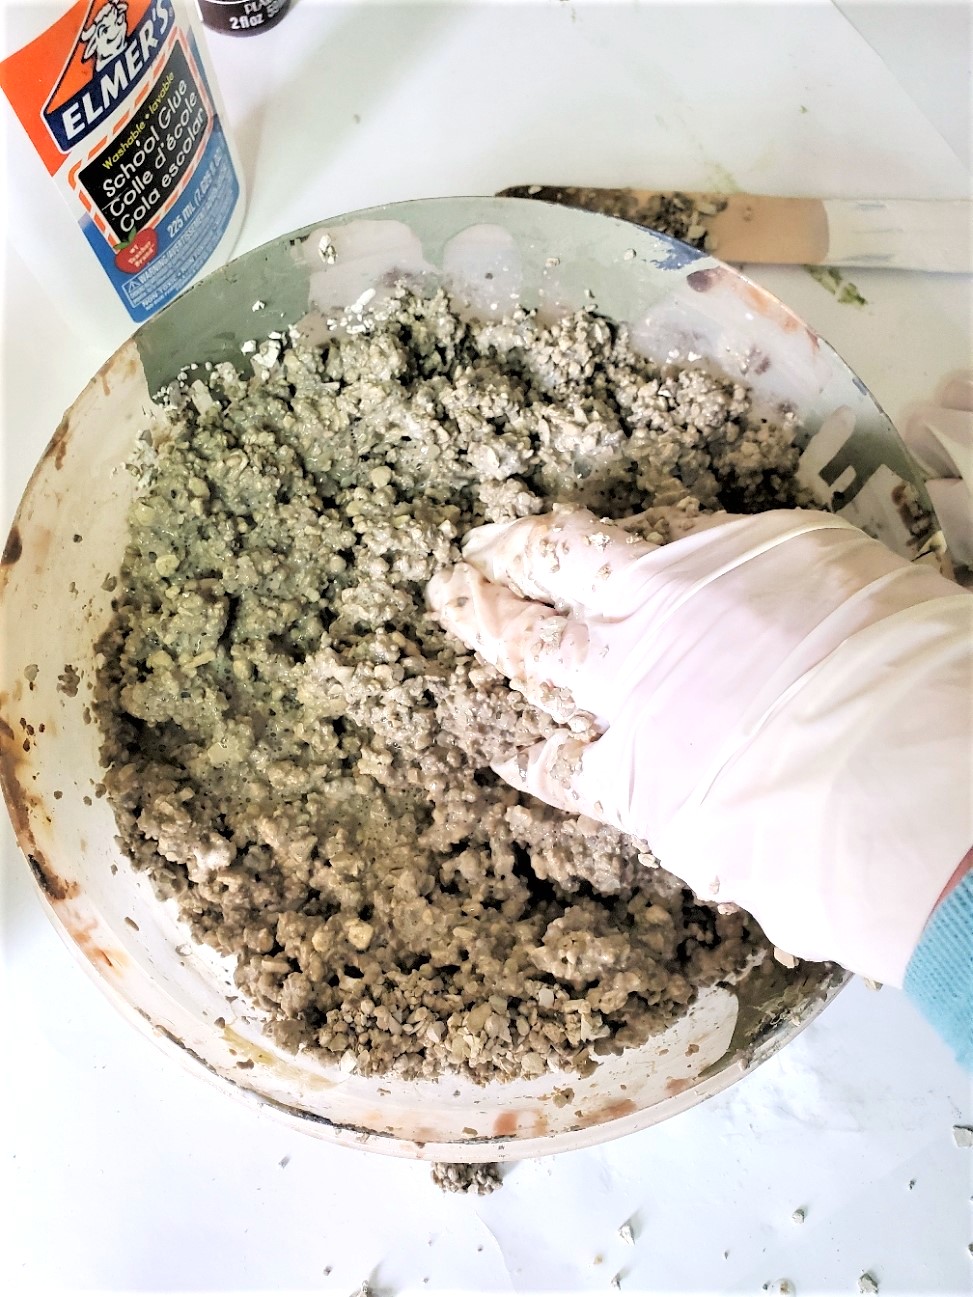
Step 5: Add Easy Fake Dirt to the Topiary
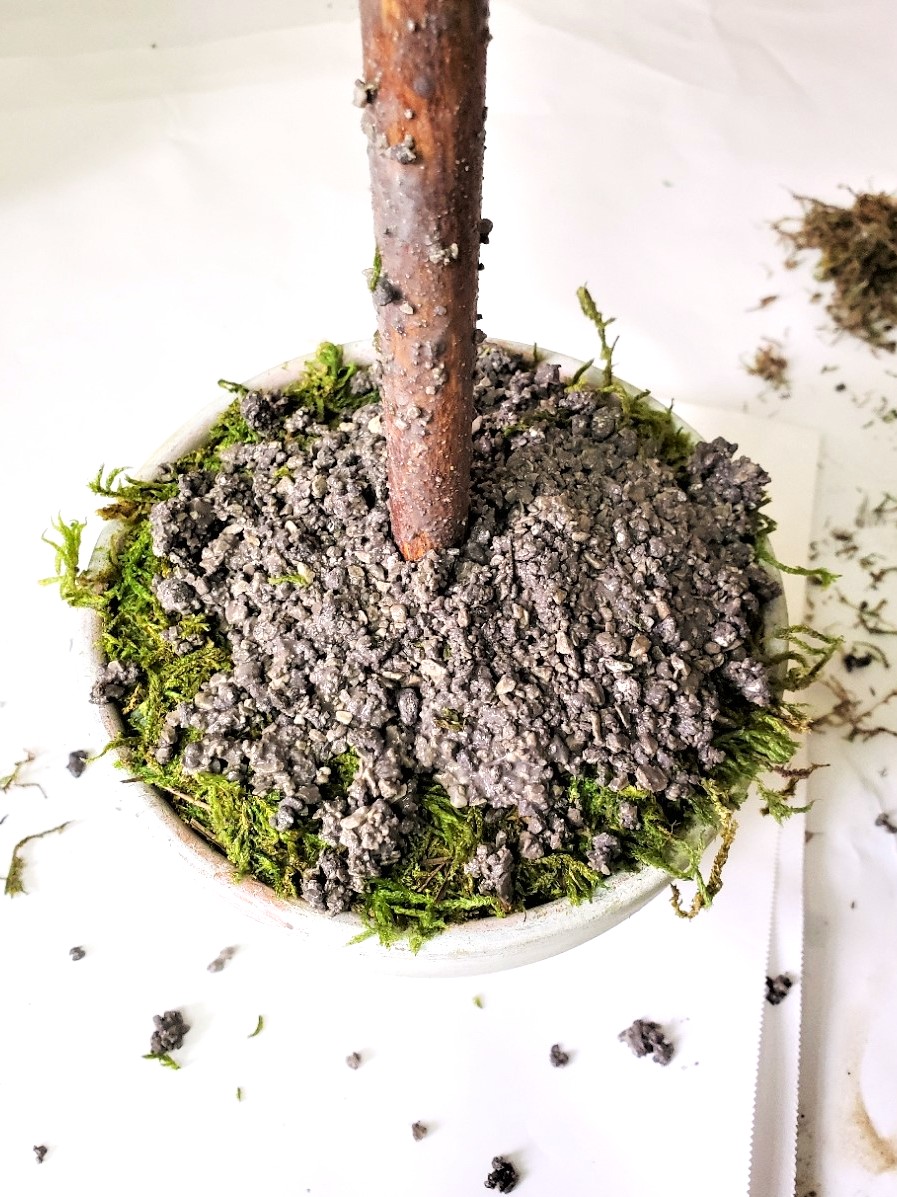
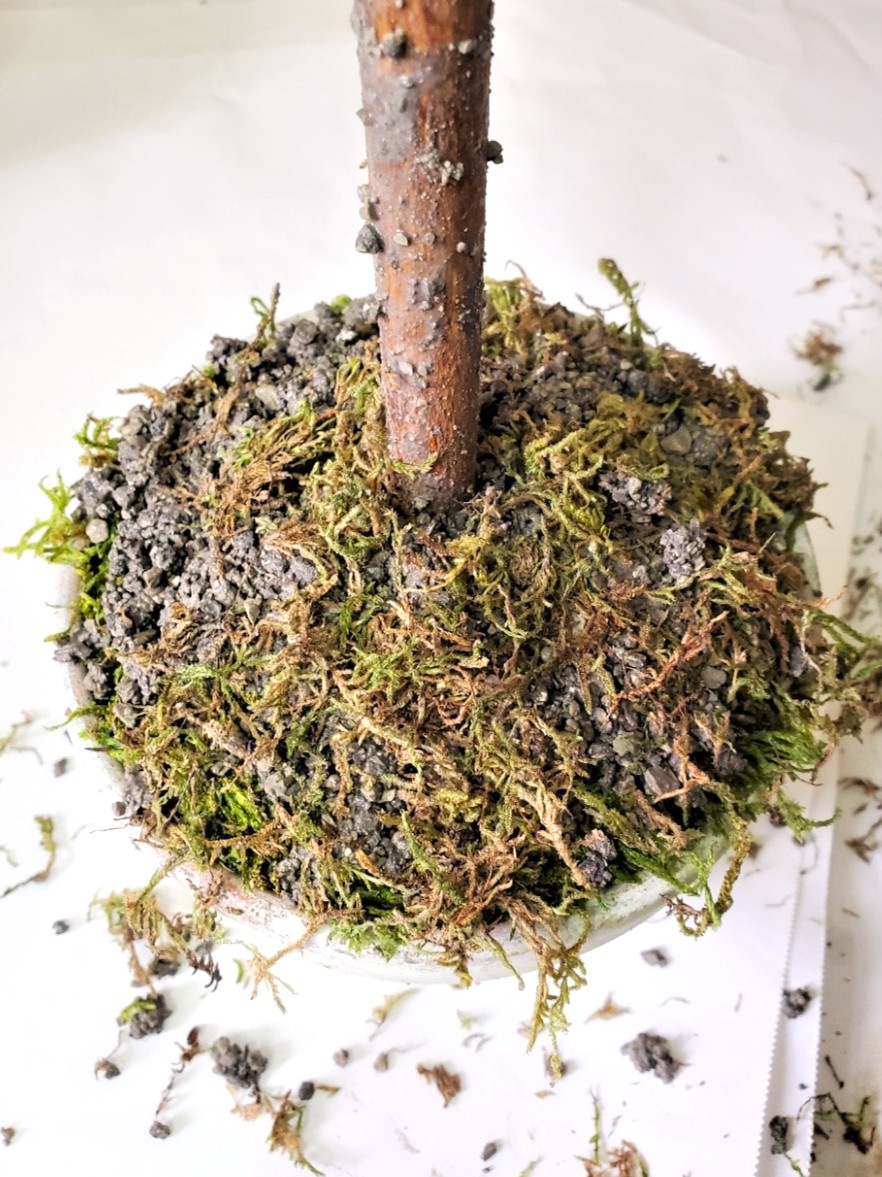
Here, I share how to add fake dirt to artificial plants or a small artificial tree. This is a perfect addition to your topiary tree, and takes minutes to make! First, for stability, I added non-clumping kitty litter to the bottom of the pot. I also add glue with moss once the dirt is dry. See my note if adding your topiary tree directly into a clay pot.
Cindy's Crafting Note: I added a bit of the fake dirt to the stem of the topiary to add detail. This optional.