DIY Fall Salt Dough Wreath for Easy Cozy Decor!
Let's create this DIY fall salt dough wreath for easy cozy decor! Last week I shared an easy step-by-step tutorial for my pumpkin spice salt dough recipe. These easy recipes are so much fun this time of year. This batch of salt dough is filled with rich spices, clove, and ground cinnamon adding the smell of cinnamon sticks. I'm sharing easy steps for one of my favorite activities in today's post.
Yield: 1 wreath
Cost: $5
Notes
Craft Supplies: Fall Salt Dough Wreath
-
- Hot glue gun
-
- Mod Podge
-
- Foam brush
- Metal Skewer or heat resistent tool
-
- 10-inch wire wreath form (Dollar Tree or craft store)
-
- Burlap ribbon
-
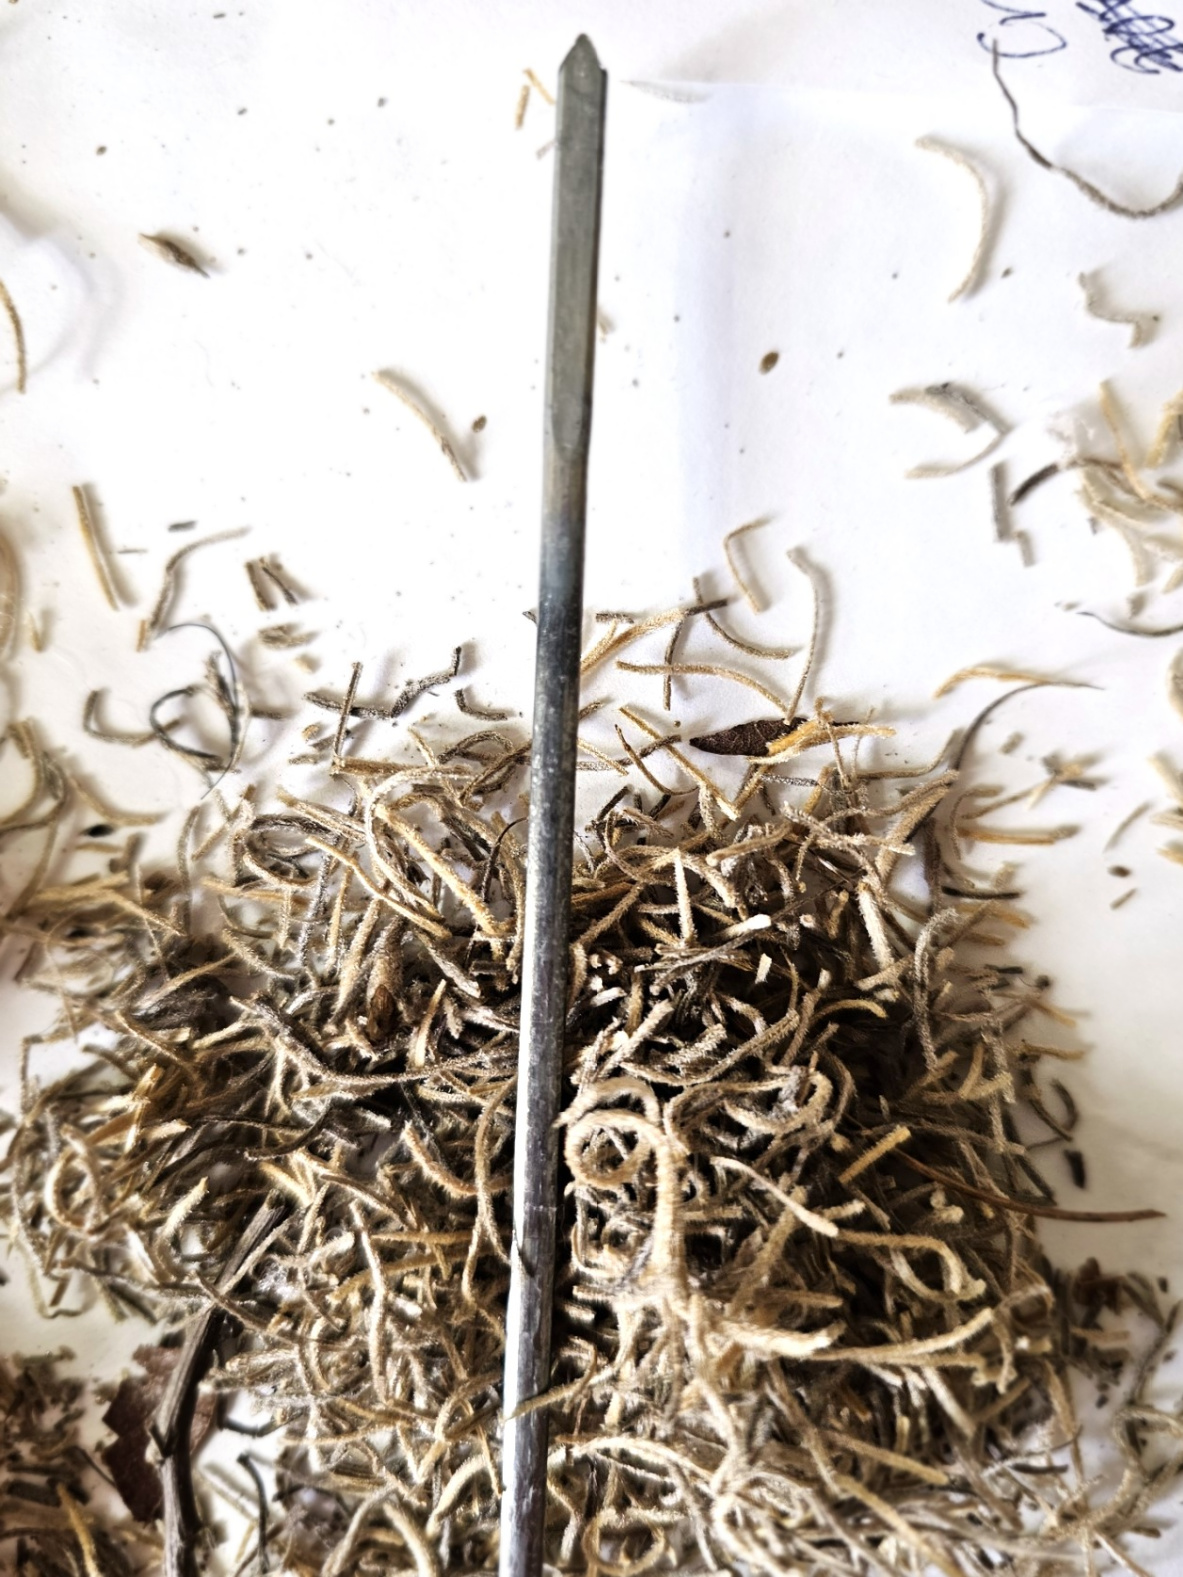
- Spanish moss
-
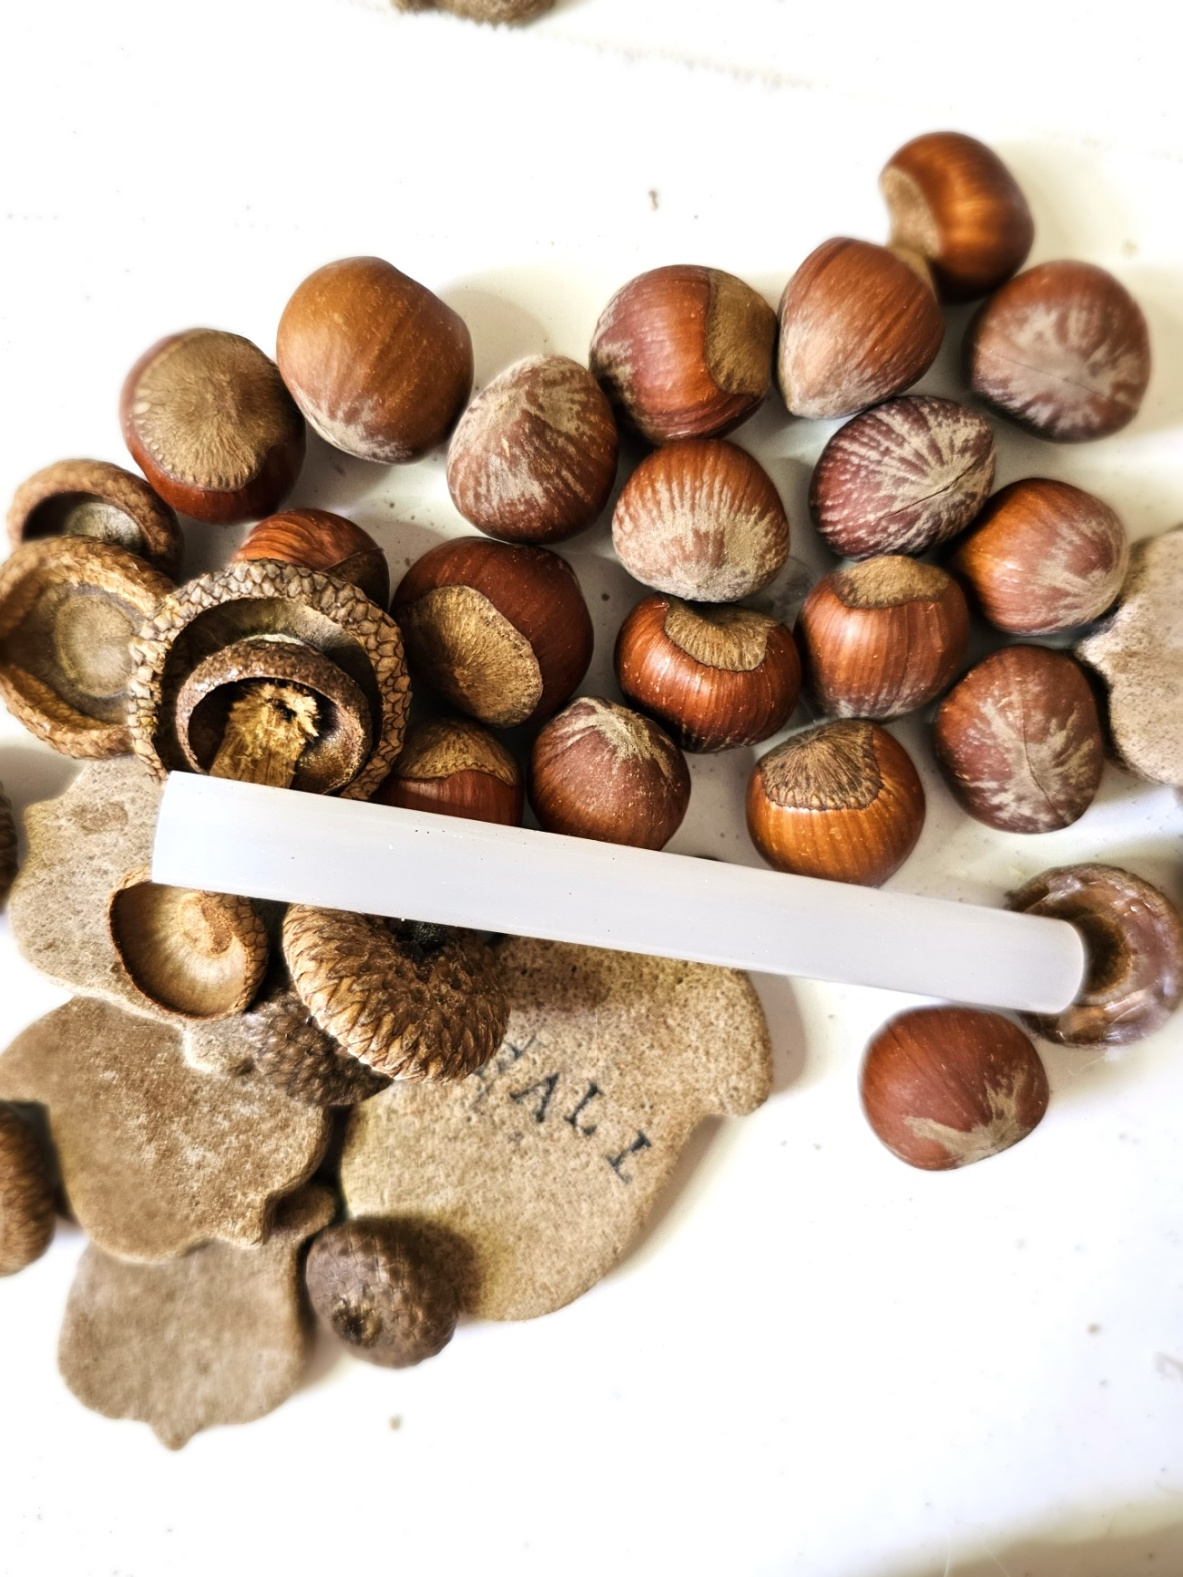
- Acorn cap (optional)
-
- 35 Hazelnuts (optional)
-
- Rubber finger protectors
-
- Scissors
-
- Floral Wire
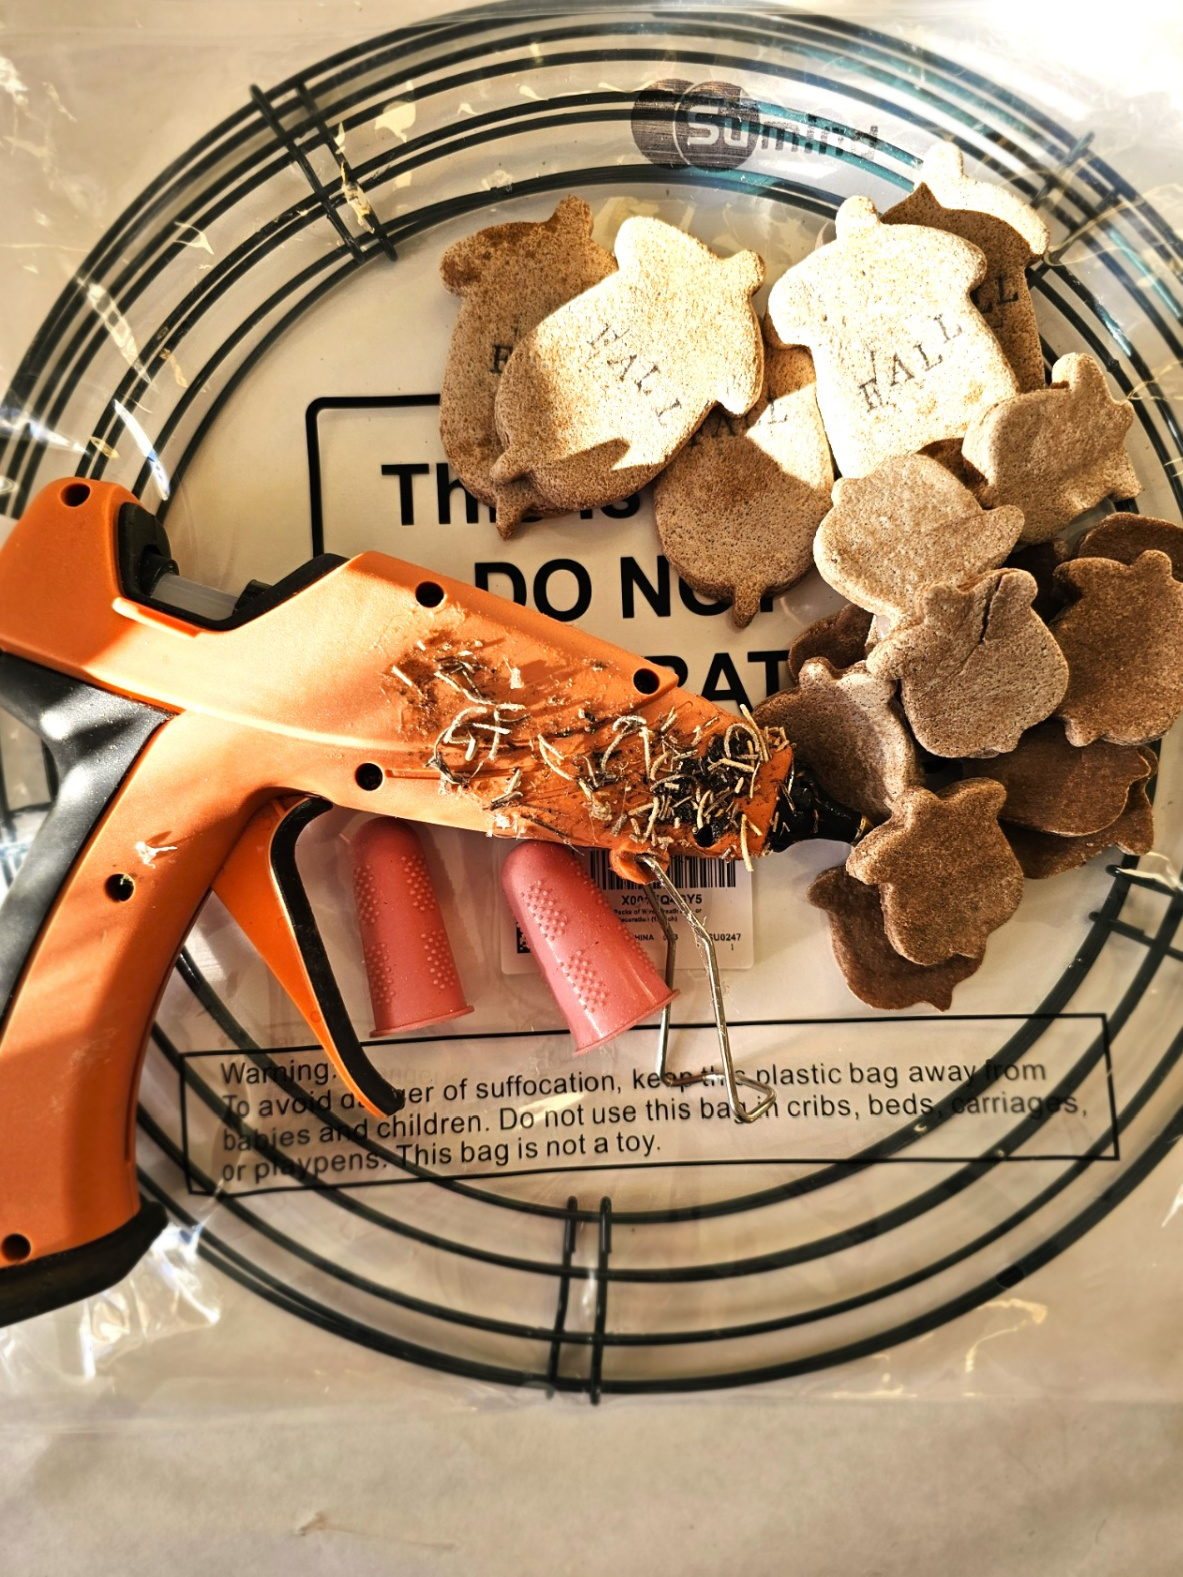
Step 1: Cut Acorn Shapes
First thing, when your pumpkin spice salt dough recipe is finished add ground cinnamon or clove to your work surface and a rolling pin. Now roll your salt dough with your rolling pin to ¼ inches. Use acorn cookie cutters or any shape to cut your beautiful salt dough ornaments. This is a great activity to get the kids involved, kids are play dough specialists! Cindy's Salt Dough Tip: If space is limited cut your acorn shapes on a cookie sheet lined with parchment paper. I used the smallest cookie cutter and the next size up of my acorn shapes for my DIY fall wreath. Last year I made a gingerbread salt dough recipe. It's an easy step-by-step tutorial and DIY wreath that works for the holiday season. I used a snowflake cookie cutter, and it comes with a printable recipe card! These snowflakes would be beautiful ornaments for a Christmas tree.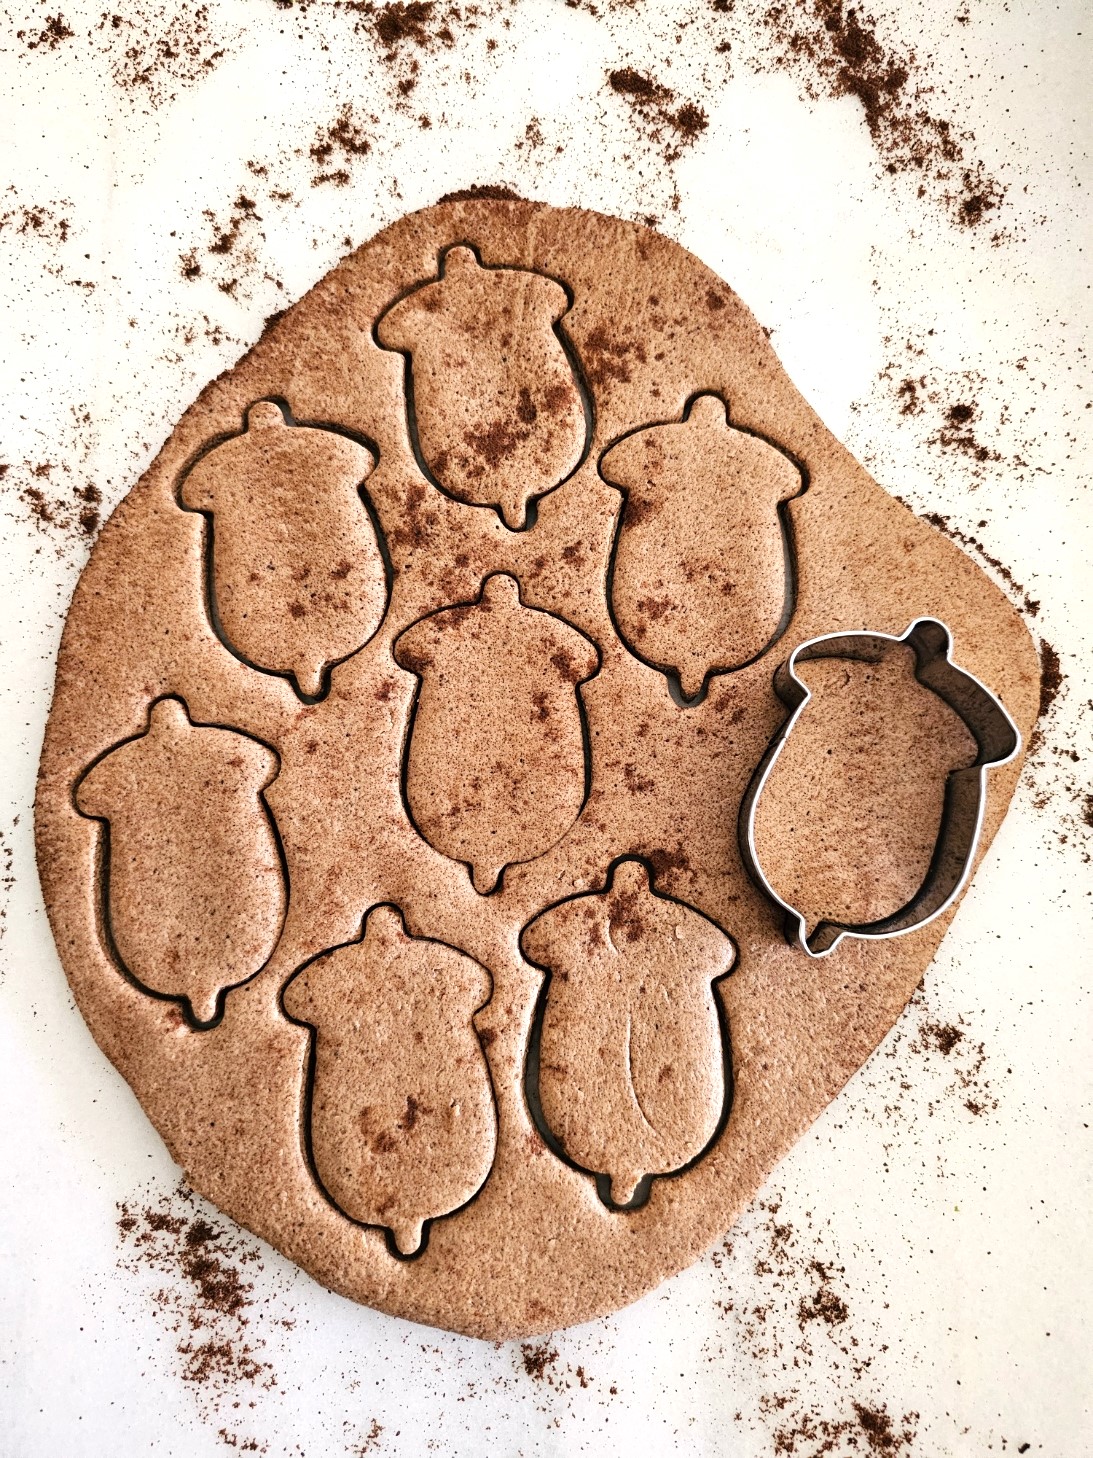

Step 2: Baked Salt Dough Tips for Your Easy Craft Project
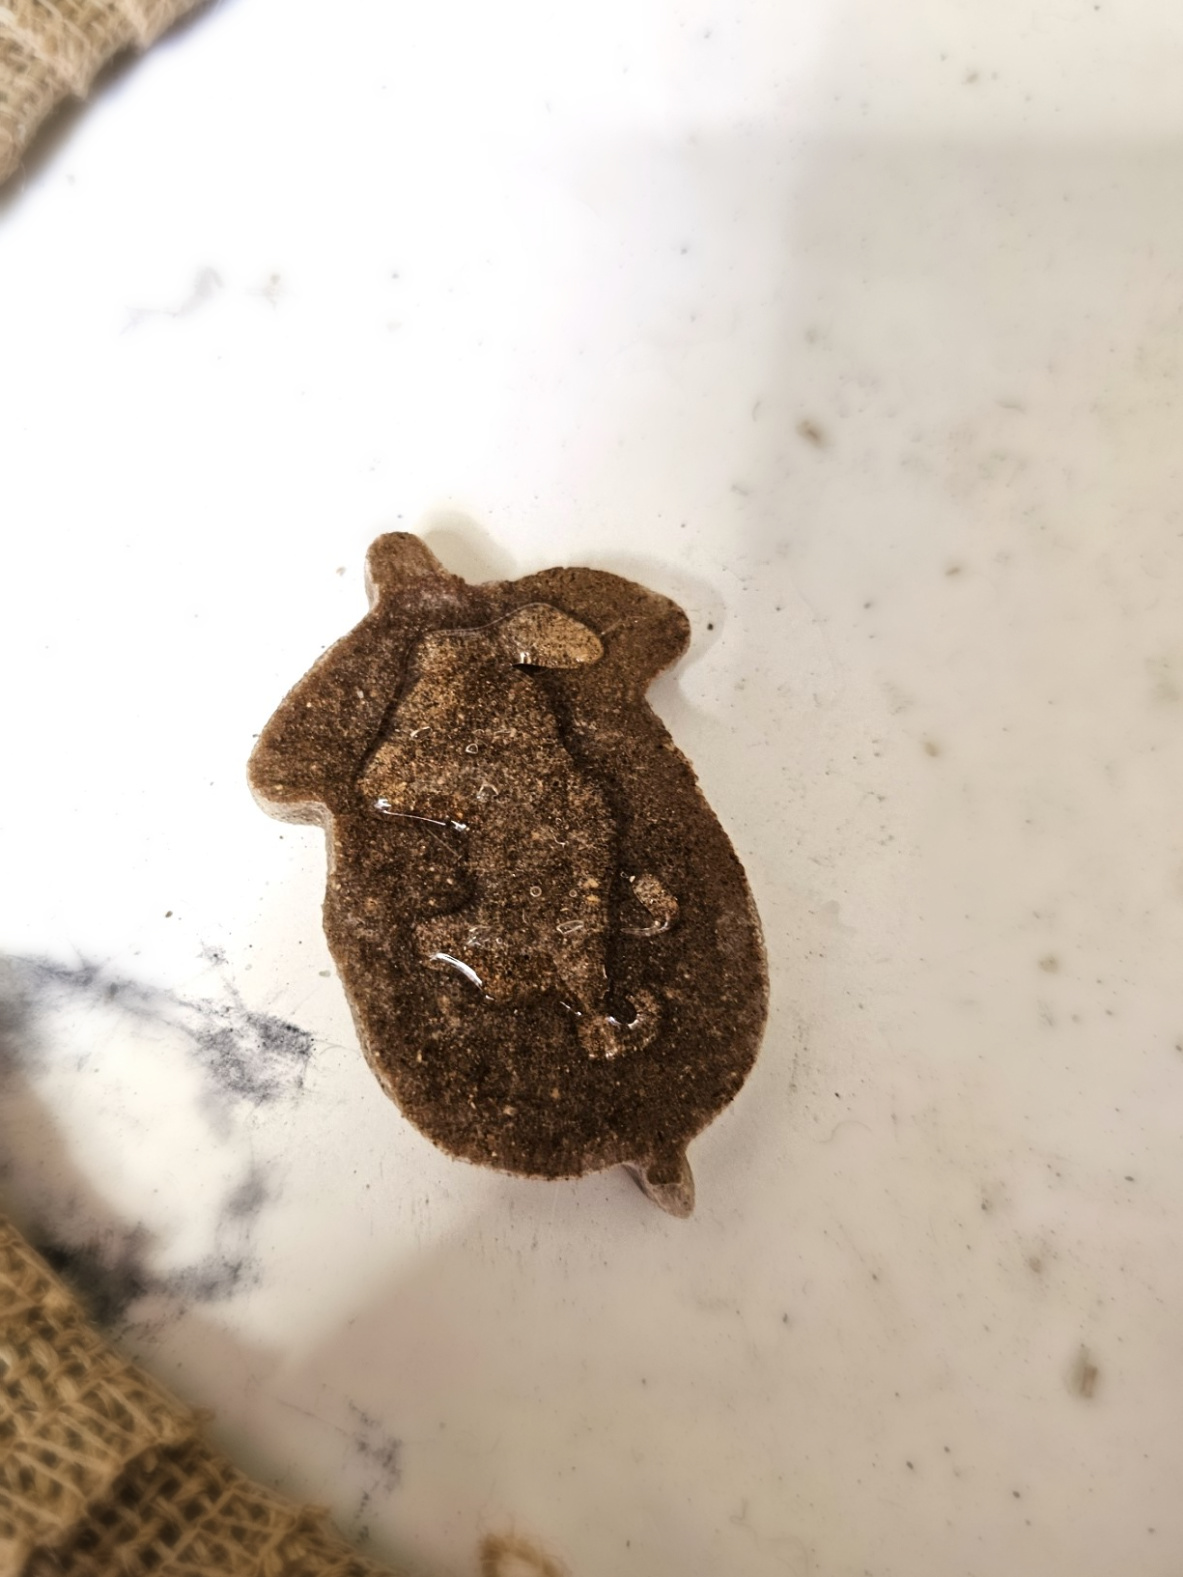
Next step, place your batch of salt dough in a 200-degree oven. Bake for 30 minutes, flip the acorn shapes over and bake for another 30 minutes. Let your salt dough acorns cool completely on a wire rack. Cindy's Salt Dough Baking Tip: Check your salt dough when it's getting close to the last 30 minutes to make sure the ends of the dough remain flat. Every oven is different, so this is a great way to be sure your dough is perfect for your salt dough wreath. If you are making beautiful ornaments for the tree. Before baking the batch of dough add a small hole. Use a small straw or toothpick to make a small hole for jute twine or ribbon to hang on the Christmas tree. Add a coat of Mod Podge to preserve your beautiful salt dough ornaments.Step 3: Stamps: Tips For Making the Top of Each Ornament Last
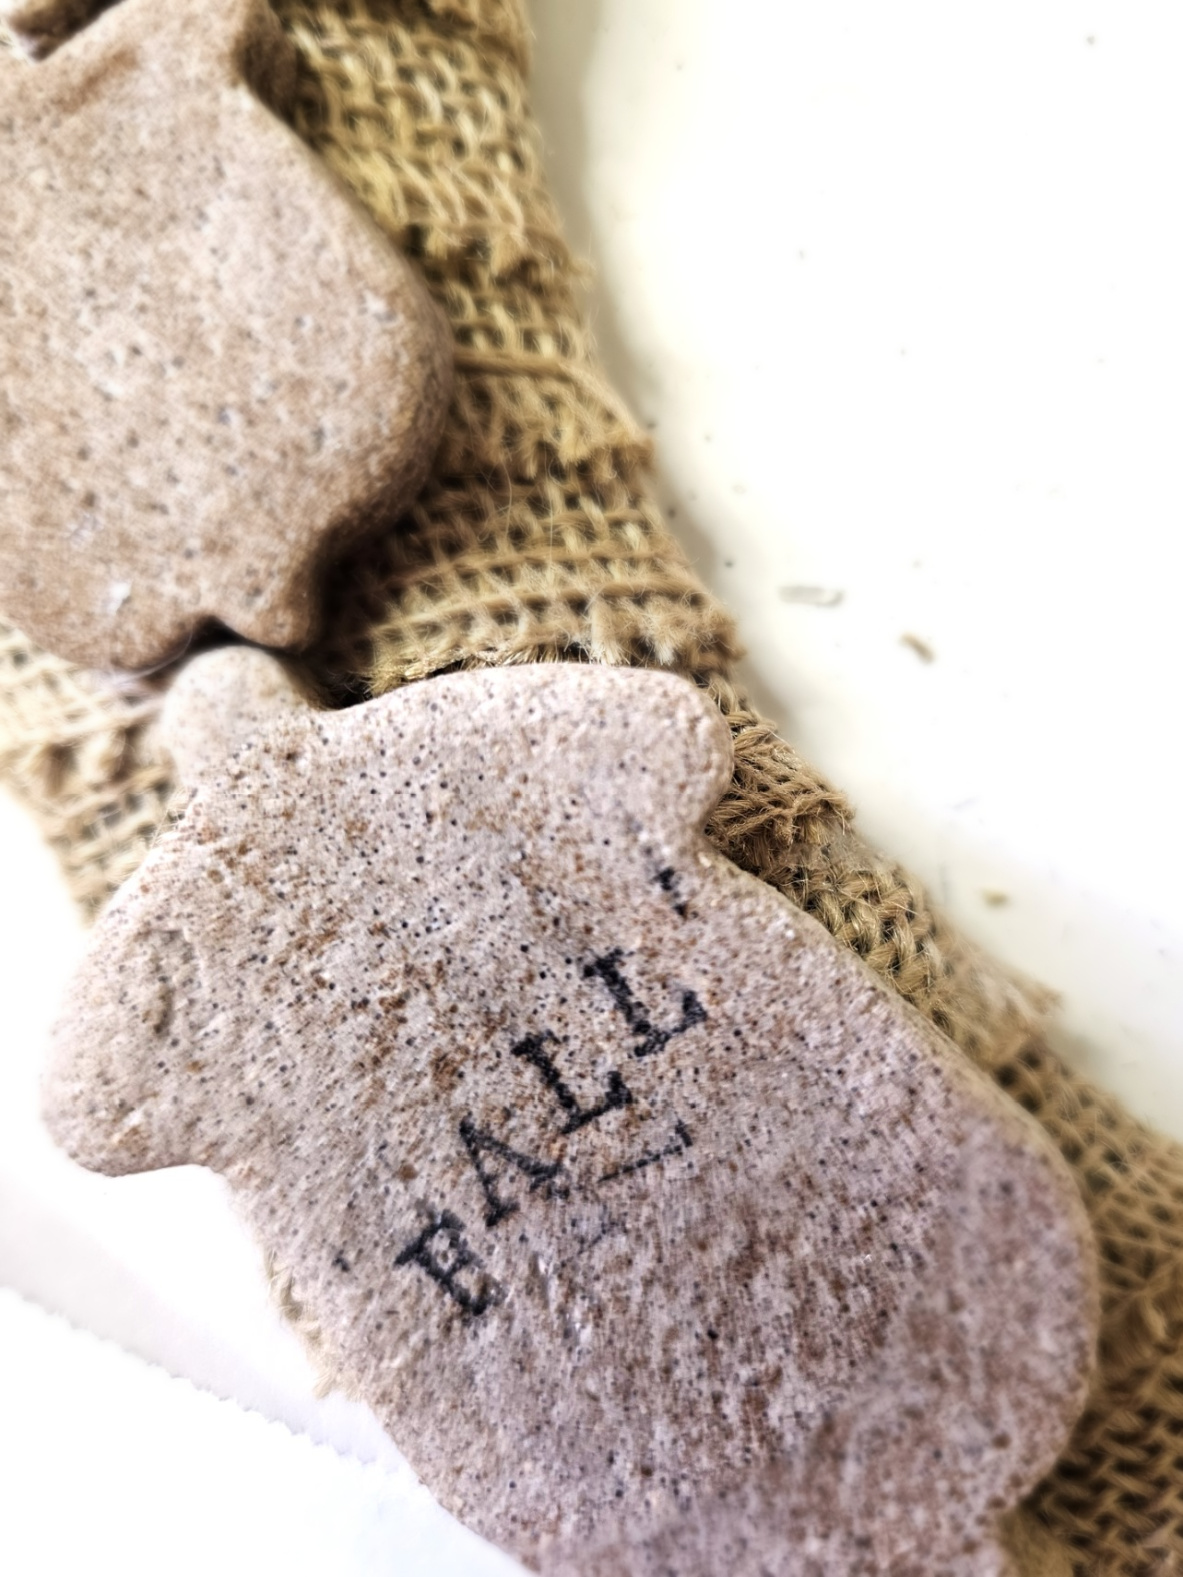
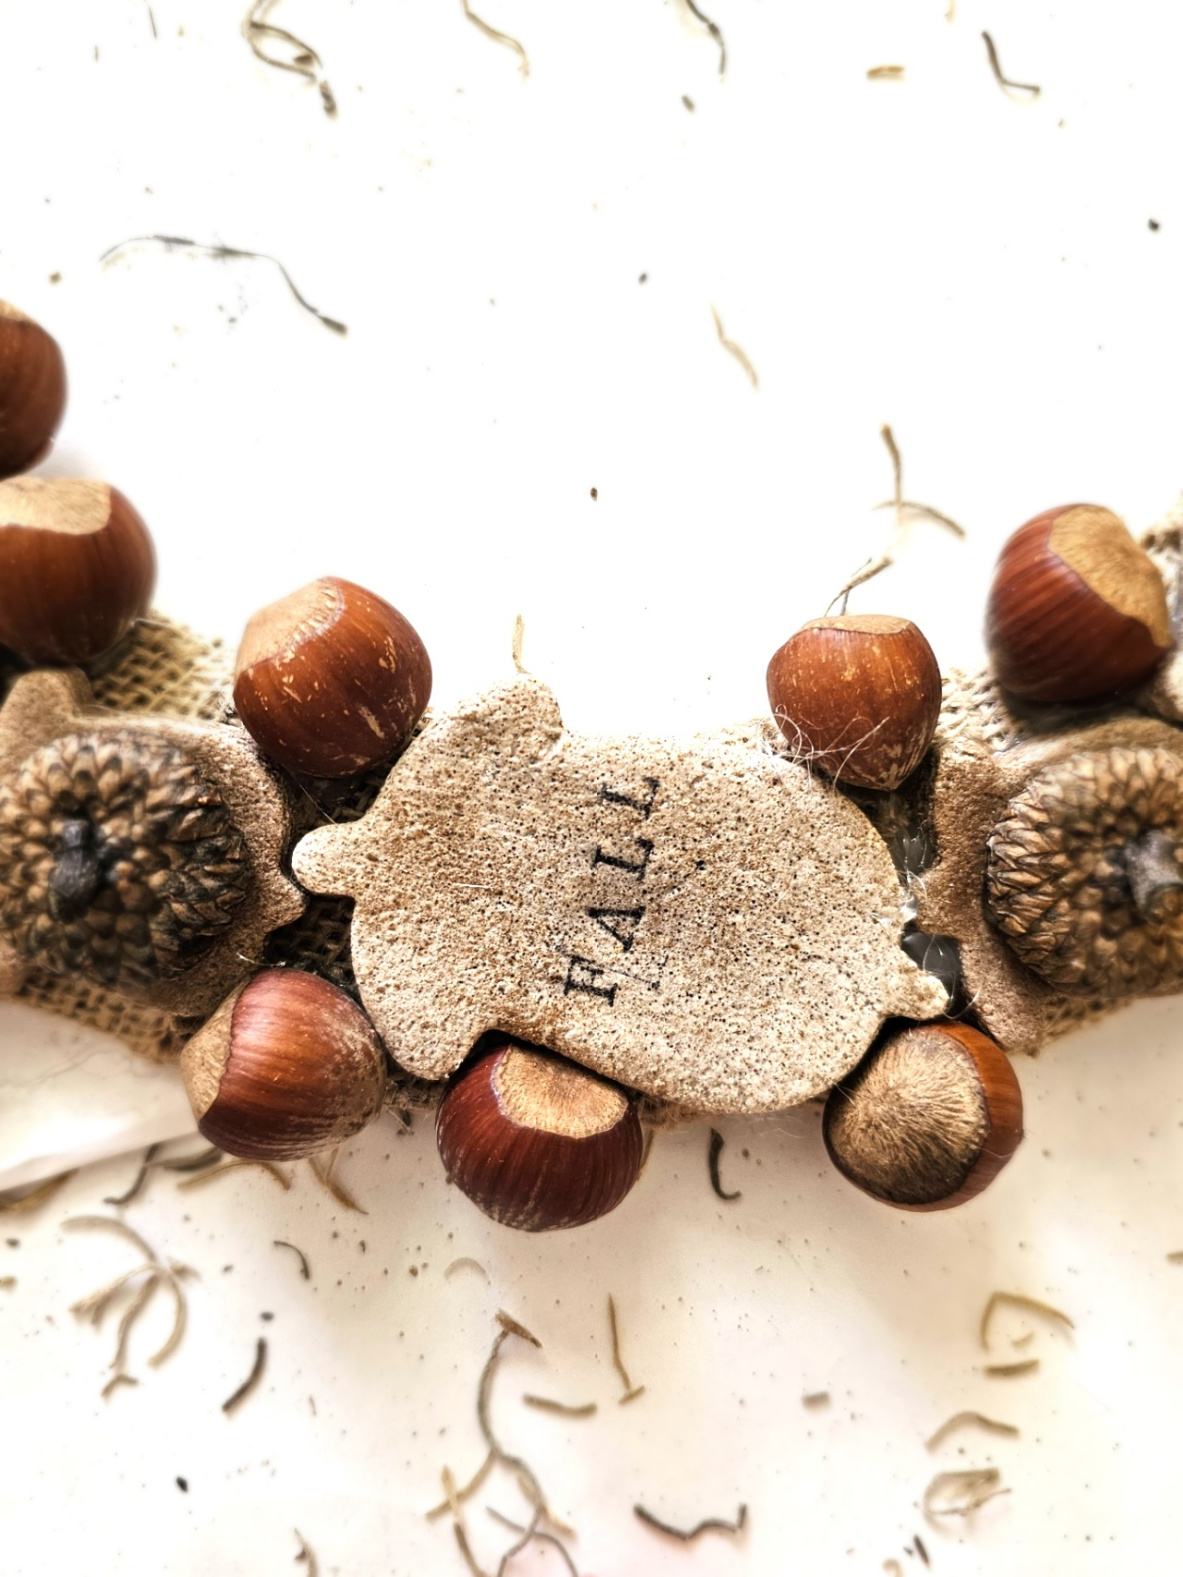
Here's when I used cookie stamps (stamps) to add the word fall to my larger acorn shapes. It's important to ensure no residue on the top of each ornament, especially if you add extra oil and cloves to try to get rid of the salty appearance. If you did add the extra cloves make sure you rub it into the salt dough ornaments. Add ink to your cookie stamps and let dry. Add a thin coat of Mod Podge to the top of each ornament and the back to protect your batch of salt dough. These easy steps will help your salt dough wreath last. Cindy's Storage Tip: When storing salt dough ornaments or your DIY wreath store them in a dry place. For my beautiful ornaments, I store them in an airtight container or a paper bag in a cool dry place. Any moisture will possibly break down your salt dough. Also, add Mod Podge to protect your easy craft project.
Step 4: Perfect Base: Wrapping Your Wire Wreath Frame With Burlap
First thing, plug in your hot glue gun and put on rubber finger protectors to begin creating this easy craft project. Wrap your wire wreath frame with burlap. Add a little bit of hot glue to the end of your burlap and hold to set. Wrap the burlap around the wire wreath form hot gluing the end of the burlap and holding it to set.
Step 5: Building Your Wreath: Secure Large and Small Acorn Shapes
Next step, add a lot of hot glue to the back of each large acorn and hold it to set. After you add the larger acorn shapes, add a lot of hot glue to the smaller acorn shapes. Hold them to set.
Cindy's Easy Craft Tip: Feel free to use different shapes of cookie cutters for your salt dough creations that work for your home.
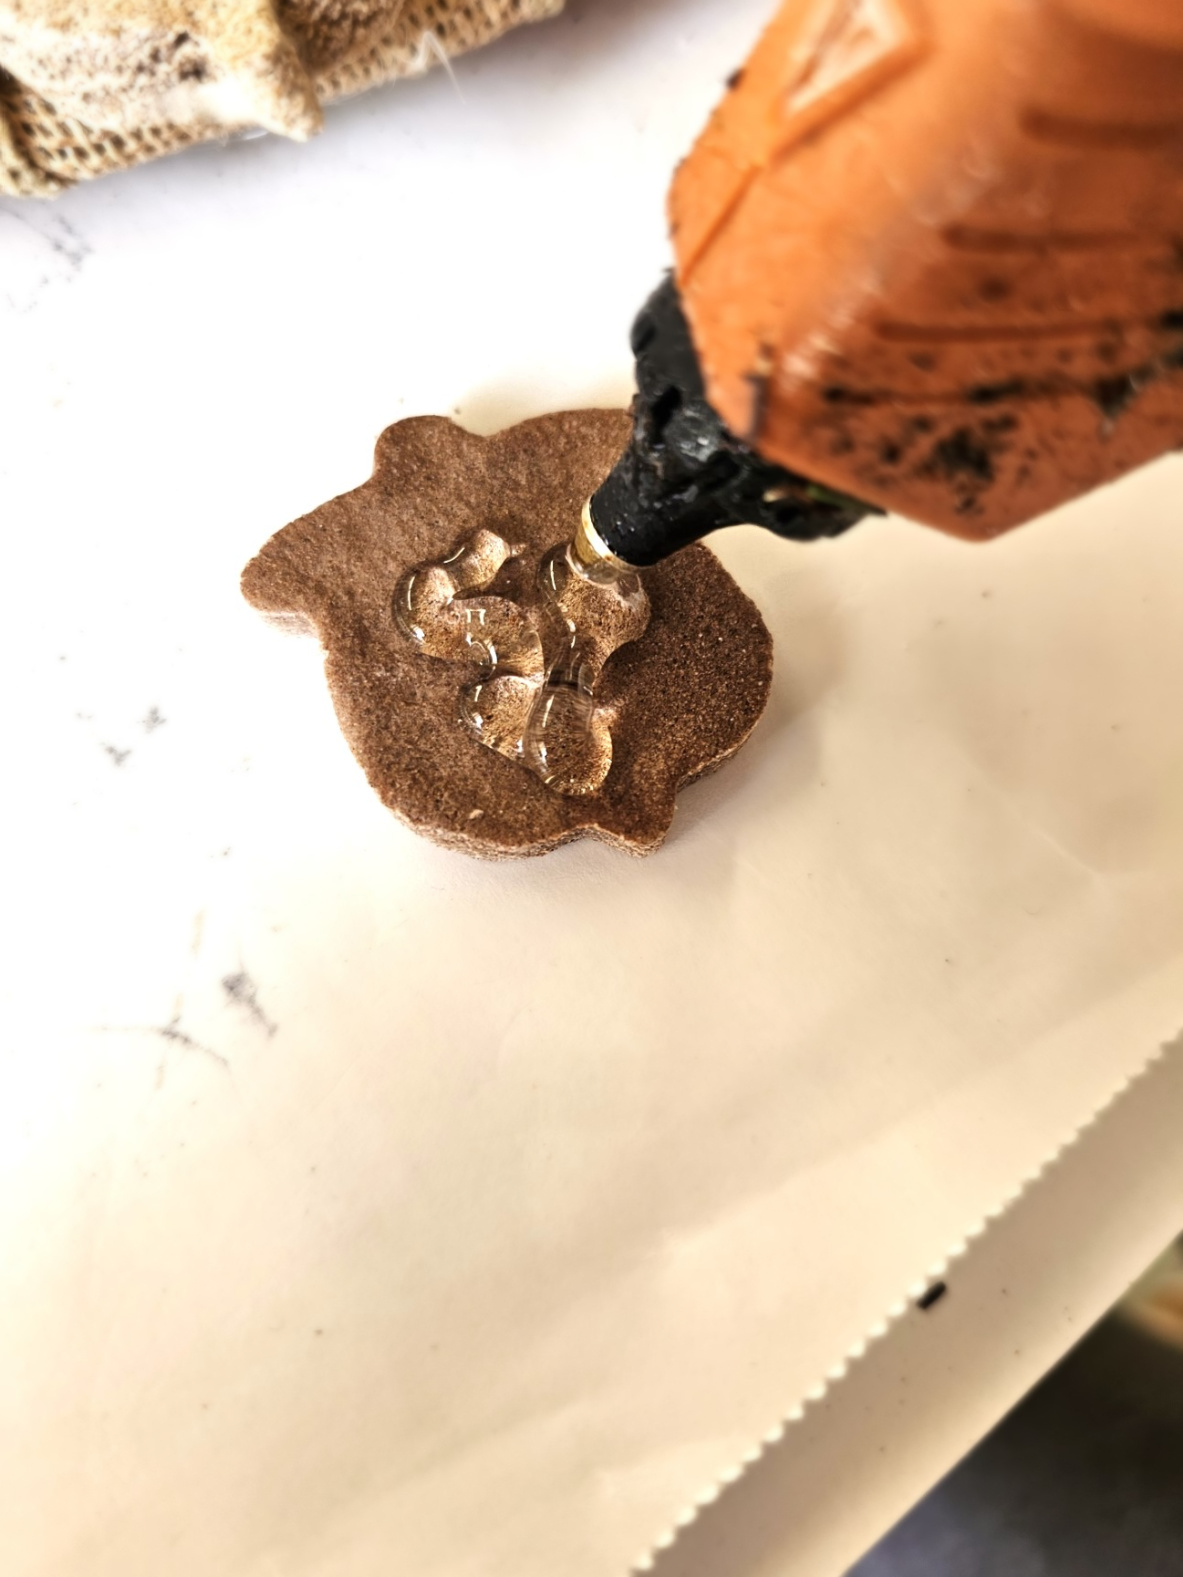

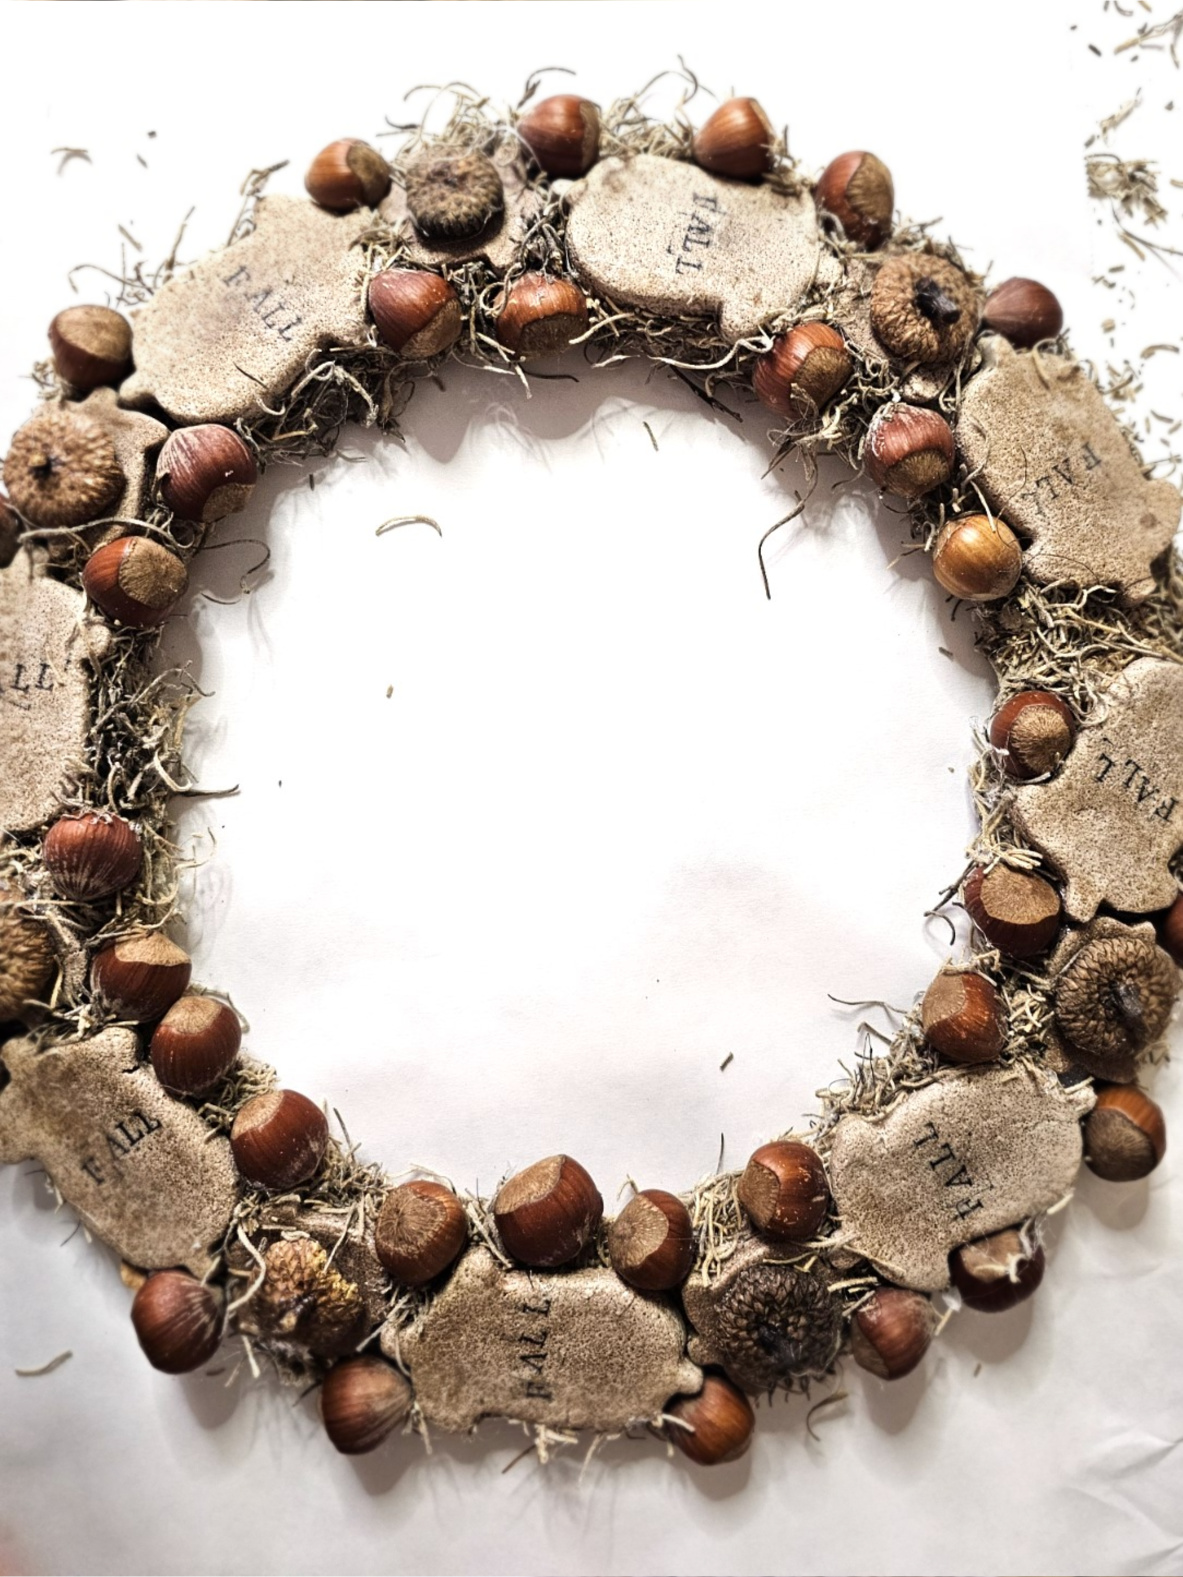
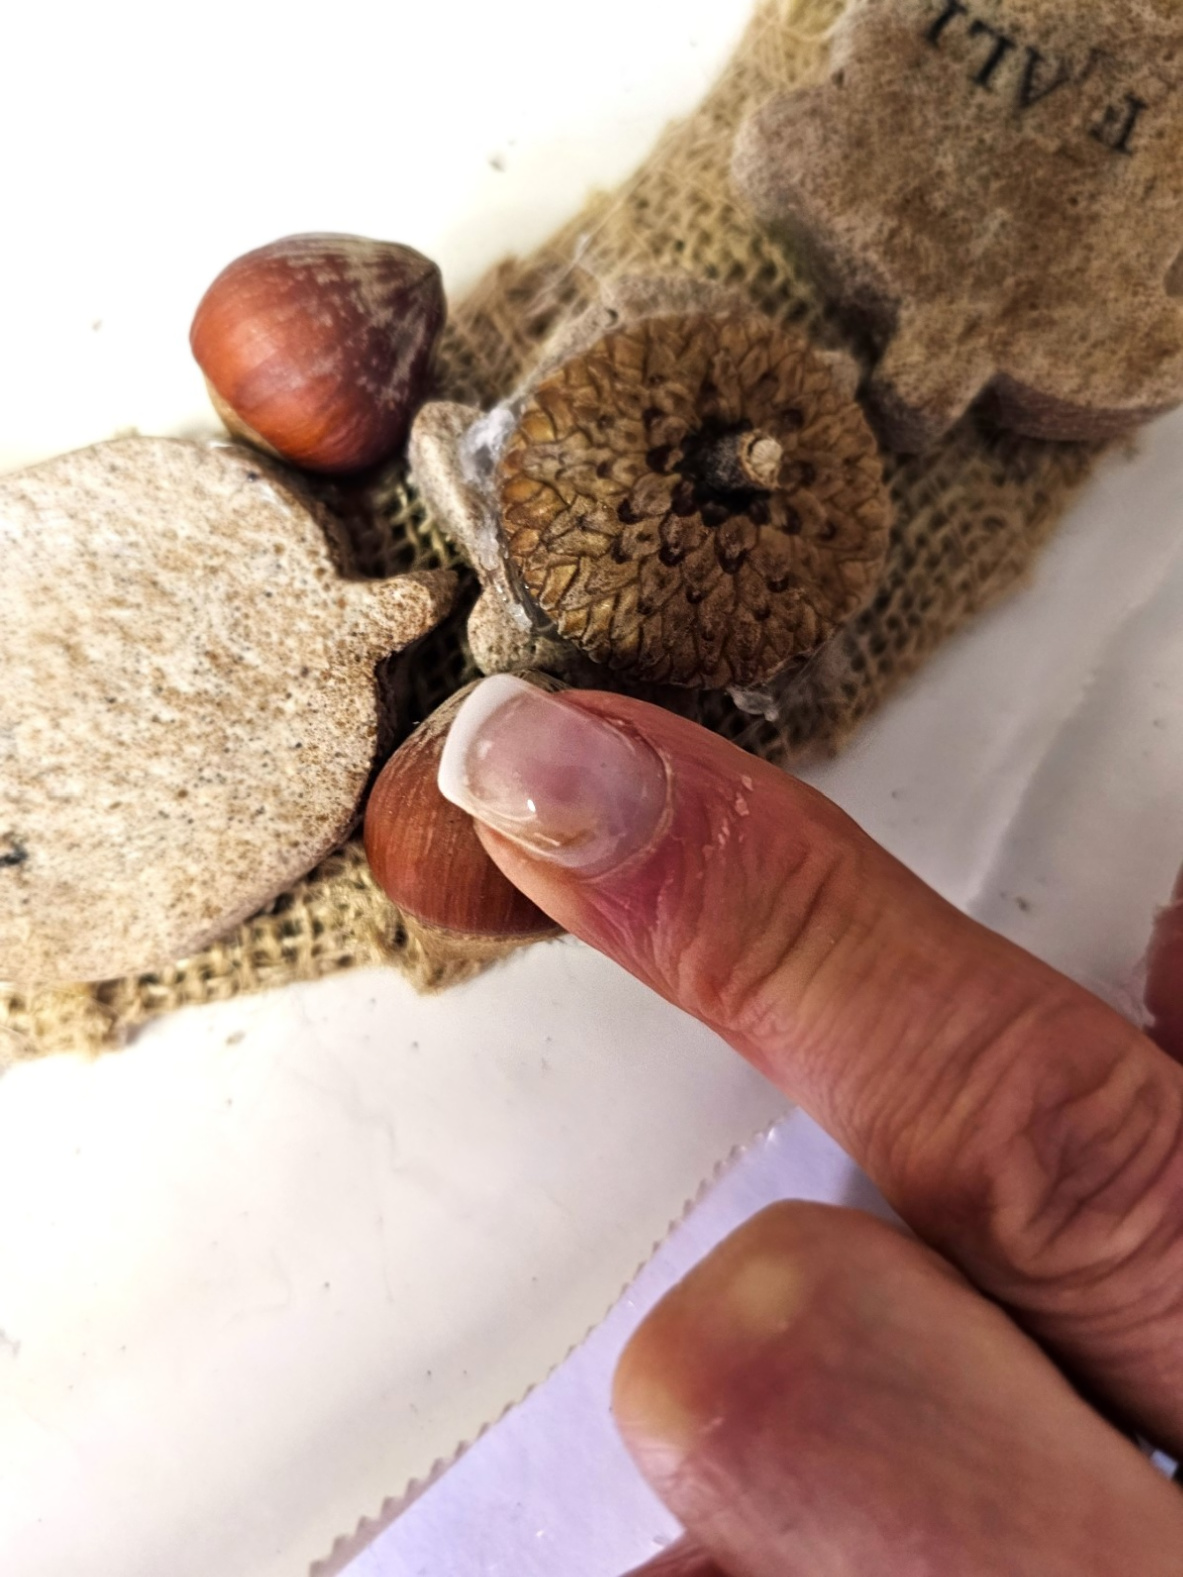
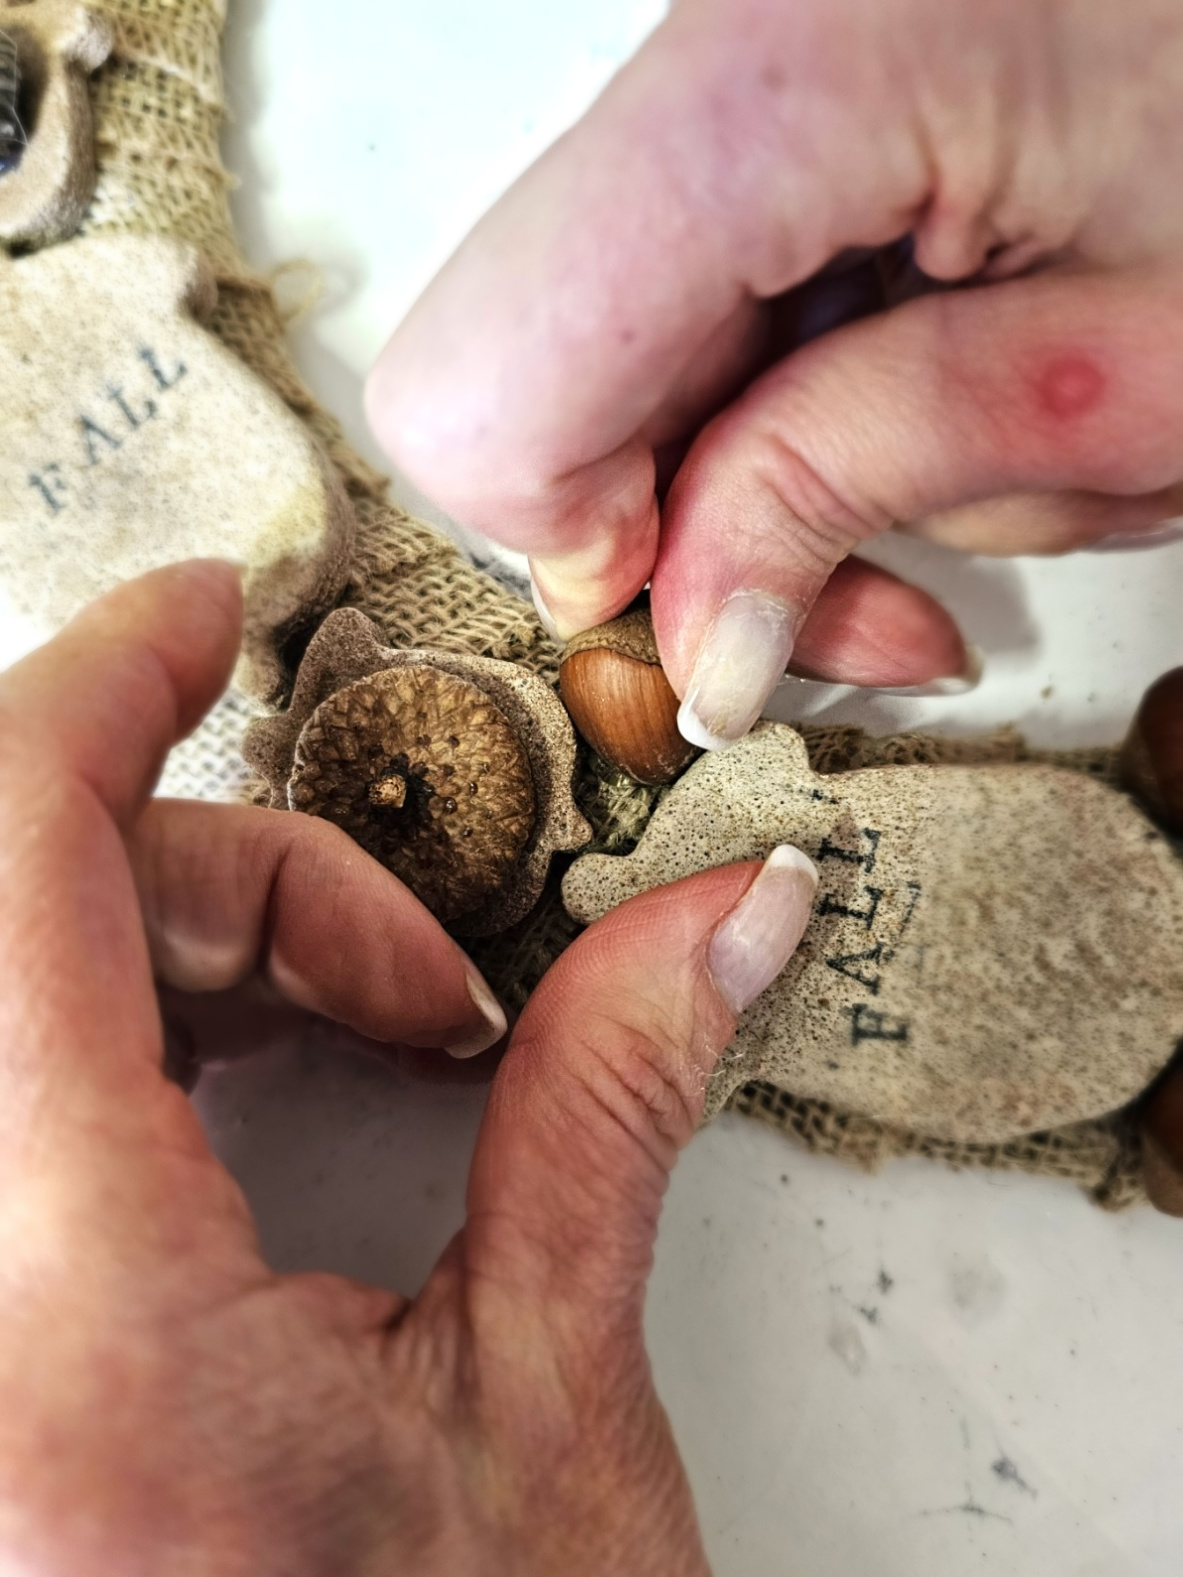
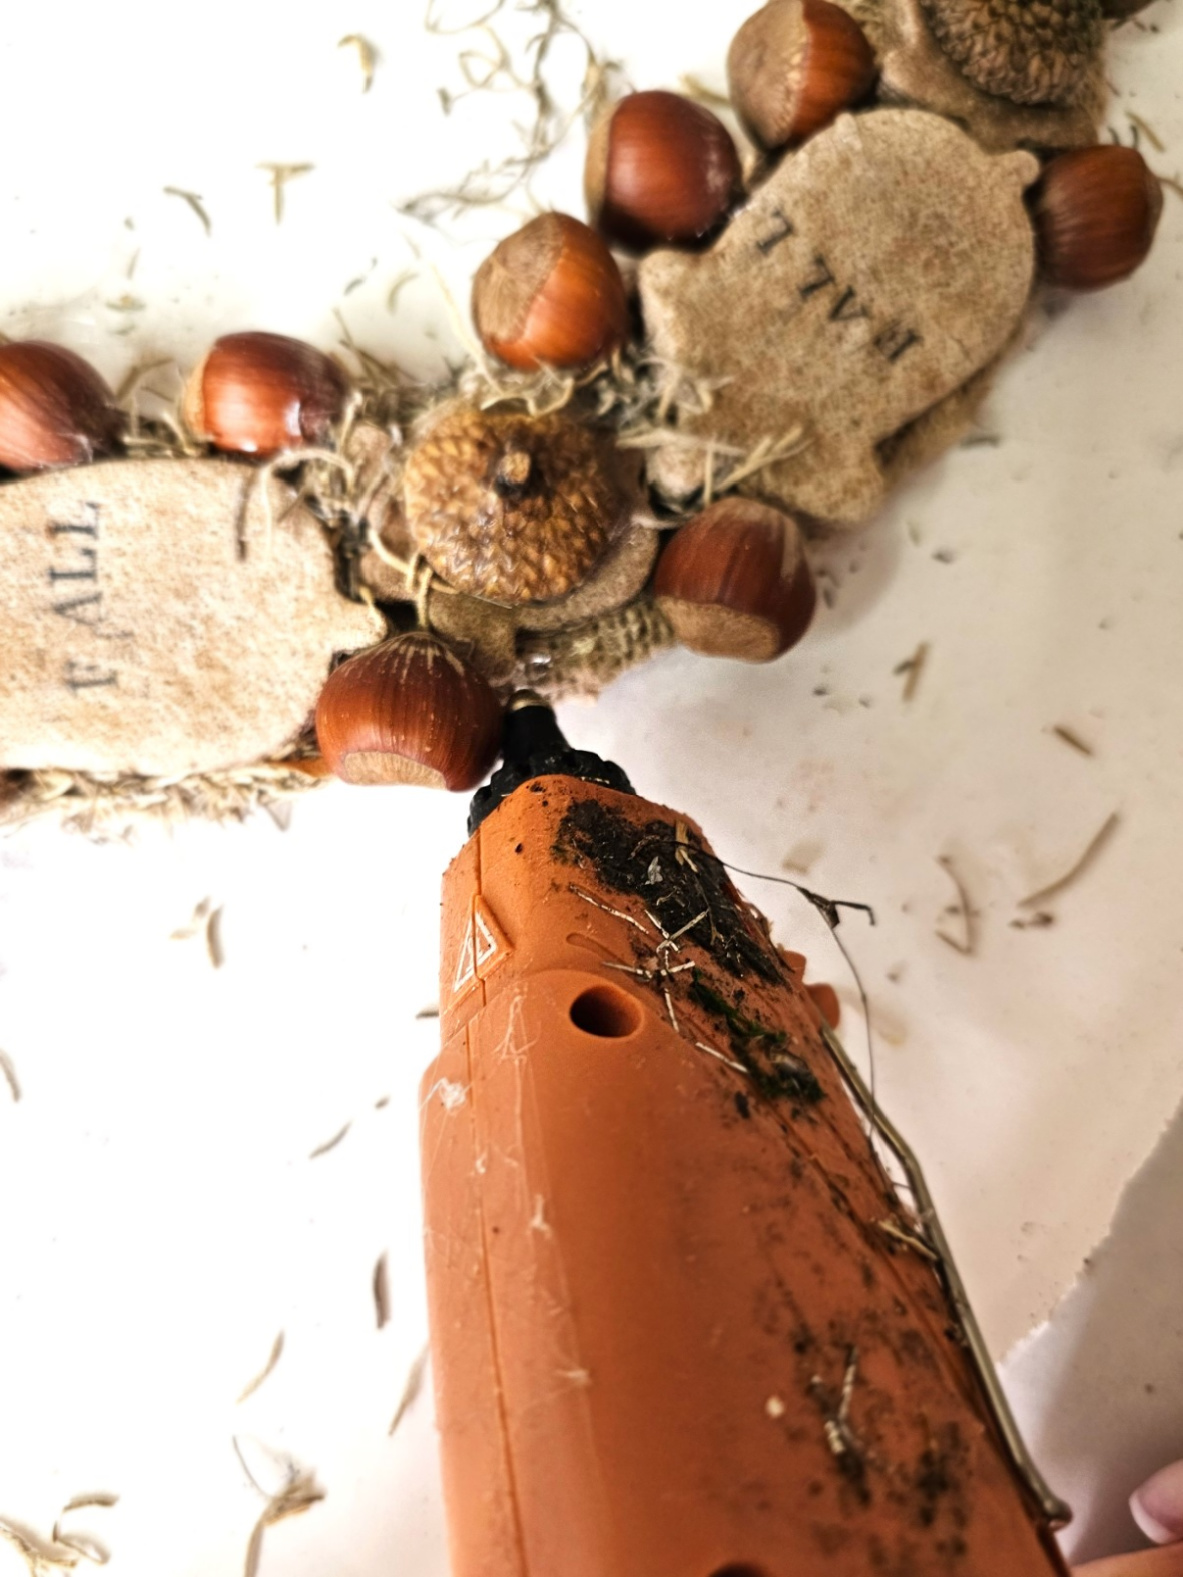
Step 6: Hot Glue Acorns and Hazelnuts to Your DIY Fall Wreath
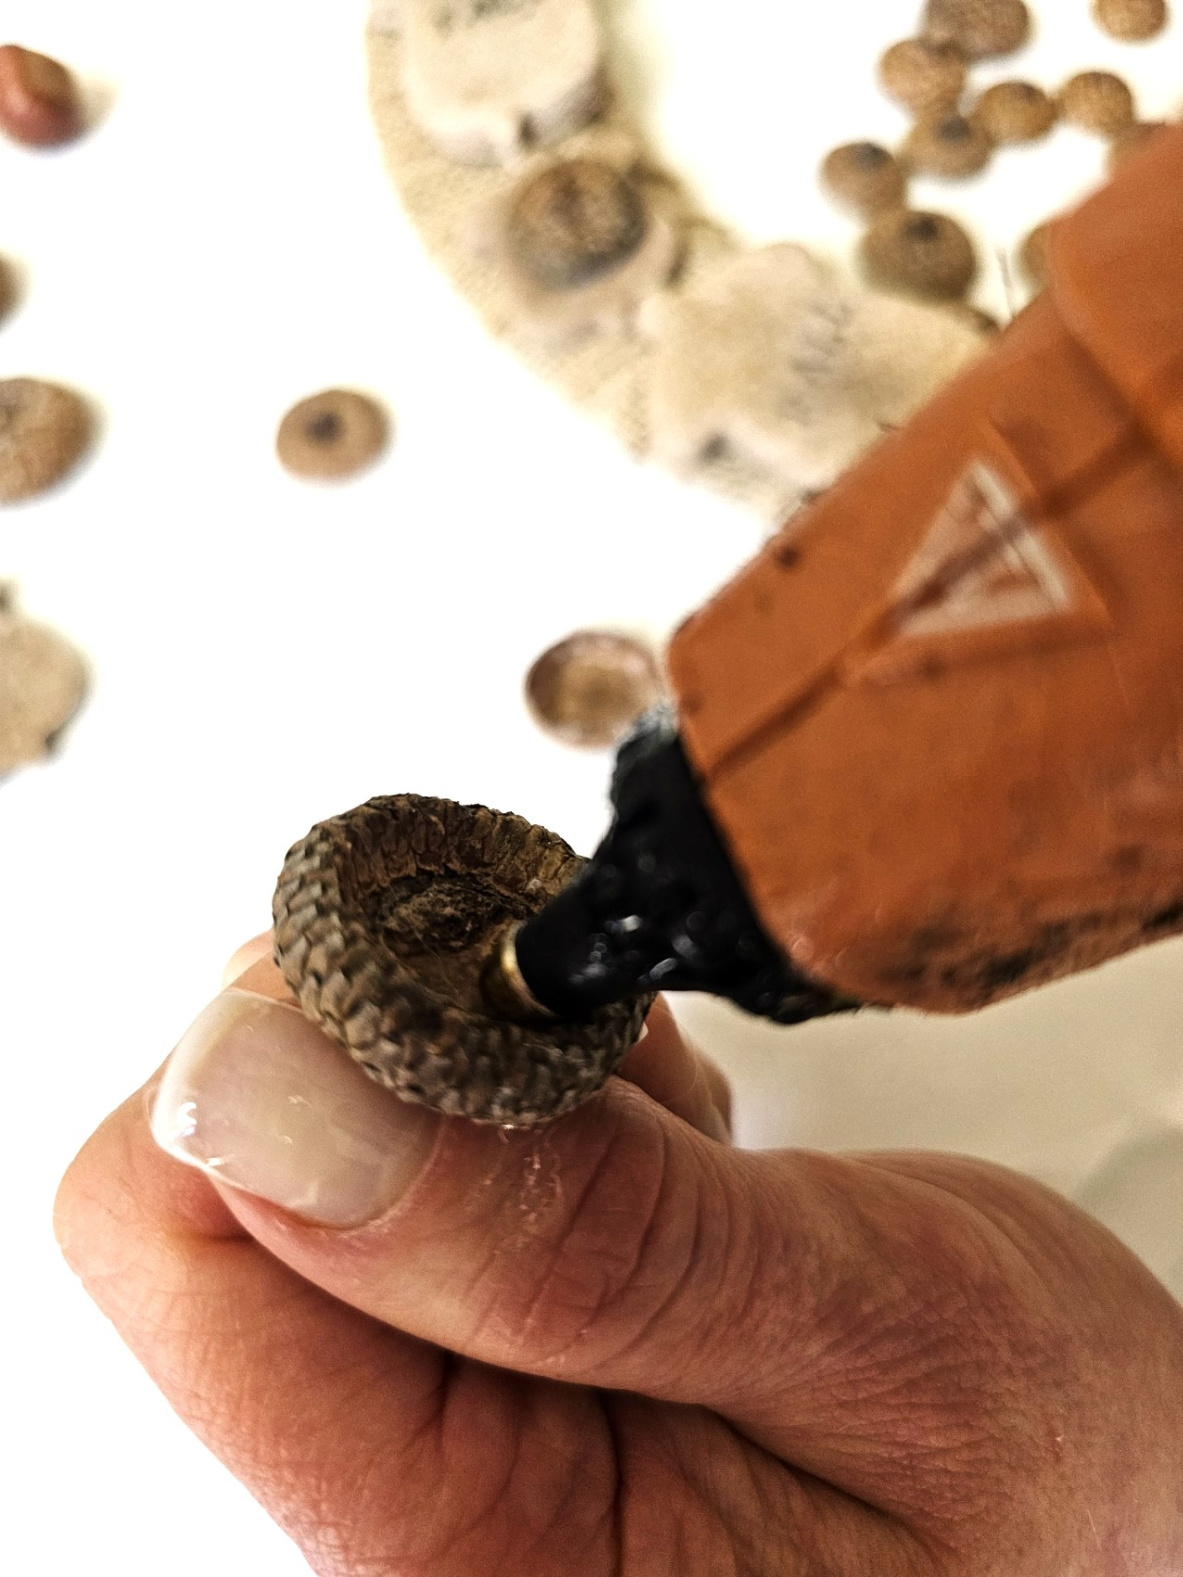
Next step, with your hot glue gun, add a lot of hot glue to the back of each large acorn and hold it to set. After you add the larger acorn shapes, add a lot of hot glue to the smaller acorn shapes. Hold them to set. This next step is optional. If you are new to Cloches & Lavender, I love adding natural elements to our home especially when making any DIY wreath. Use your hot glue gun add a little bit of hot glue to the top of the small acorn and hold the acorn cap to set. After gluing each acorn cap, I added hot glue to the wire wreath form, added the hazelnut, and held it to set.
Cindy's Easy Craft Tip: Feel free to use different shapes of cookie cutters that work for your home, after all this is your wreath. I'm acorn-obsessed so when it cDIY fall wreath acorns came to mind. When adding the acorn top, turn your hot glue gun to low temperature.

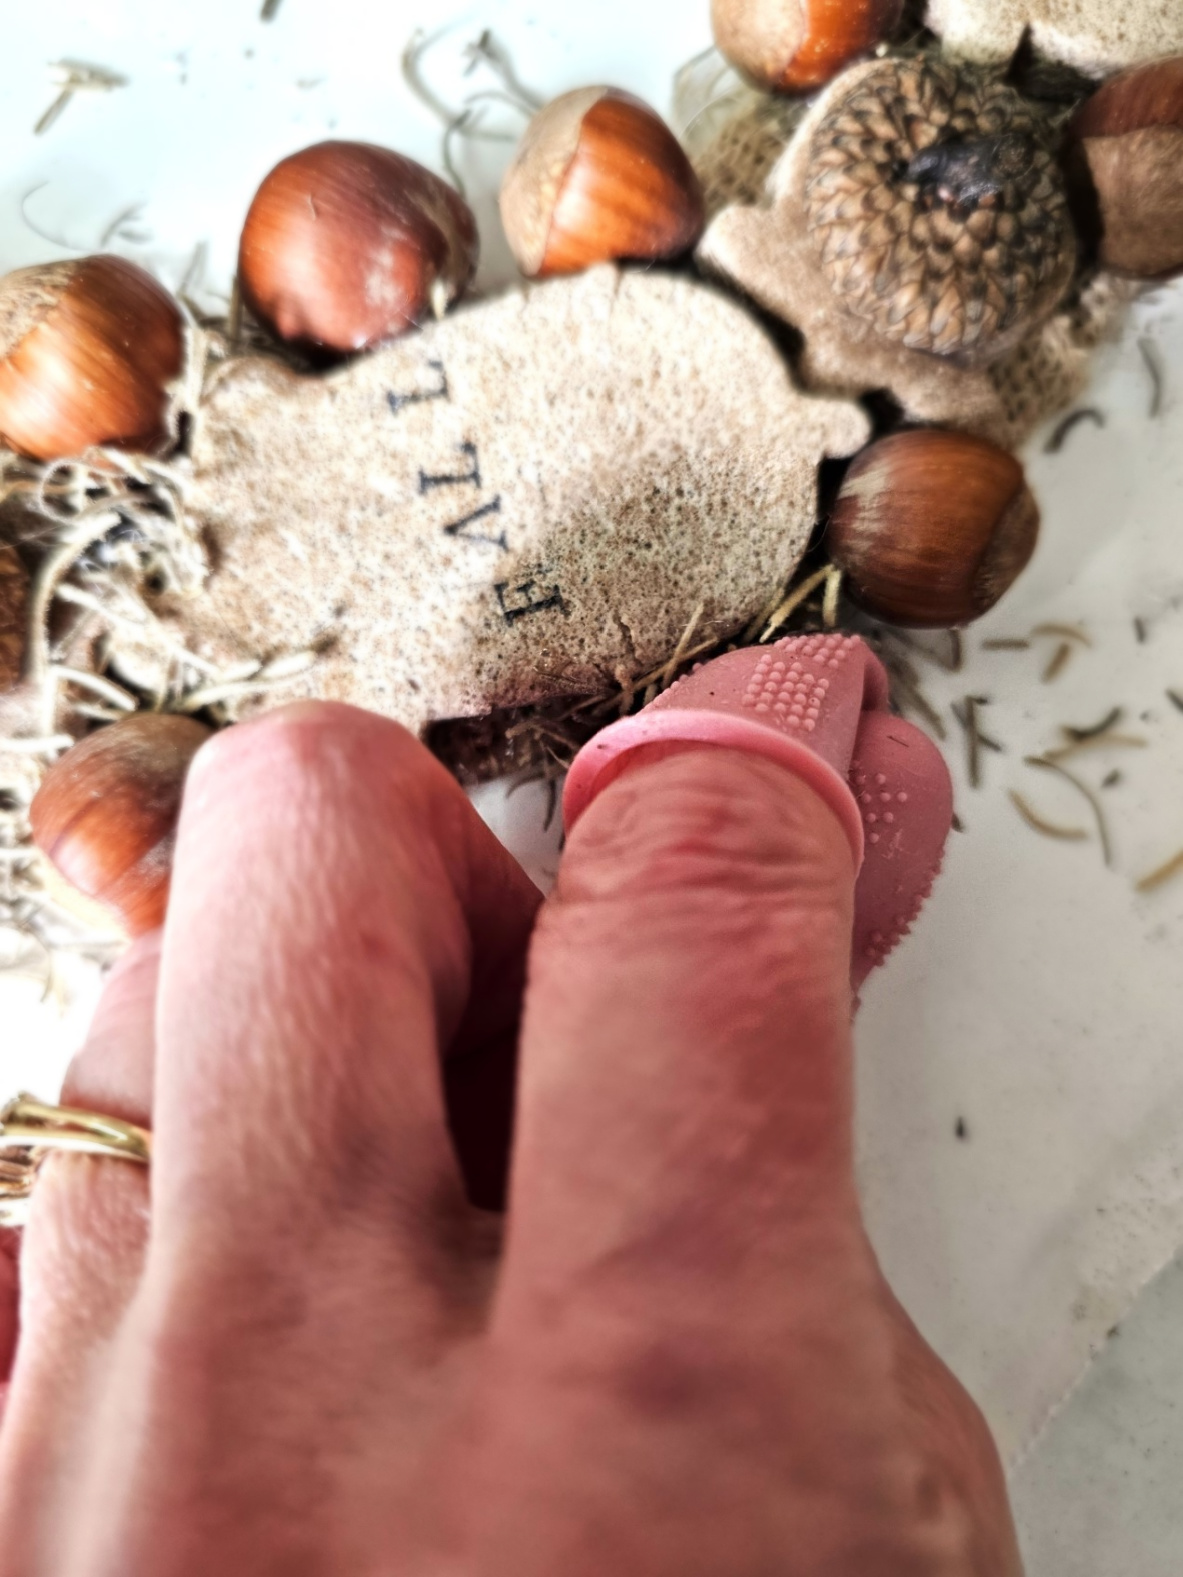
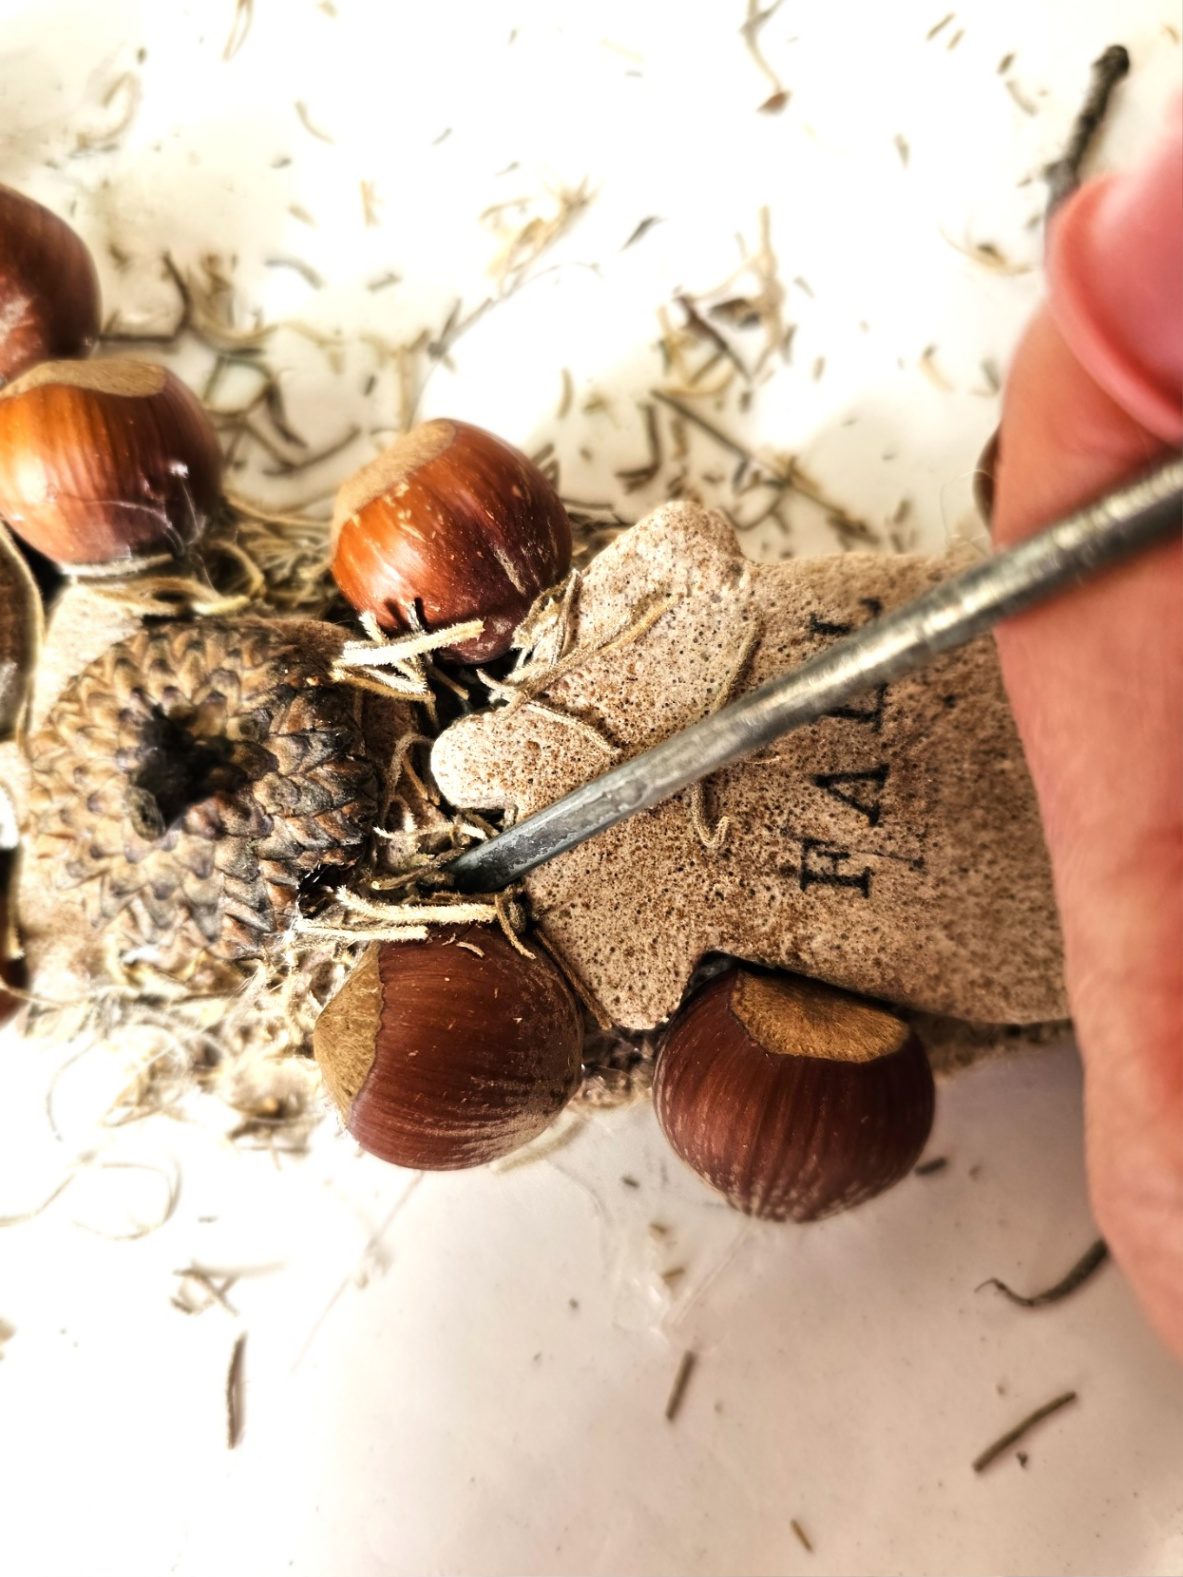
Step 7: Natural Elements: Add Spanish Moss for a Rustic Touch
I love natural elements and because I'm a perfectionist in wreath-making, I added Spanish moss. This is a great way to add to the rustic look of this DIY fall salt dough wreath to make easy cozy decor! Does this take long? No, this next step goes quickly. Here's the trick to adding the Spanish moss! Add a little bit of hot glue to a space on the wire wreath frame. With rubber finger protectors add a little bit of Spanish moss and hold it to set. This took me 10 minutes at the most. If this is your first time adding moss to the wreath take your time.
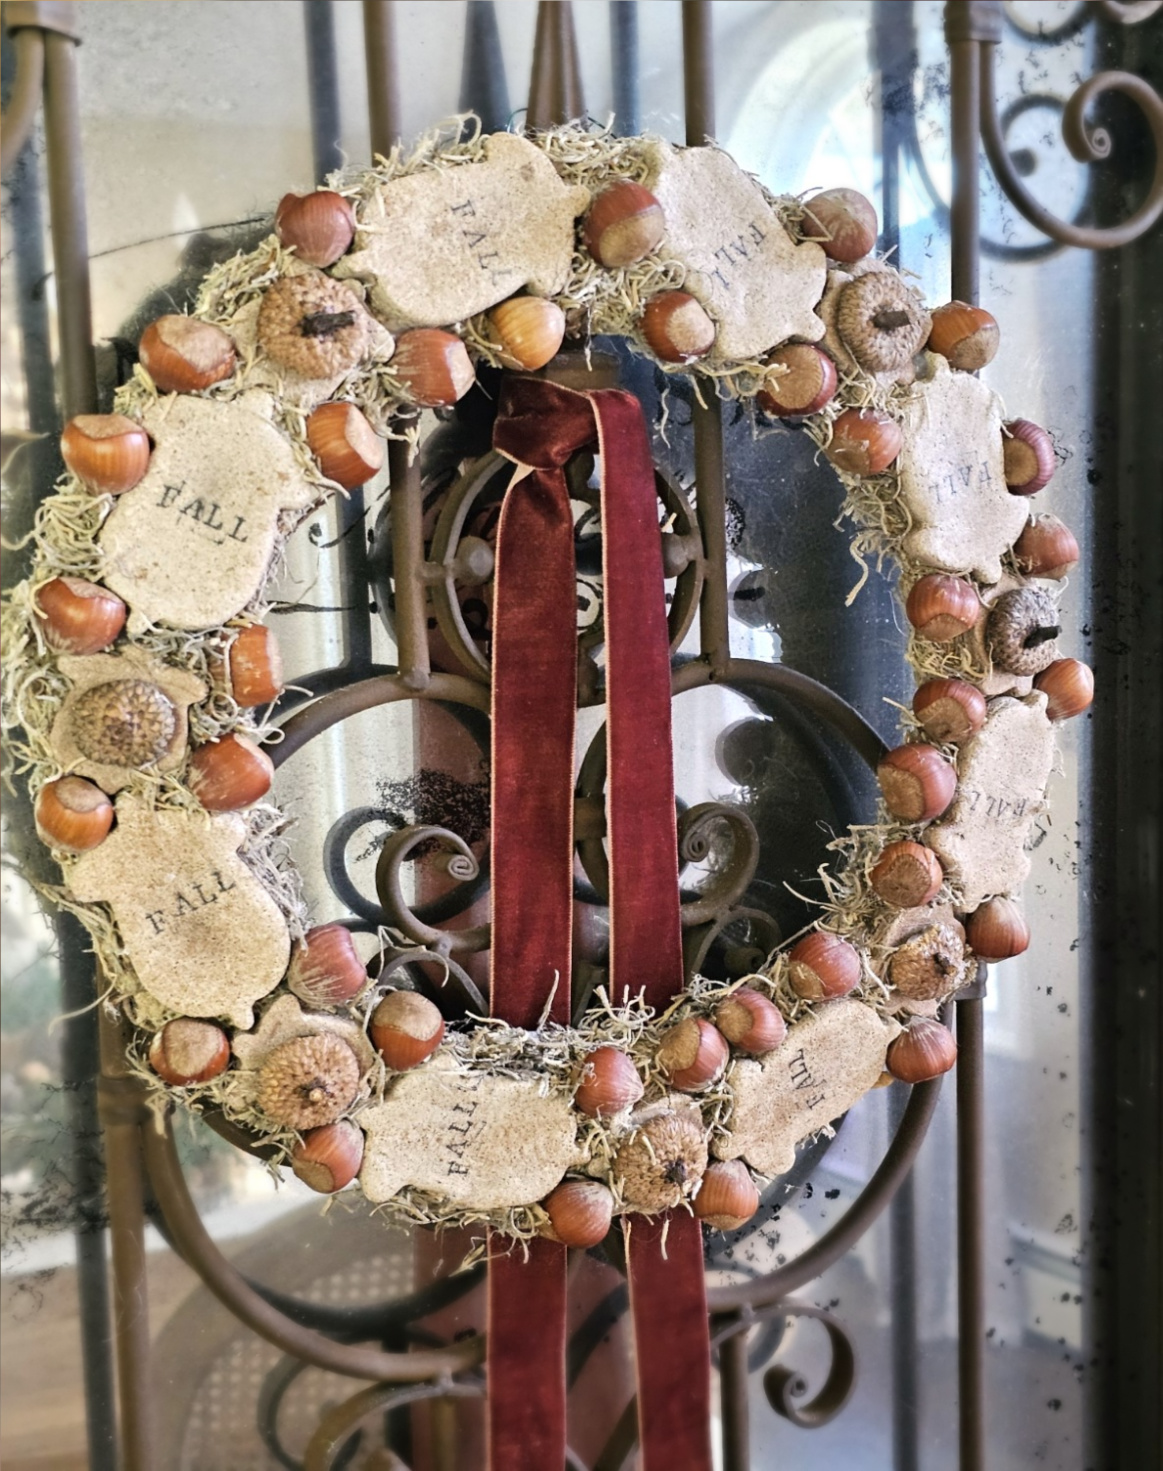
Step 8: Displaying or Hanging Your DIY Fall Wreath
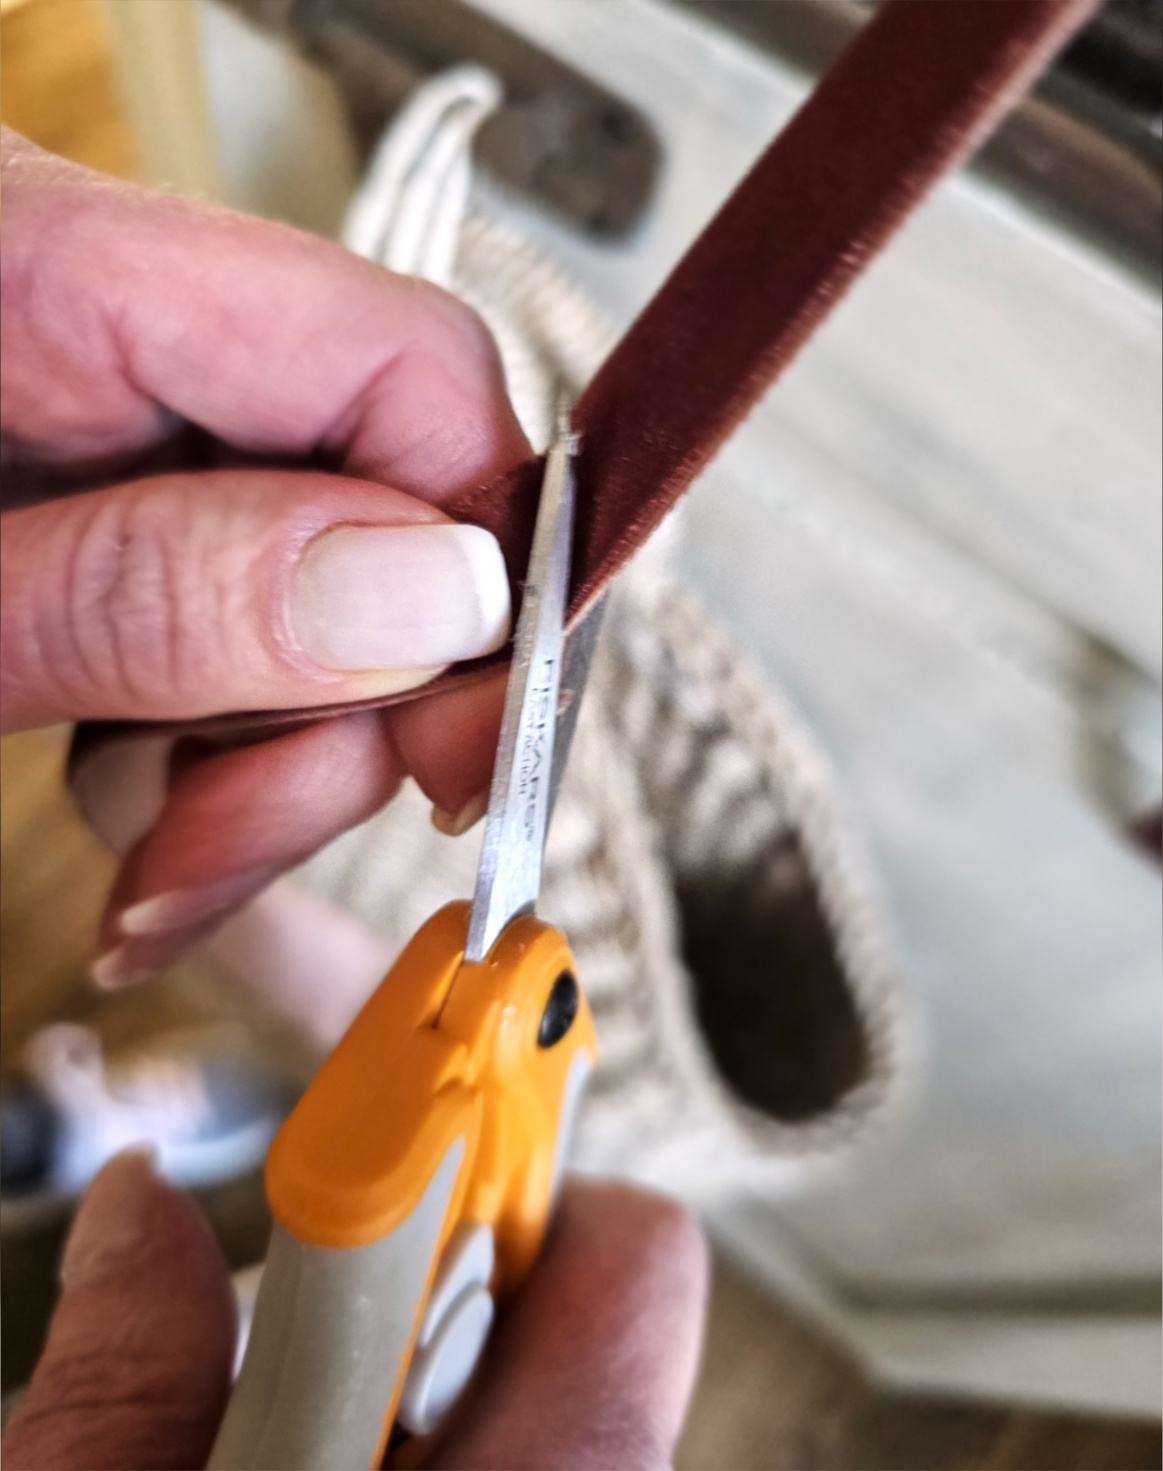
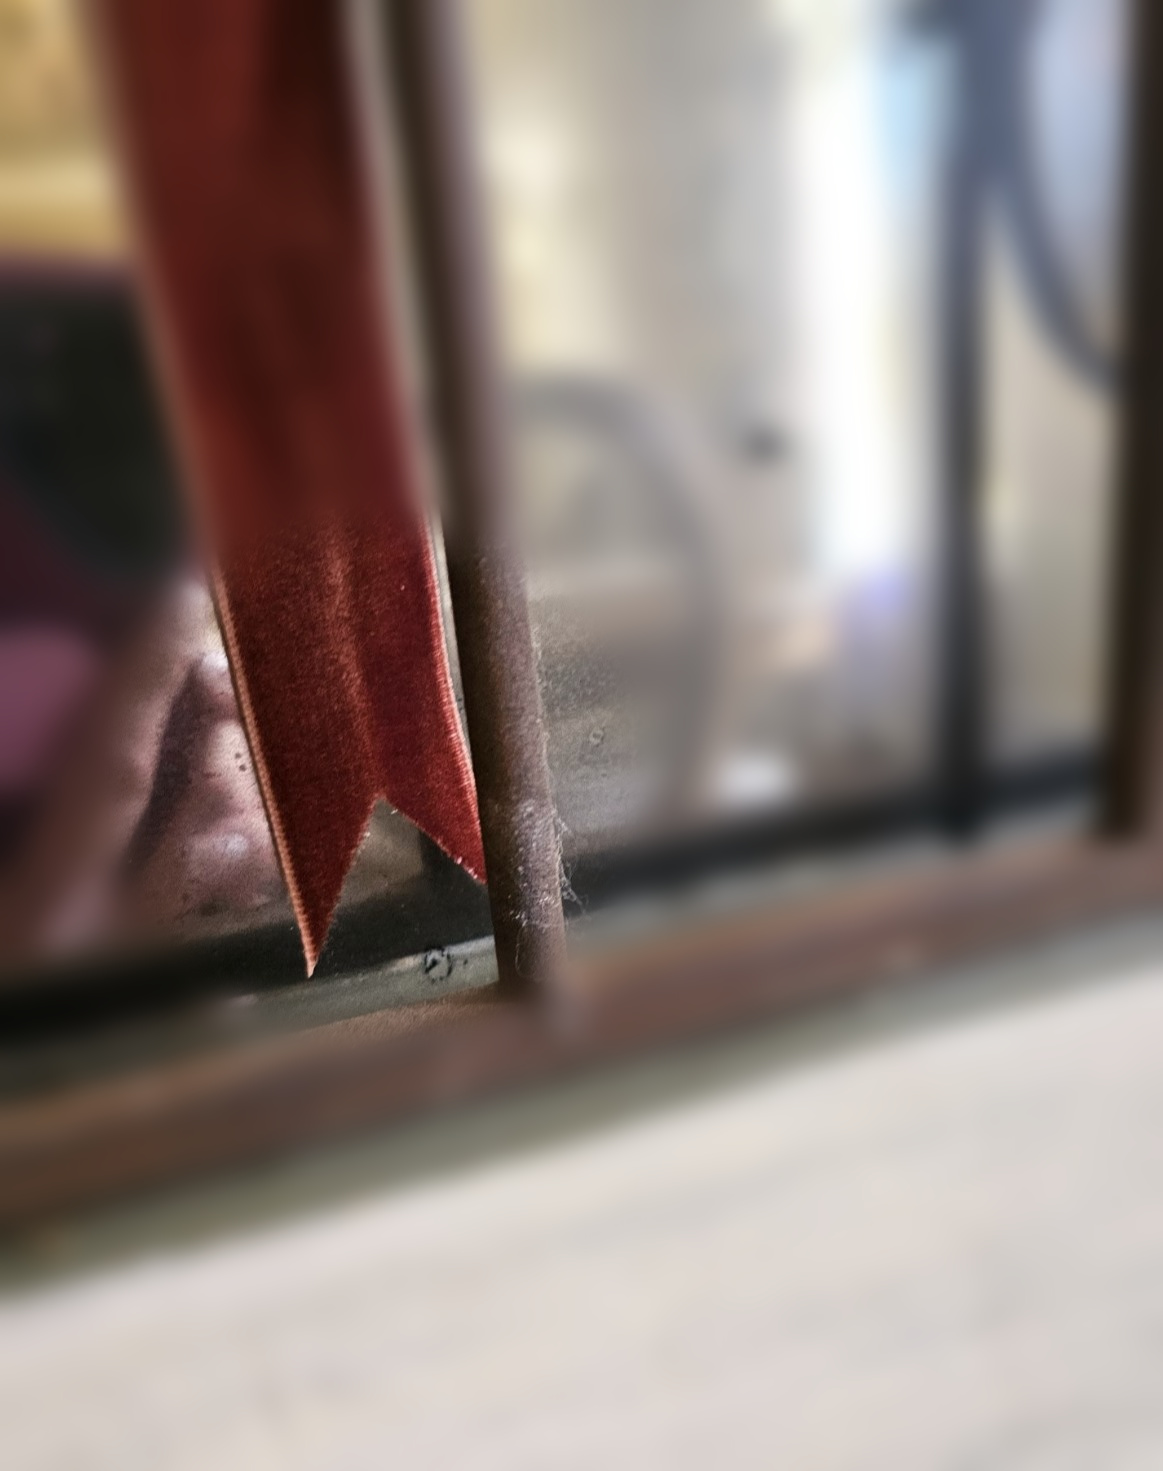
When hanging your DIY fall wreath, add heavy gauge floral to the back of the wreath. You can also leave a space on the top of the wreath and add a ribbon of your choice. When I hang a wreath, I tie my ribbon to the item I am hanging it from. This makes my salt dough wreath the star of the show. I make my ribbon long enough, so the ribbon hangs below my wreath. I fold the ends of the ribbon in half and cut the ribbon at an angle to give me pretty ends.
Cindy's Wreath Tip: When displaying a wreath, they don't always have to be hanging. Add a wreath as a centerpiece with a battery-operated candle. This makes a great focal point, especially during the holiday season.