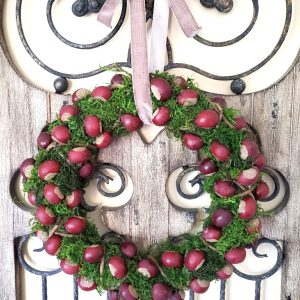
Chestnut Moss Wreath DIY
As the autumn leaves are changing to the rich colors of bright orange, it inspired me to make this chestnut moss wreath DIY. Many of you are aware that here at Cloches & Lavender, one of our favorite features when decorating our home is adding natural materials and natural elements such as pine cones, acorns, walnuts in the shell, dried orange slices, dry sunflowers, dried artichokes.
Notes
Chestnut Moss Wreath DIY
Craft Supplies:
-
- Moss wreath with twig wrap or a grapevine wreath
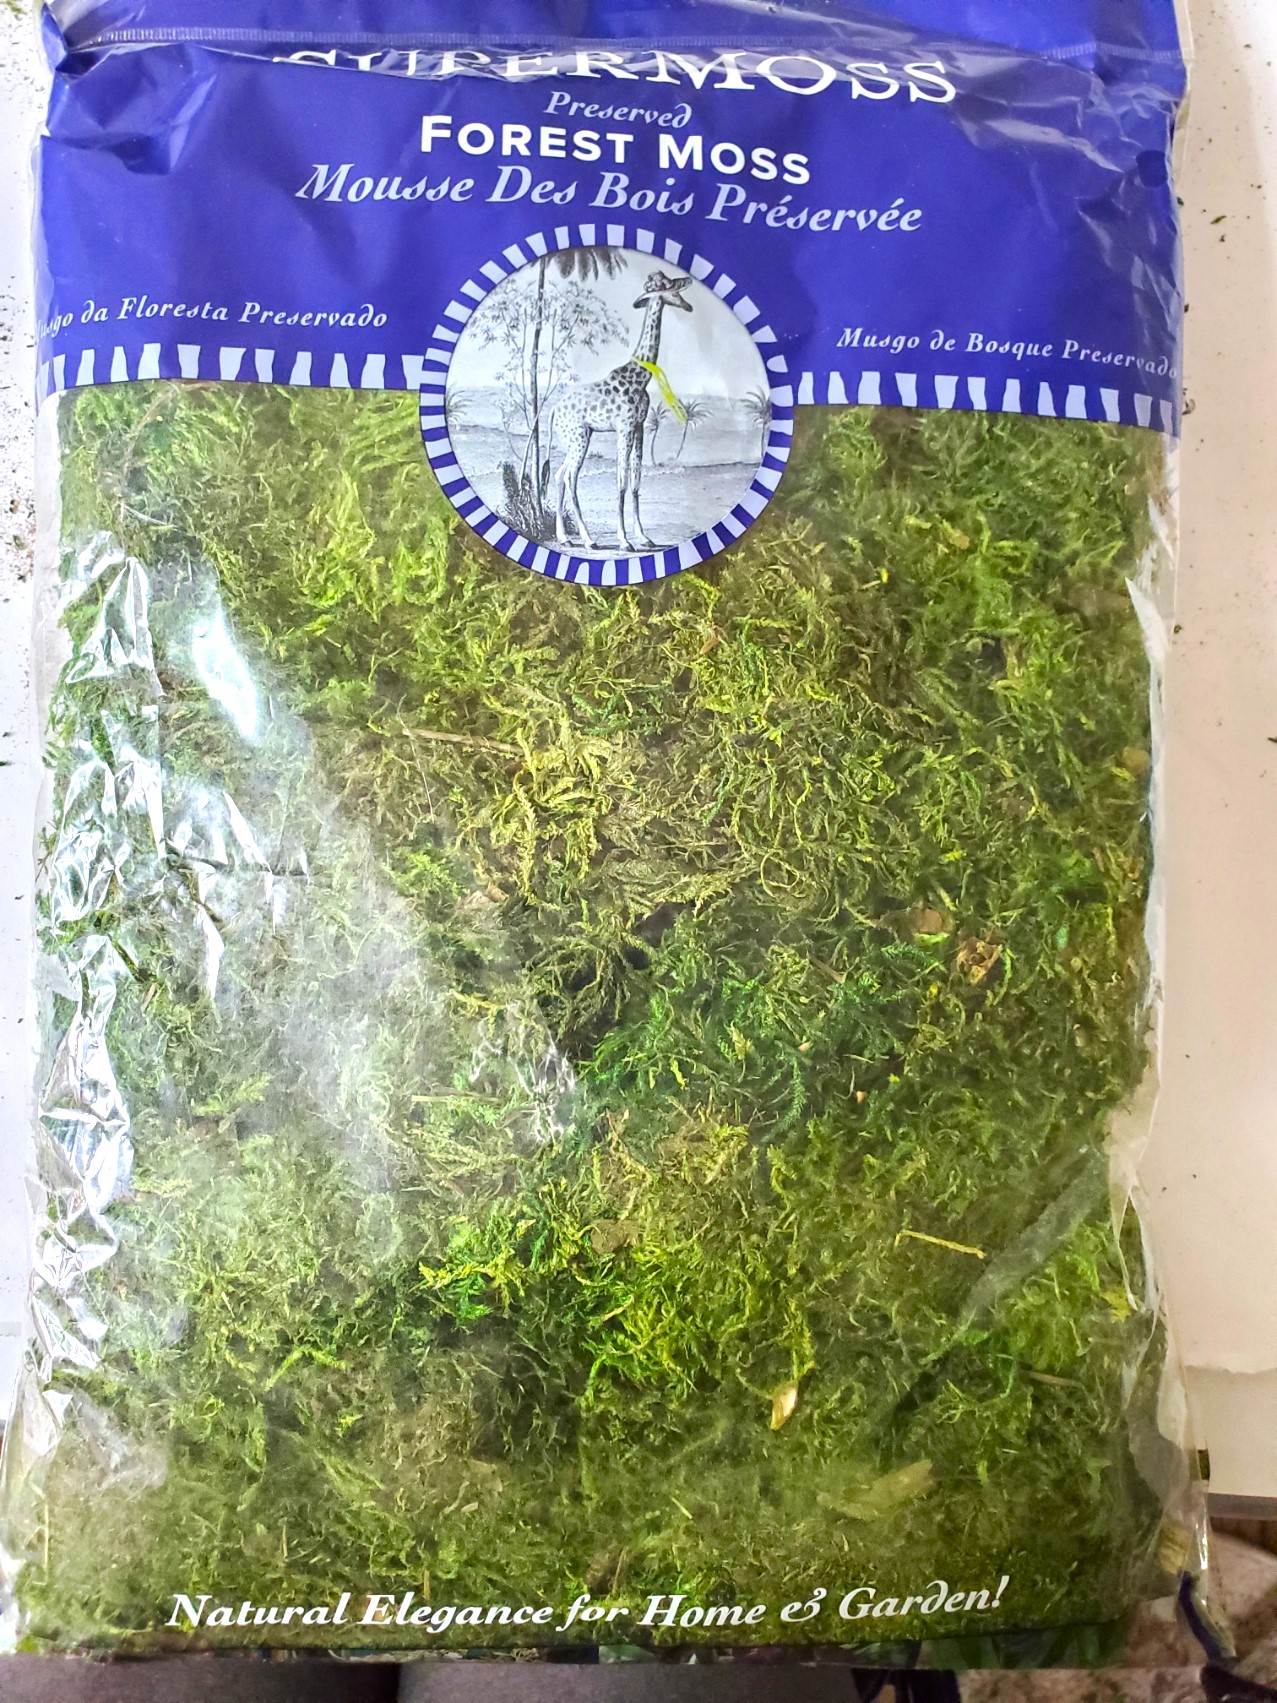
- Preserved moss
- Faux chestnuts
- Hot glue gun
- Hot glue sticks
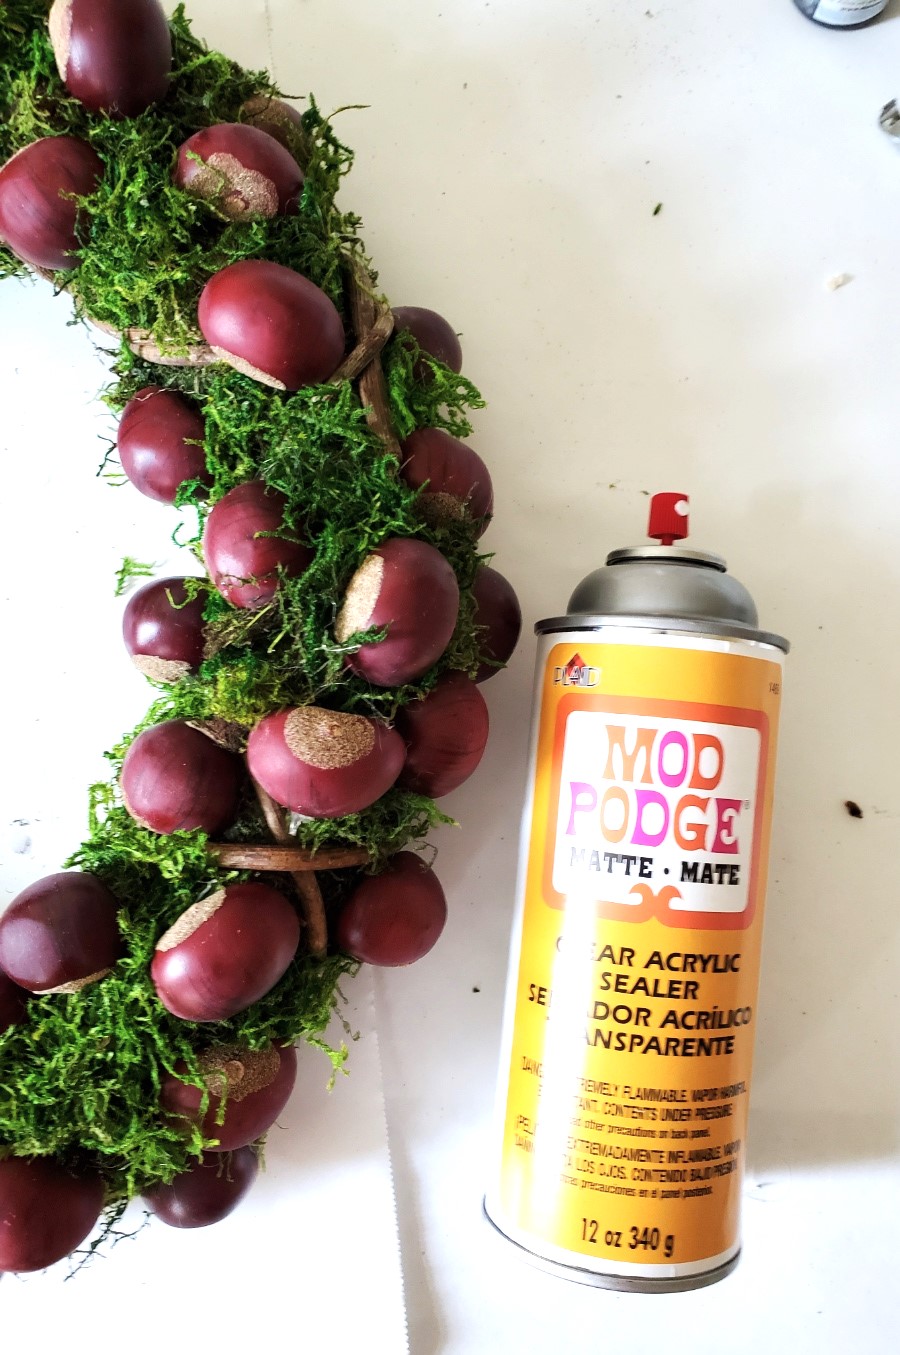
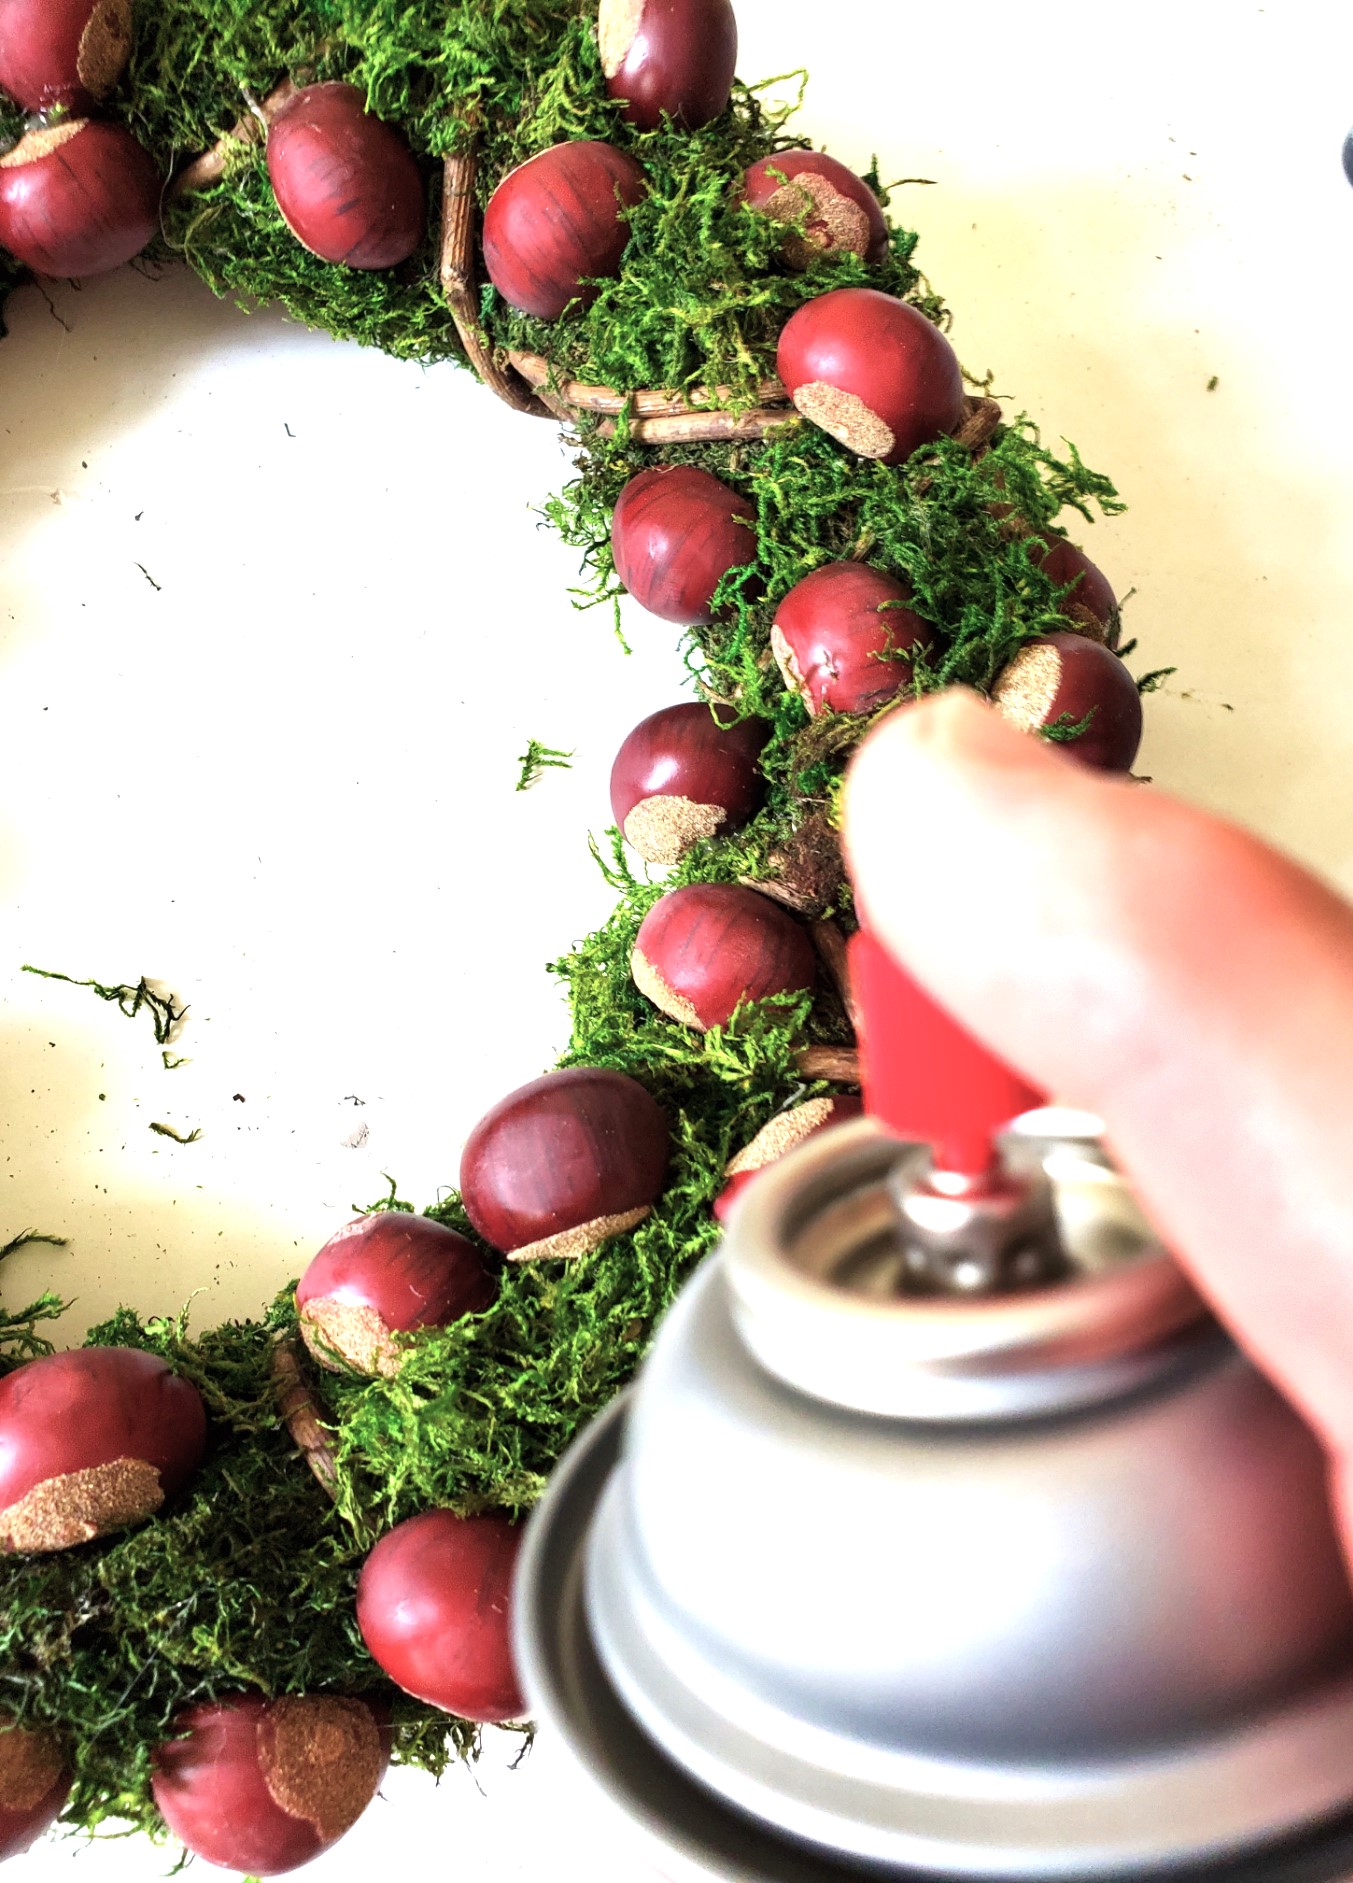
- Mod Podge Matte Spray Sealer
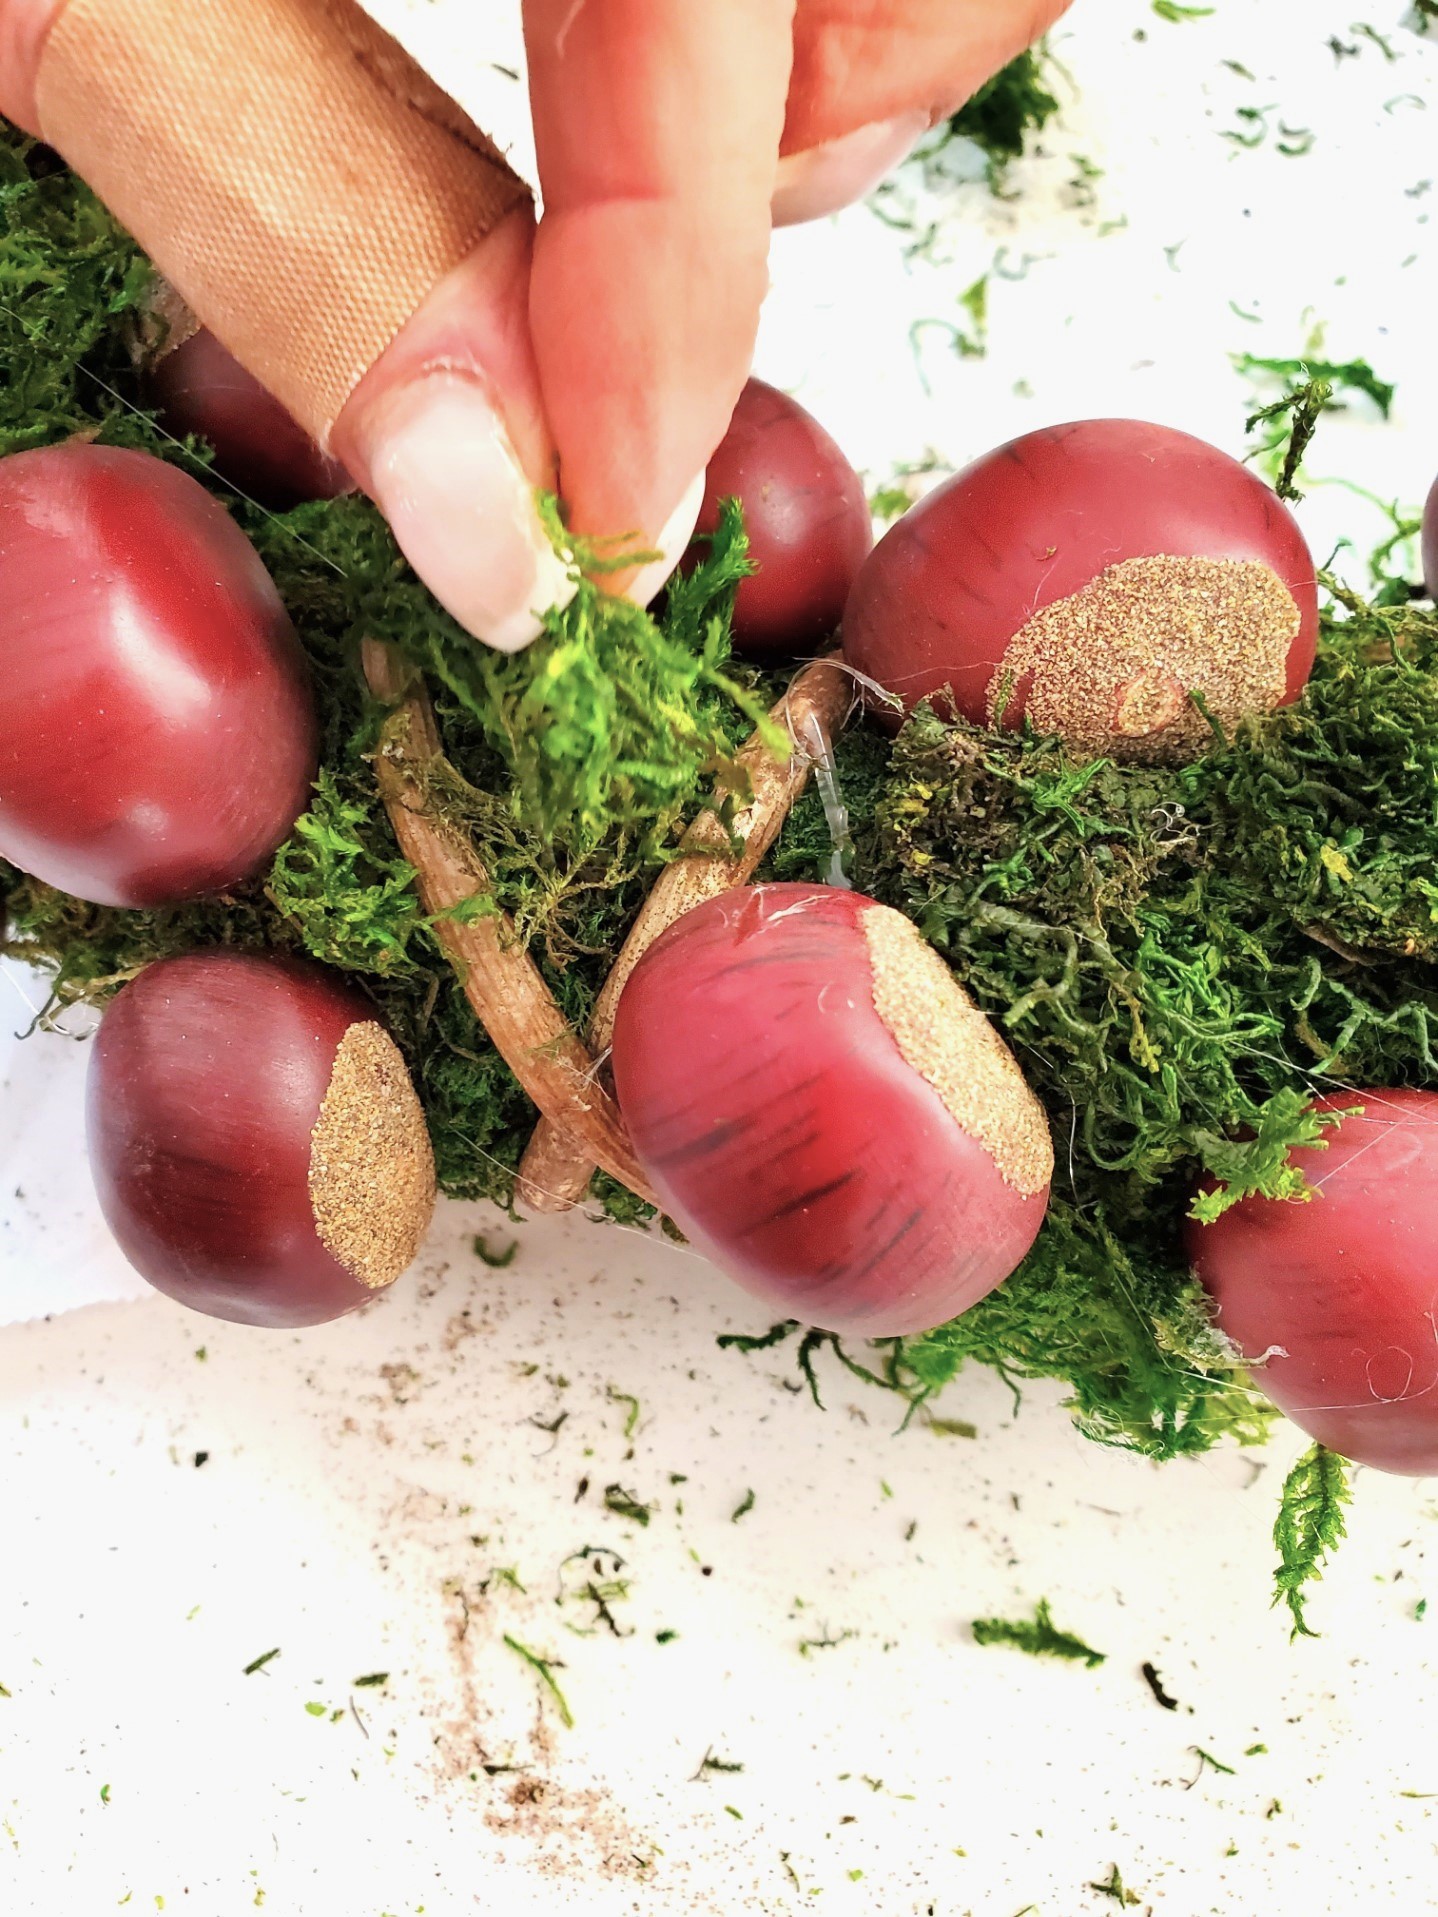
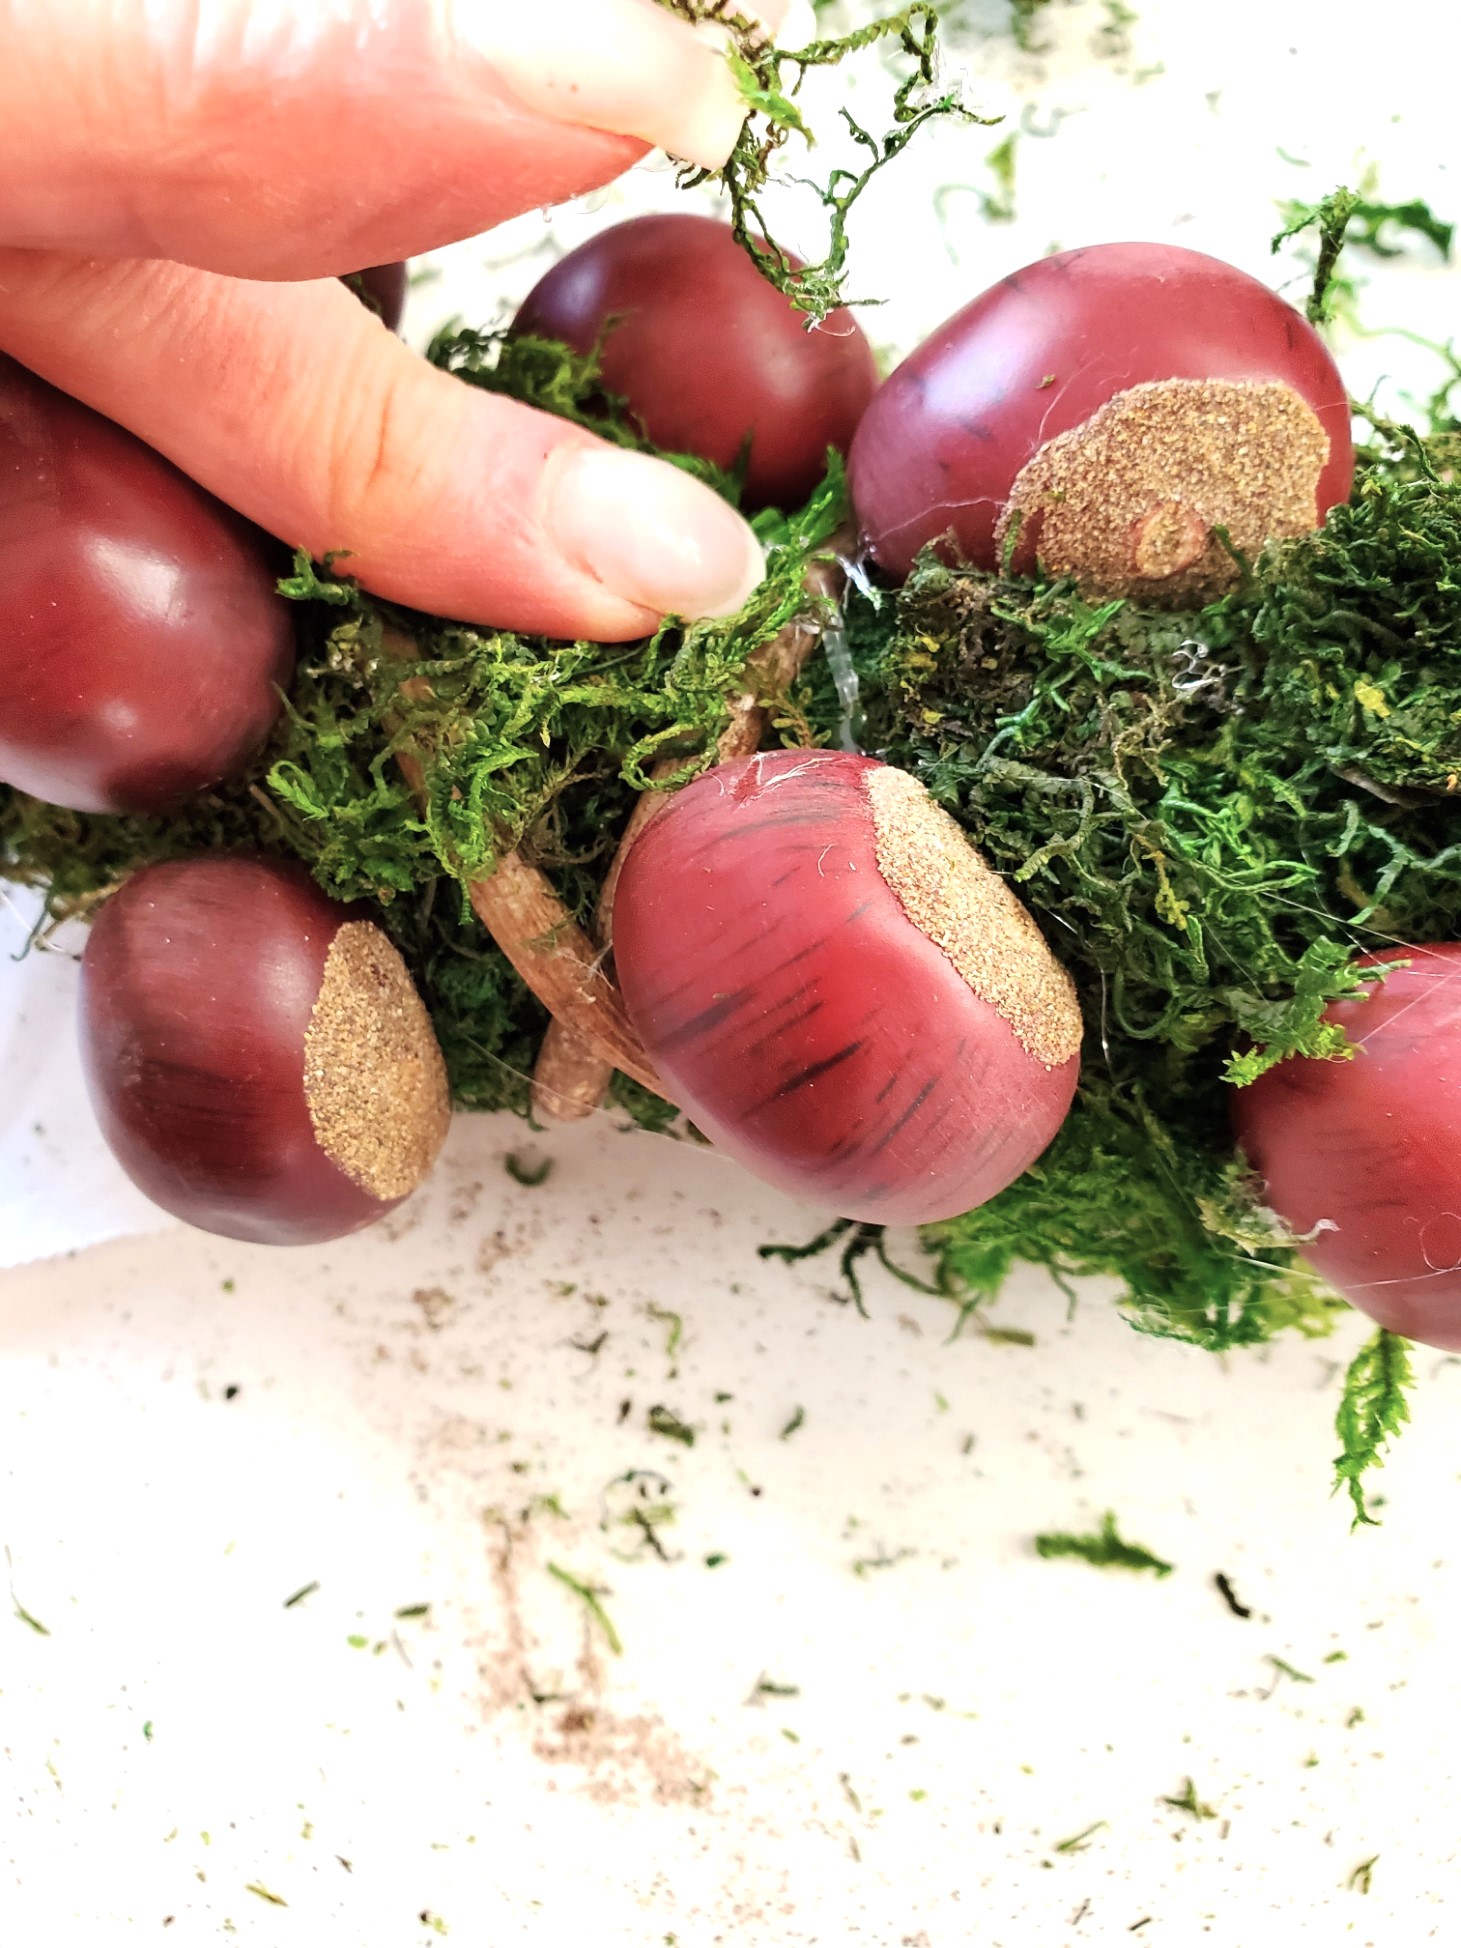
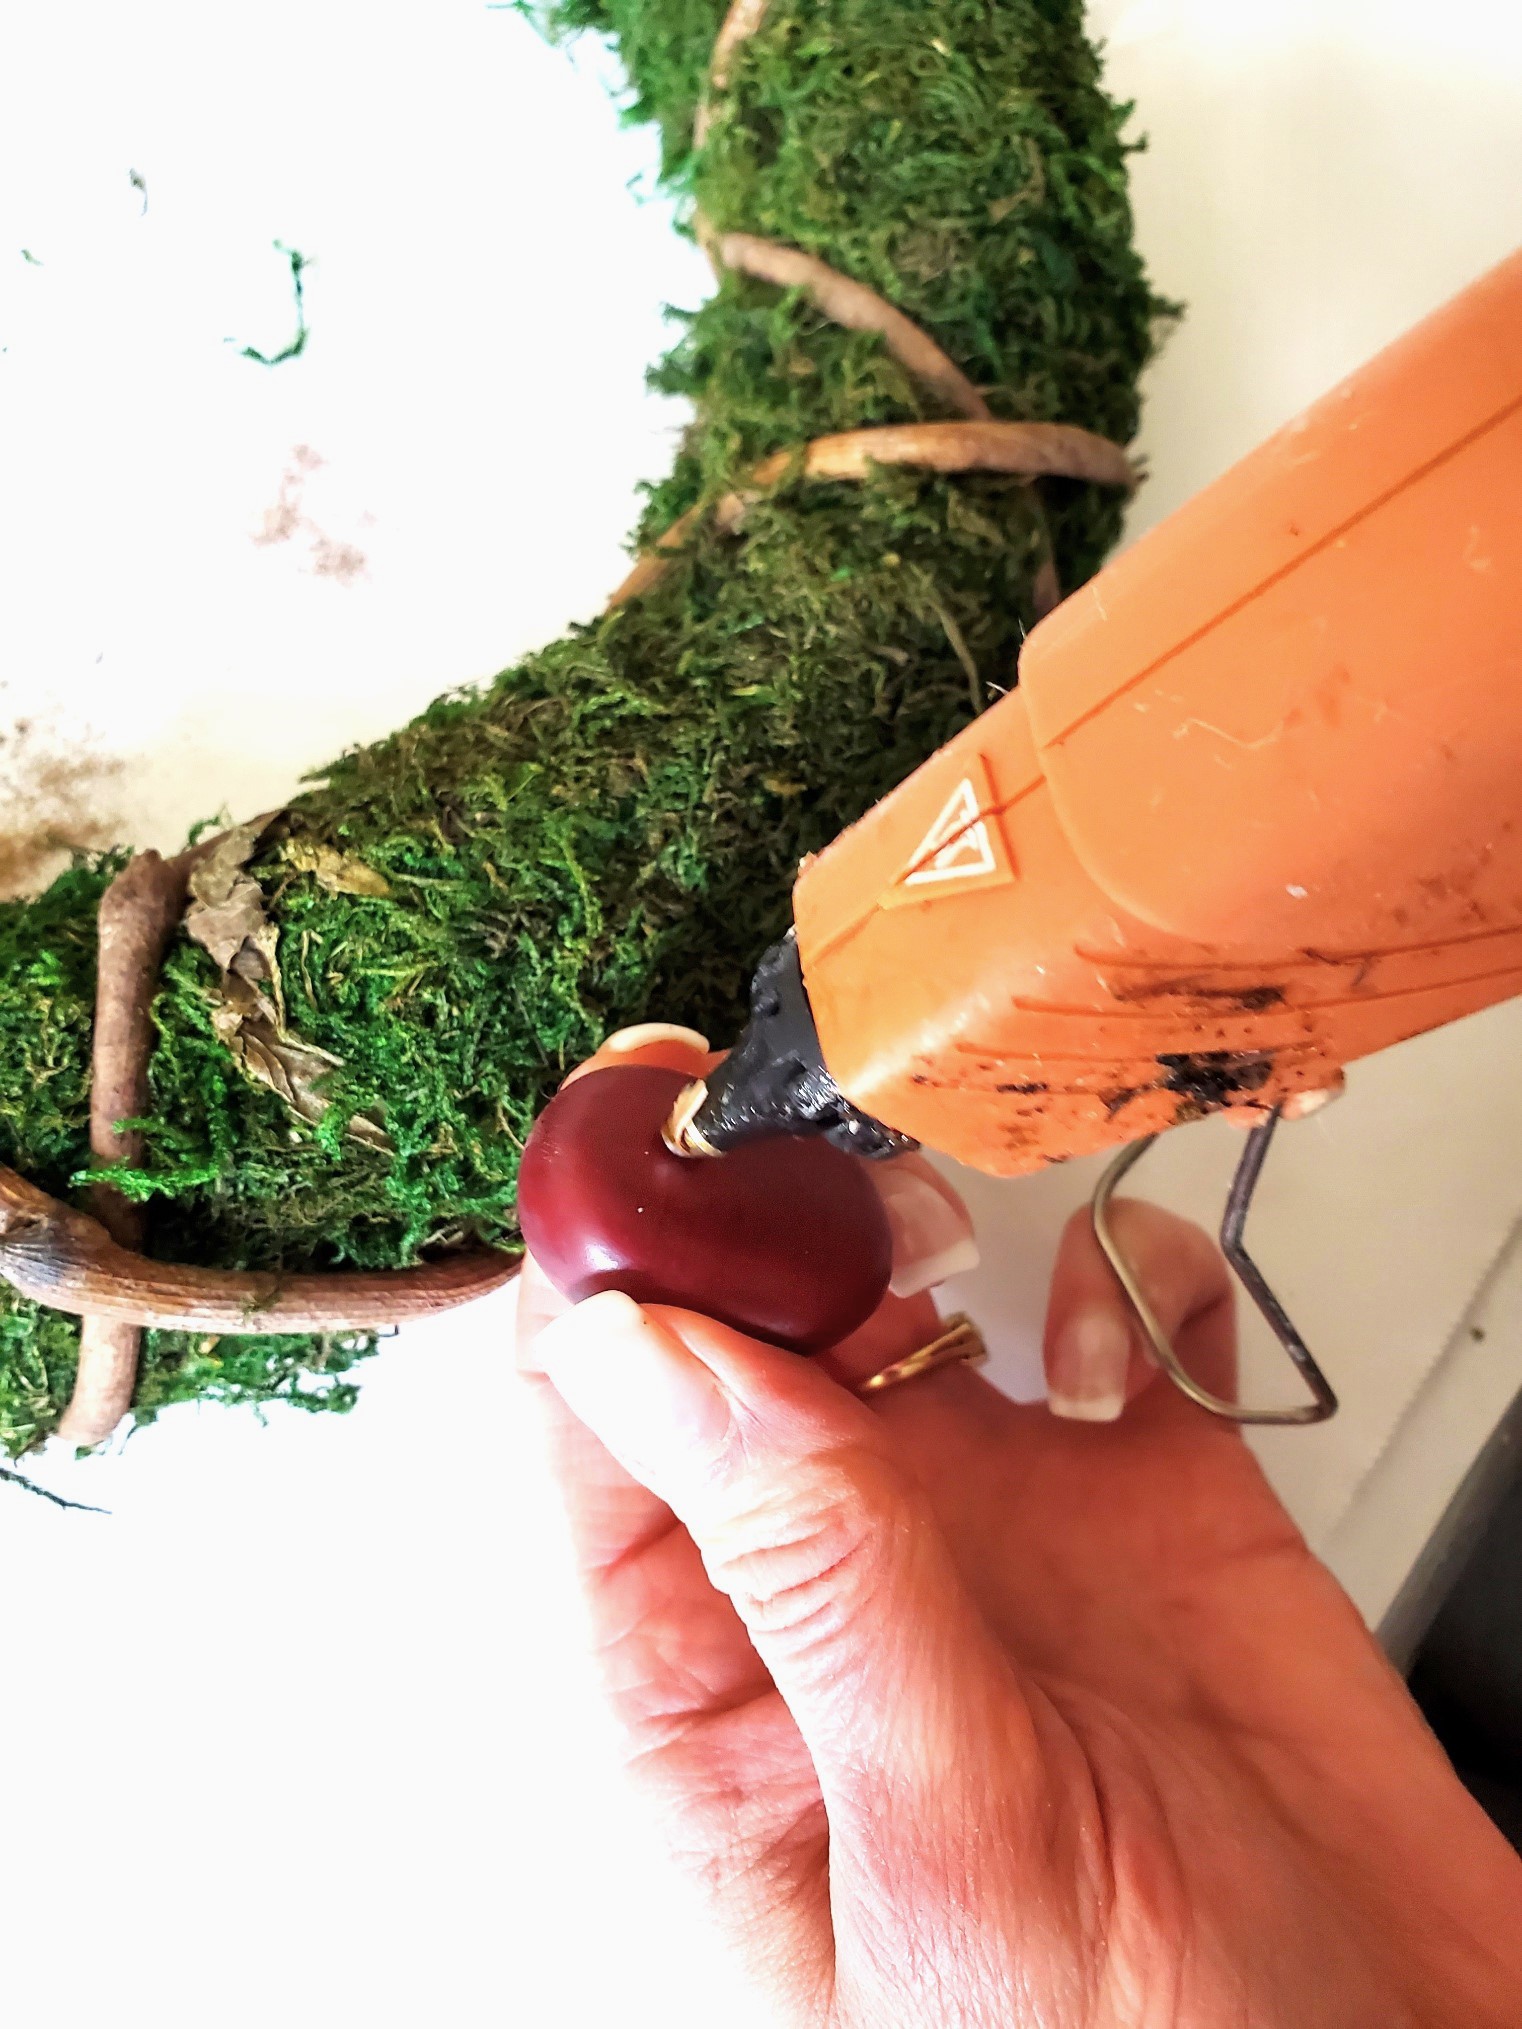
Step 1: DIY Magic: Hot Gluing Faux Chestnuts Easier Access
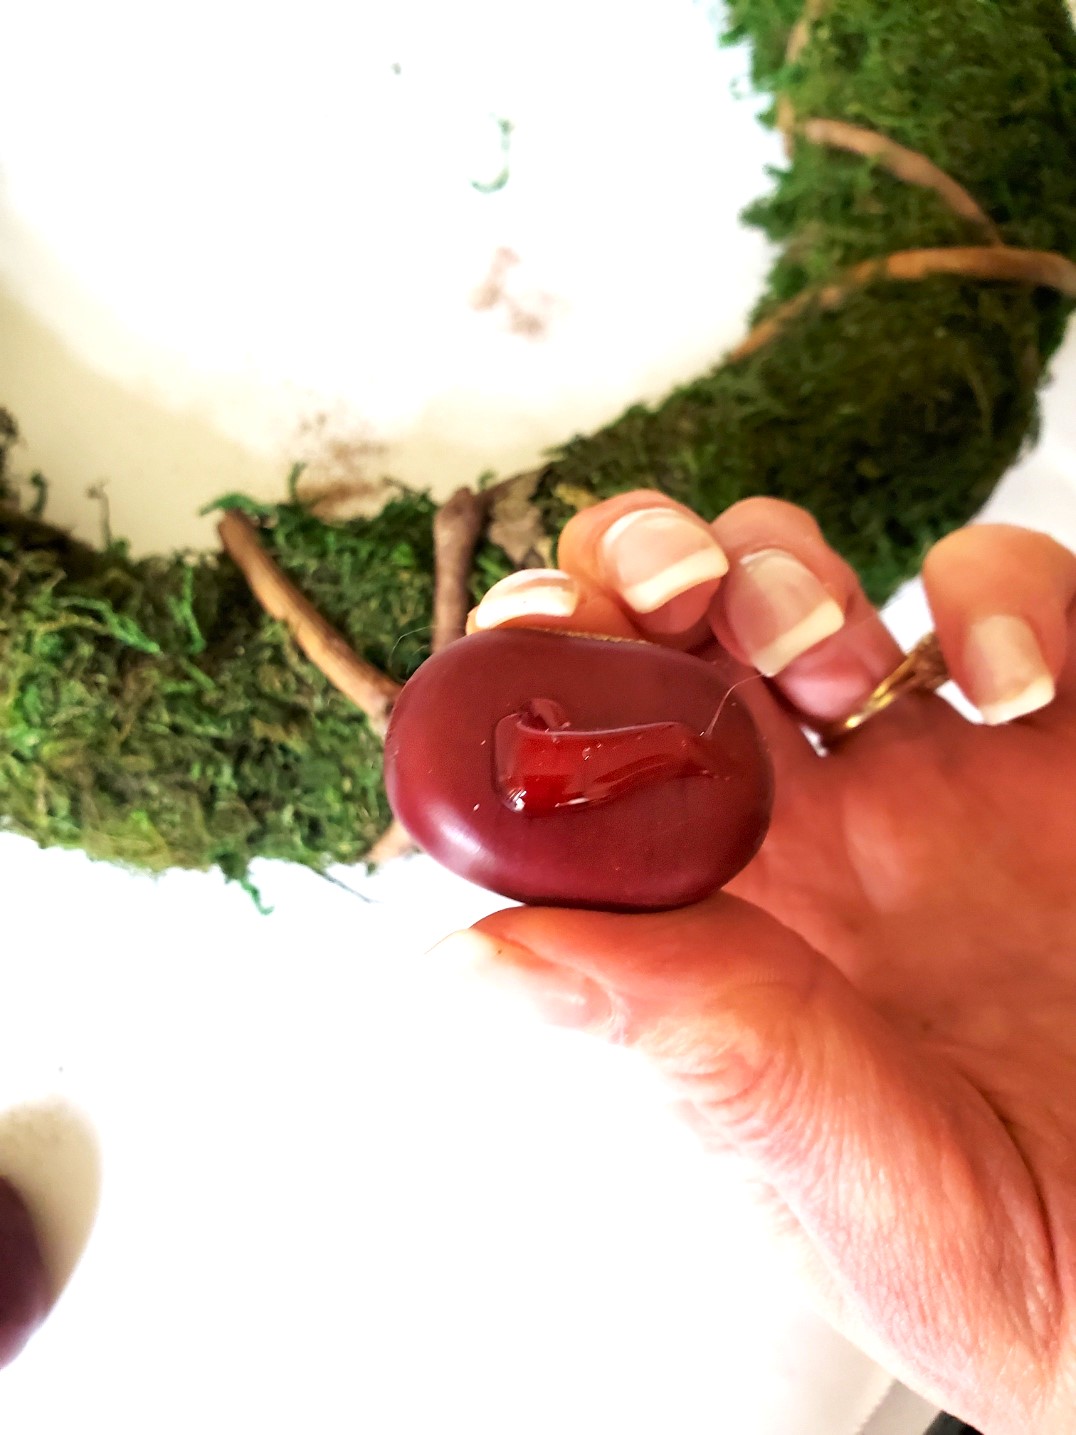
Since these are faux chestnuts and plastic, set your hot glue gun at a low temperature. Add a large dot of hot glue to the flat side of the chestnut.
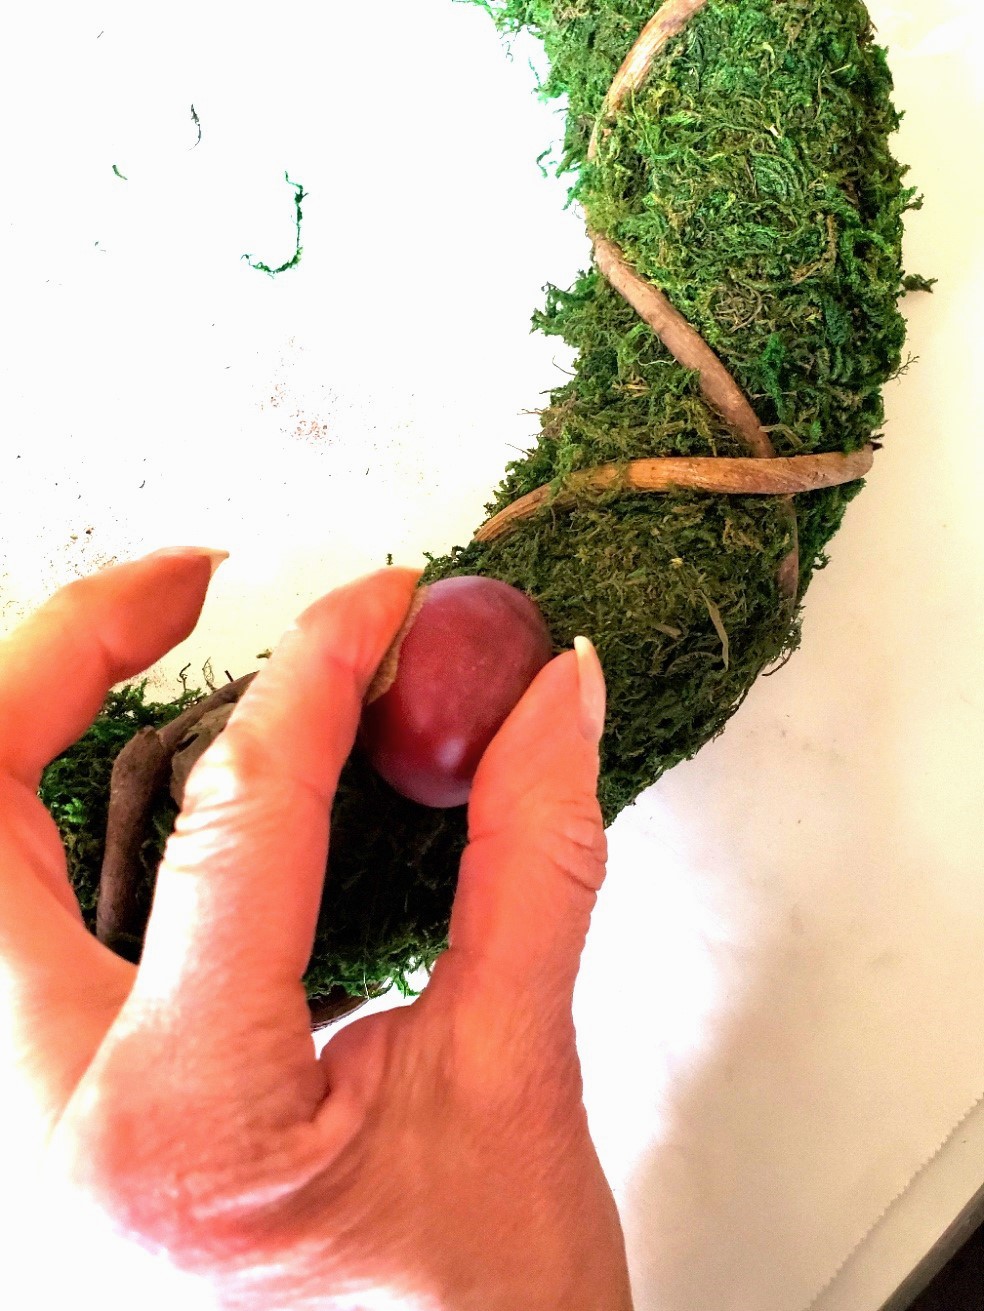
Place the chestnut on the wreath and hold it to set.
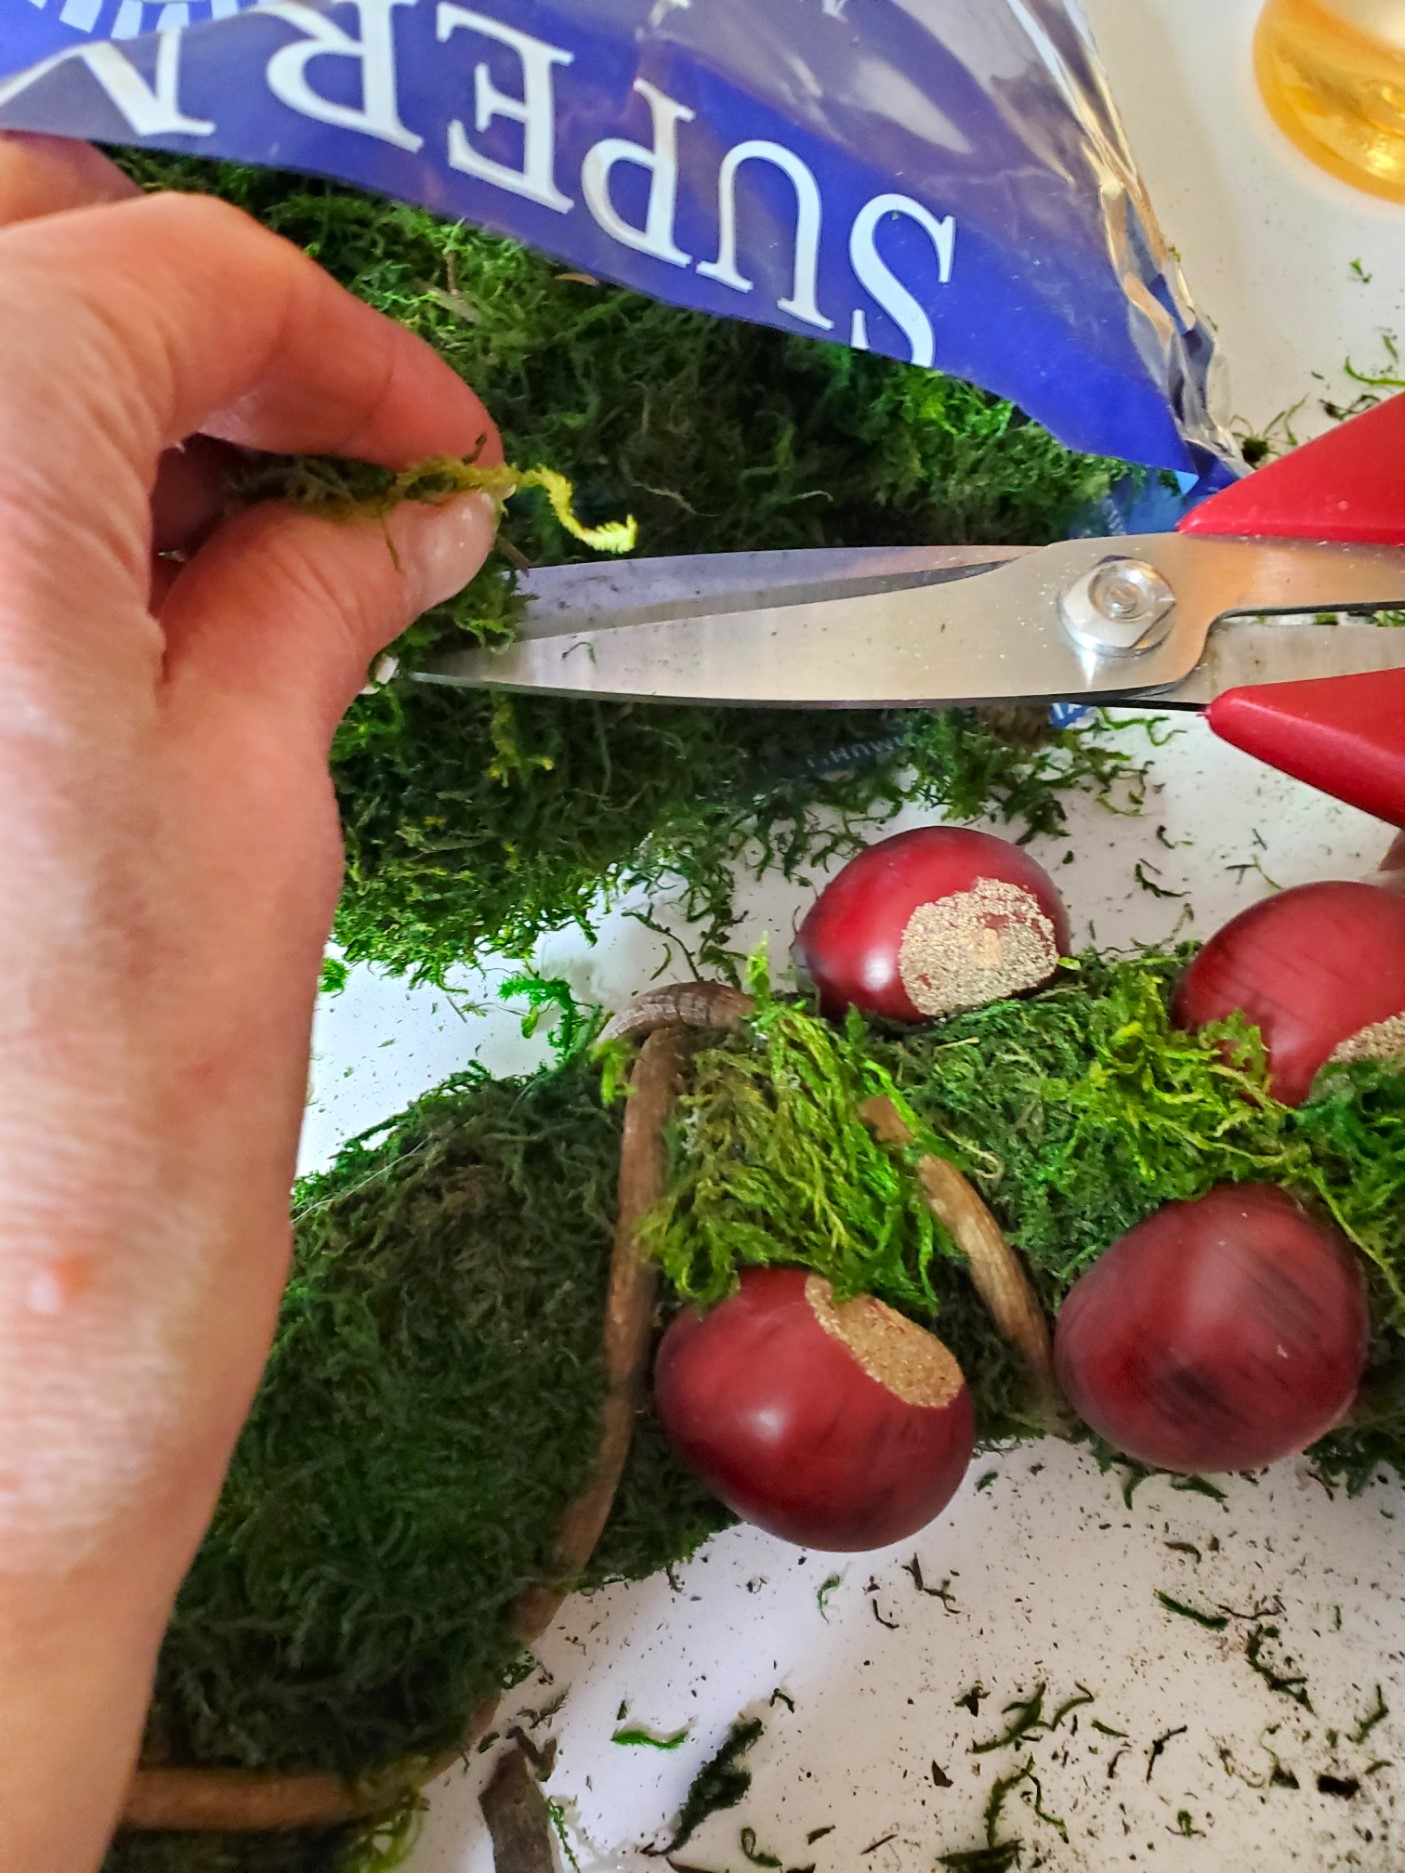
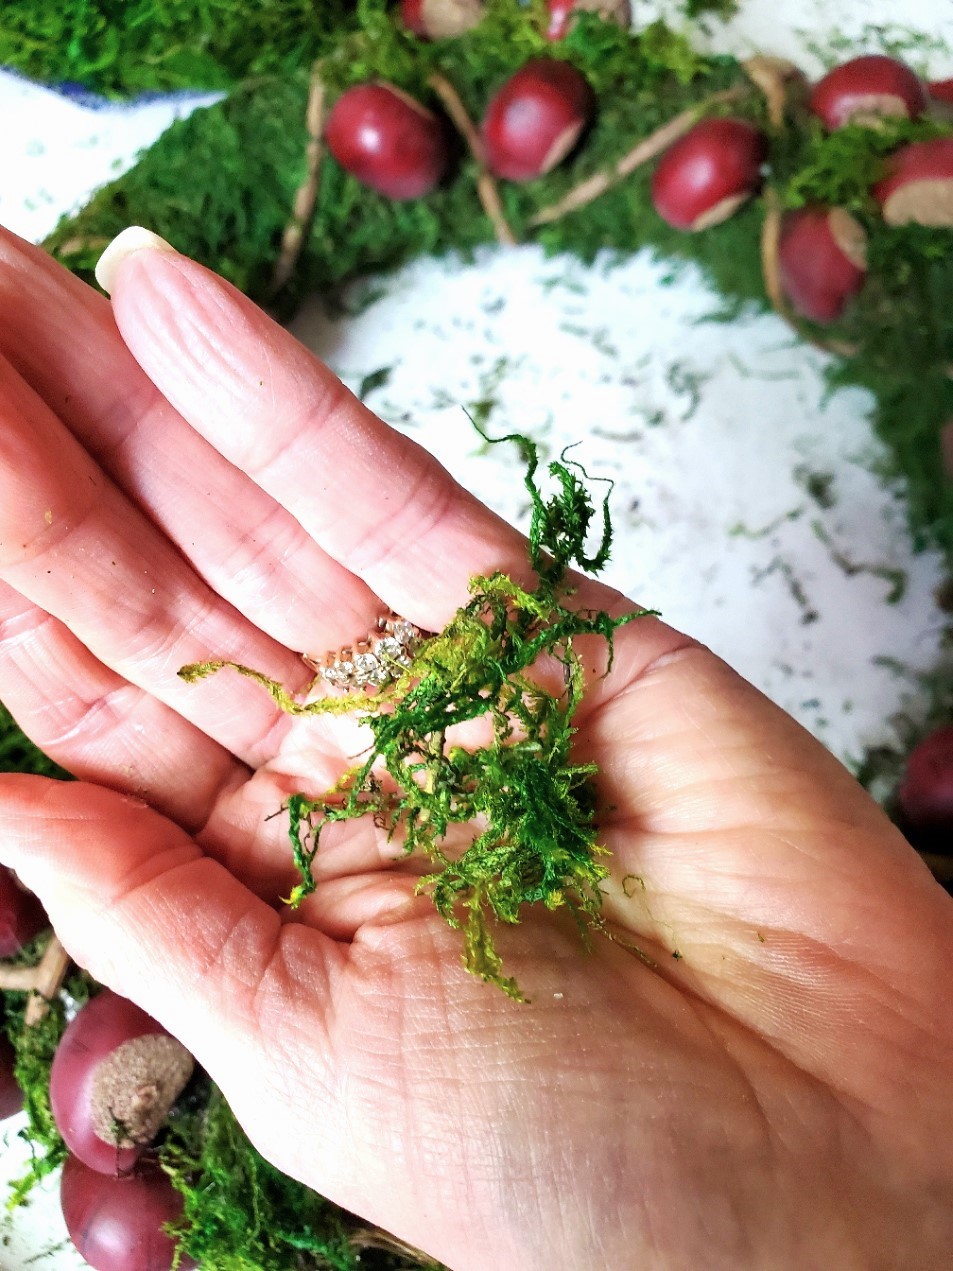
Step 2: Natural Materials: Incorporating Moss Into An Autumn Wreath
Adding preserved moss is optional and you may wonder why we are adding moss to a wreath that has a moss covering. I like the look of adding more moss on this wreath of chestnuts because it adds more natural materials and more rustic and natural elements are a great way to give this wreath new life for a late autumn wreath. As you can see in the pictures, only a small amount of moss is needed to add extra texture to this wreath. Make sure your hot glue gun is set at a low temperature. This is the only way you will not burn your fingers.