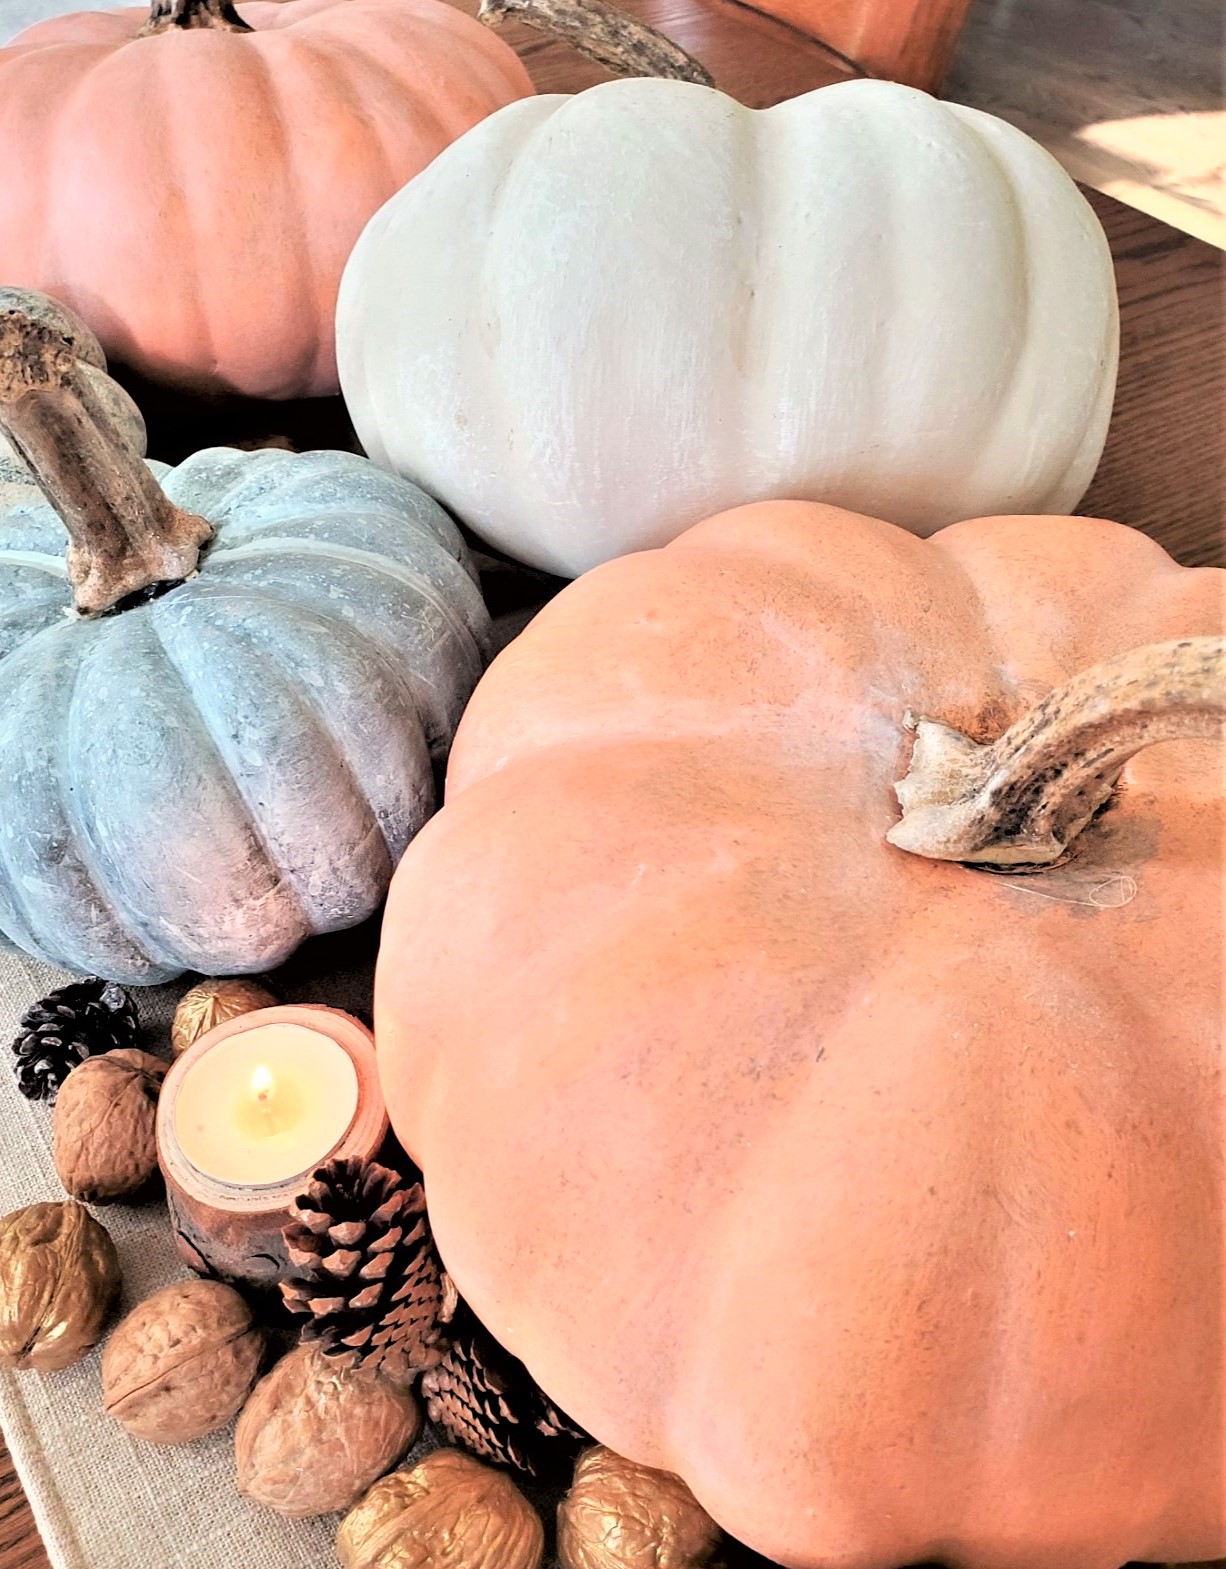
Chalk Paint on Pumpkins the Sustainable Choice
Today, I'm sharing the painting process of chalk paint on pumpkins the sustainable choice with real stems
Yield: 7 pumpkins
Cost: $20
Notes
CHALK PAINT ON PUMPKINS THE SUSTAINABLE CHOICE
Supplies List:
*Artificial pumpkins of your choice*Hot glue gun
*White, mint green, and orange paint Annie Sloan chalk paint, Acrylic Paint, or acrylic pure pigment craft paint
*Chip Brush
*White wax
*Clear and Dark wax or raw umber and burnt umber craft paint
*Paper plate
*Paint stick for mixing
*Stencil brush
*Wax brush
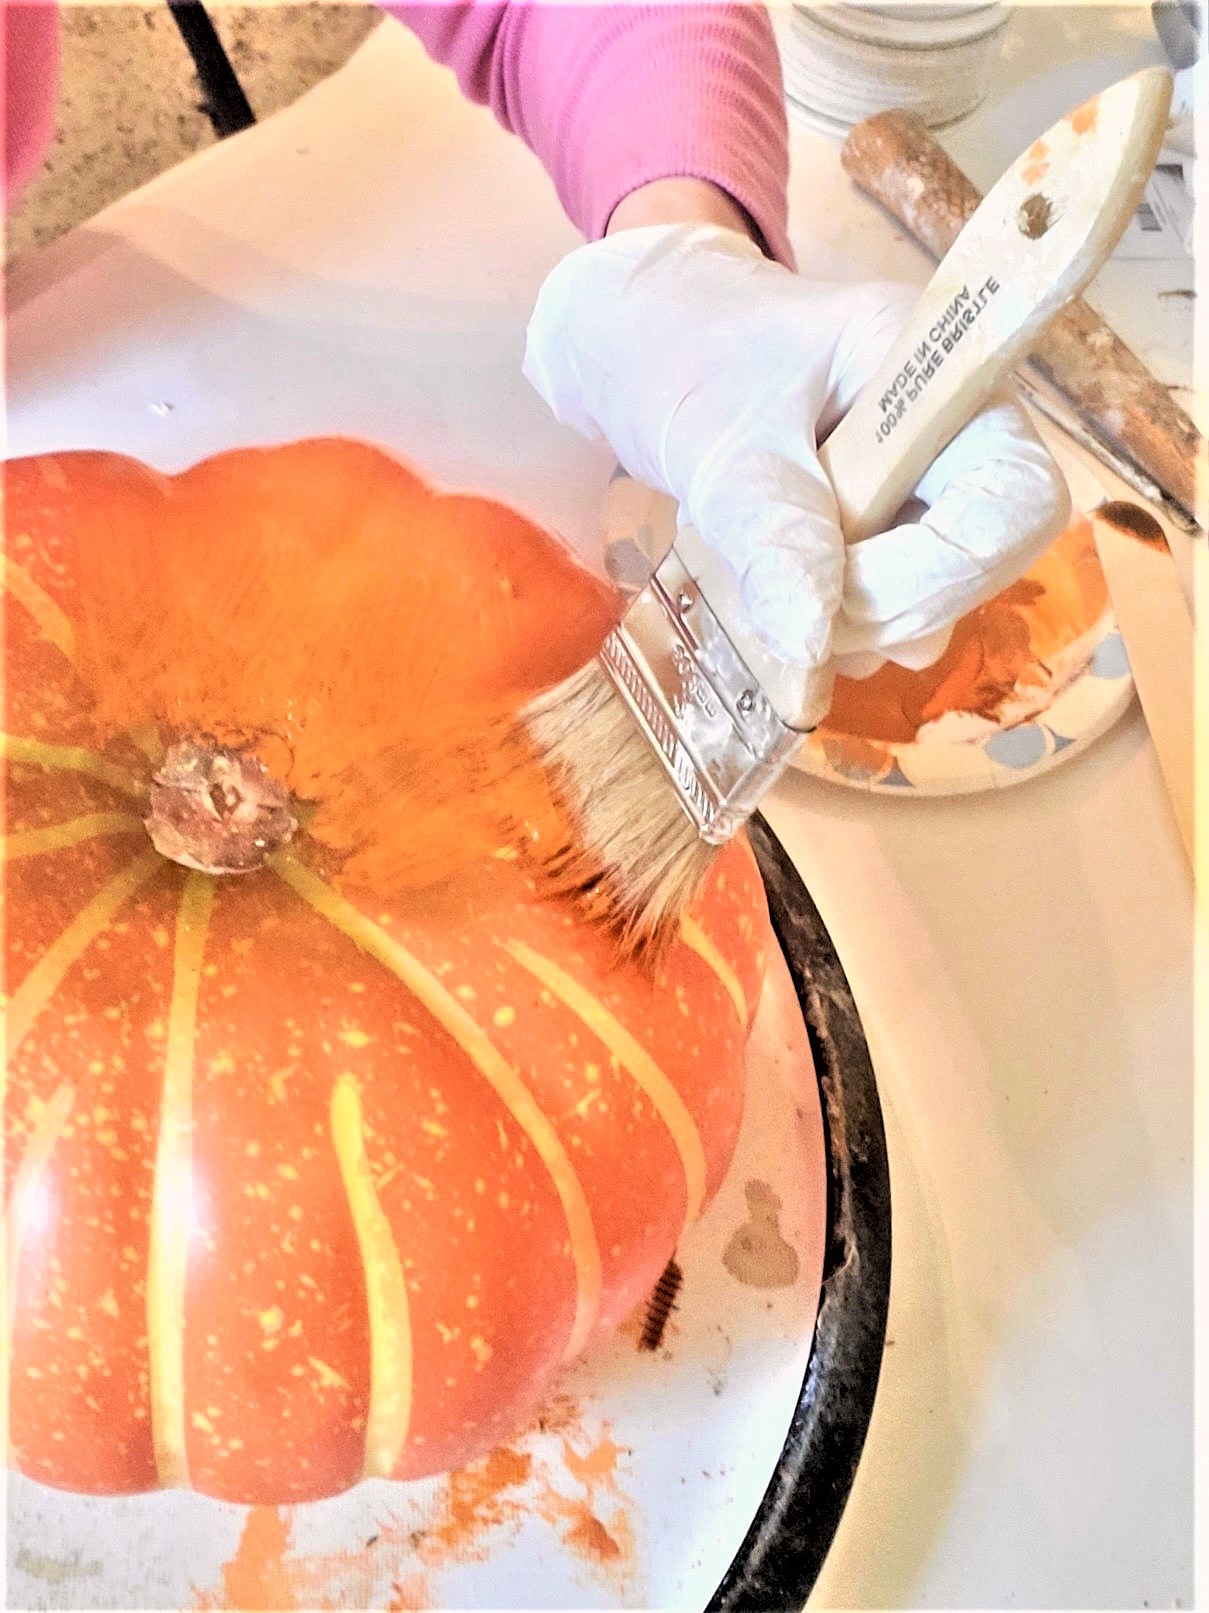
Step 1: Add Deeper Orange Color
The first step before painting pumpkins is to clean them with a damp cloth. It's important, to begin with a clean surface before painting. This will make a deeper orange color for this DIY project. Paint half of the faux pumpkin drying in between coats. This is the base color that will help to achieve the real pumpkin look. Tip: It's important to begin with a clean surface before the painting process.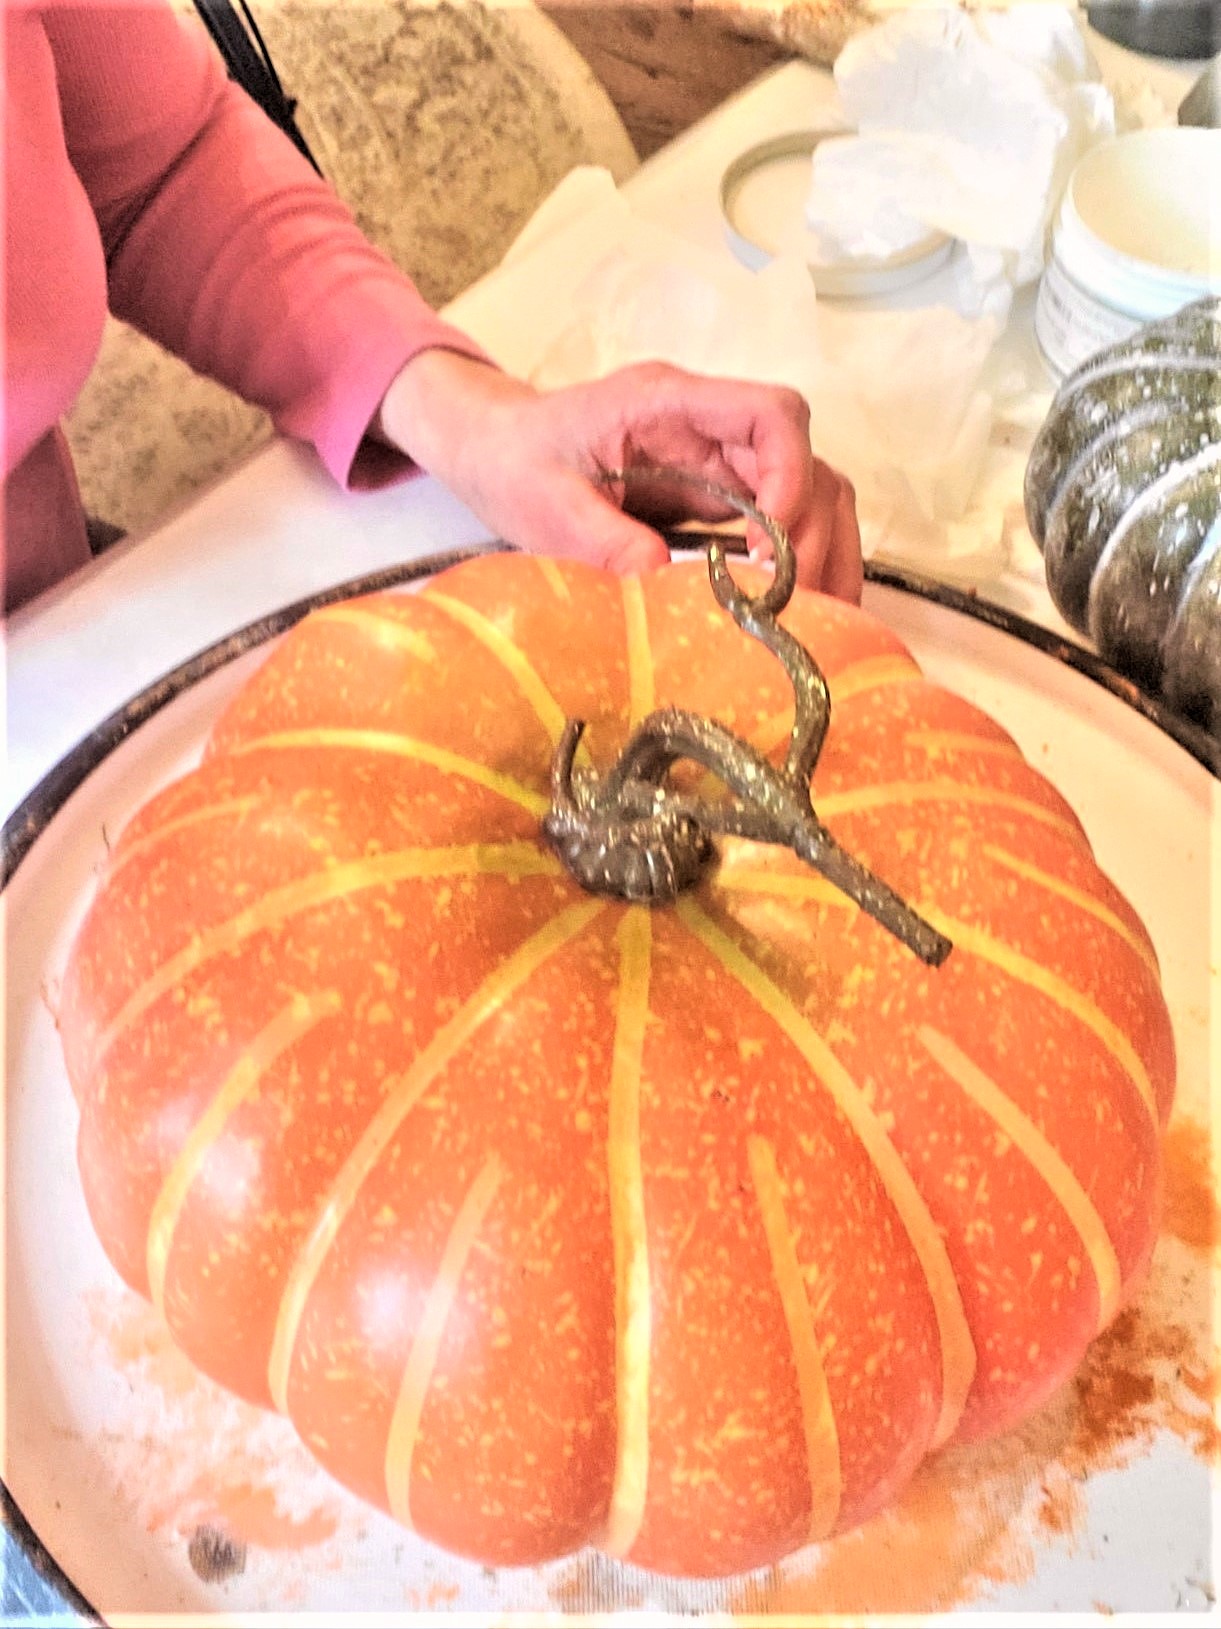
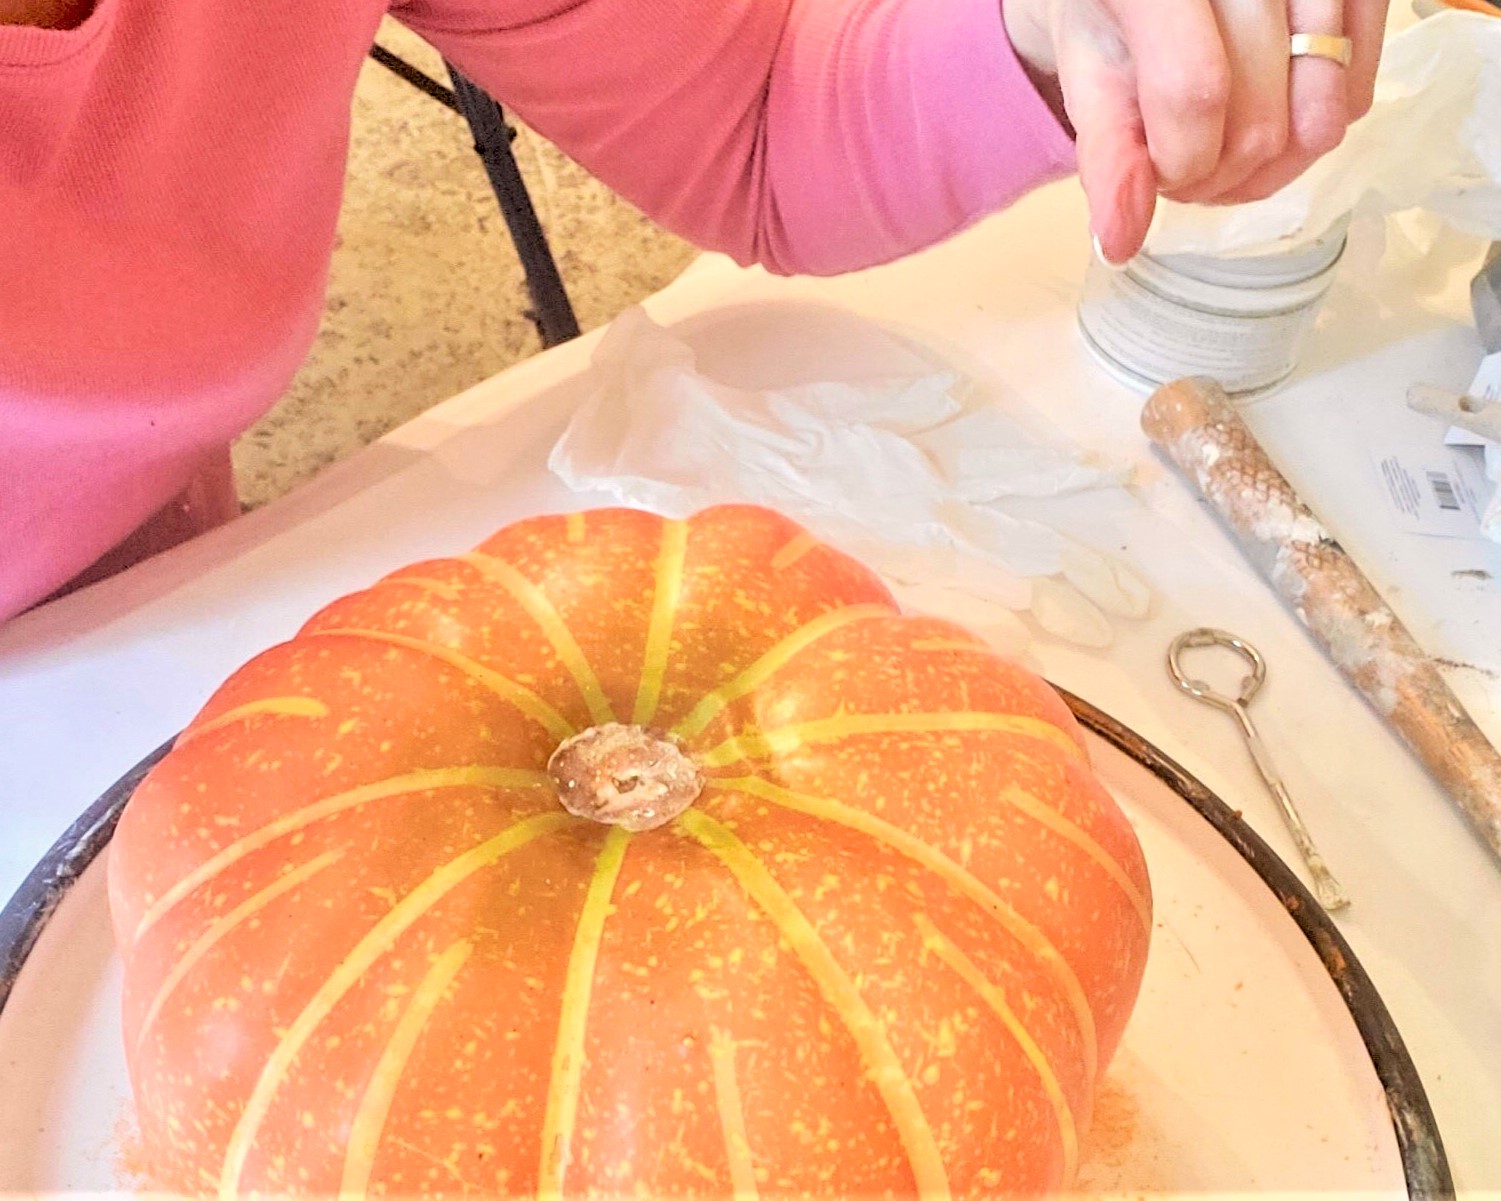
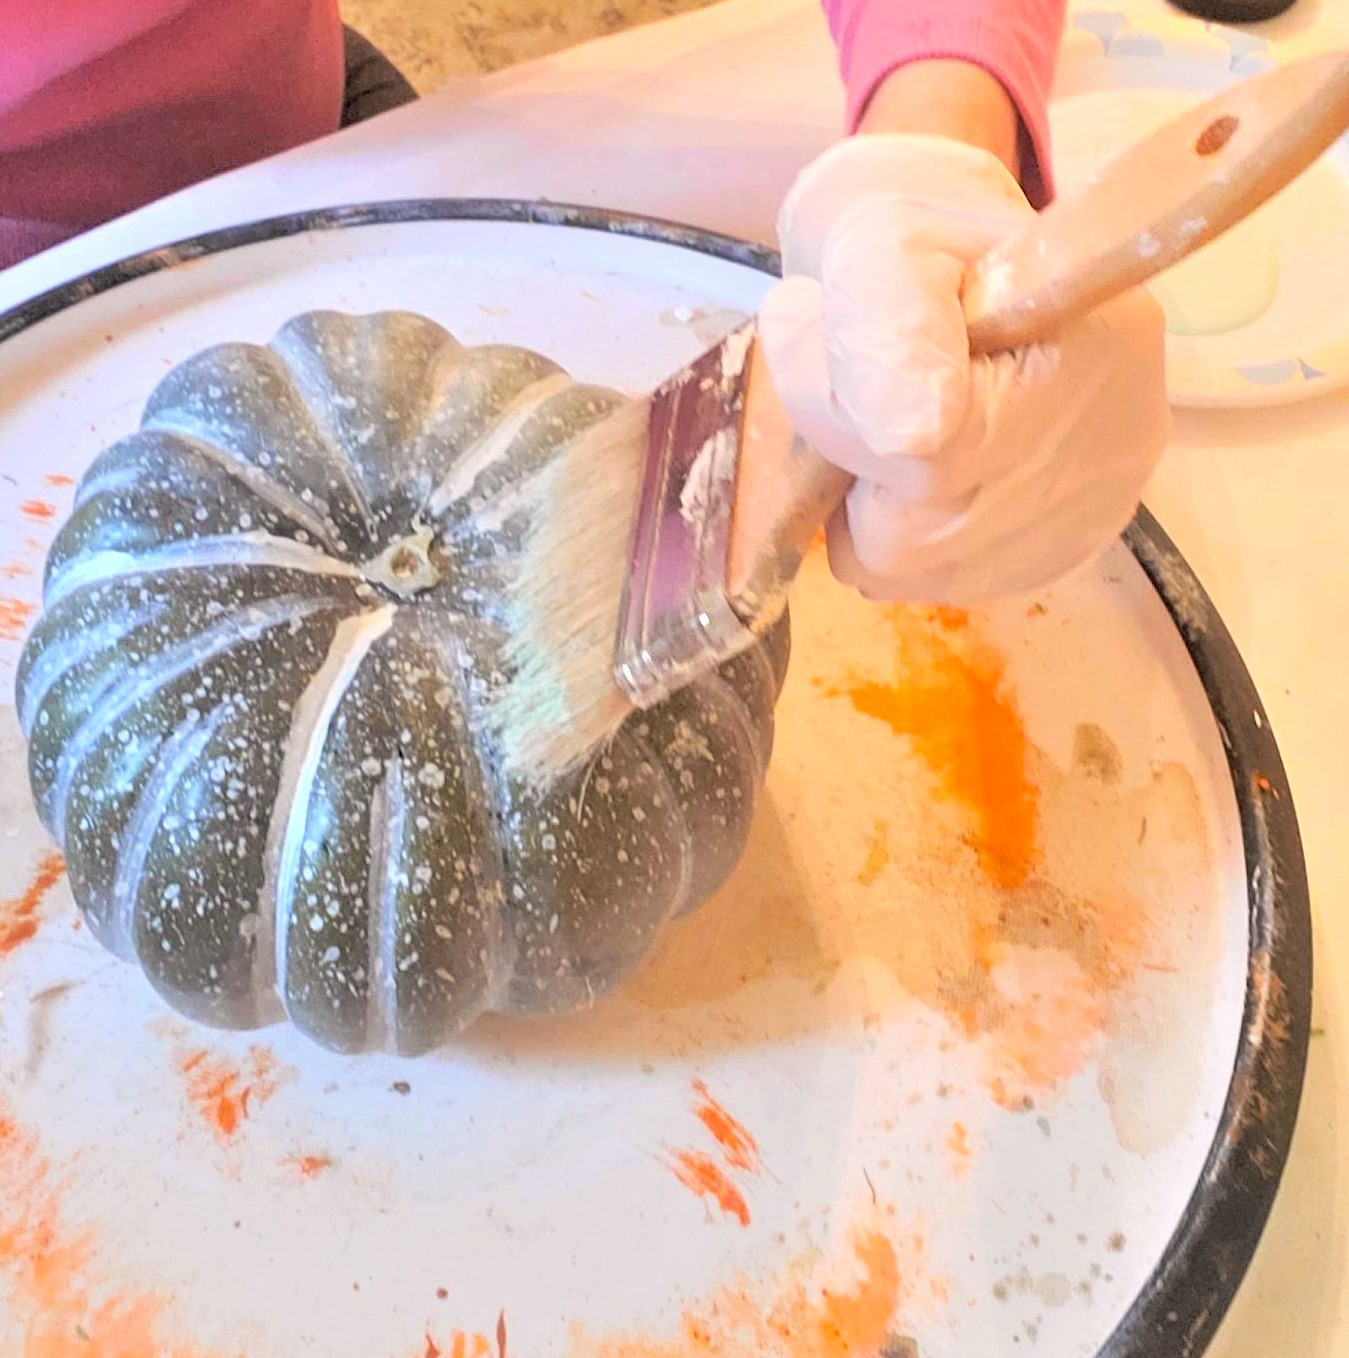
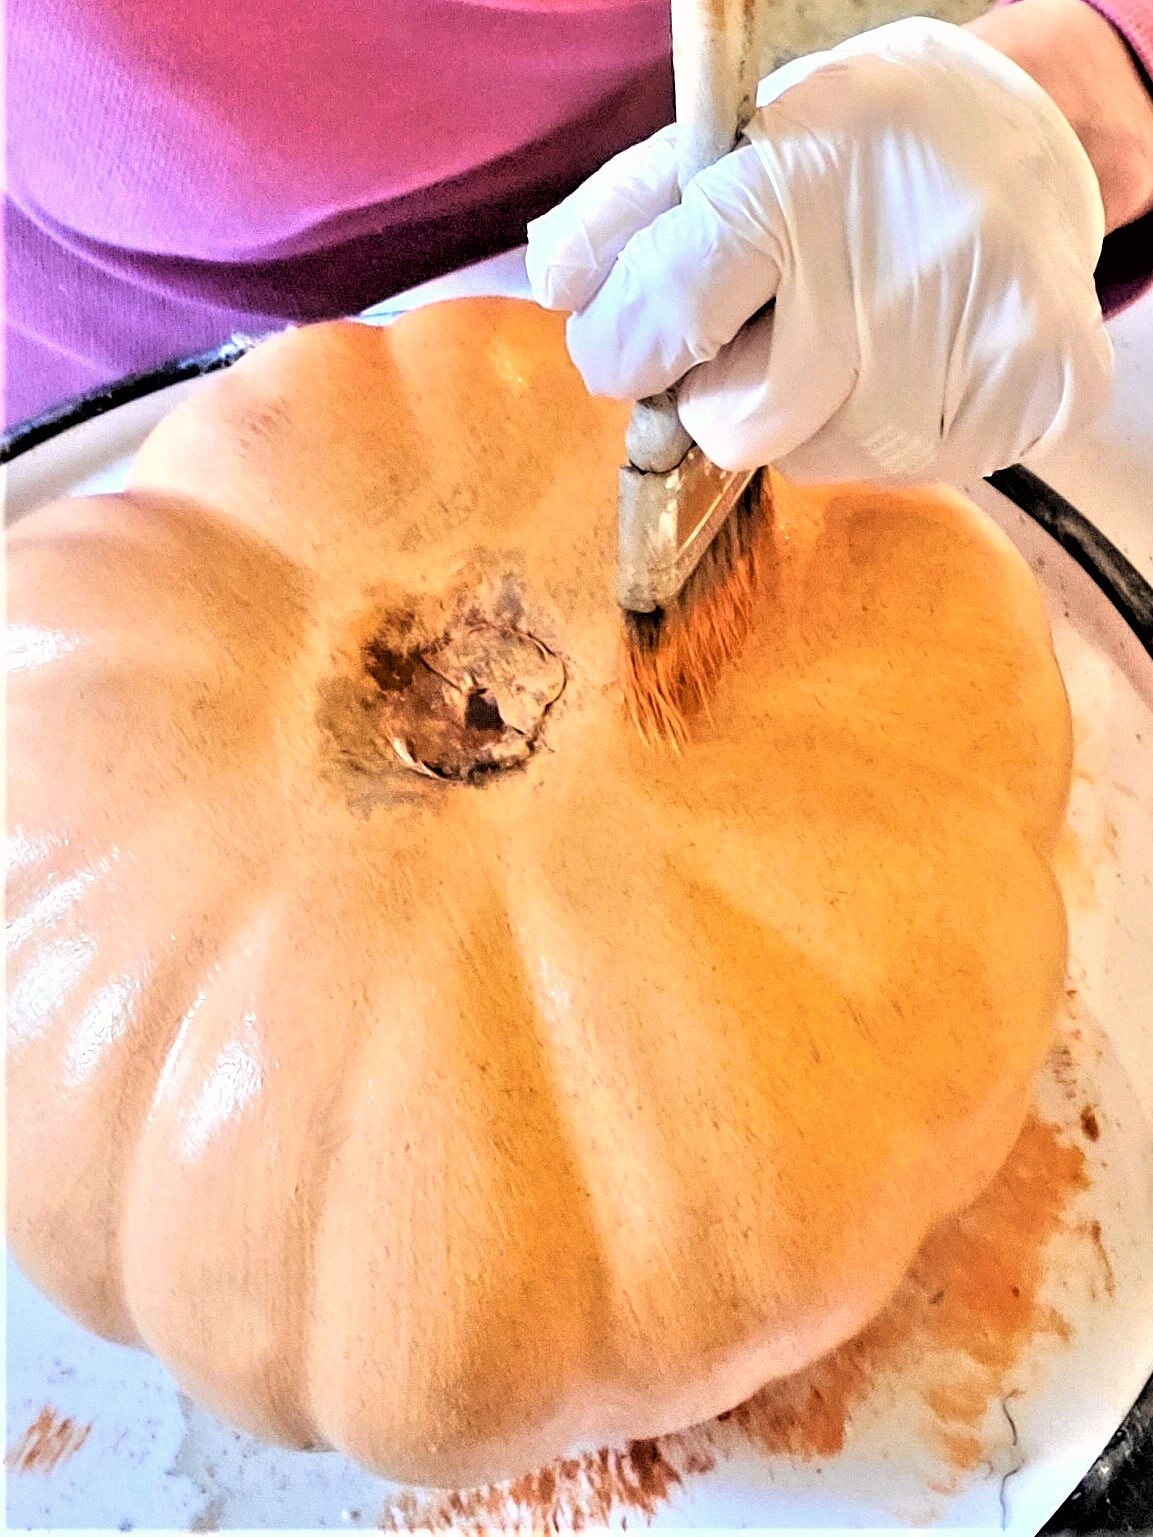
Step 2: Lighten the First Coat
For the next step, add white craft paint or white chalk paint. This gives a lighter color to the look of a real pumpkin. Chiffon cream and linen white are great paint colors too. Home Depot offers similar paint colors in their chalk decorative paint. Look for Tin Whte or Farmhouse white. Add this over the orange, this adds another layer to give the chalk paint pumpkins a real look. Paint half the pumpkin at a time. This keeps the paint damp enough for stippling which adds texture that can be found on a real pumpkin from the pumpkin patch. A real pumpkin has texture and this is what we are trying to achieve and what makes these have the real pumpkin look. Use a chip brush and stipple or pounce lightly. This gives the chalk paint pumpkins texture. Pouncing and stippling are hard on brushes and this is why I suggest chip brushes because they are .89 and will take a bit of abuse. Let the pumpkins dry. Once dry use the same process to cover the entire pumpkin. When stippling, if the darker orange is visible, don't worry. Seeing the different colors is what adds to the look of real pumpkins. Tip: A real pumpkin has texture and this is what we are trying to achieve and what makes these have the real pumpkin look.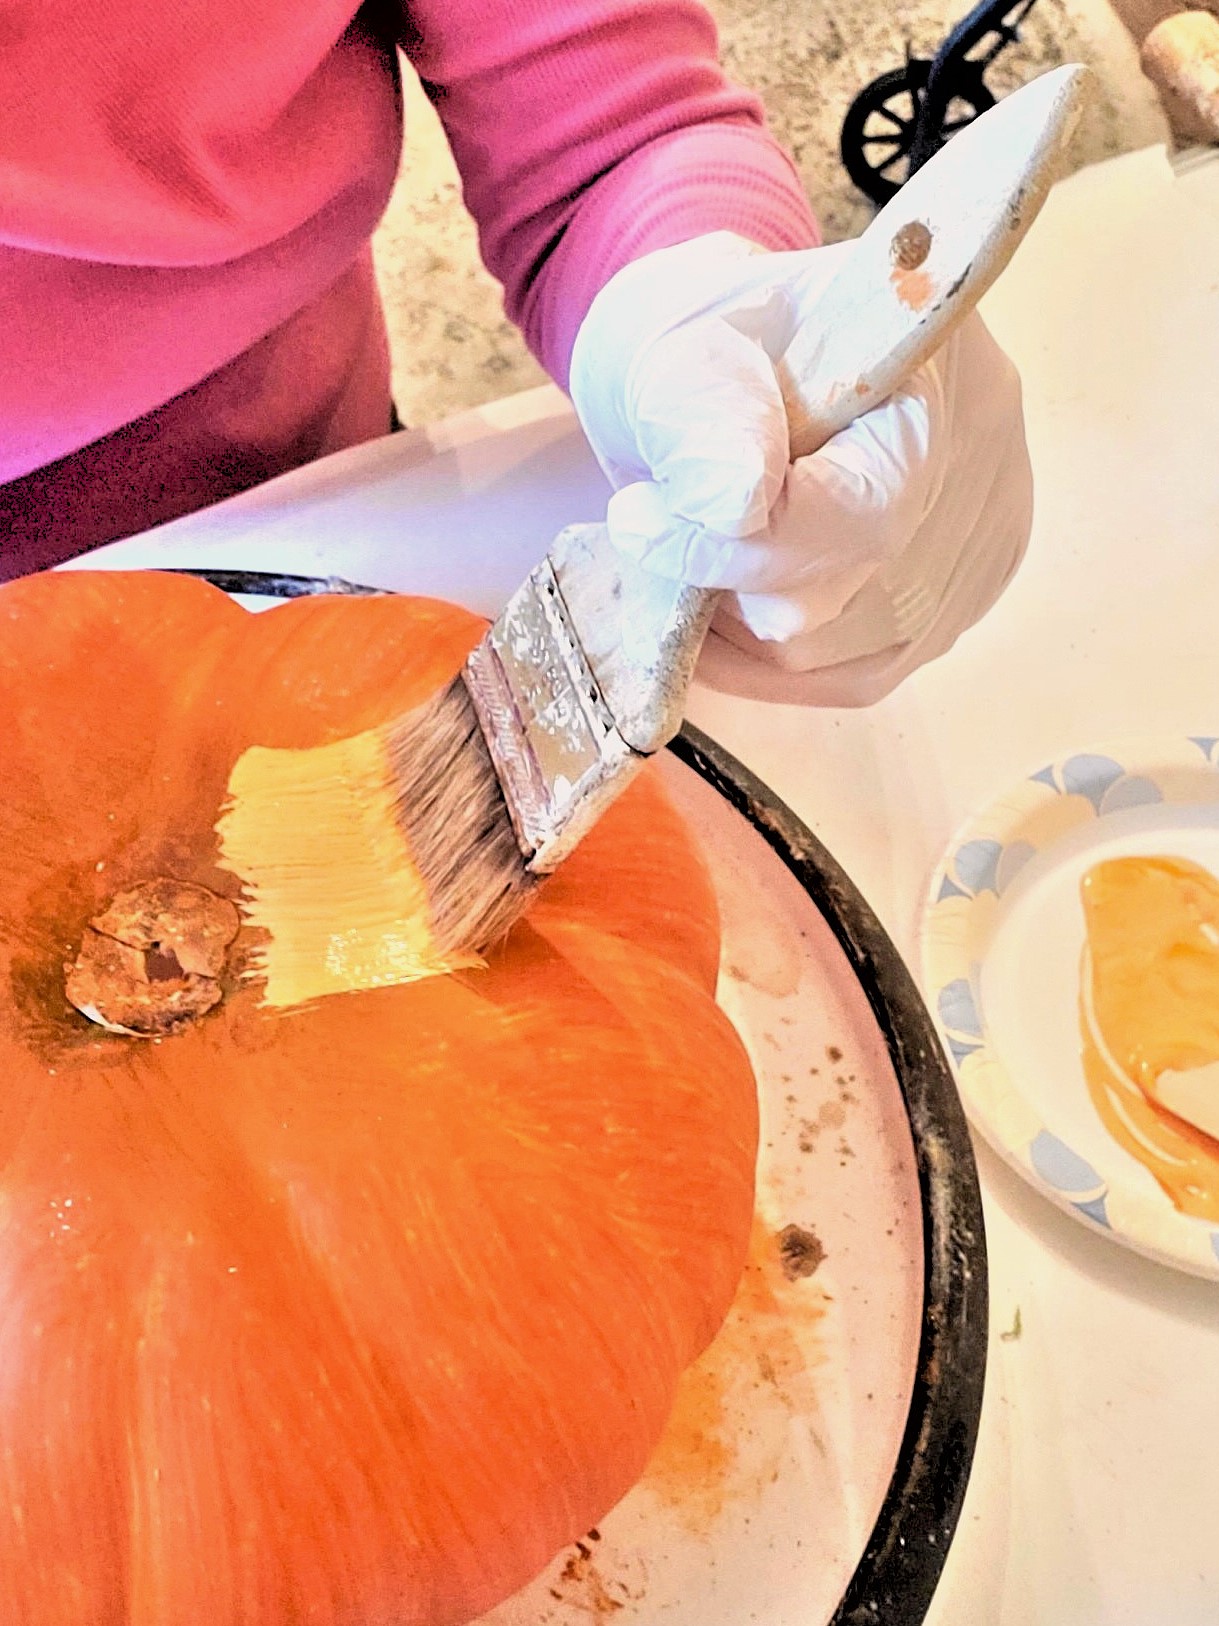
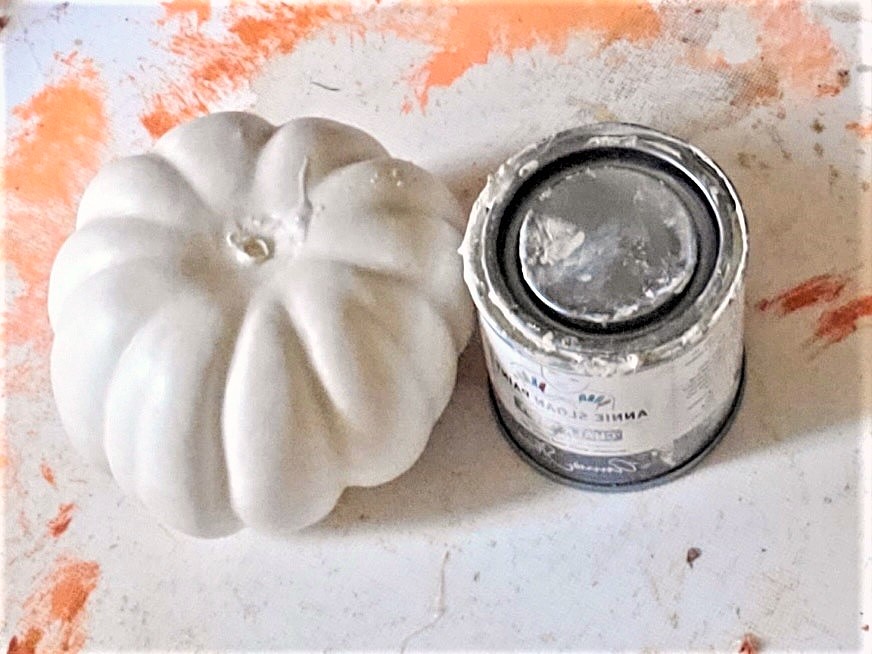
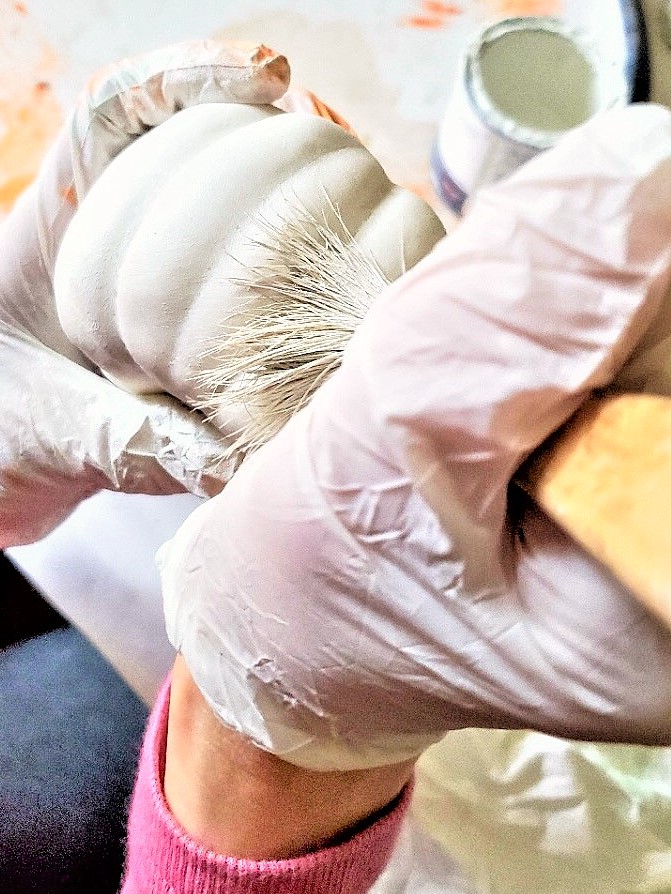
Step 3: Buffing White Wax
Add the white wax a bit at a time and rub it into the paint well with the wax brush. This is when your faux pumpkin begins to come to life. This is going to give your fake pumpkin the look of the soft orange gourds that are costly. After applying wax in sections lightly wipe the wax off the faux pumpkin with a lint-free rag. Here's the fun part the white wax will add to the Heirloom gourd pumpkin look. The transformation is amazing!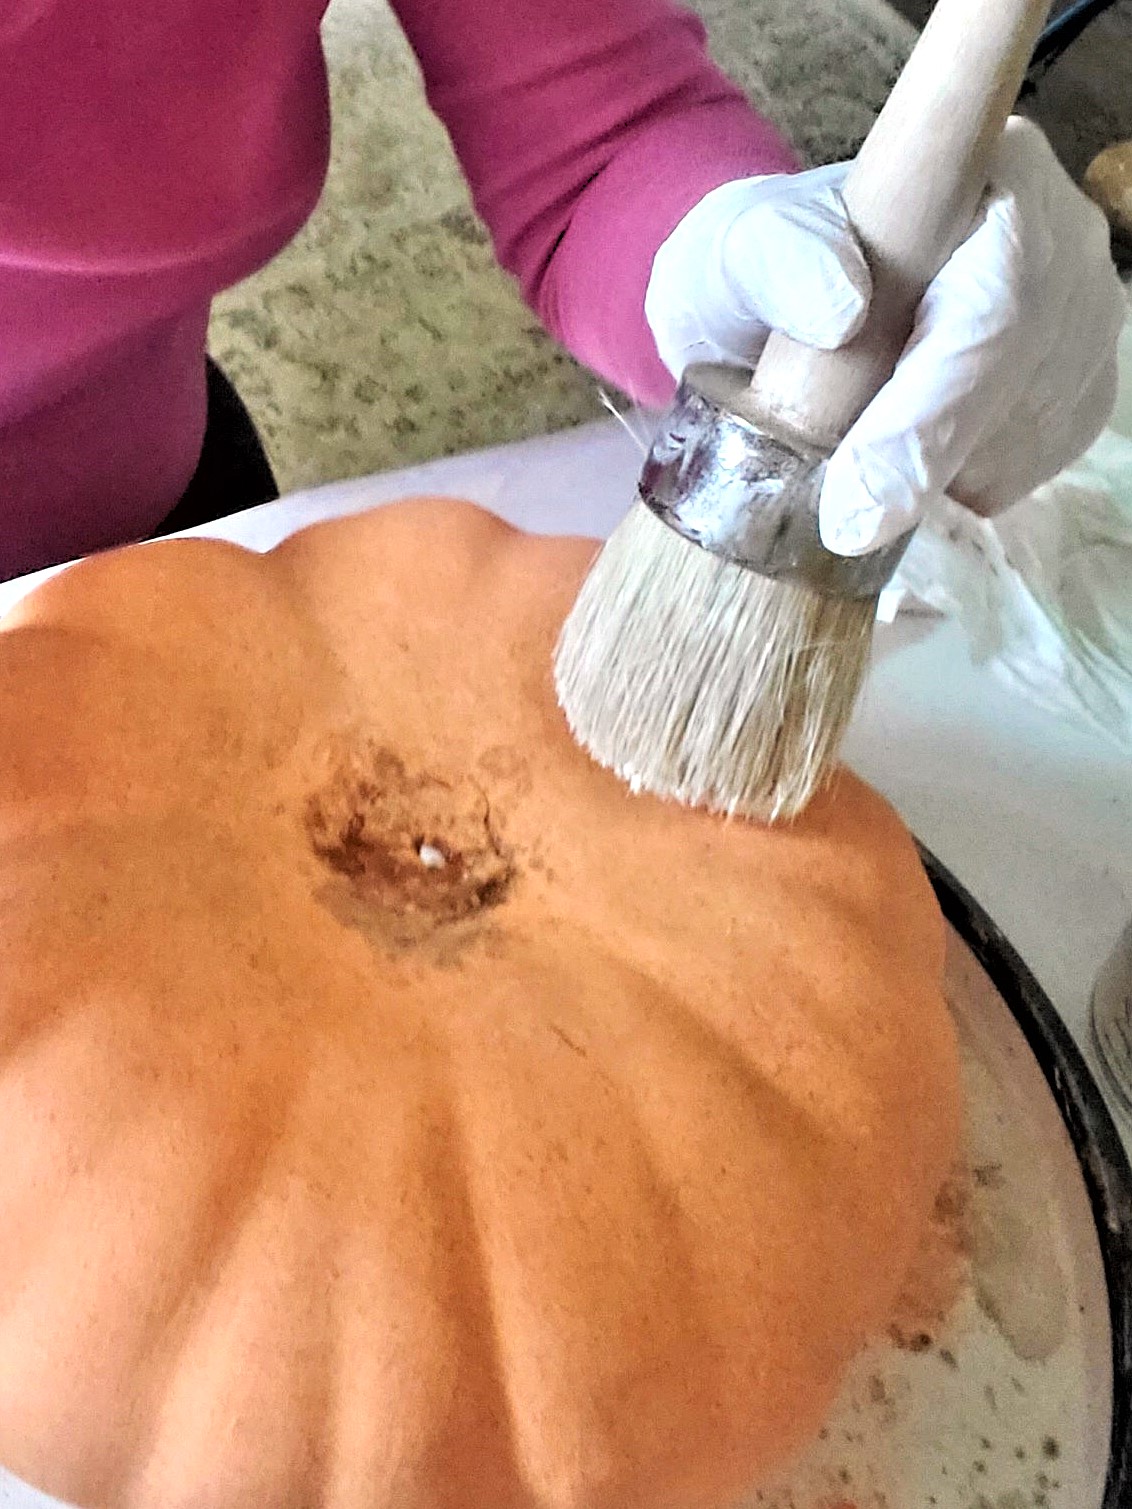
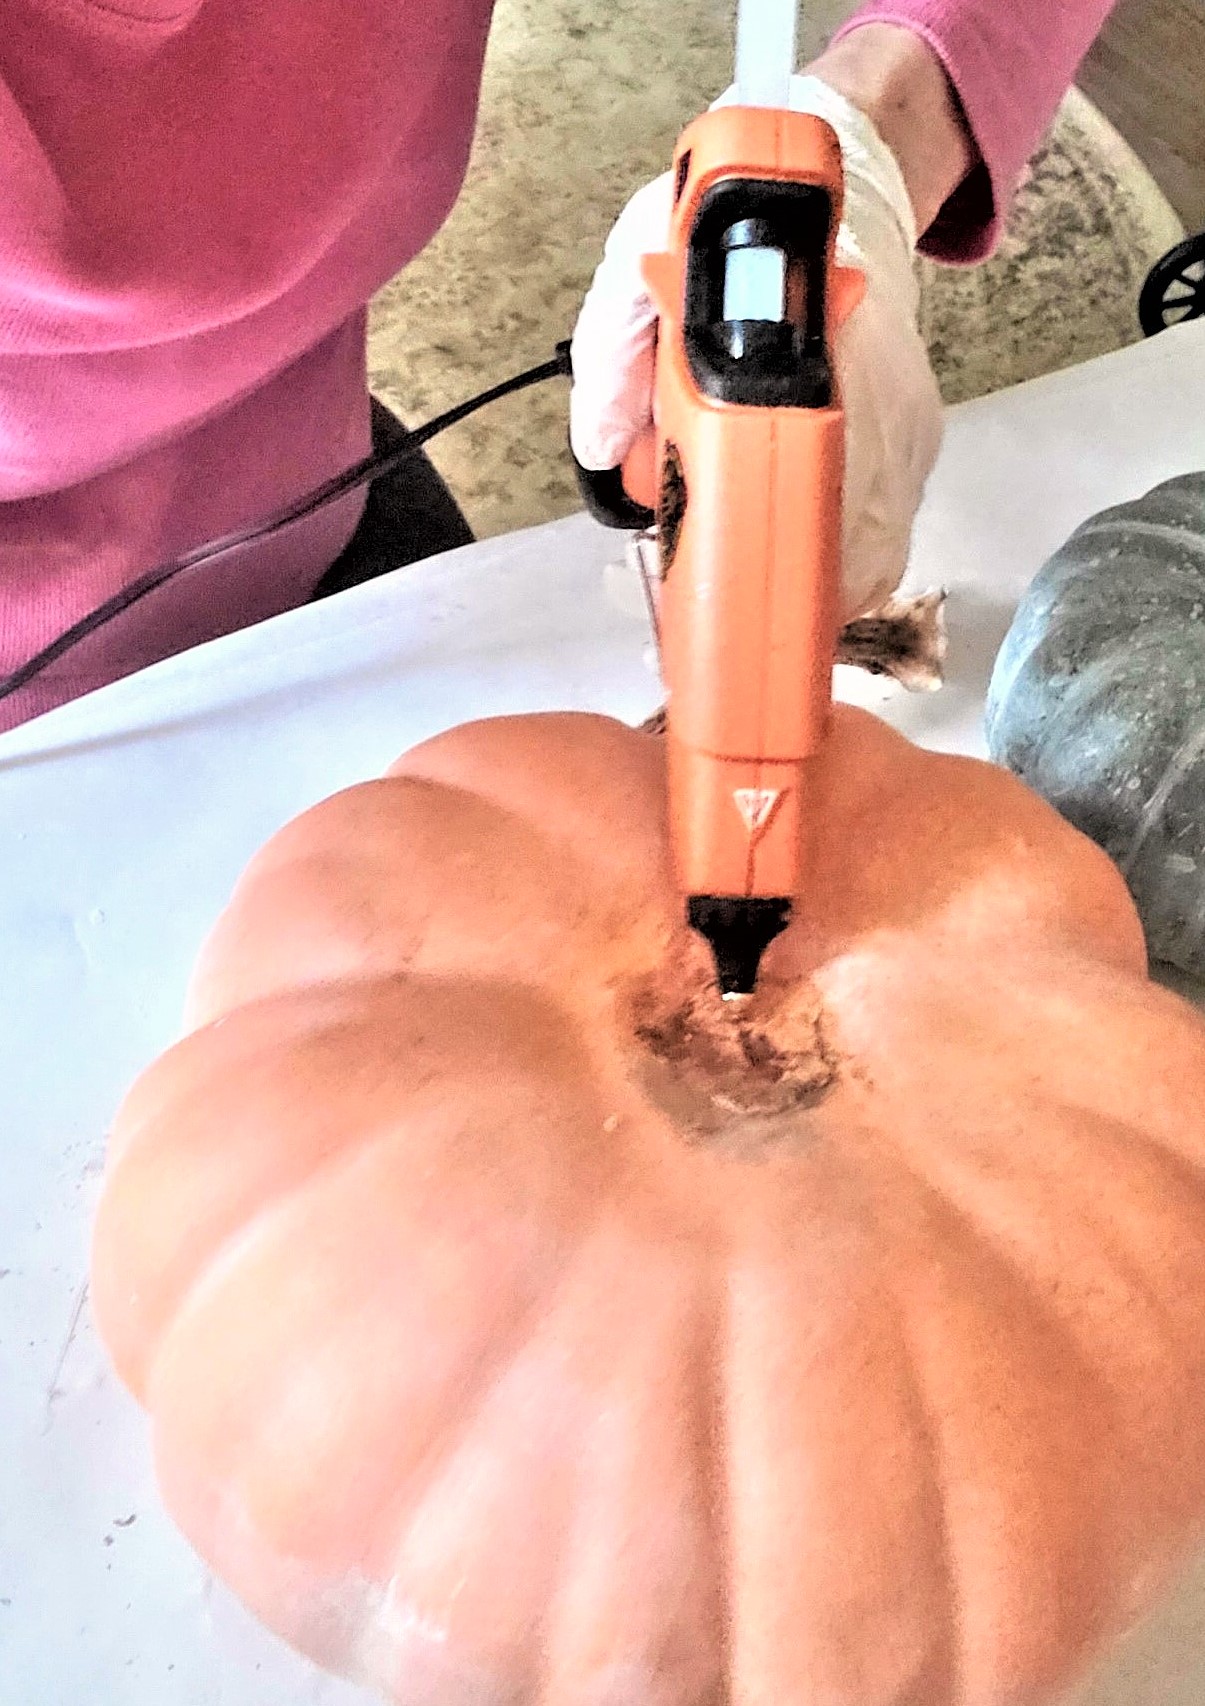
Step 5: Add Stems
Heat your glue gun on the low setting. This is important because high heat glue will make the Styrofoam pumpkins break down. Lastly, with a low setting on the glue gun glue your real stem on top of your pumpkin. Since this DIY project has dark and clear wax, I recommend not using the chalk paint pumpkins outside. However, spray them with several coats of matte polyurethane they should be fine.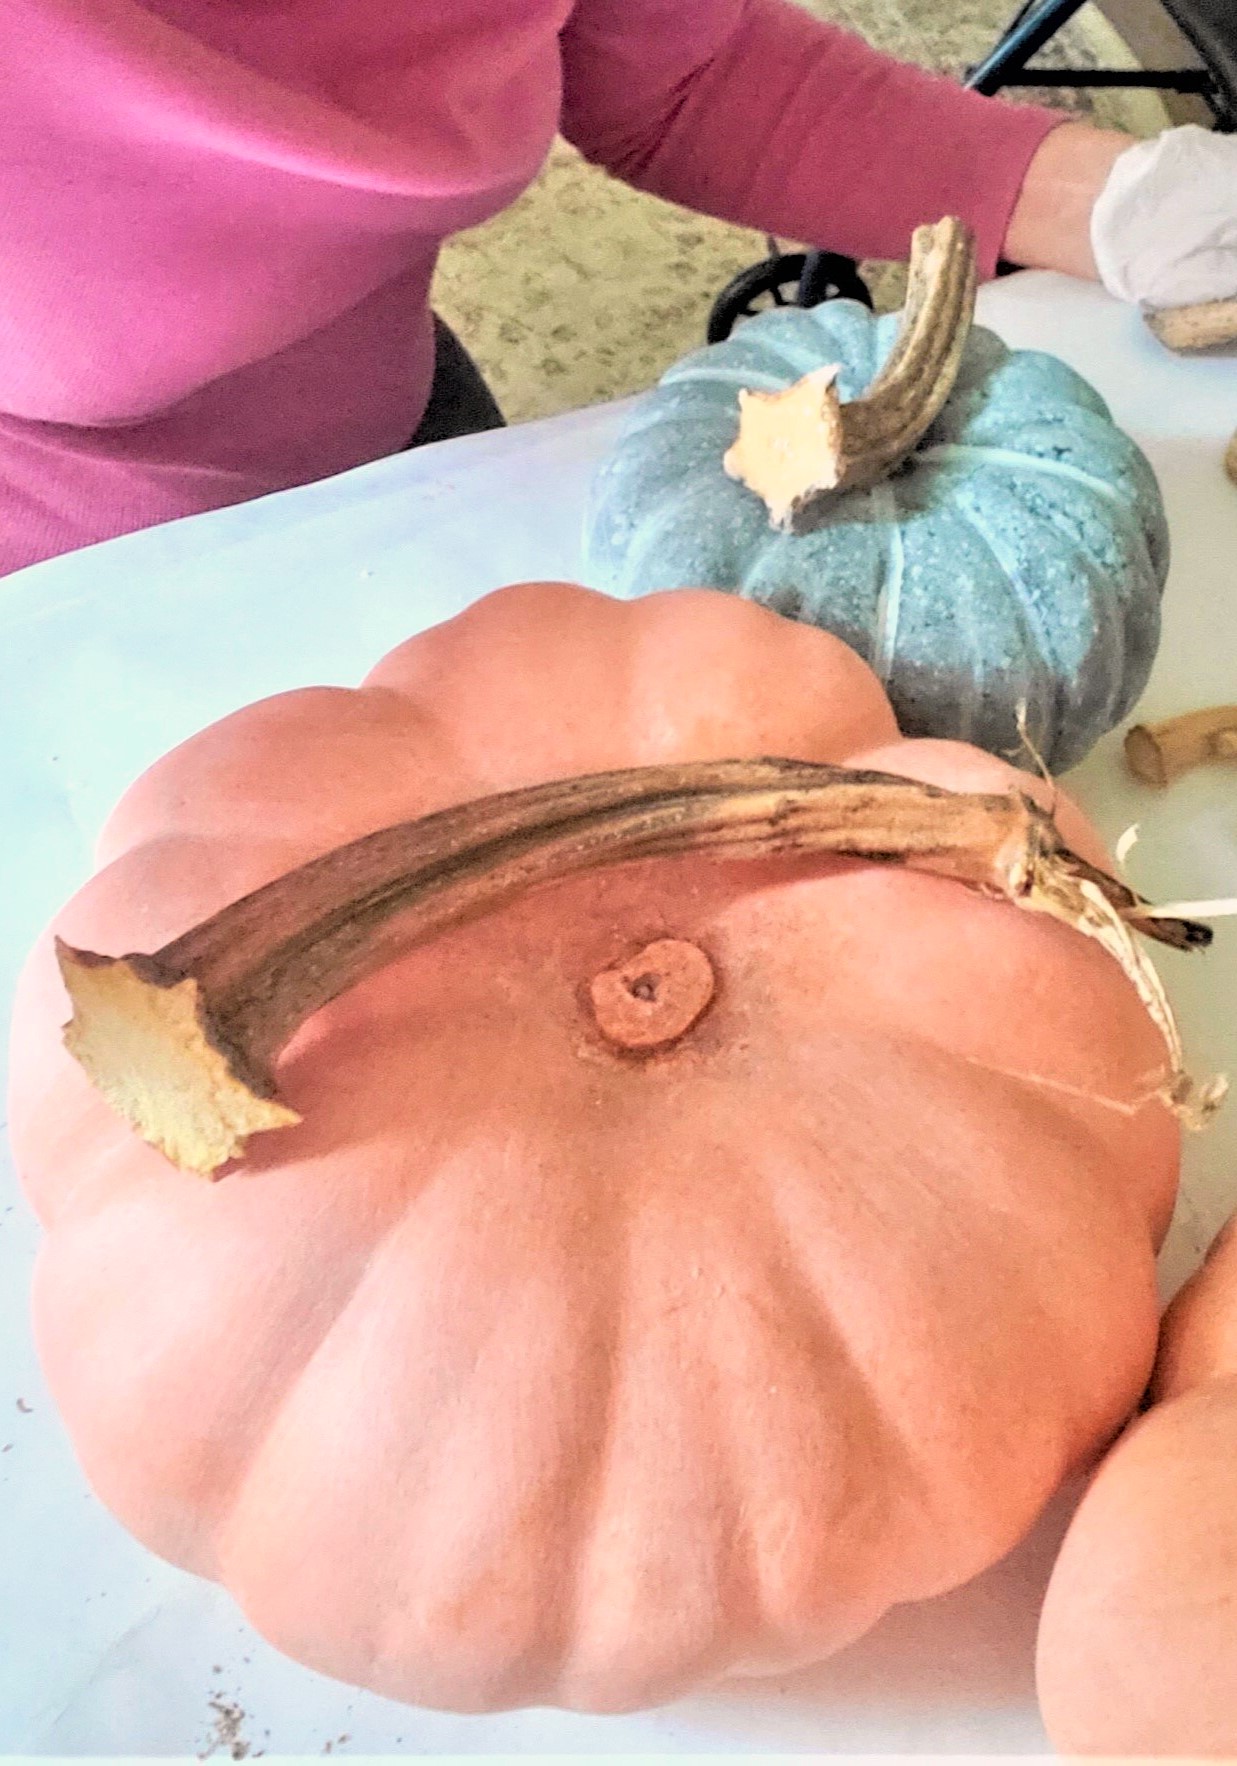
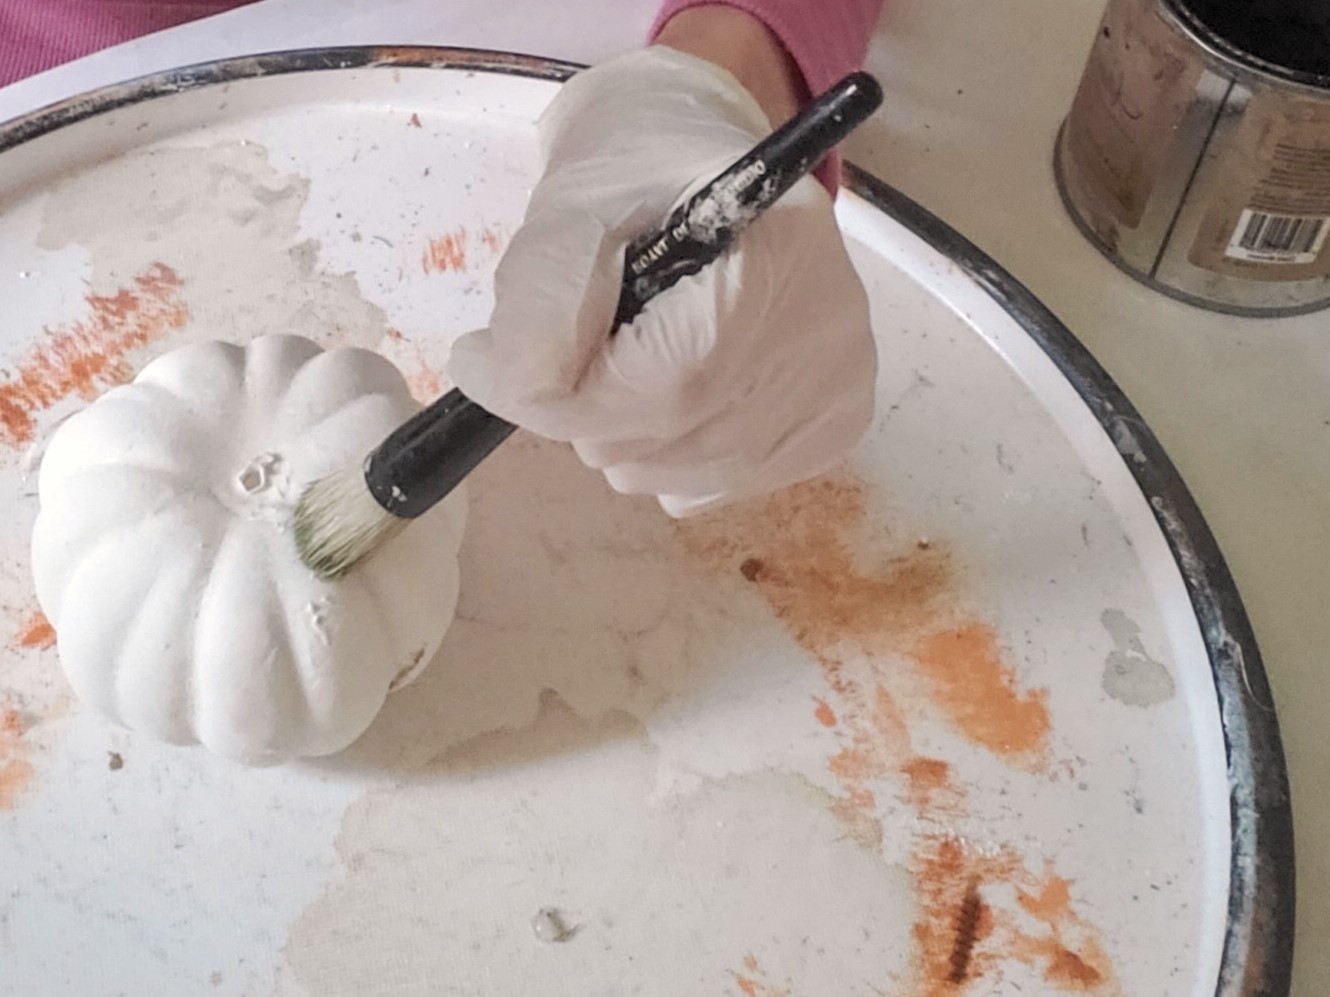
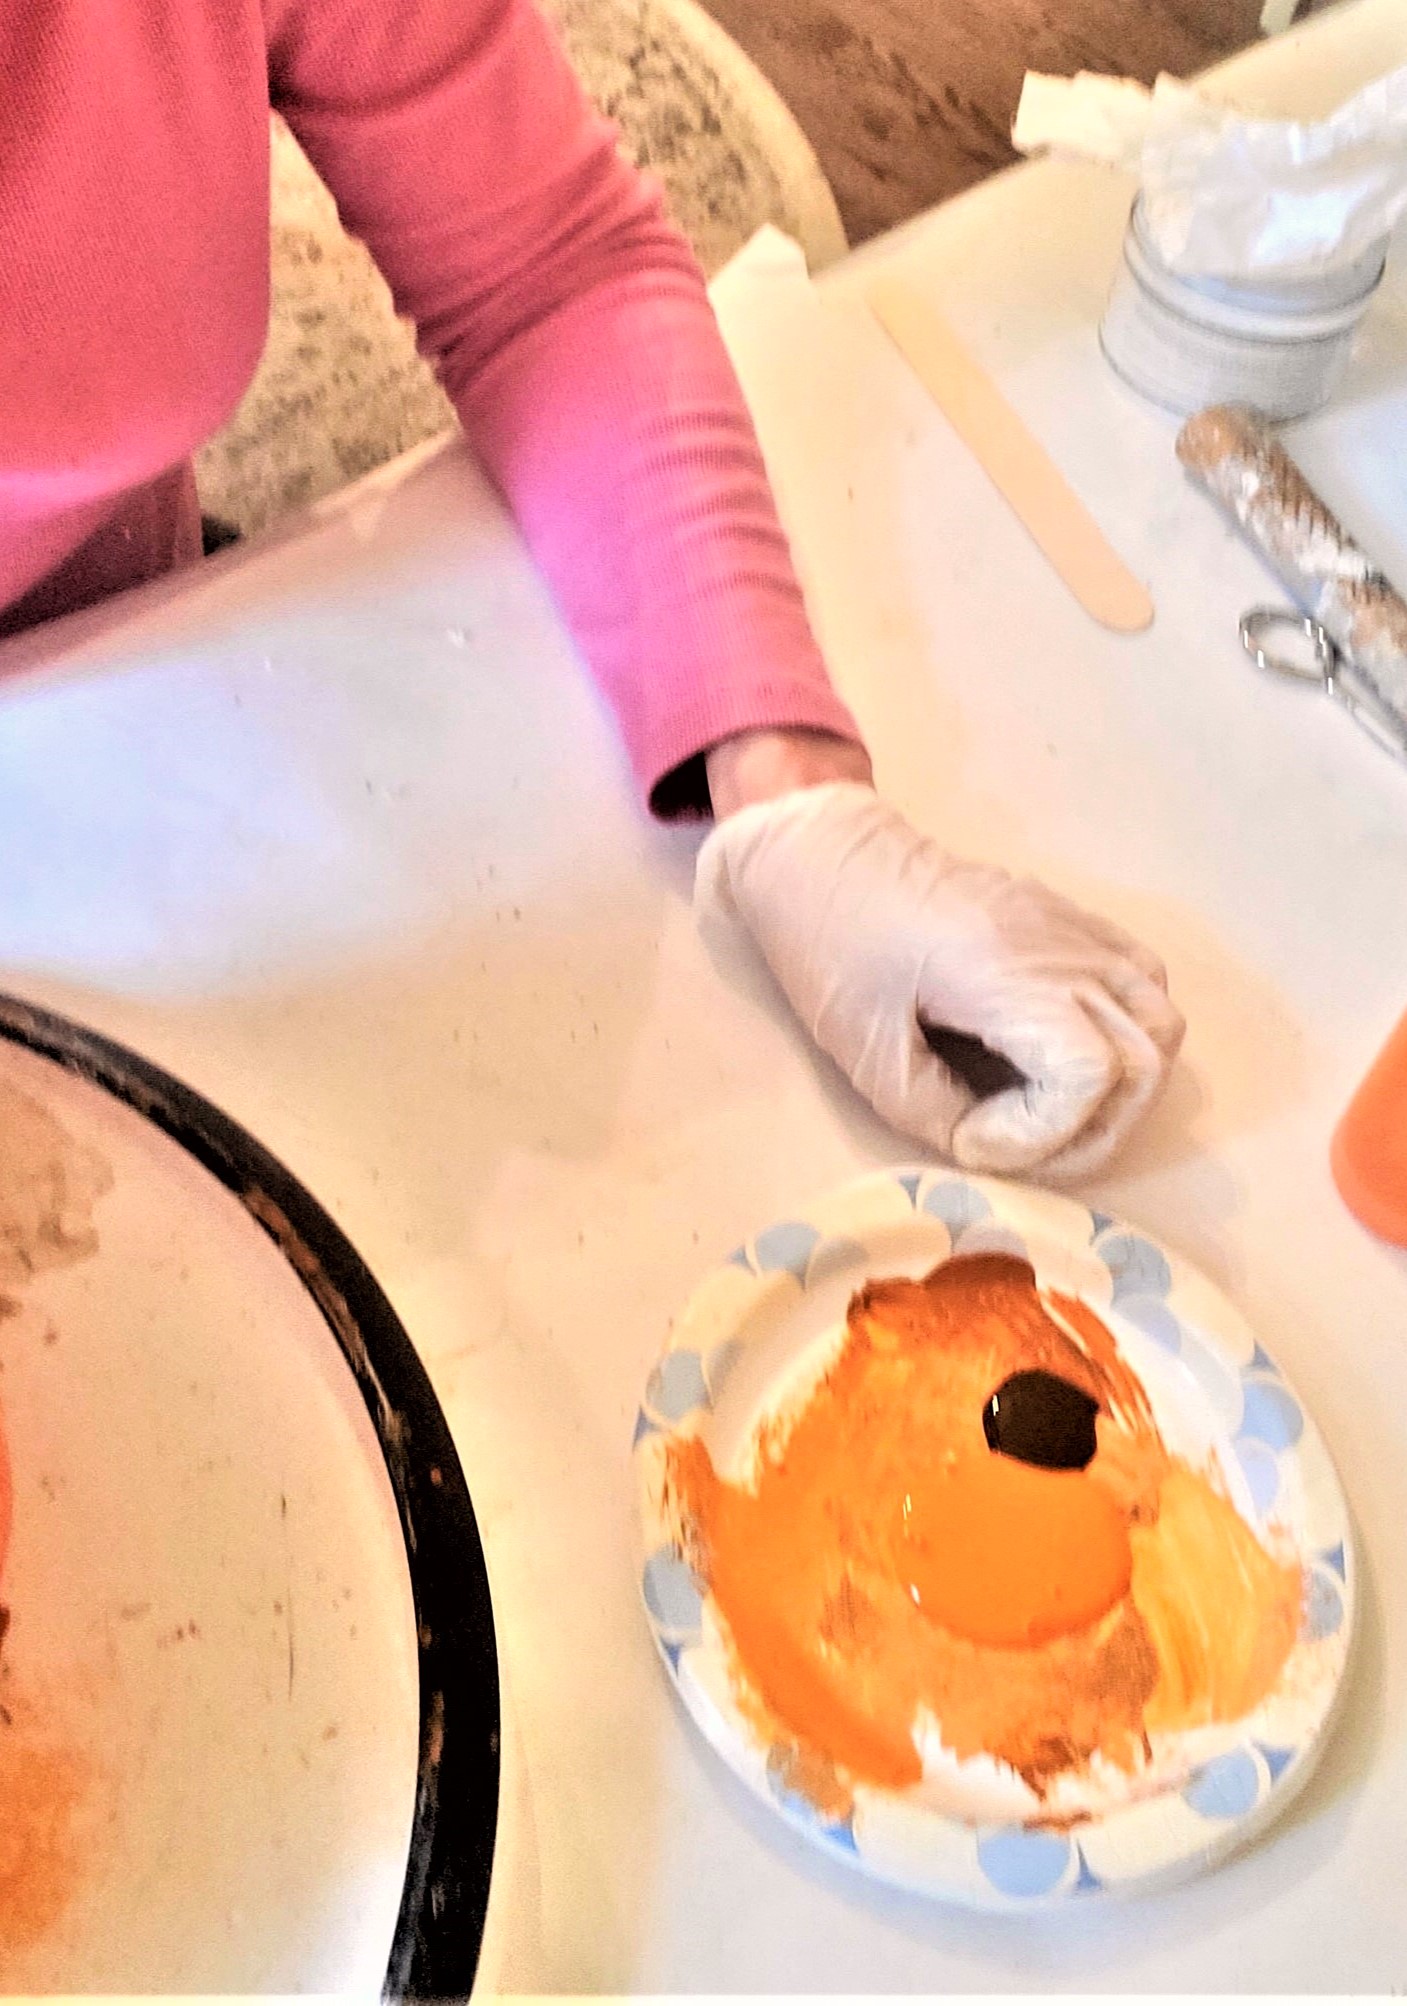
Step 1: Real Look Mini Pumpkins
This green pumpkin is from the craft store What's great about these painting techniques is they are easy and don't take long. This faux pumpkin has a great base color to make it like the soft green pumpkin we find at the farmer's market and they are expensive. Use Folk Art mint green chalk paint and a chip brush. We are going to use a drybrush technique for the smaller pumpkins. Dip the tip of your brush into the paint and wipe any excess paint on a paper towel, paper plate, or rag. You want a little paint on the tip of a chip brush when dry brushing. The dry brush technique with paint is hard on brushes, they take a bit of abuse so that's why I recommend chip brushes. Apply the chalk paint to the entire pumpkin and I added a stem from my collection of stems. This gave these smaller pumpkins a real look. Dry brushing is a fast process and works miracles on many easy craft ideas. Once I have with add a small real stem. The transformation of the fake pumpkin is amazing. No real stems, no problem, dry brush the plastic stem with a bit of raw umber pure pigment craft paint, or for a different look wrap them in jute or twine. Tip: No real stems, no problem, dry brush the plastic stem with a bit of raw umber pure pigment craft paint, or for a different look wrap them in jute or twine. If you purchase small white pumpkins for outdoors save the stems.