Biscoff Icebox Cake (Easy No-Bake Dessert)
This Biscoff Icebox Cake (Easy No-Bake Dessert) comes together with just five ingredients and is perfect for sweet treats when you want something simple and delicious.
Equipment
- 1 Stand or hand mixer
- 1 large bowl
- 1 food processor plastic bag and rolling pin
- 6 4" springform pan lof pan or 8x8 square pan
- 1 offset spatula
- Serving platter or dishes
- 1 1/4 cup measuring cup
- 1 tsp. measuring spoon
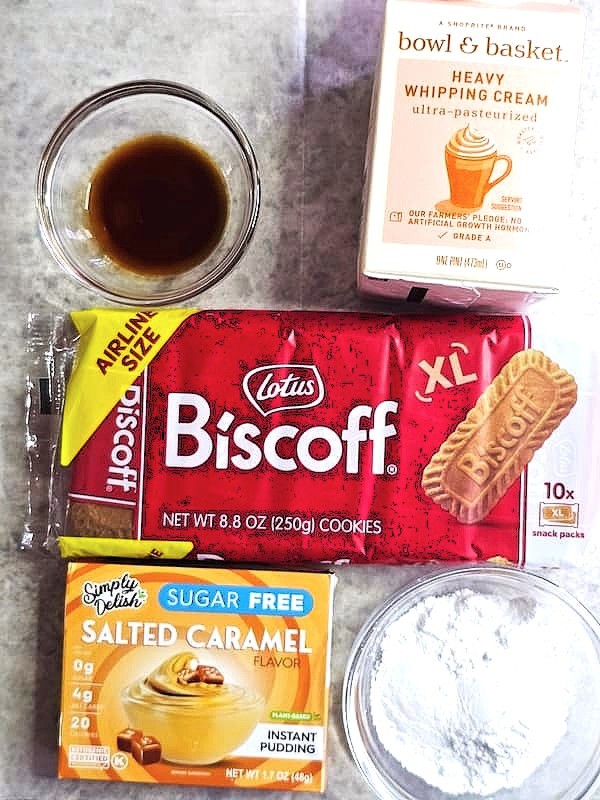
Ingredients
- 1 pint heavy cream or whipping cream
- 2 cups milk
- 2 tsp vanilla extract
- 1 large package Lotus Biscoff cookies
- 1 box Carmel Instant Pudding
Instructions
Step 1: Make Caramel Instant Pudding
Mix 2 cups of milk with caramel instant pudding. Use a stand or a hand mixer with a whisk attachment to combine until smooth.Step 2: Add a Layer of Biscoff Cookies
Add a layer of cookies to the bottom of each springform pan. Break up Lotus Biscoff cookies to fully cover the bottom. Be sure there are no large gaps between the cookies.Step 3: Make Whipped Cream
In a large bowl, using a stand or hand mixer, combine cold heavy cream, 2 teaspoons vanilla extract, and 1/4 cup powdered sugar. Beat at high/medium speed until stiff peaks form. Be careful not to overmix the cream mixture, or it can turn into butter.Cindy's Tip: When I make whipped cream, I put my large bowl with my whisk attachment in the freezer for a few hours or overnight. This makes whipping the heavy cream to achieve the perfect stiff peaks quickly.Step 4: Folding the Instant Pudding
Fold the chilled caramel instant pudding into the whipped cream. Gently fold until fully combined. This step keeps the cream mixture light and fluffy.Step 5: Layering the Cream Mixture with Cookies
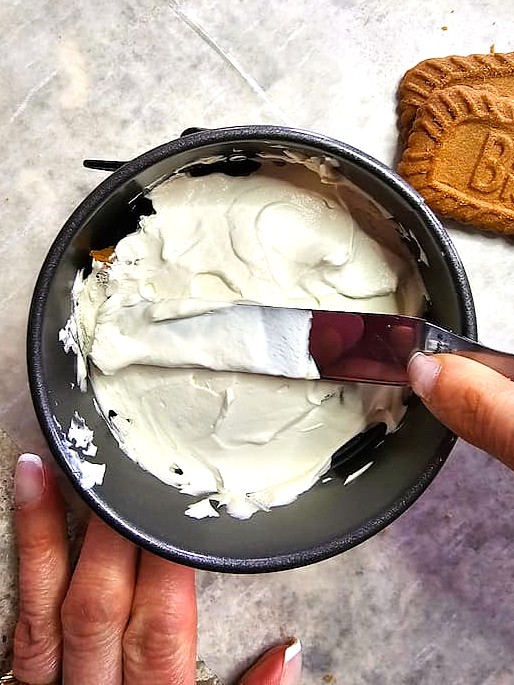
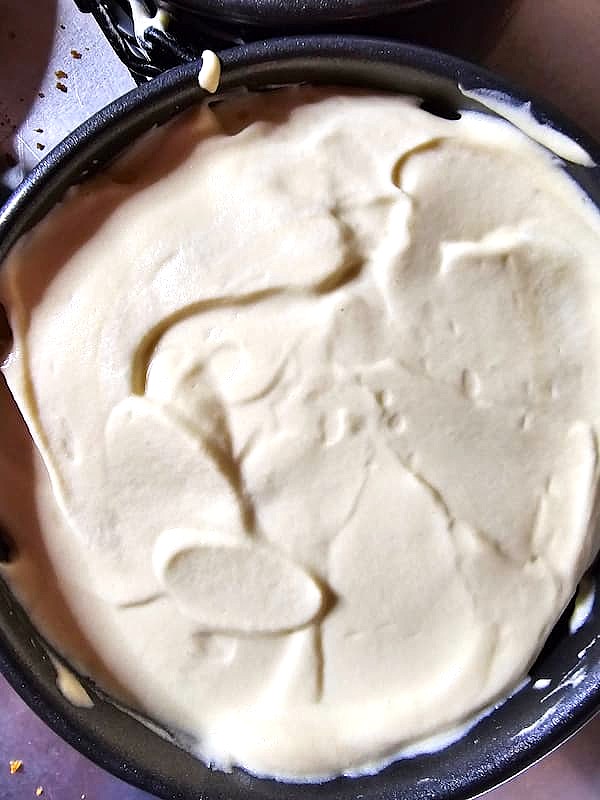
Spoon the pudding/cream mixture over the layer of Biscoff cookies. Use an offset spatula to smooth the cream over the layer of cookies.Step 6: Add Another Layer of Cookies
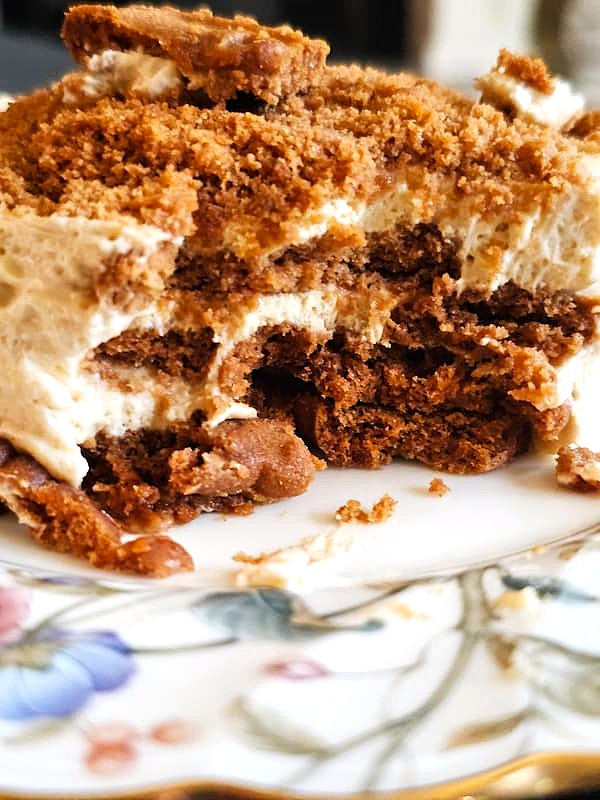
Add another layer of Biscoff cookies and cover with more cream. Be sure you're not adding a thin layer of cream; each layer of cookies should be well covered. The combination of pudding and cream takes this no-bake dessert to the next level.Step 7: Finishing Touch for Your No-Bake Cake
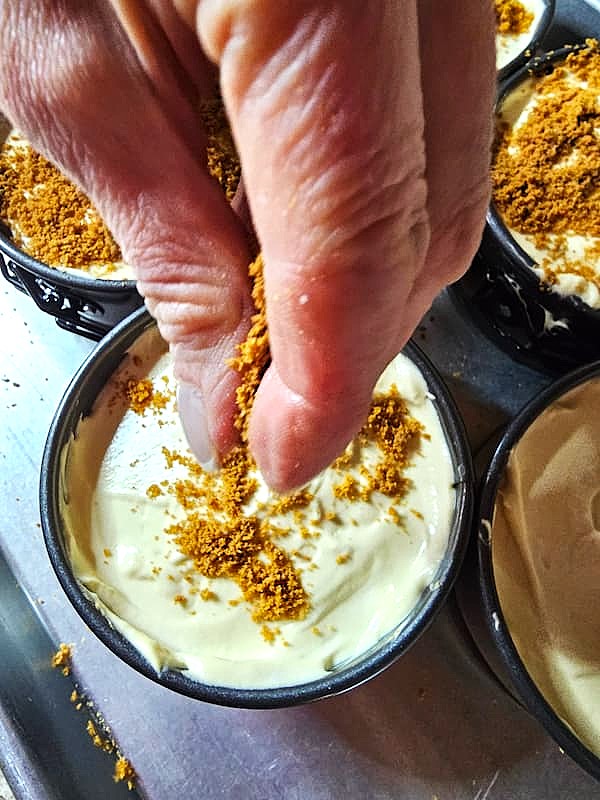
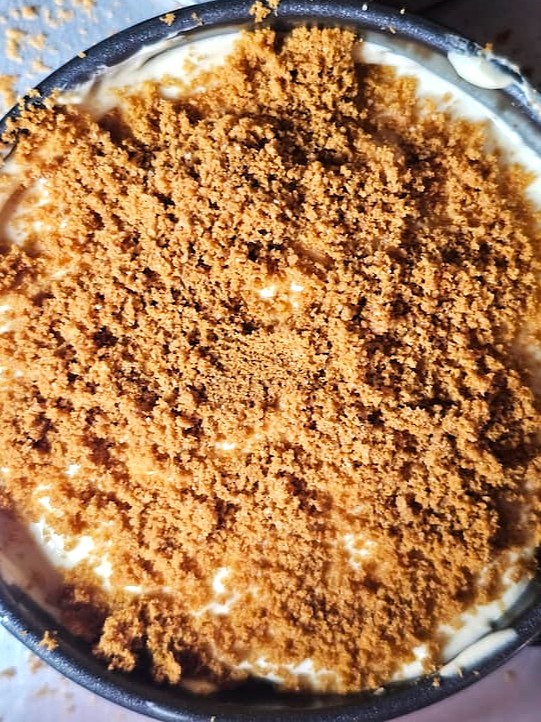
After your layers are complete, spread the remaining cream over the top of the ice box cake with an offset spatula. Sprinkle with cookie crumbs. Cover with plastic wrap and refrigerate the no-bake Biscoff ice box cake overnight. Chilling until the next day, this no-bake Biscoff icebox cake its perfect, cake-like texture.
Notes
Biscoff Icebox Cake (Easy No-Bake Dessert)
Step 1: Make Pudding
Mix 2 cups of milk with caramel instant pudding. Use a stand or a hand mixer with a whisk attachment to combine until smooth.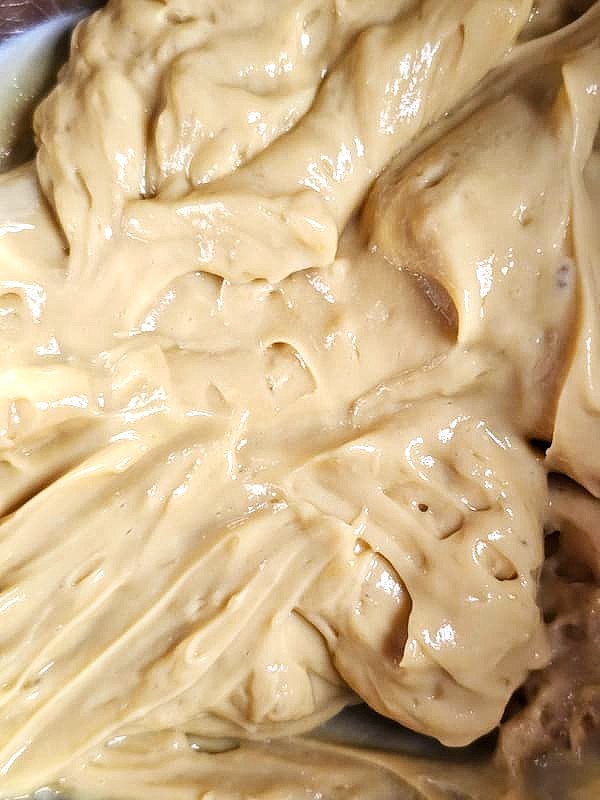
Step 2: Add a Layer of Biscoff Cookies
Add a layer of cookies to the bottom of each springform pan. Break up Lotus Biscoff cookies to fully cover the bottom. Be sure there are no large gaps between the cookies.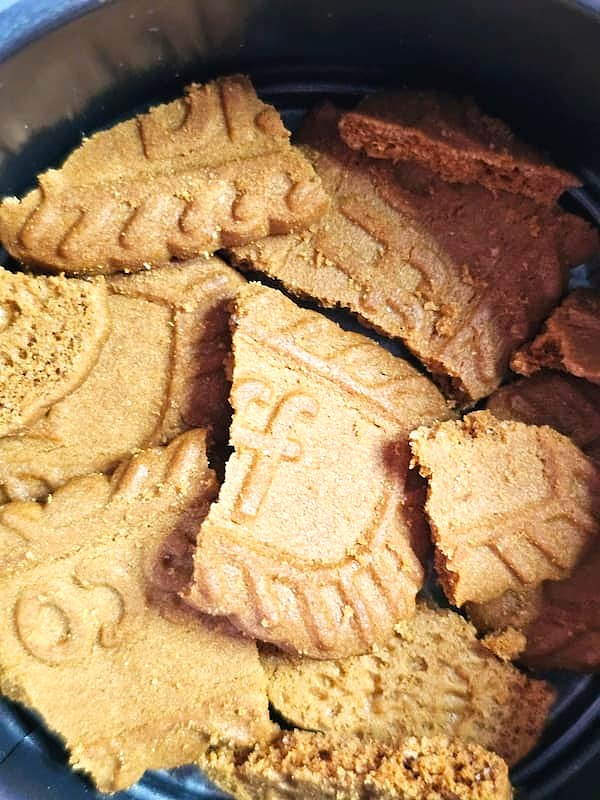
Step 3: Make Whipped Cream
In a large bowl, using a stand or hand mixer, combine cold heavy cream, 2 teaspoons vanilla extract, and 1/4 cup powdered sugar. Beat at high/medium speed until stiff peaks form. Be careful not to overmix the cream mixture, or it can turn into butter. Cindy's Tip: When I make whipped cream, I put my large bowl with my whisk attachment in the freezer for a few hours or overnight. This makes whipping the heavy cream to achieve the perfect stiff peaks quickly.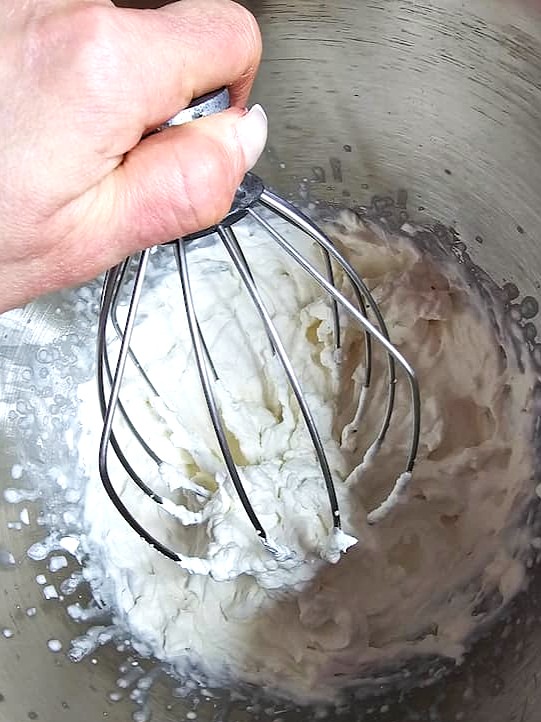
Step 4: Folding the Pudding
Fold the chilled caramel instant pudding into the whipped cream. Gently fold until fully combined. This step keeps the cream mixture light and fluffy.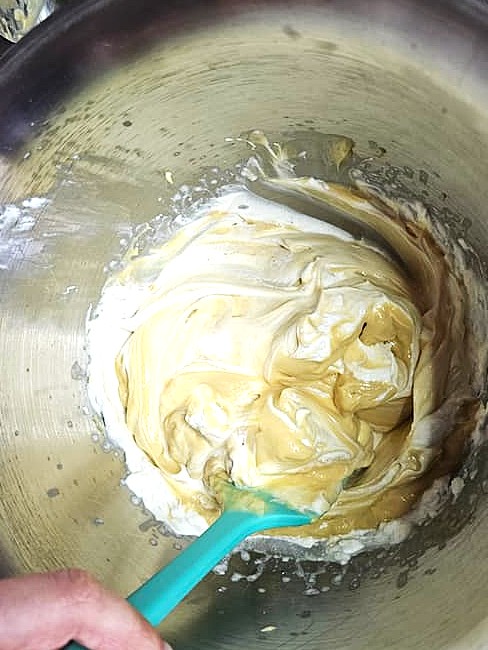
Step 5: Layering the Cream with Cookies
Spoon the pudding/cream mixture over the layer of Biscoff cookies. Use an offset spatula to smooth the cream over the layer of cookies.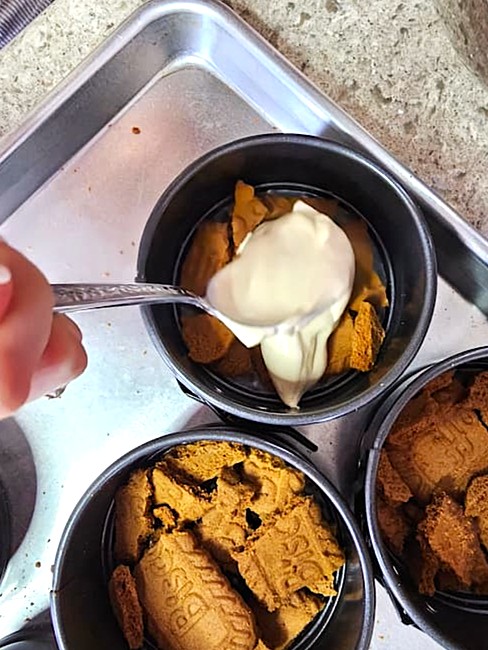
Step 6: Add Another Layer of Cookies
Add another layer of Biscoff cookies and cover with more cream. Be sure you're not adding a thin layer of cream; each layer of cookies should be well covered. The combination of pudding and cream takes this no-bake dessert to the next level.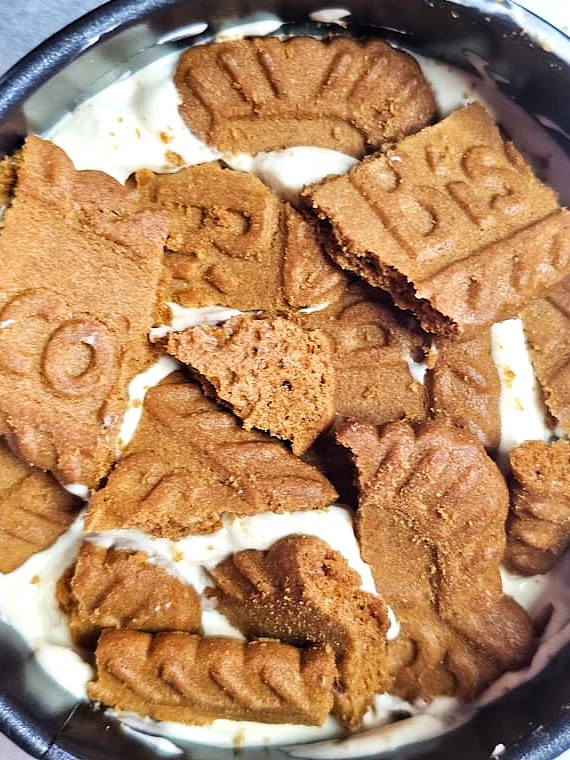
Step 7: Finishing Touch for Your Cake
After your layers are complete, spread the remaining cream over the top of the ice box cake with an offset spatula. Sprinkle with cookie crumbs. Cover with plastic wrap and refrigerate the no-bake Biscoff ice box cake overnight. Chilling until the next day, this no-bake Biscoff icebox cake its perfect, cake-like texture.